 Juan M. Casillas
(Sorry, Automatic Google Translation)
I've been giving the Rainbow Six Siege a few days, and the truth is that I did not quite hook up to a game (well, removing the DOOM, which also had its own). Well, the thing is that Rainbow Six (R6, from now on) is a tactical game that requires a lot of precision, speed of movement, and good tactical skills.
 |
| As seen when you look |
One of the characteristics of this game (apart from many others) is the subject of leaning. To avoid exposing the whole body to enemy fire, it is possible to "peek" left and right, avoiding standing in the middle of the line of fire, avoiding to kill you. This movement is mapped by default to the 'Q' and 'E' keys, respectively.
 |
| Just missing "Lean", but the options are Toggle, or Hold. |
The problem we have here is that if you want to move and bow, you have two options: Or you have seven fingers in the left hand (to be able to simultaneously press 'A' and 'Q' for example) or, set the game (R6 gives that option) so that the movement is "stomped" until you return to the key (a press of the 'Q' tilts you to the left, and stays like this until you give it again (change / Toogle)). The problem with that, is that if you walk like that, you go slower, which makes you an easy prey. The other option is to hold / hold, but it forces you to the seven fingers.
So here we have several options: or configure the action on other keys (which does not make much sense, because there are more actions to do, and there are not so many free keys) or ... you invent something to handle those keys ... Which is what I have done. Basically it occurred to me to use "pedals" to lean on each side.
Why pedals? Because the feet have free, are two actions with a very marked laterality (left, right) and also have two feet ... so it seems a reasonable idea.
Let's do it
If we look around pedals, we find that all I have found are for car simulators, or are for flight simulators, so we are not worth it, because they are analog. They could get in, mapping the analog control with the driver ... but it's a mess and a lot of trouble. Also, I'm not clear that R6 supports mapping some actions to the keyboard and others to a joystick. So we want something nice, cheap, easy to build, digital and used in the simplest way on the PC.
 |
| Arduino, breaking the cord thinly. |
This is where Arduino comes in, since I also have a couple of them at home. Arduino is a development platform based on an OpenSource hardware design coupled with a library and an OpenSource toolchain, which allows us to make hardware assemblies in a simple, convenient, fast and most importantly inexpensive way.
There are many hardware models, each with its specifications and features, but the one that interests us in this case is the Arduino Micro . And why this? Because very easy, because this plate uses an ATMega32U4 microcontroller that has among its features to have the USB controller inside ... so it can be reprogrammed ... allowing the device to behave like different USB devices in a simple way.
And what do you mean by all those things that I do not understand? Because very easy: we can program the Arduino in a way that behaves like a USB device. In particular, as if it were a KEYBOARD . And here comes the grace: When you punch the Arduino to the PC, it behaves like a keyboard; When you press the button on the left, we send a 'Q'. When you press the right button, we send an 'E'. As it is a keyboard, then matter solved. We have the integration done.
List of Components
- Arduino Micro . It can be done with a Nano, a Pro, or a Teensy, but in that case you have to look at the documentation, see what the pins are and see if it supports the USB integrated in the micro (to function as a keyboard). Here we are going to use Arduino Micro , the genuine one. 27.79 € on Amazon without much searching.
 |
| Arduino Micro. Good pretty and cheap |
- A pair of arcade buttons , with their micro switches. They are comfortable the convexos (with tripita) since we are going to tread them. I use the Lorenz Industries, purchased in Factory arcade (2.60 € each with micro switch).
 |
| Convex button of industries lorenzo (the classic) |
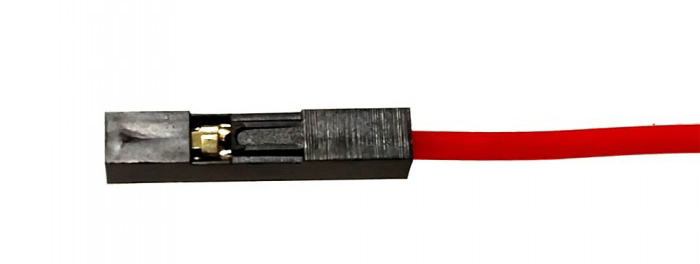
- Cables to connect. I have used a combination of fastons and female pins to make cables.Notice that there are two buttons, so with four fastons and four pins you have it done. It can also be welded, etc.
 |
| Faston (for the side of the microswitch) |
- Fastons (3.00 € / 100 units) is perfect. Pines (2.69 € / 150 unidades) Plastic covers (3.00 € / 100 units). EYE: When you buy the button, look at the width of the microswitch to buy the faston that corresponds (there are of 6.3mm, 4.8mm, etc). The cable any finite cable is worth.
 |
| Microswitch Check the width (4.8mm or 6.3mm) for the faston |
- Wood for footrest. I have used 1cm wide DM reeds, which are cut easy and resistant. To glue it on I used a hot glue gun , and perfect.
 |
| 1 PIN connector for the Arduino part (plastic and pin separately) |
- Tools (a drill to make the hole of the buttons, with a drill of crown, and a saw to cut the wood).
- A mini usb cable to connect the arduino to the PC.
To buy the components it is almost easier to ask the buttons to Factory Arcade (for example) or to recycle old ones, and the connectors to buy them in a local electronic shop (Conectrol, for example) or to place an order to have provisions, which is cheap And is widely used.
Let's do it
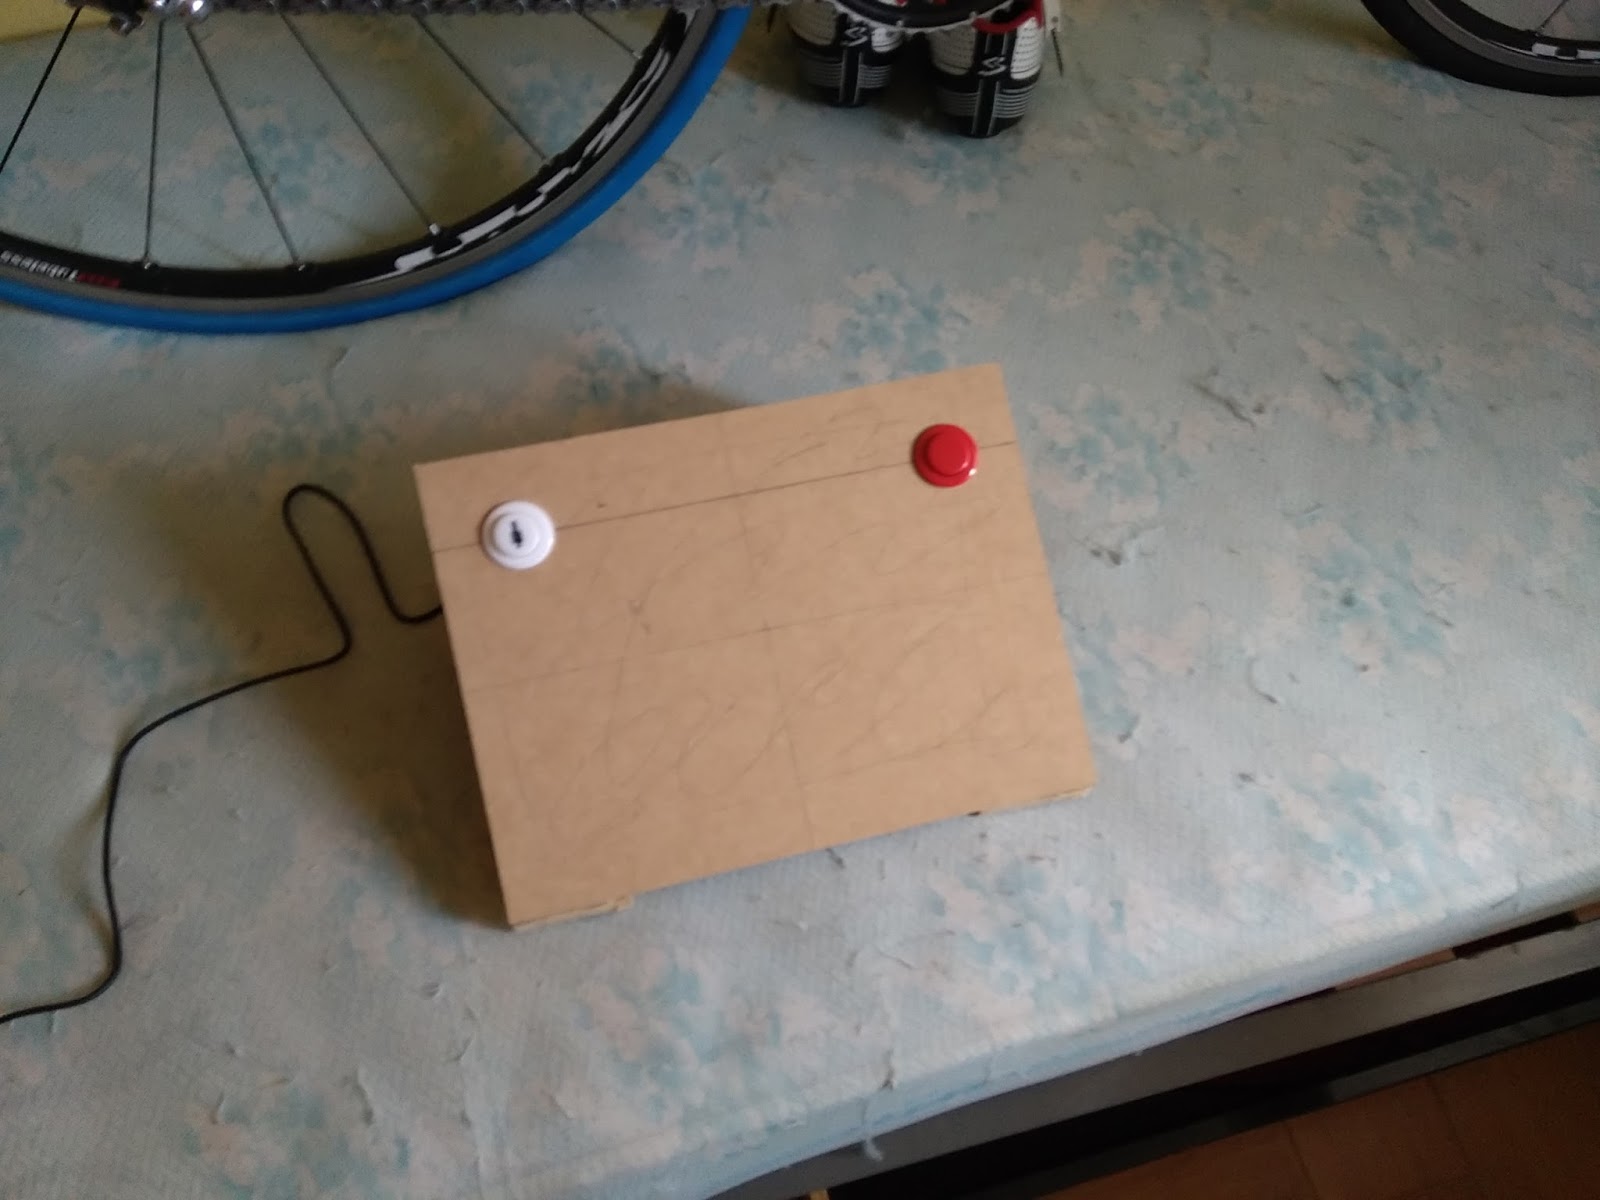
The first thing is to make the furniture . To do this, I pulled a pair of scrapbooks I had for DM house of 1cm thick. It can be made with any type of wood, but ideally it is resistant, mechanized well and can be joined without much mess. In my case, the DM will stick well with hot glue (the typical bar guns) so the design is simple: an iron in which we make two holes for the buttons, one side to raise it to the desired height, and a pair Of feet to give stability. Each one that is made to your measure, since each is comfortable with a certain height, etc. There is also the option of using a manufactured footrest and make two holes.
 |
| The furniture seen from above |
There is not much magic, I cut the slats with the manual saw, I make the holes with the crown drill, I glue with the hot glue gun helped with a few cats and ready. To prevent it from sliding (and sliding) I have pasted four legs of those of anti-slip rubber, as can be seen in the next photo. As you will see, DIY is not very complicated.
 |
| The antidilding feet and the assembly of the furniture. |
Cabling
Now we have to wire the issue. One of the graces that has the Arduino Micro is that it has pull up resistances inside, for the digital inputs. These resistors are what they do is that they prevent the burn of the micro, since to have a switch, it is necessary to "pull" of the current while closing the circuit. If you did not have these internal resistors, you would have to wire them between the buttons and the arduino, but in our case, it is not necessary, so the assembly is very simple. The microswitches have three legs, the bottom one, NC (2) and NO (4). The "down" is the GROUND and is punctured to the GROUND of the Arduino. The NC (also labeled 2) is NORMAL CLOSED, and is used when you want to use it in reverse (it beeps when it opens). We want it to "pite" when it is closed, so we use NO (also labeled 4).
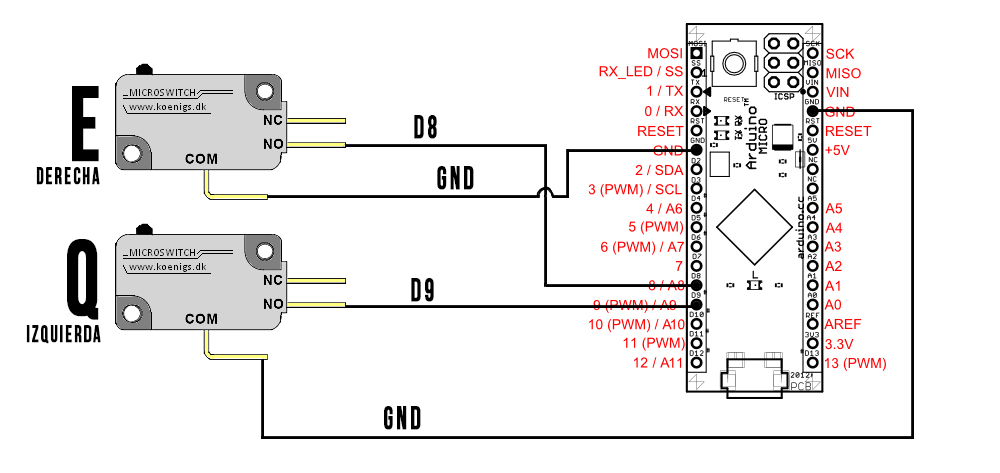 |
| Connection Diagram |
It is important that all GND (grounds) are common. So since the Arduino has two GND pins, we use one for each one, and holy pascuas.
The cables are prepared as follows: on the side of the Arduino, we mount a pin connector. For that we peel the cable, crimpamos the part of metal, and we put its plastic fuse. At the other end (the part of the microswitch) we put the plastic hood on the cable, and crimp the faston. Ready. We make four of these, which are what we are going to need. The length of the cable is important, so keep in mind how far you have drilled the holes and where you are going to pull the USB cable.
Pin Overview:
- Pin D9 from the Arduino to the NO (4) of the Left Switch (Q)
- Pin D8 of the Arduino to the NO (4) of the Right Switch (E)
- GND Pin Left to Switch E
- GND Pin from right to Switch Q
Actually the Arduino GND Pines look the same as the connectors, but connect them. Notice that the Arduino pins are labeled. D9 is leg 14 if we start counting in the Arduino diagram, top left, so watch out for what is important. Remember, we used D9 for Q and D8 for E.
Arduino Programming
Here comes what scares the most, but the easiest thing to do, since I will try to explain everything in a simple way. The first thing to do is to download the Arduino IDE (development tool) from here. It's 1.8.1 , for your platform. This I have tested in MacOS 1.12 and Windows 7, and it works without problems. Once you get it down, install it and open it. I would recommend that you take a tour of the Arduino website and read the tutorials, because they are very good.
DO NOT CONNECT THE ARDUINO MICRO VIA USB TO PC YET.
The first thing we are going to do is select our development board. For this we go to the menu tools, plates and select " Arduino / Genuine Micro ". Make no mistake that this is important (because it affects bootloader and toolchain). You select it well.
The second is to download the Bounce2 library. It is very easy, since it is integrated into the IDE. Go to the Program menu, Include Library, Manage Books. There we look for " Bounce2 " and we give to install it. Very simple. In the video you see how to do both.
Now we close the IDE, connect the Arduino, reopen the IDE and download the source code of the program. For this we go to the GIT repository , click on the green button "Clone or Download" and we give to "Download ZIP". Here you have a direct link to the source code . When you have it, unzip it, rename the r6pedals-master folder to r6pedals and open the r6pedals.ino file with the Arduino IDE (double click on the file and you have it).
We try to compile without problems (Program Menu, Check / Compile) and if we do not see any errors (we will not have them) then we will upload it to Arduino (Program Menu, Upload). If you do not upload it, you have to give it a few times to reset while loading it. This is because you have to reset the micro to catch the USB port as a series (remember that you have everything integrated into the microcontroller).
 |
| Compiled and downloaded to Arduino. |
We tested on a notepad that by giving the buttons the letters Q and E are written ... and we already have it done. We open Rainbow Six Siege, we go to the configuration, Controls, we look for Incline and we configure it like Hold. And with that and a cake ... there we have it working! Let's enjoy it!.
After a little painting, the thing is much cooler.
 |
| Already painted. |
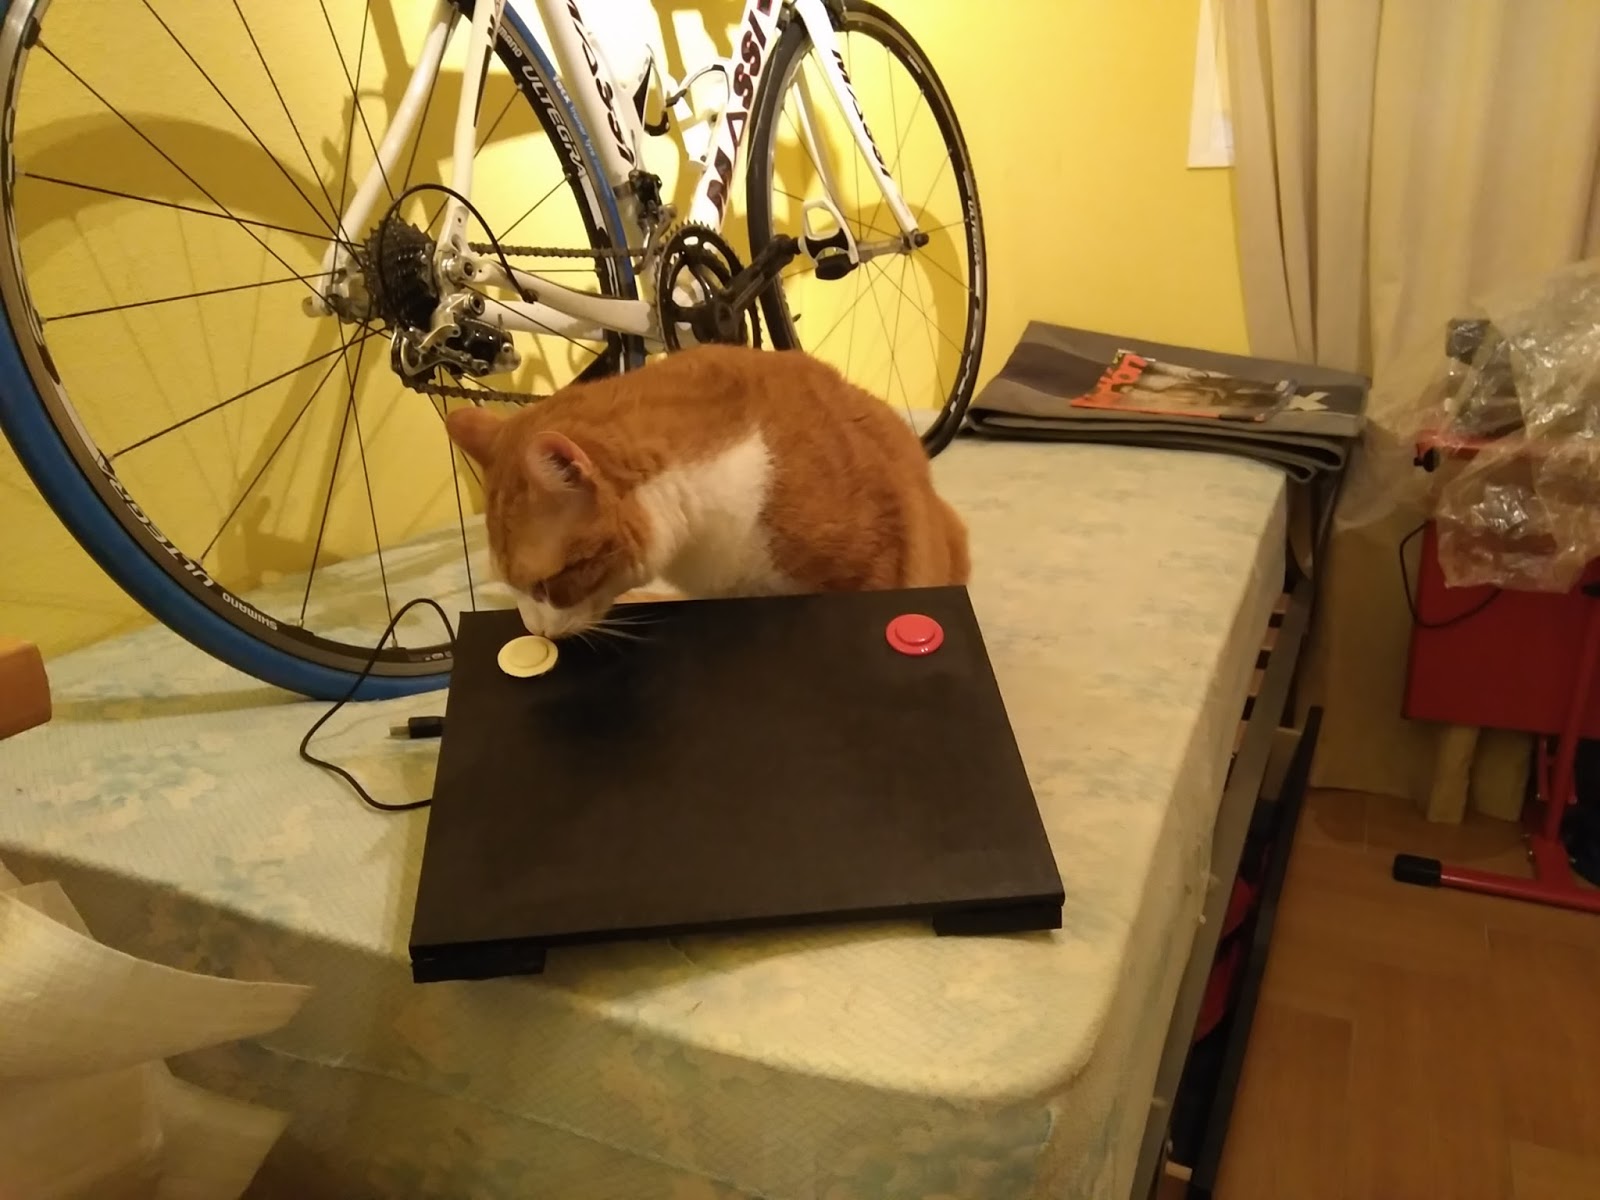 |
| Quality Control by Firulais |
 |
| All right! |
http://blog.capitanpenurias.com/2017/03/pedales-para-el-rainbow-six.html