Tony
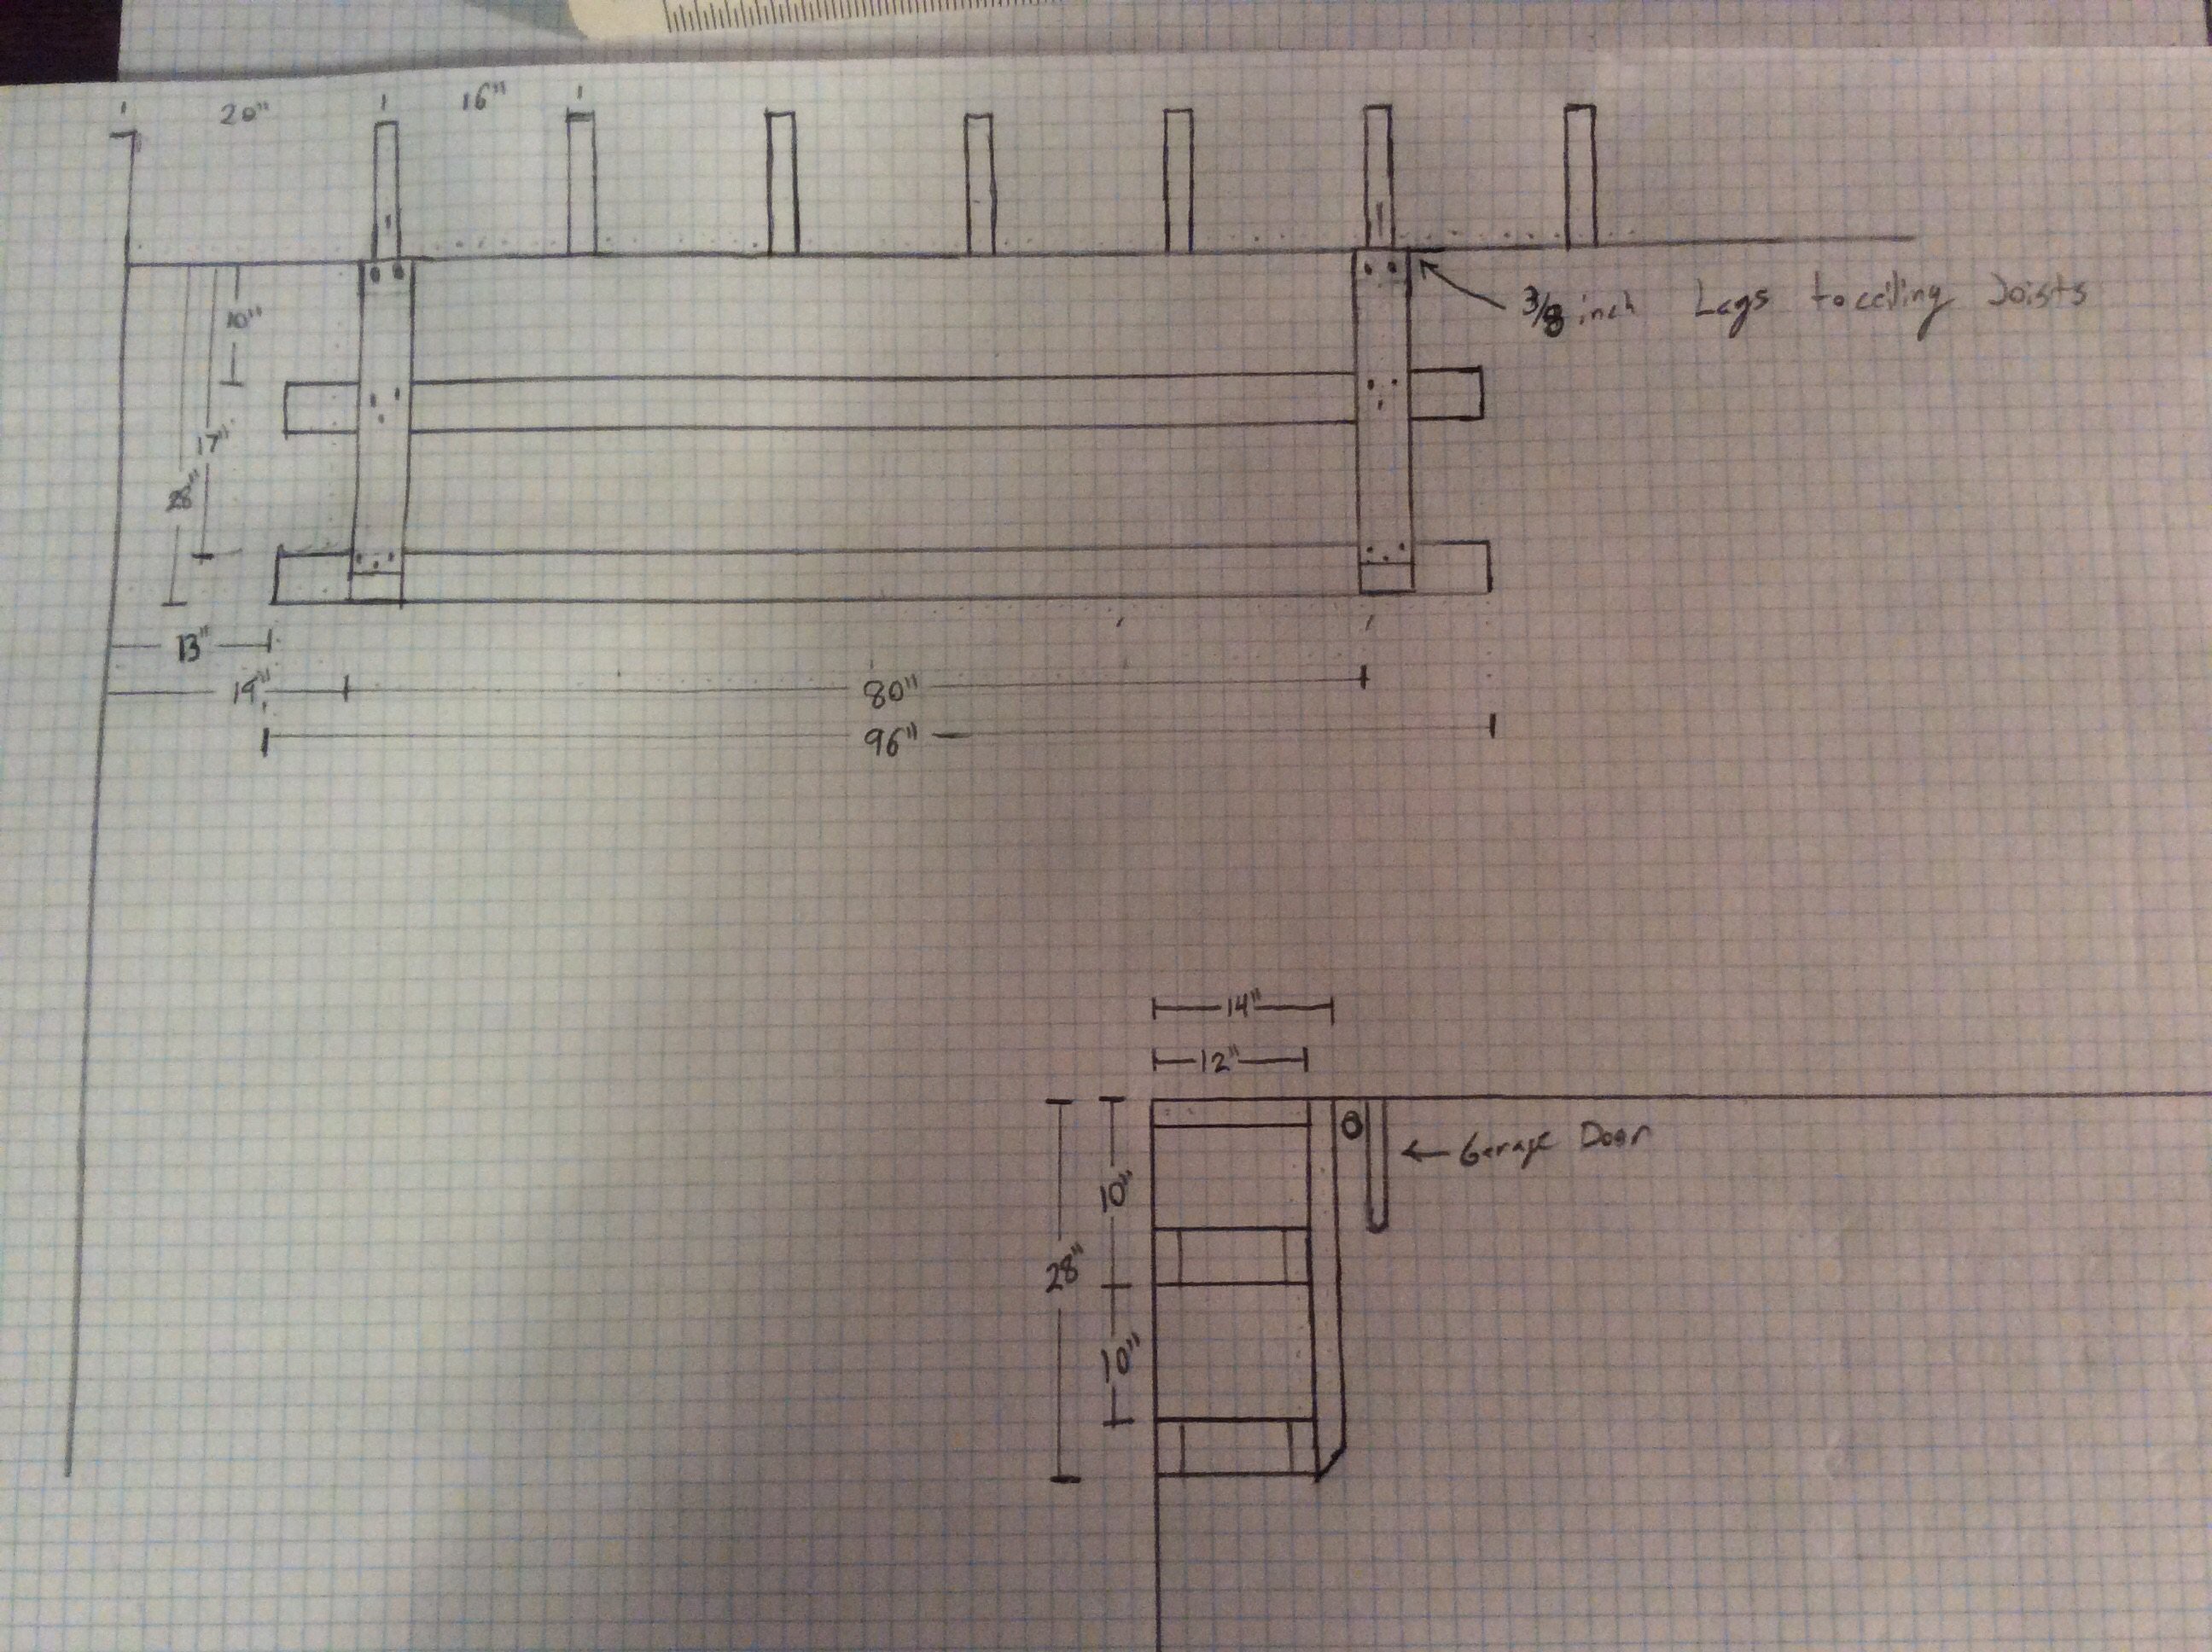
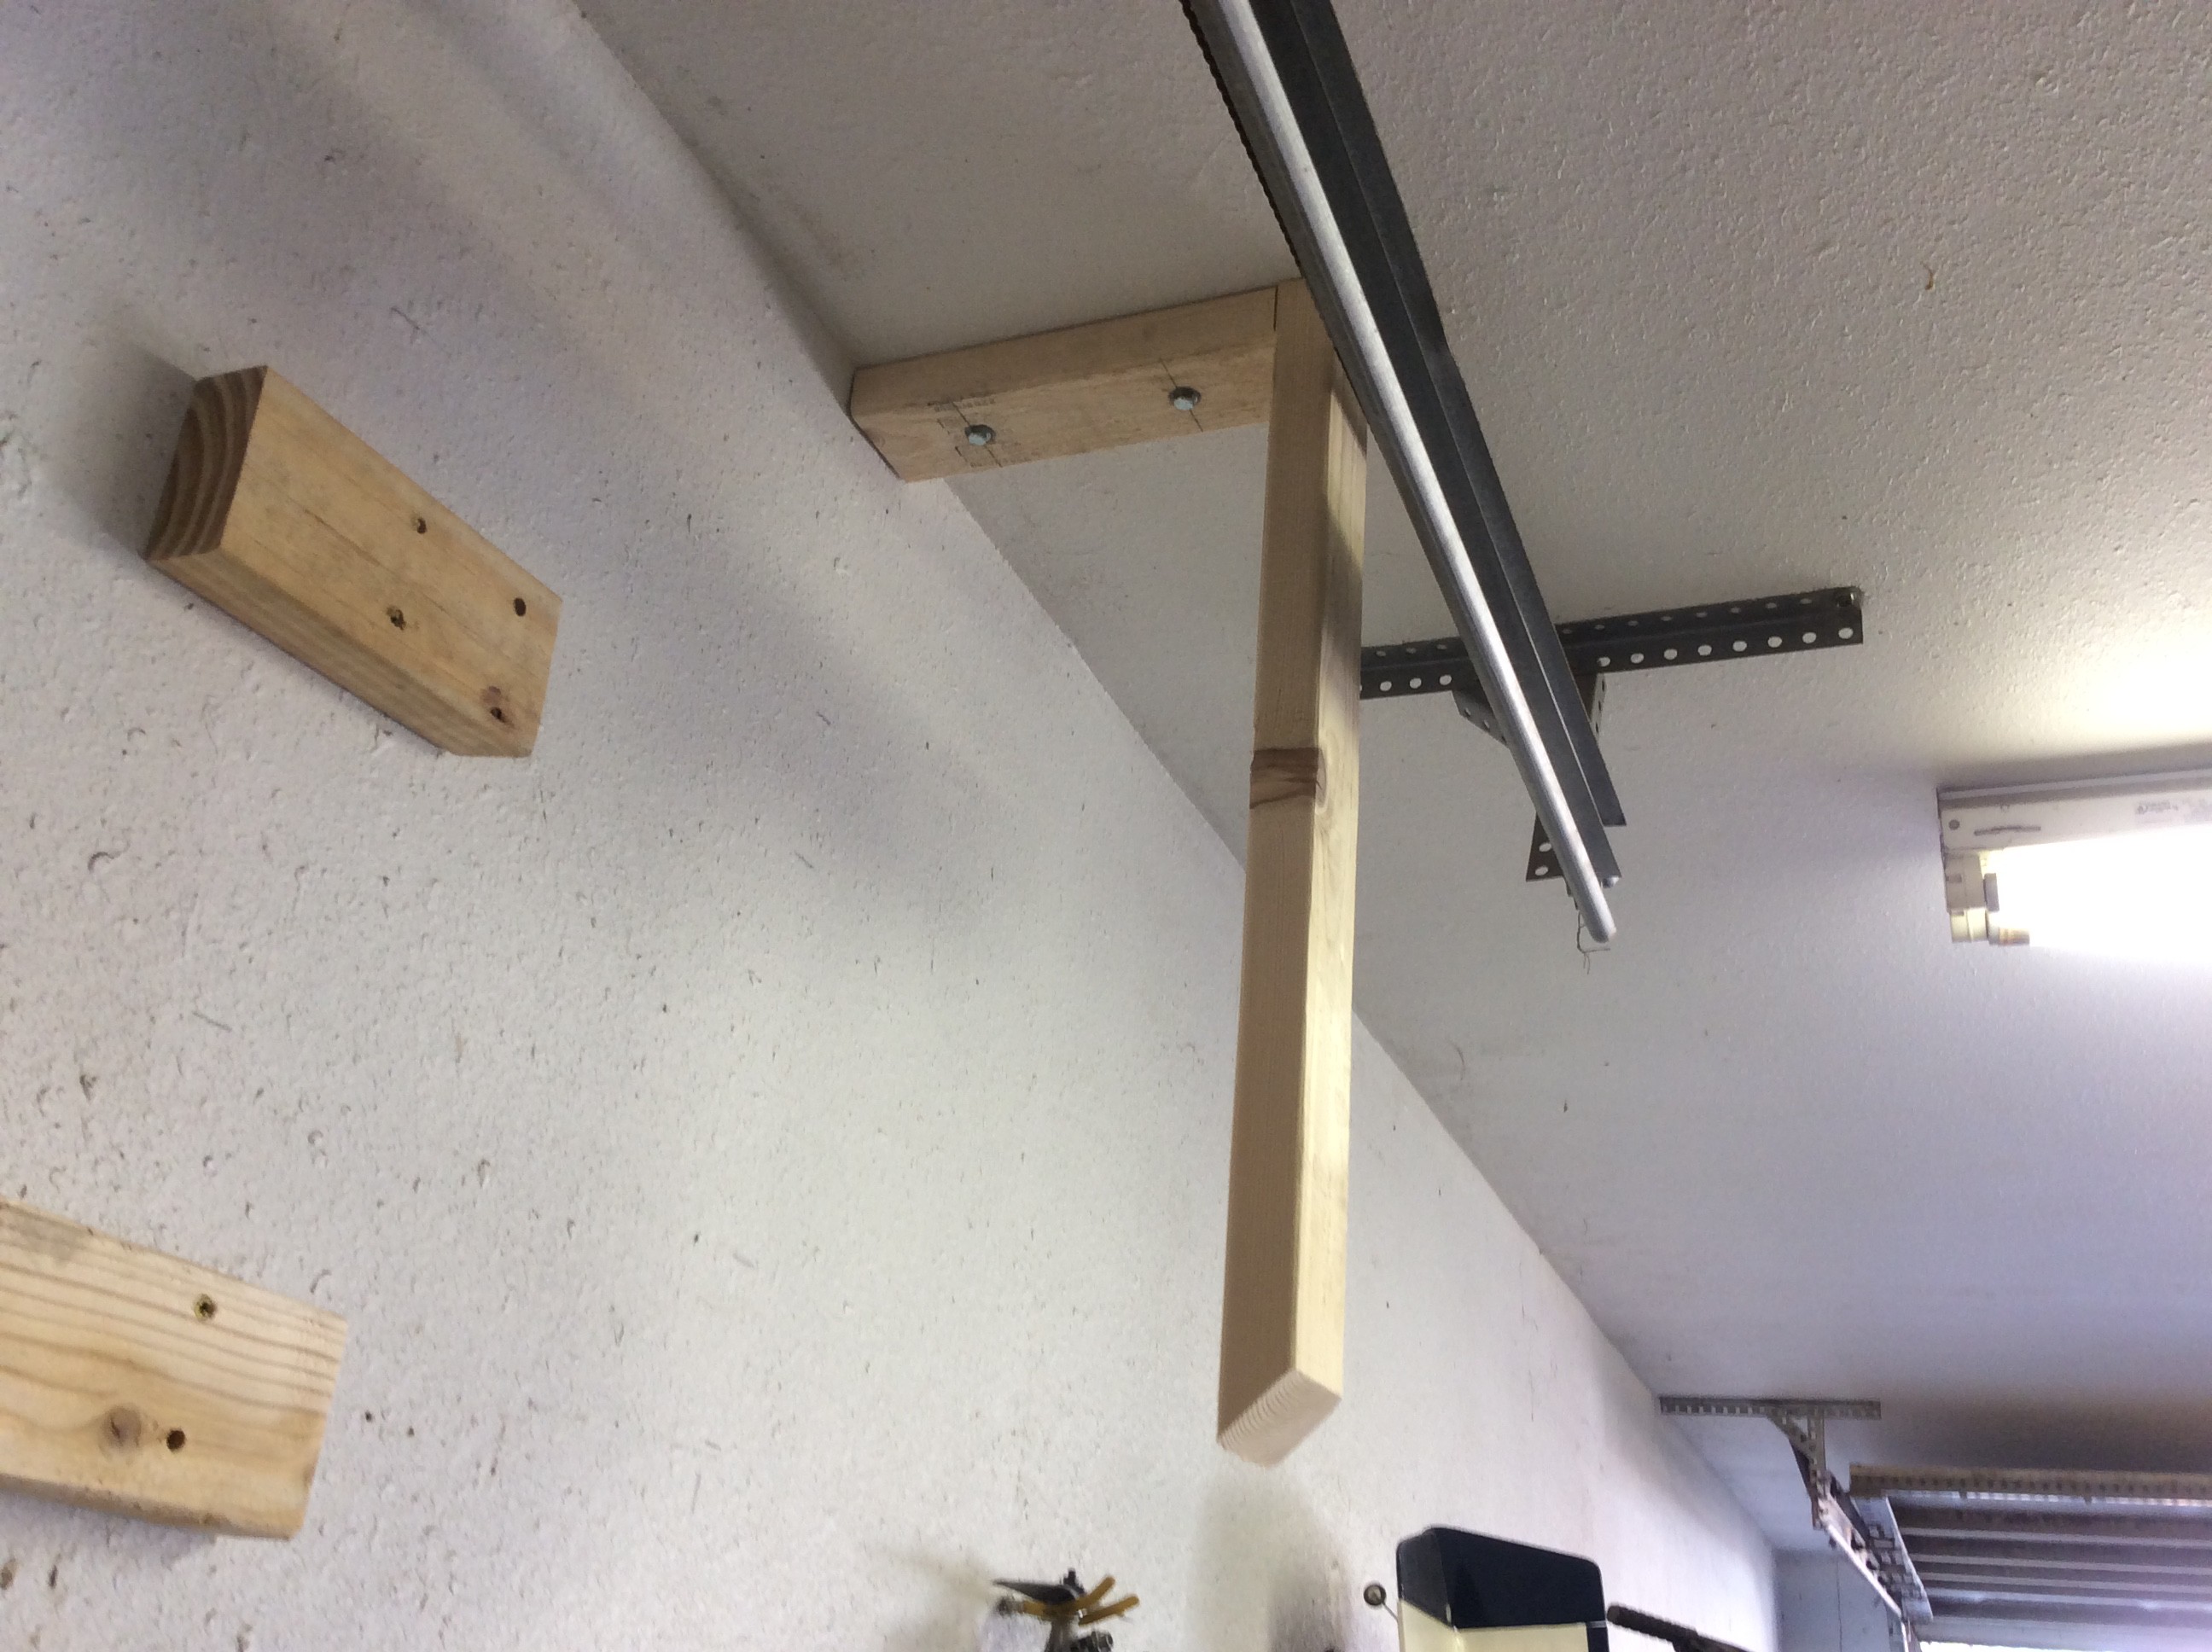
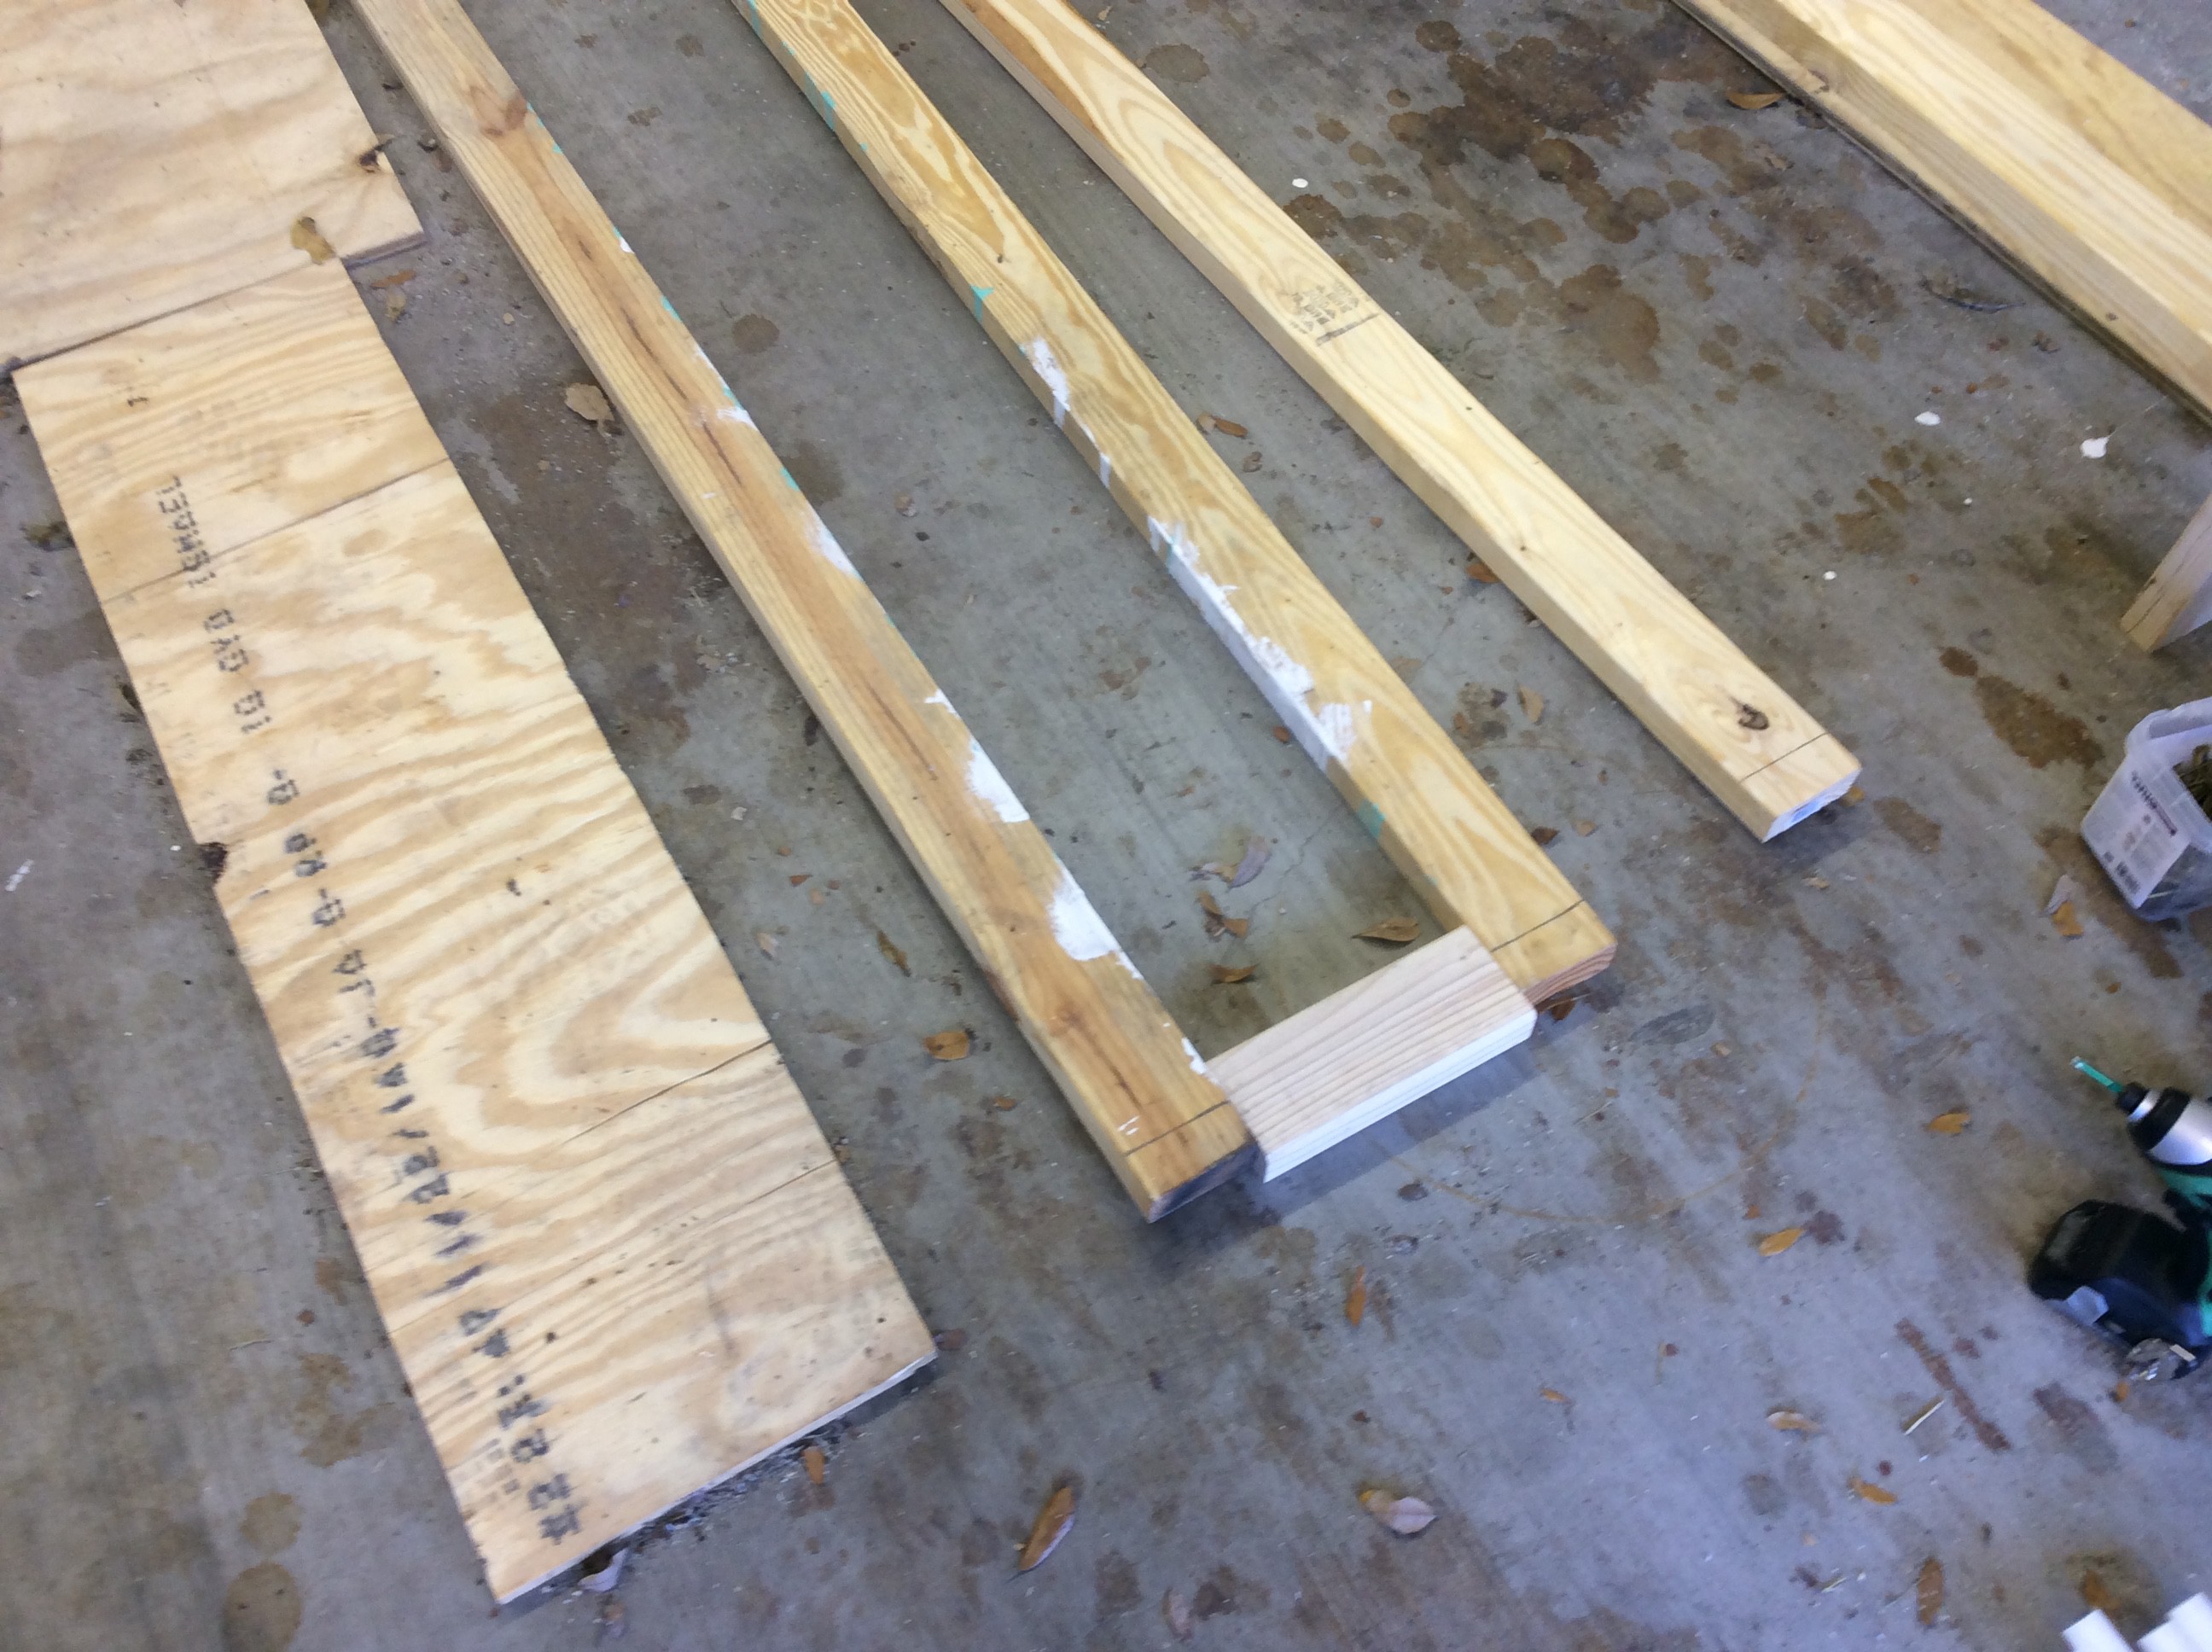
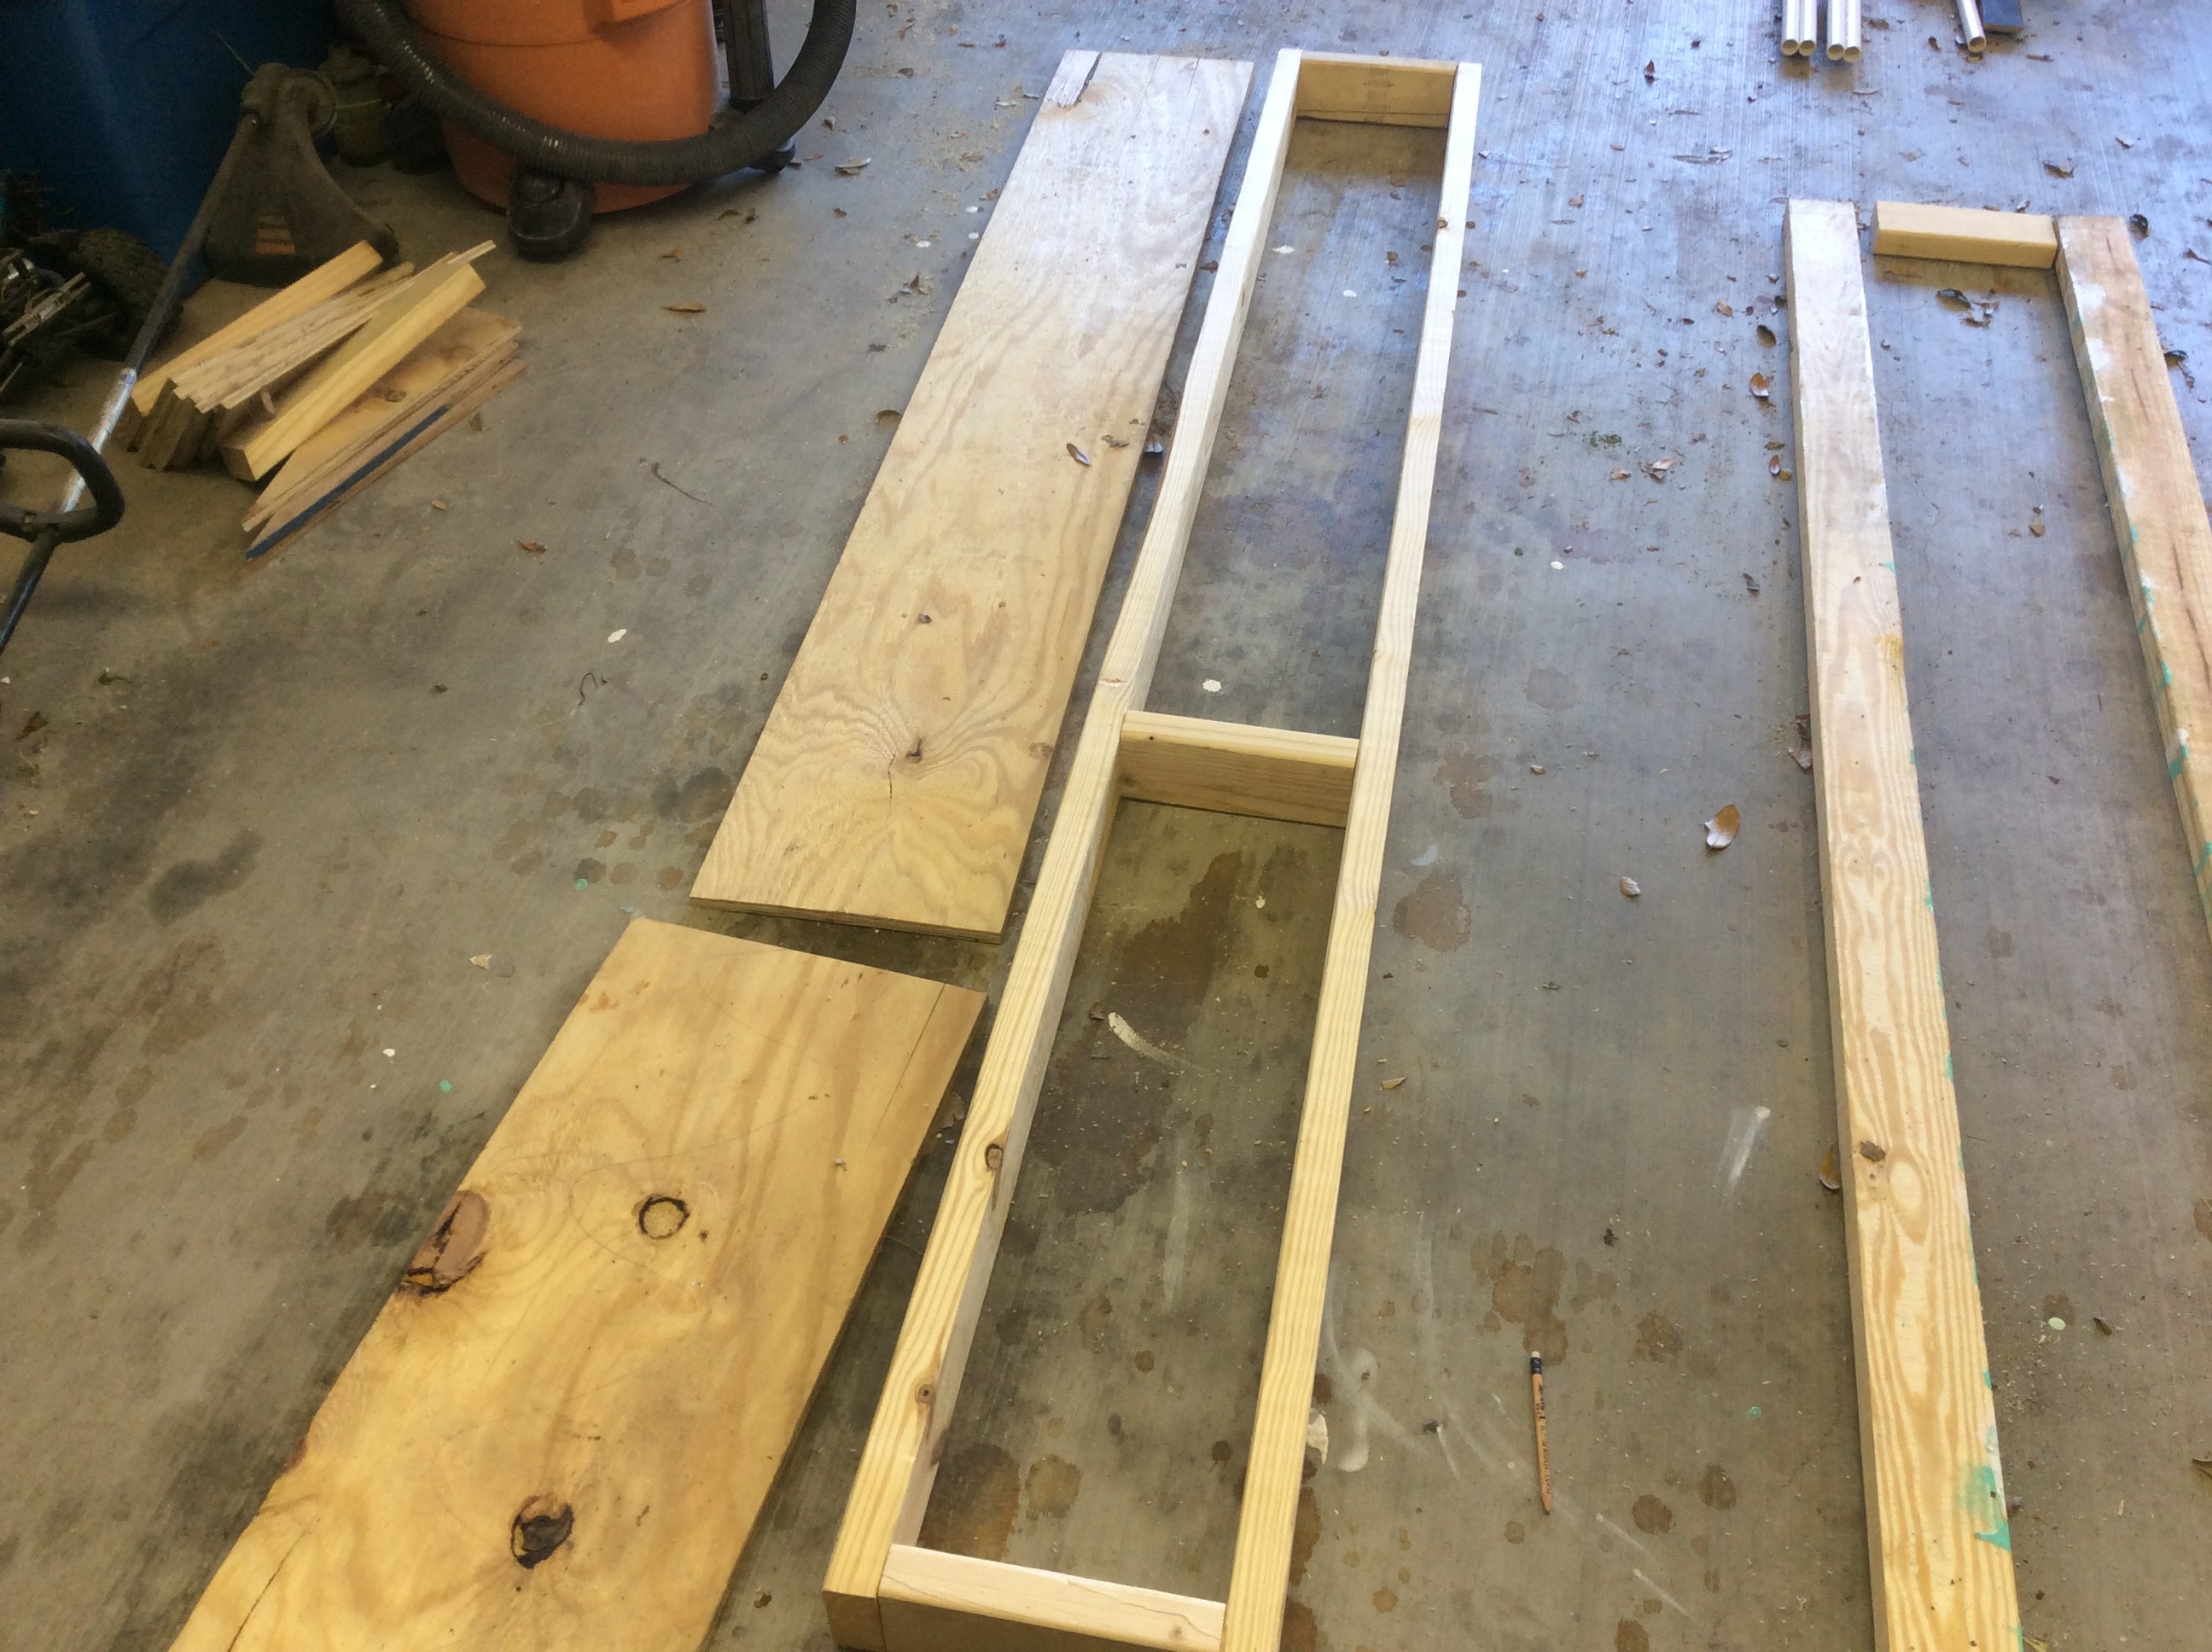
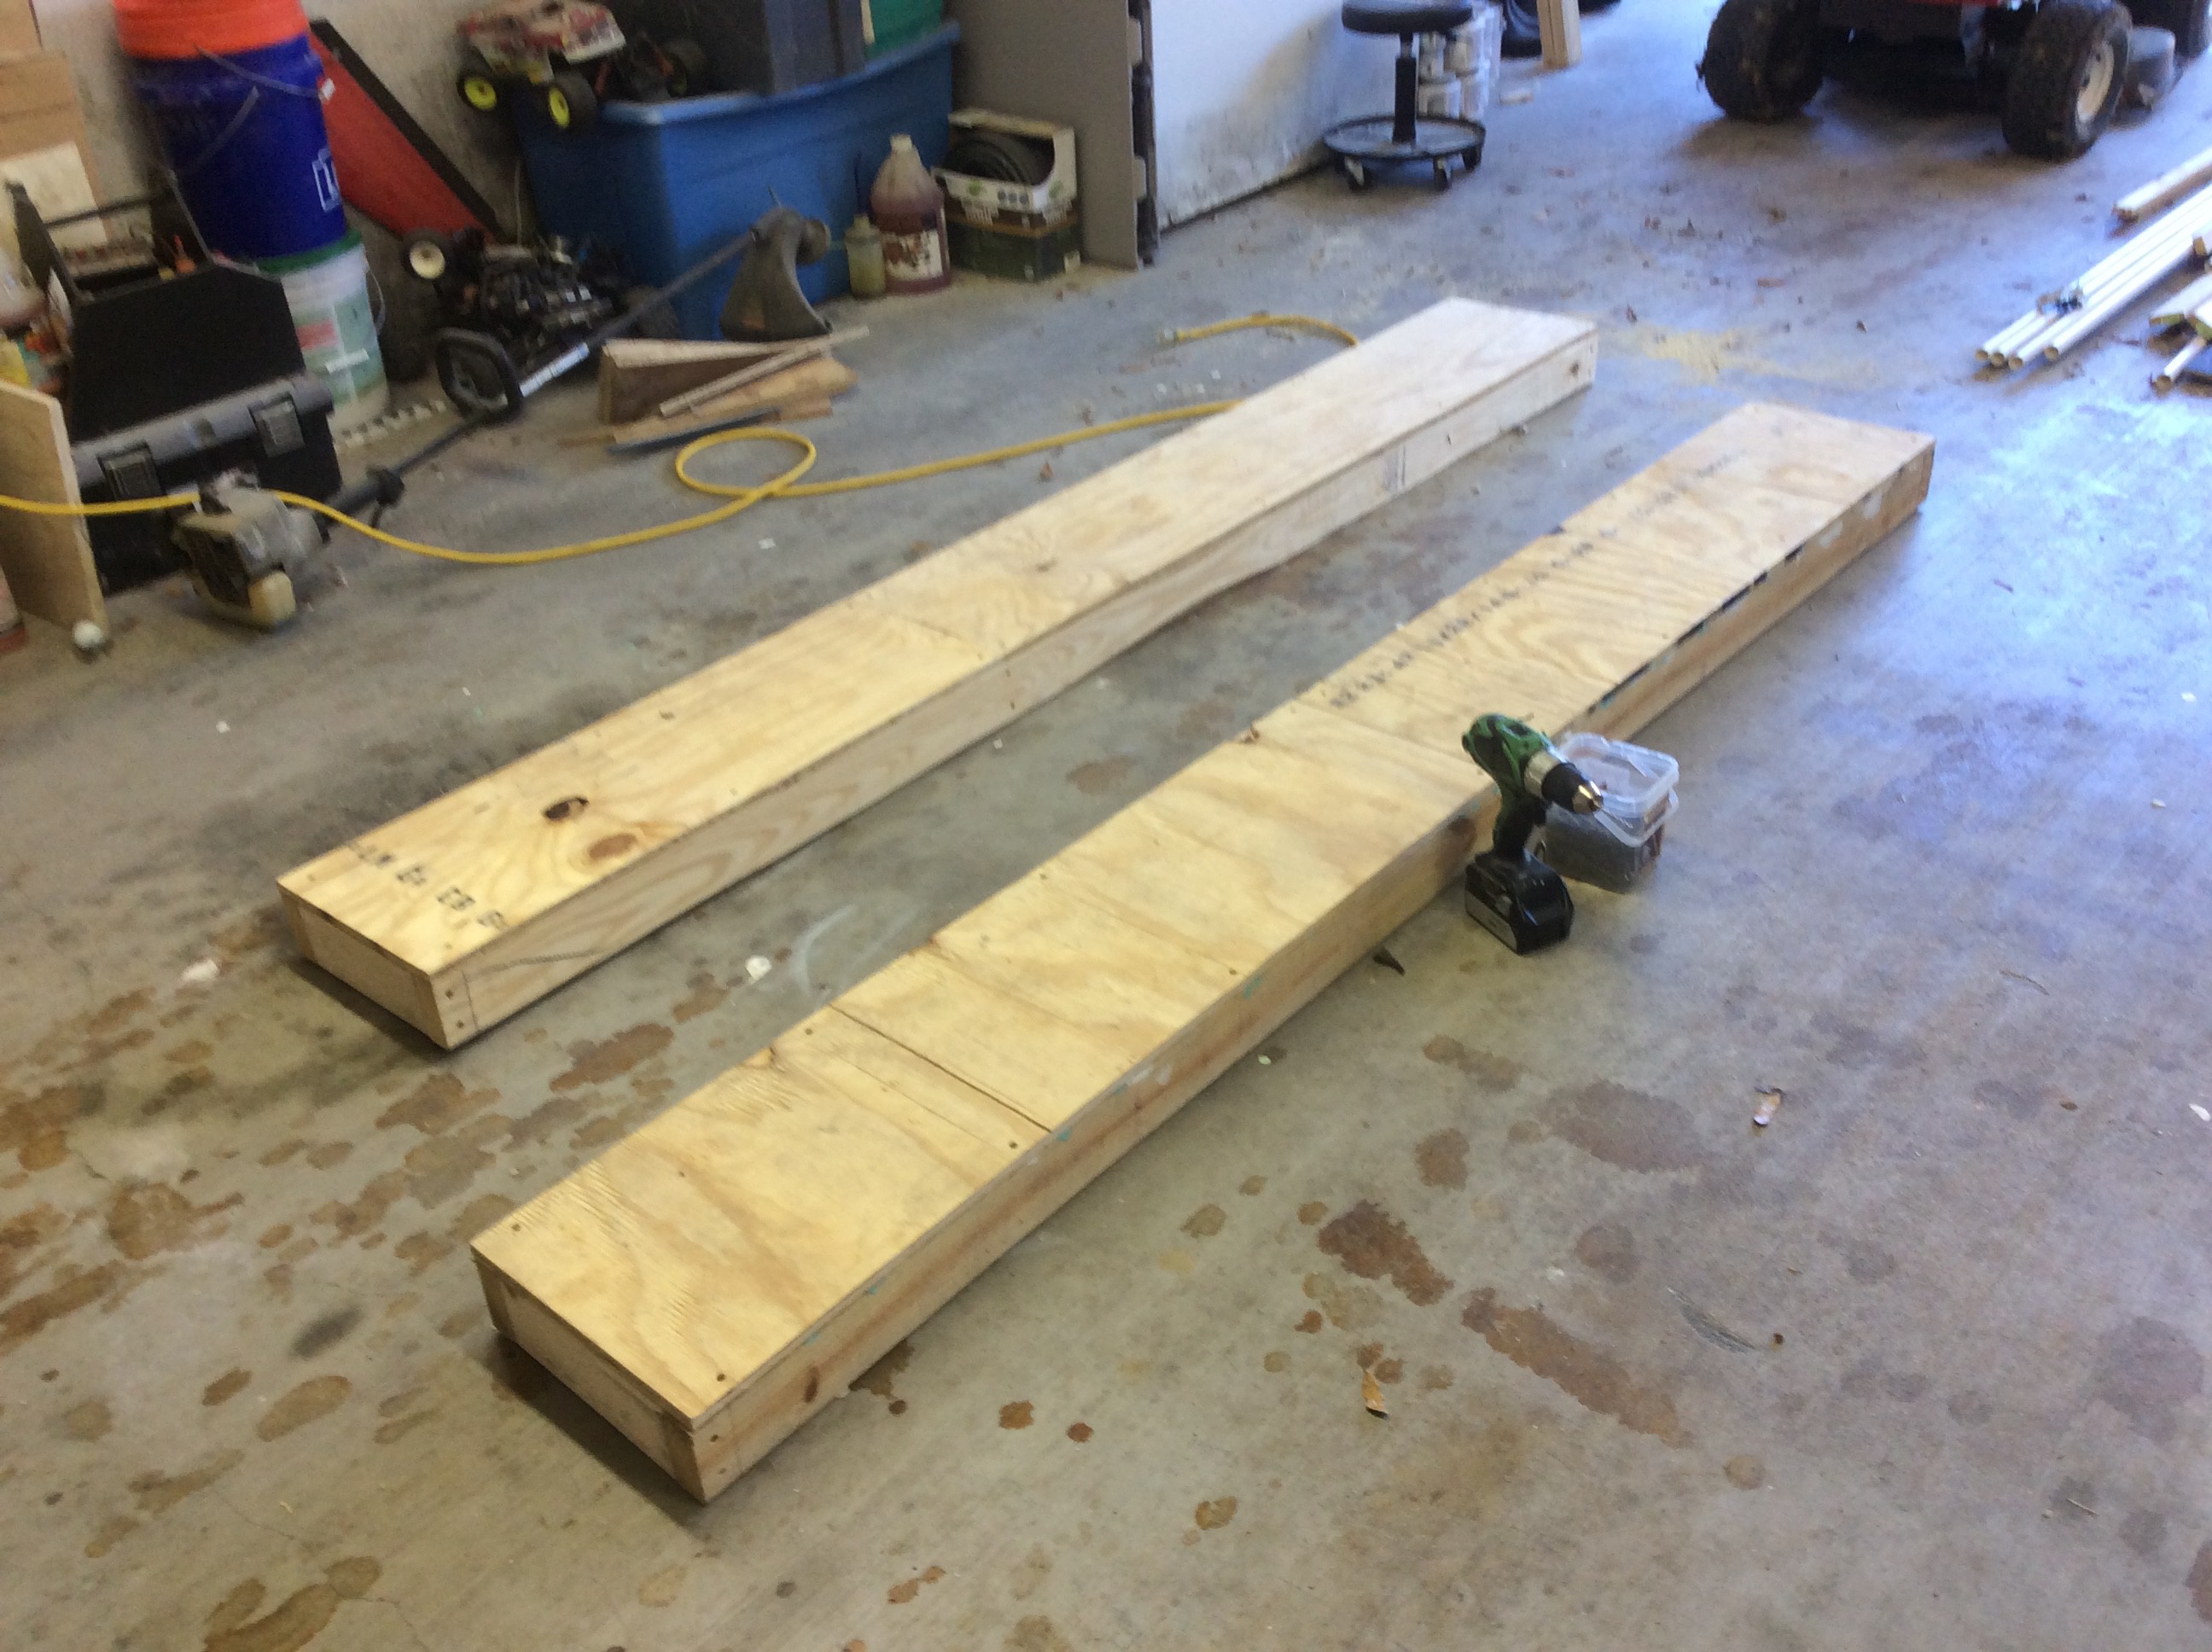
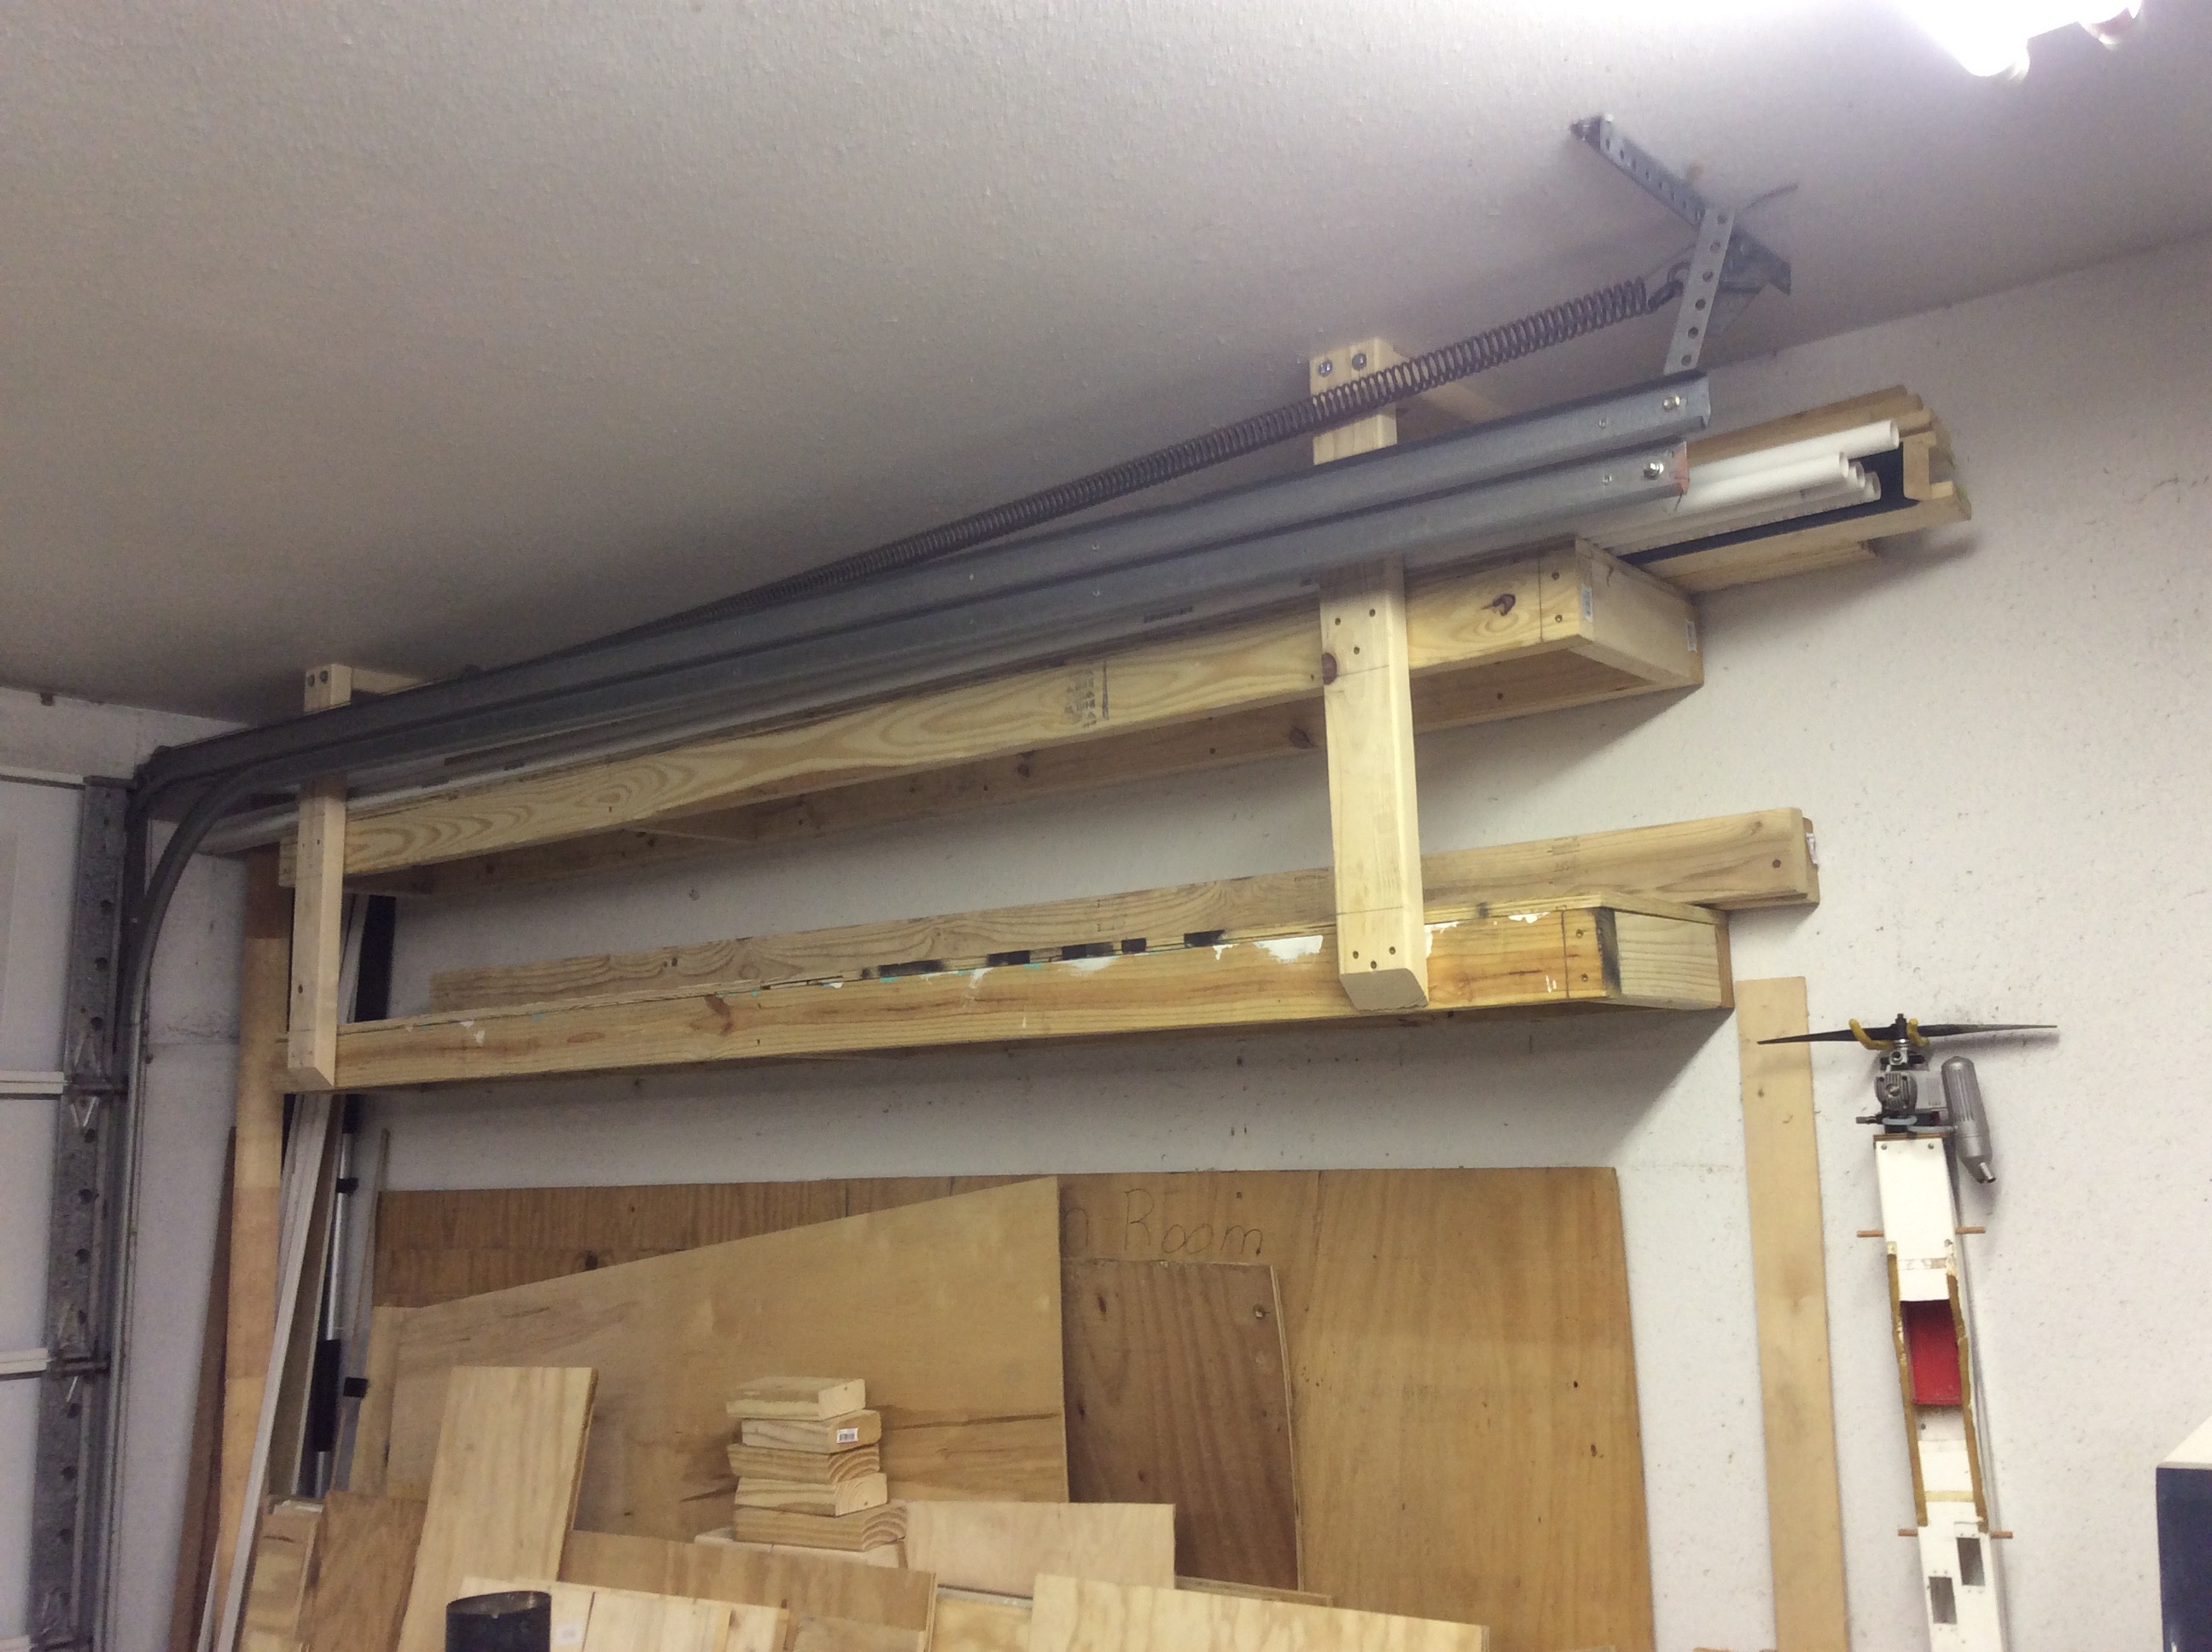
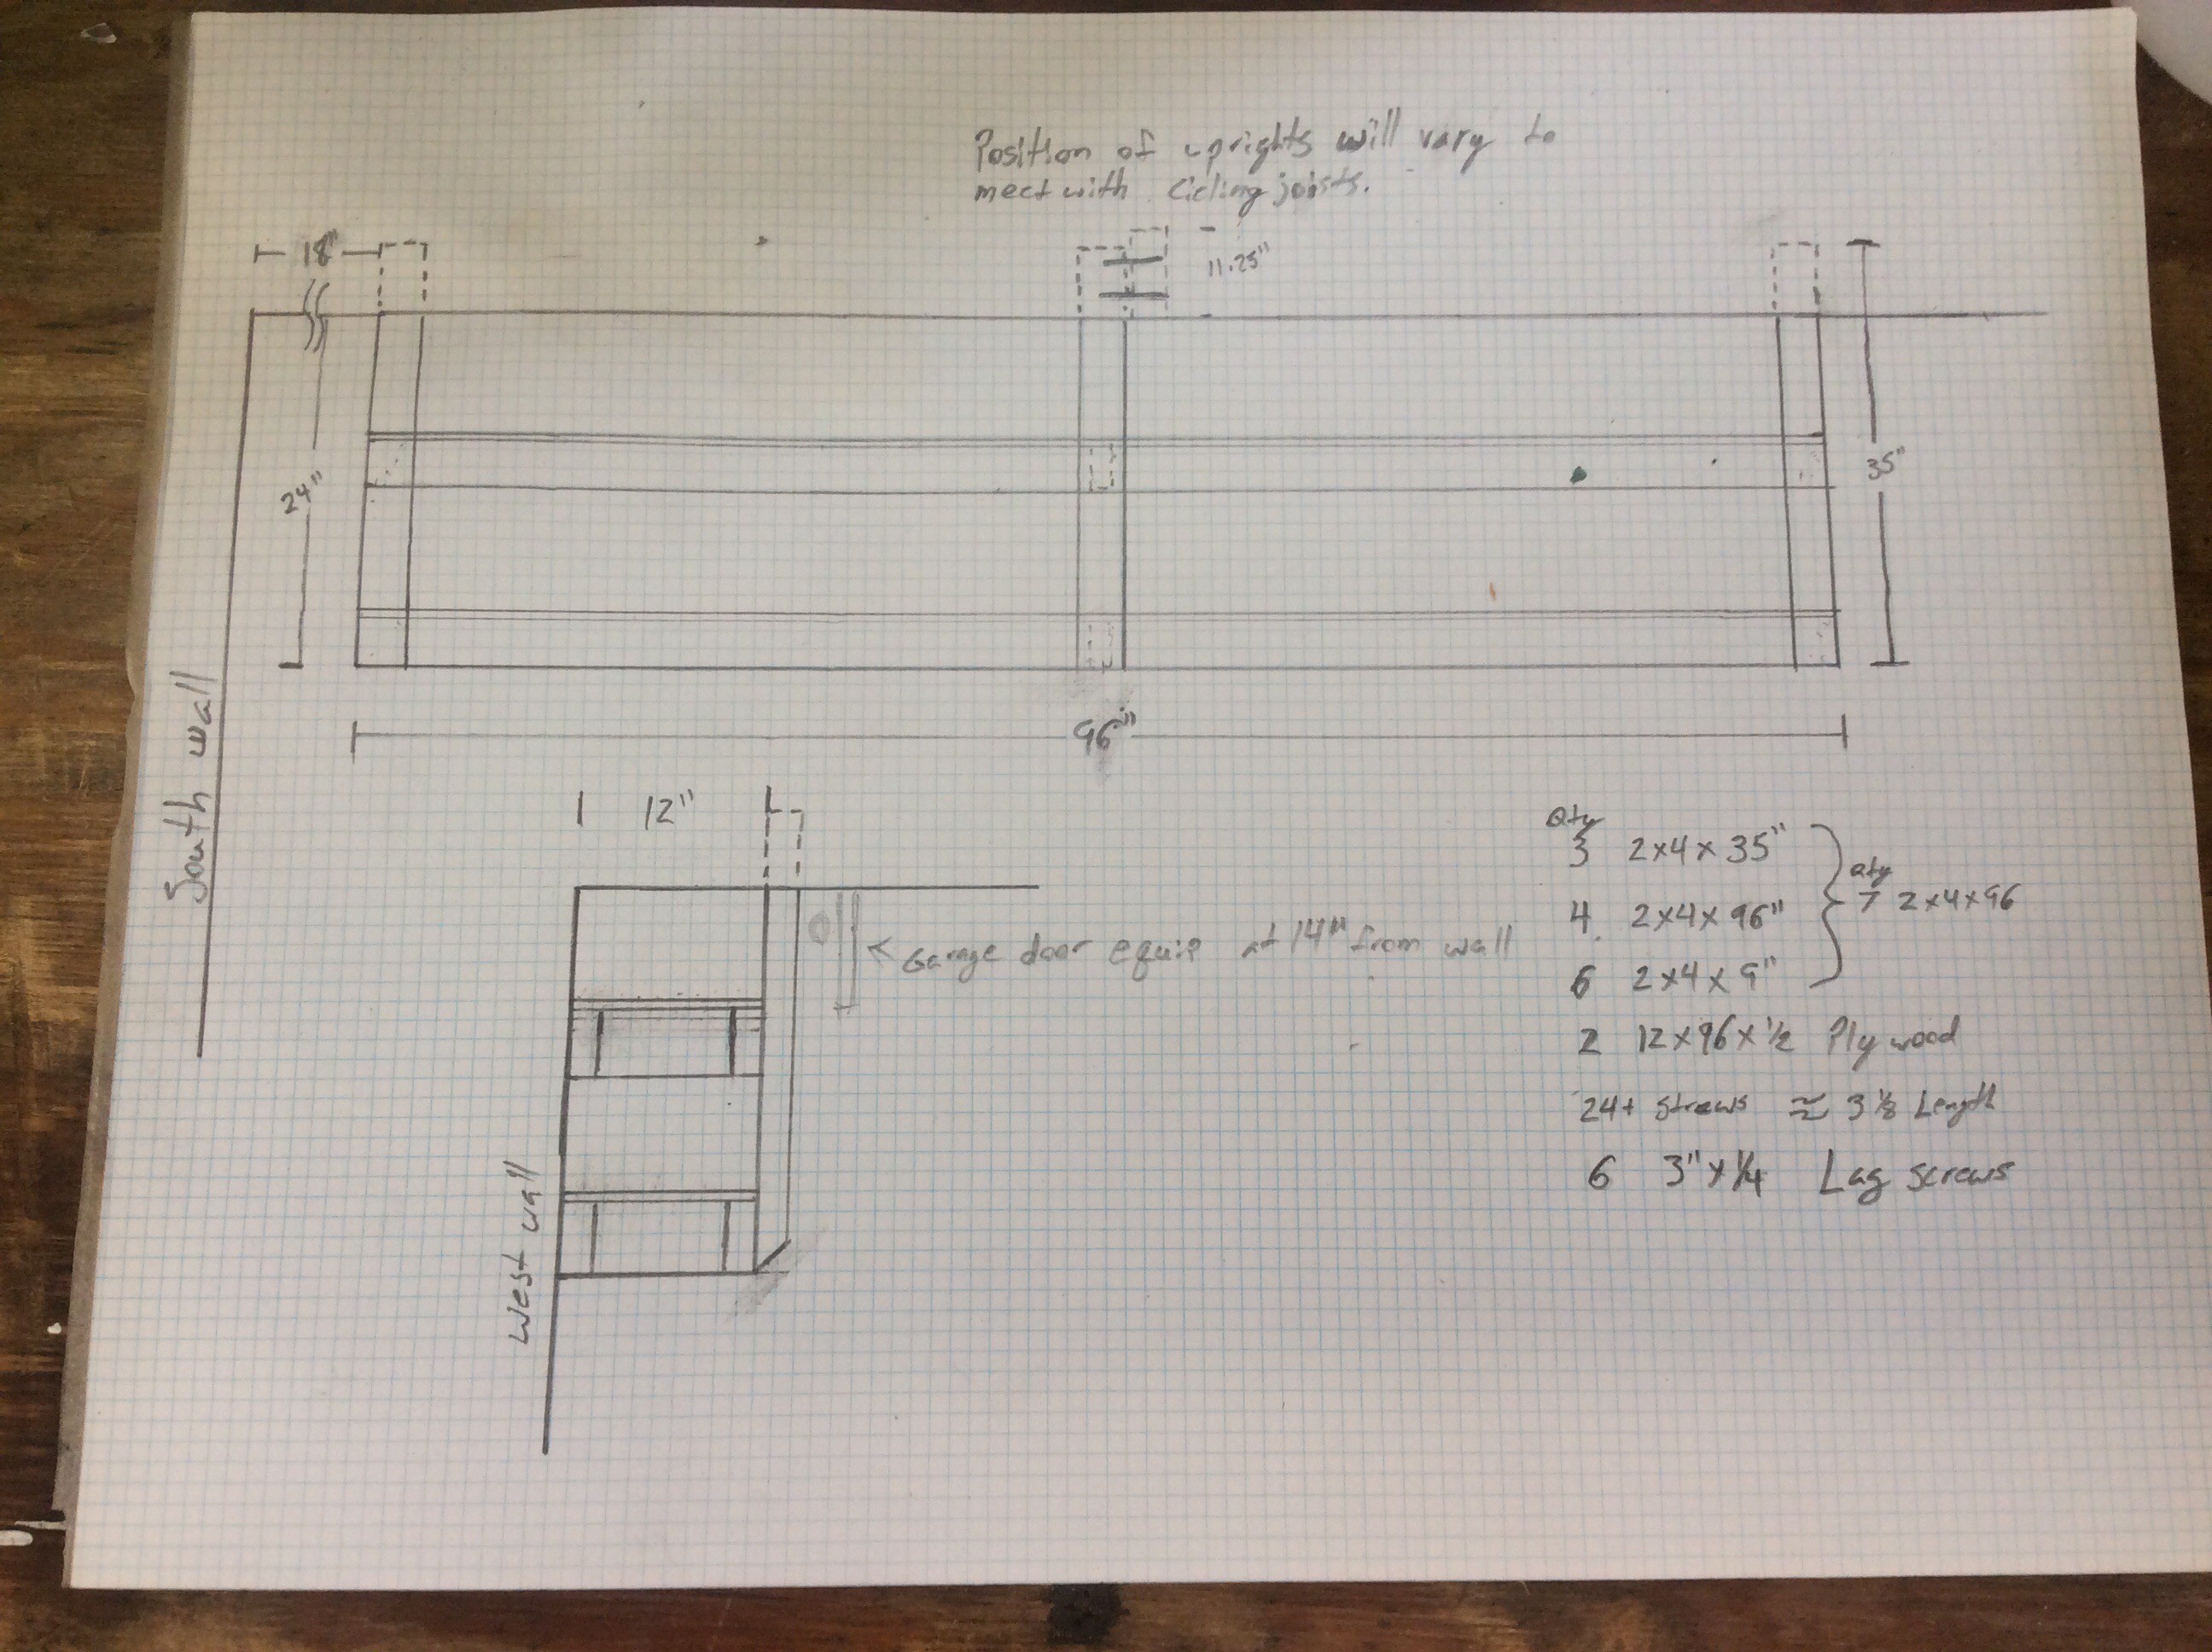
TonyHere are the final demensions of my build. There are two shelves each 12 inches wide by 96 inches long. The shelves are suspended from two vertical 2x4s that are attached to the ceiling with 3/8inch lag screws into the ceiling joists as well as 3-1/8 deck screws to each wall stud along the legth of the shelf. The top shelf has 8 inches of clearance to the ceiling suports and the bottom shelf has 10 inches of clearance to the top shelf.


 matthewkleinmann
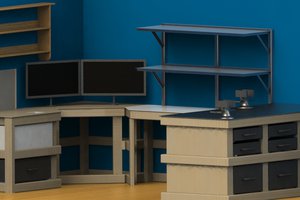
 Alan Kilian