 SephenDeVos
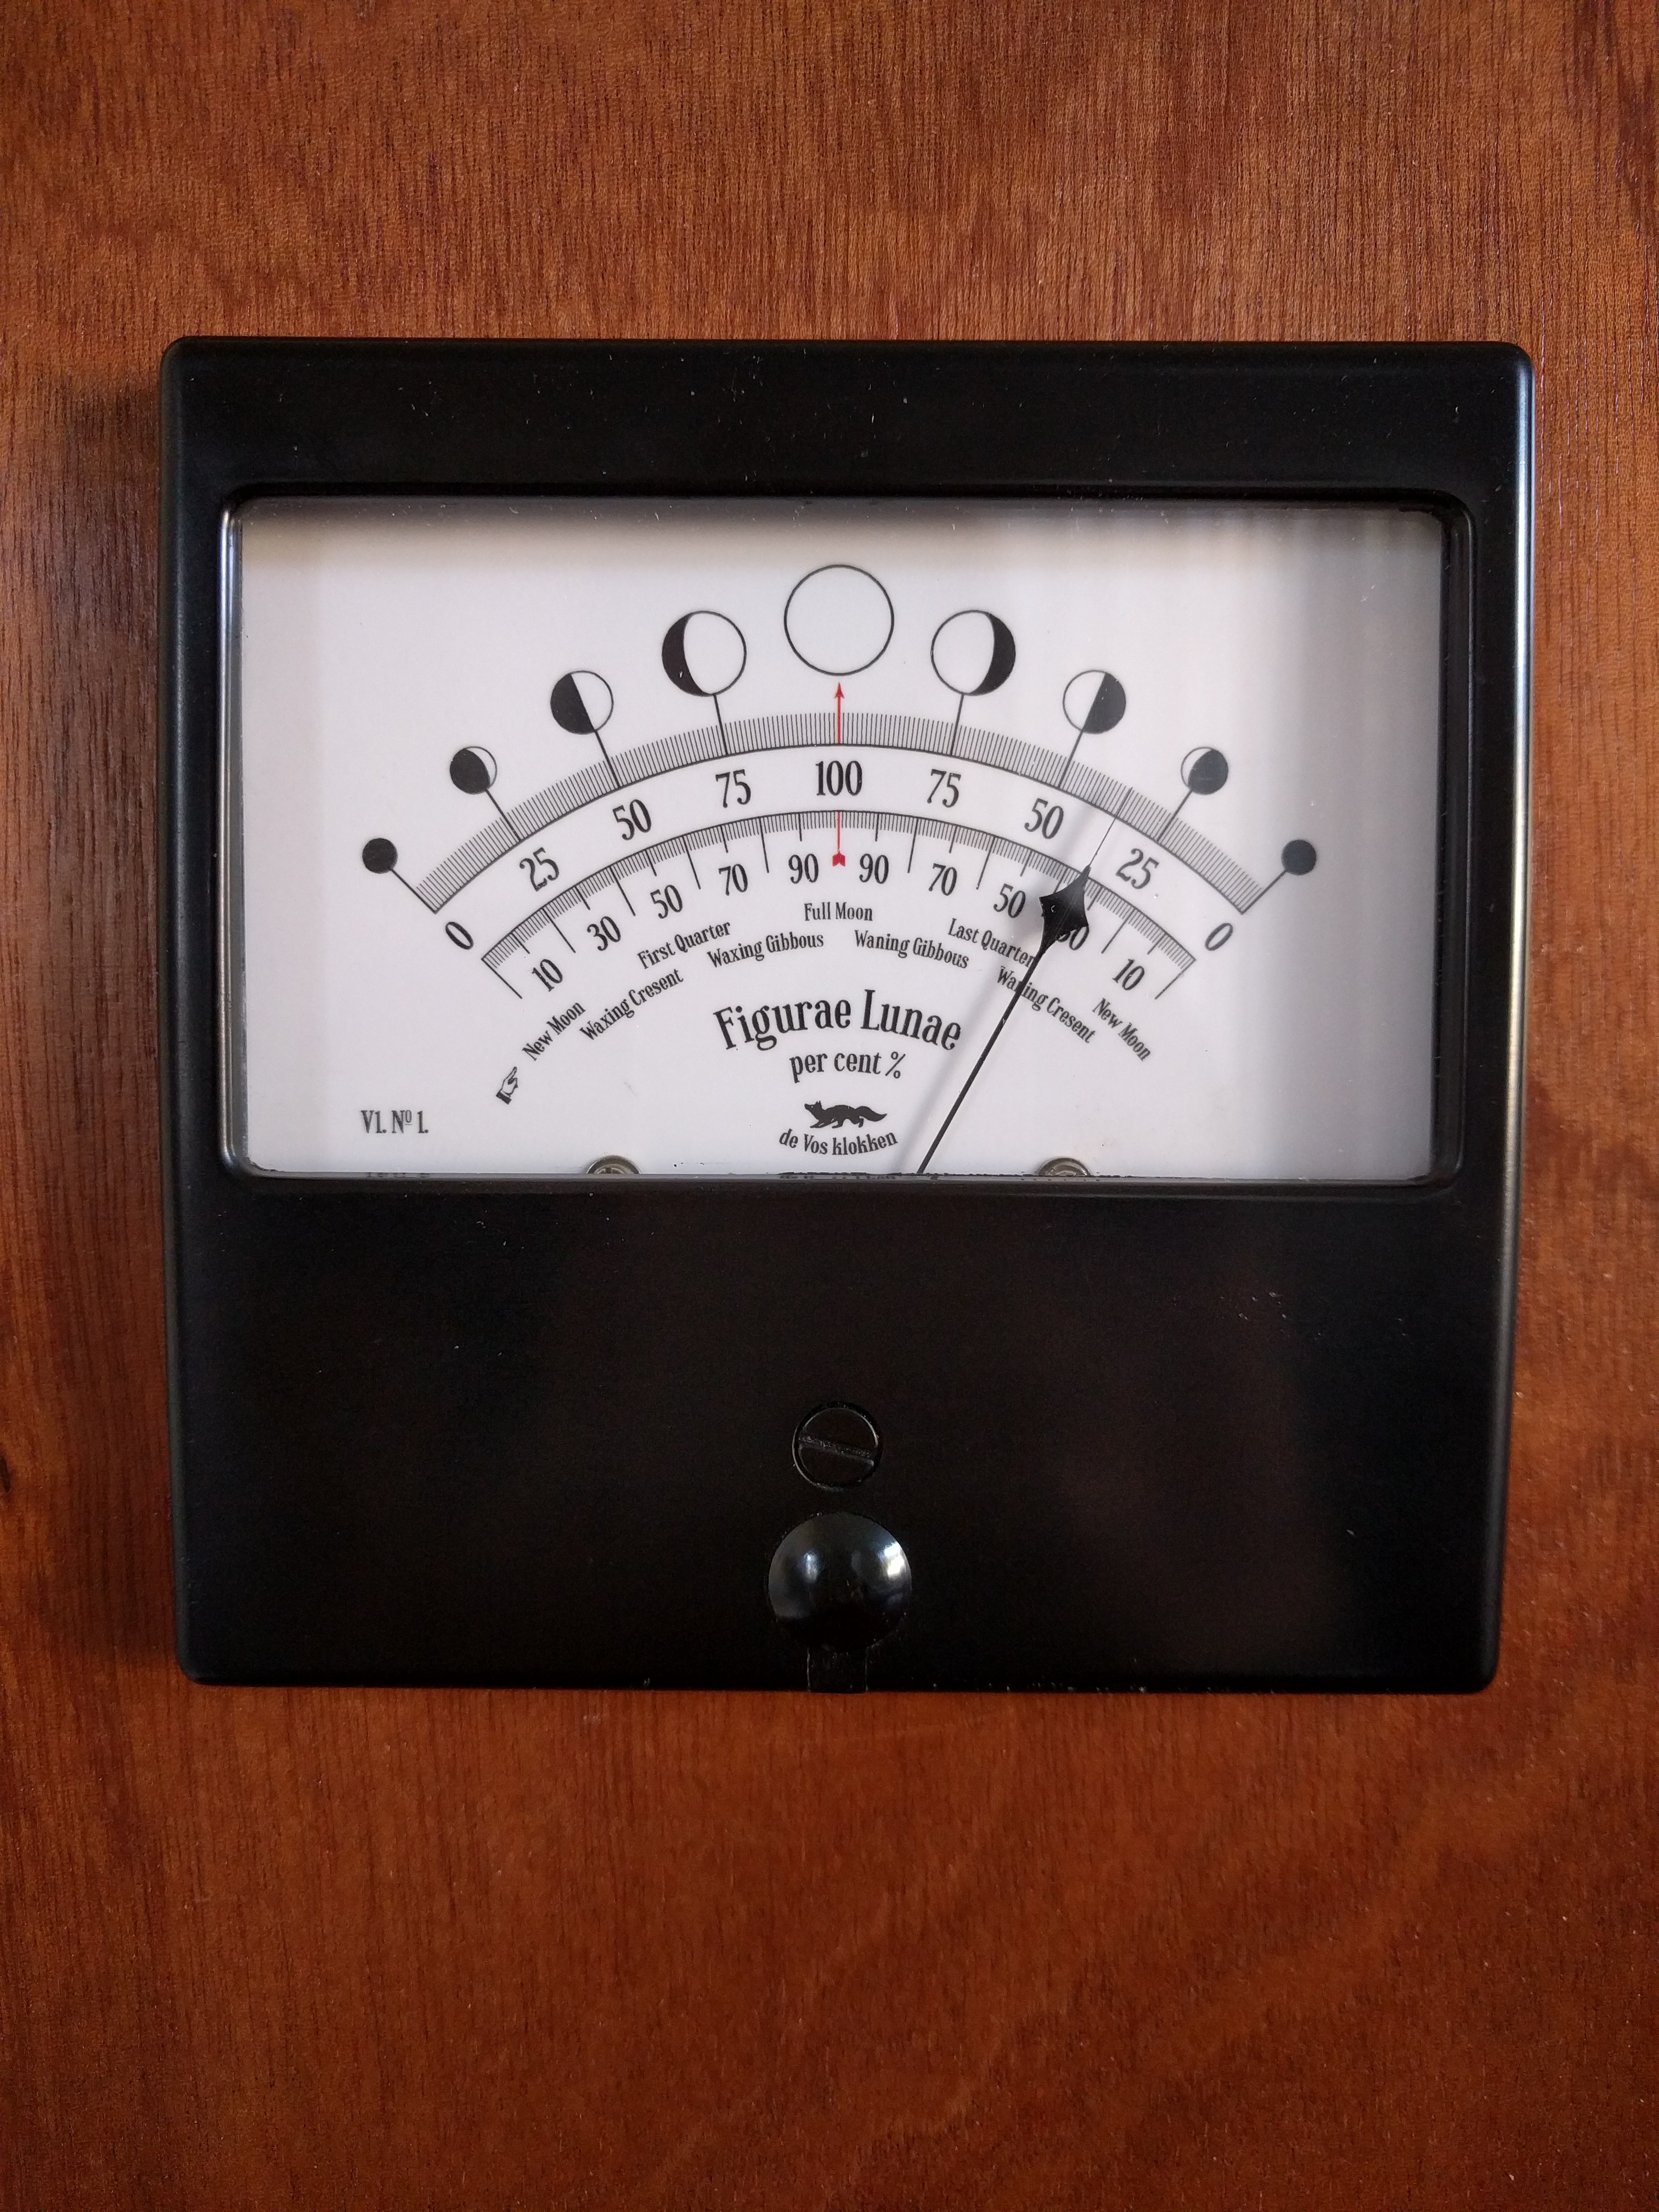
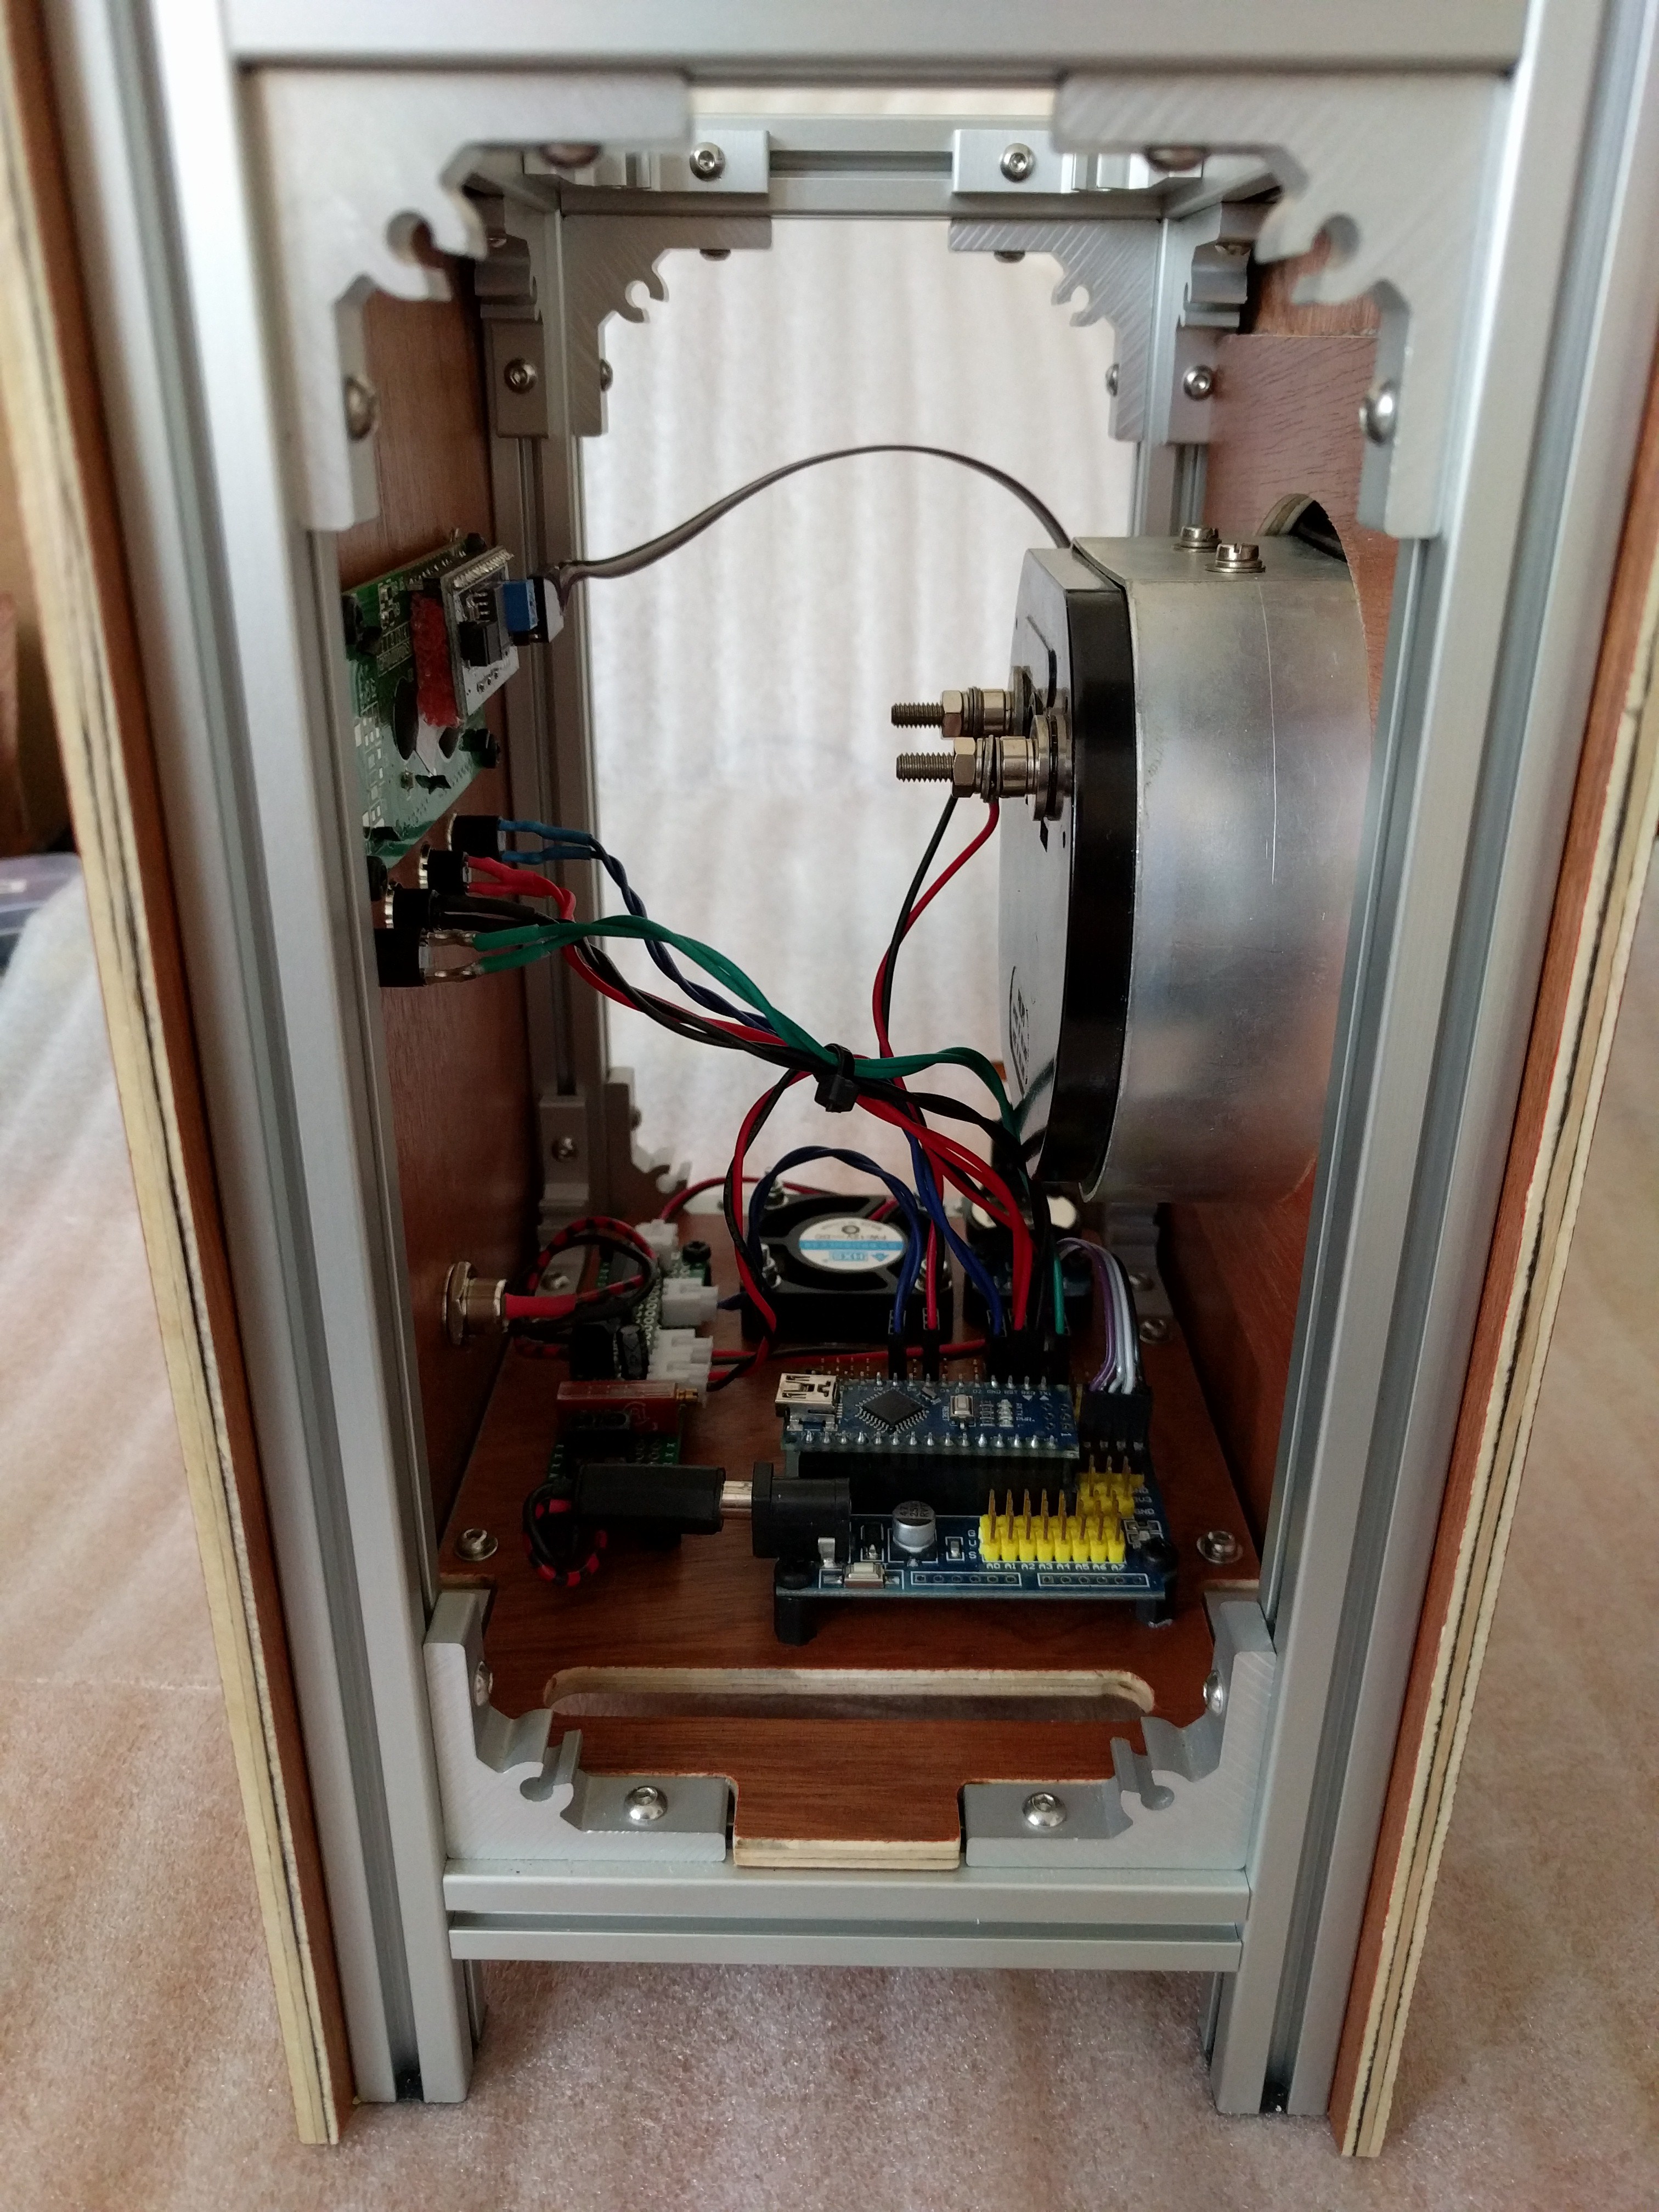
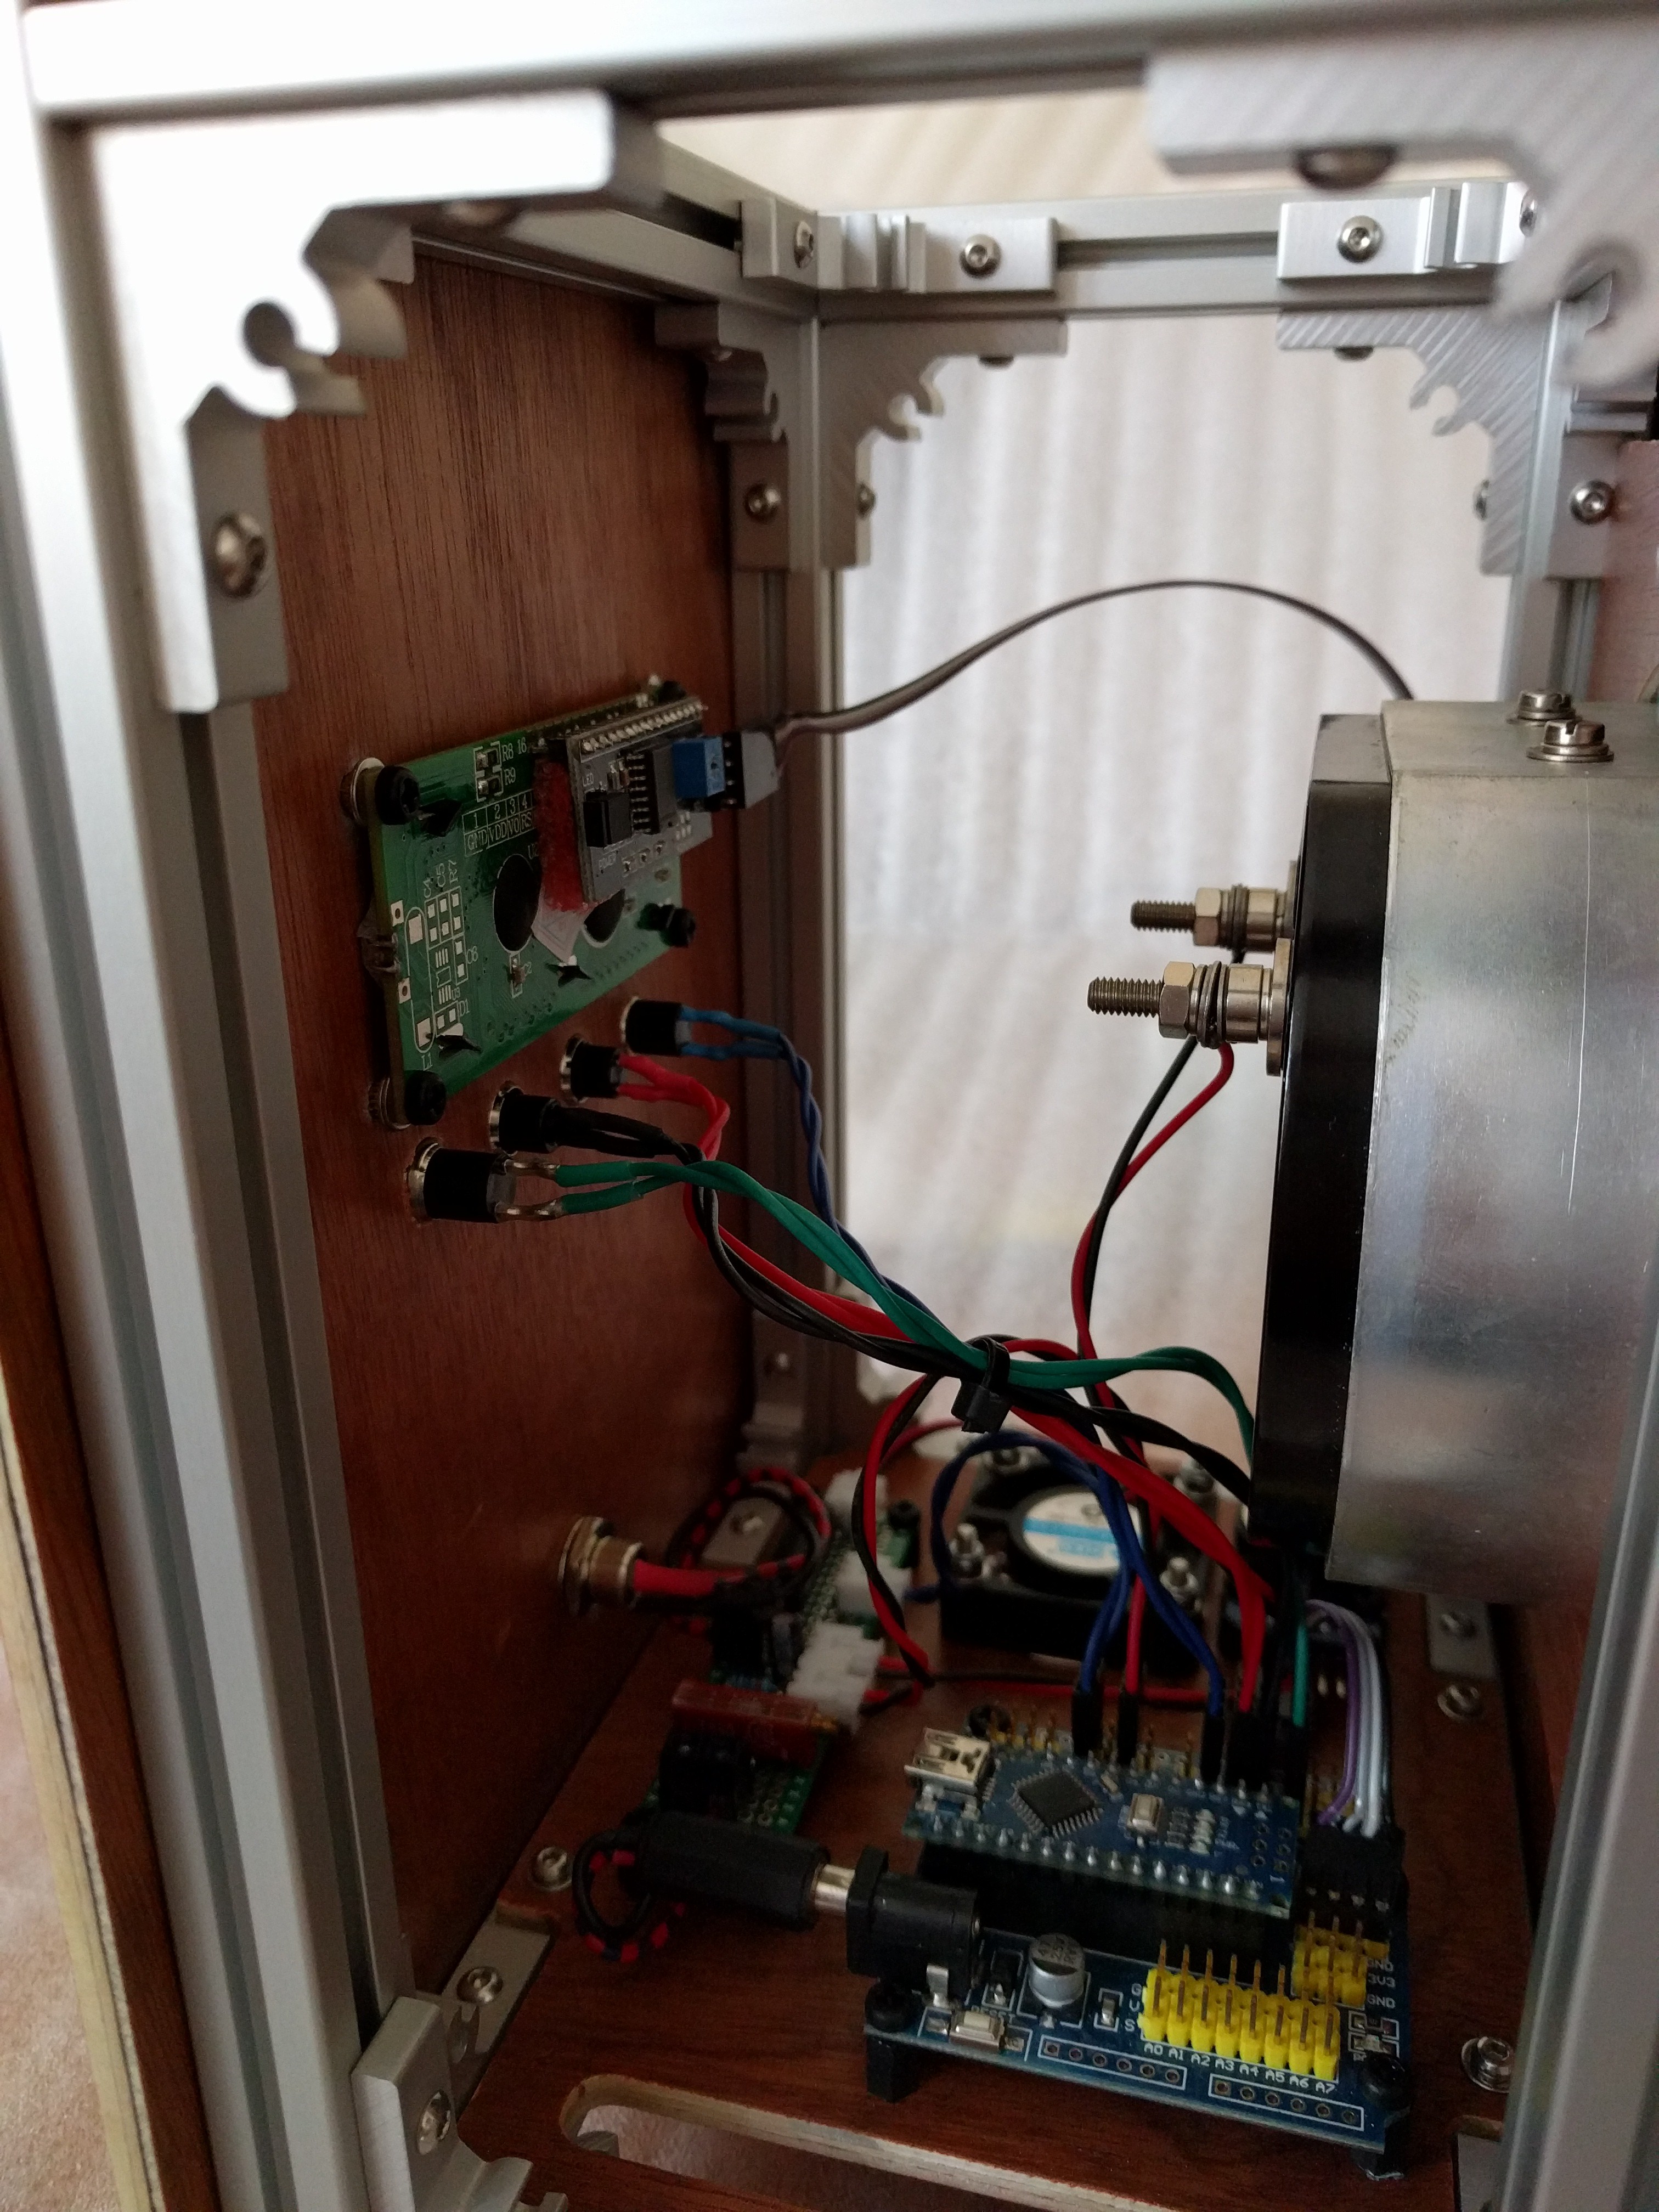
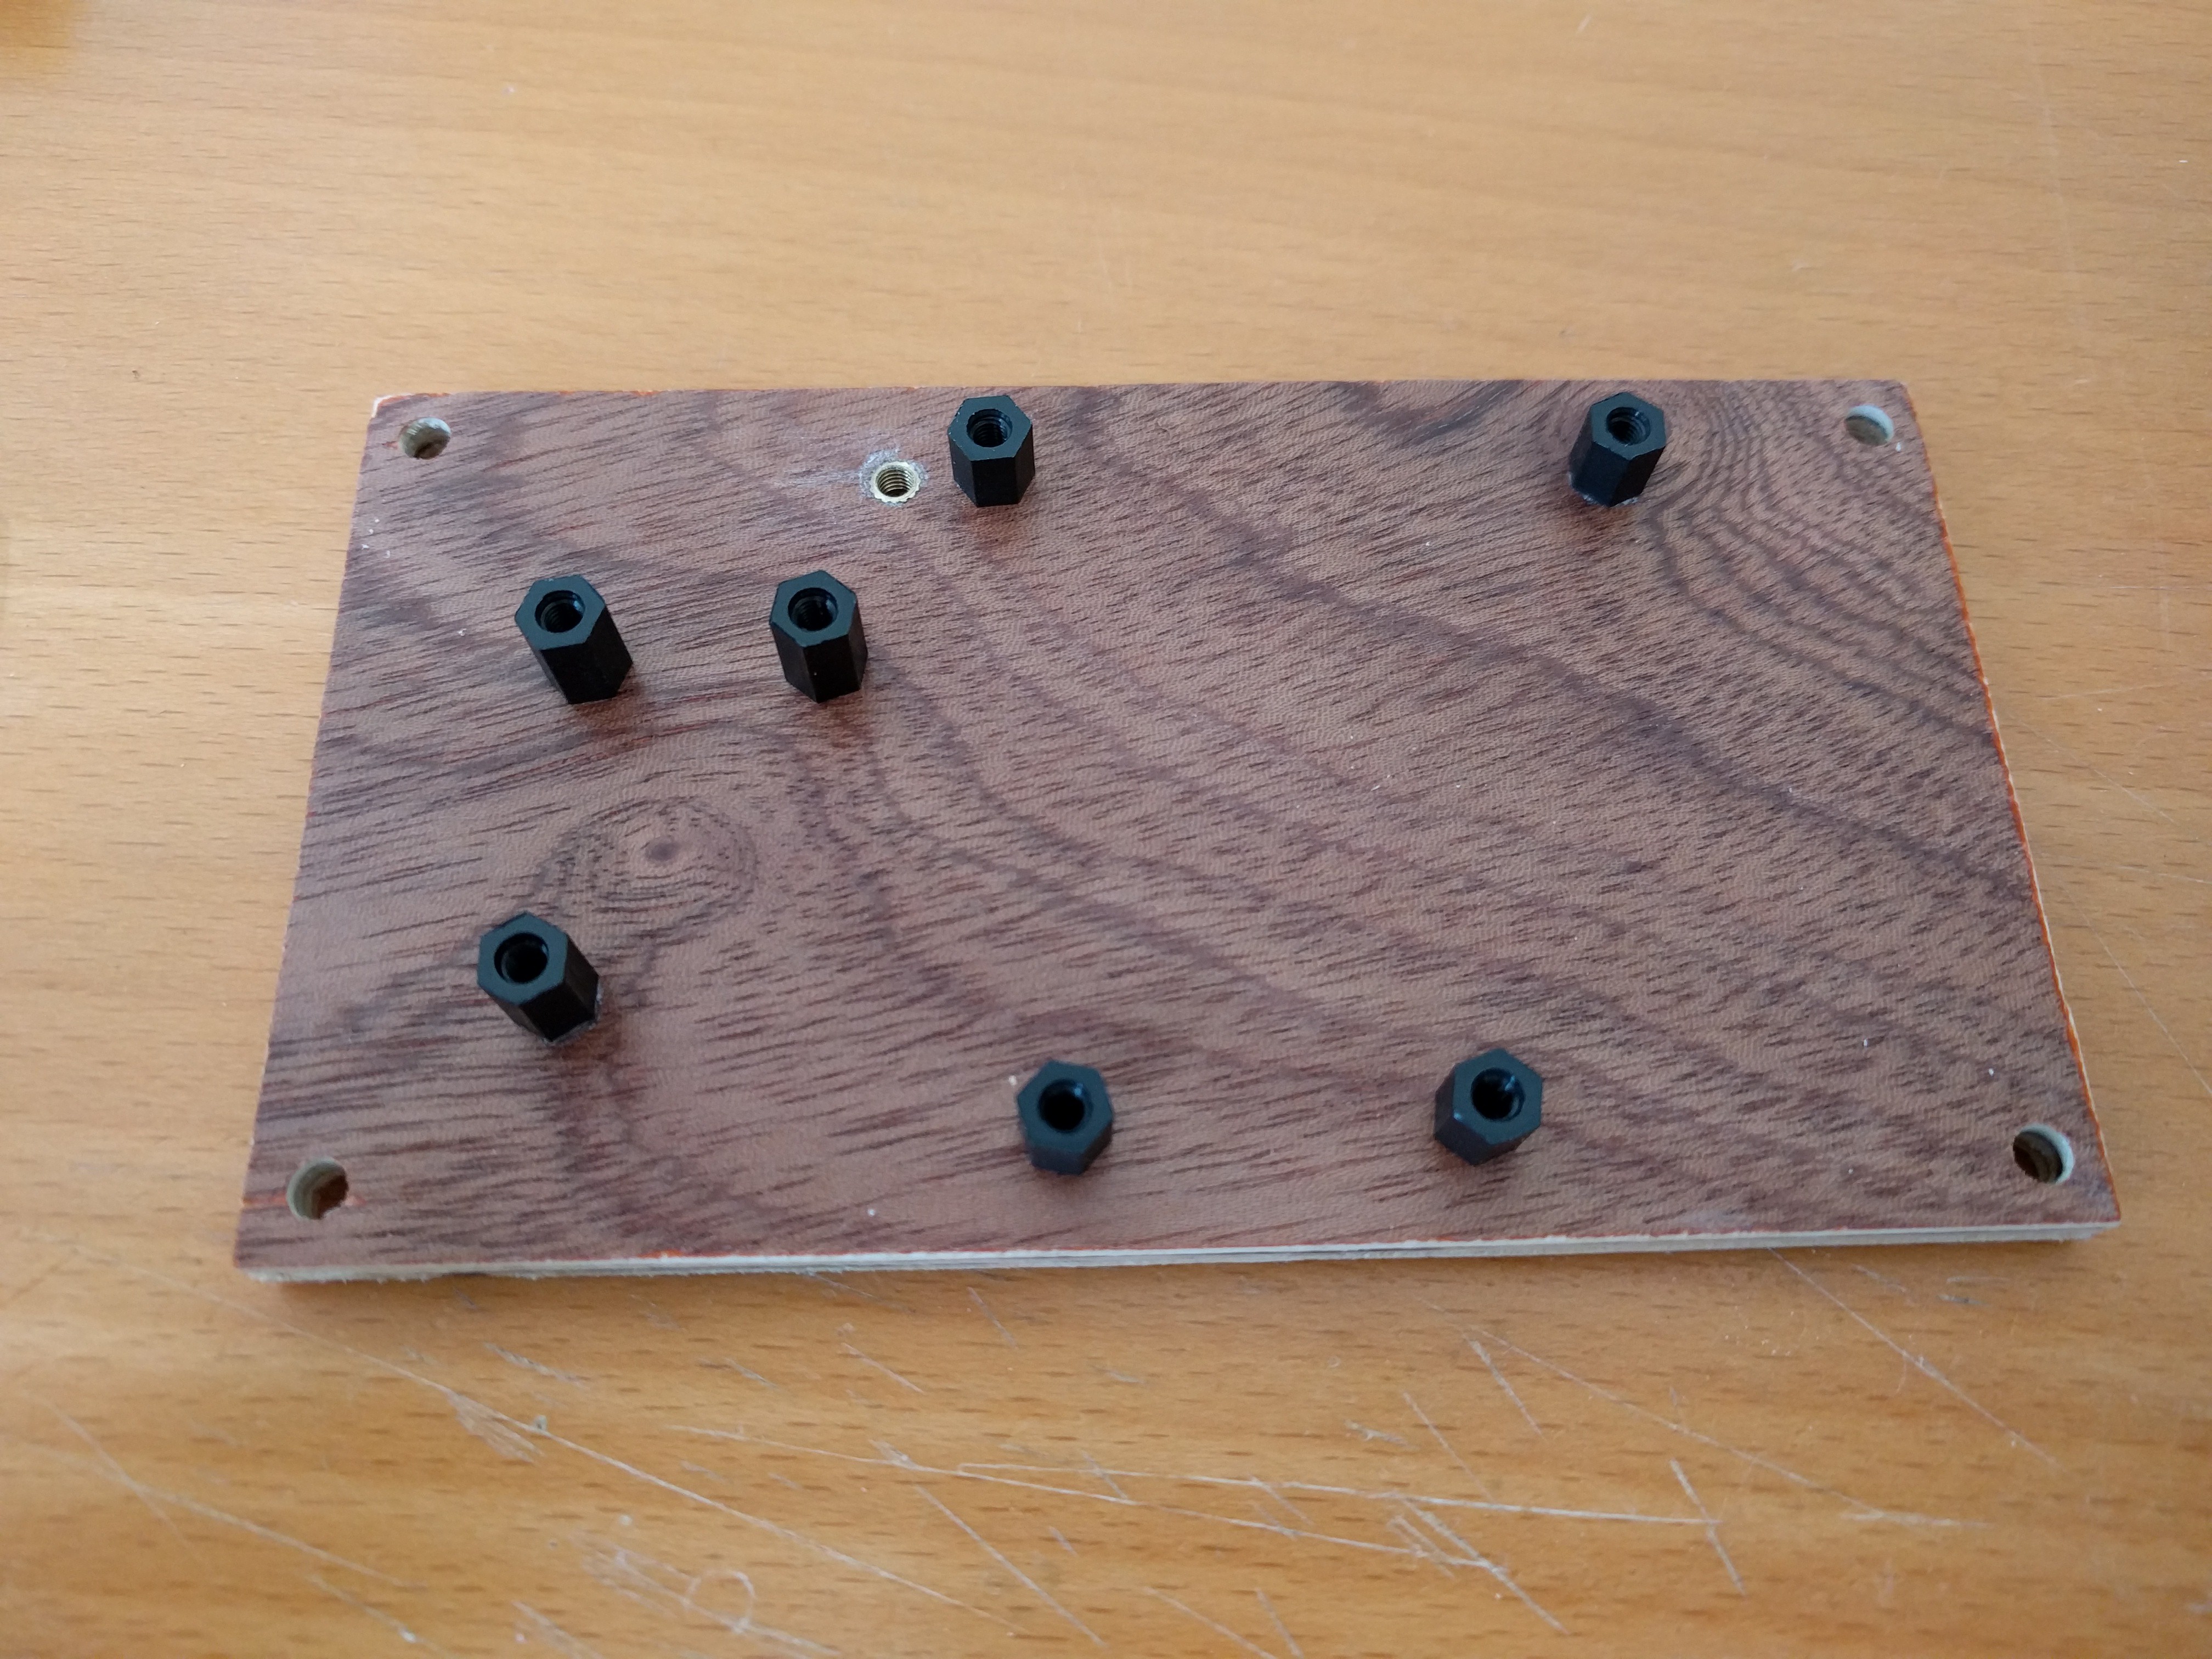
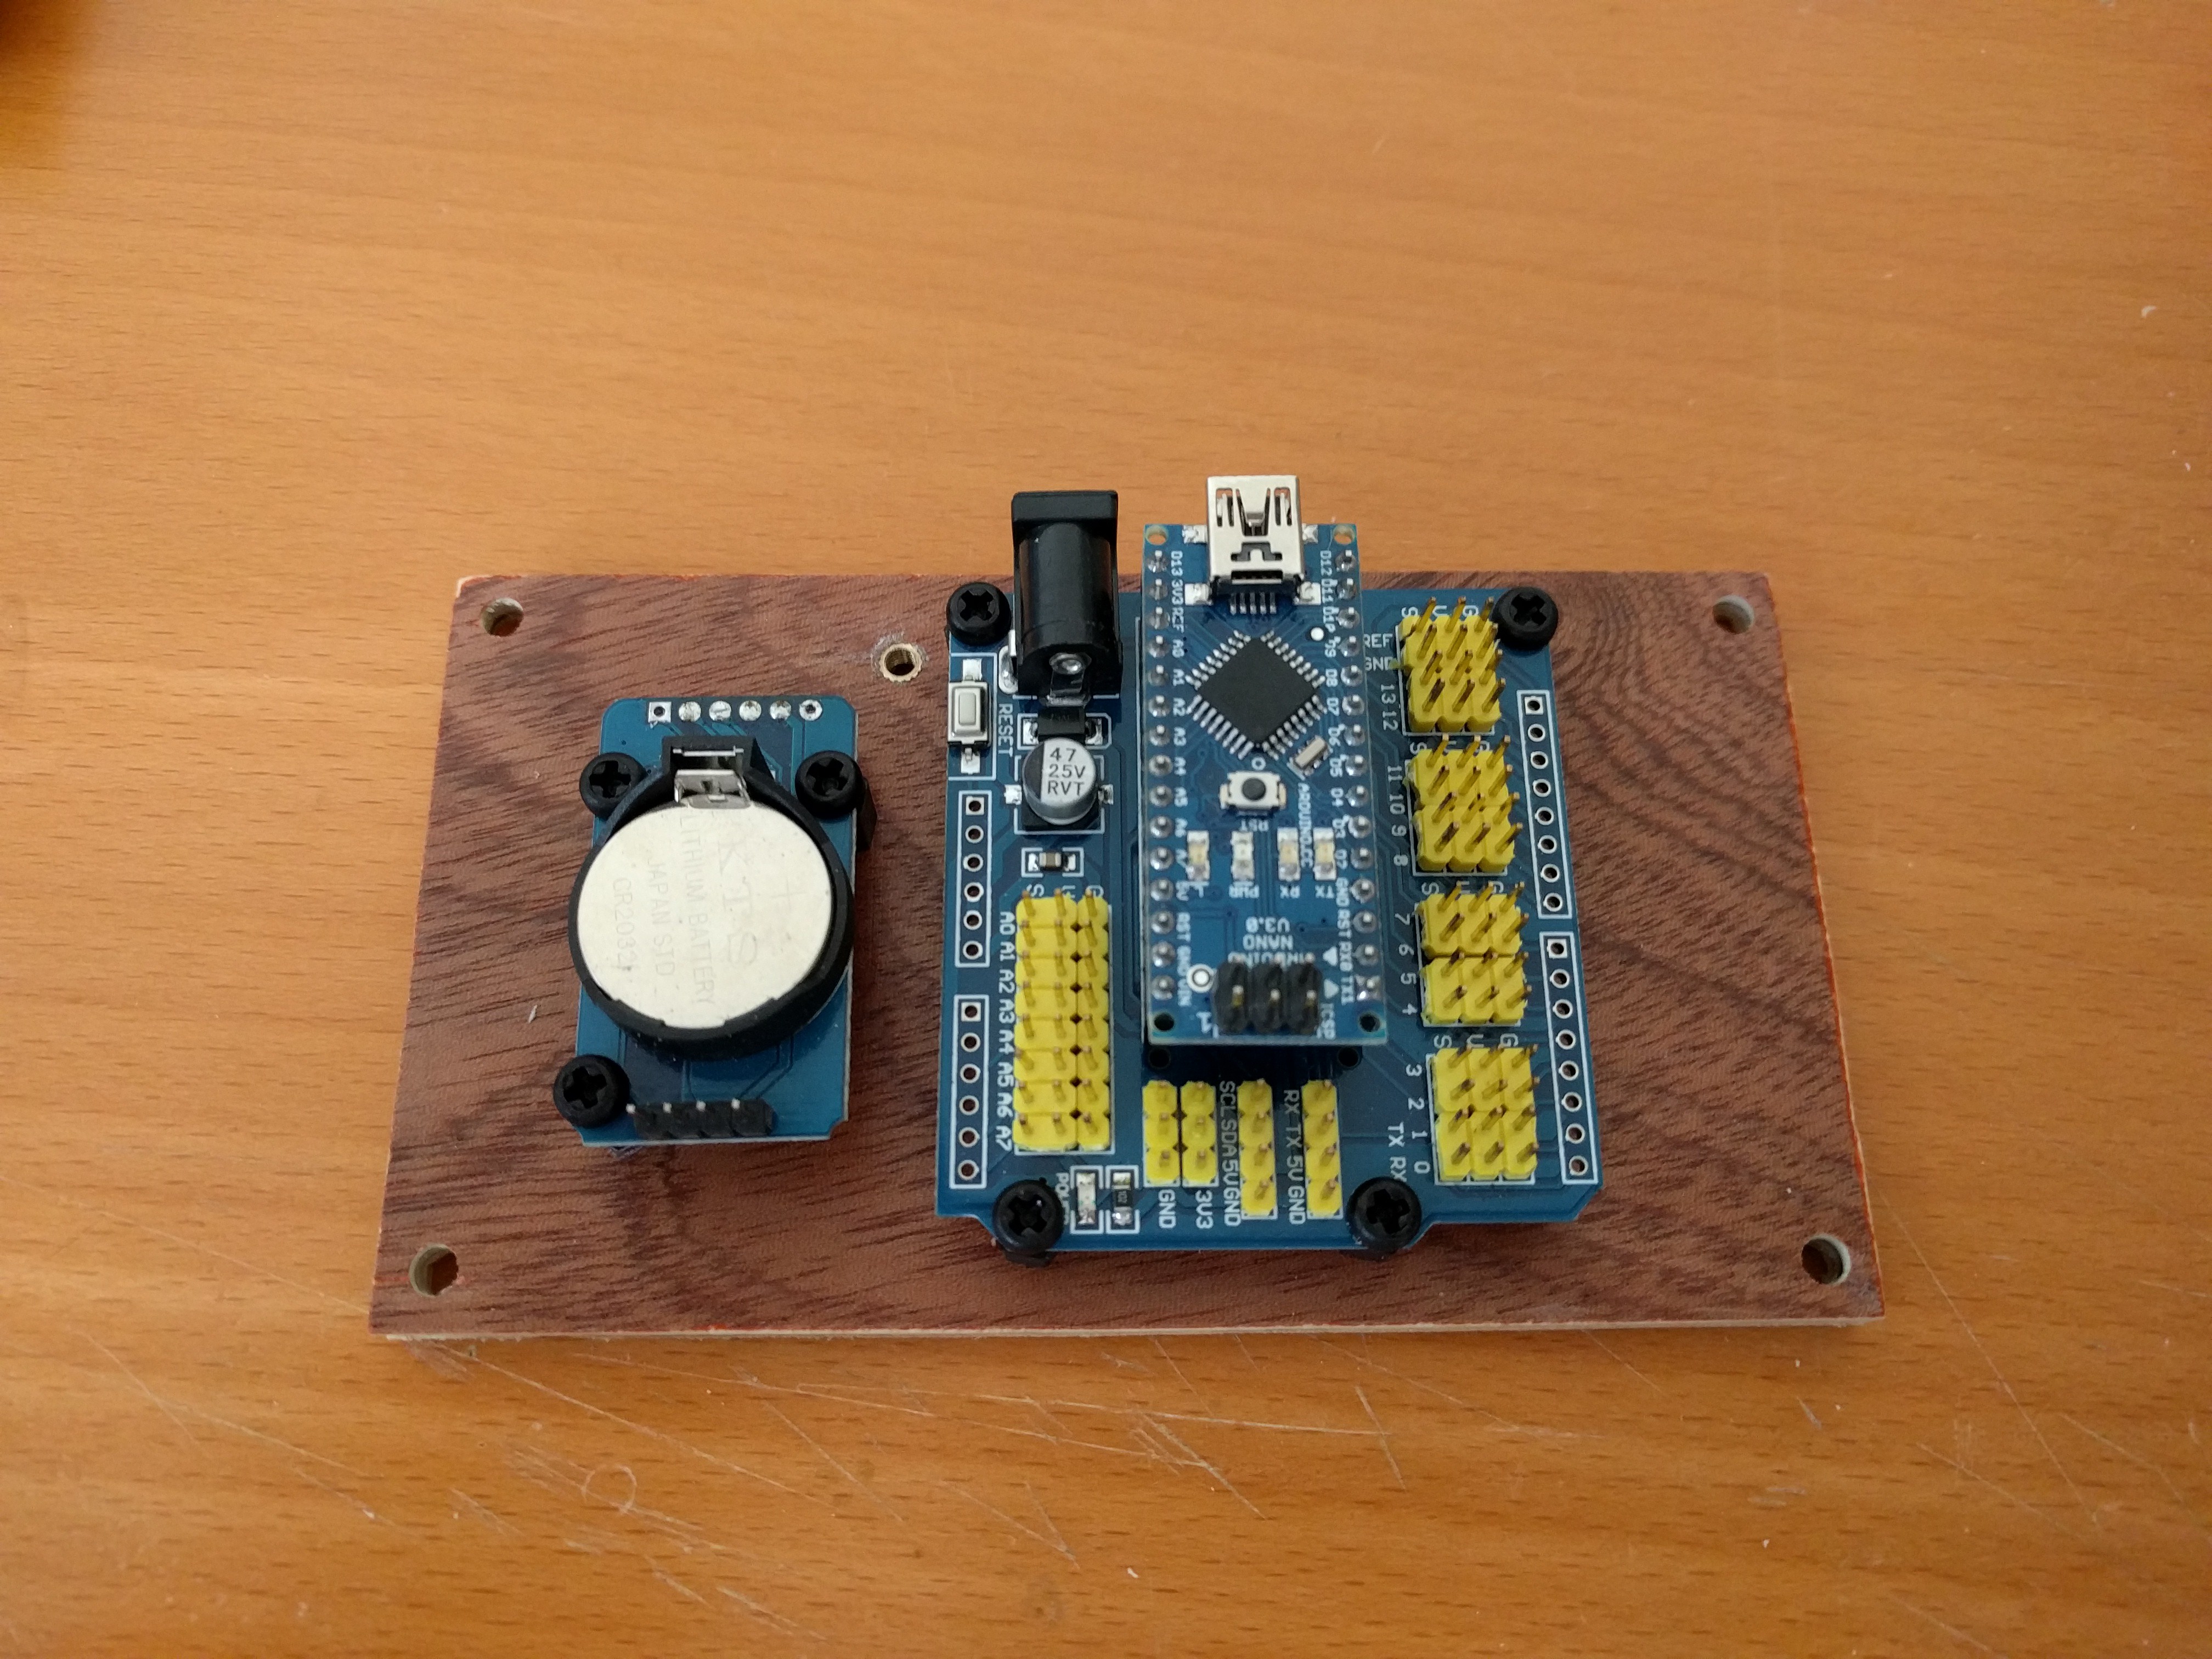
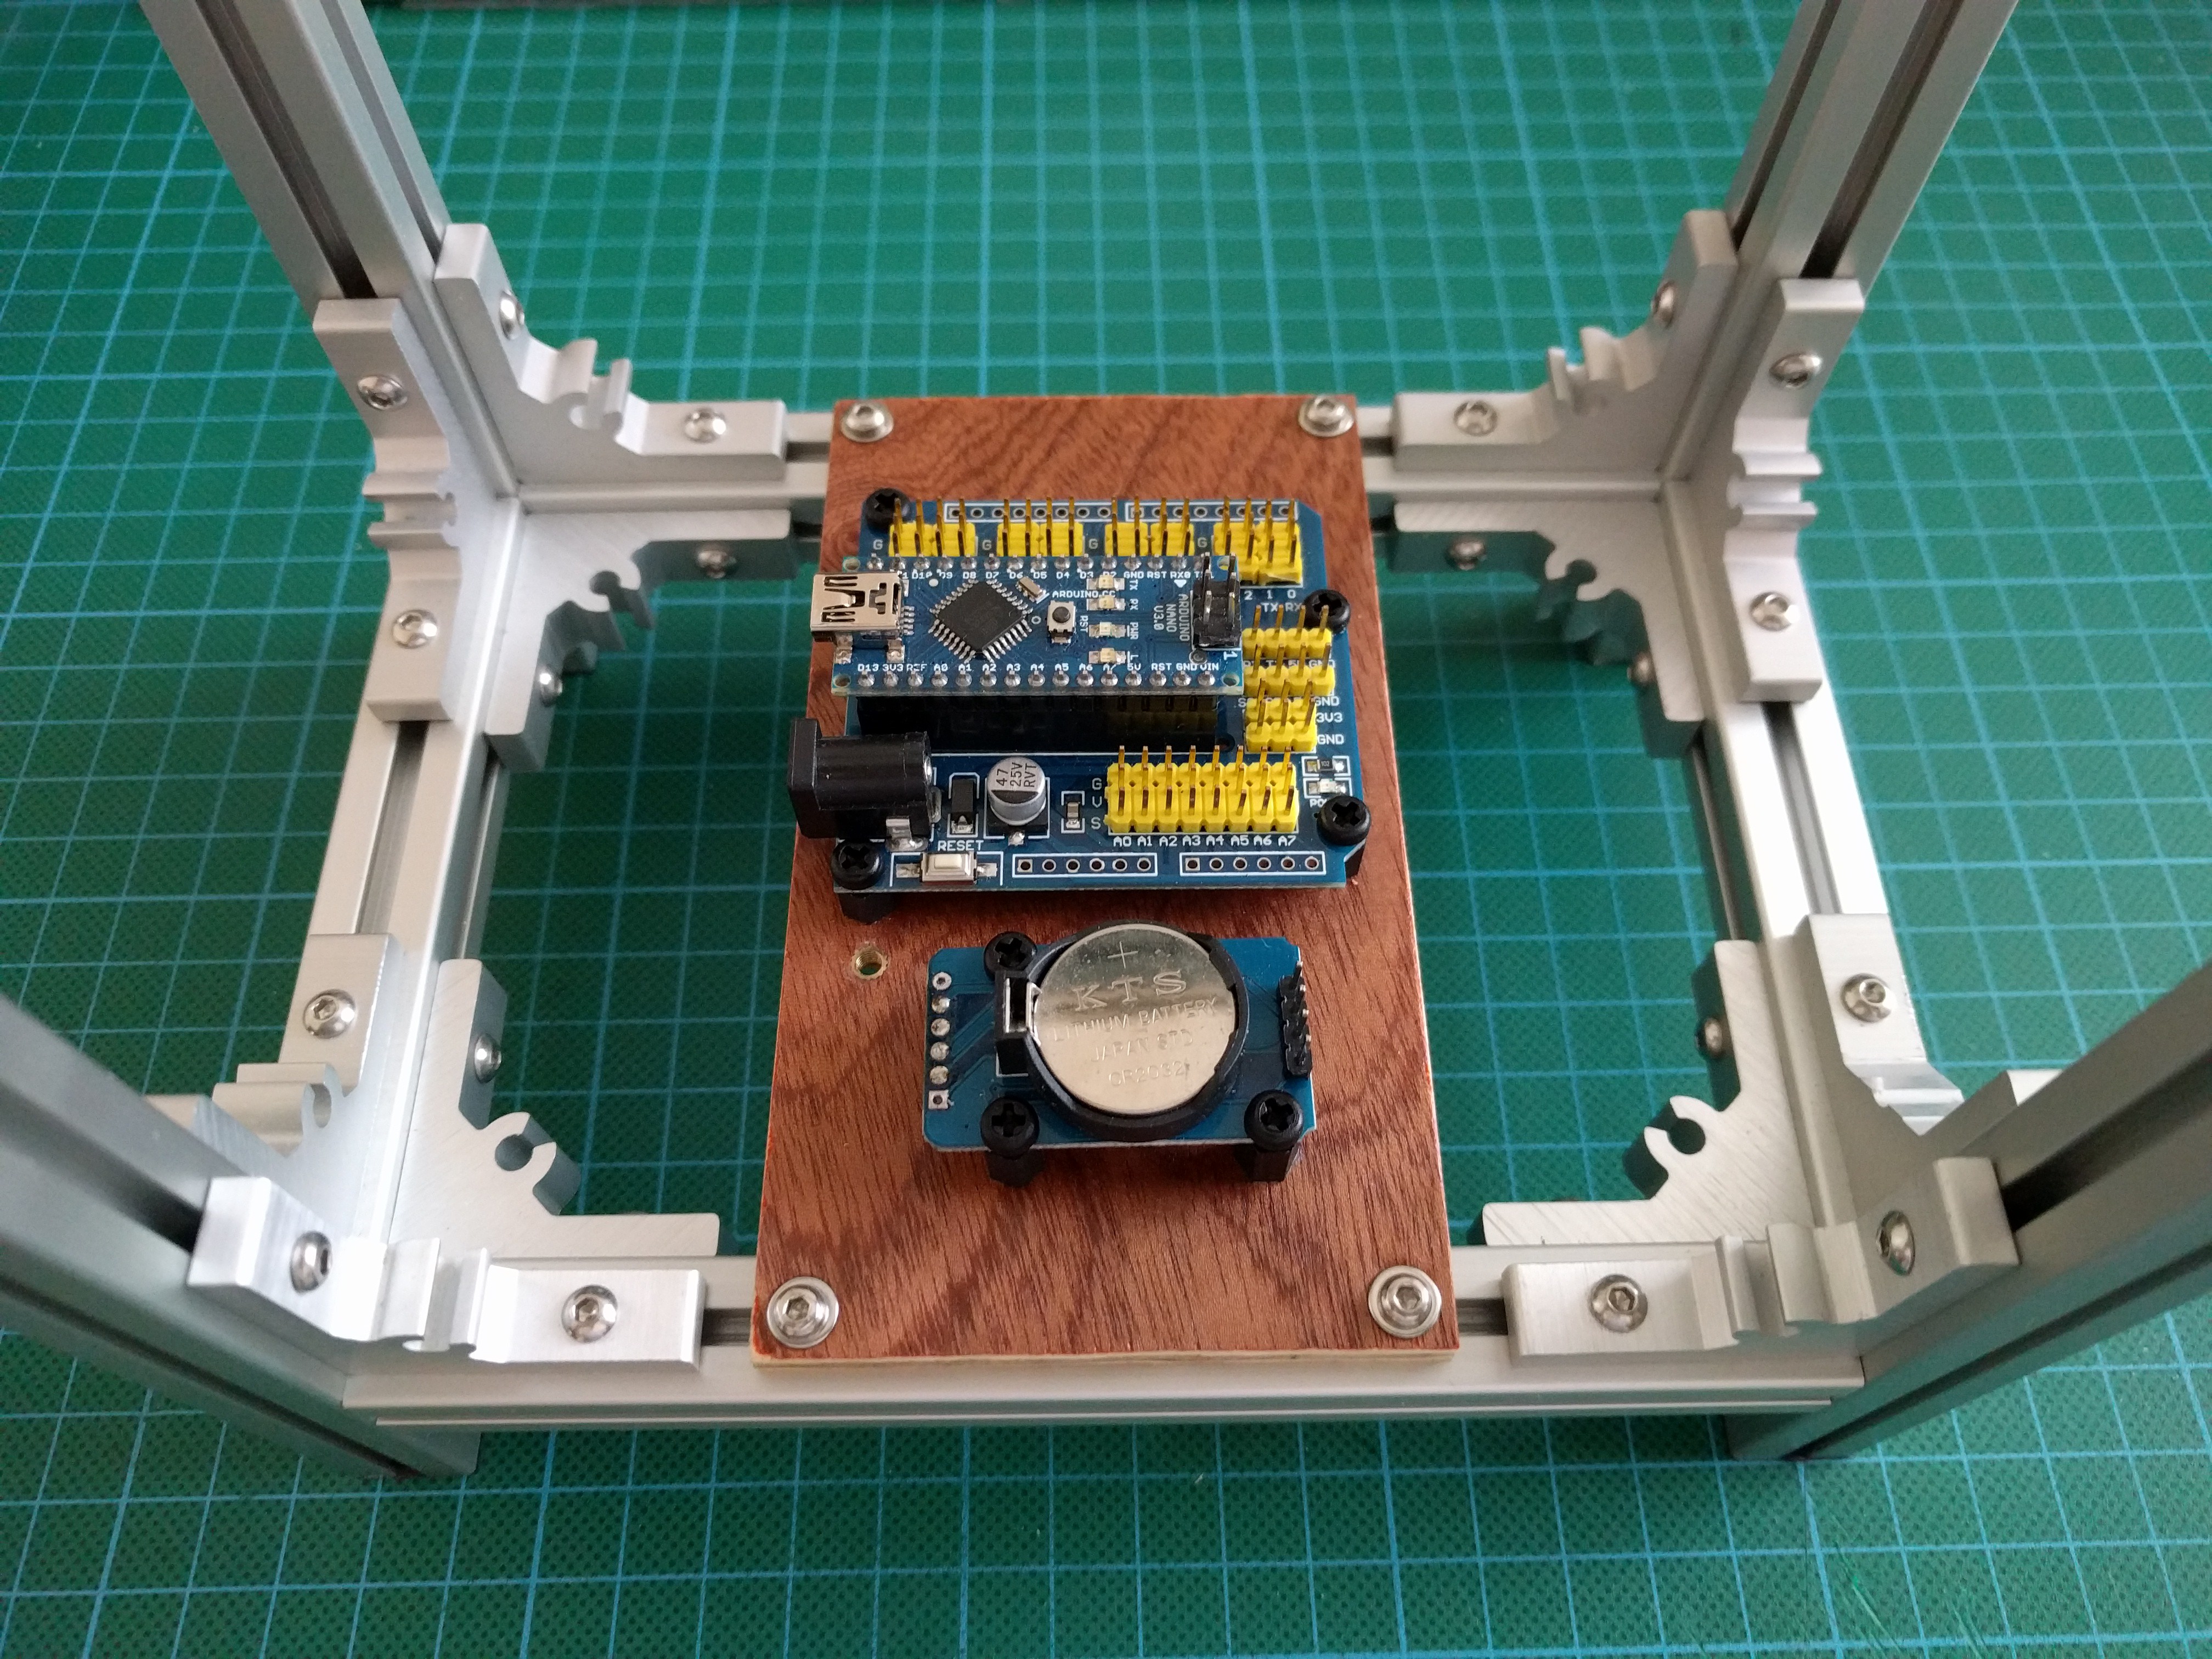
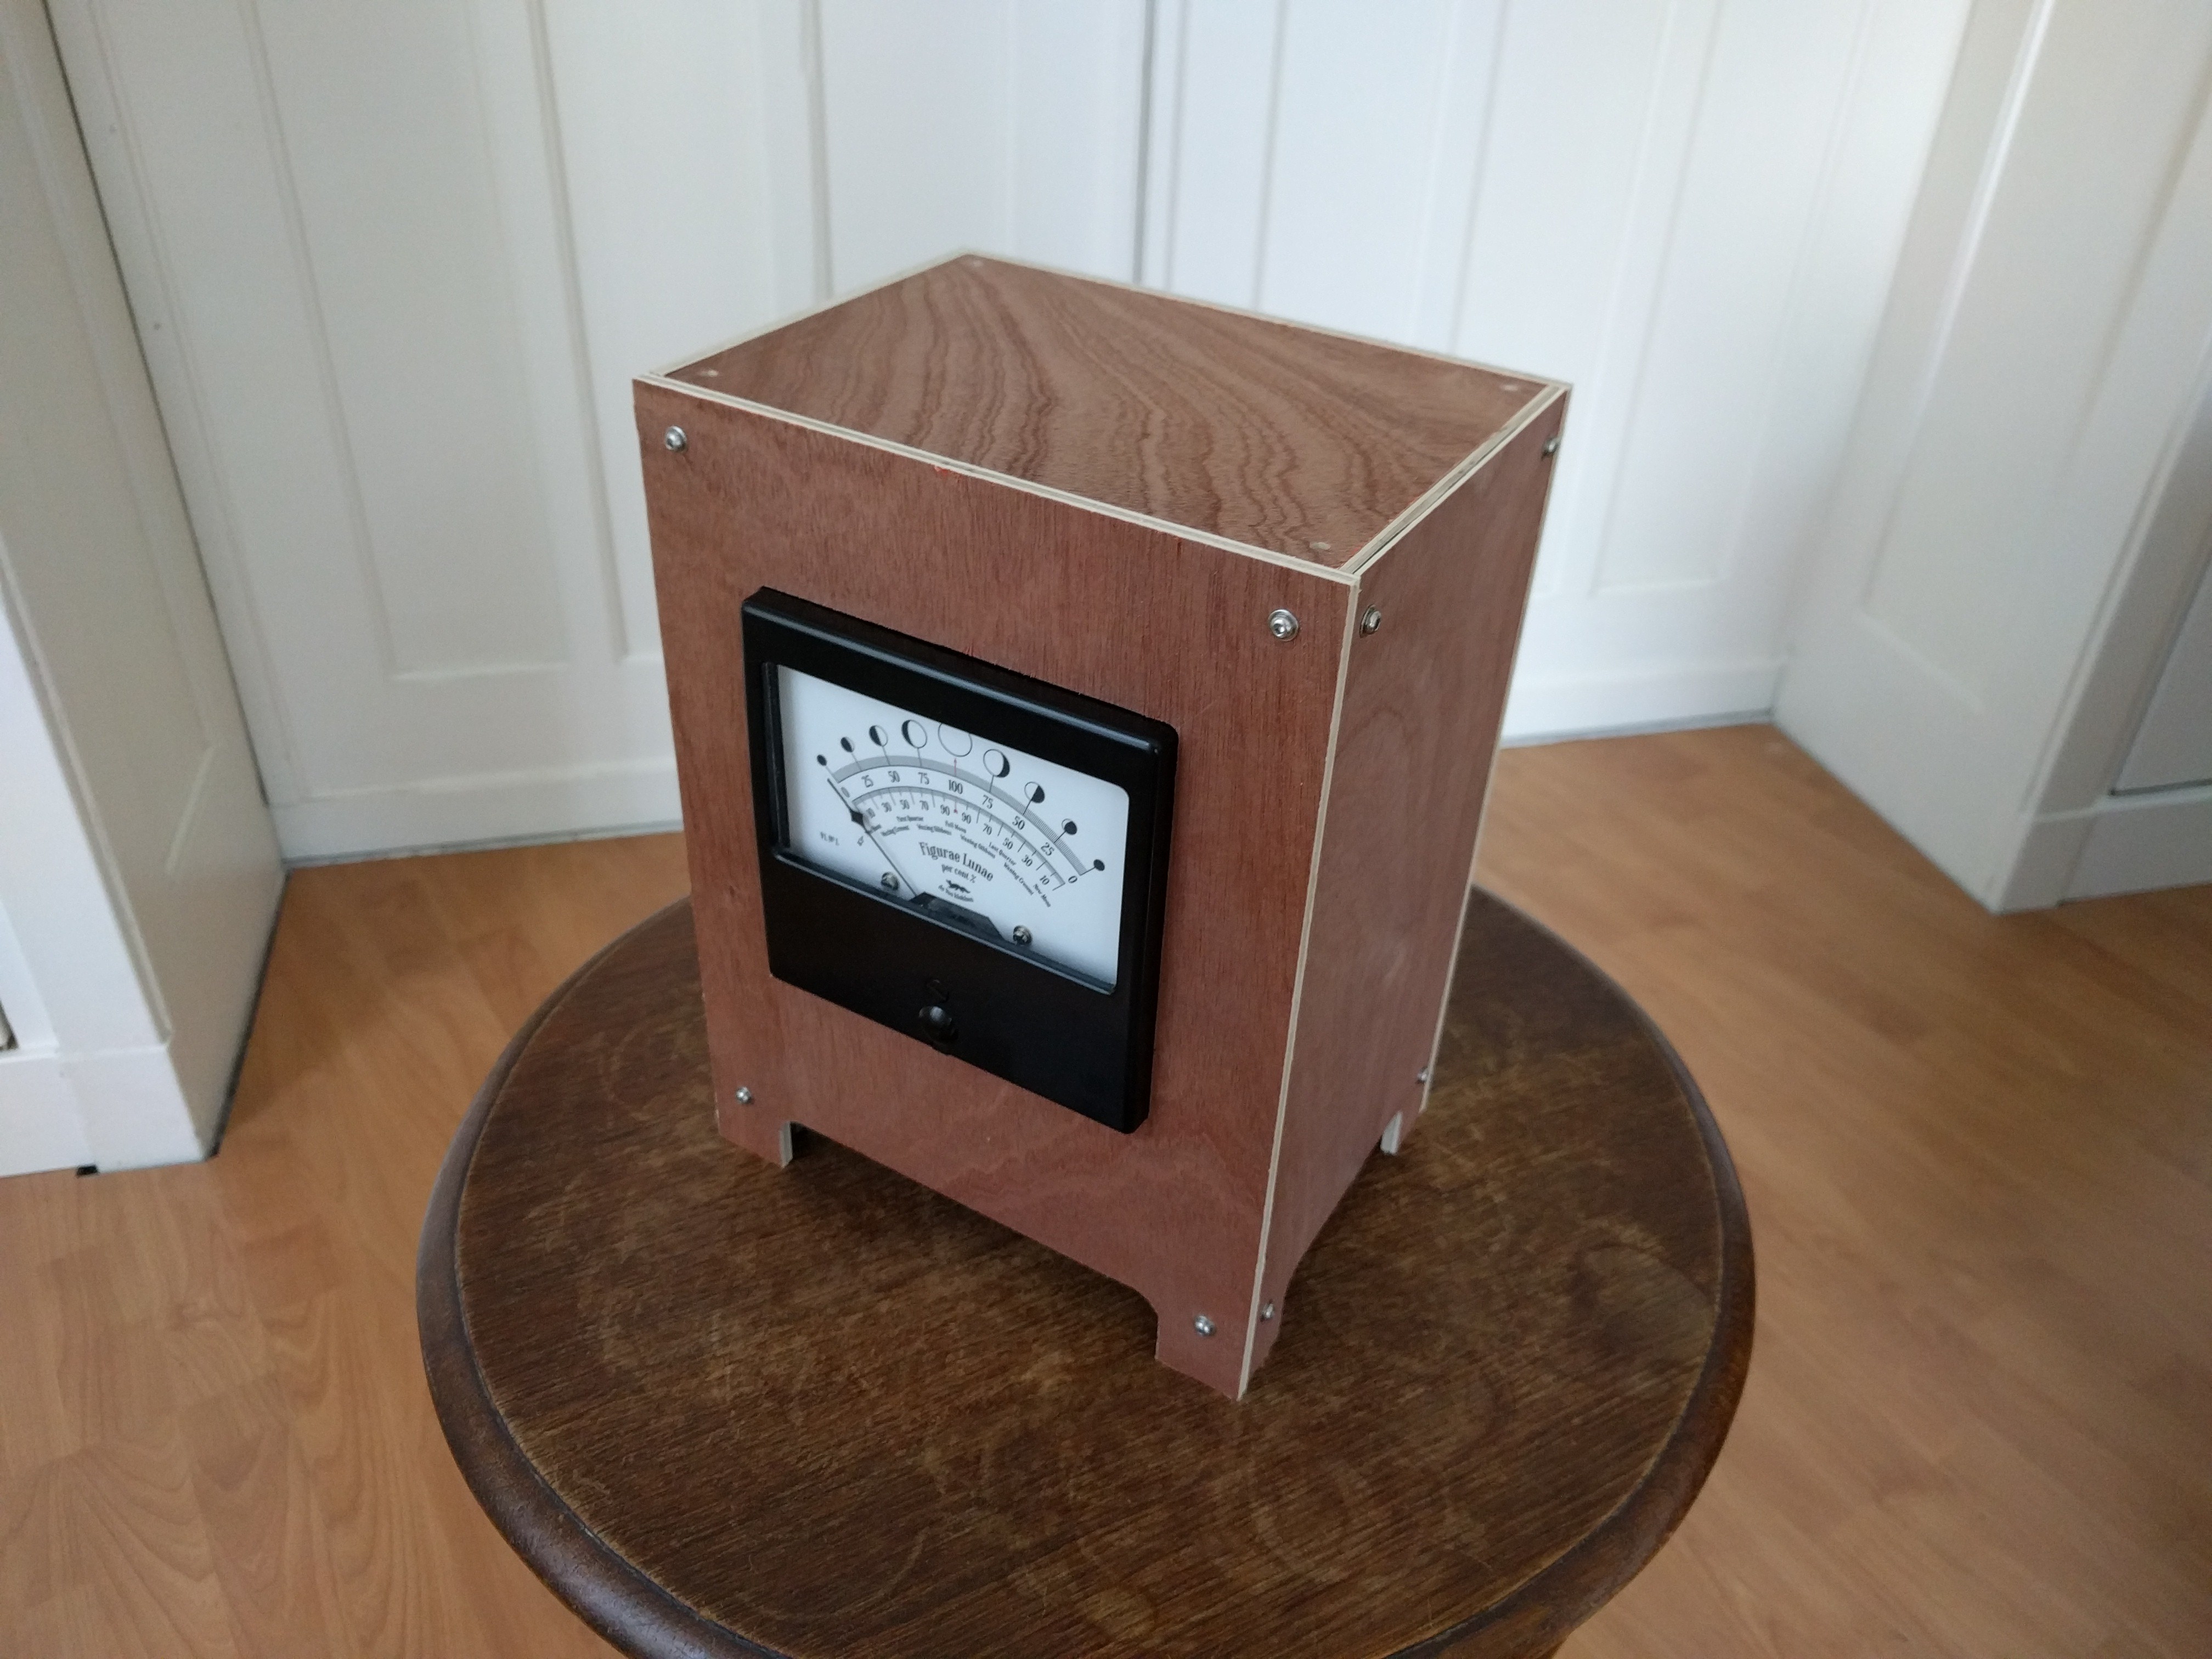
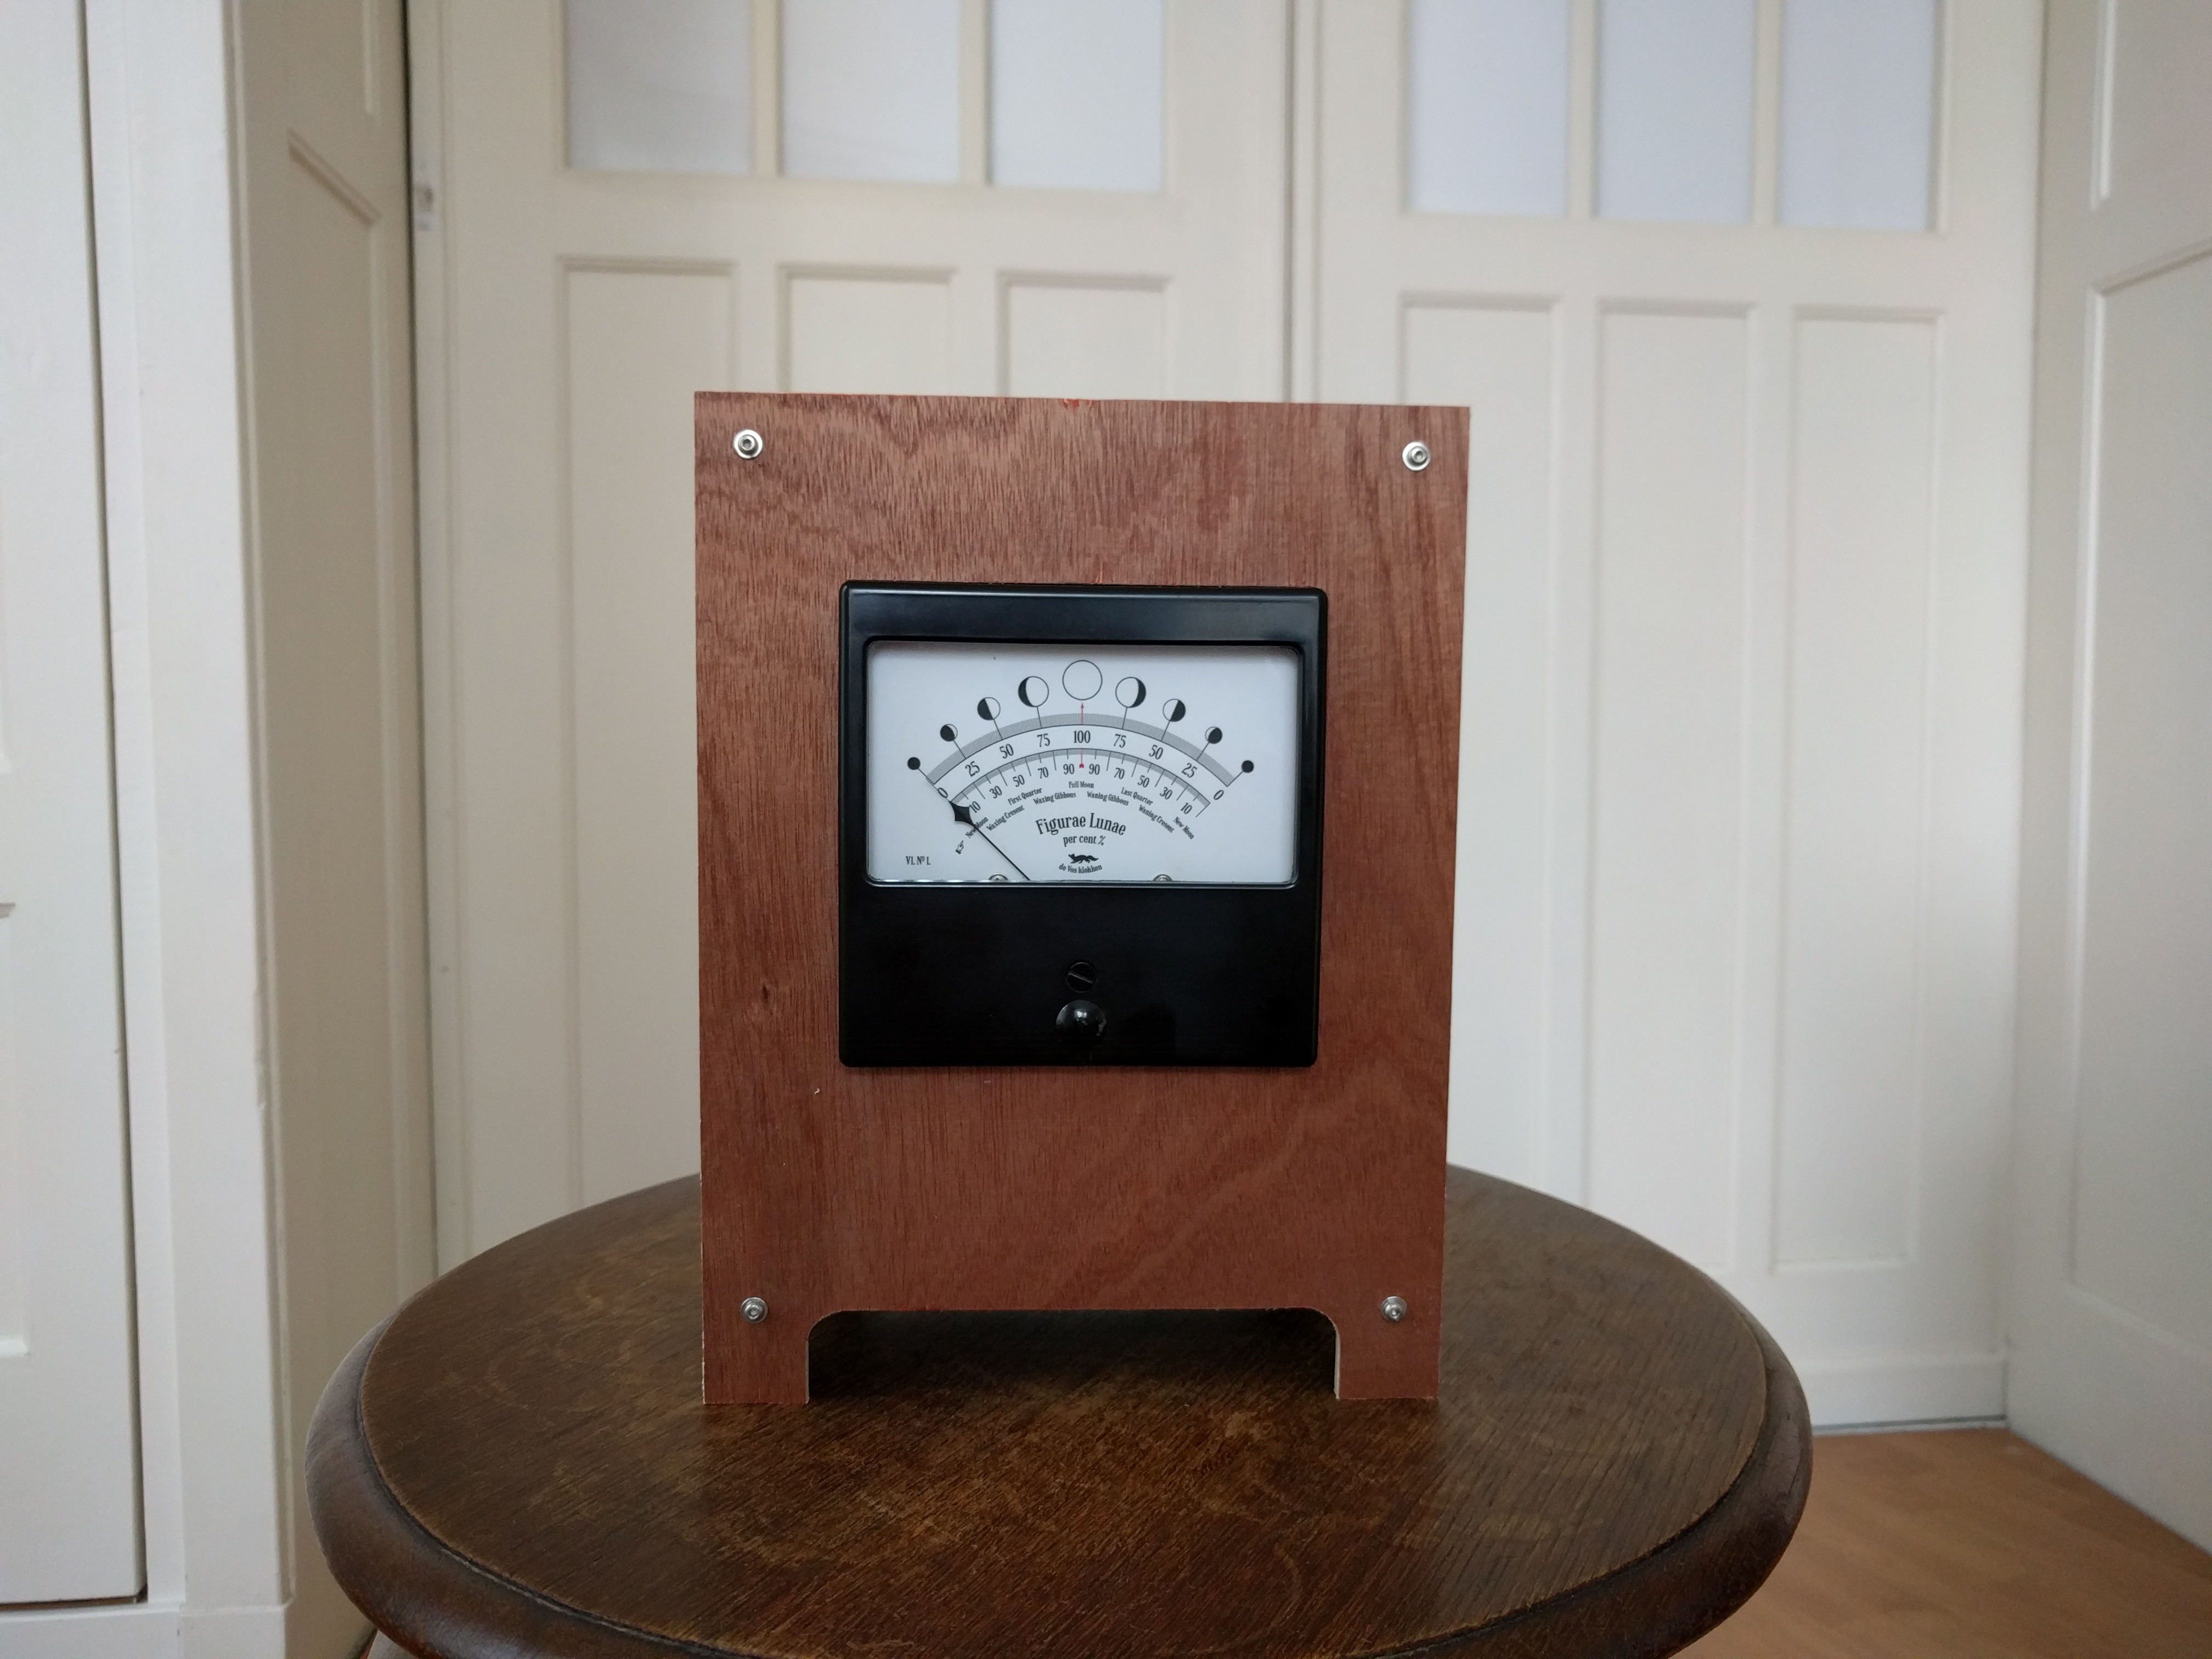
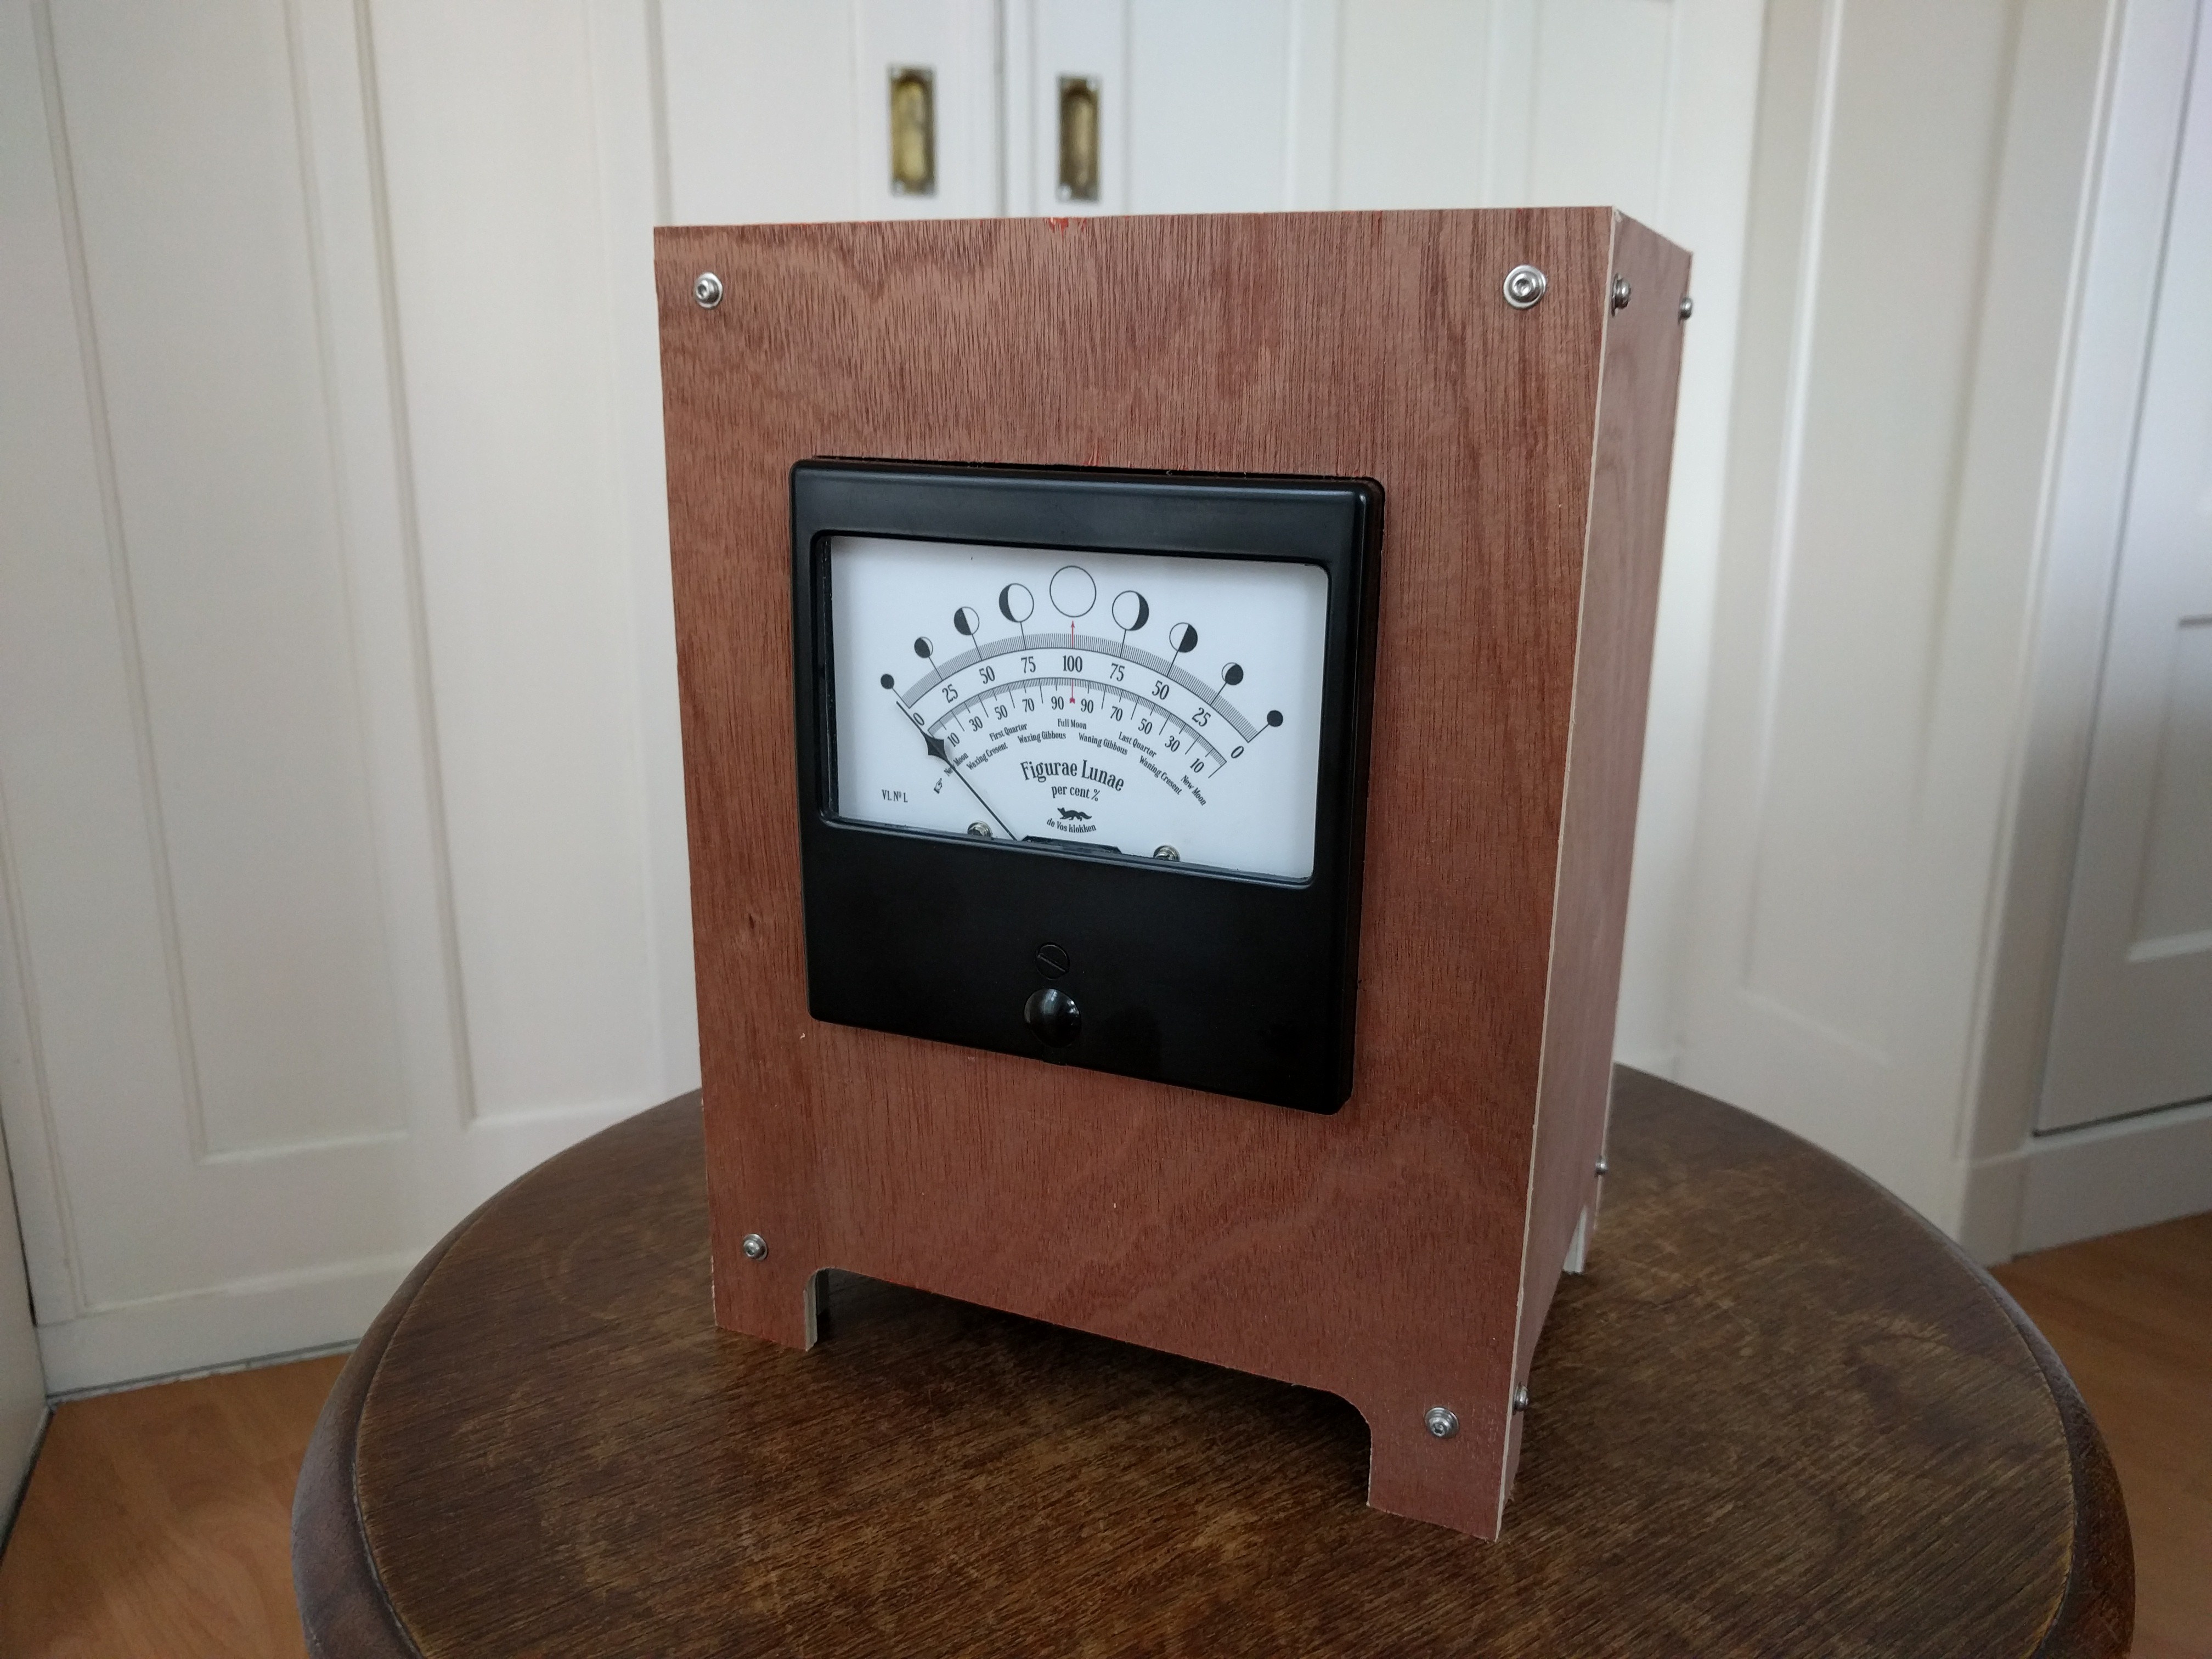
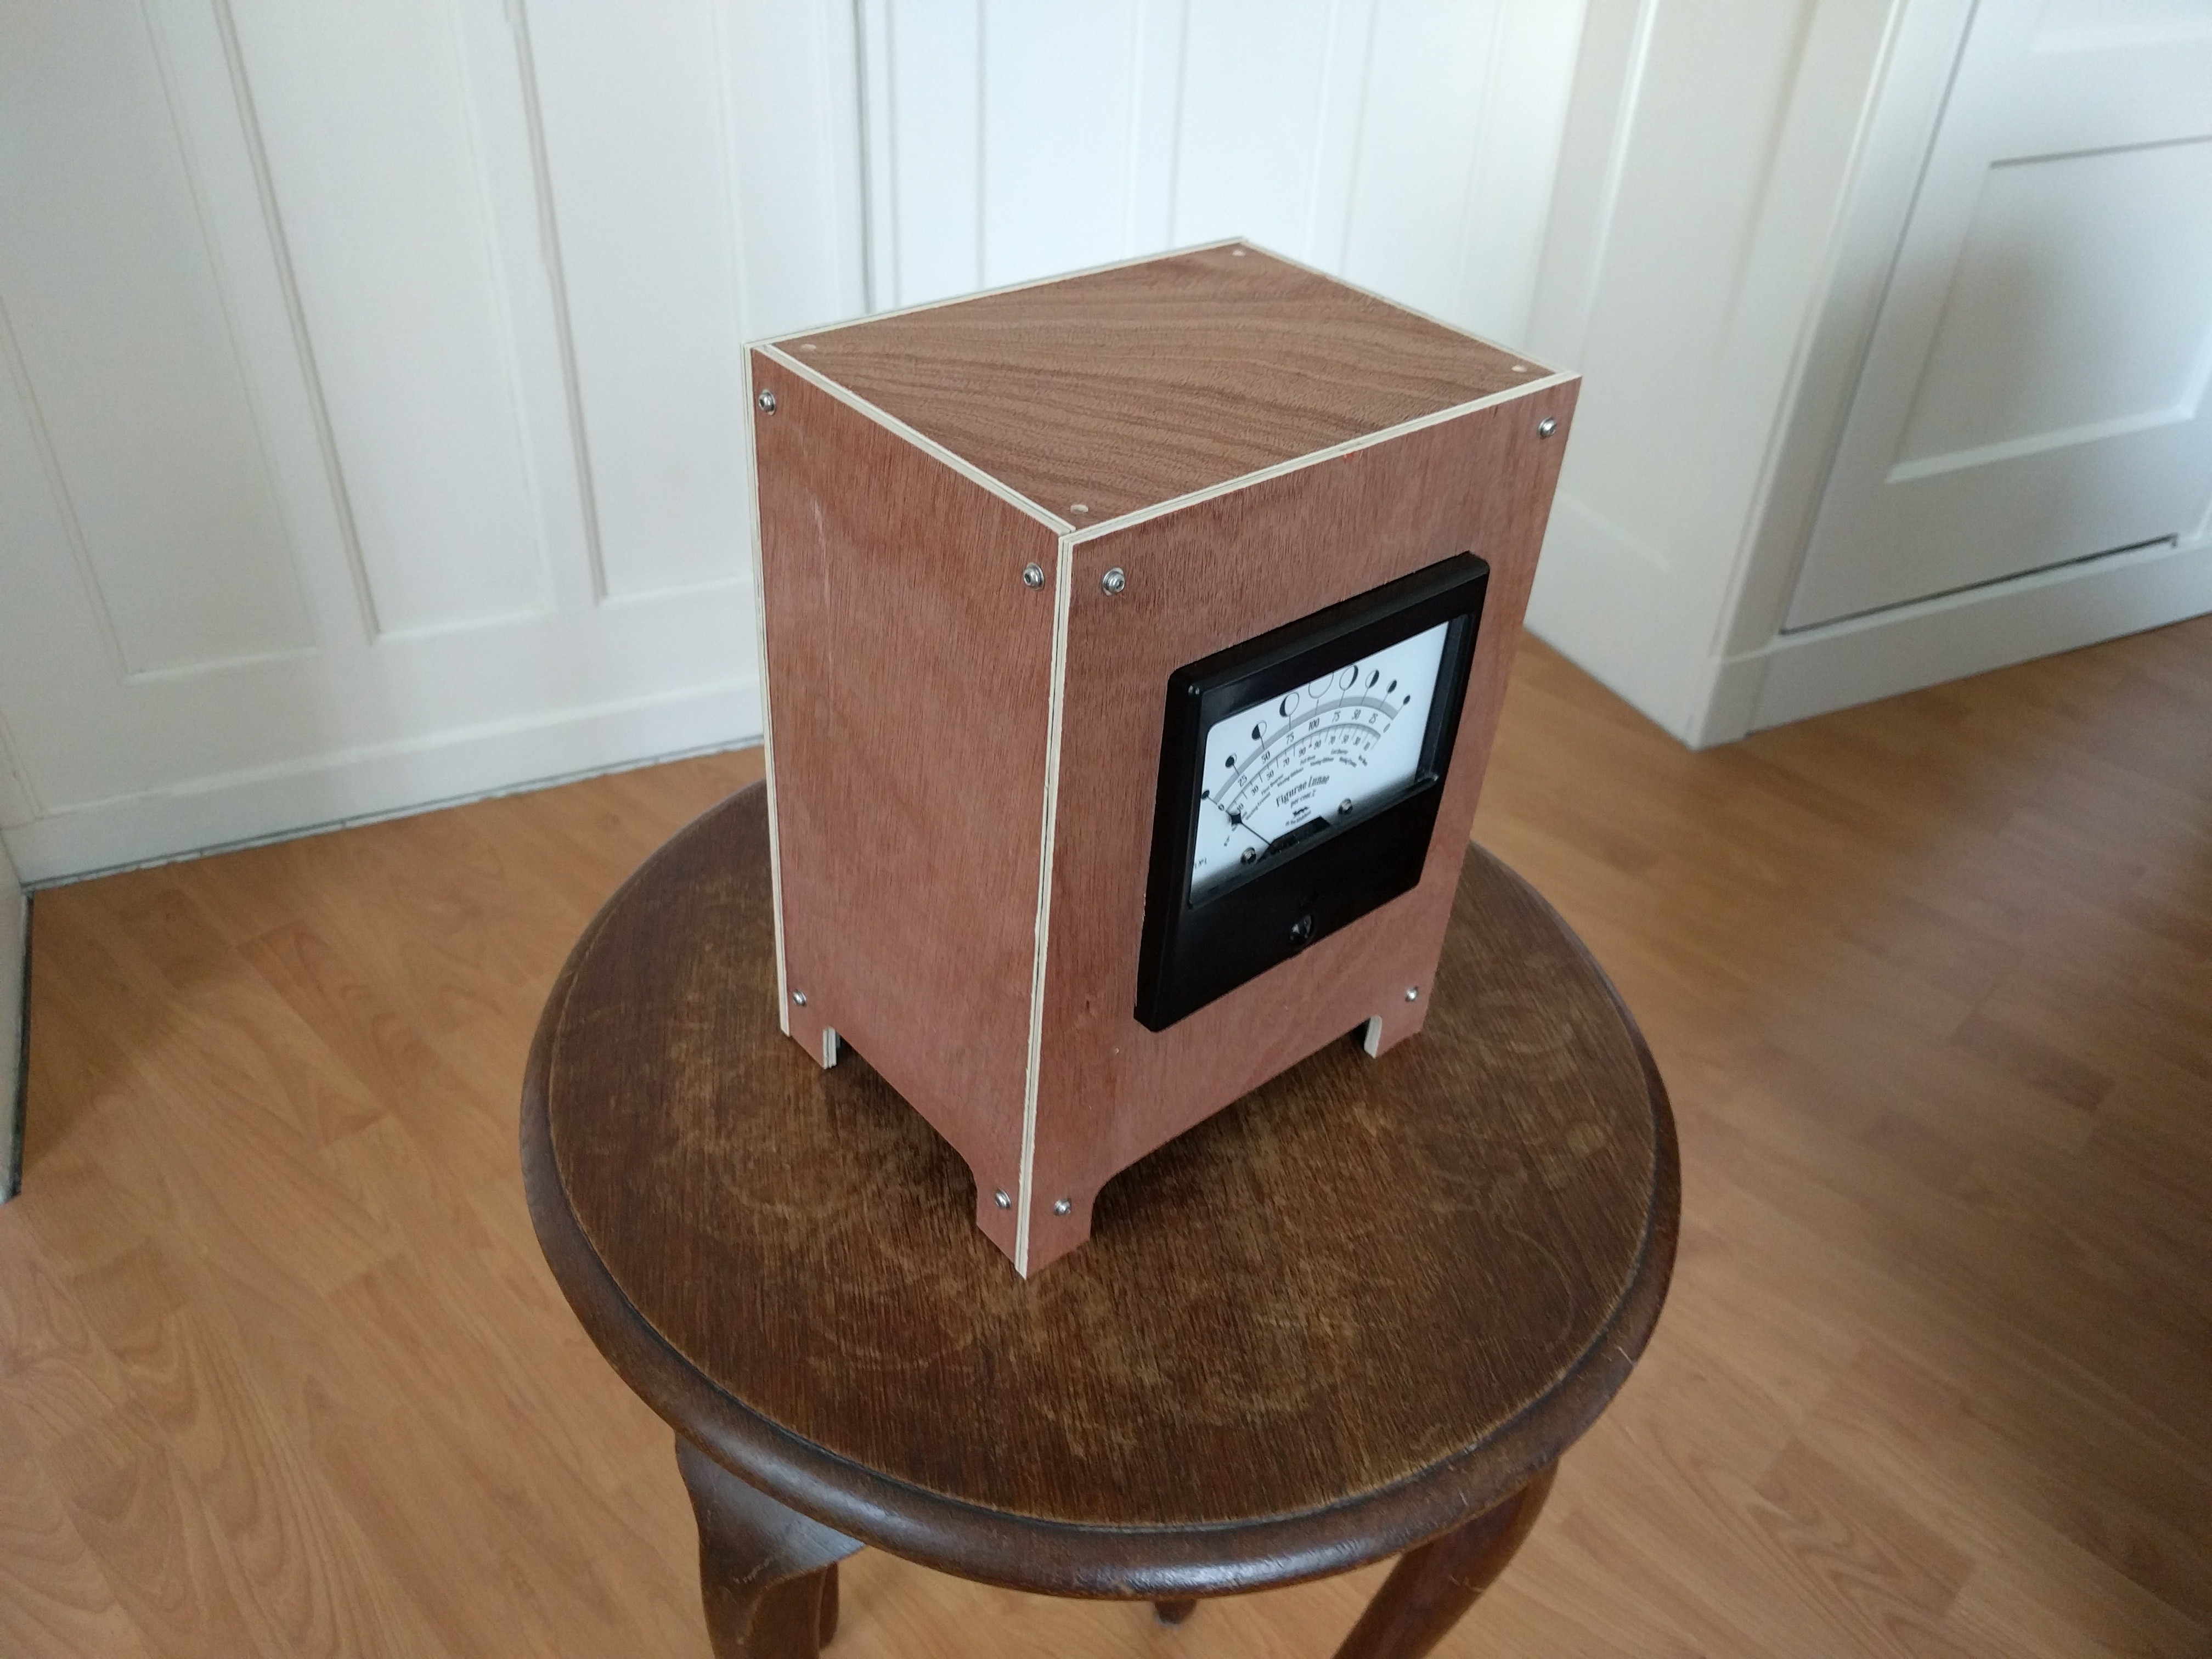
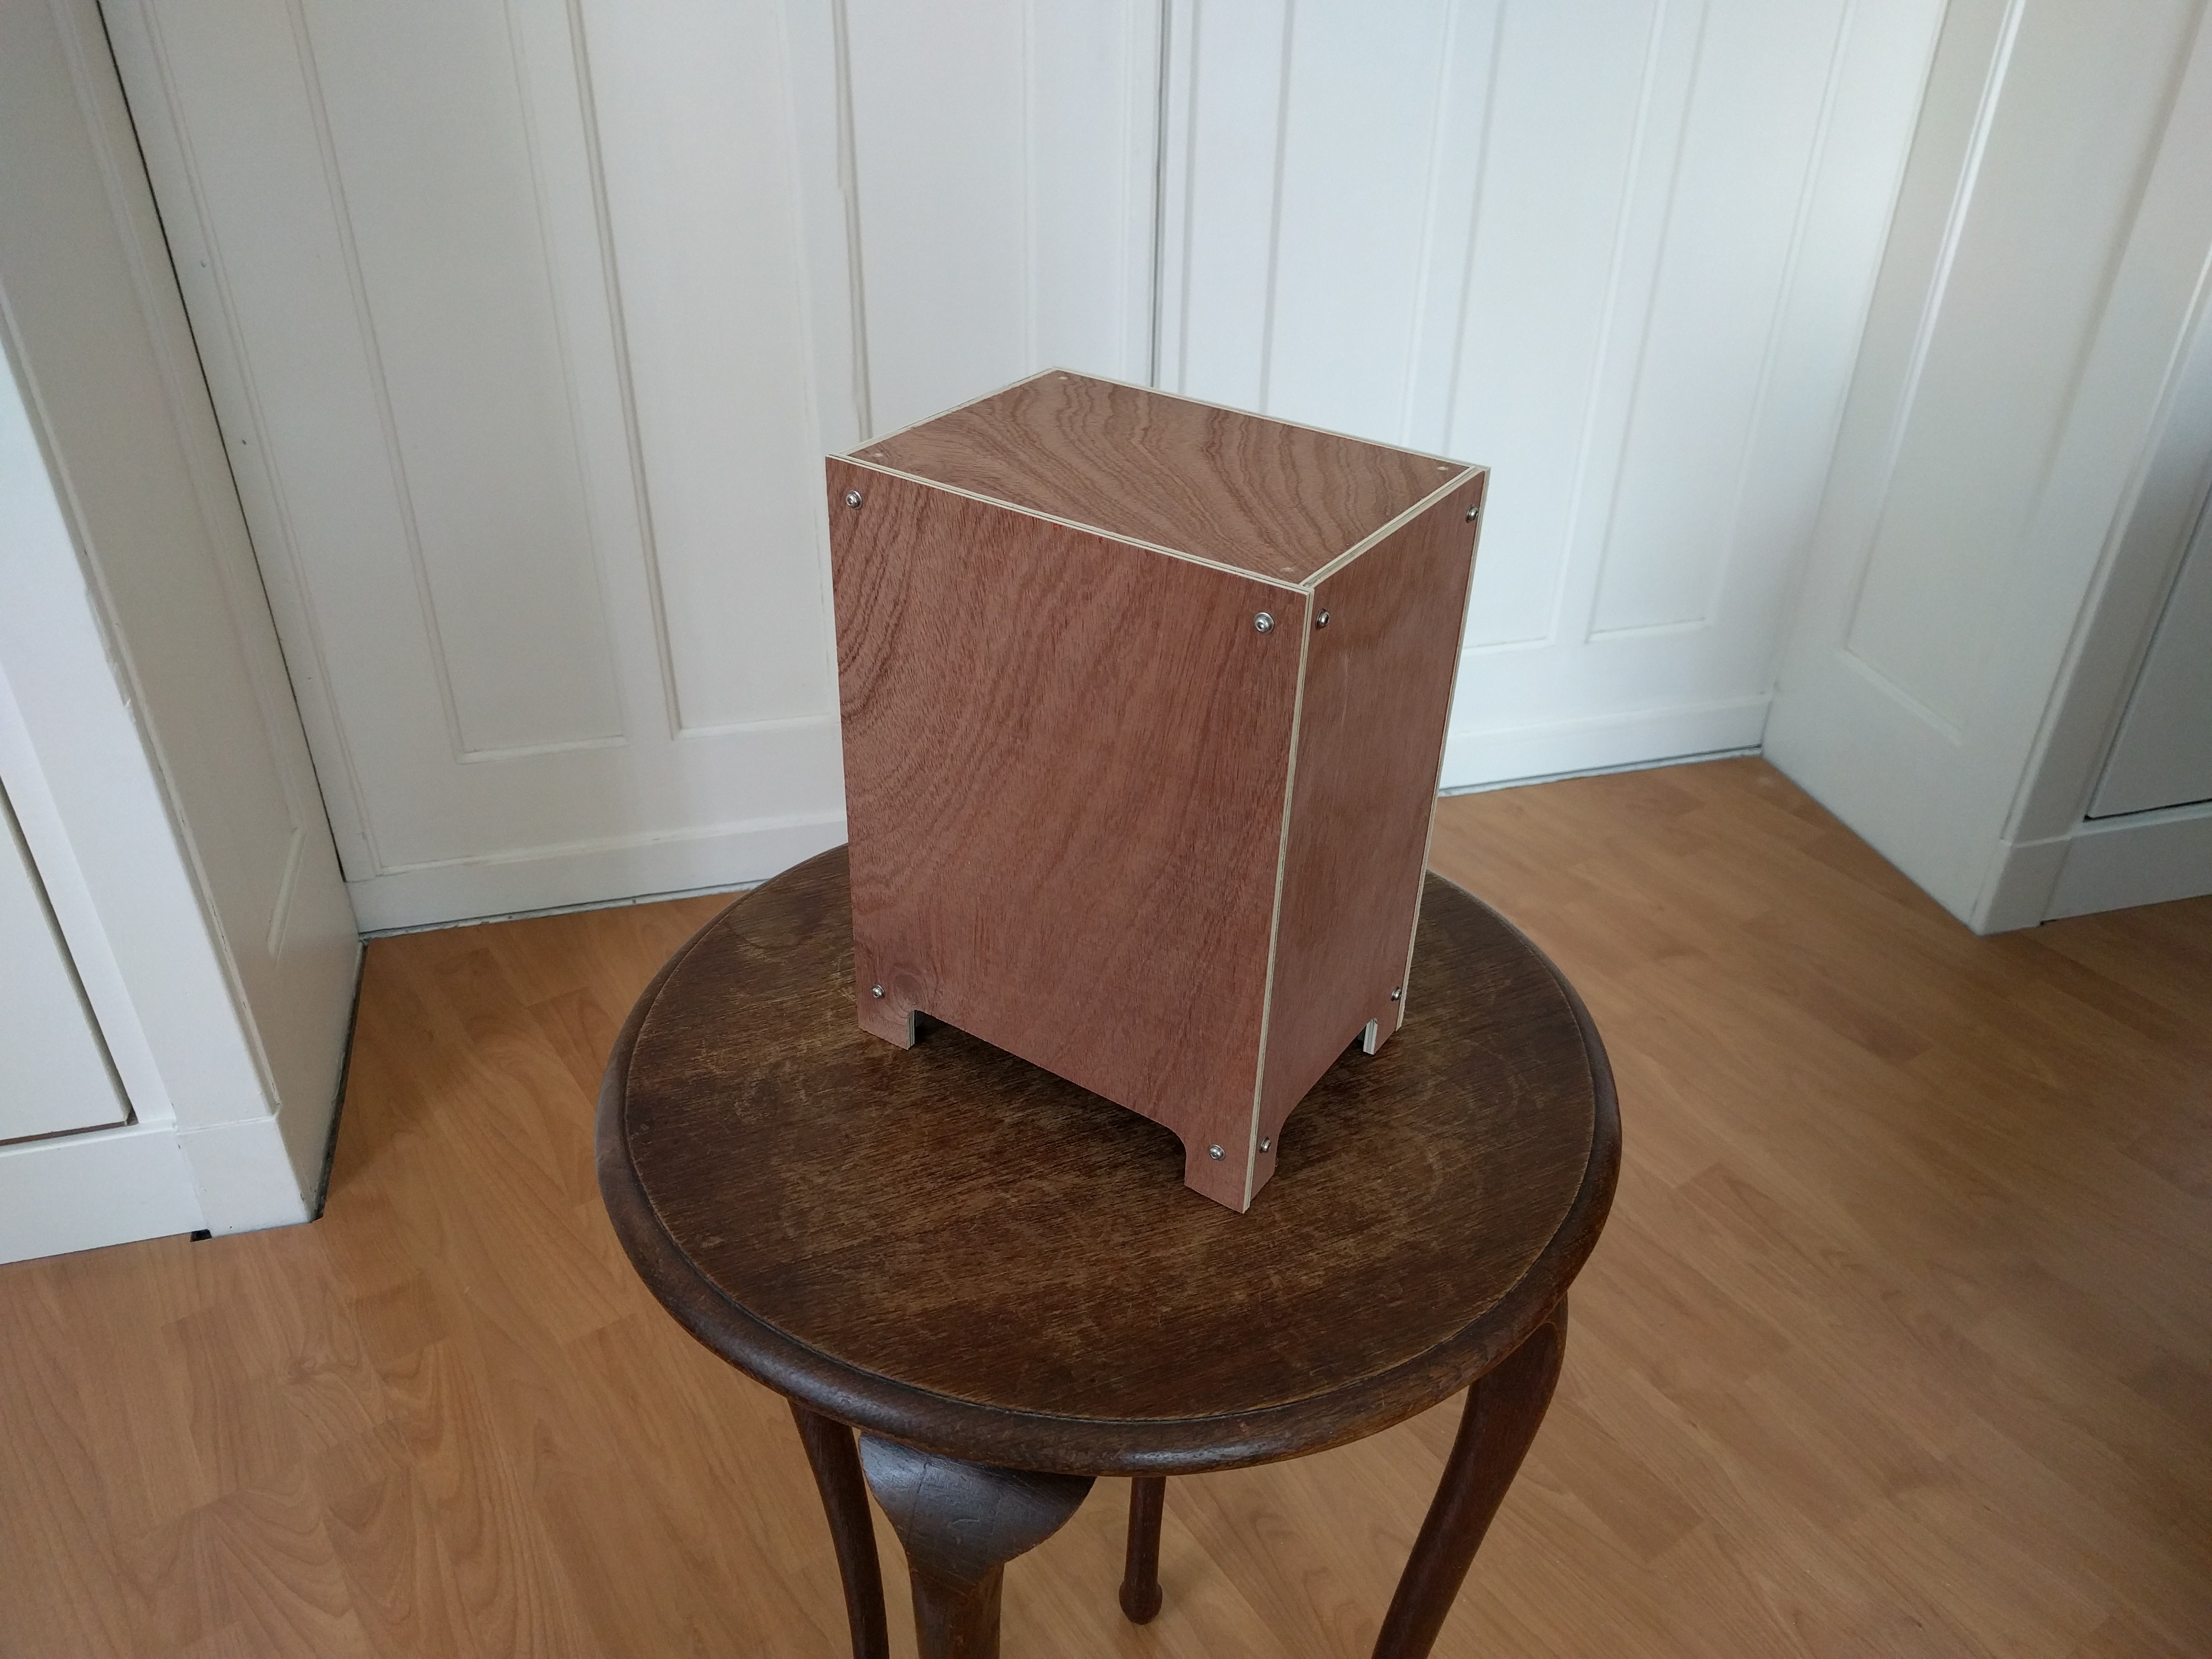
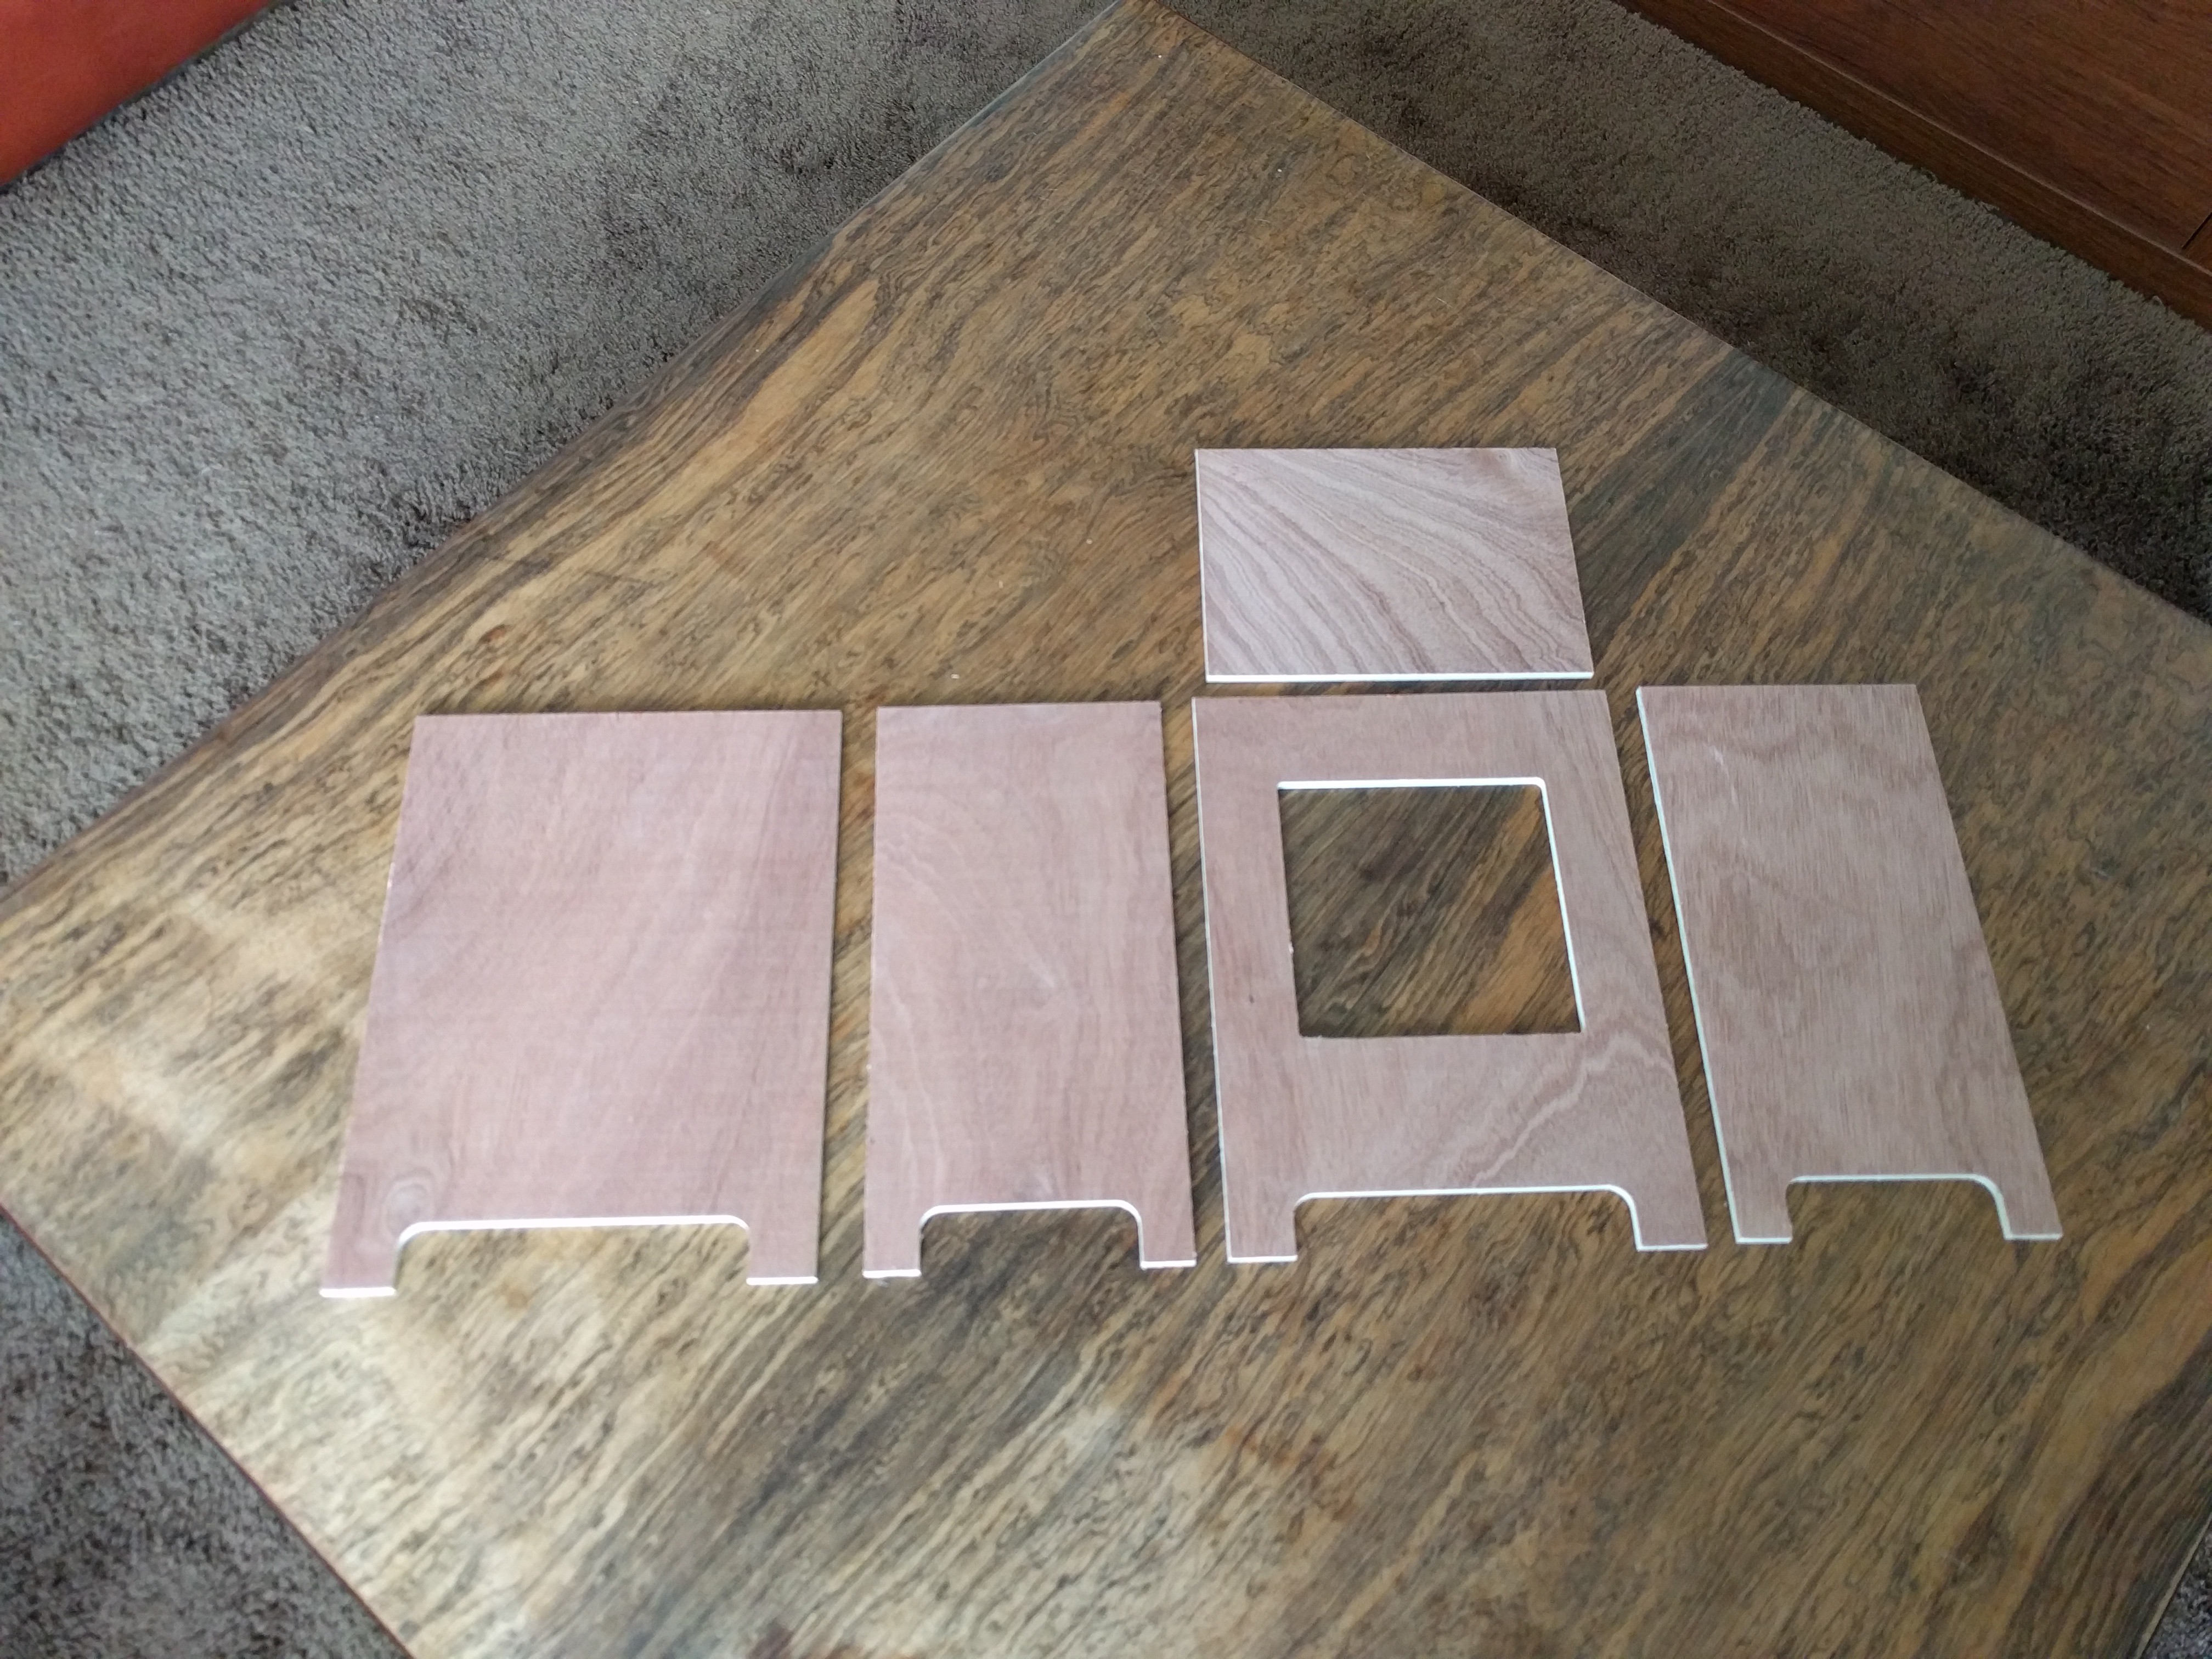
I got my hands on two old very large 12x12 cm ( 4.6x4.6 inch) panel meters which were never been used. The display was still blank. The design for the display was made in Adobe Illustrator and printed on sticker material which i laminated with matt laminator pouches.
0%
0%
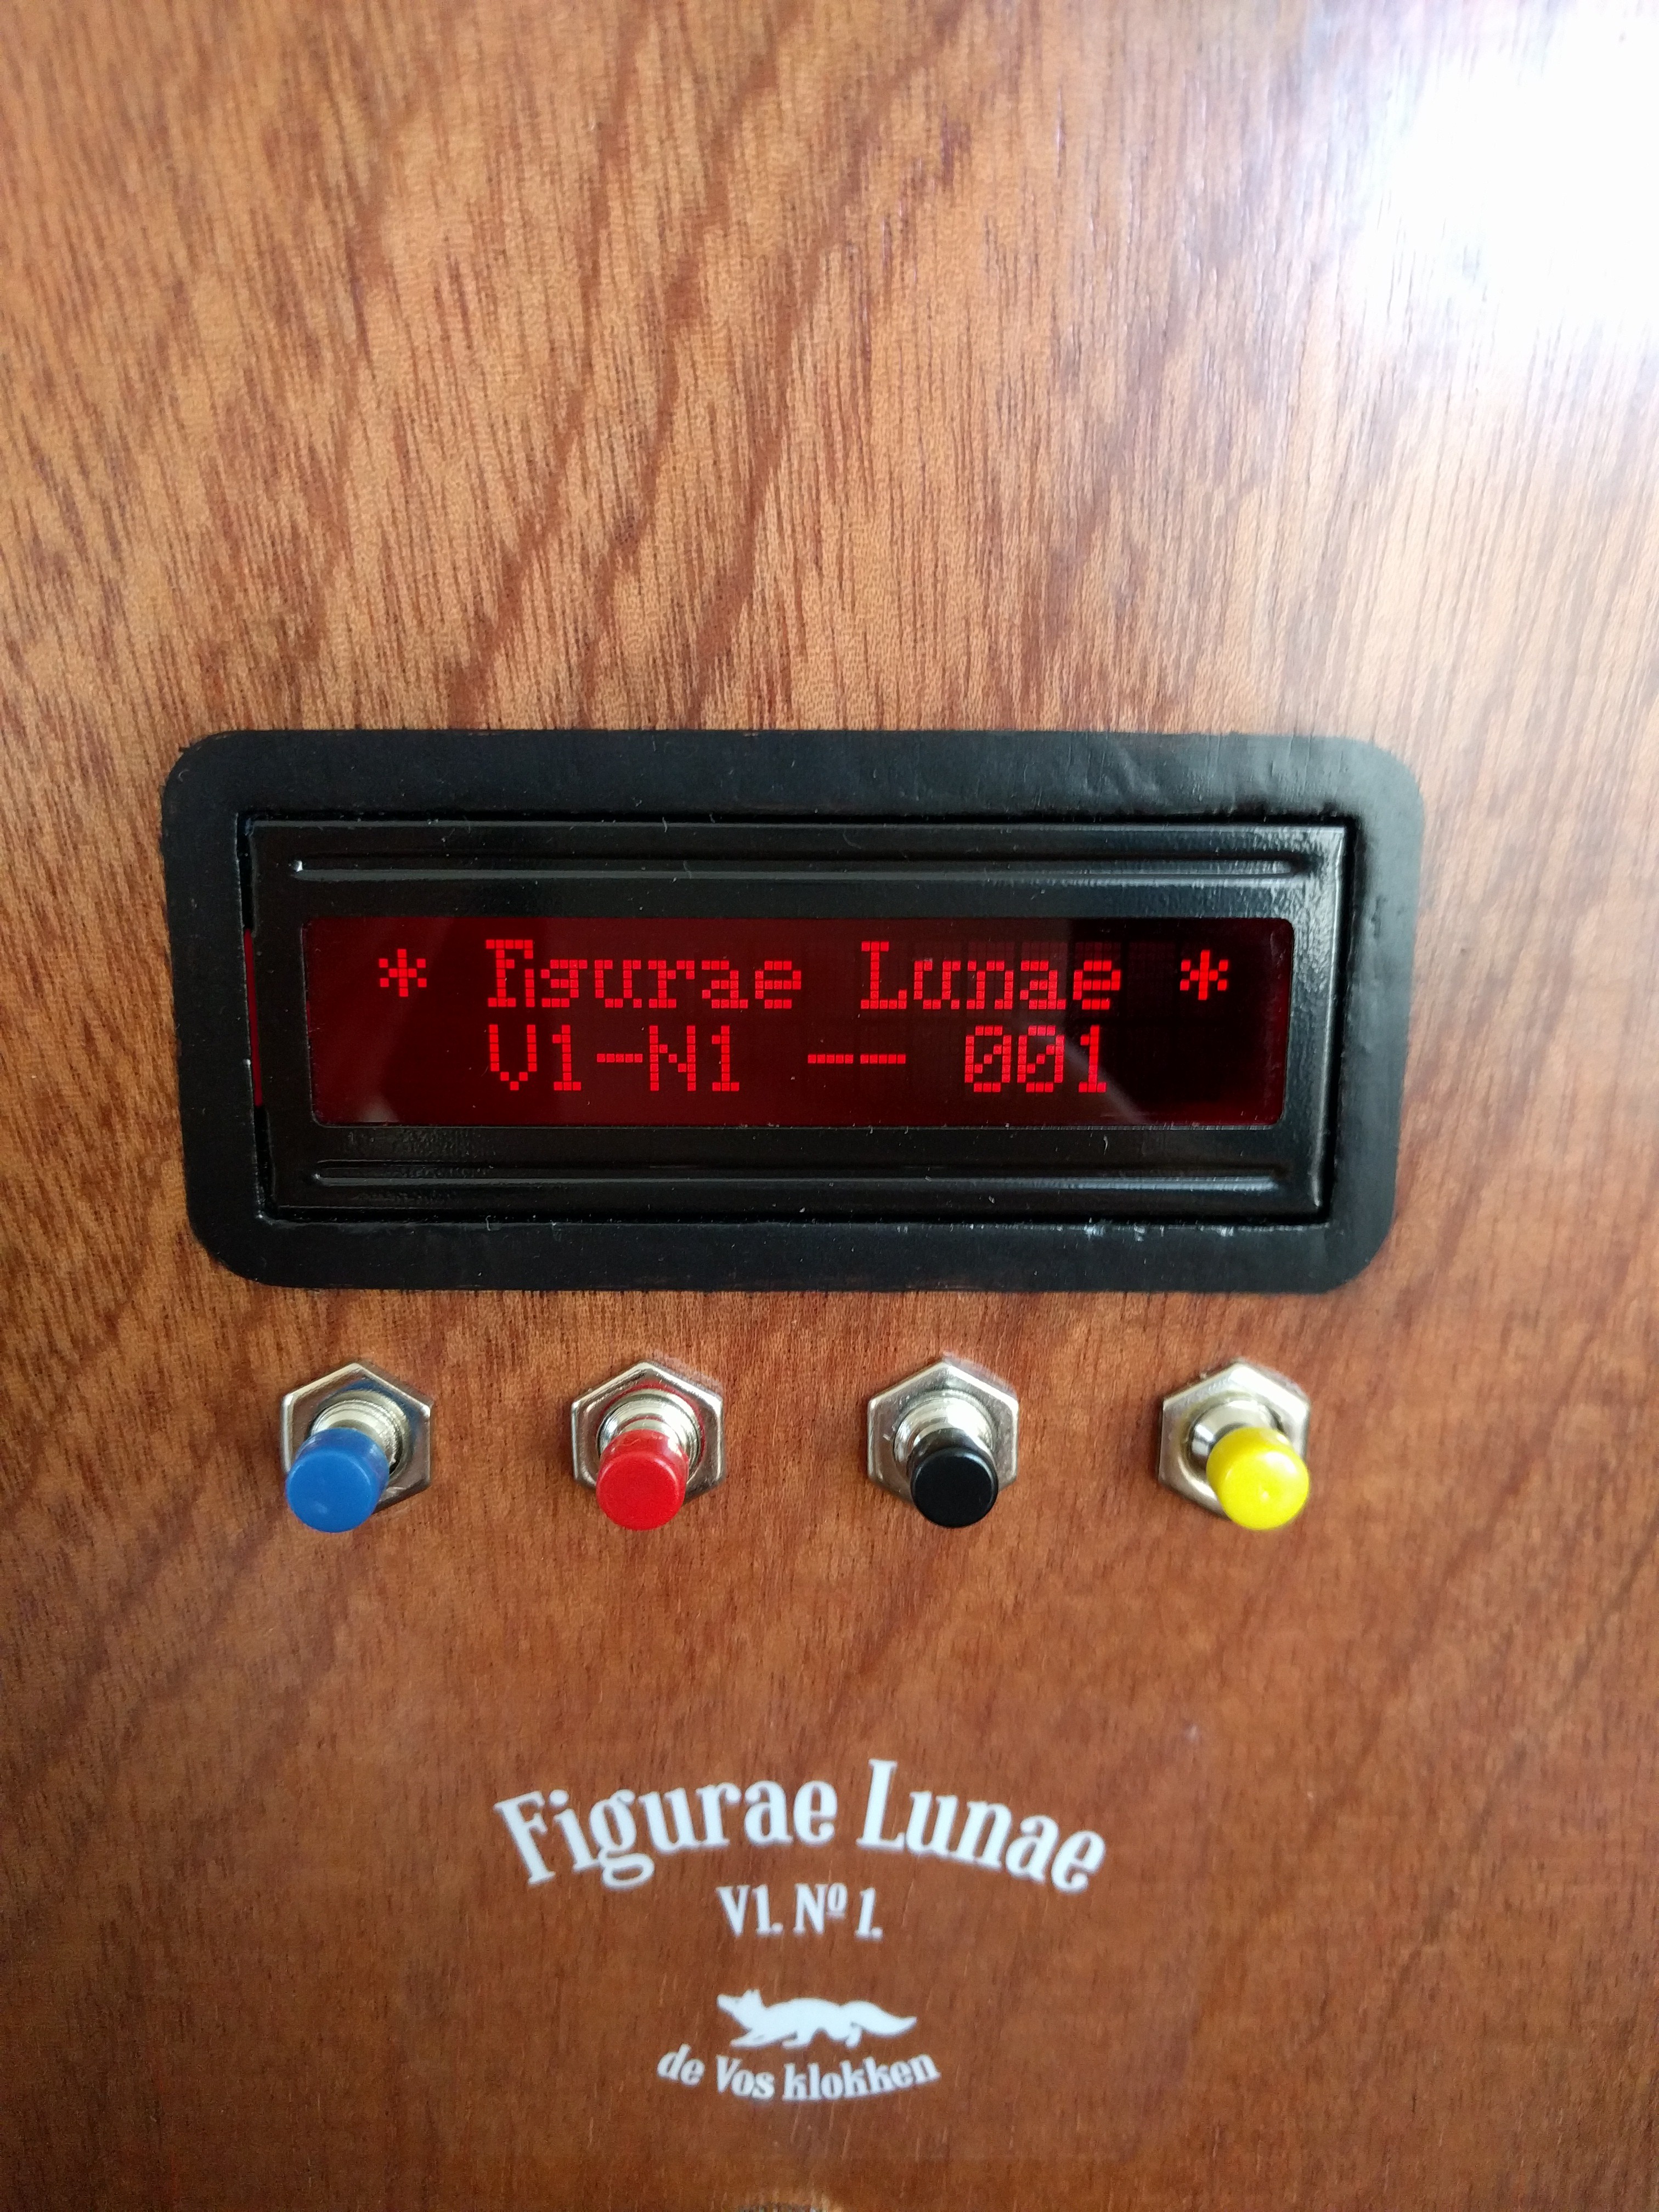
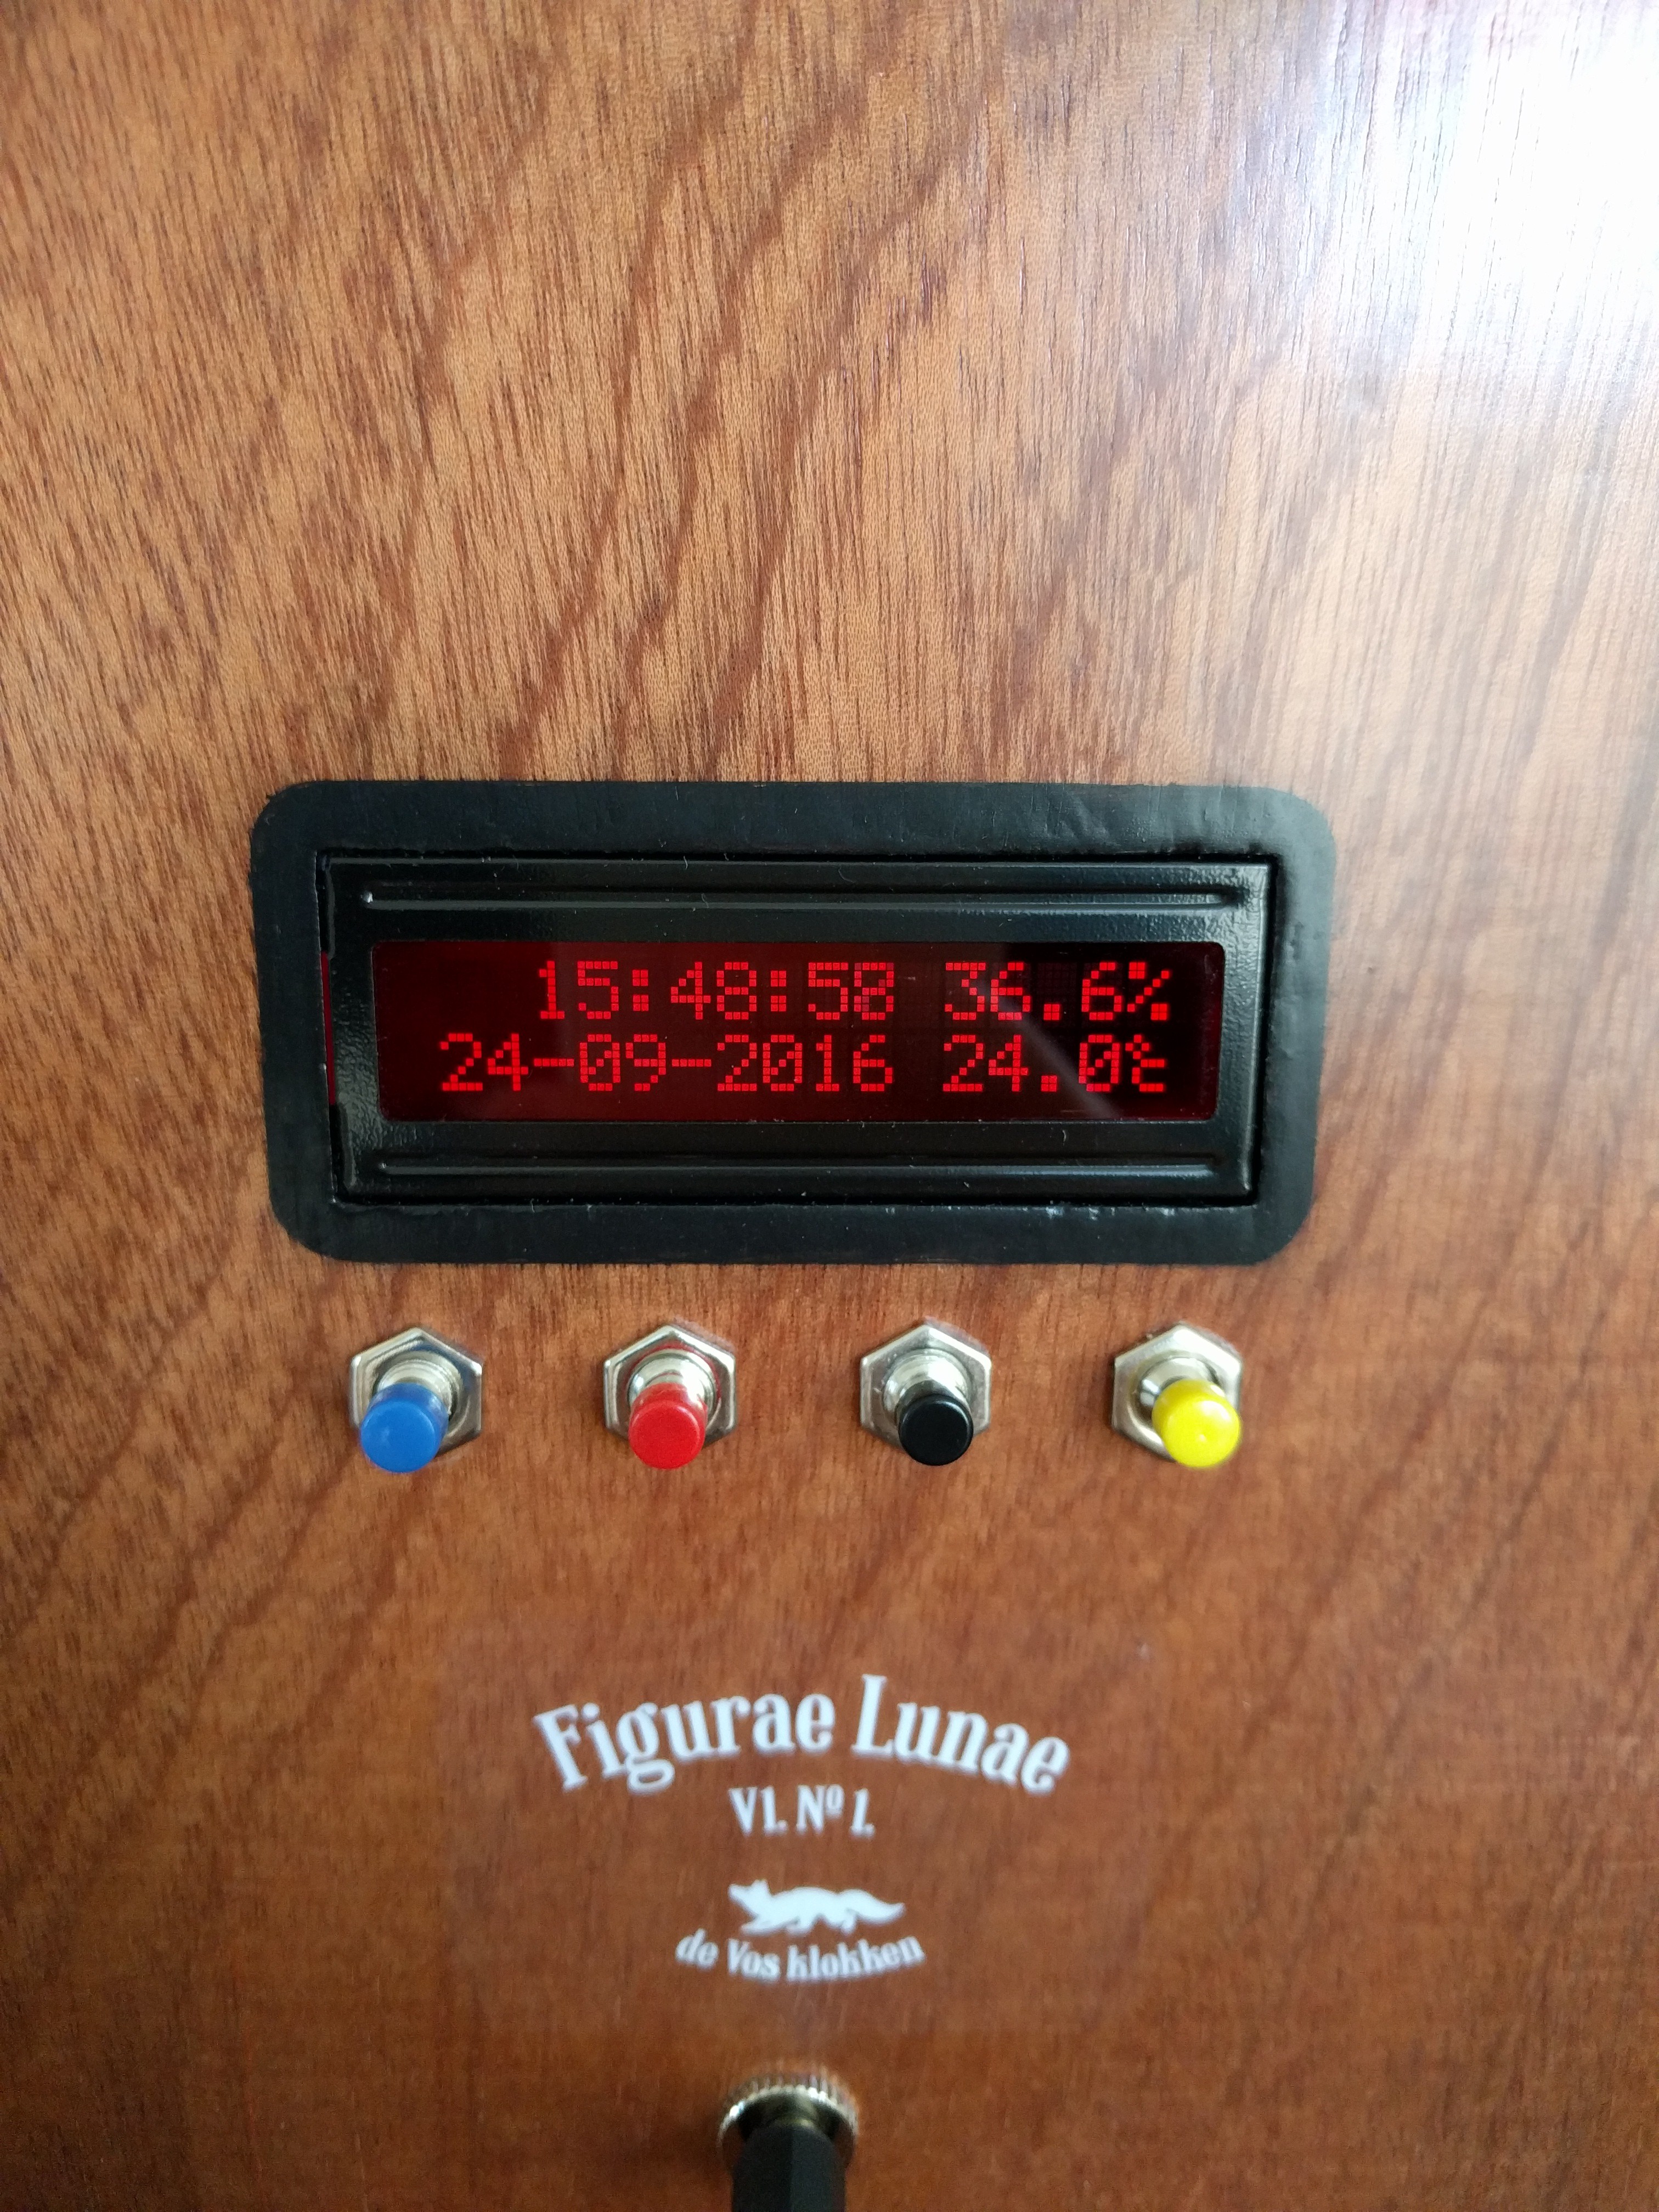
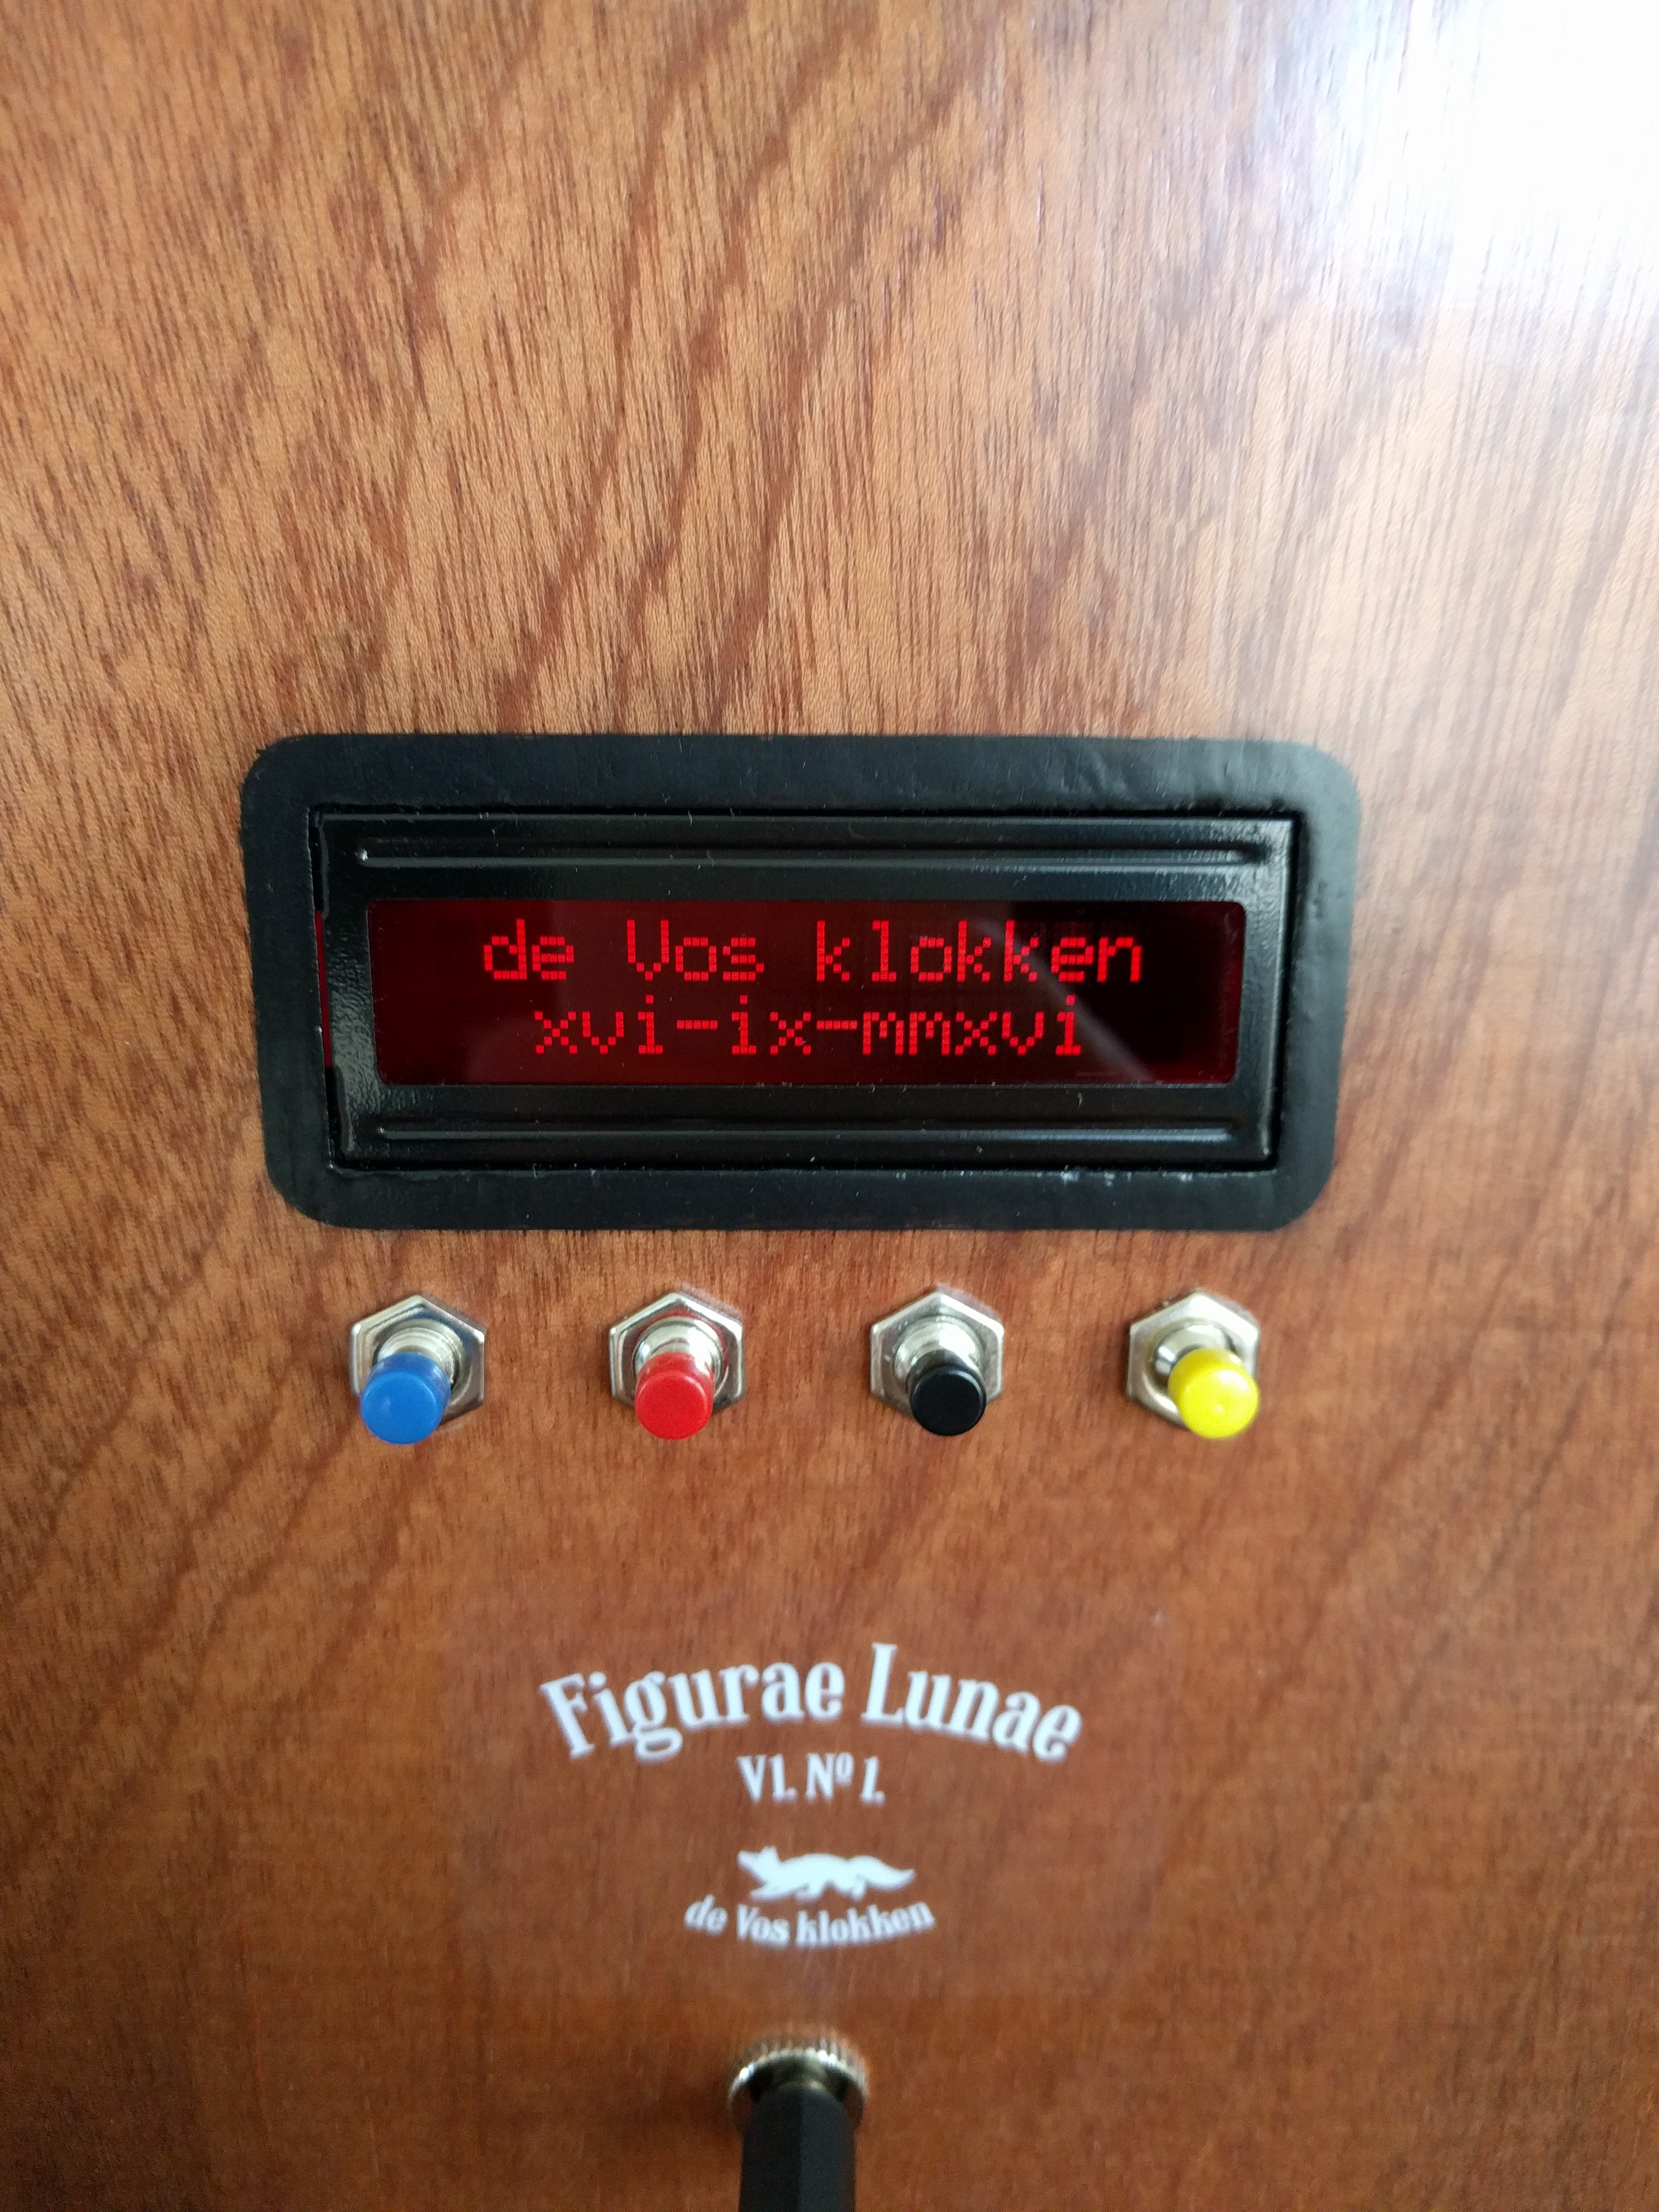
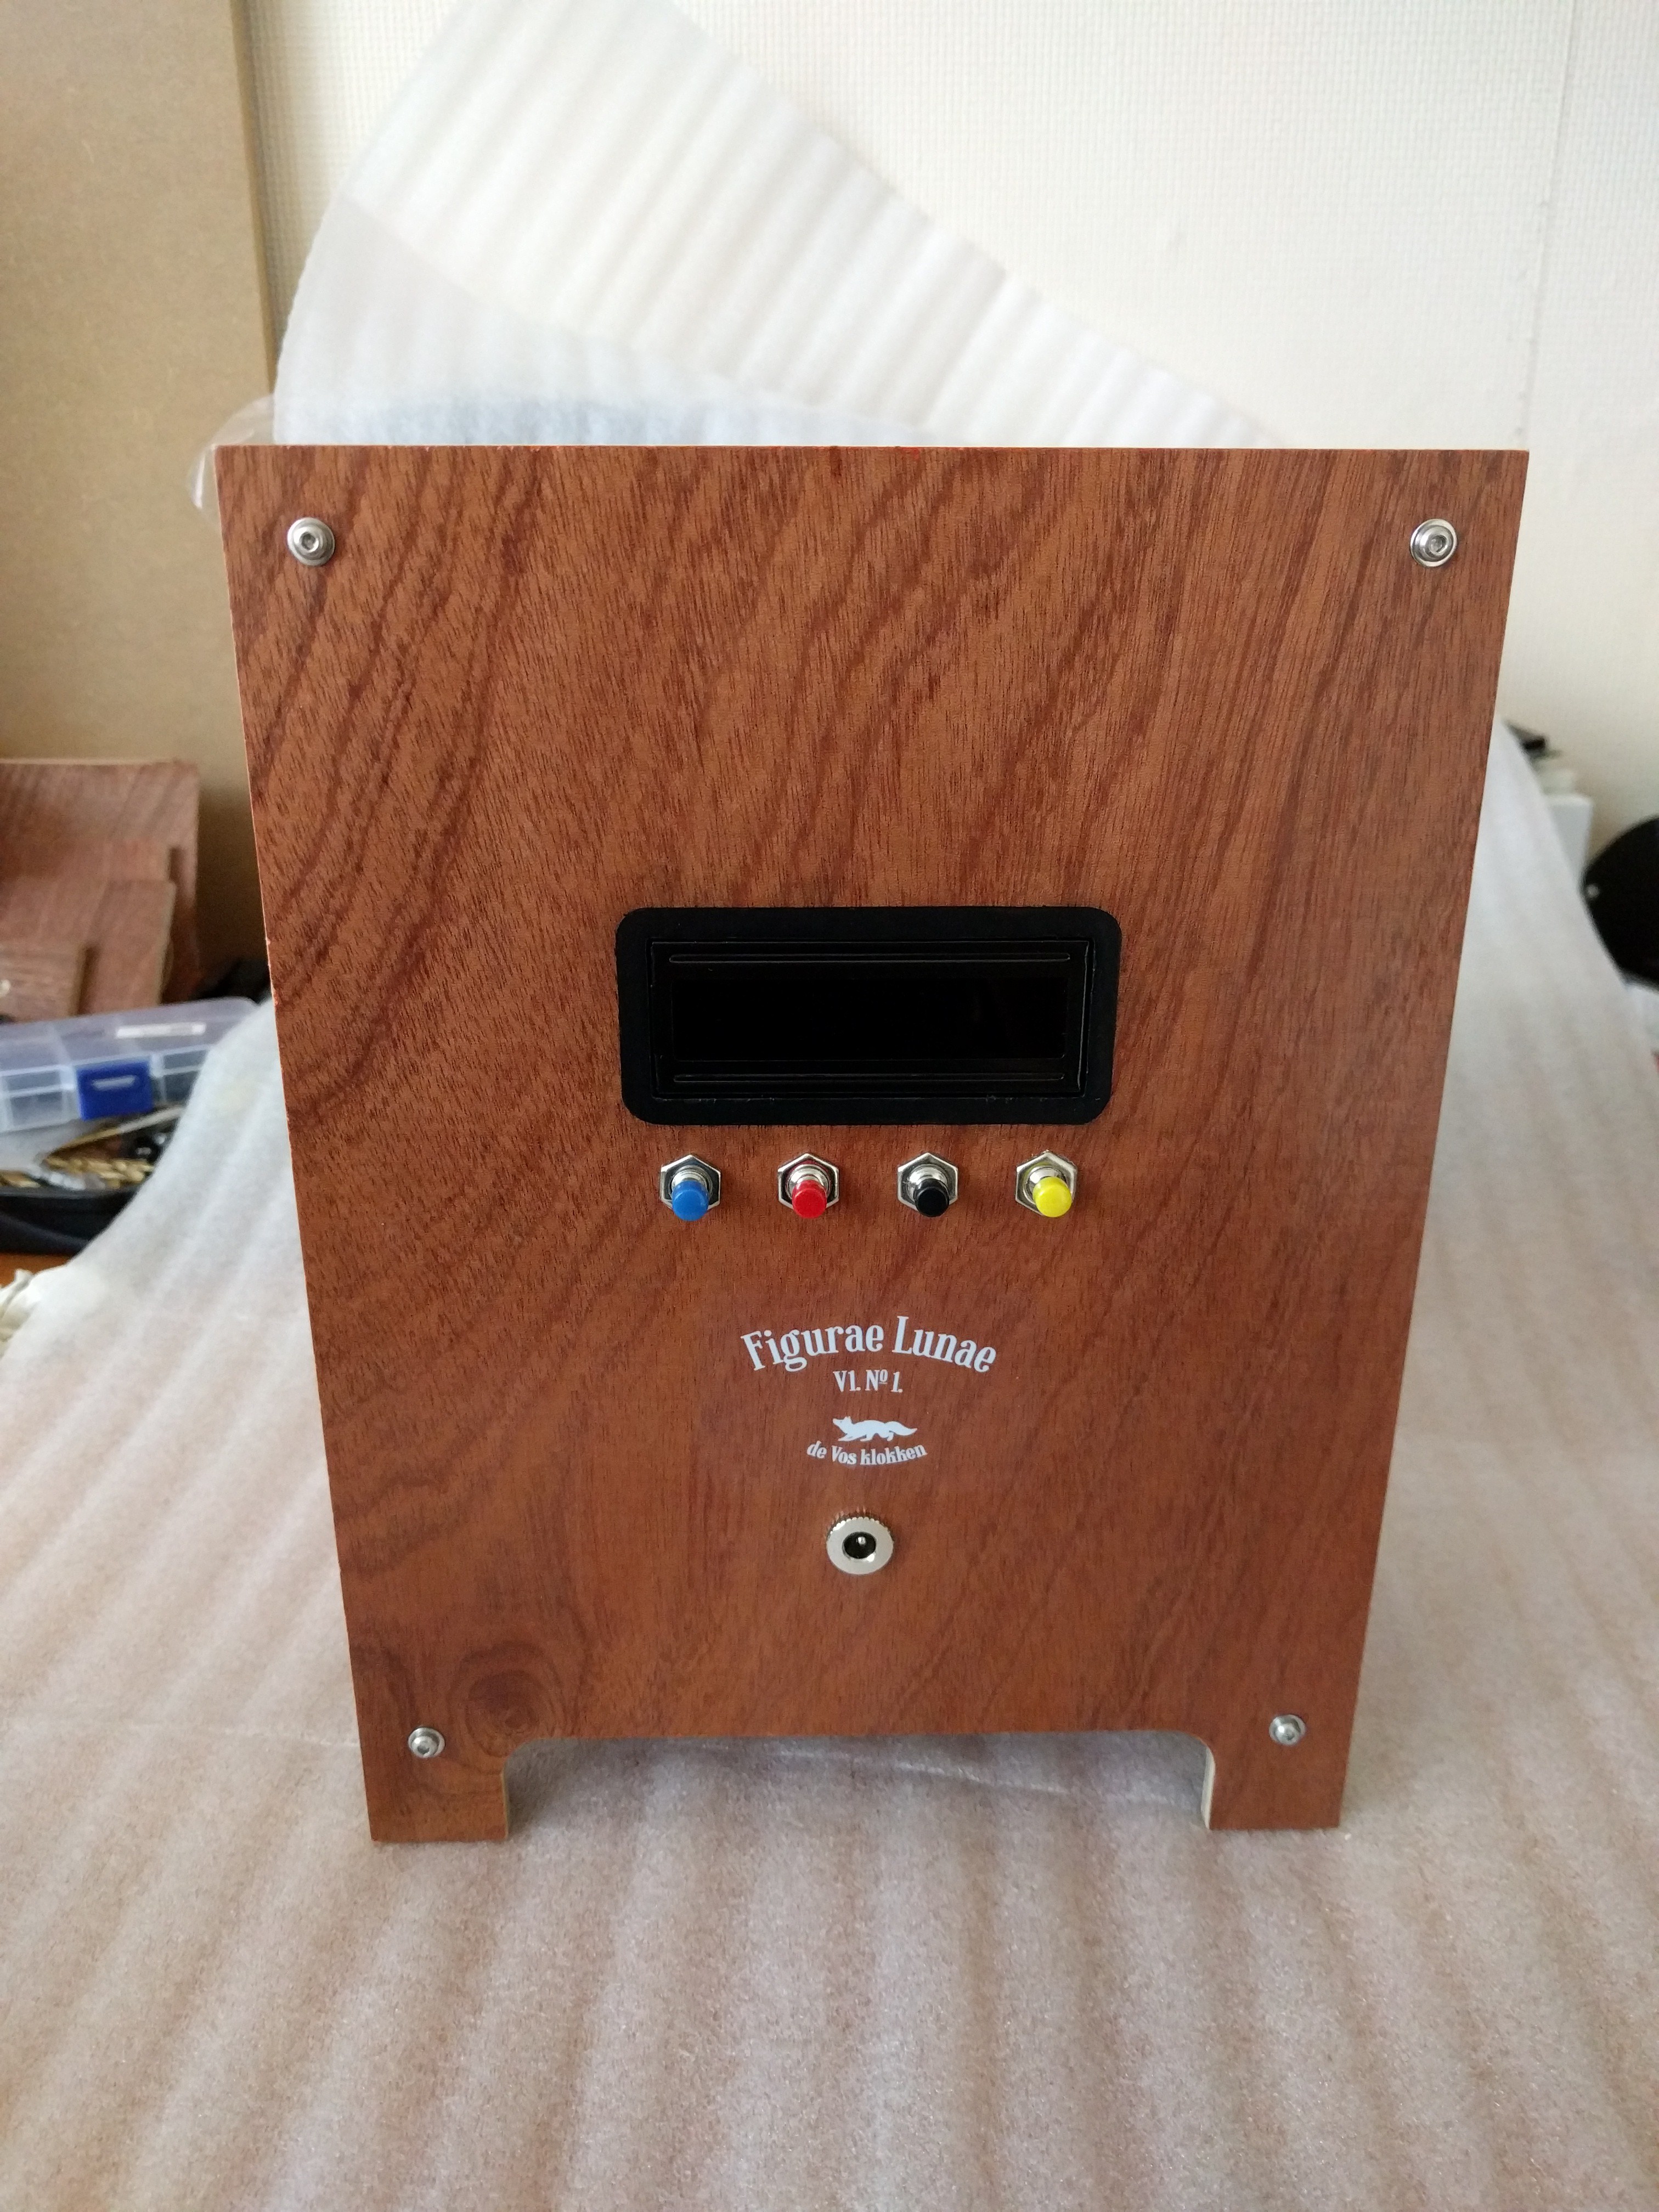
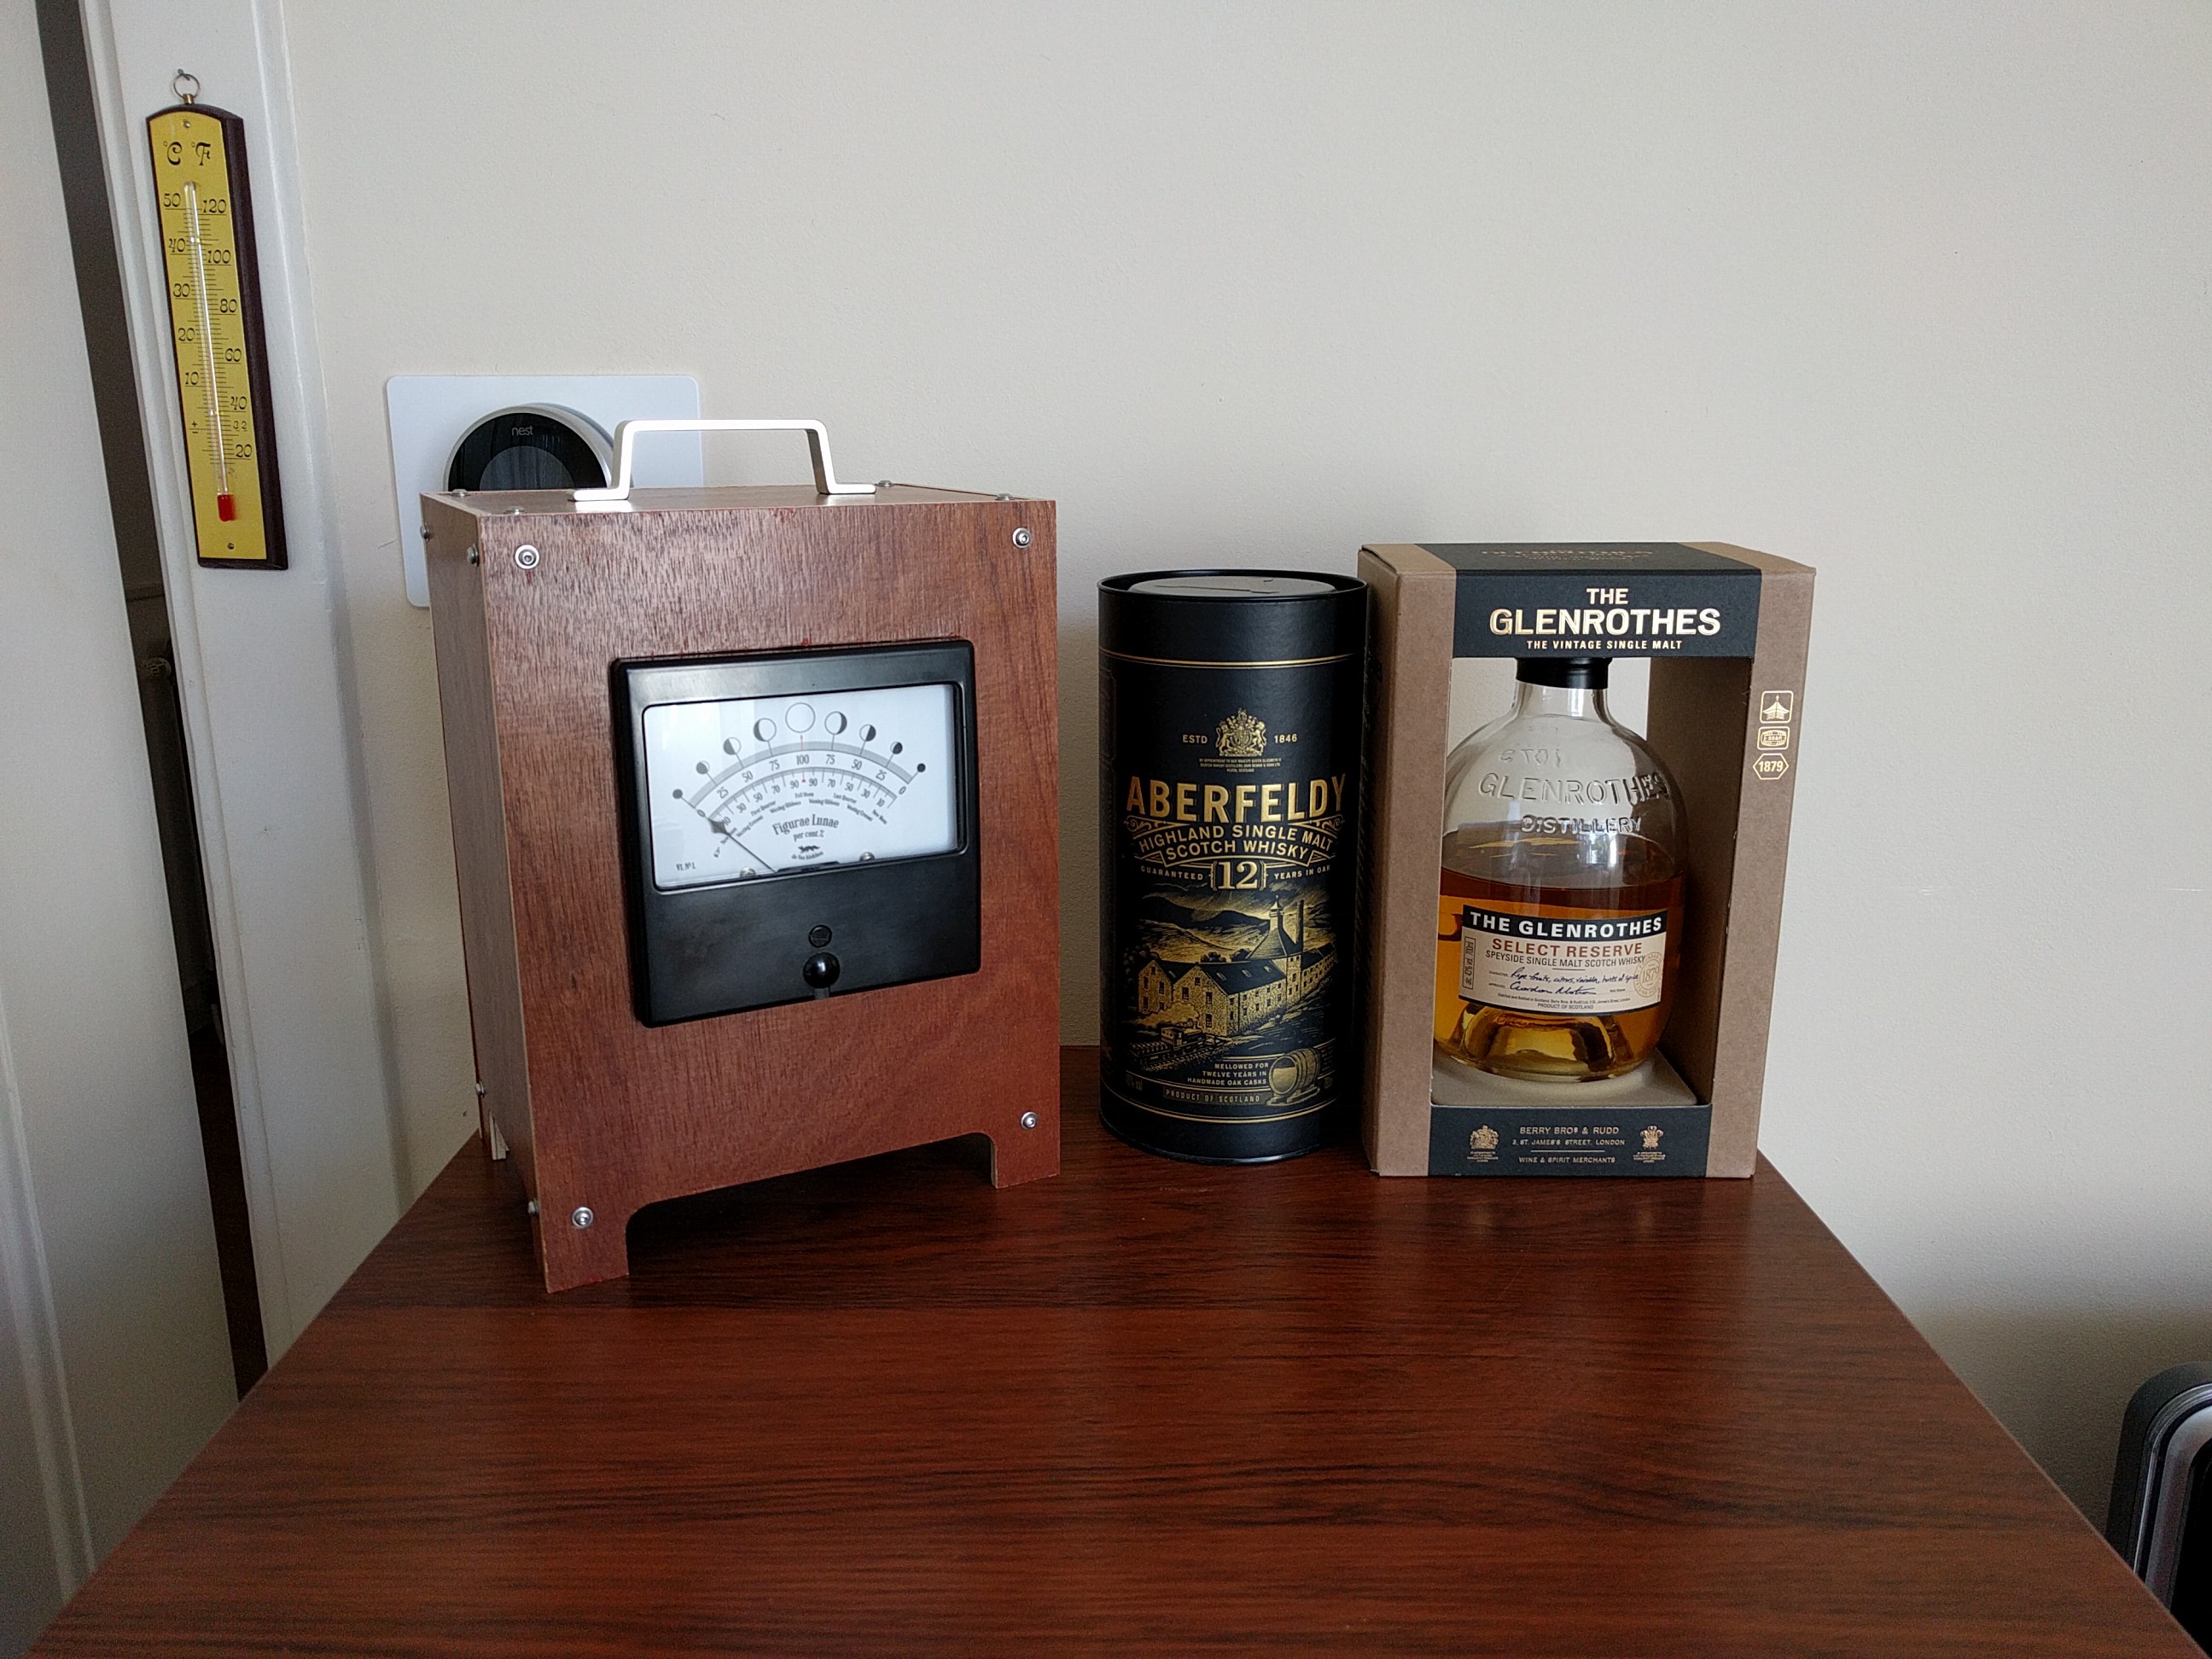
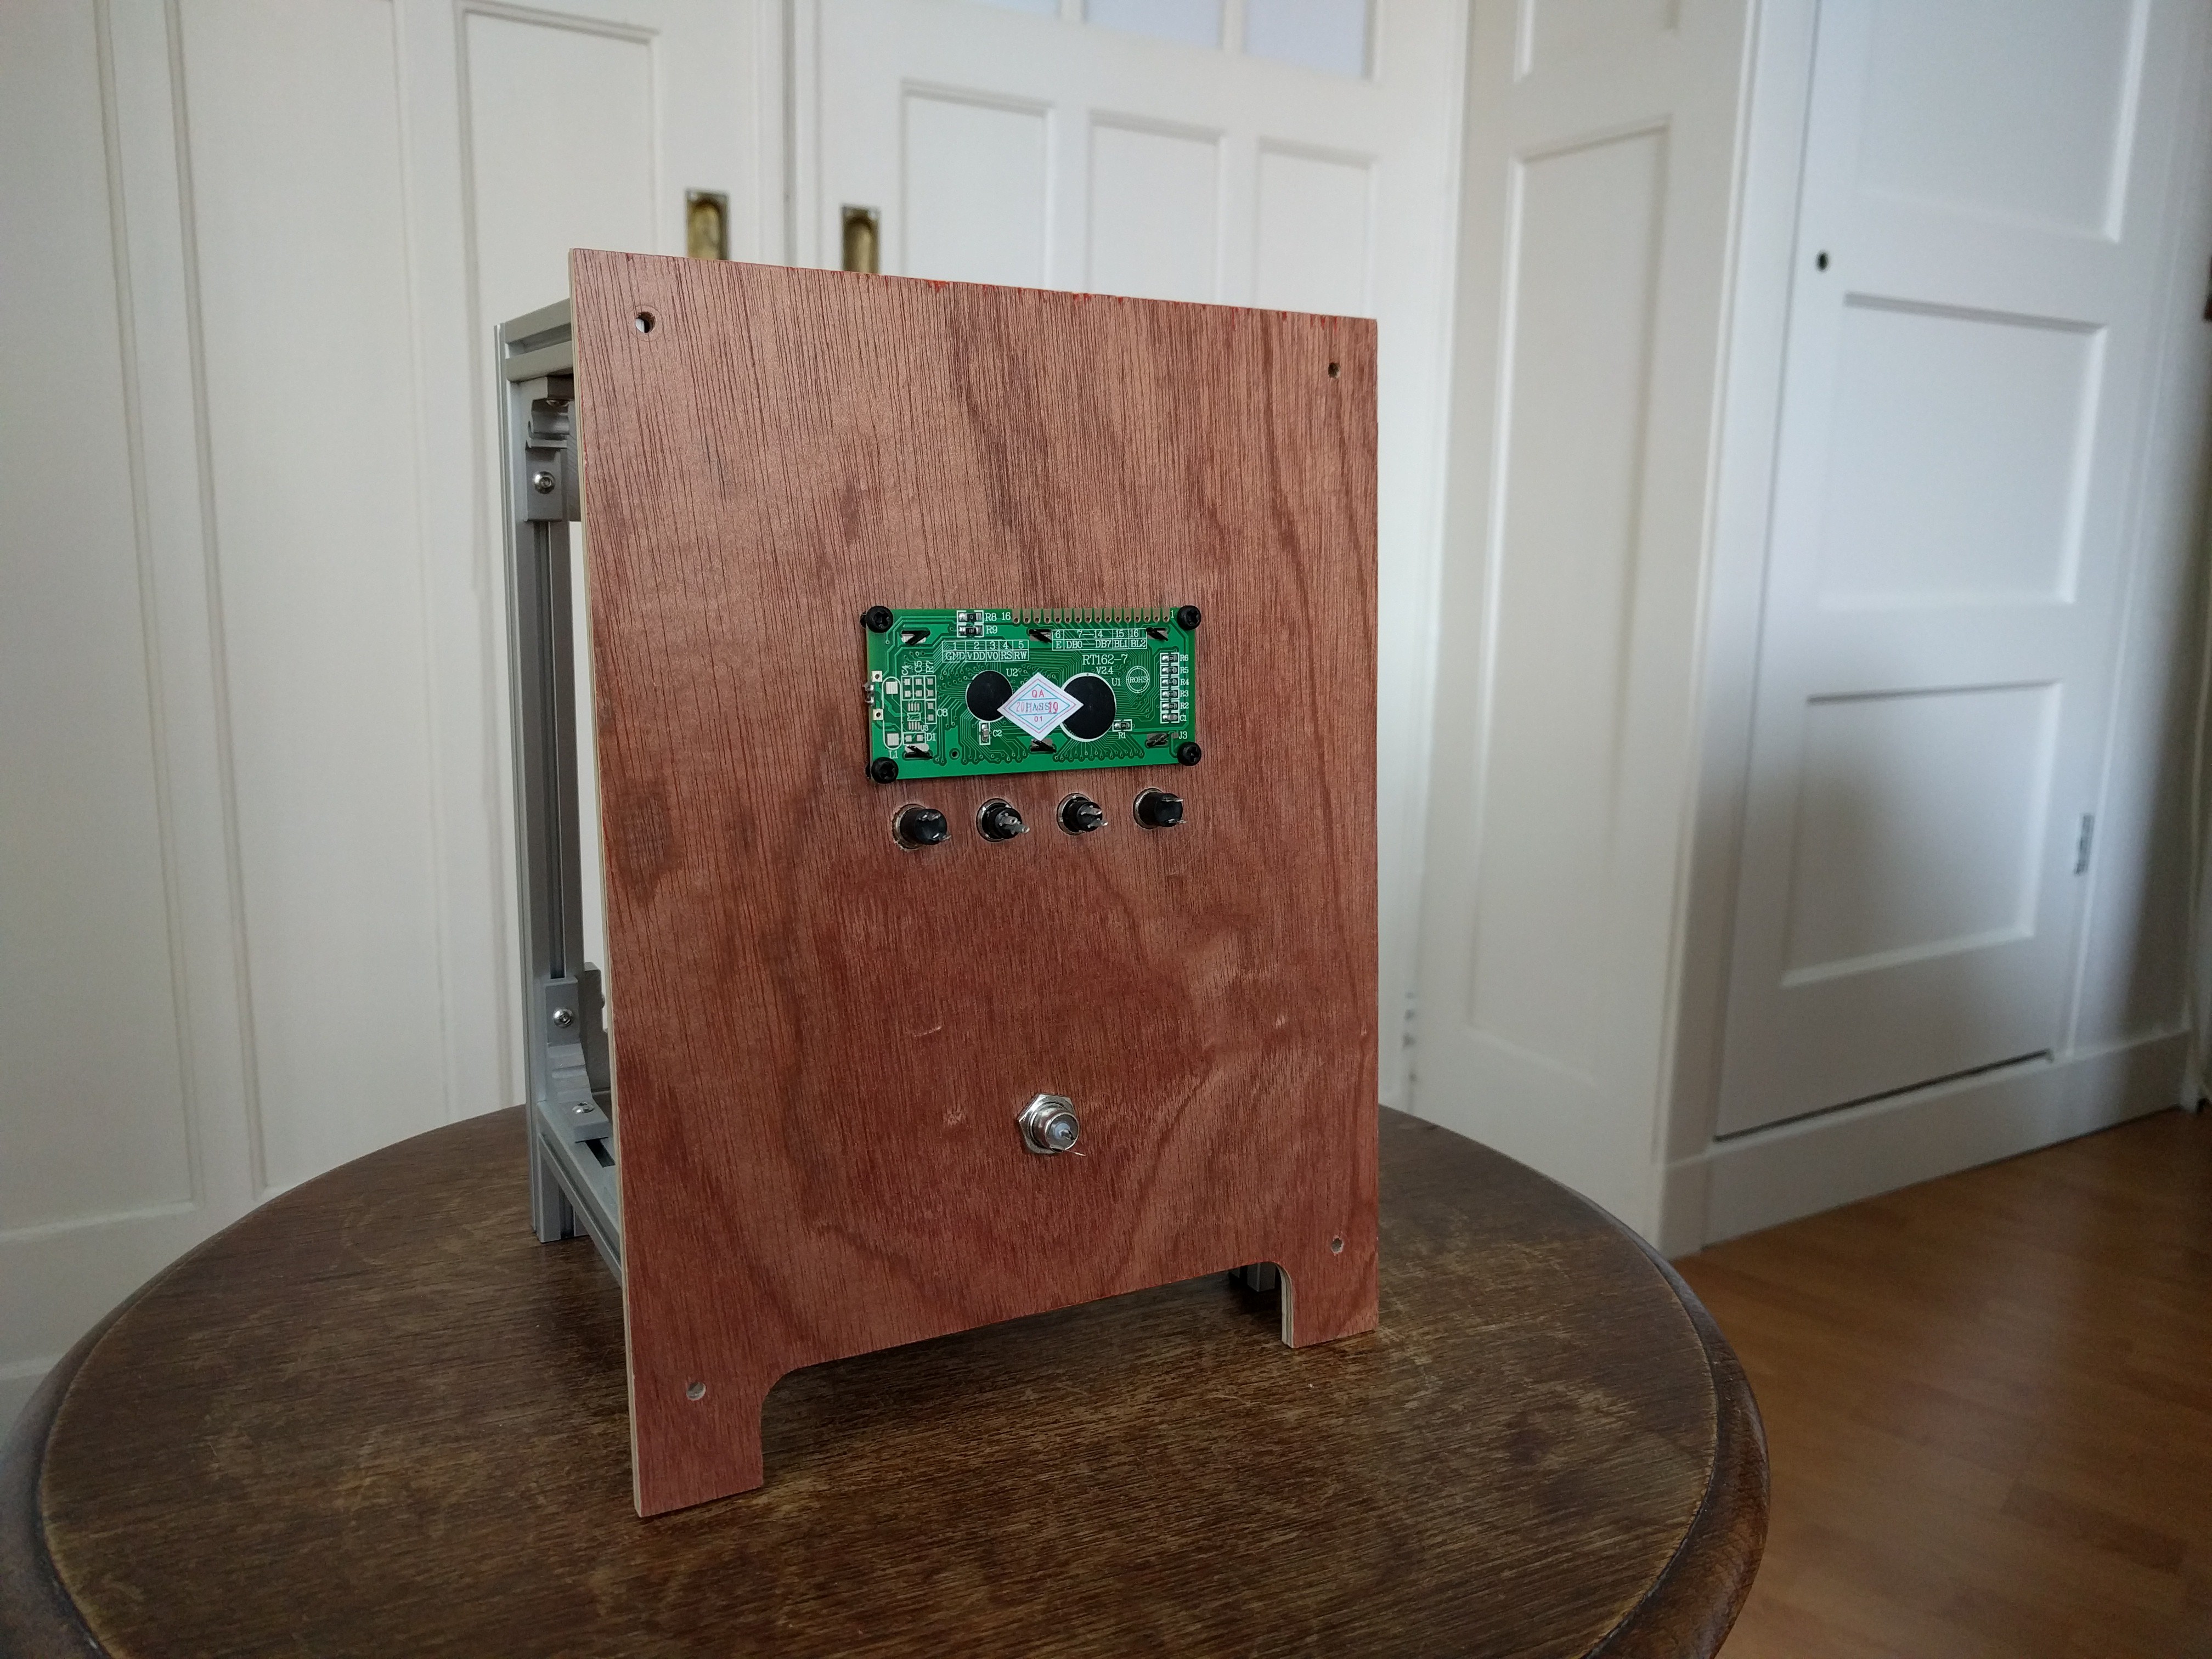
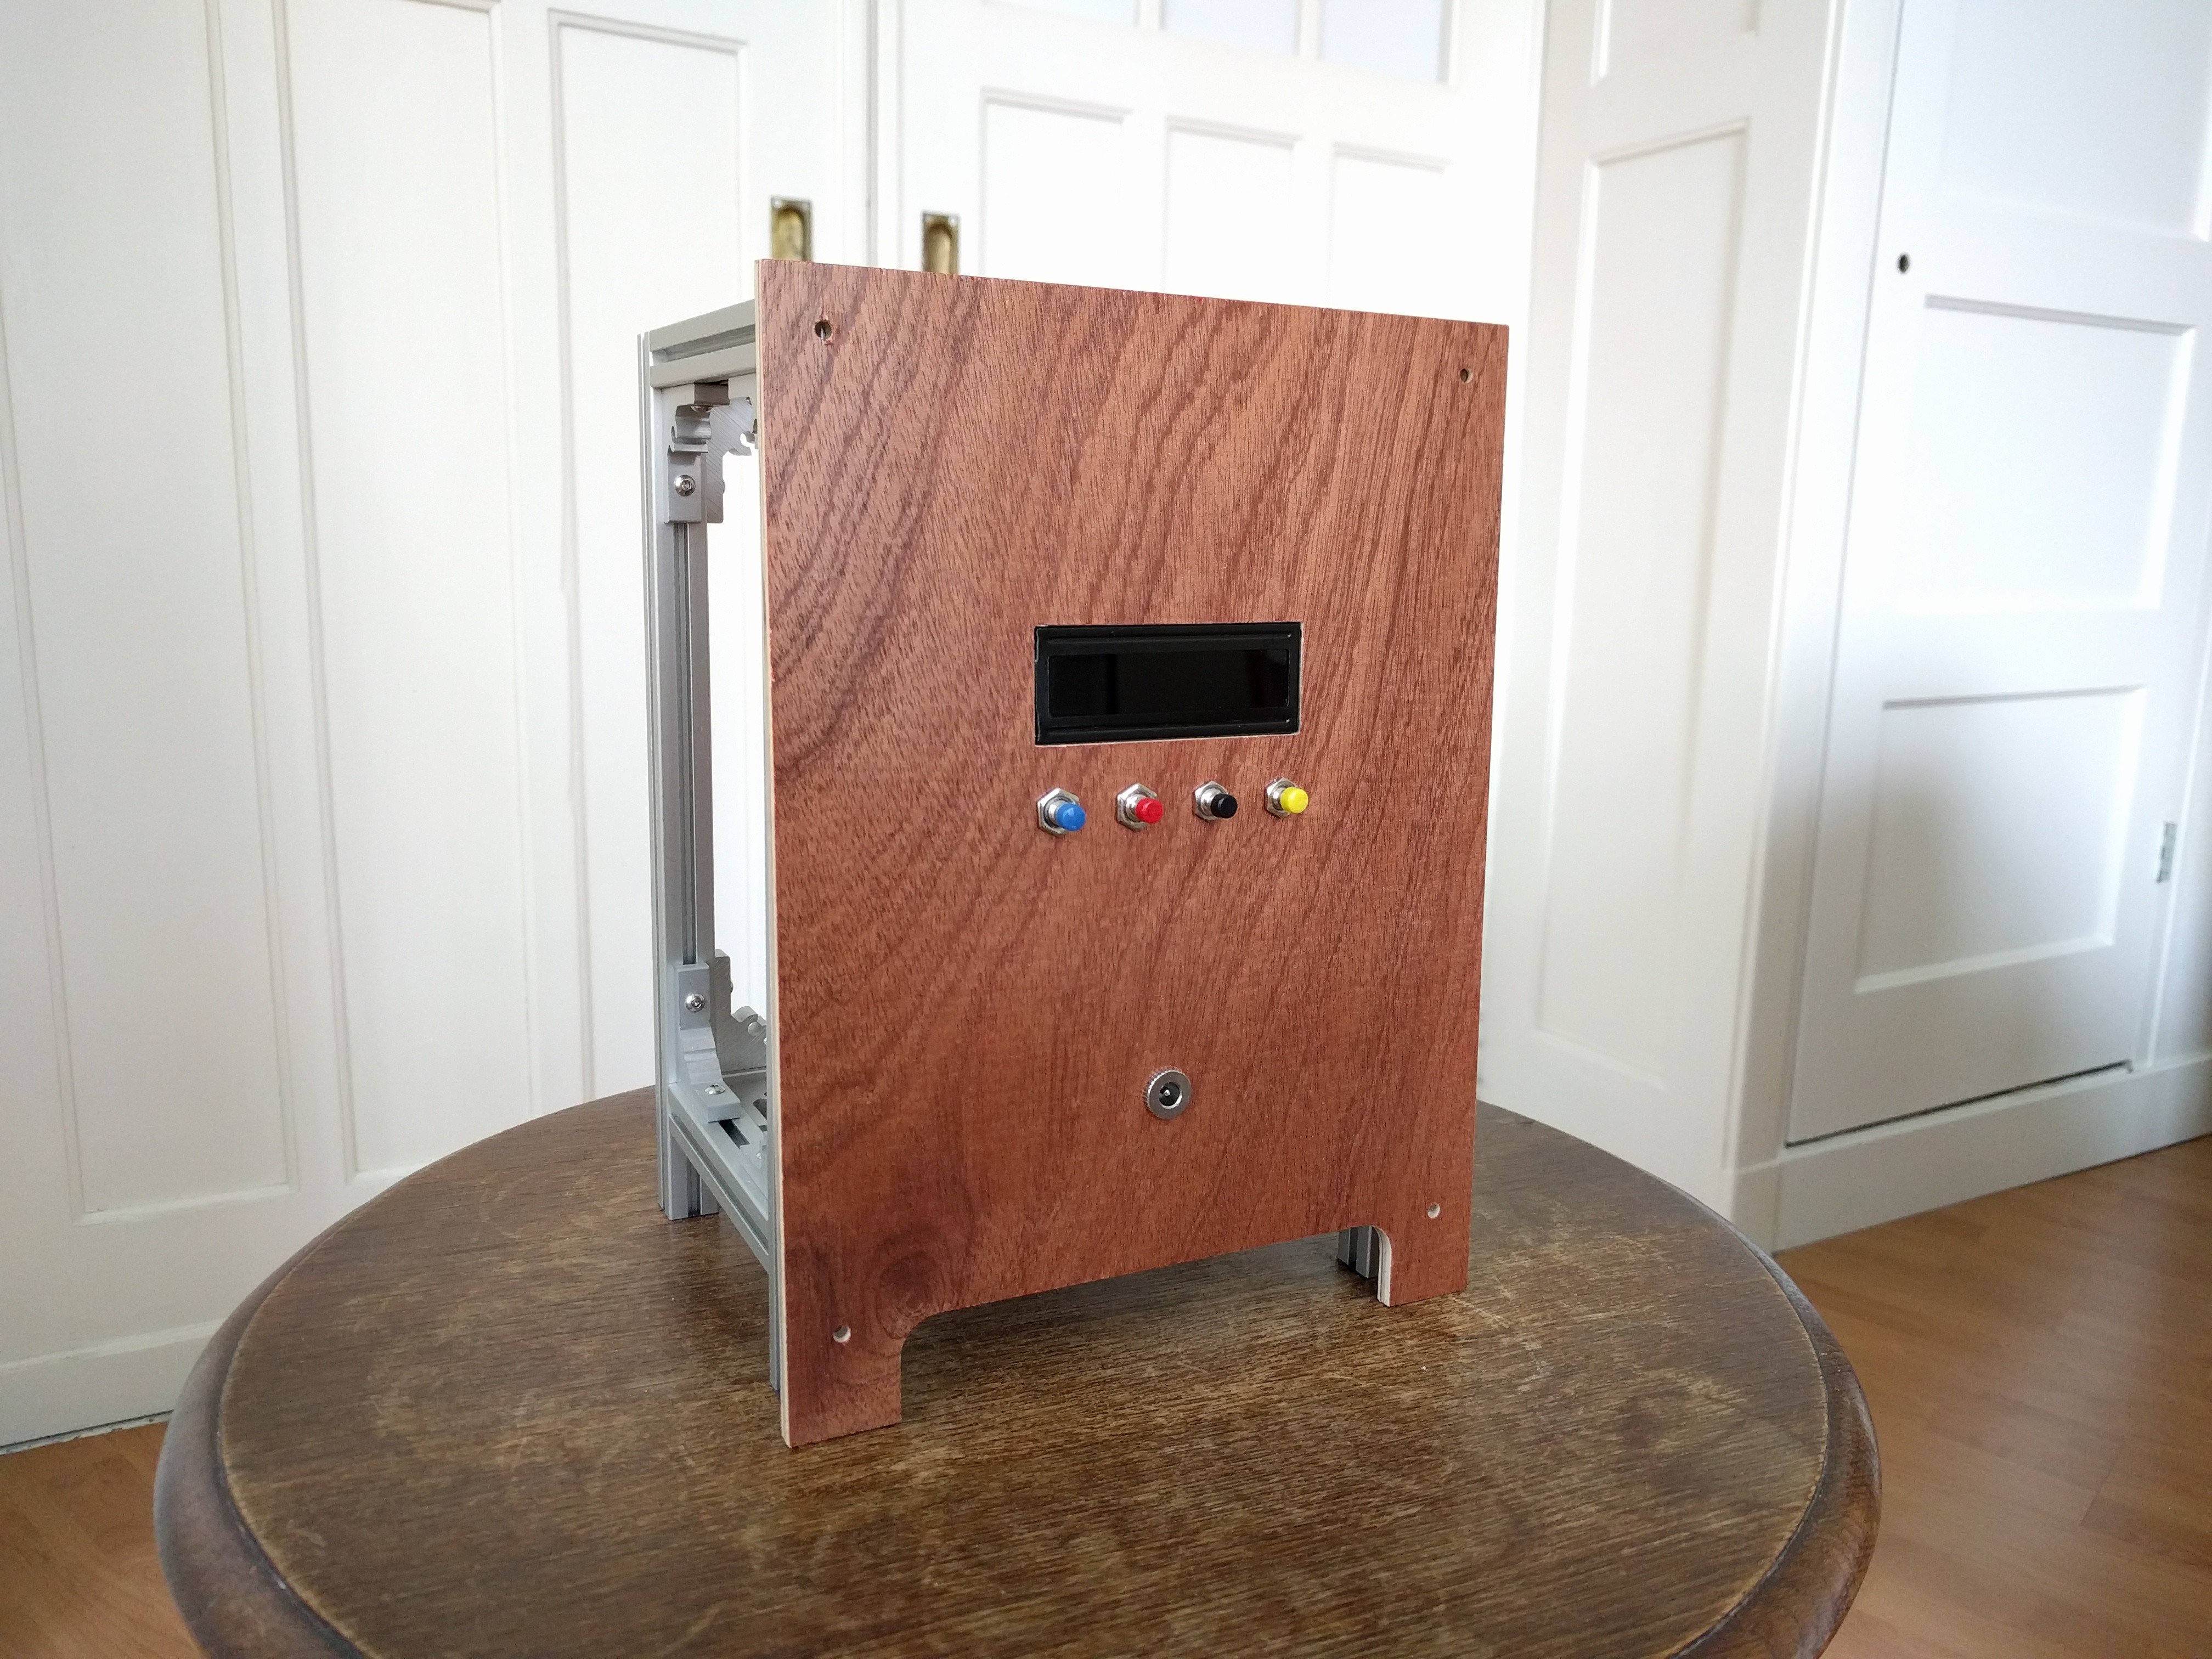
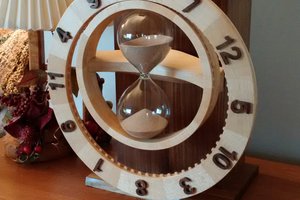
Panel meter Moon phase Clock
A mantle style clock that displays the phase of the moon with an large old (30/40 years) analogue panel meter
Become a Hackaday.io member
Already have an account? Log in.
Just one more thing
To make the experience fit your profile, pick a username and tell us what interests you.
Pick an awesome username
hackaday.io/
Your profile's URL: hackaday.io/username. Max 25 alphanumeric characters.
Pick a few interests
Projects that share your interests
People that share your interests


 Andrew Cooney
 Jan
Jan
The description emphasises that both amateur and professional photographers will find the MOD APK to be an appealing alternative for those looking to improve their images without having to make the kind of financial commitment that comes with the Lightroom programme. https://adobelightroomapp.com/