 samvl
samvl-
1Step 1
Lay out the laser-cut frame as in the picture.
![]()
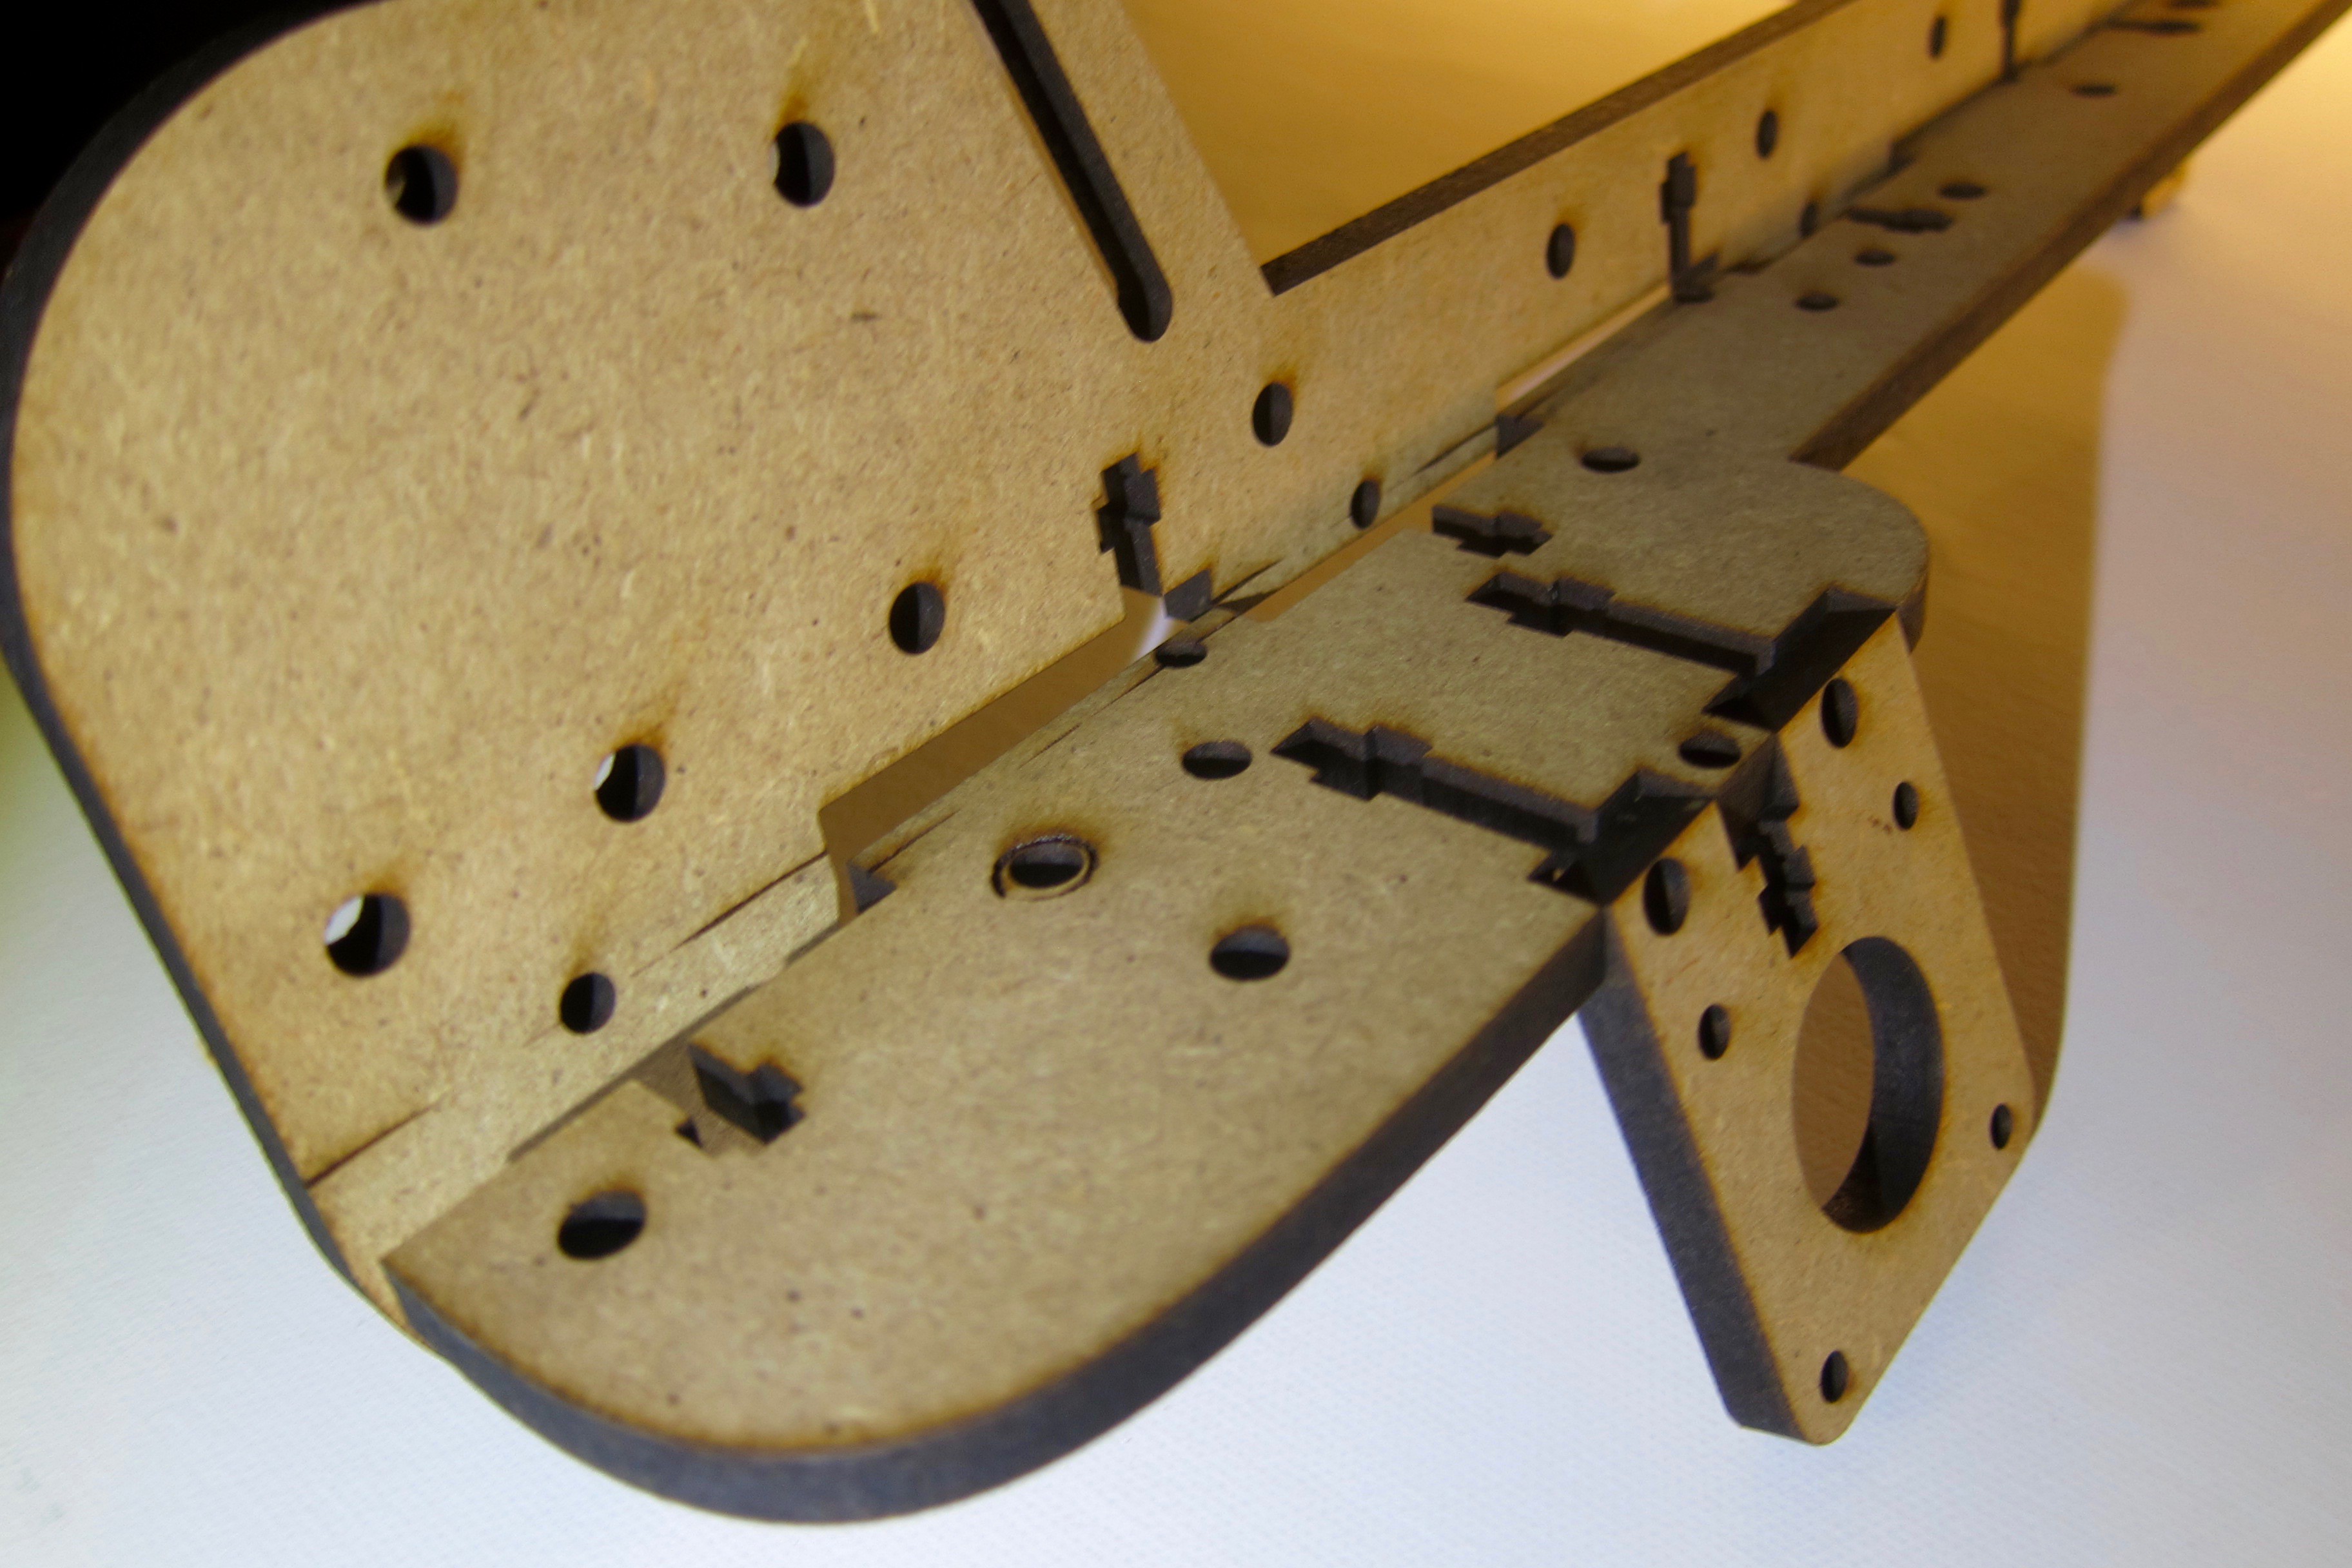
Align the pieces so that the scorched line is covered as in the picture.
![]()
Assemble the other half.
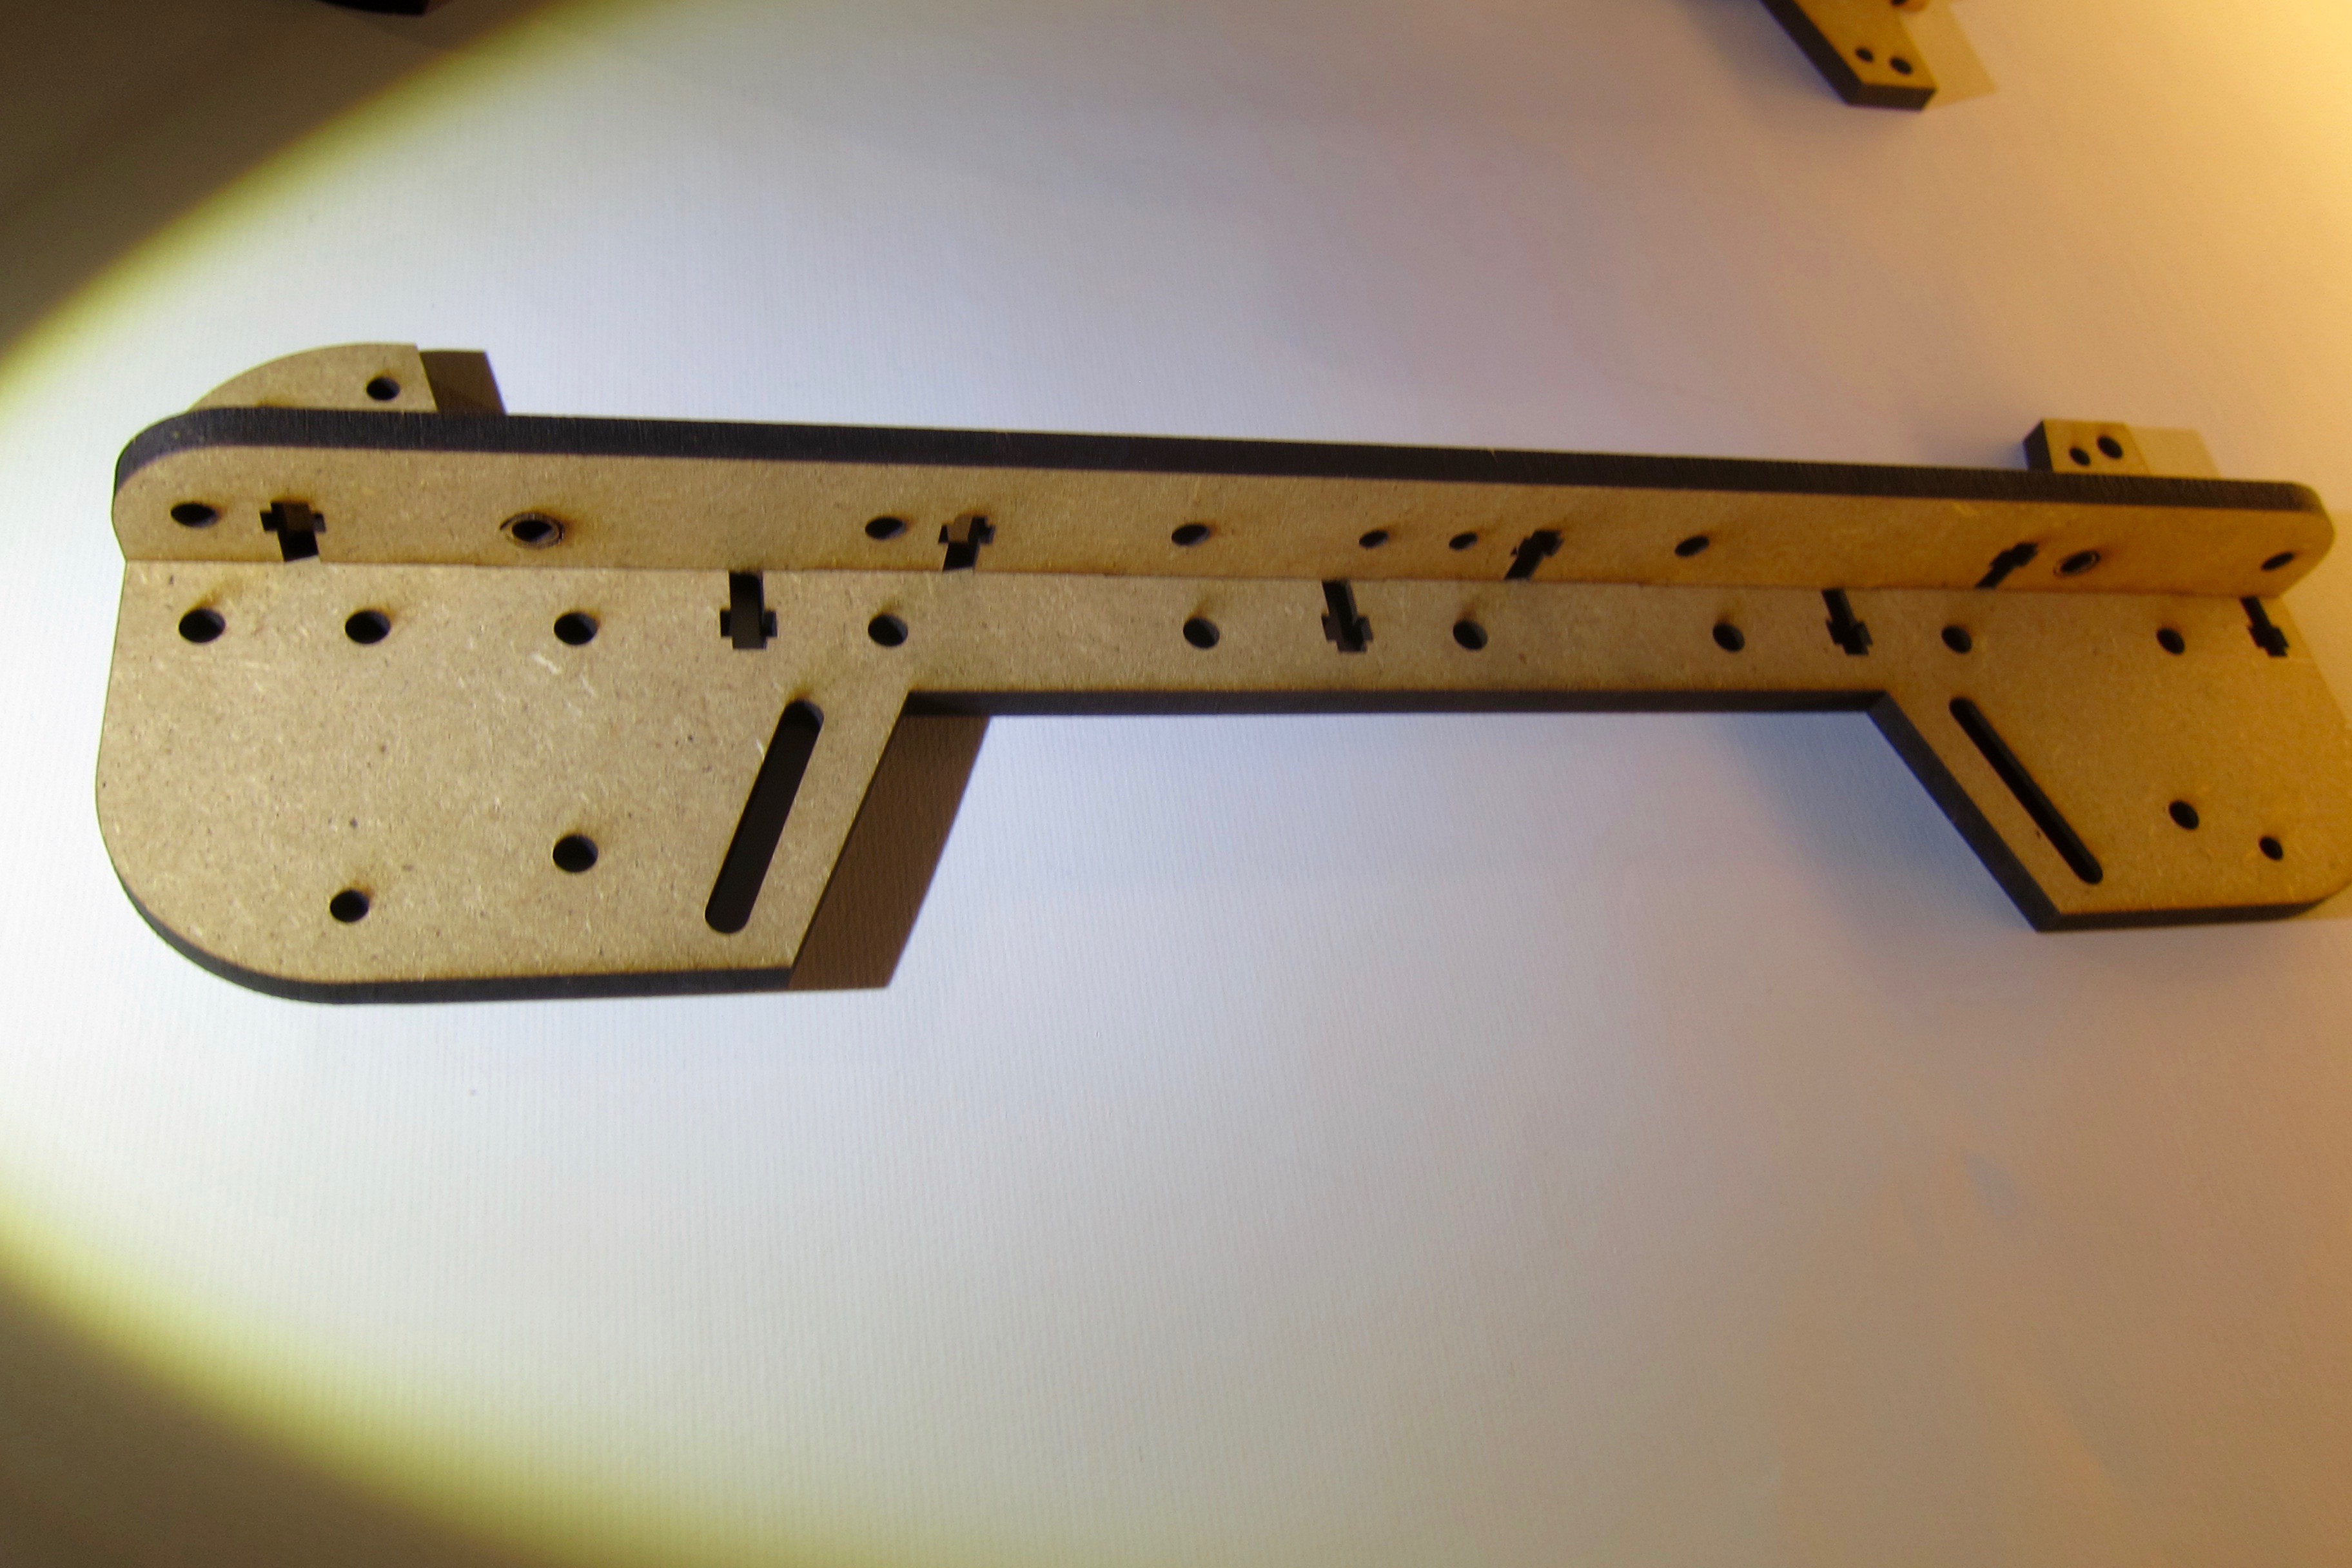
![]() The assembly should look like this.
The assembly should look like this. -
2Step 2
Use 8 M4x20 bolts and nuts with a locking washer to connect each side of the frame.
![]()
![]()
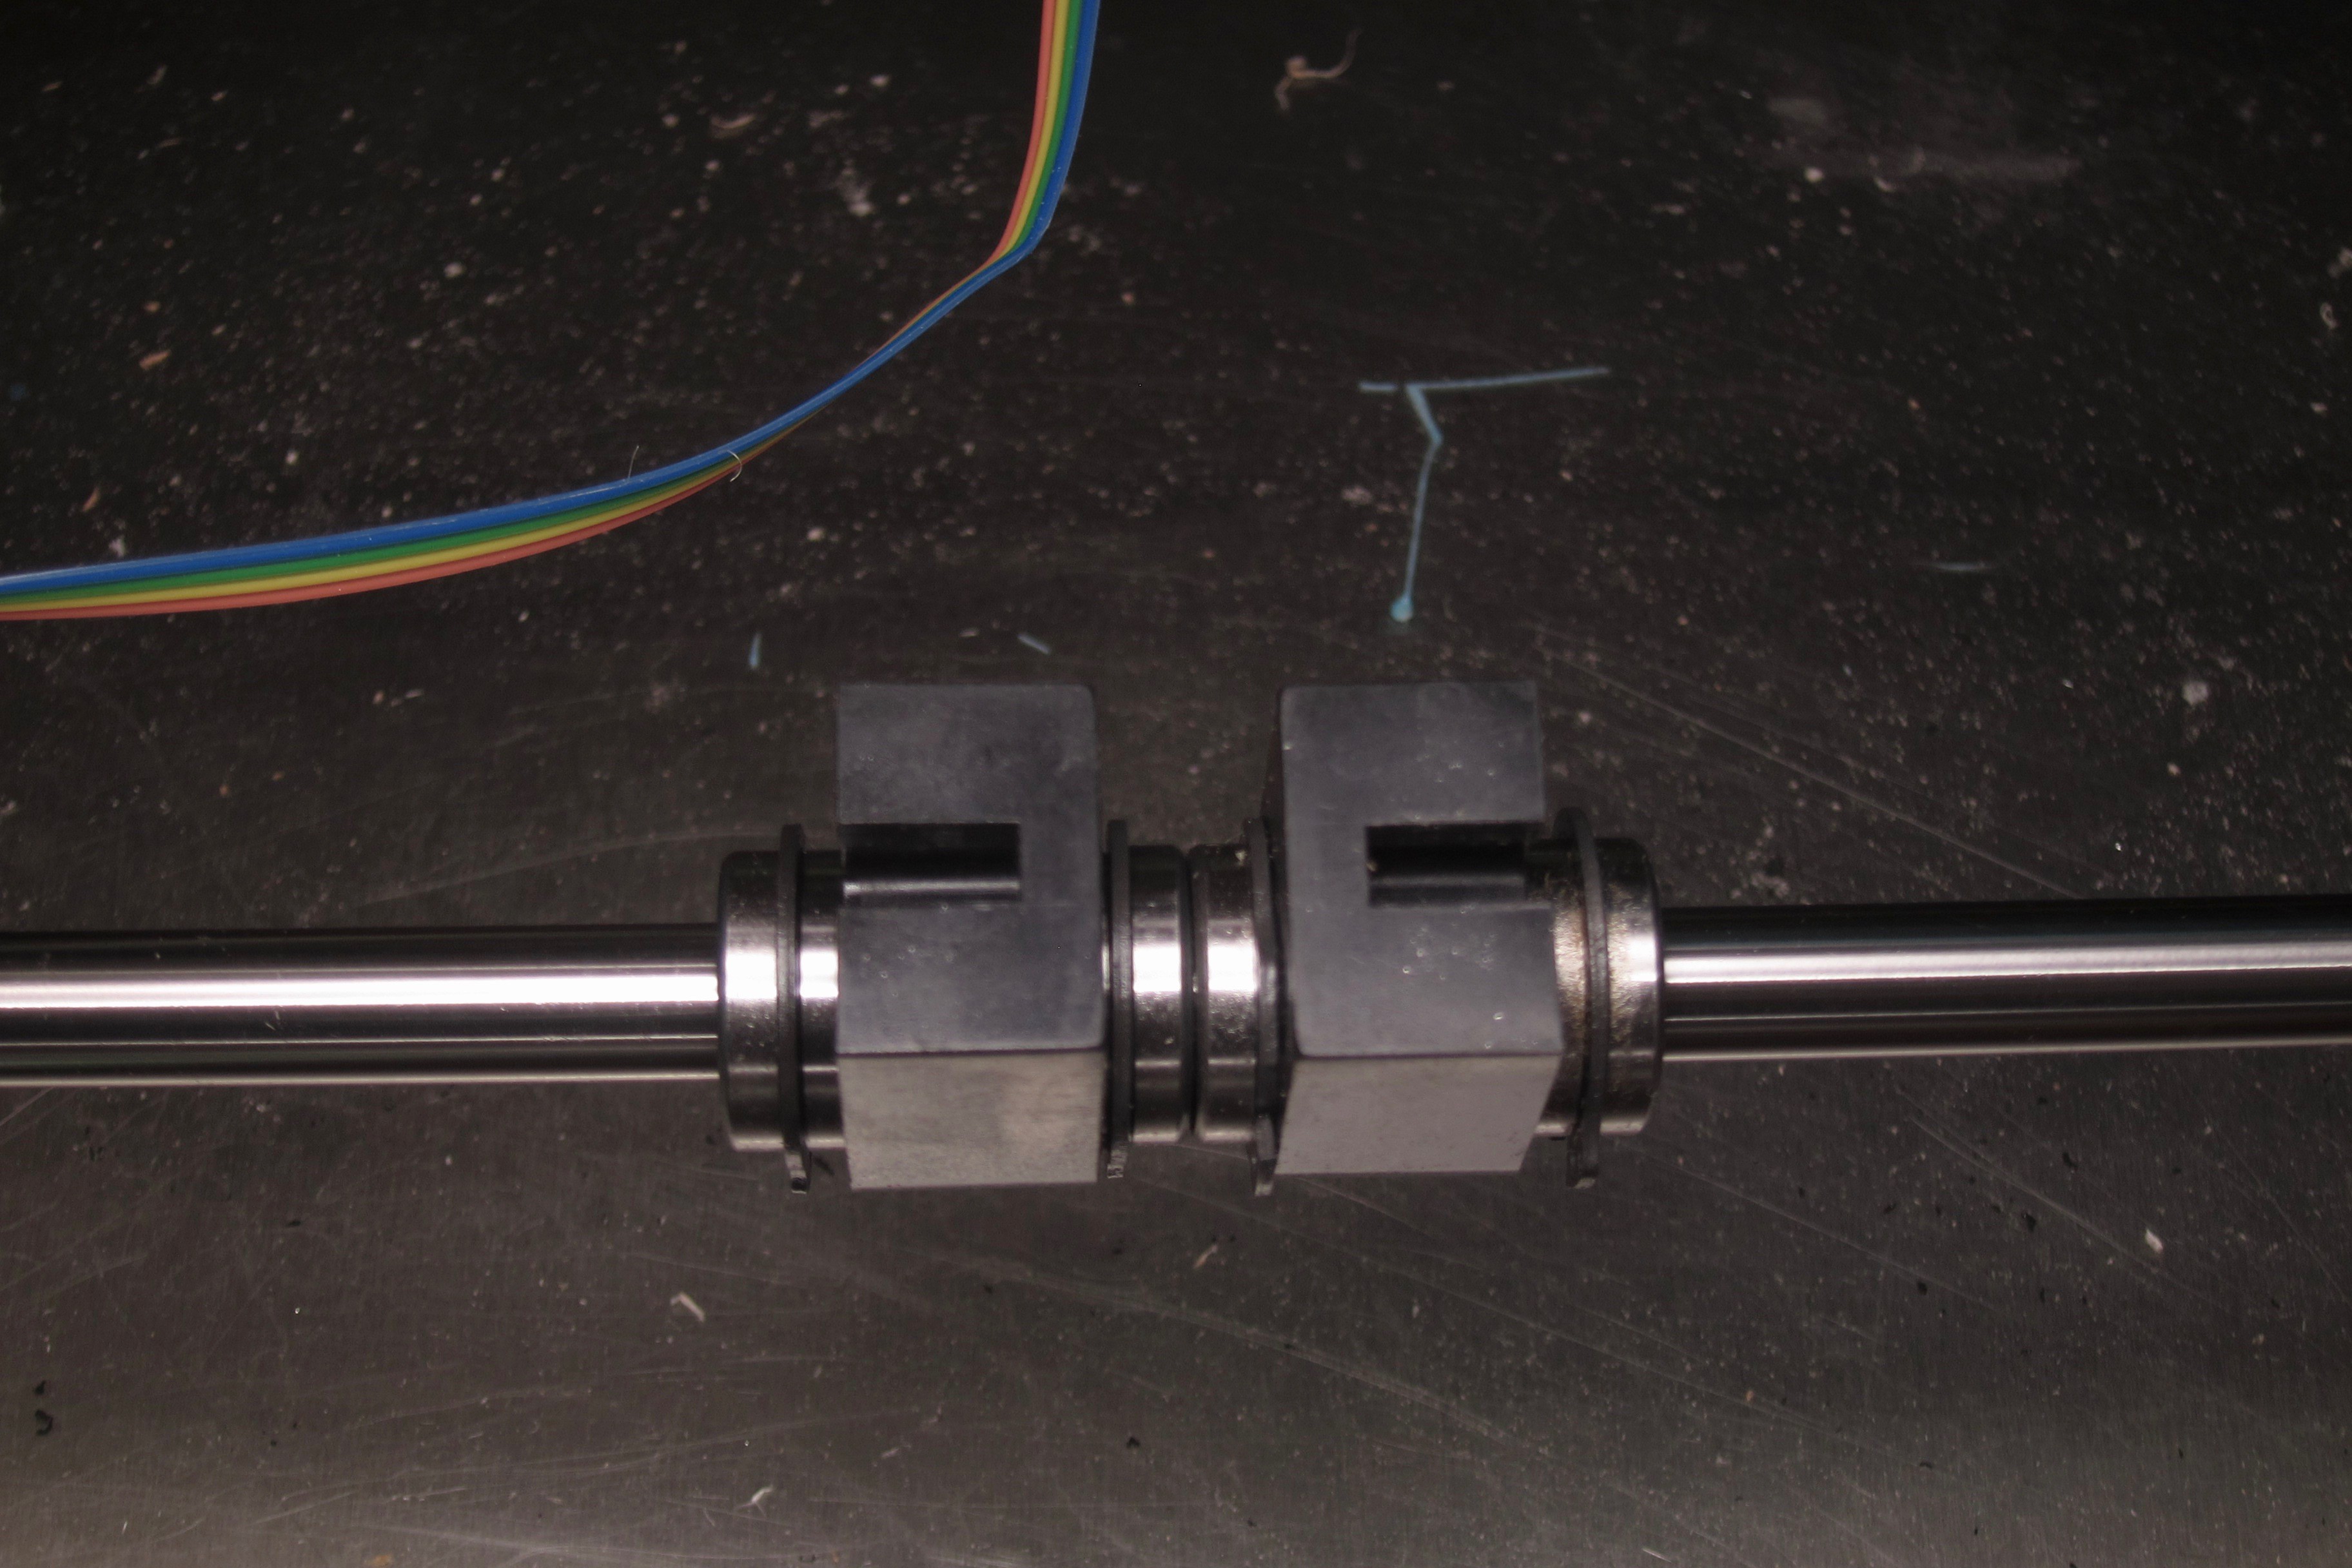
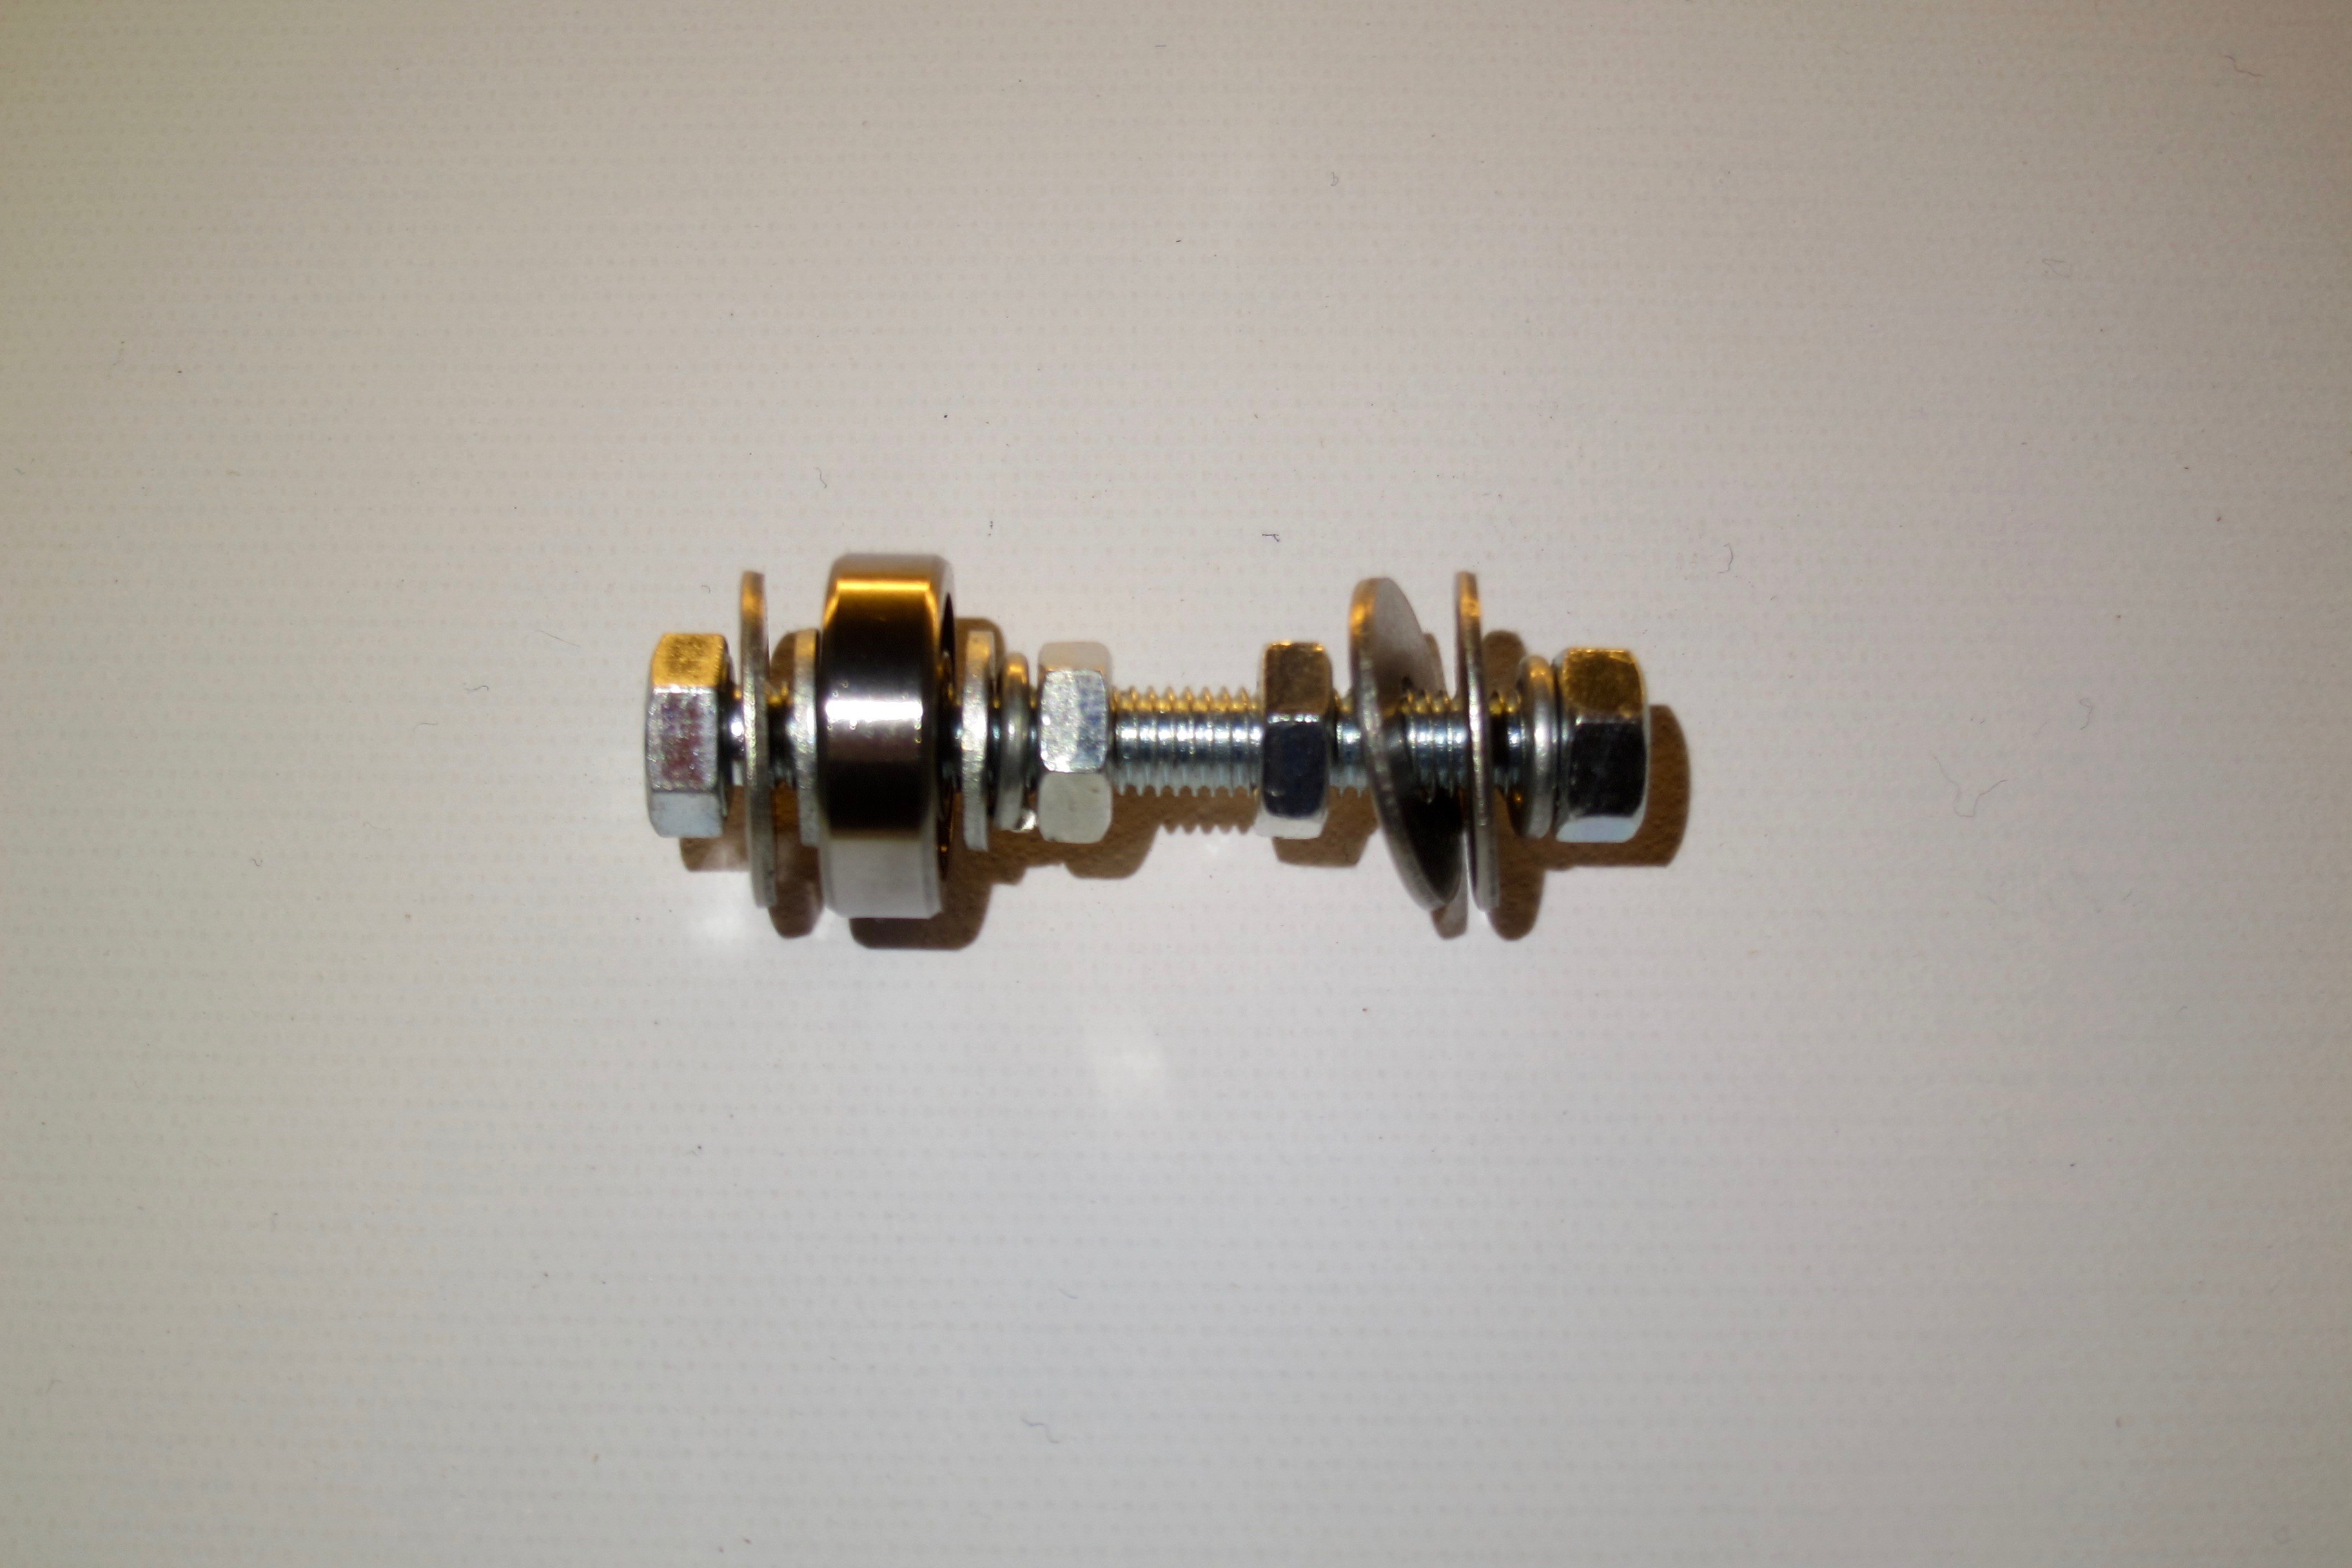
For the motor mount make two assemblies as displayed, from two M5x40 bolts, three diameter 10mm M5 washers and 2 diameter 20mm washers and a 525 bearing.
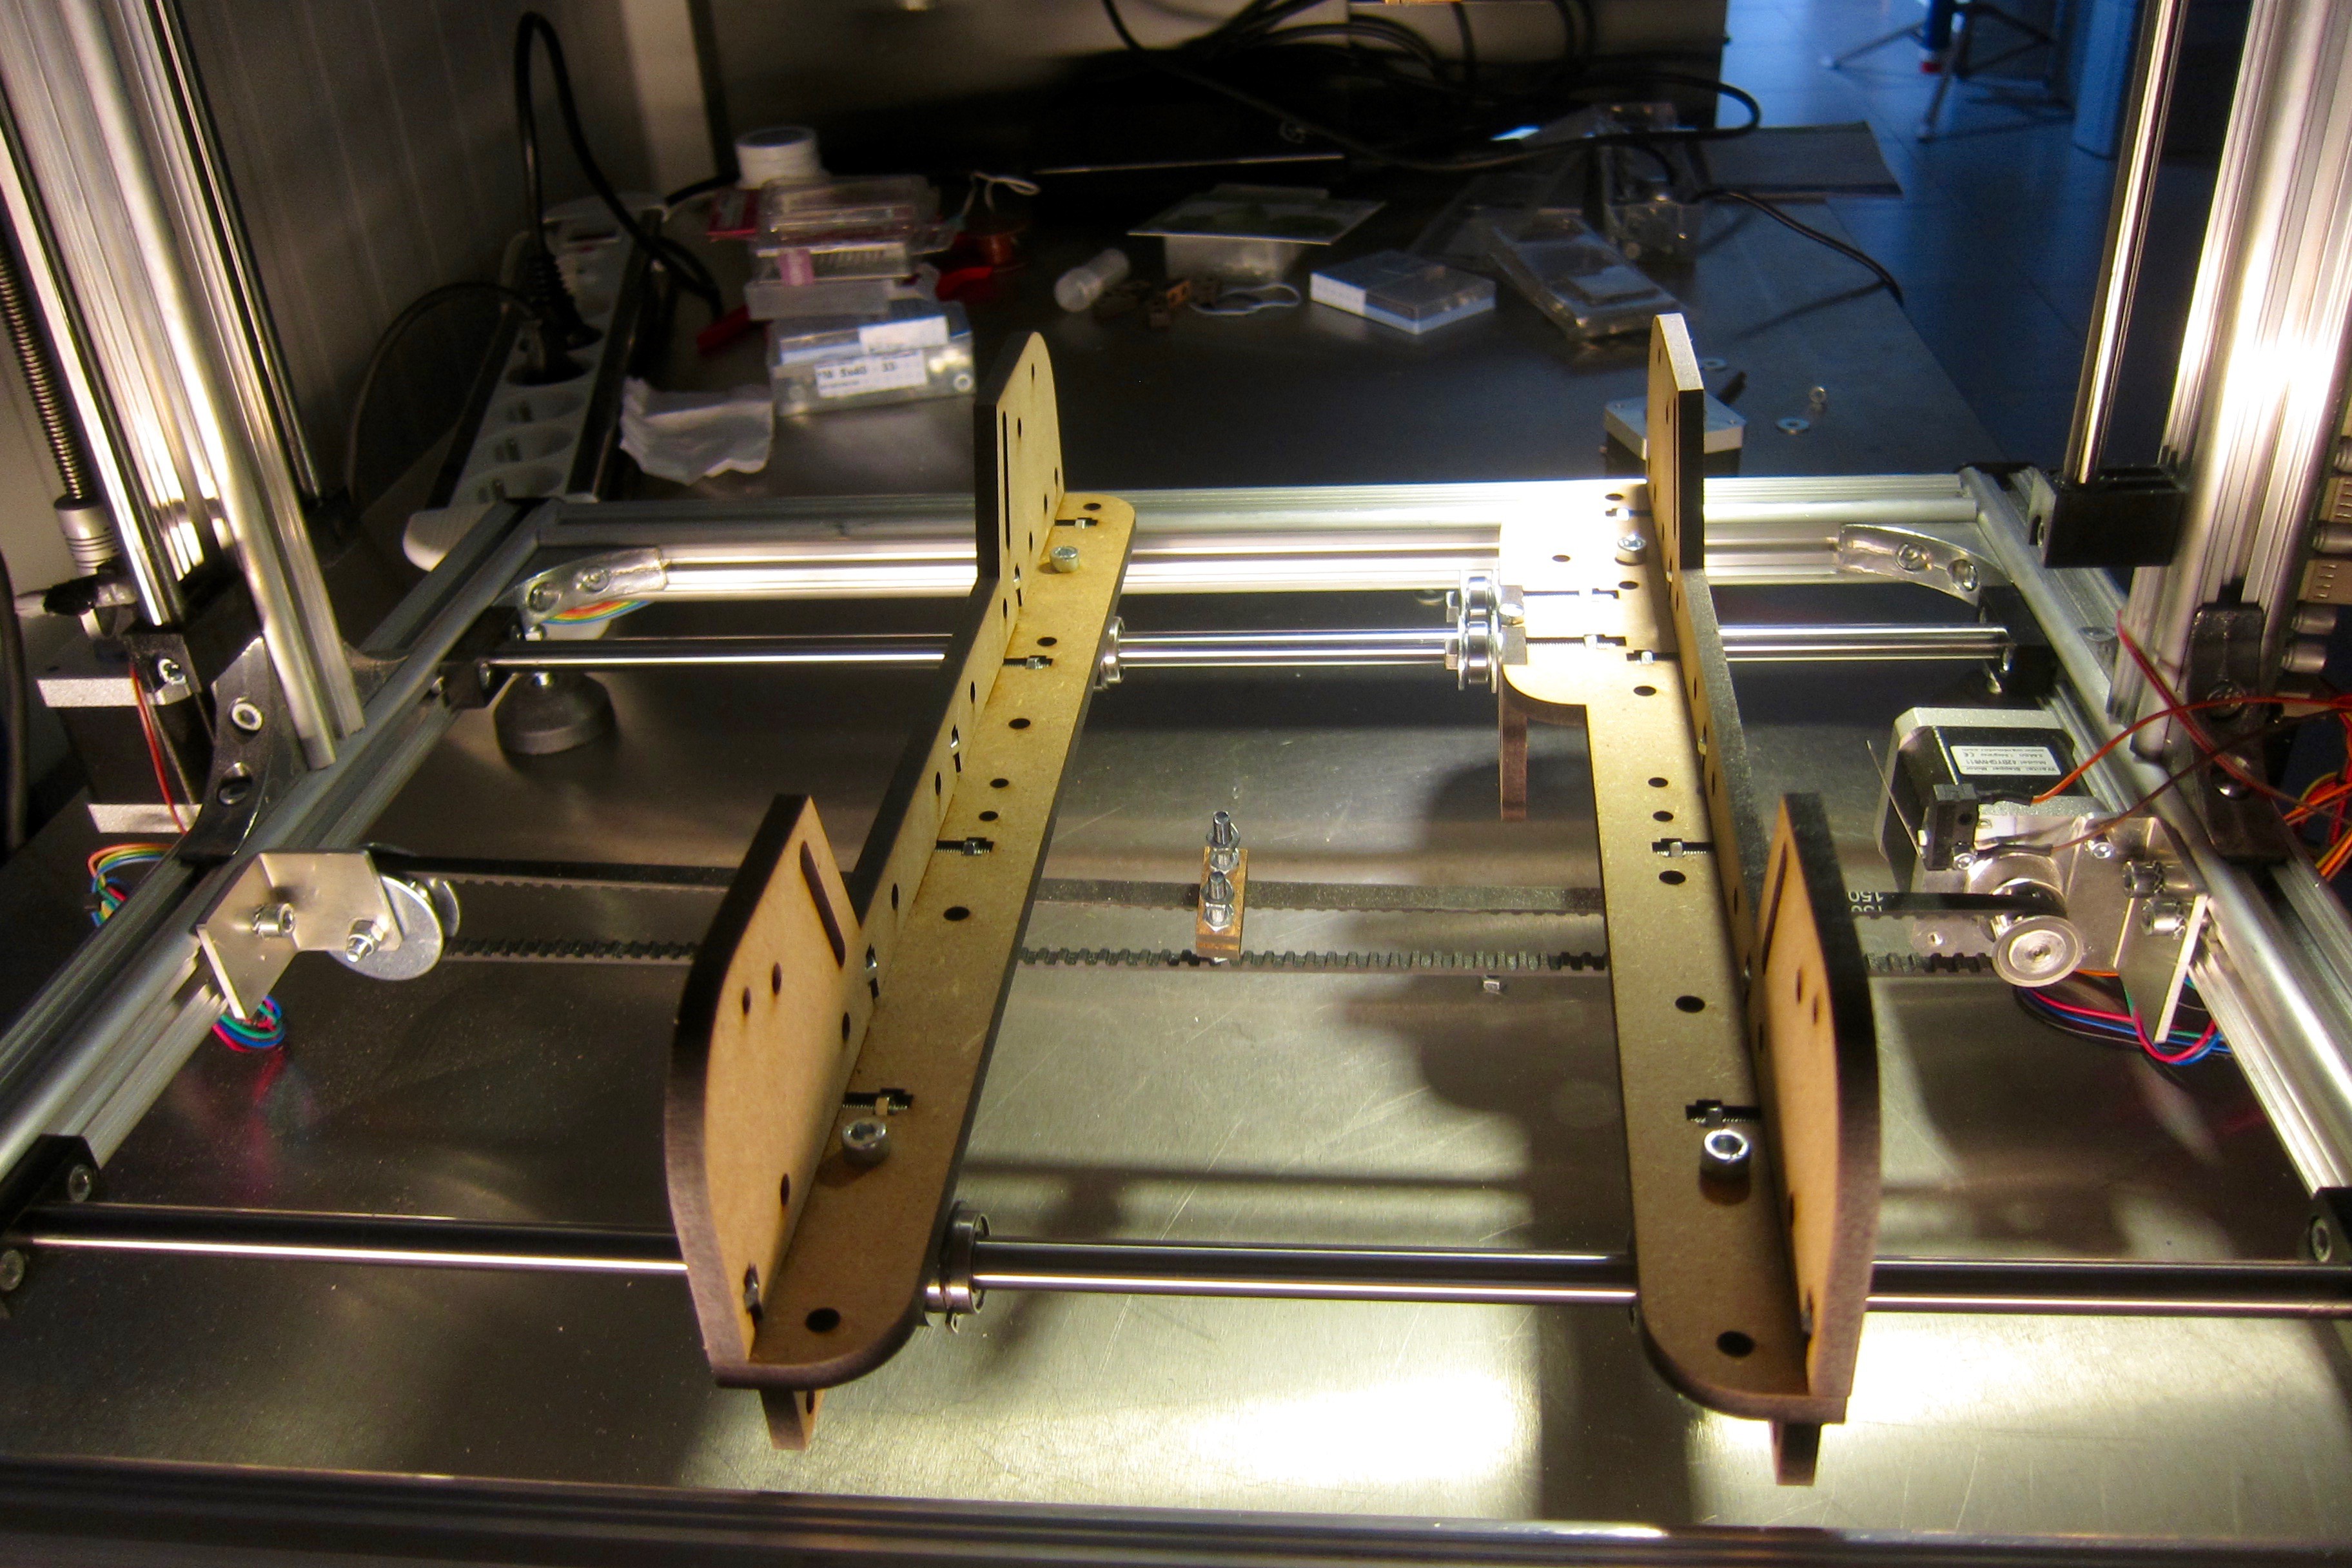
![]() Then connect the stepper mount with these two as in the picture. Use an M4x15 nut and bolt for the central connection.
Then connect the stepper mount with these two as in the picture. Use an M4x15 nut and bolt for the central connection.![]()
![]()
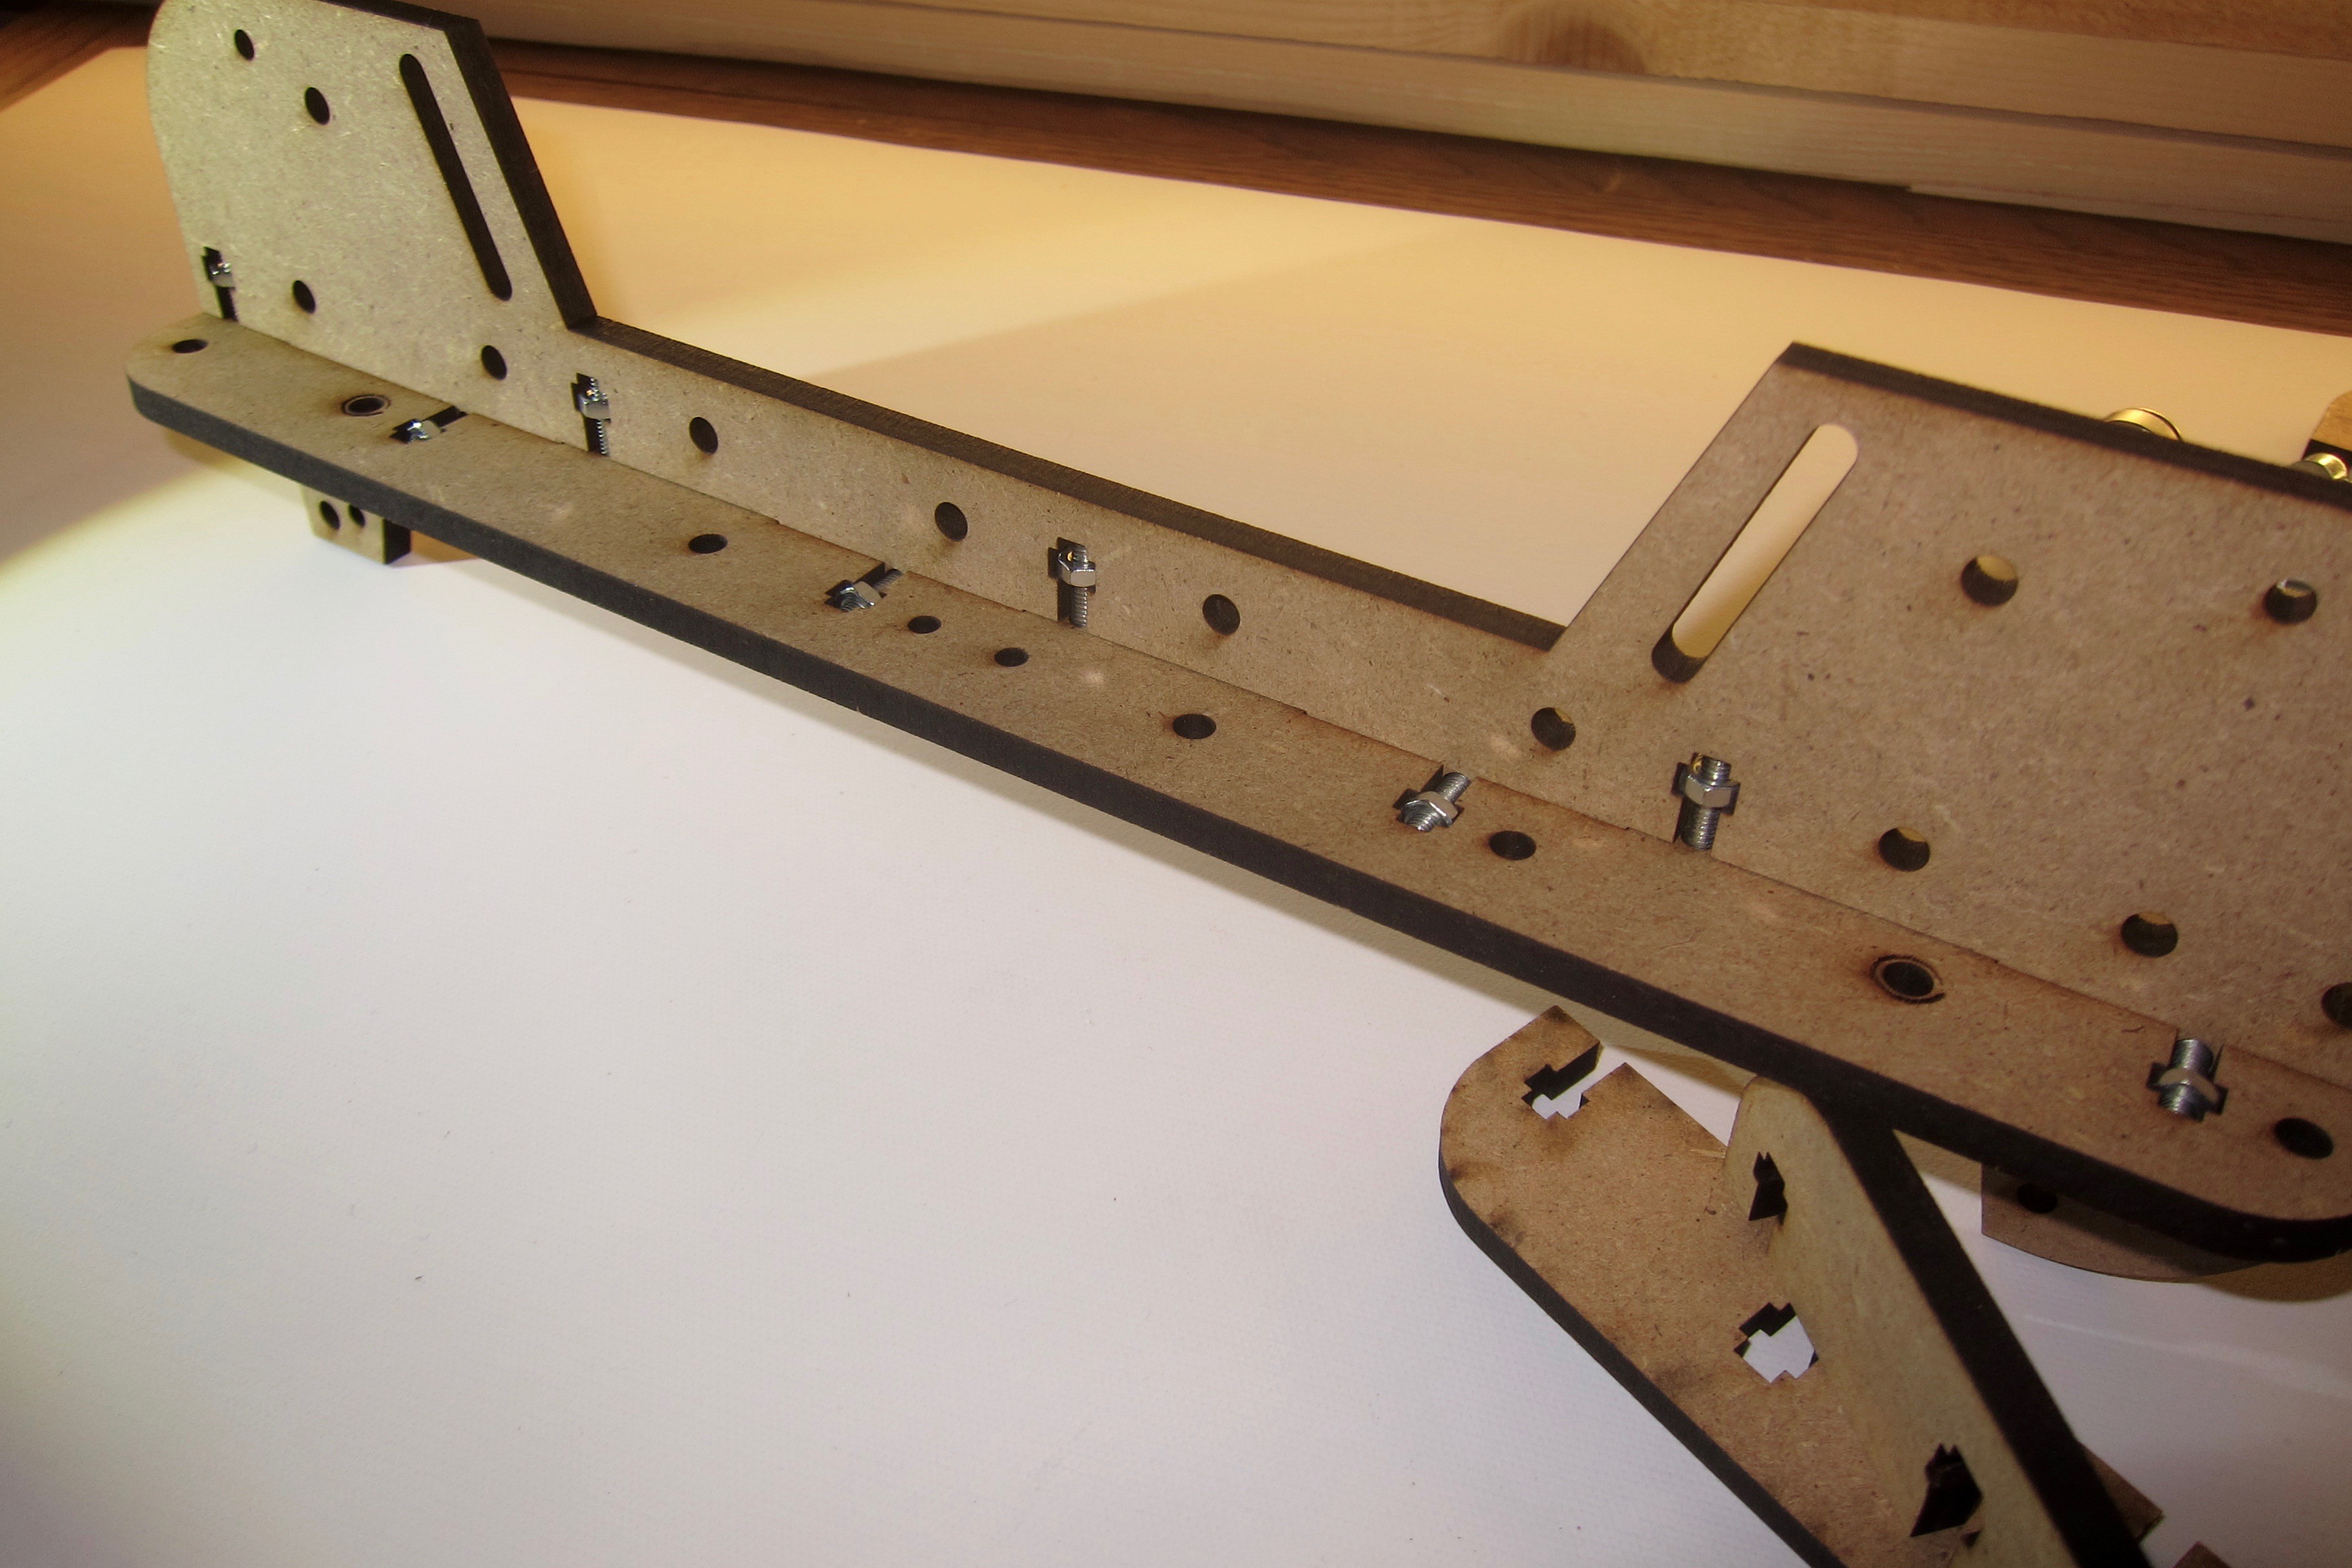
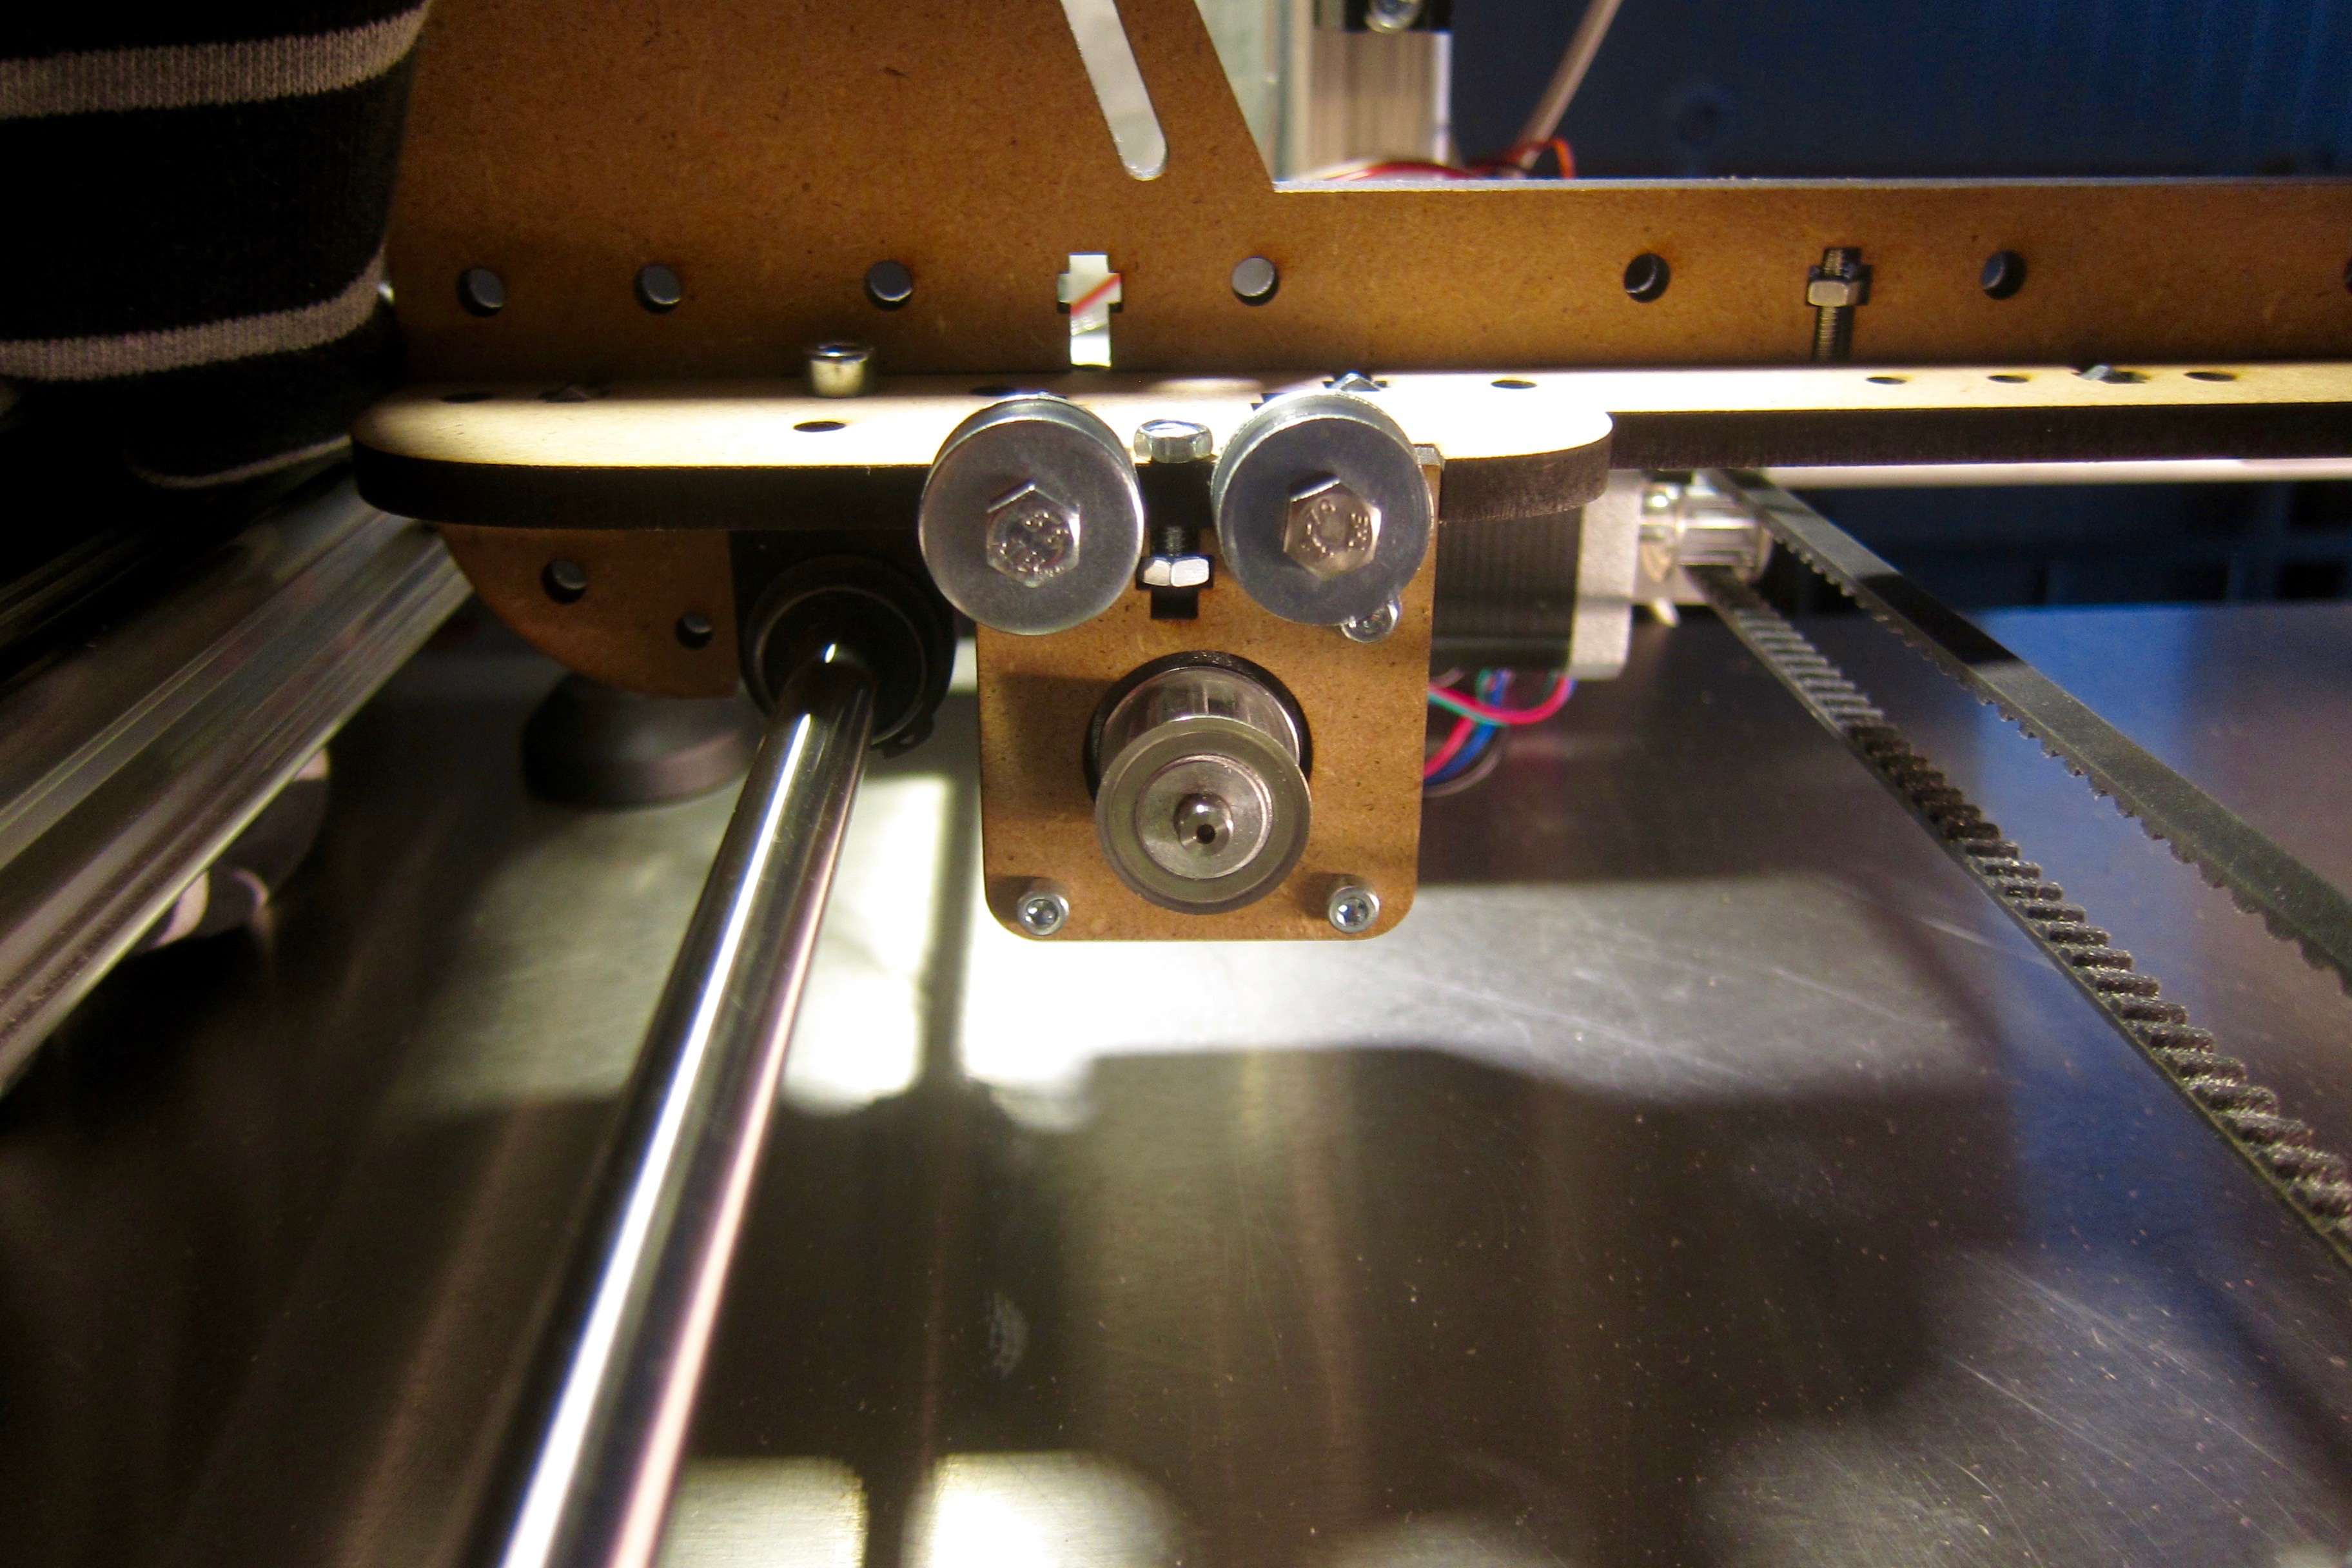
The other side should look like this, notice that the scorched holes are on top.
-
3Step 3
Use two smaller M4 sized laser cut belt clamps and two M4x40 bolts and four nuts. Then connect this assembly to the X-carriage belt clamping both ends together. Tightening the X-belt is done in the same way as before (by lining up the idler bearing).
![]()
-
4Step 4
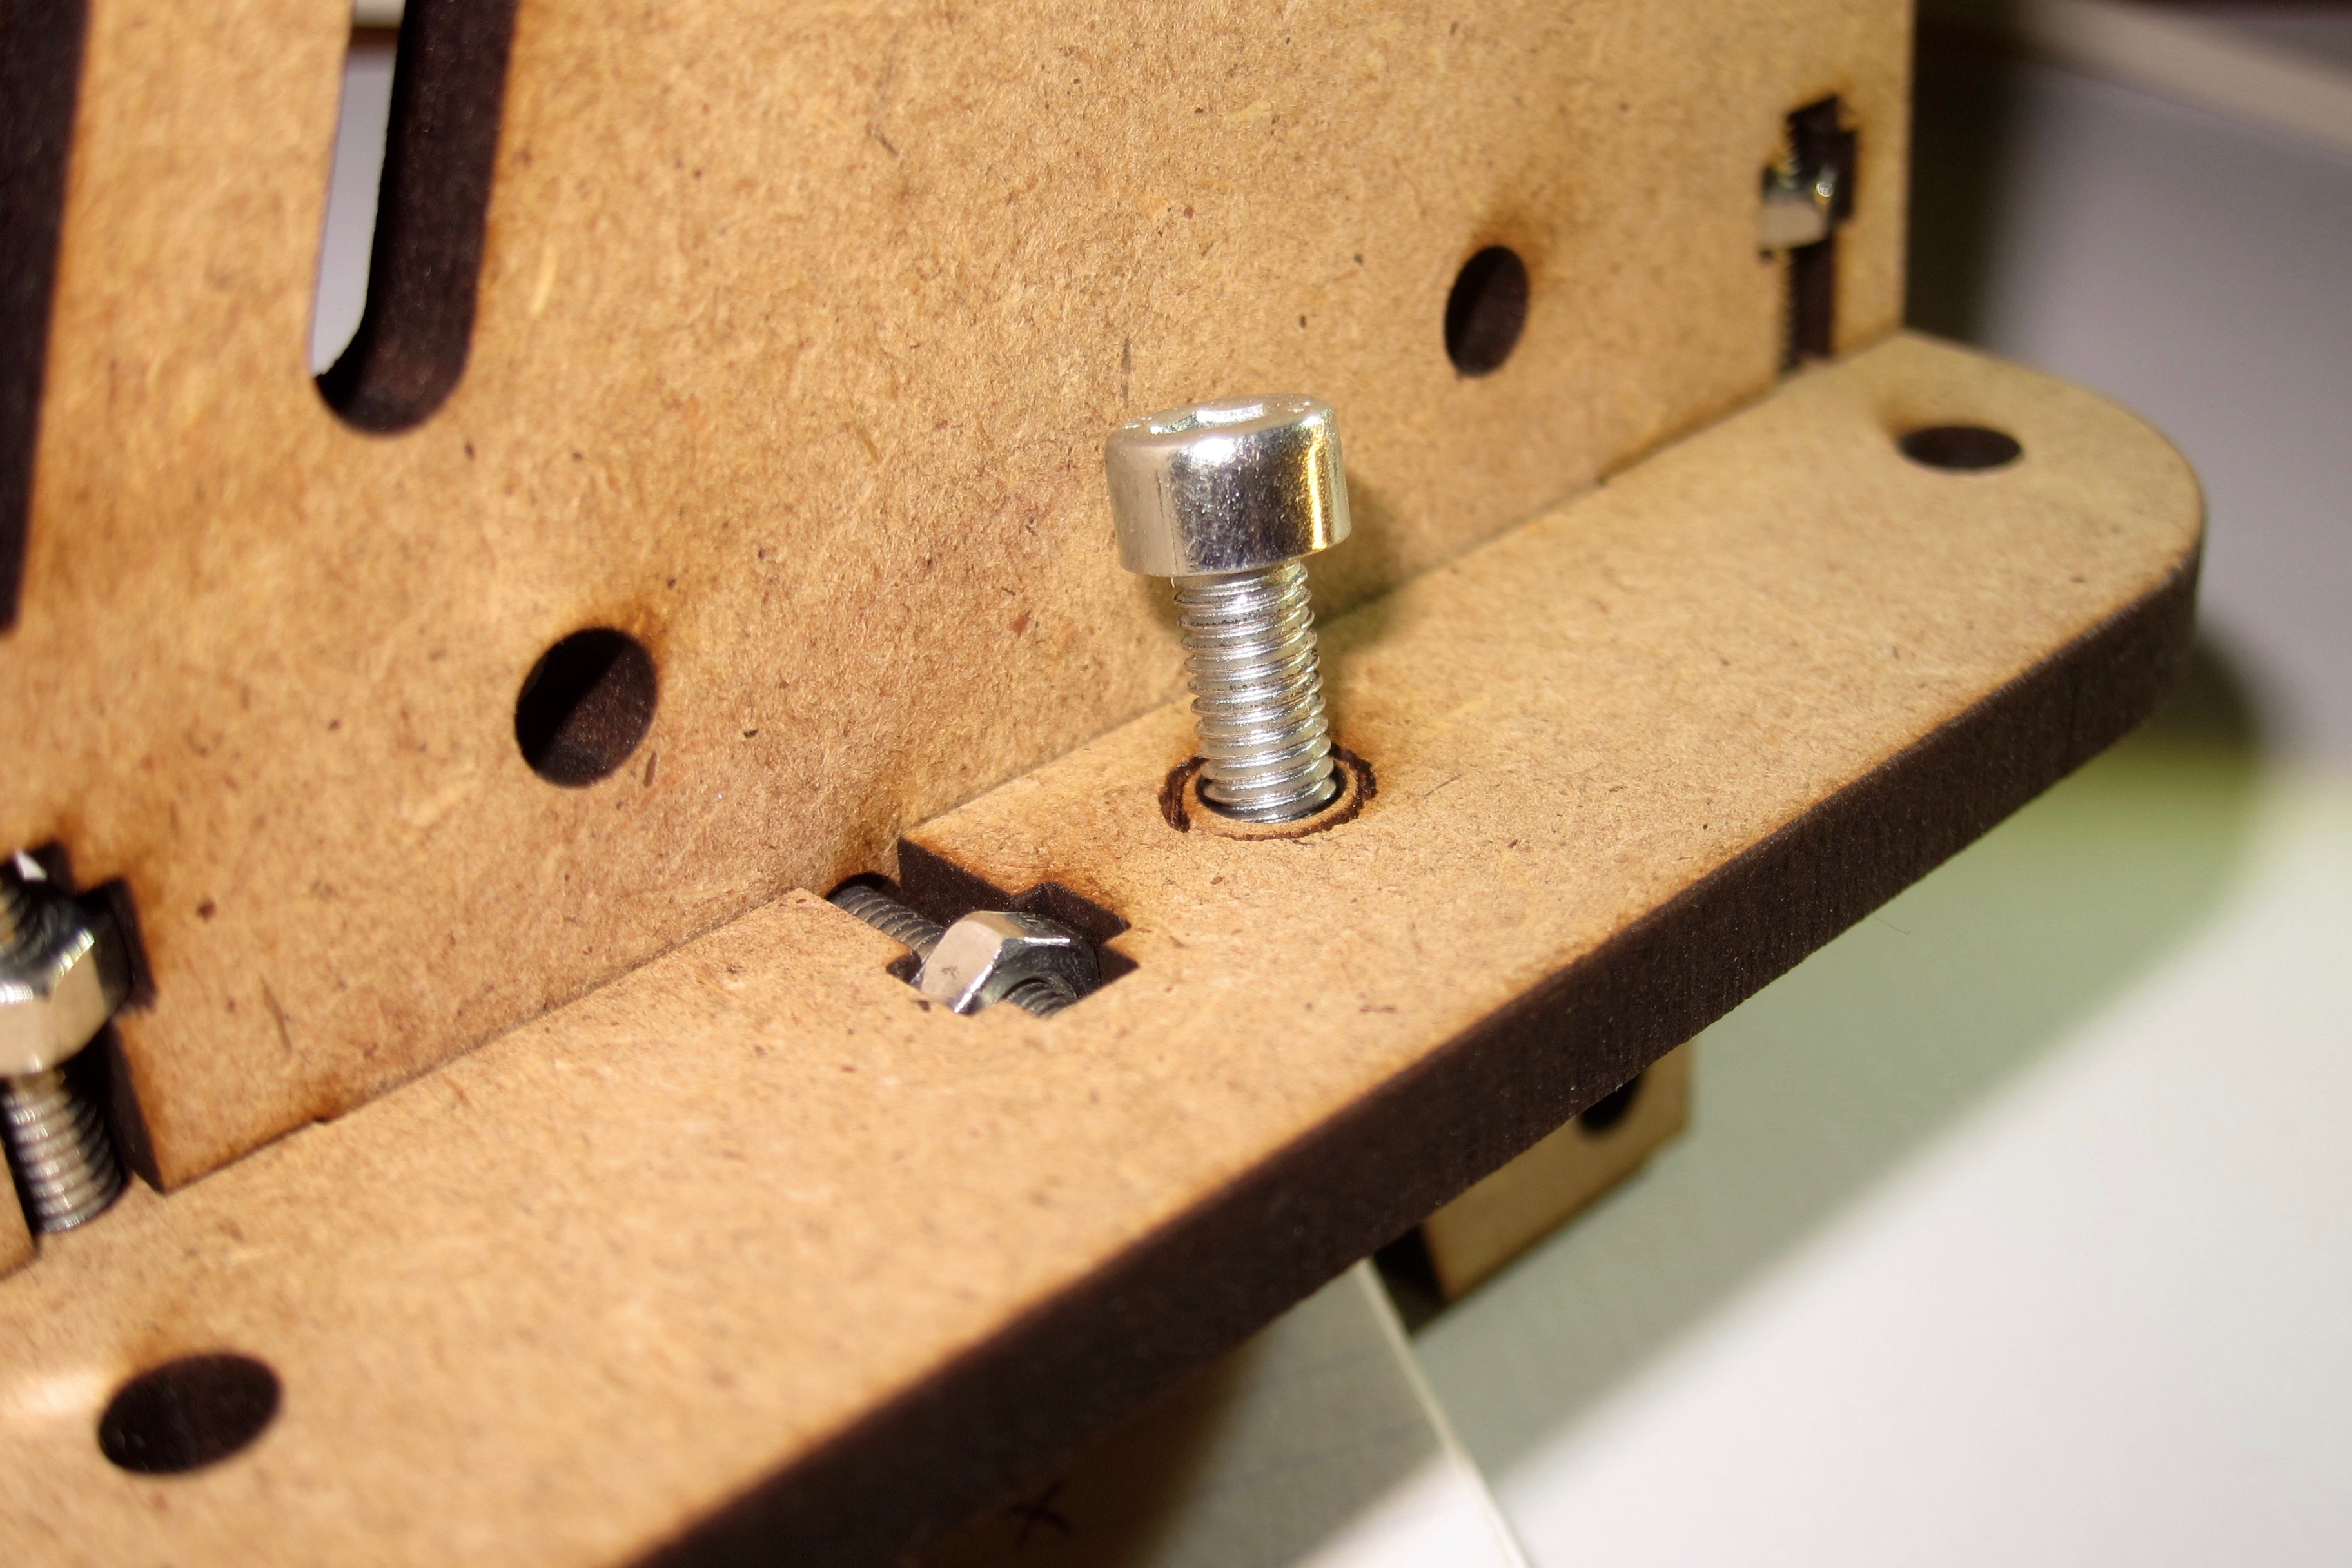
The scorched holes will be used to connect to the previous X-carriage mounting points.
![]()
Connect the original M5 nuts and washers and barely bolt them on, so we can slide them into the slots in the mounts.
![]()
![]()
Do one side then the other.
![]()
![]()
When both are aligned, tighten the nuts.
-
5Step 5
Now use some washers and nuts to connect the X-belt to one side.
![]()
And use some M2x10 bolts to connect the Y-stepper motor to its mount.
![]()
-
6Step 6
![]()
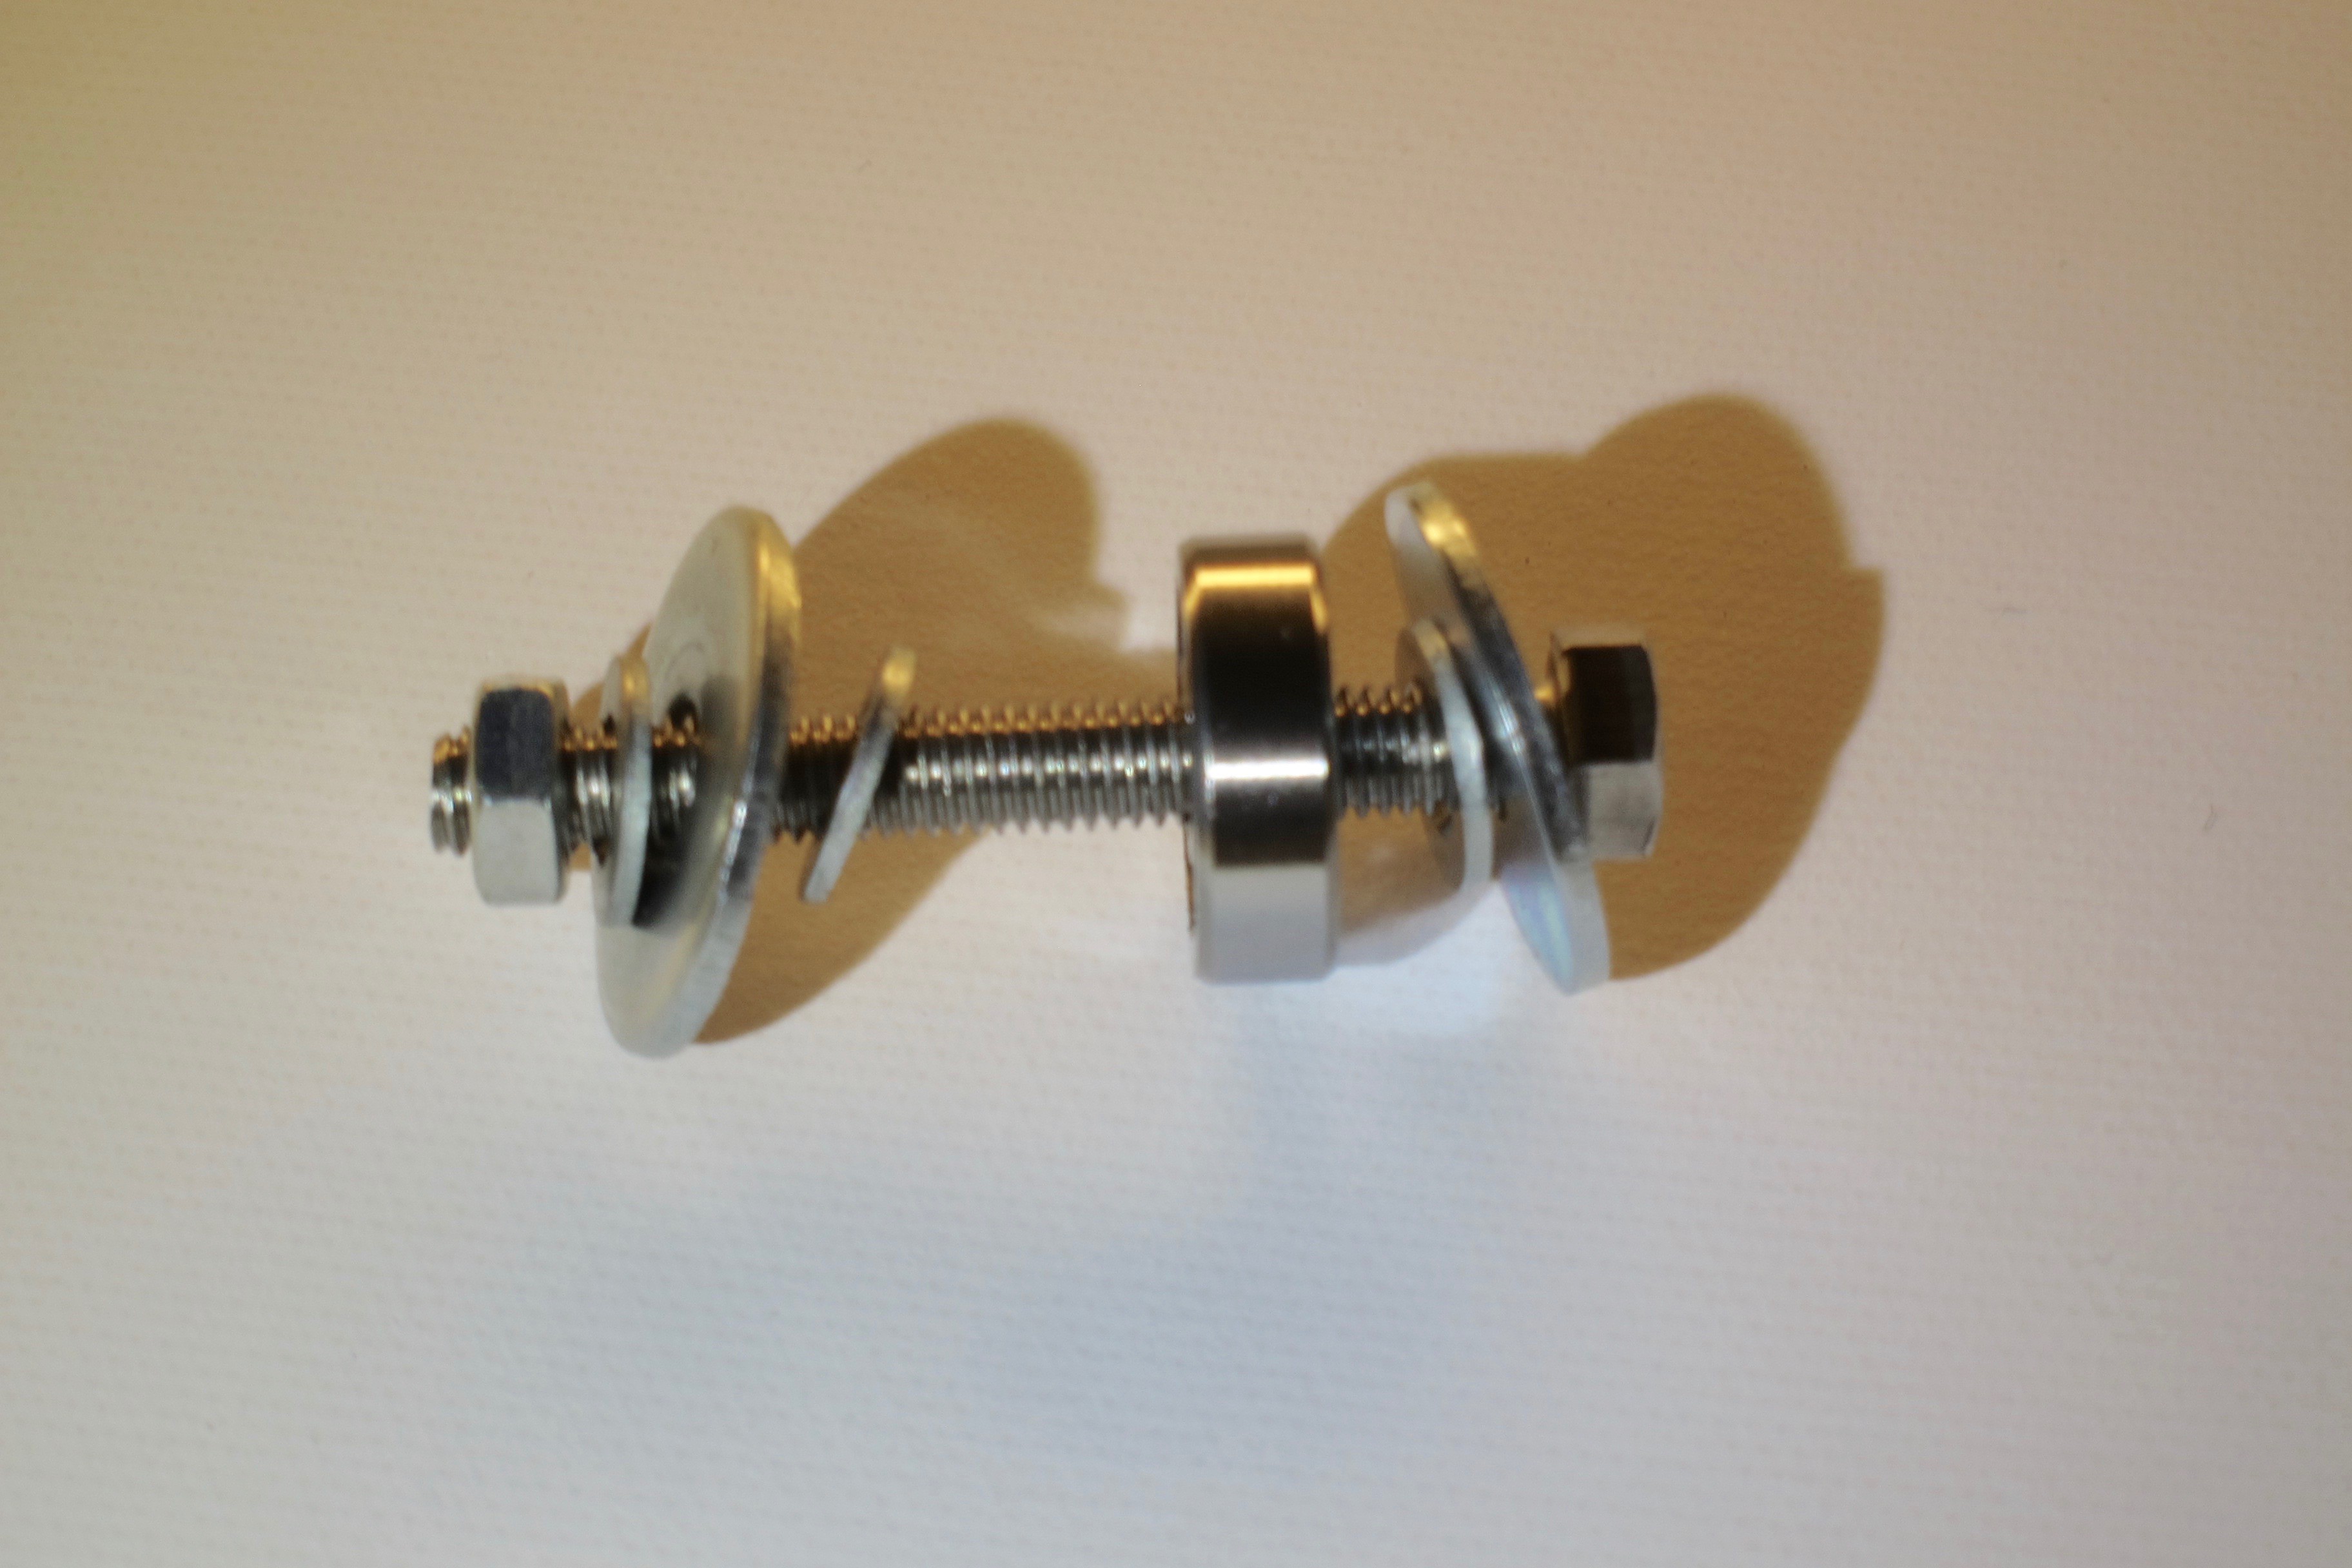
Build four assemblies as shown above. With a M5x40 bolt, a 20mm washer, a 10mm one, the bearing, another 10mm washer, a locking ring, a nut and then another nut, two 20mm washers, a locking ring and a final nut. These will form the horizontal guides. Mount them as shown.
![]()
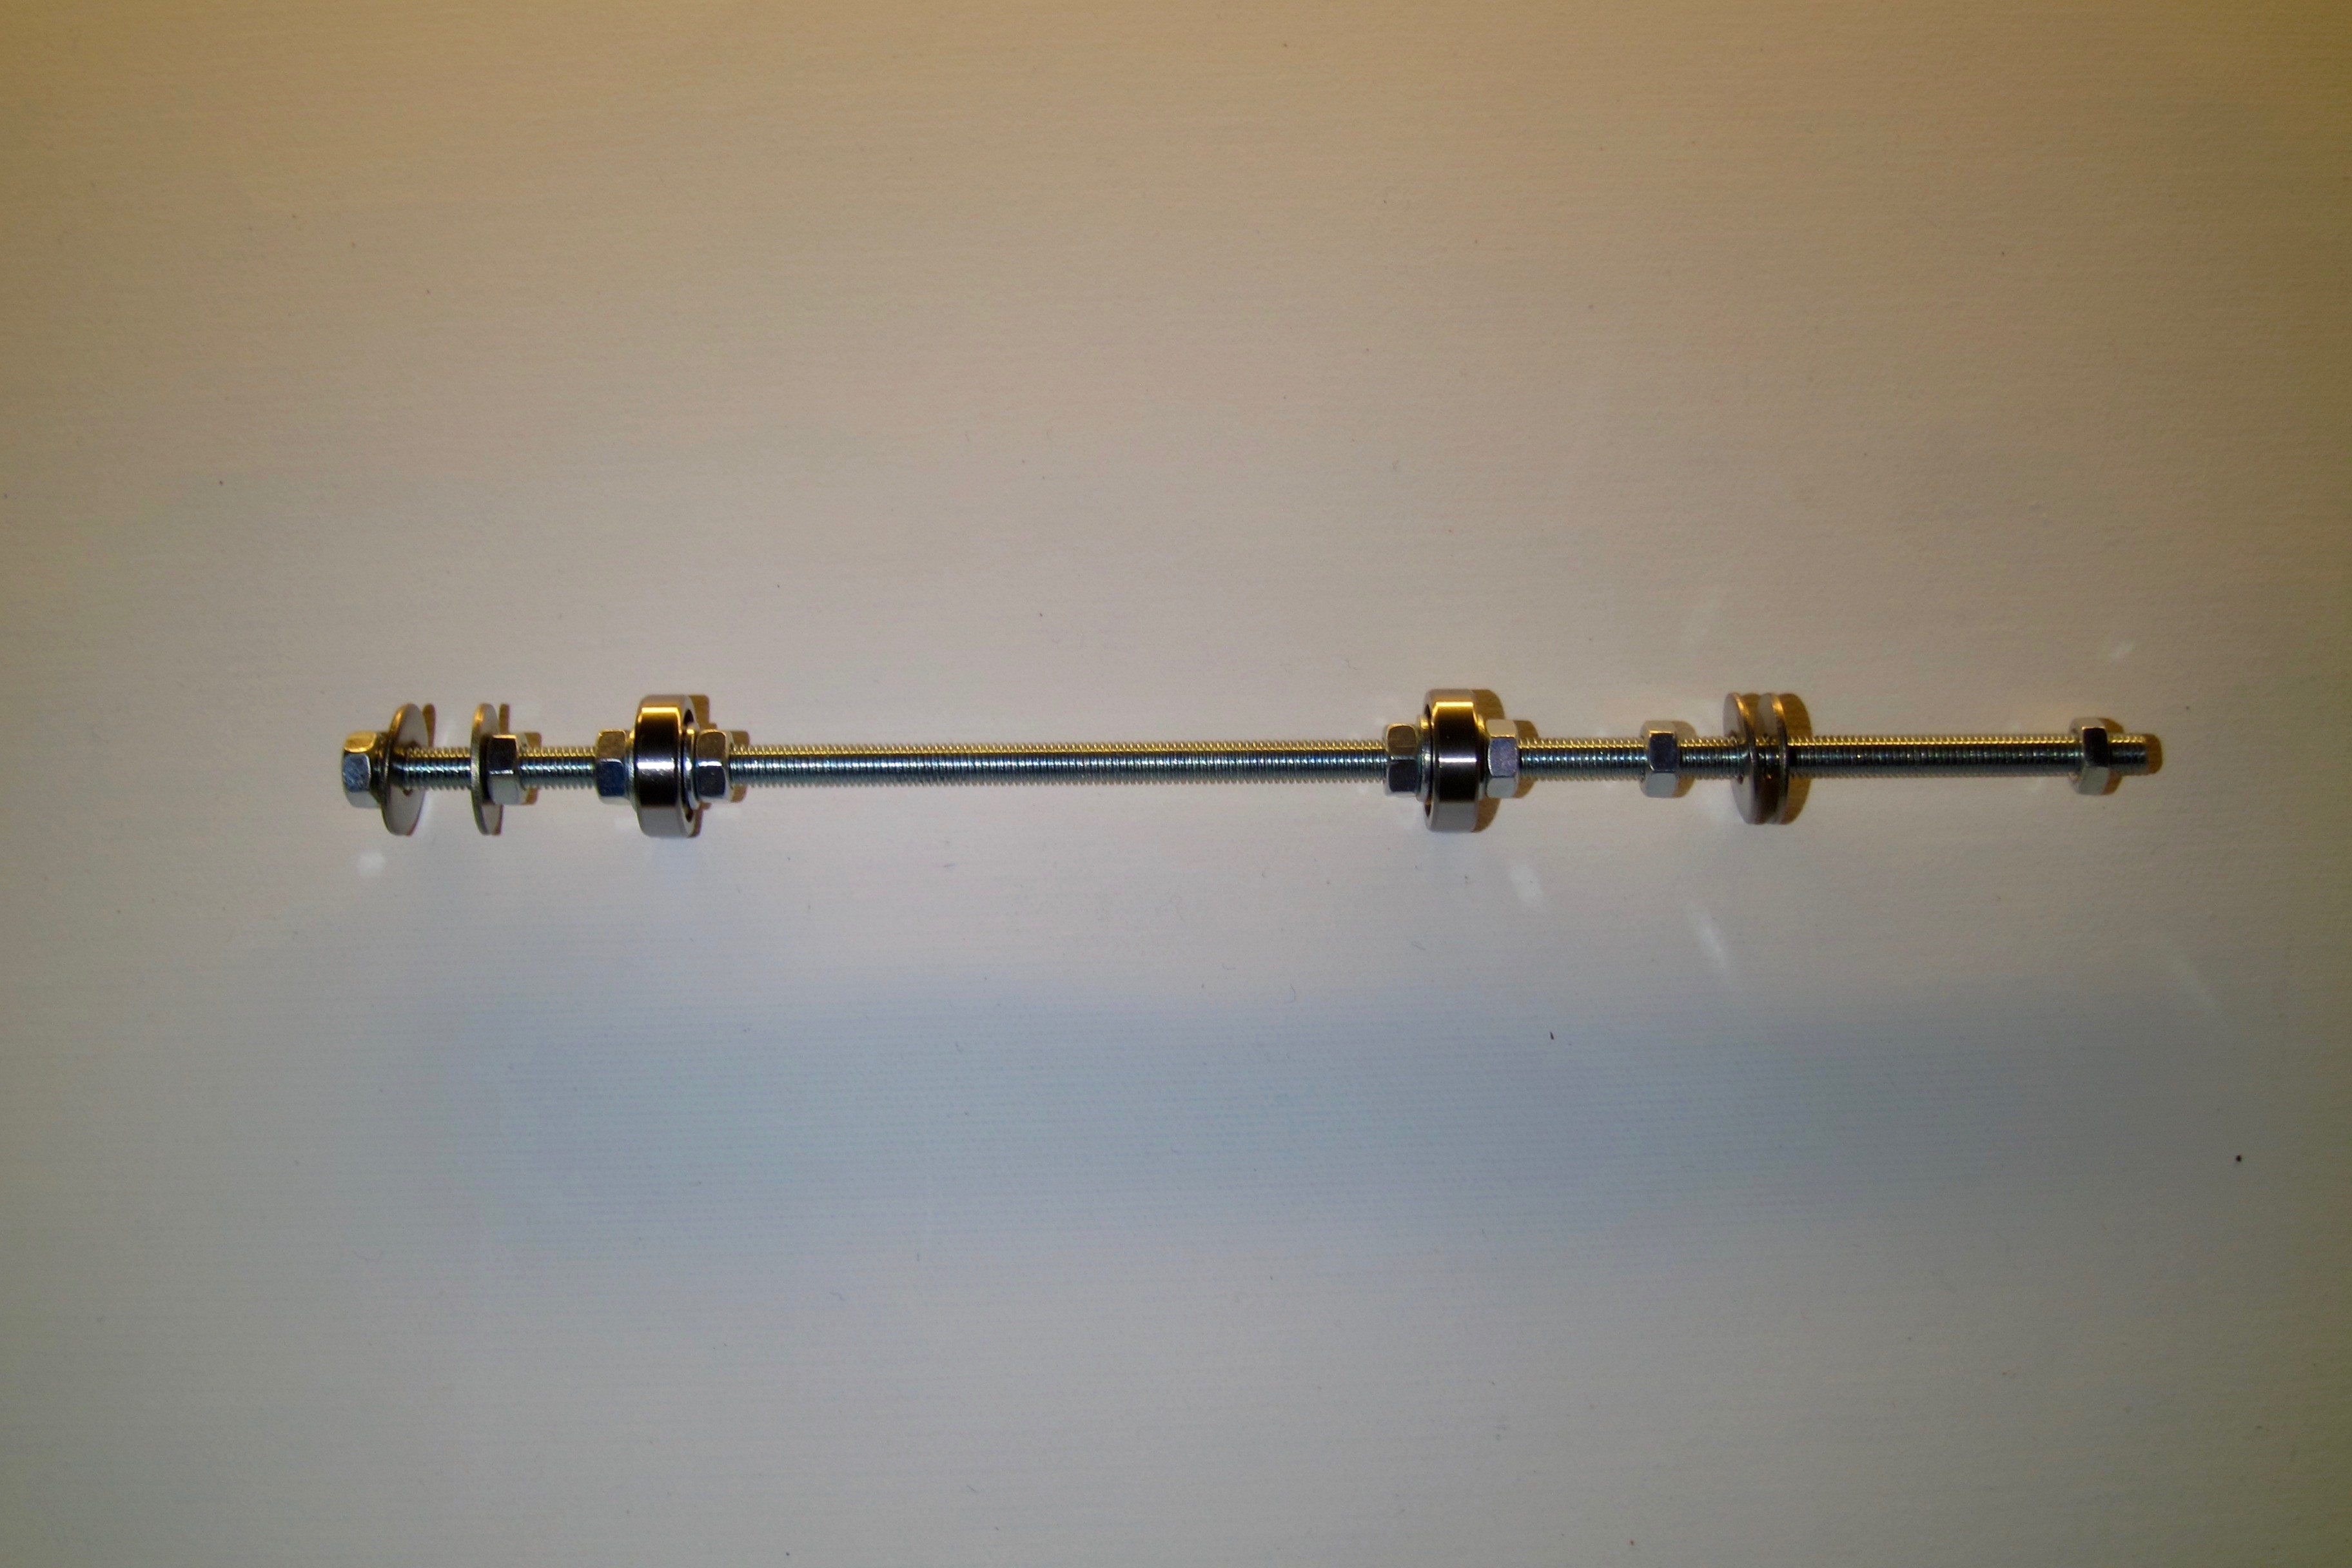
Build two of the above, with 2 nuts and 20mm washers on each side to hold the two halves of the frame, with in between two sets of 2 nuts with two small washers to hold the bearings. These will form the bottom part of our vertical guide.![]()
![]()
Build four of the above, with a M5x40 as a base, slide on a 10mm washer, a bearing, another 10mm washer, two M5 nuts, two large washers and a wing nut. These are the top vertical guides.
![]()
K8200 3DRAG retrofit
Starting from the K8200 with a cnc mill, I added a loading system to accommodate boards of material to mill into and print on directly.

 The assembly should look like this.
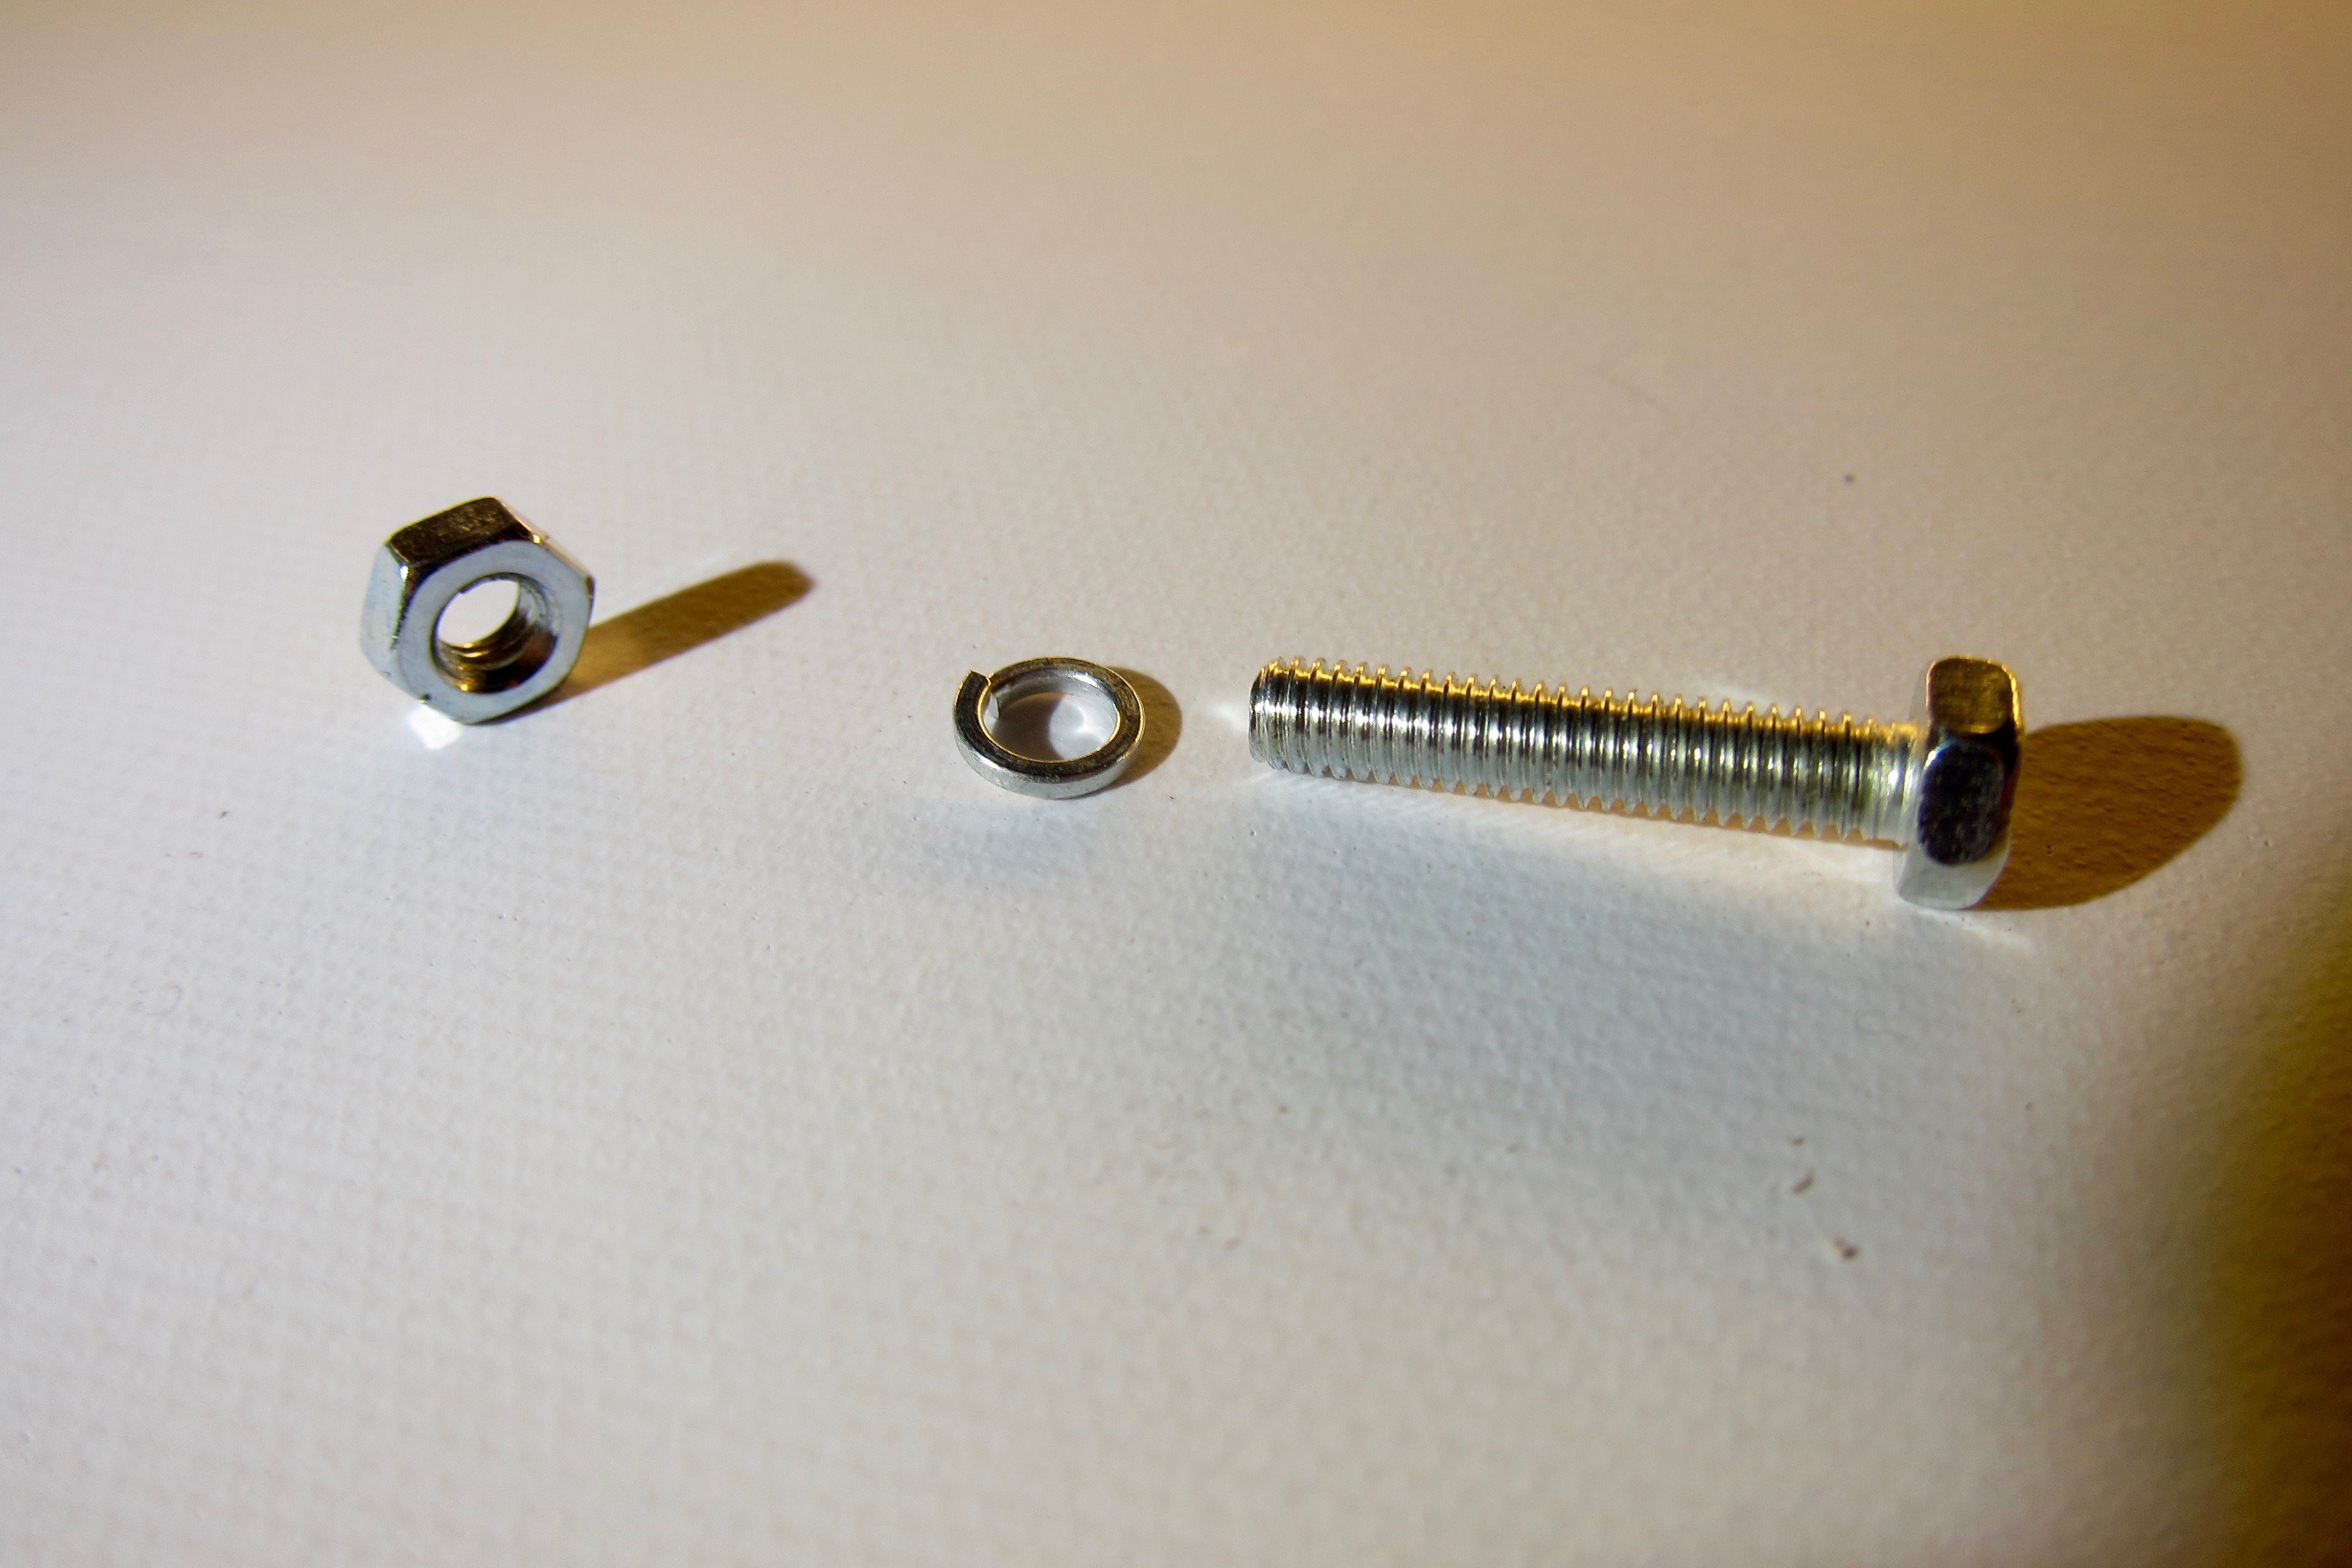
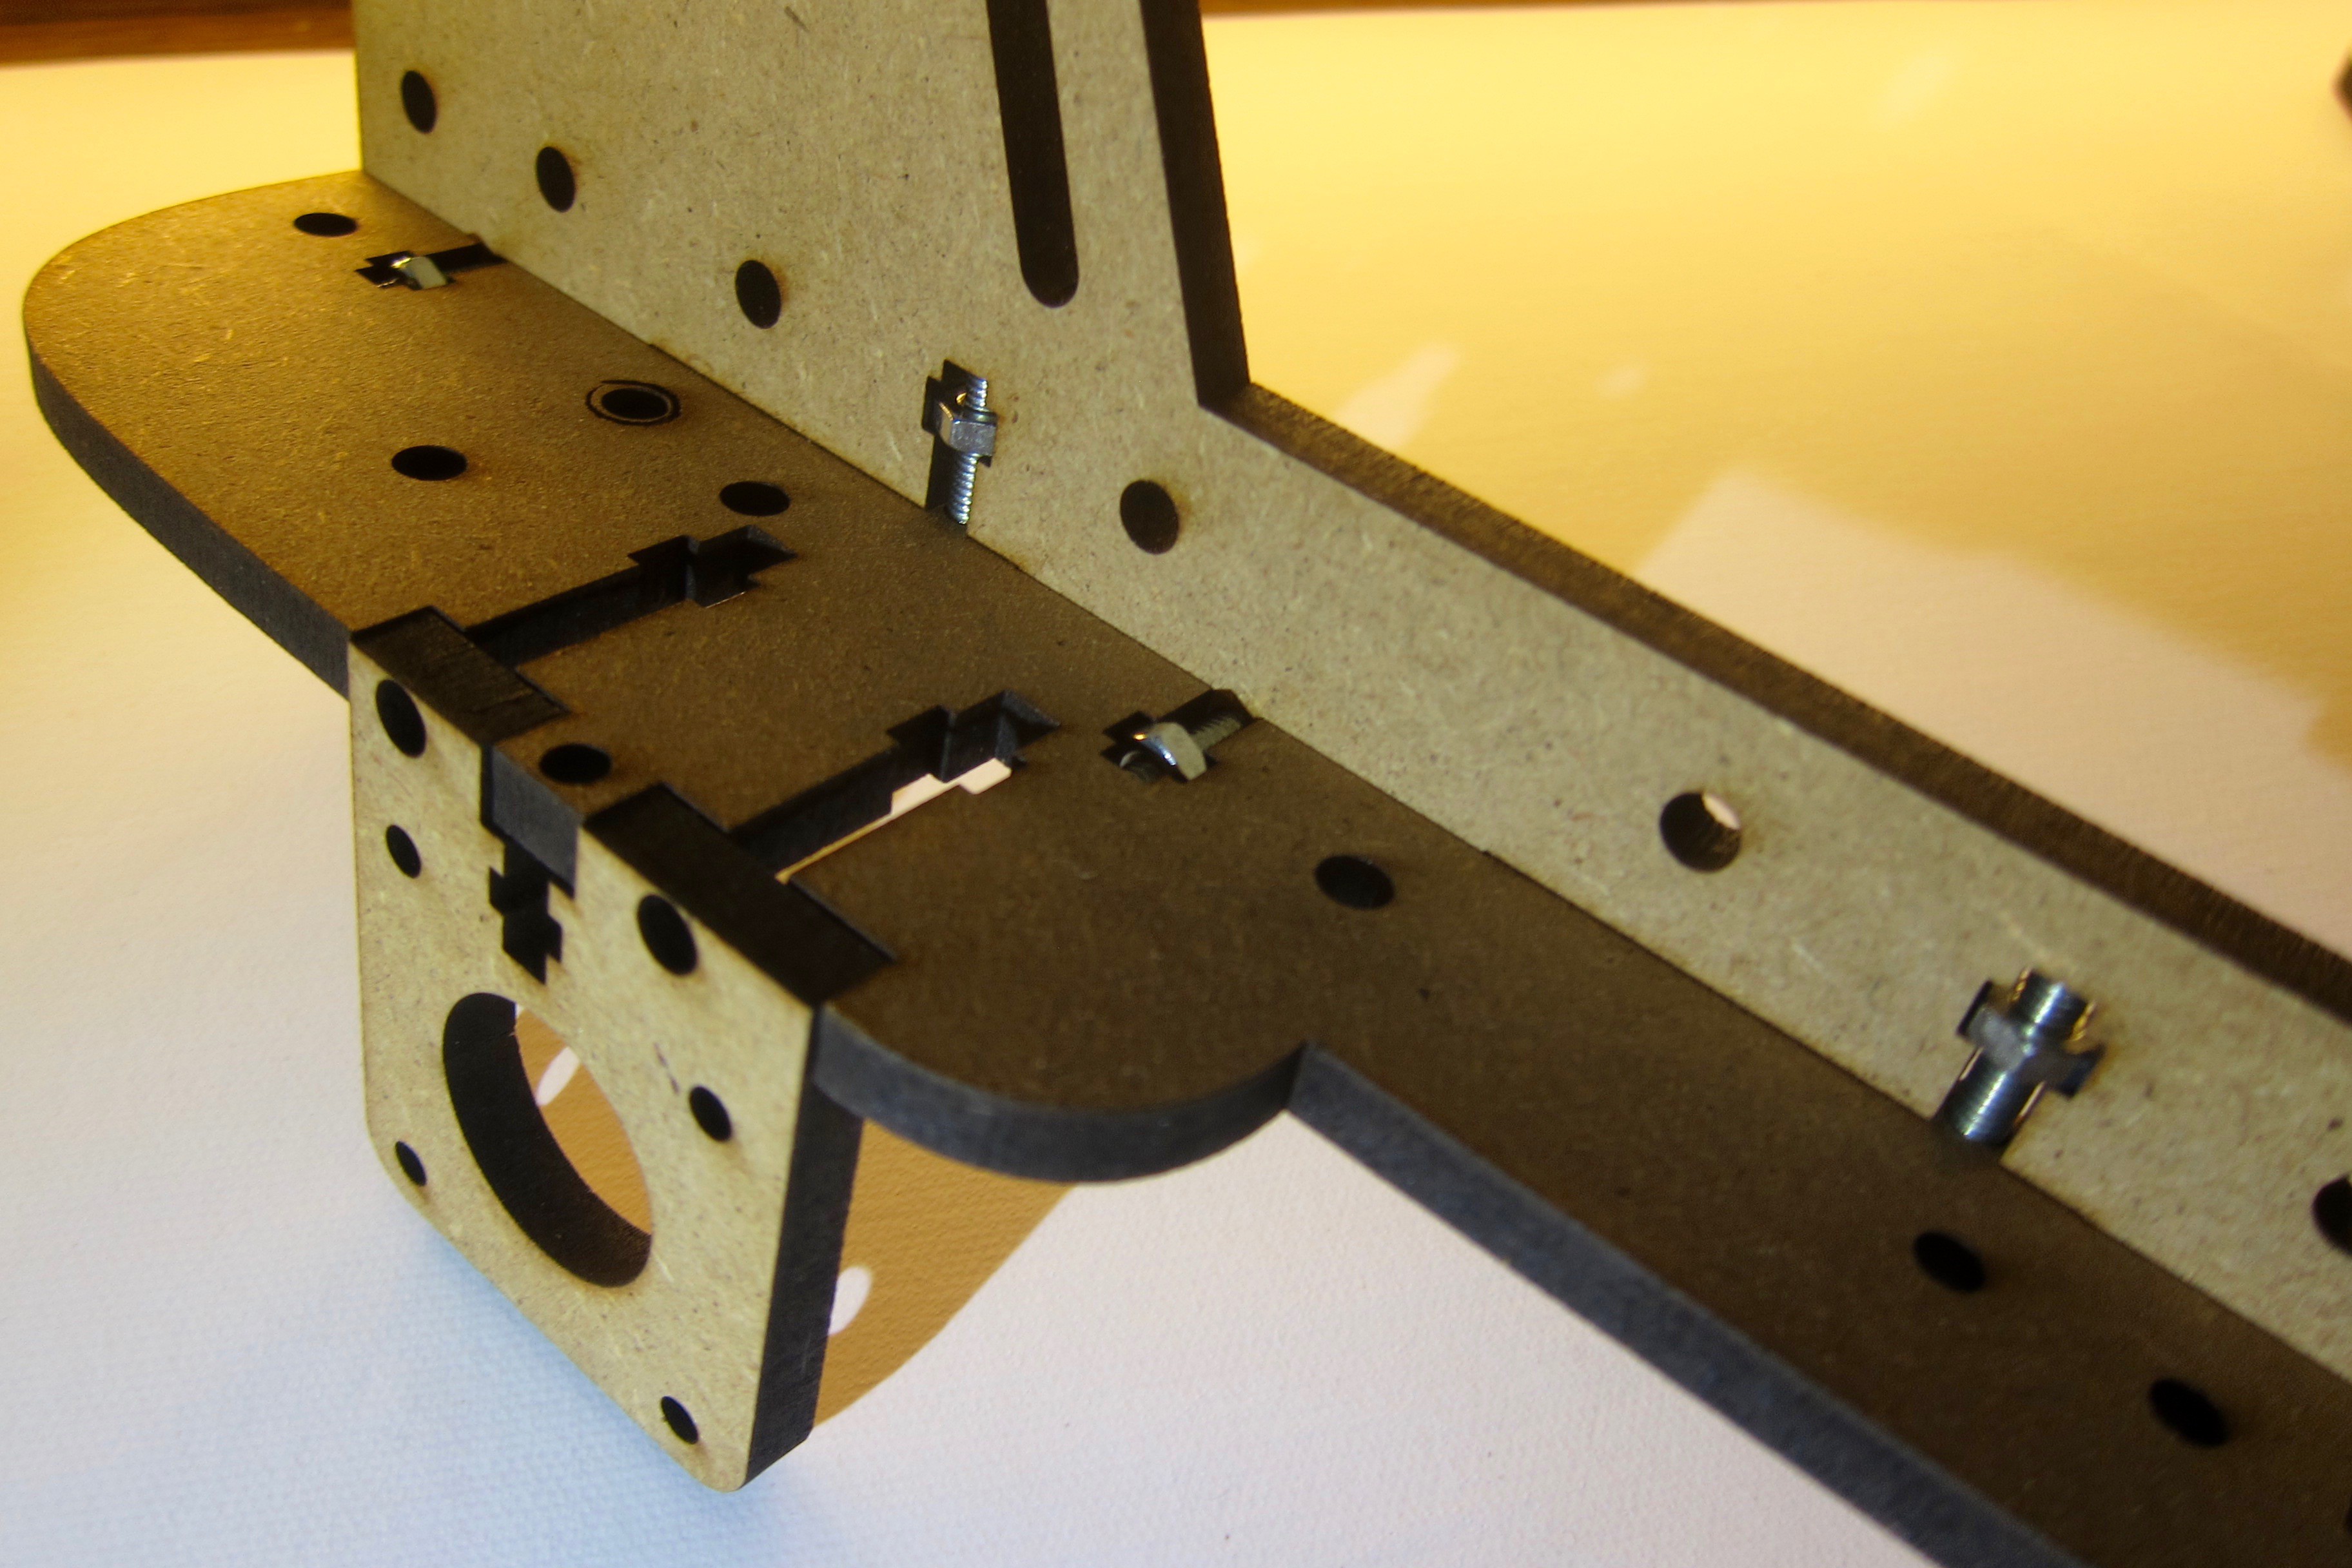
 Then connect the stepper mount with these two as in the picture. Use an M4x15 nut and bolt for the central connection.
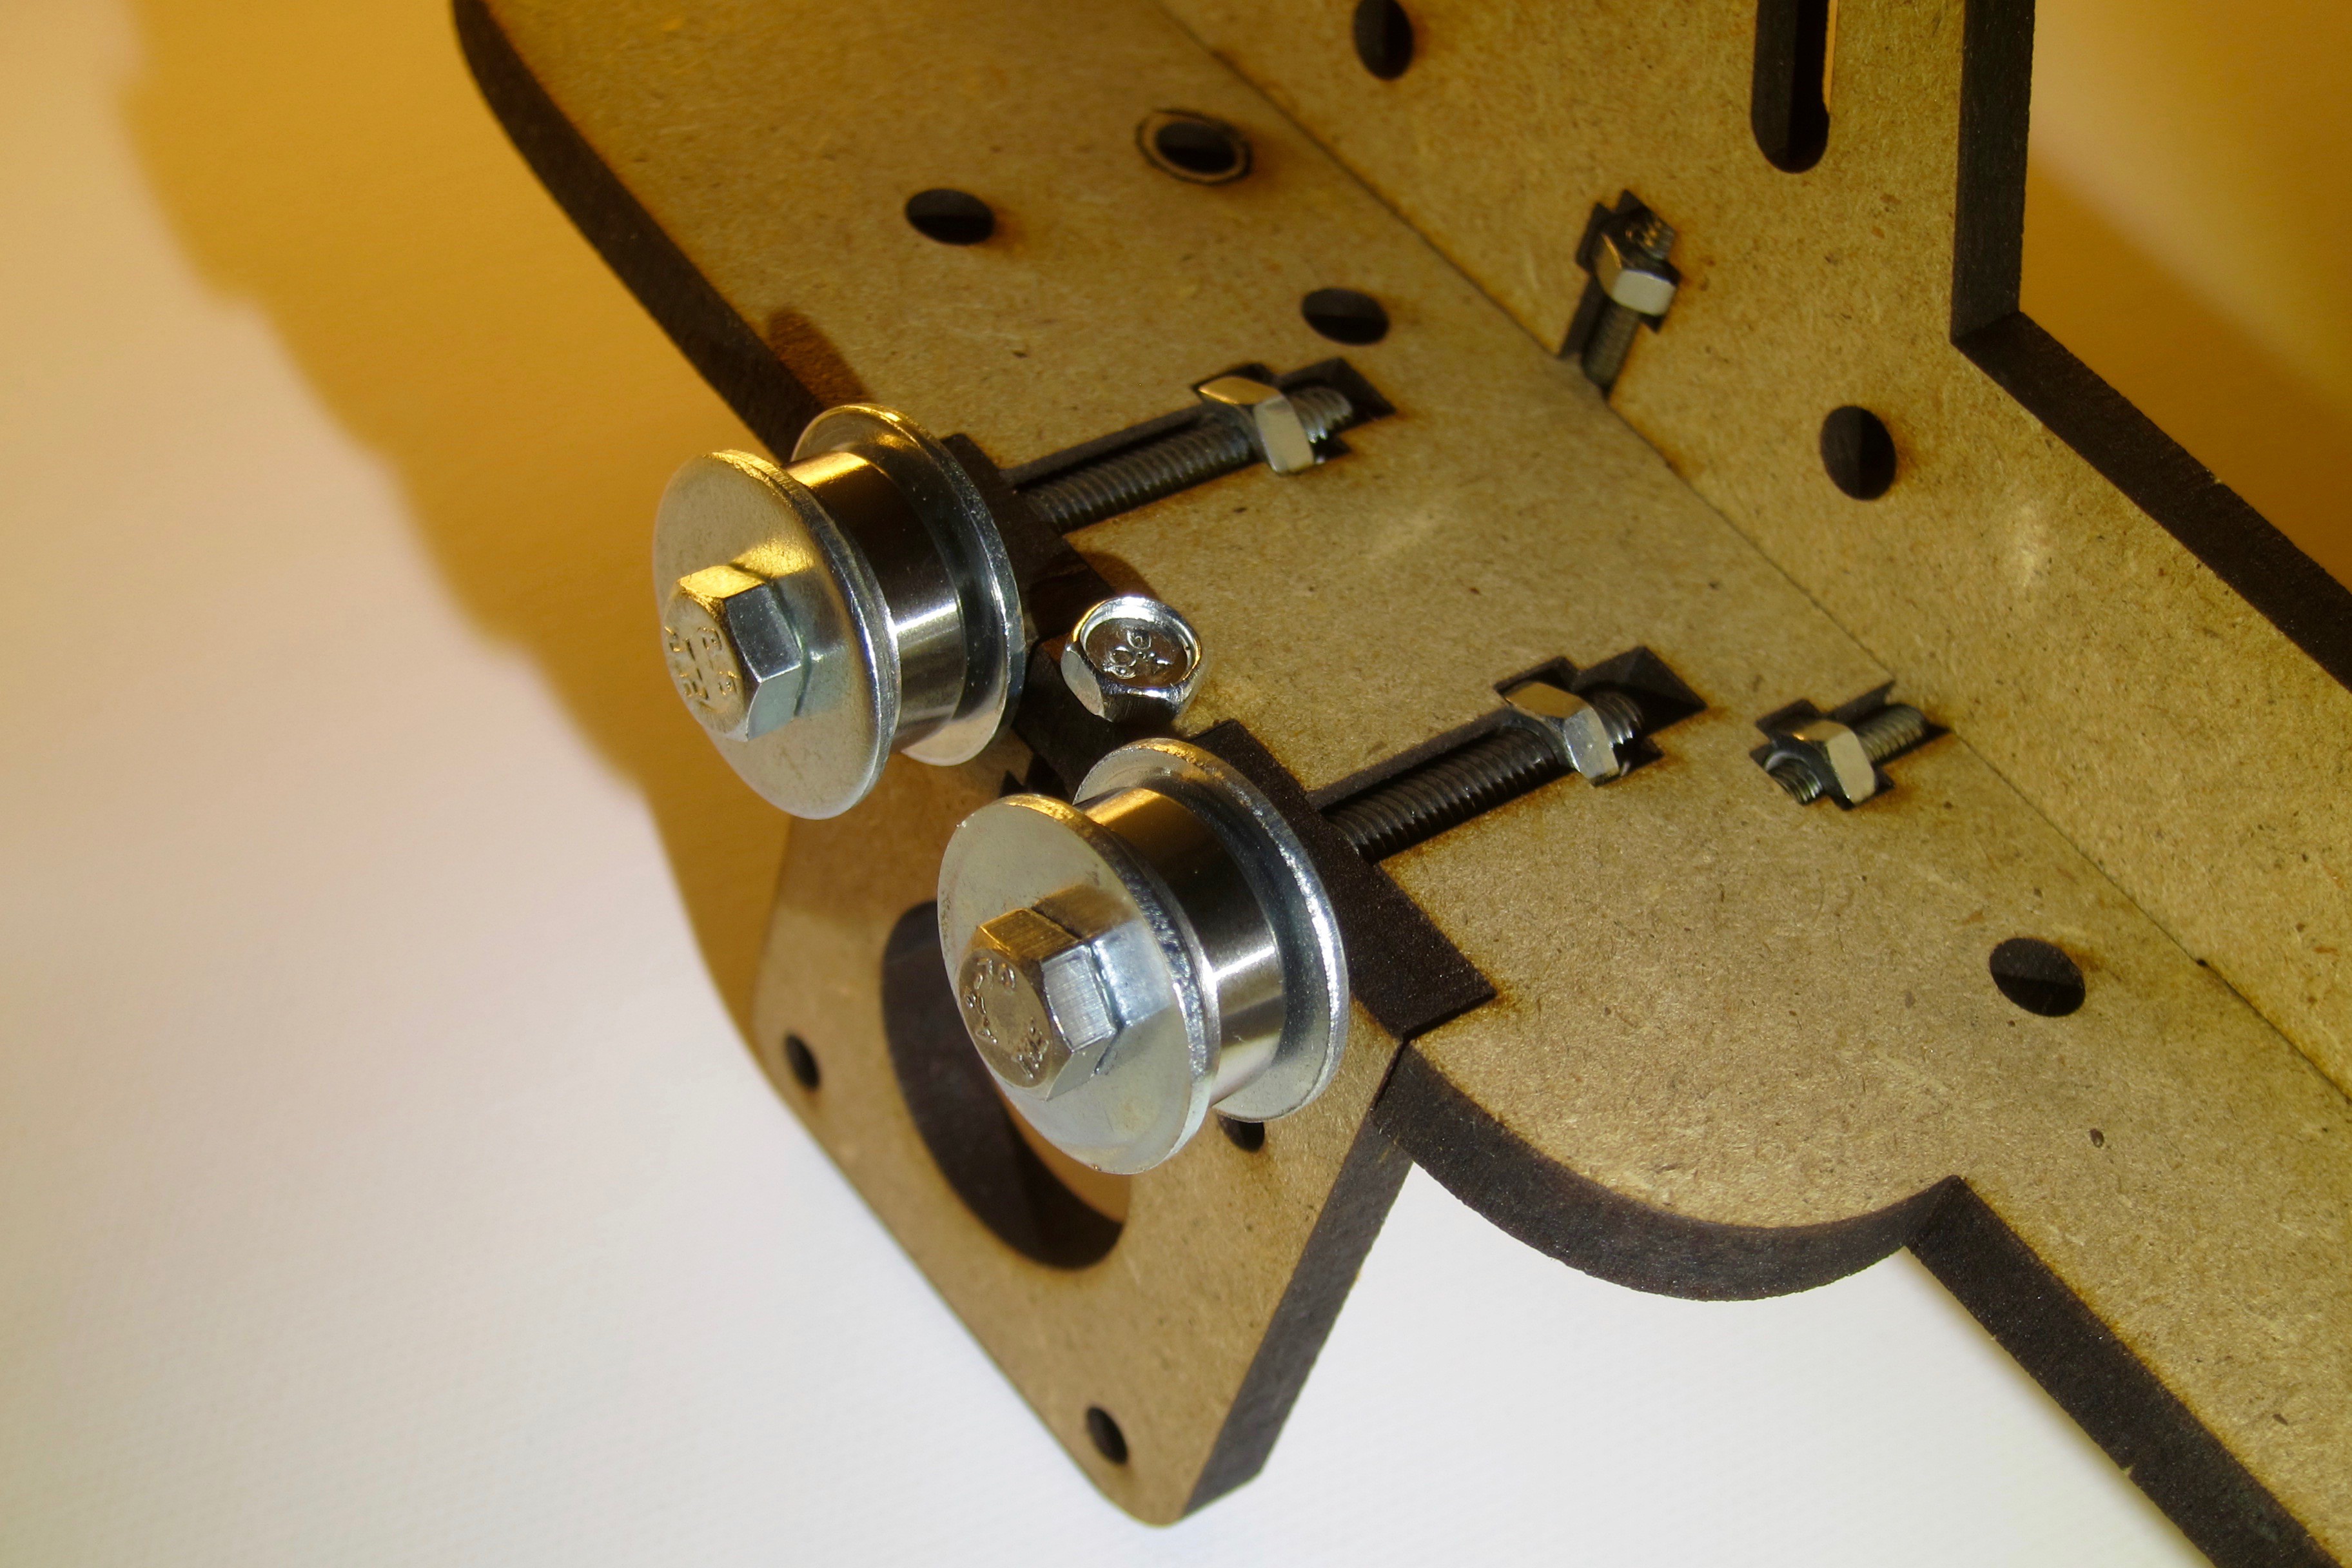


Discussions
Become a Hackaday.io Member
Create an account to leave a comment. Already have an account? Log In.