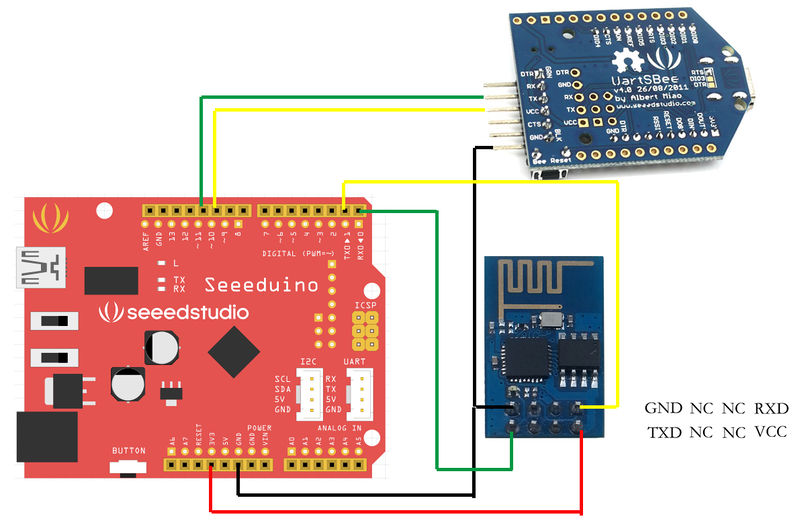
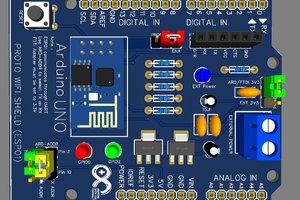
step 1: connect module as the following picture
step 2 : Programe the seeeduino board.
- Open Arduino IDE and create a new sketch
- Parse the following code into the sketch editor (need modifying the SSID and PASS macros into your own situation);
#include <SoftwareSerial.h>
#define SSID "xxxxxxxx"
#define PASS "xxxxxxxx"
#define DST_IP "220.181.111.85"//baidu.com
SoftwareSerial dbgSerial(10, 11); // RX, TX
void setup()
{
// Open serial communications and wait for port to open:
Serial.begin(57600);
Serial.setTimeout(5000);
dbgSerial.begin(9600);//can't be faster than 19200 for softserial
dbgSerial.println("ESP8266 Demo");
//test if the module is ready
Serial.println("AT+RST");
delay(1000);
if(Serial.find("ready"))
{
dbgSerial.println("Module is ready");
}
else
{
dbgSerial.println("Module have no response.");
while(1);
}
delay(1000);
//connect to the wifi
boolean connected=false;
for(int i=0;i<5;i++)
{
if(connectWiFi())
{
connected = true;
break;
}
}
if (!connected){while(1);}
delay(5000);
//print the ip addr
/*Serial.println("AT+CIFSR");
dbgSerial.println("ip address:");
while (Serial.available())
dbgSerial.write(Serial.read());*/
//set the single connection mode
Serial.println("AT+CIPMUX=0");
}
void loop()
{
String cmd = "AT+CIPSTART=\"TCP\",\"";
cmd += DST_IP;
cmd += "\",80";
Serial.println(cmd);
dbgSerial.println(cmd);
if(Serial.find("Error")) return;
cmd = "GET / HTTP/1.0\r\n\r\n";
Serial.print("AT+CIPSEND=");
Serial.println(cmd.length());
if(Serial.find(">"))
{
dbgSerial.print(">");
}else
{
Serial.println("AT+CIPCLOSE");
dbgSerial.println("connect timeout");
delay(1000);
return;
}
Serial.print(cmd);
delay(2000);
//Serial.find("+IPD");
while (Serial.available())
{
char c = Serial.read();
dbgSerial.write(c);
if(c=='\r') dbgSerial.print('\n');
}
dbgSerial.println("====");
delay(1000);
}
boolean connectWiFi()
{
Serial.println("AT+CWMODE=1");
String cmd="AT+CWJAP=\"";
cmd+=SSID;
cmd+="\",\"";
cmd+=PASS;
cmd+="\"";
dbgSerial.println(cmd);
Serial.println(cmd);
delay(2000);
if(Serial.find("OK"))
{
dbgSerial.println("OK, Connected to WiFi.");
return true;
}else
{
dbgSerial.println("Can not connect to the WiFi.");
return false;
}
step 3 : Open Serial Monitor
Open Serial Monitor and press the reset button of seeeduino board, you’ll see the output.
At last, Happy Hacking! :)
 Silícios Lab
 Mrinnovative