The RAMPS board originally came with a ReprapDiscount 2004 Smart Controller. One of the early things that I printed was a nice case for it. I decided to not attach the panel to the printer because I couldn’t find somewhere to mount it that I was happy with. I couldn’t elegantly fit it within the footprint of the printer. I used some mesh cable wrap to protect the two ribbon cables. When transporting, I would disconnect the plugs on the back of the panel and put it in my toolbox.
Temporary knob
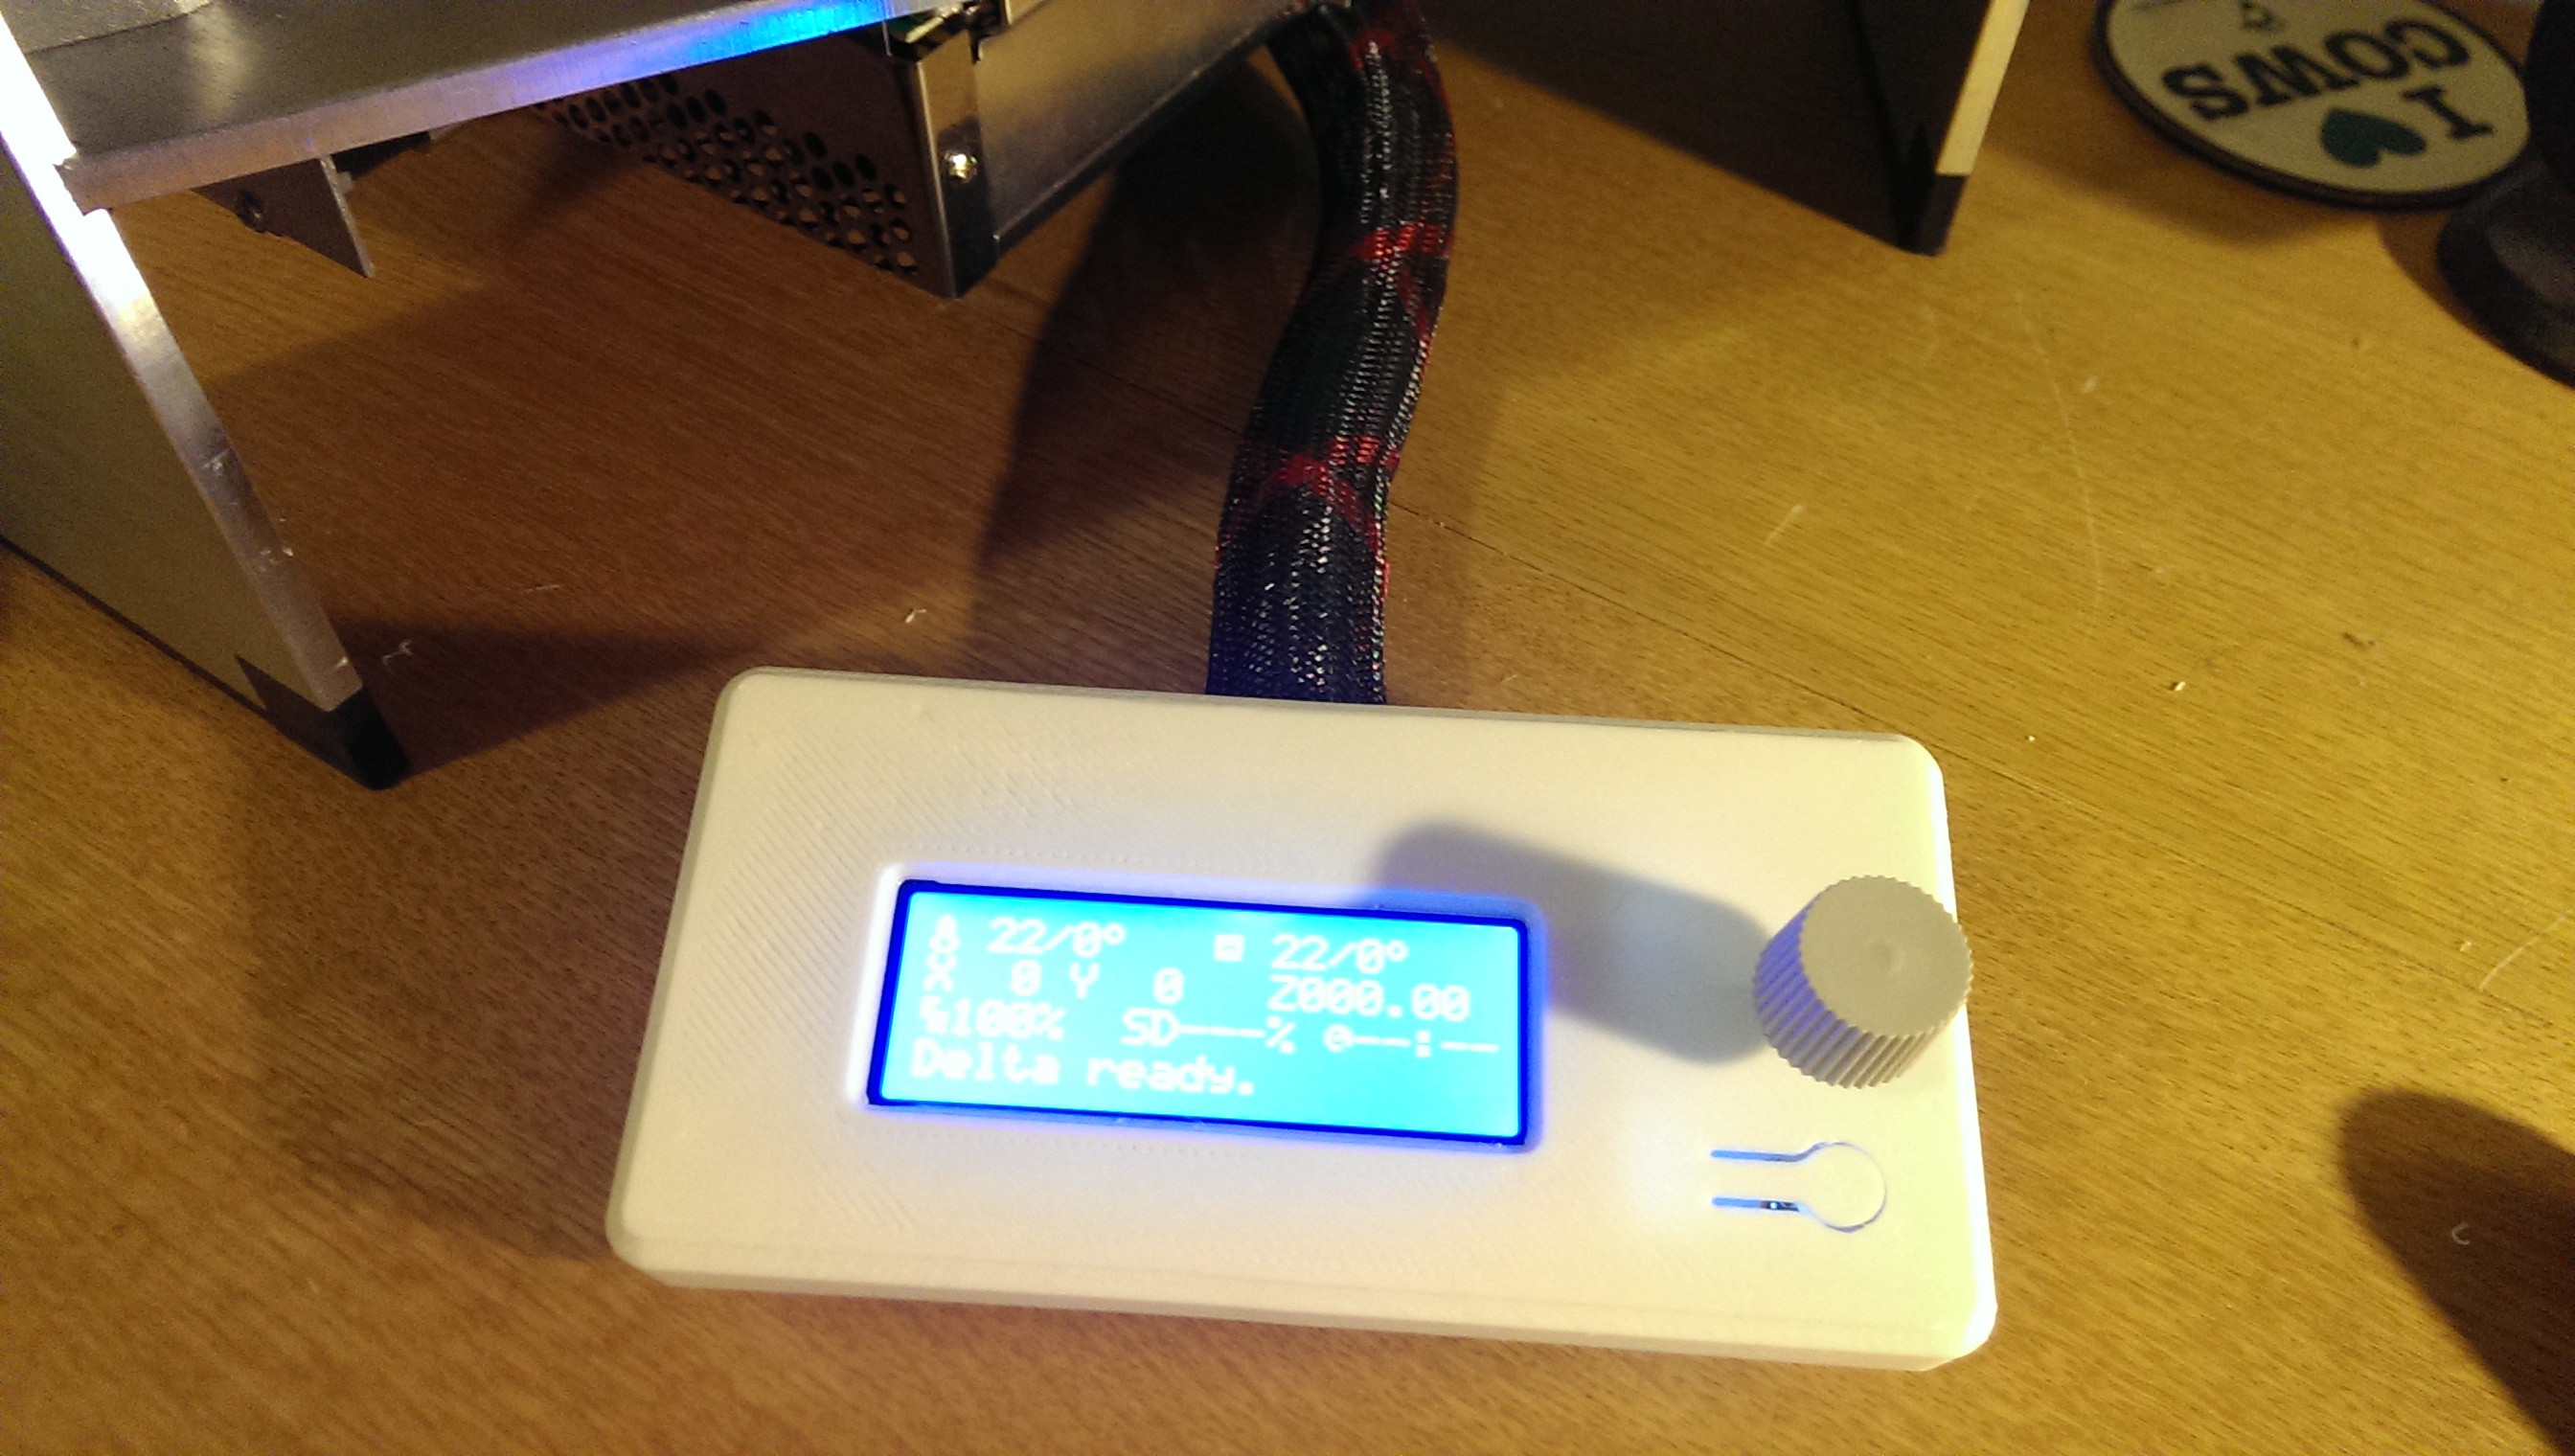
I purchased a GLCD along with the new MKS SBASE control board. This screen is taller but not as long as the Reprap Discount Smart Controller. With a bit of planning, I found a way to keep the screen within the footprint of the printer while making it permanently attached and usable. The screen would fit in a small area between the back of the power supply and underneath the Y tower. I wanted the screen to be flush underneath the printer for storage/transport but pop out when required. I prototyped a few retraction mechanisms but none of them worked due to the limited space behind the screen. I then realised I had seen the perfect mechanism on a kitchen cupboard door at my parents house.
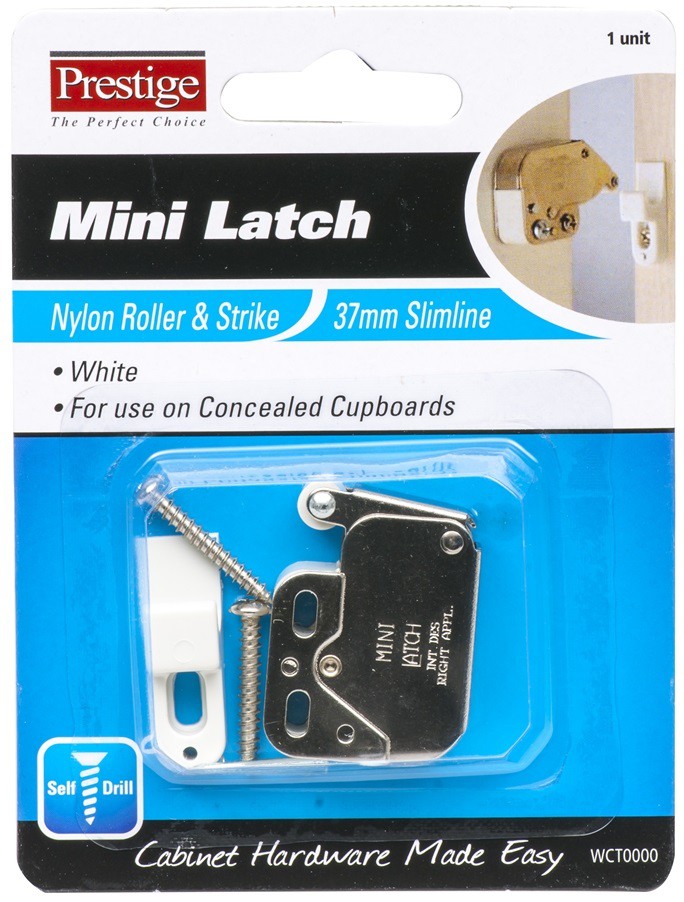
Mini Latch
The mini latch had a “press to open, press to close” action that would be perfect. I just had to print a way of attaching it to the printer with such limited space. I adapted a GLCD screen case from Thingiverse and attached the mini latch to the side.
Once it was all in place the back of the SD card only just clears the power supply - but it works great!
Discussions
Become a Hackaday.io Member
Create an account to leave a comment. Already have an account? Log In.