Close
0%
0%

Droid Trooper

This is a self balancing robot created by star wars fan, with autonomous behavior, FPV and remote control modes

Public Chat
Similar projects worth following
This is Droid Trooper. I started this project last year because I love robotics and I am a starwars fan since 8 years old...

All the hardware was made in microchip's PIC 18 series microcontrollers, the robot has 4 of them

All the algorithms for navigation and personality was developed during the last 10 years, because robotics is a hobby and when I have free time I spent creating more functions


Some of the features:

The program was made 100% in assembly language
The robot is self balancing, with IMU MPU6050
The main core controls 4 servos at this time but some new servos will be added latter
It can be used via smartphone and wifi, through wifi modulo ESP8266
The robot has an artificial vision, the camera was done by me in 2005 for IEEE robotics contest, and can follow colors and display video overlay, so, laser gun can be displayed on FPV mode =O)

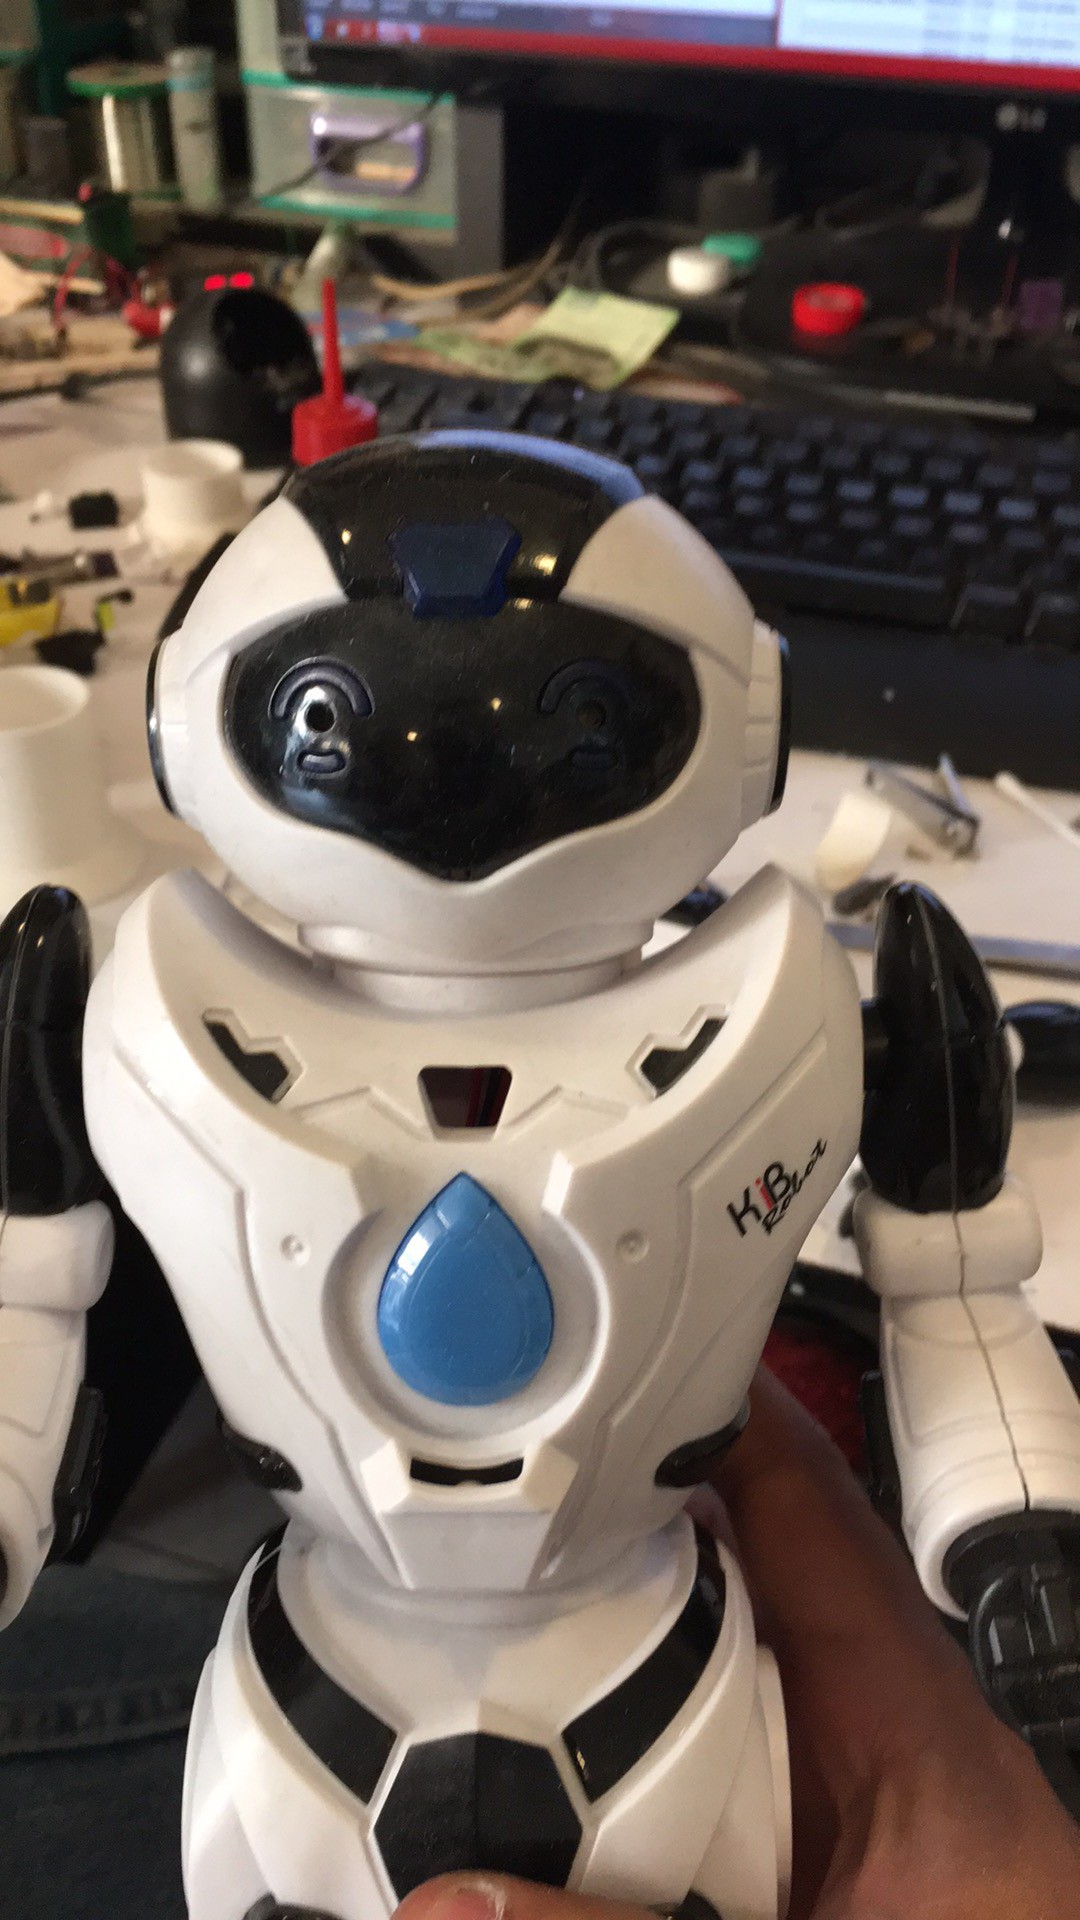
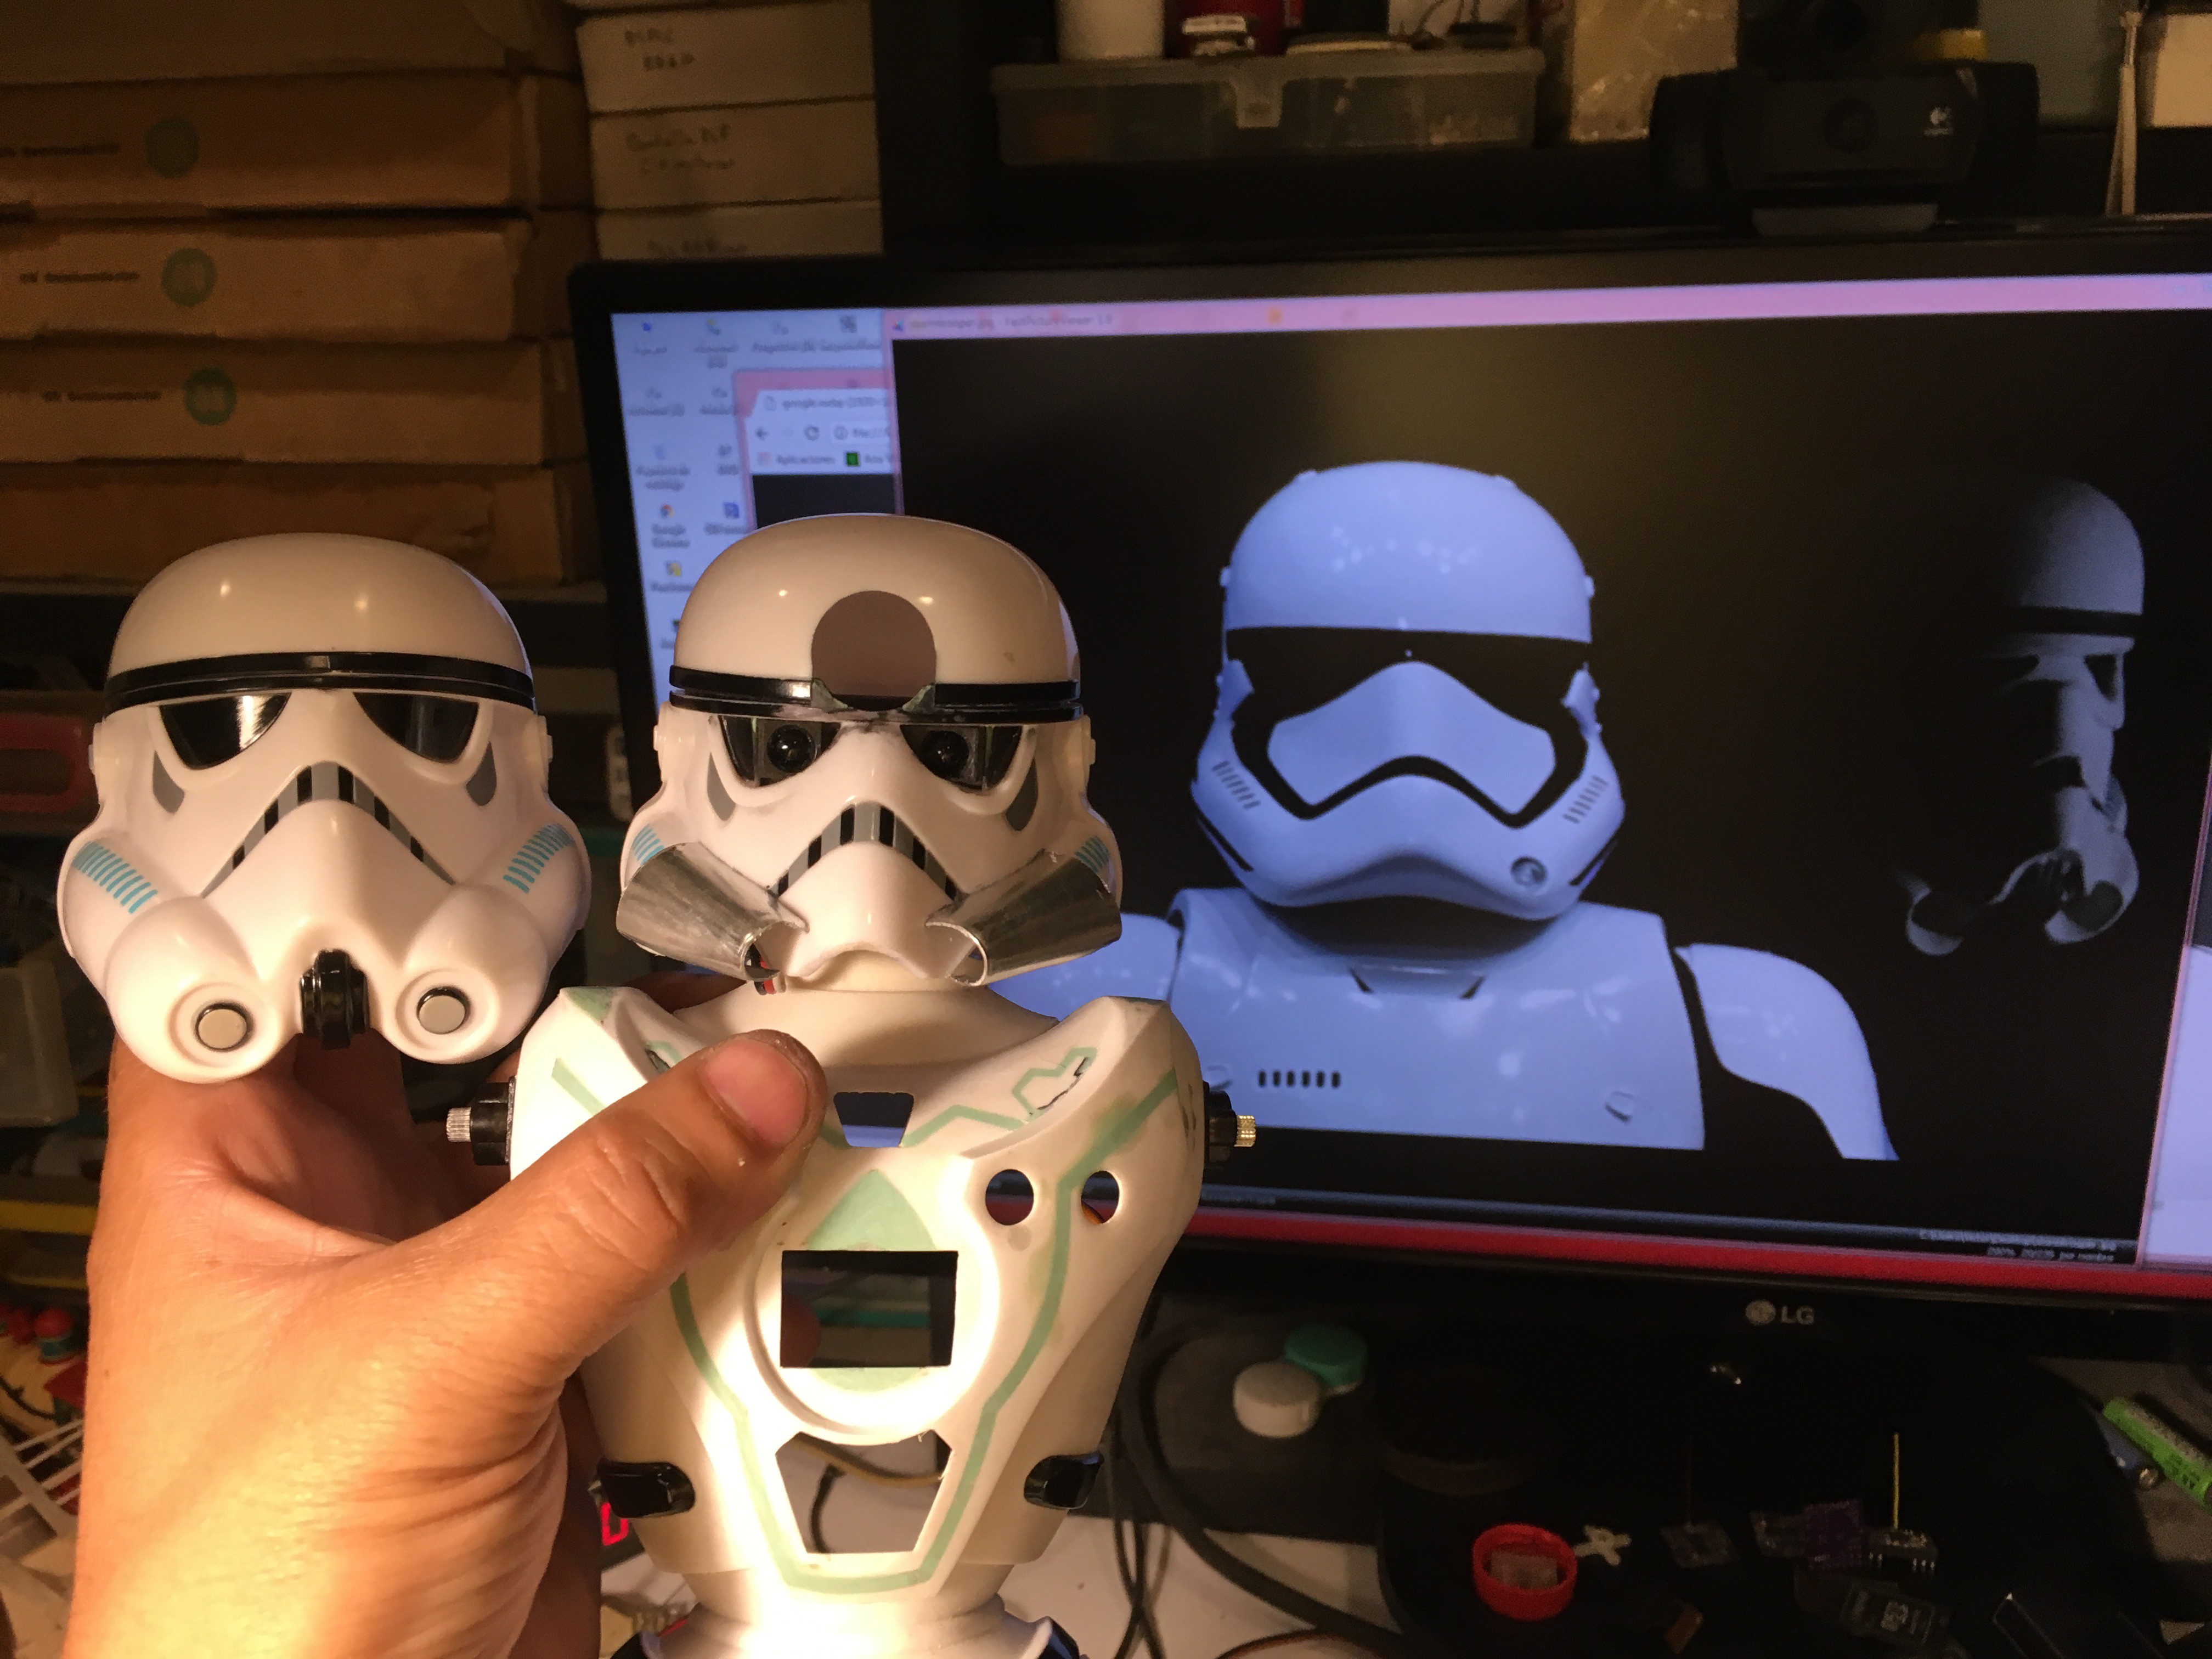
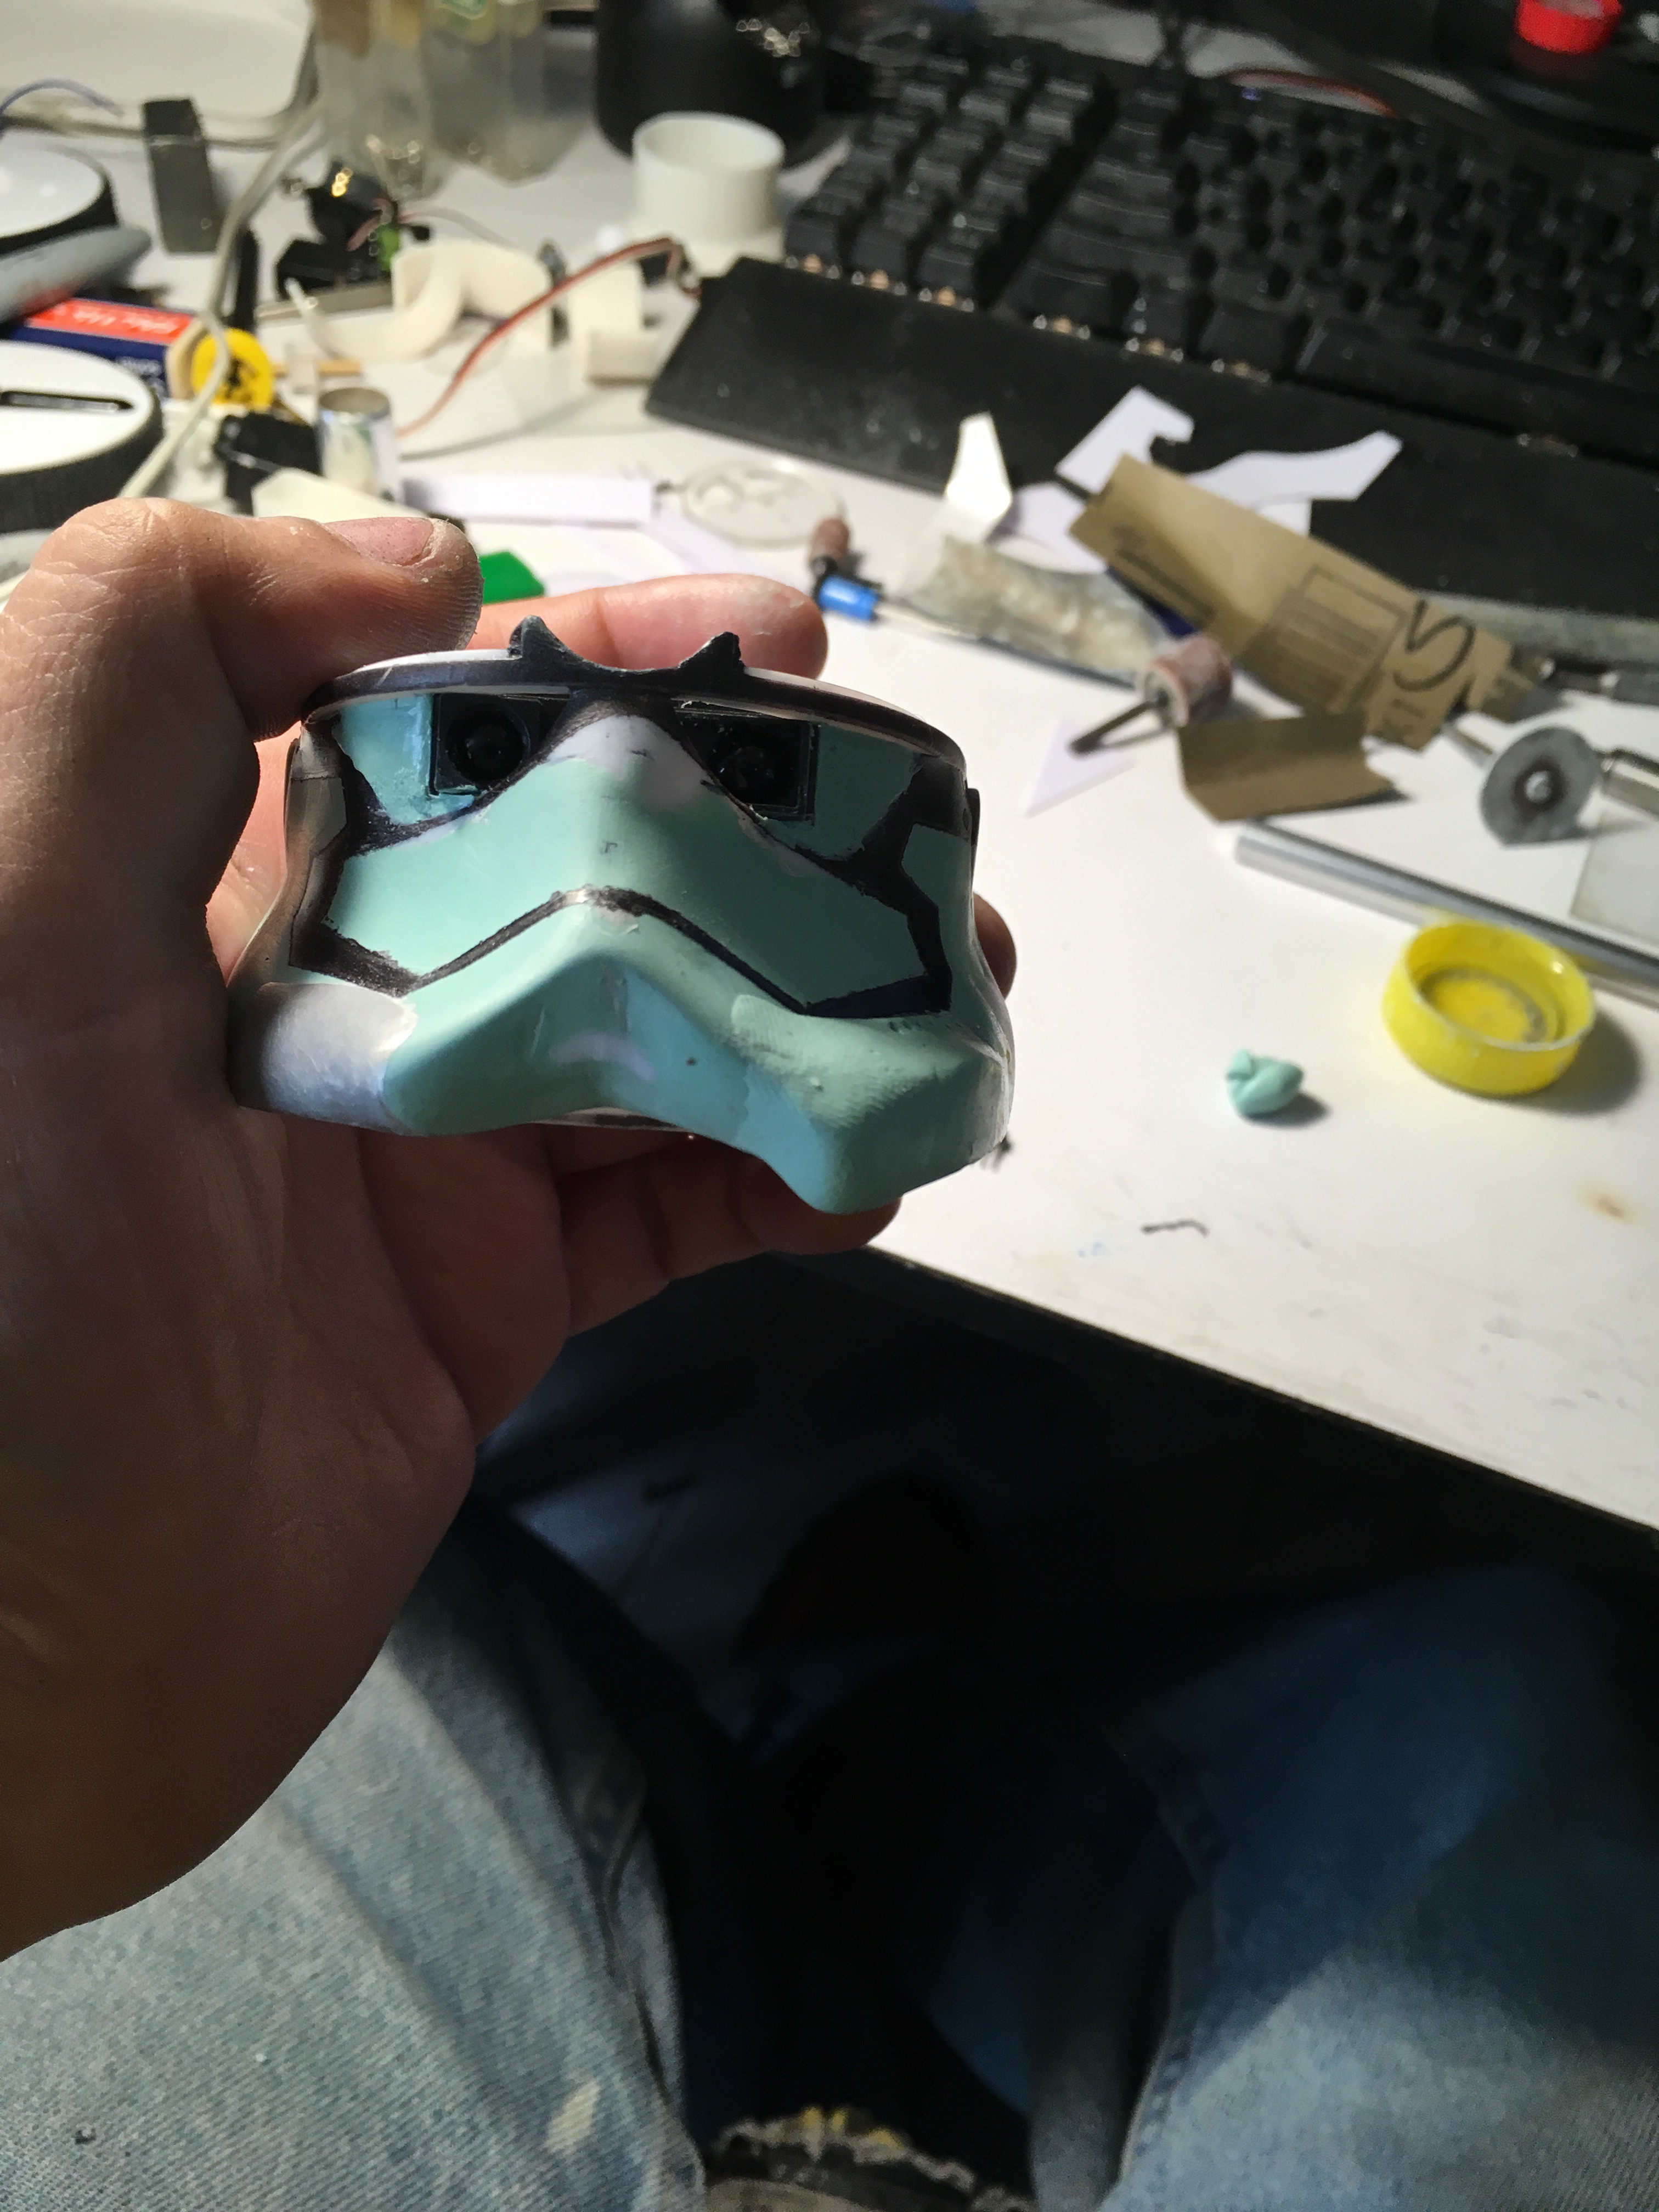
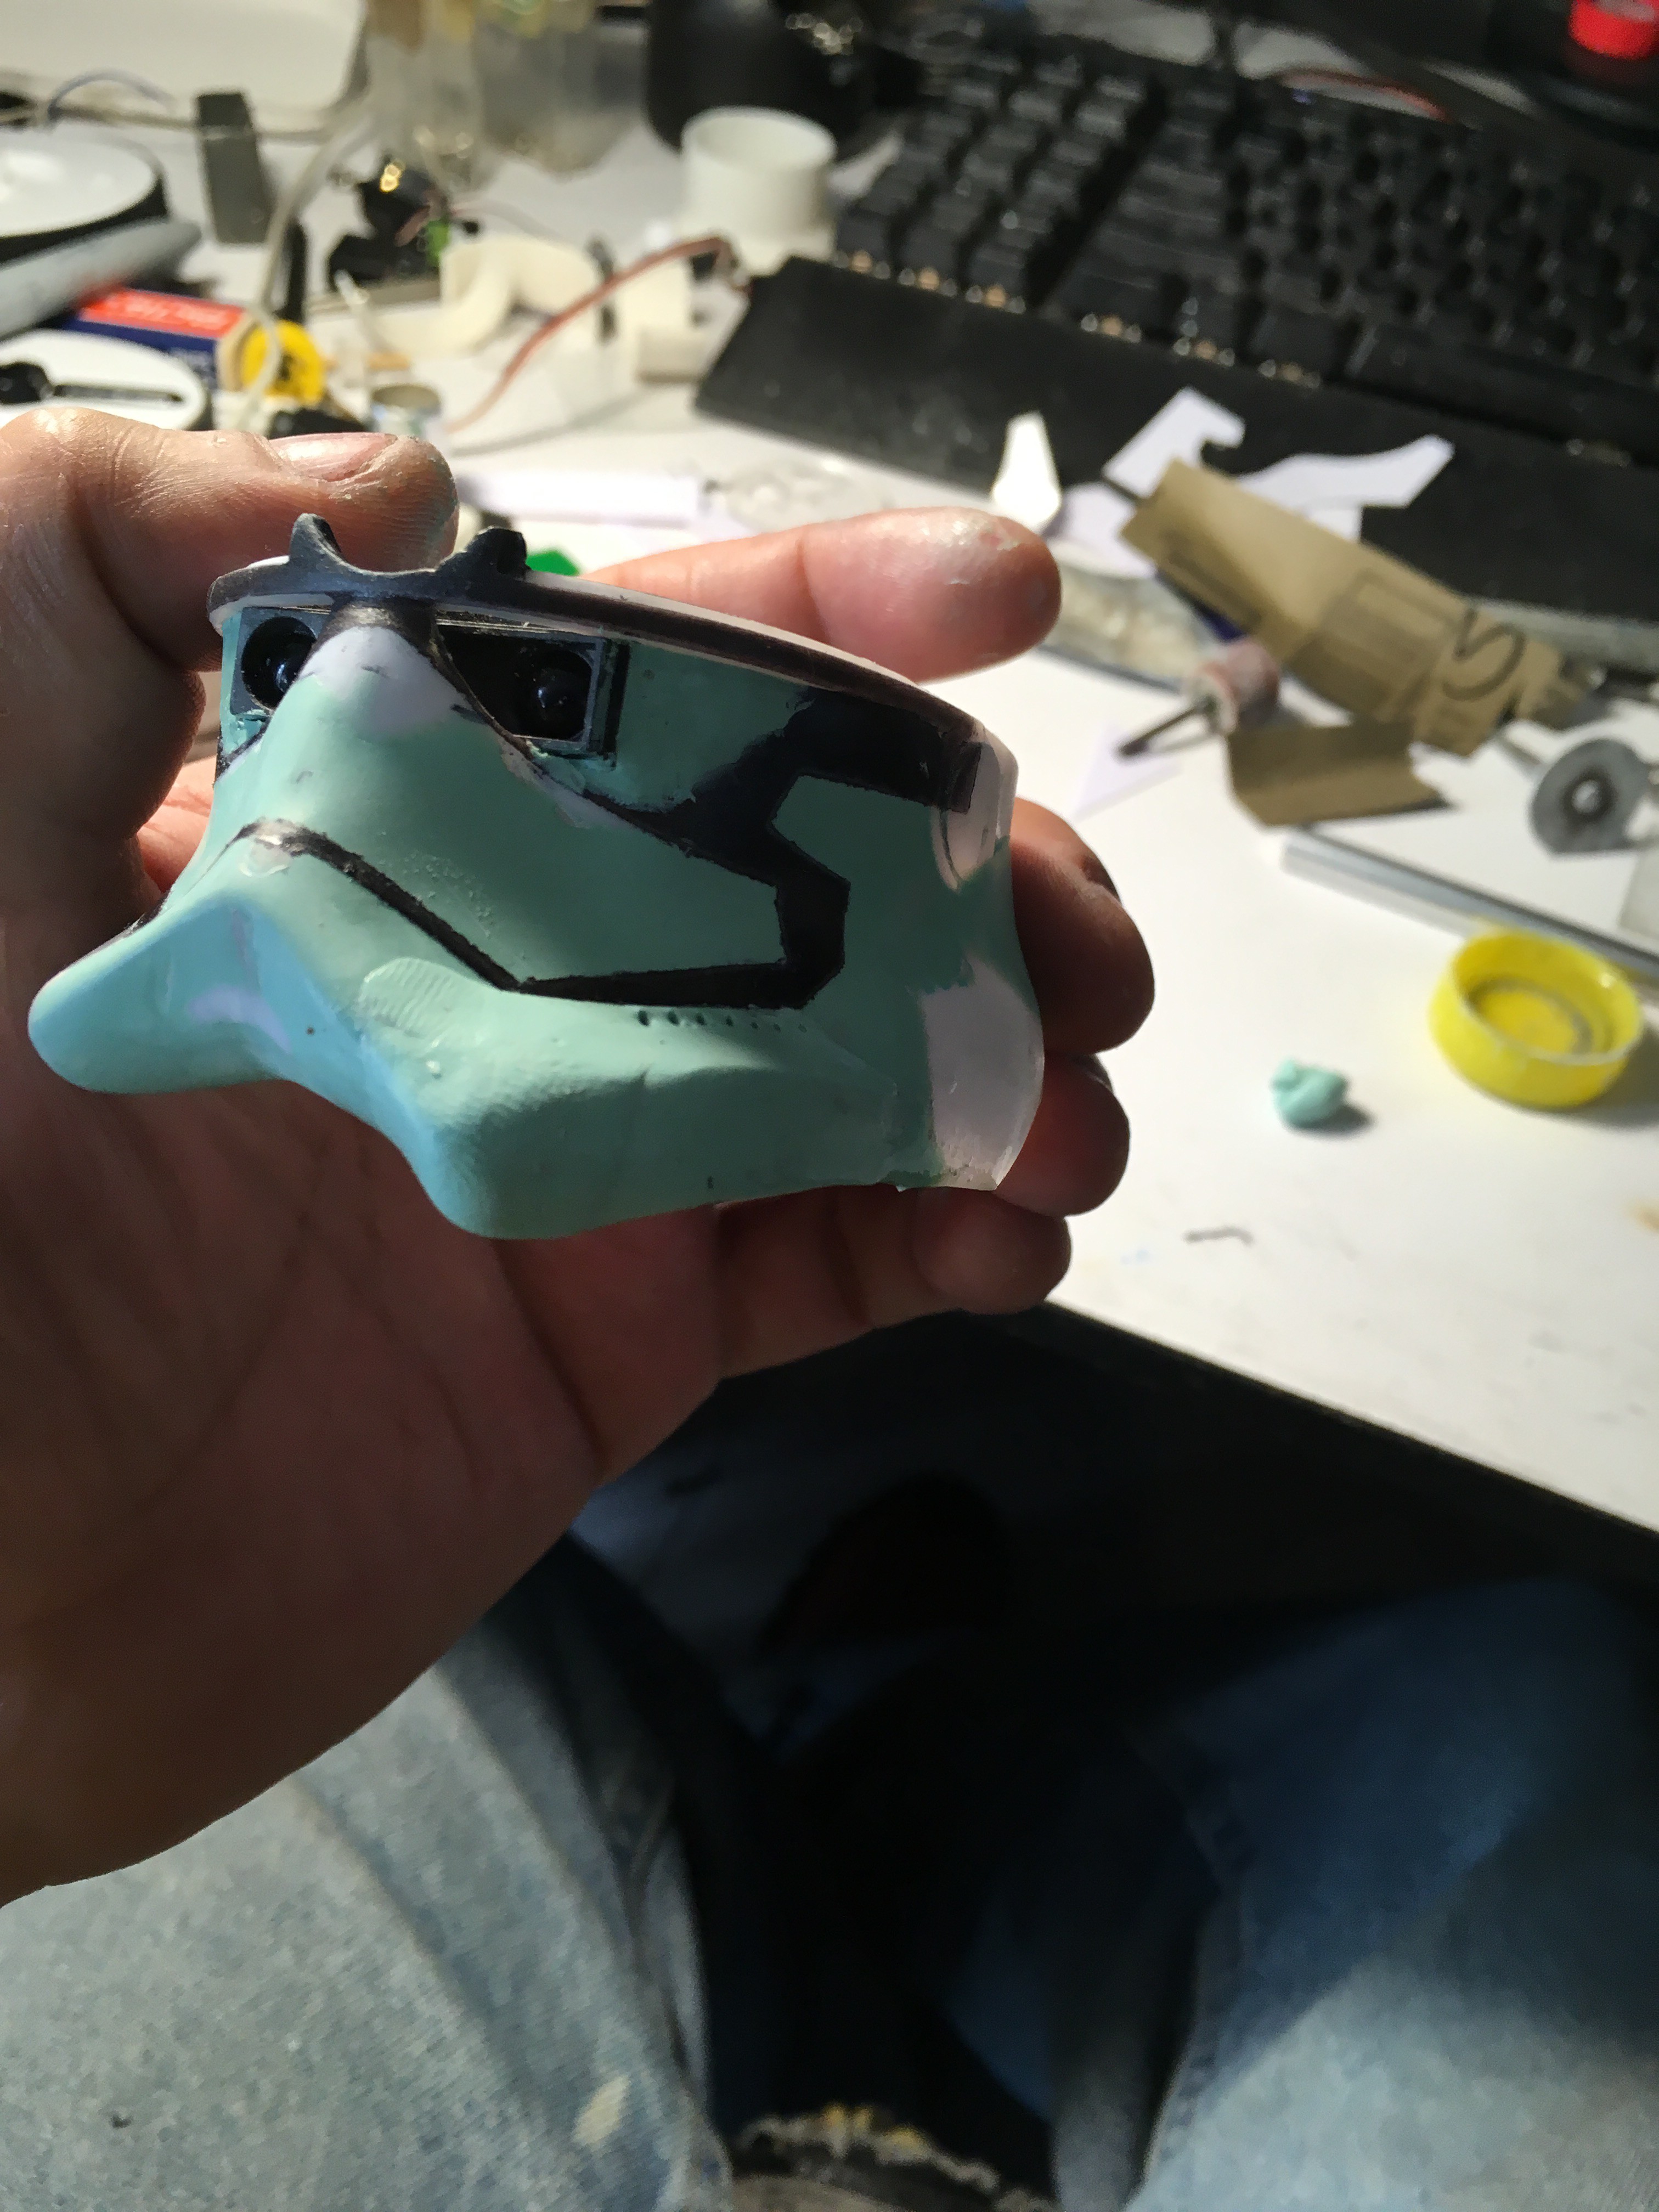
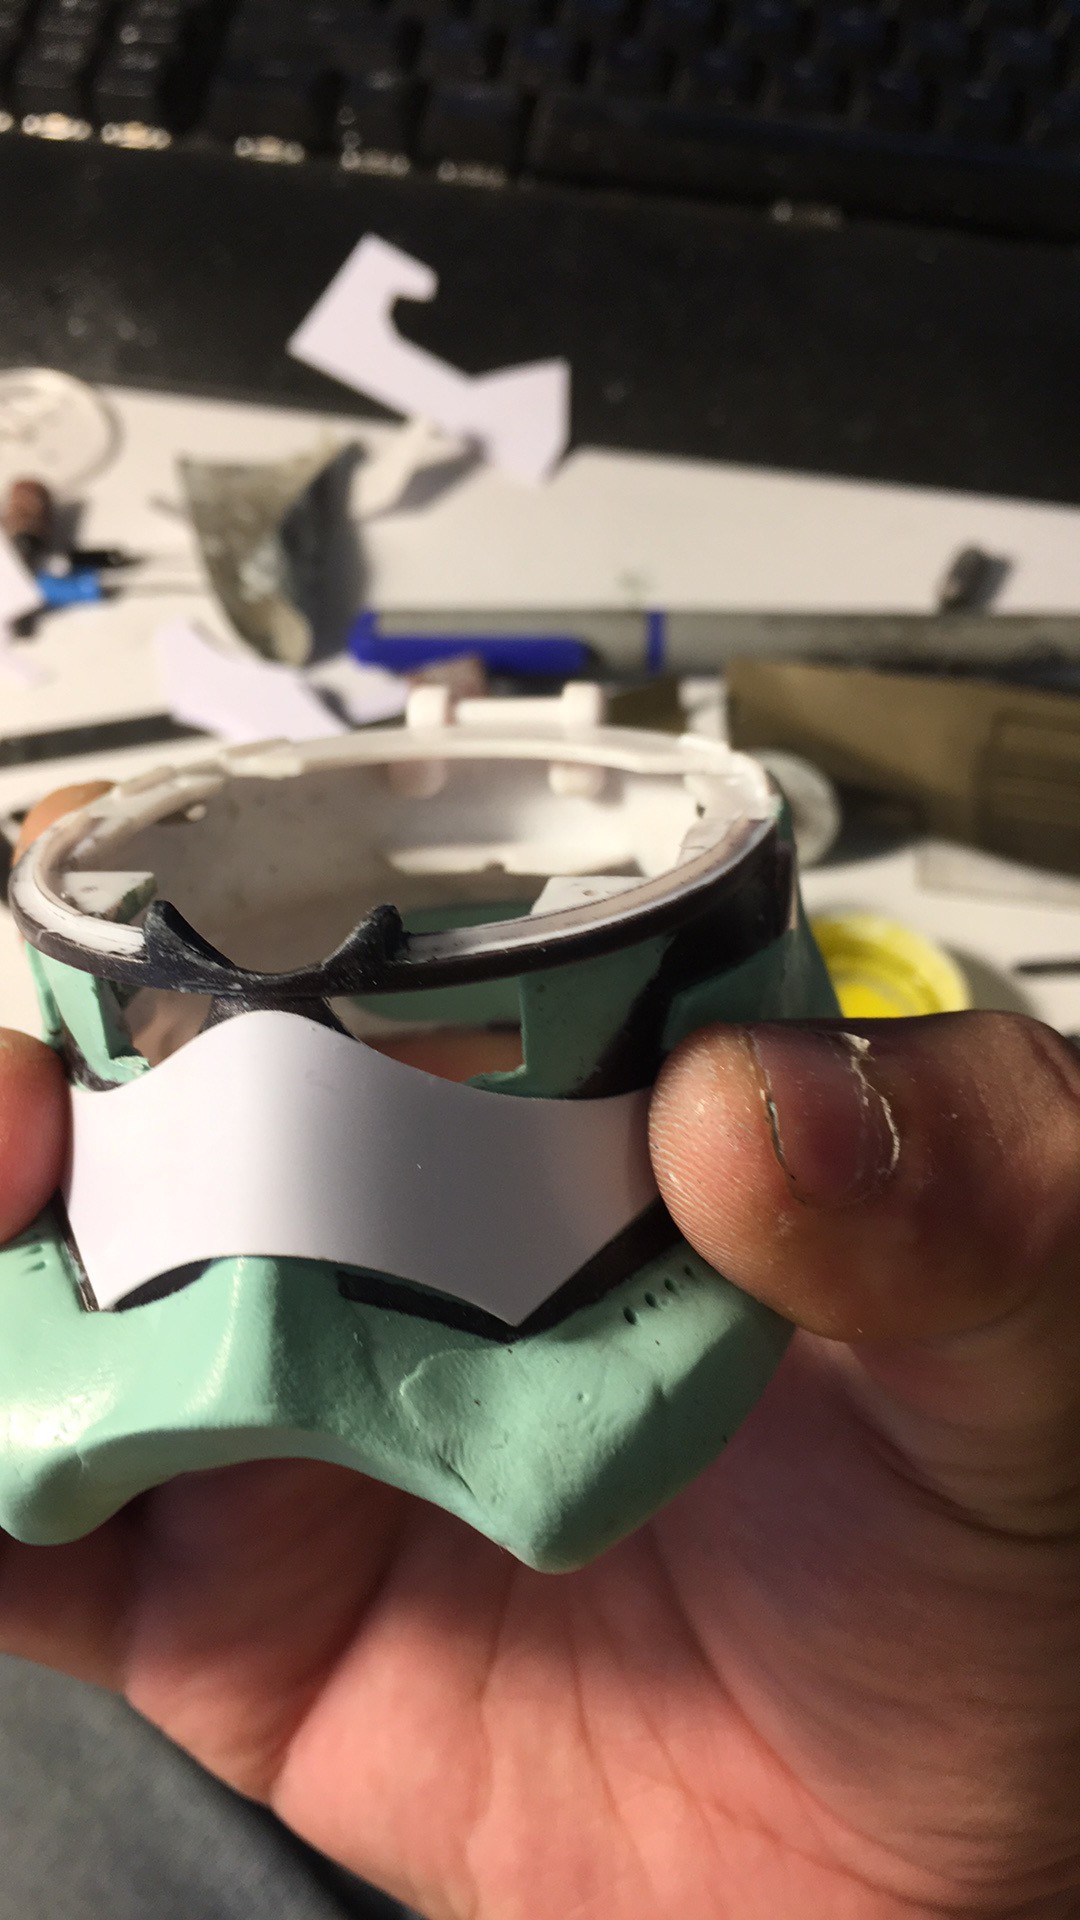
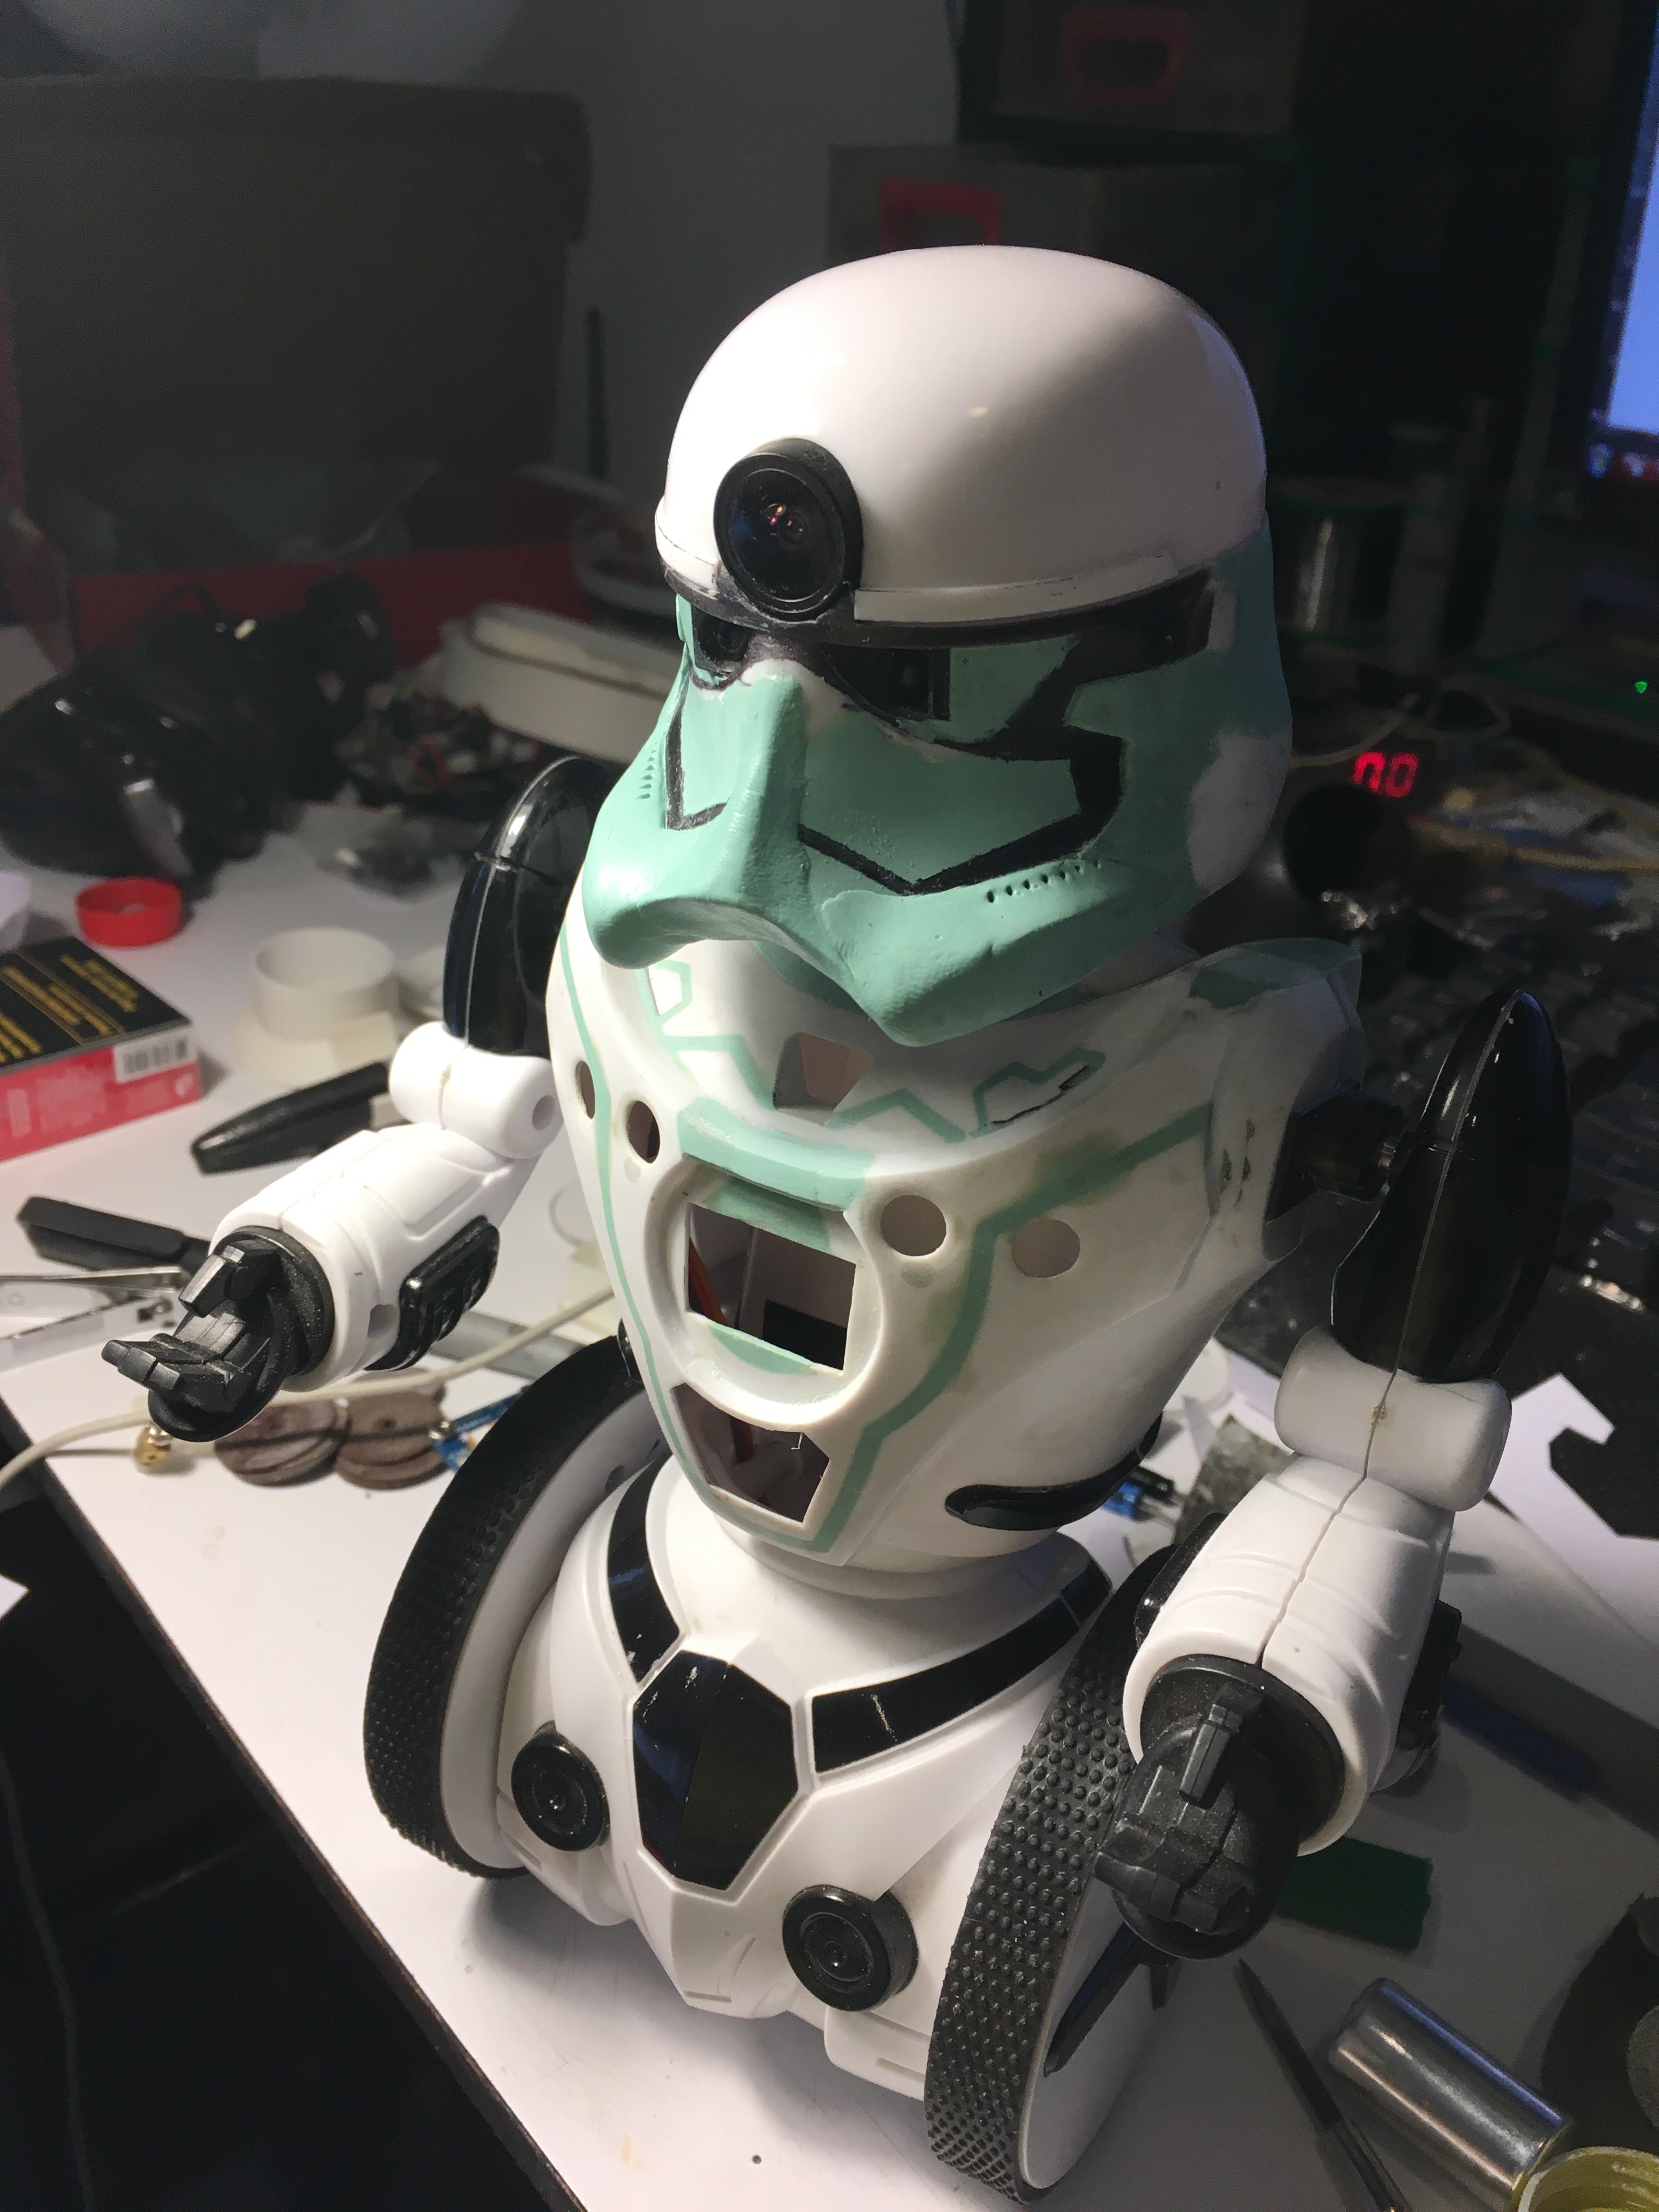
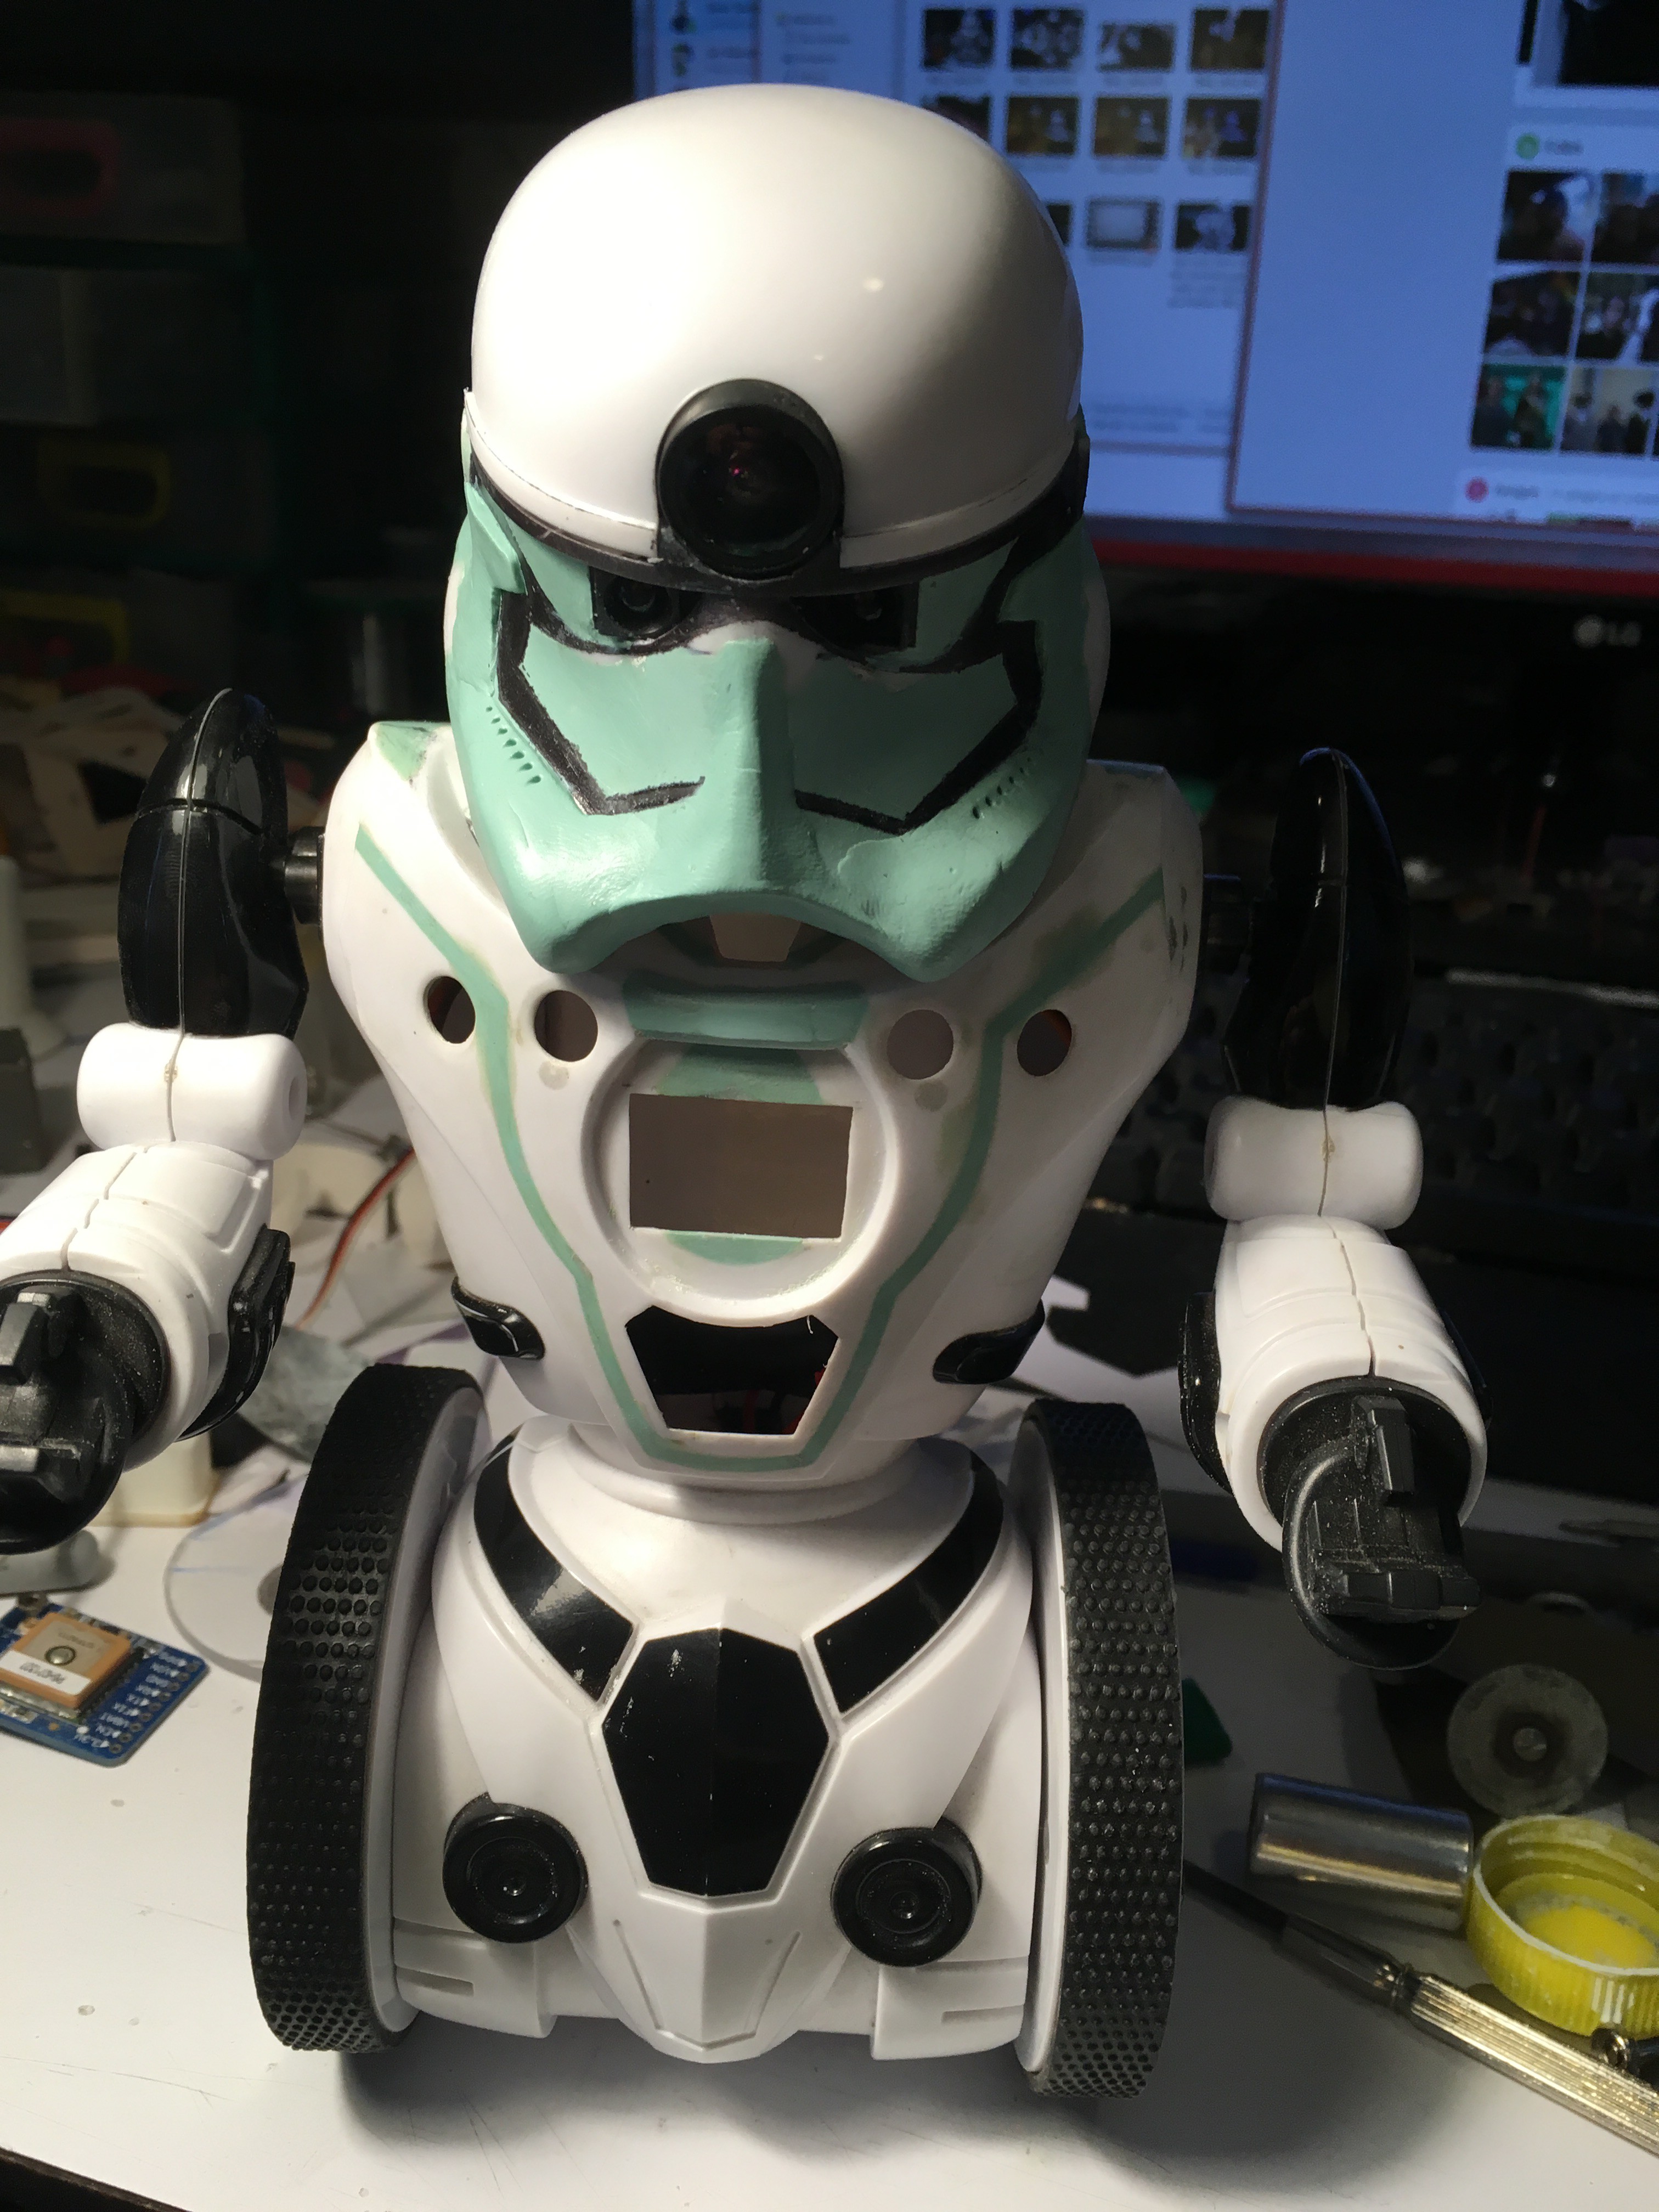
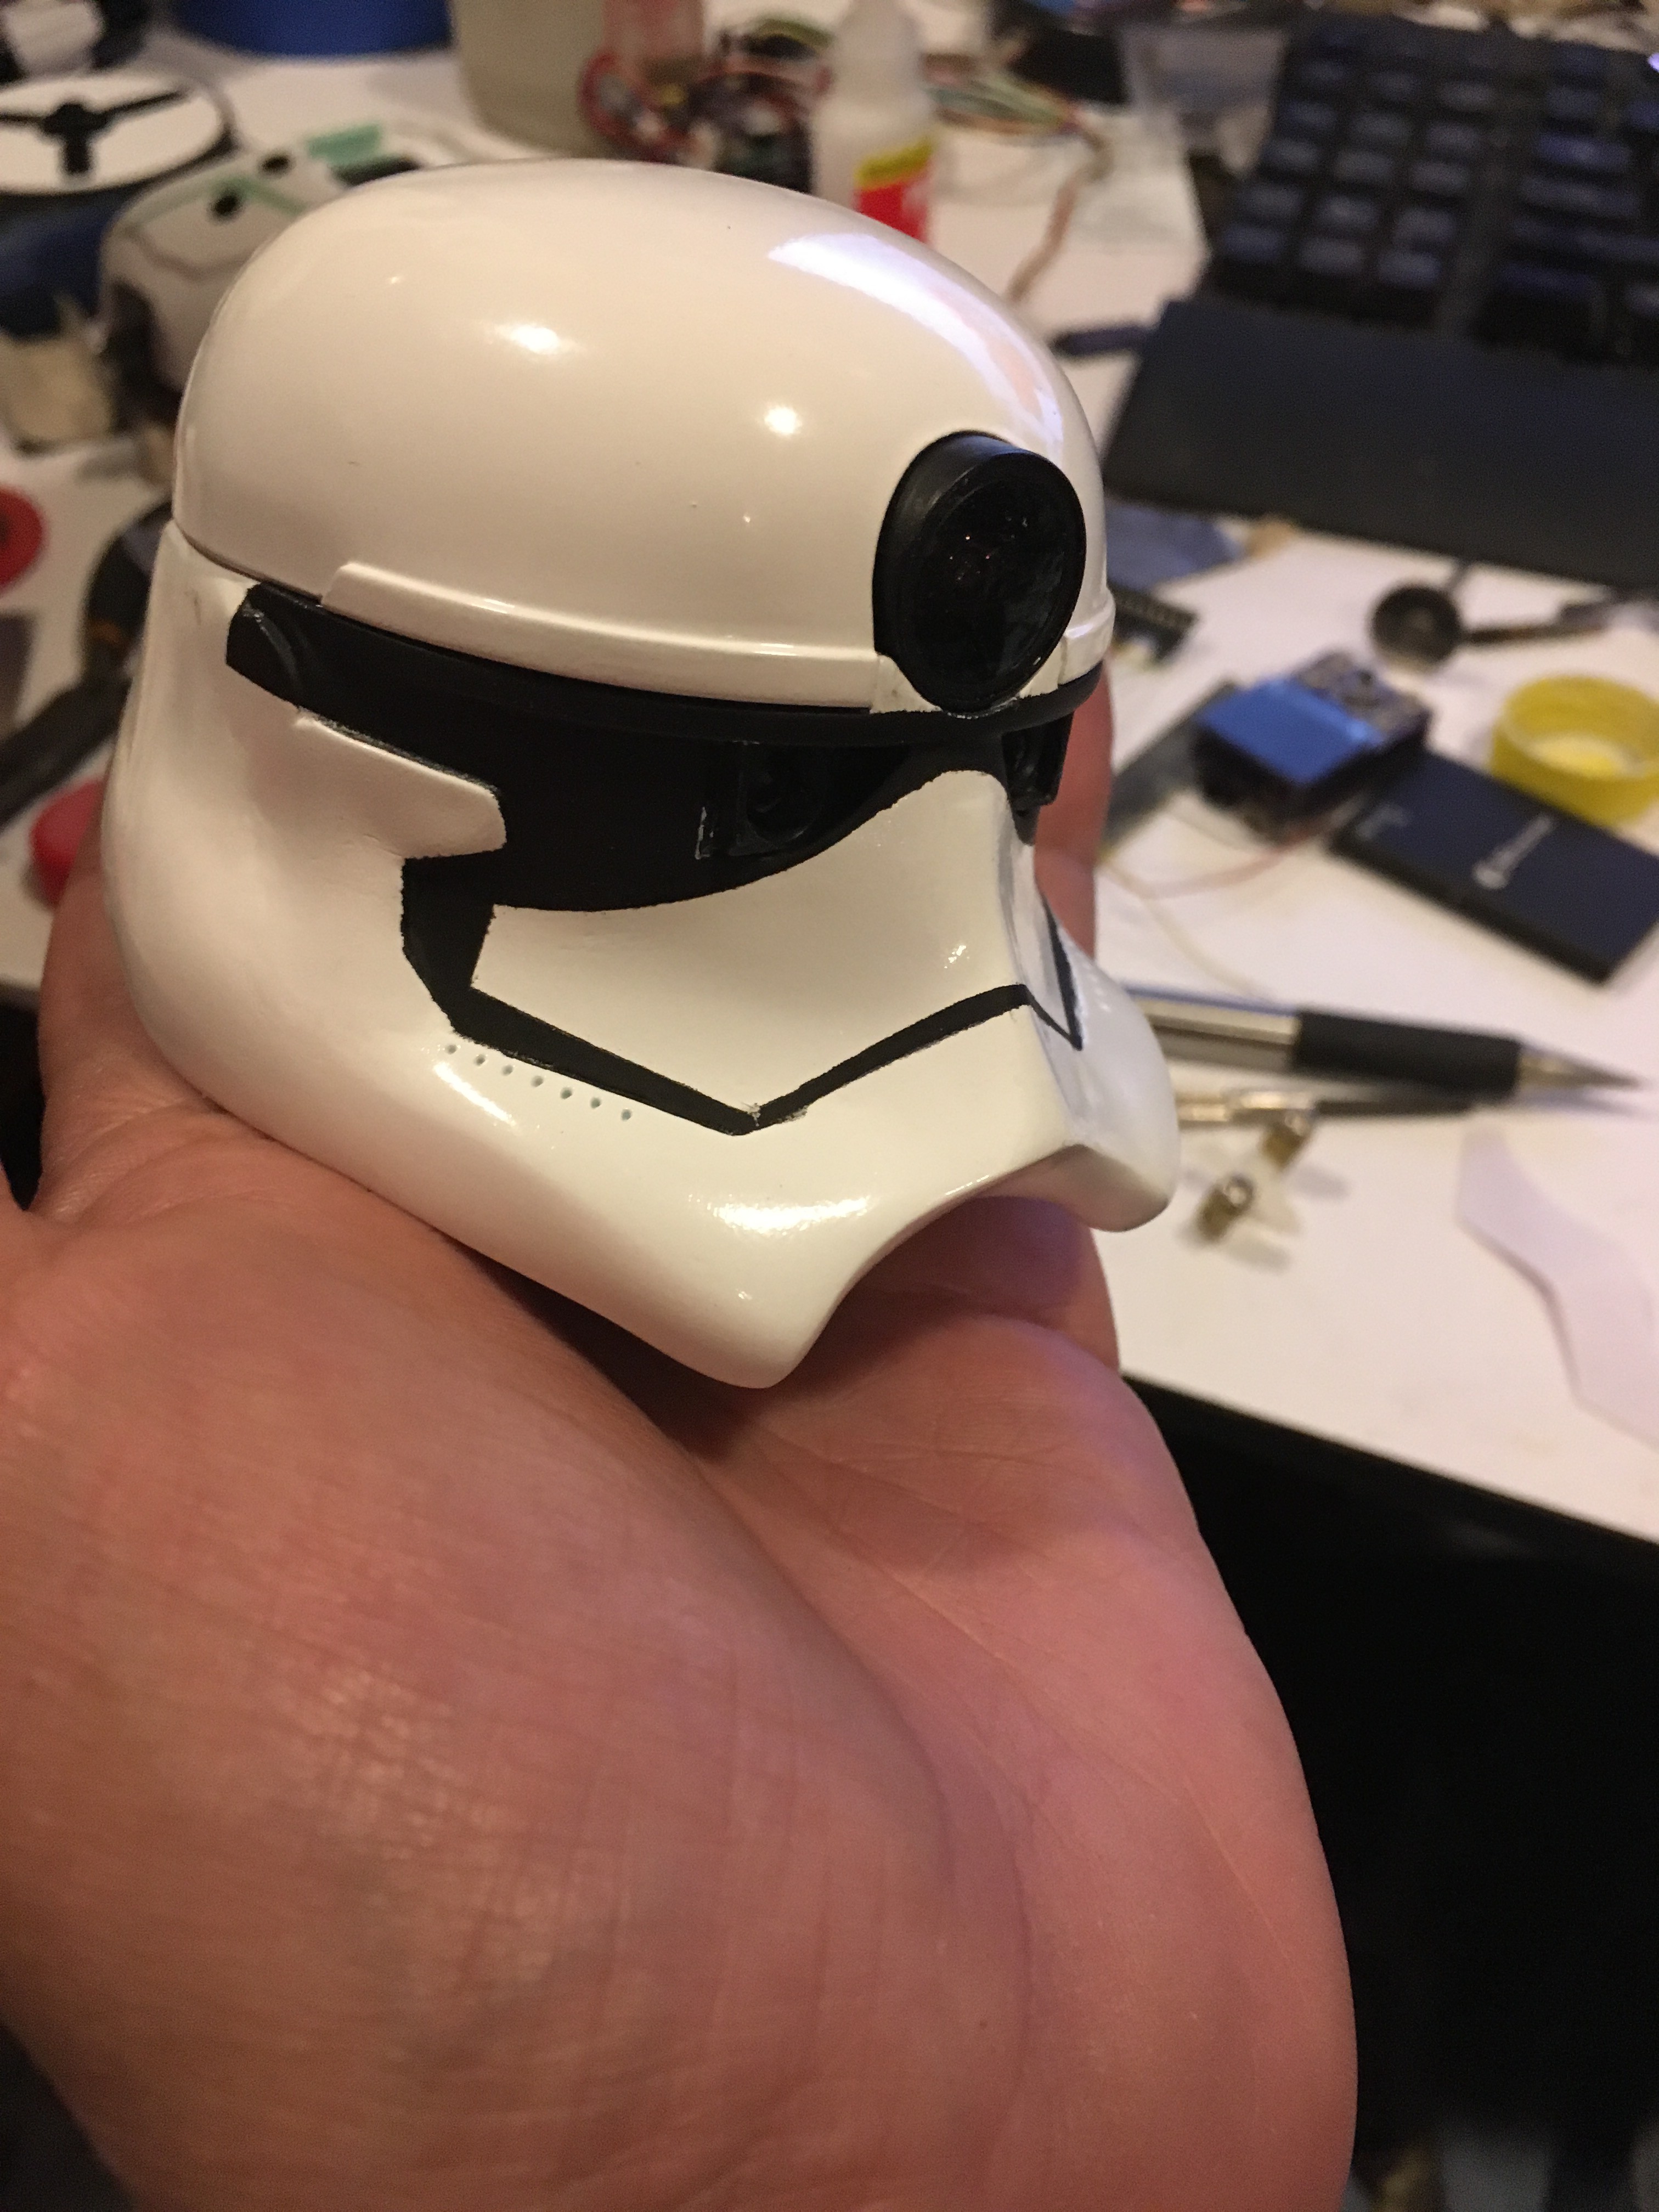
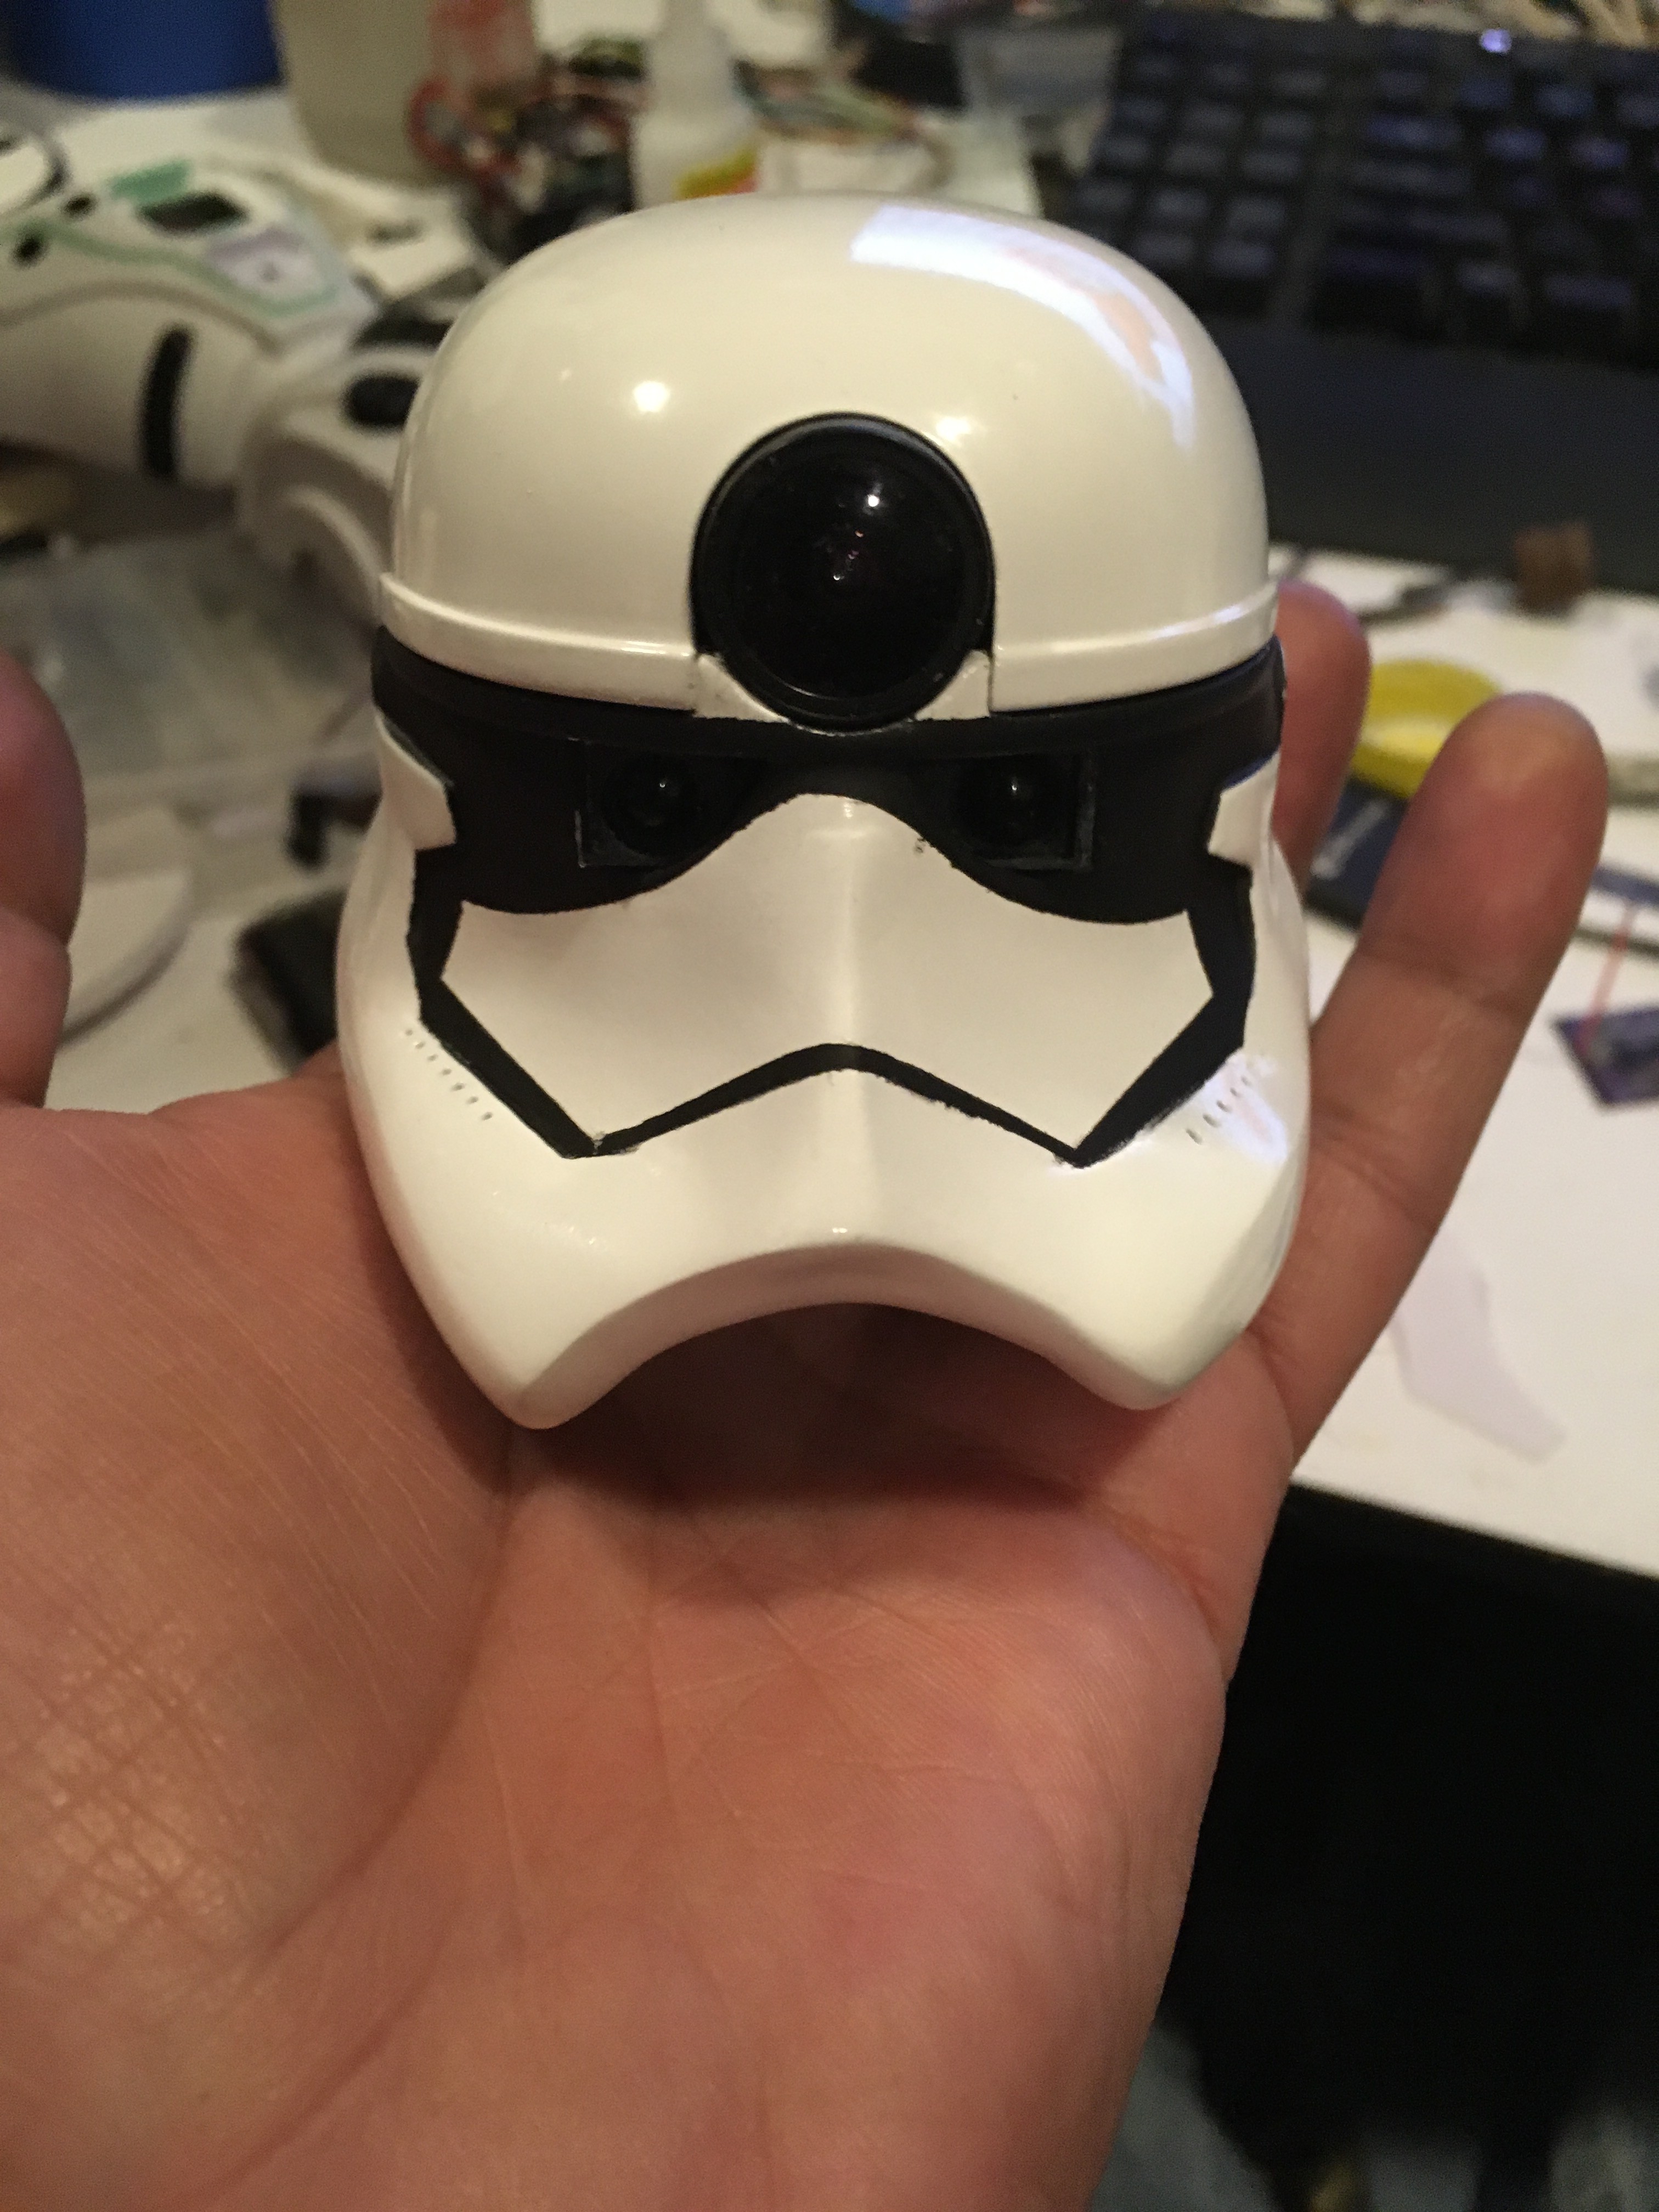
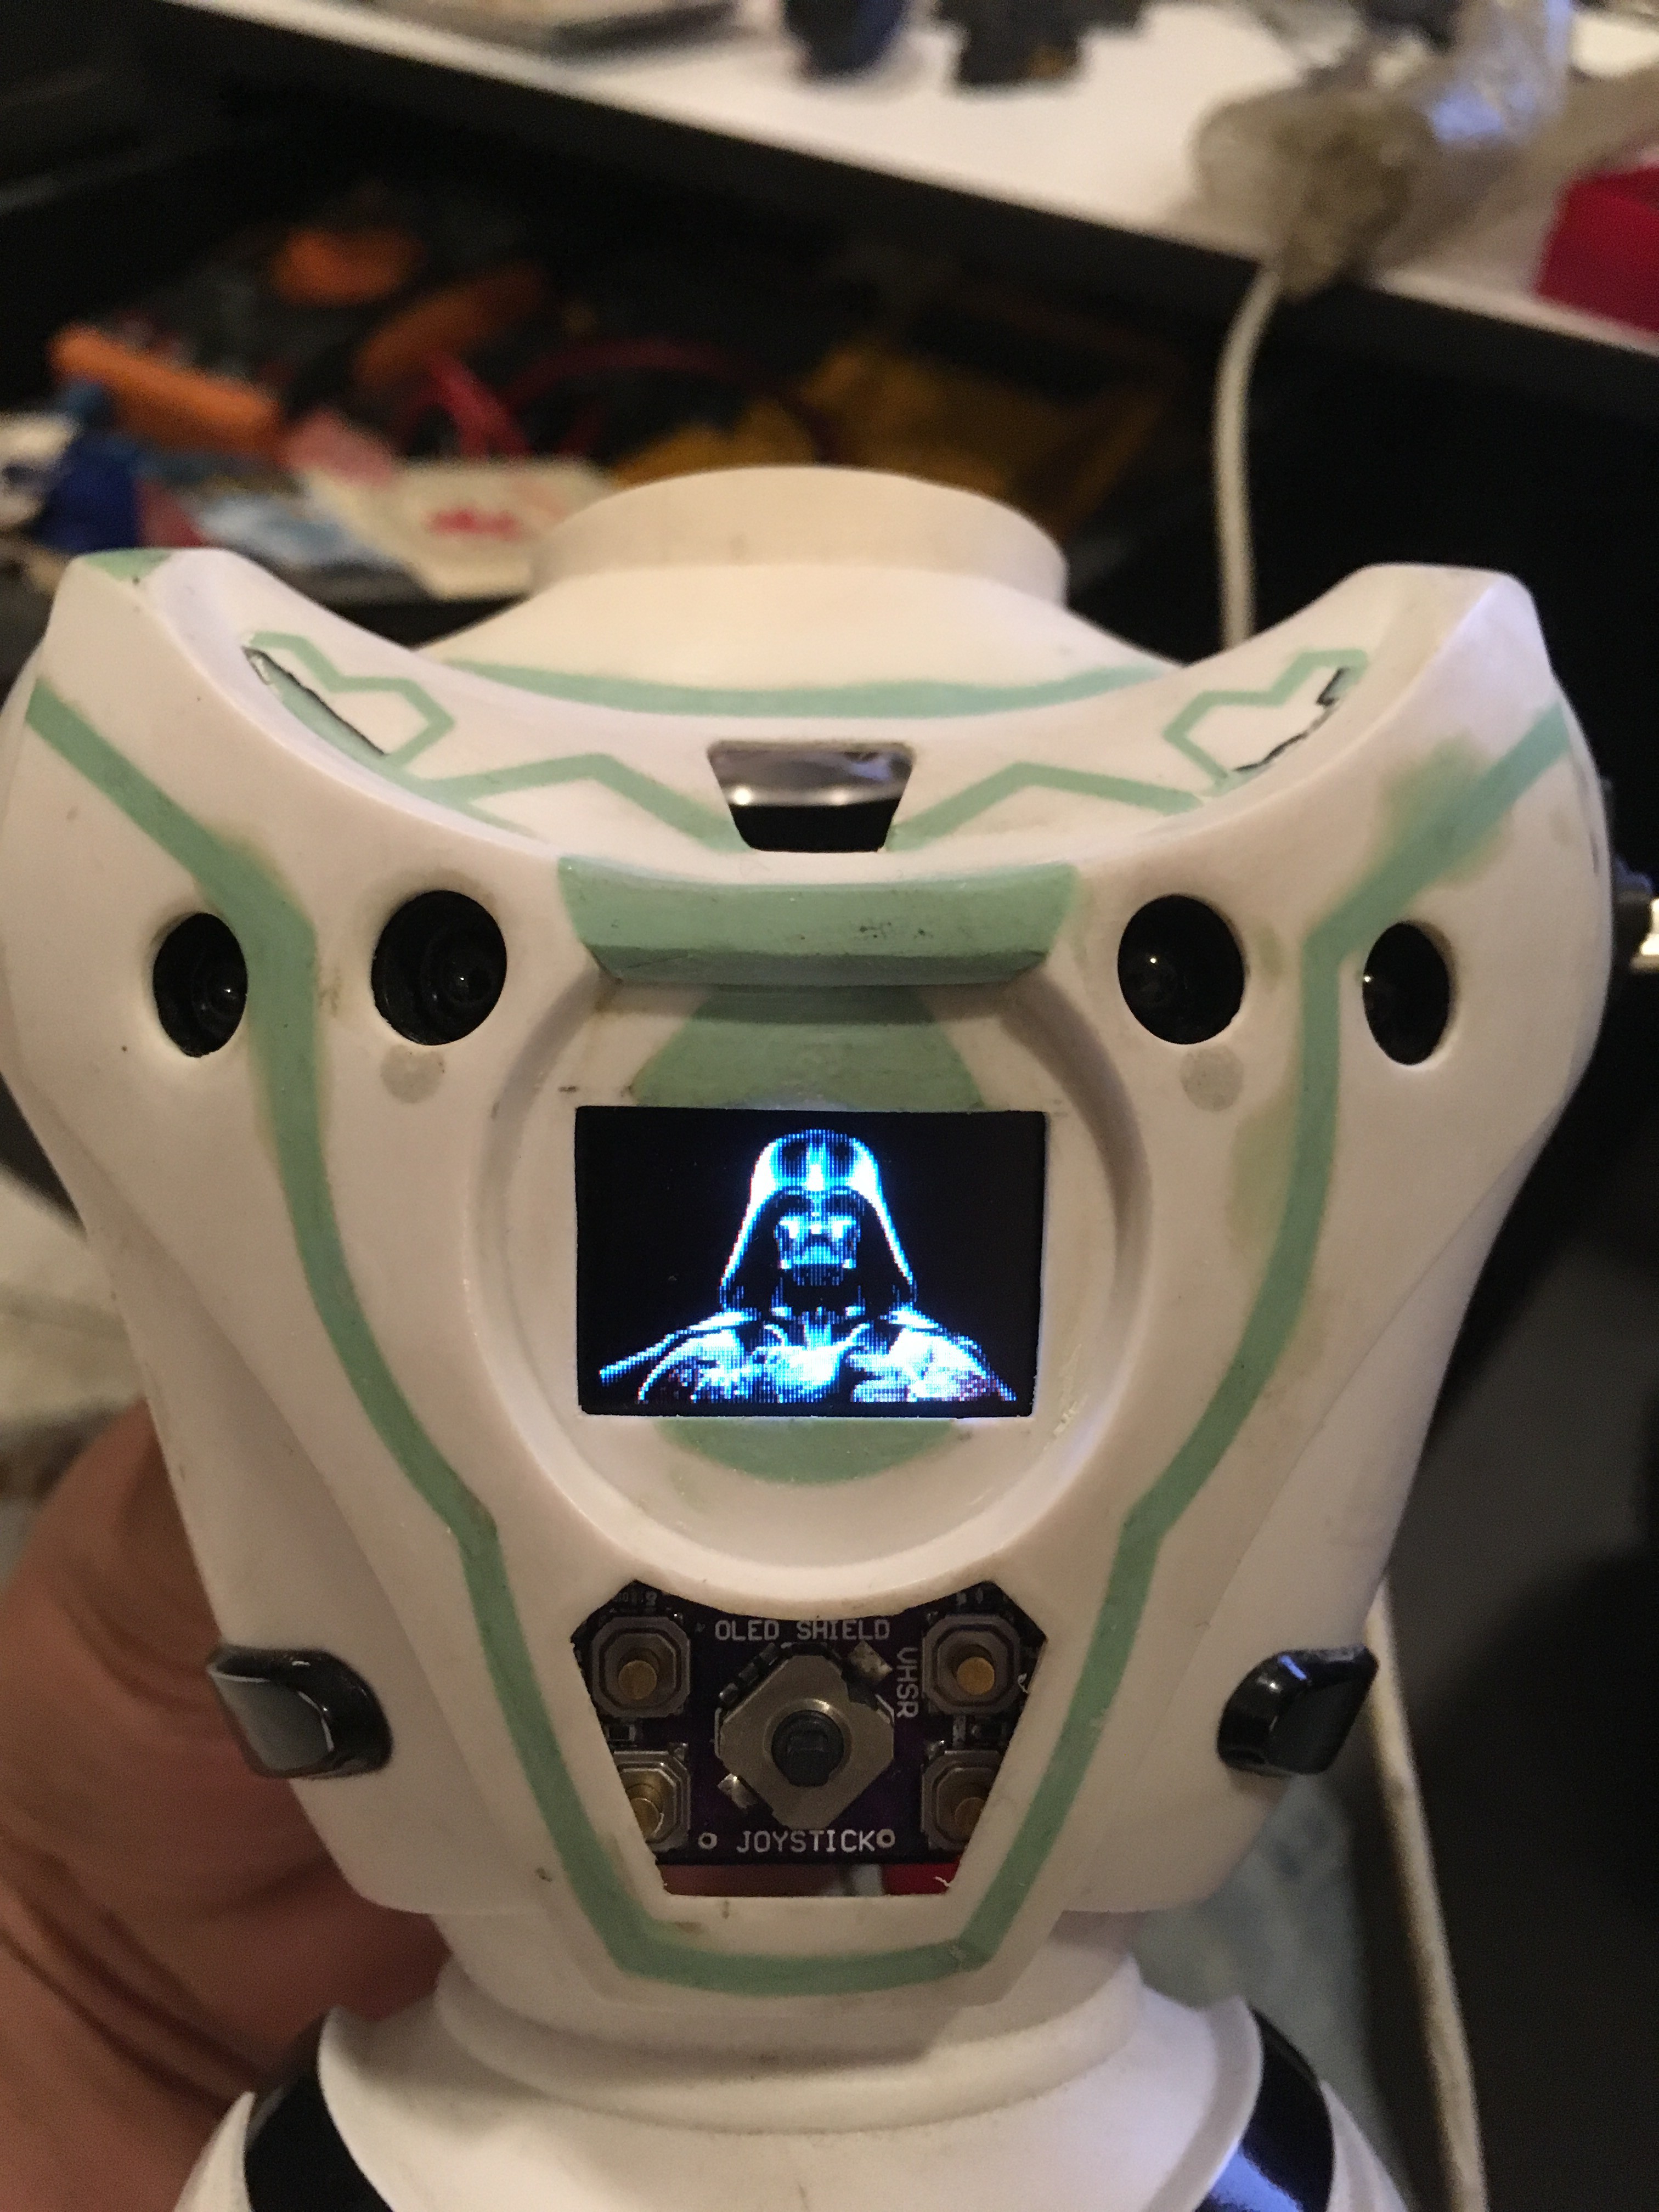
Droid trooper is a robot based on Kib robot chasis as showed in building section.

Now, before starting in details, let me show you some features of the robot:

This video is new, it shows how the video system on the robot will shot an object and generates a Star Wars laser type gunshot

In this video we can see how fast the video system can follow an object

This video is a small preview of the behaivior and "temperament" of Droid Trooper

The main idea is to shot those rebel robots... =O)

In this video we can see how the robot tracks autonomously an object

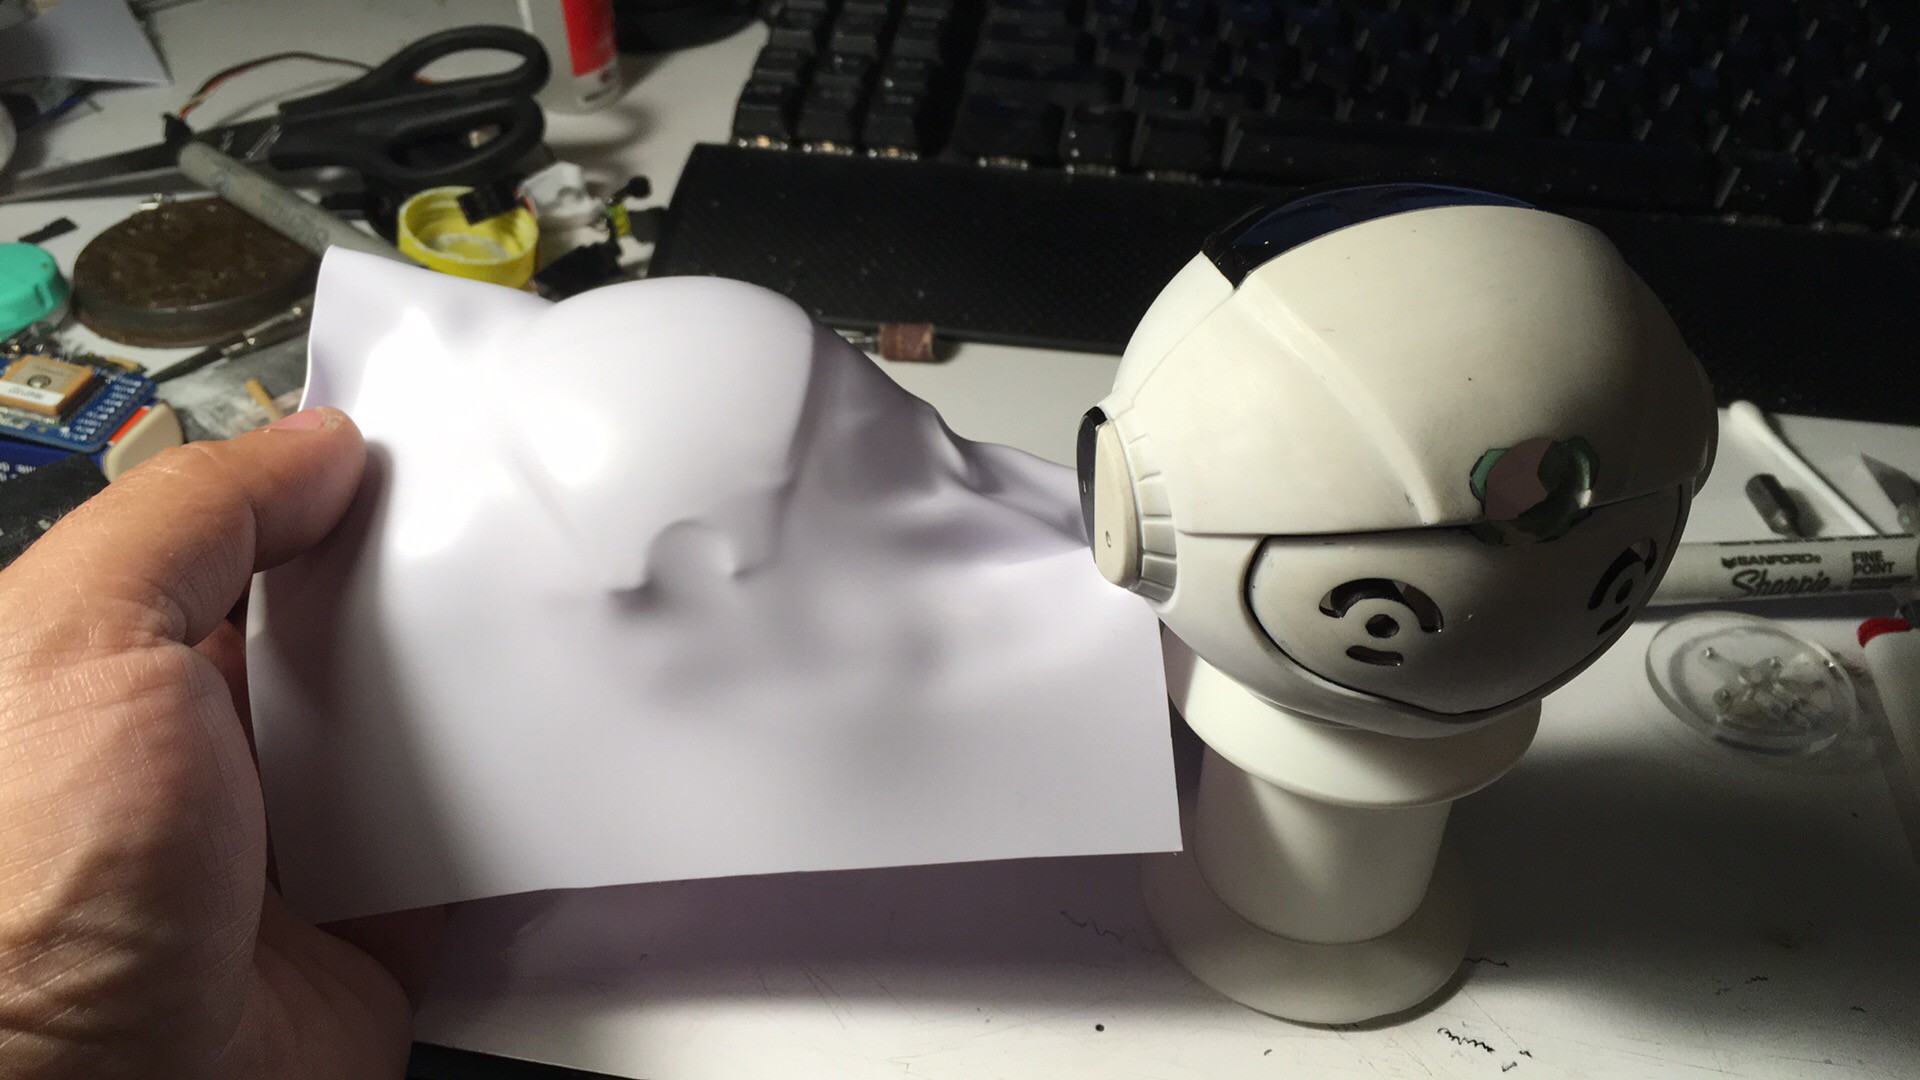
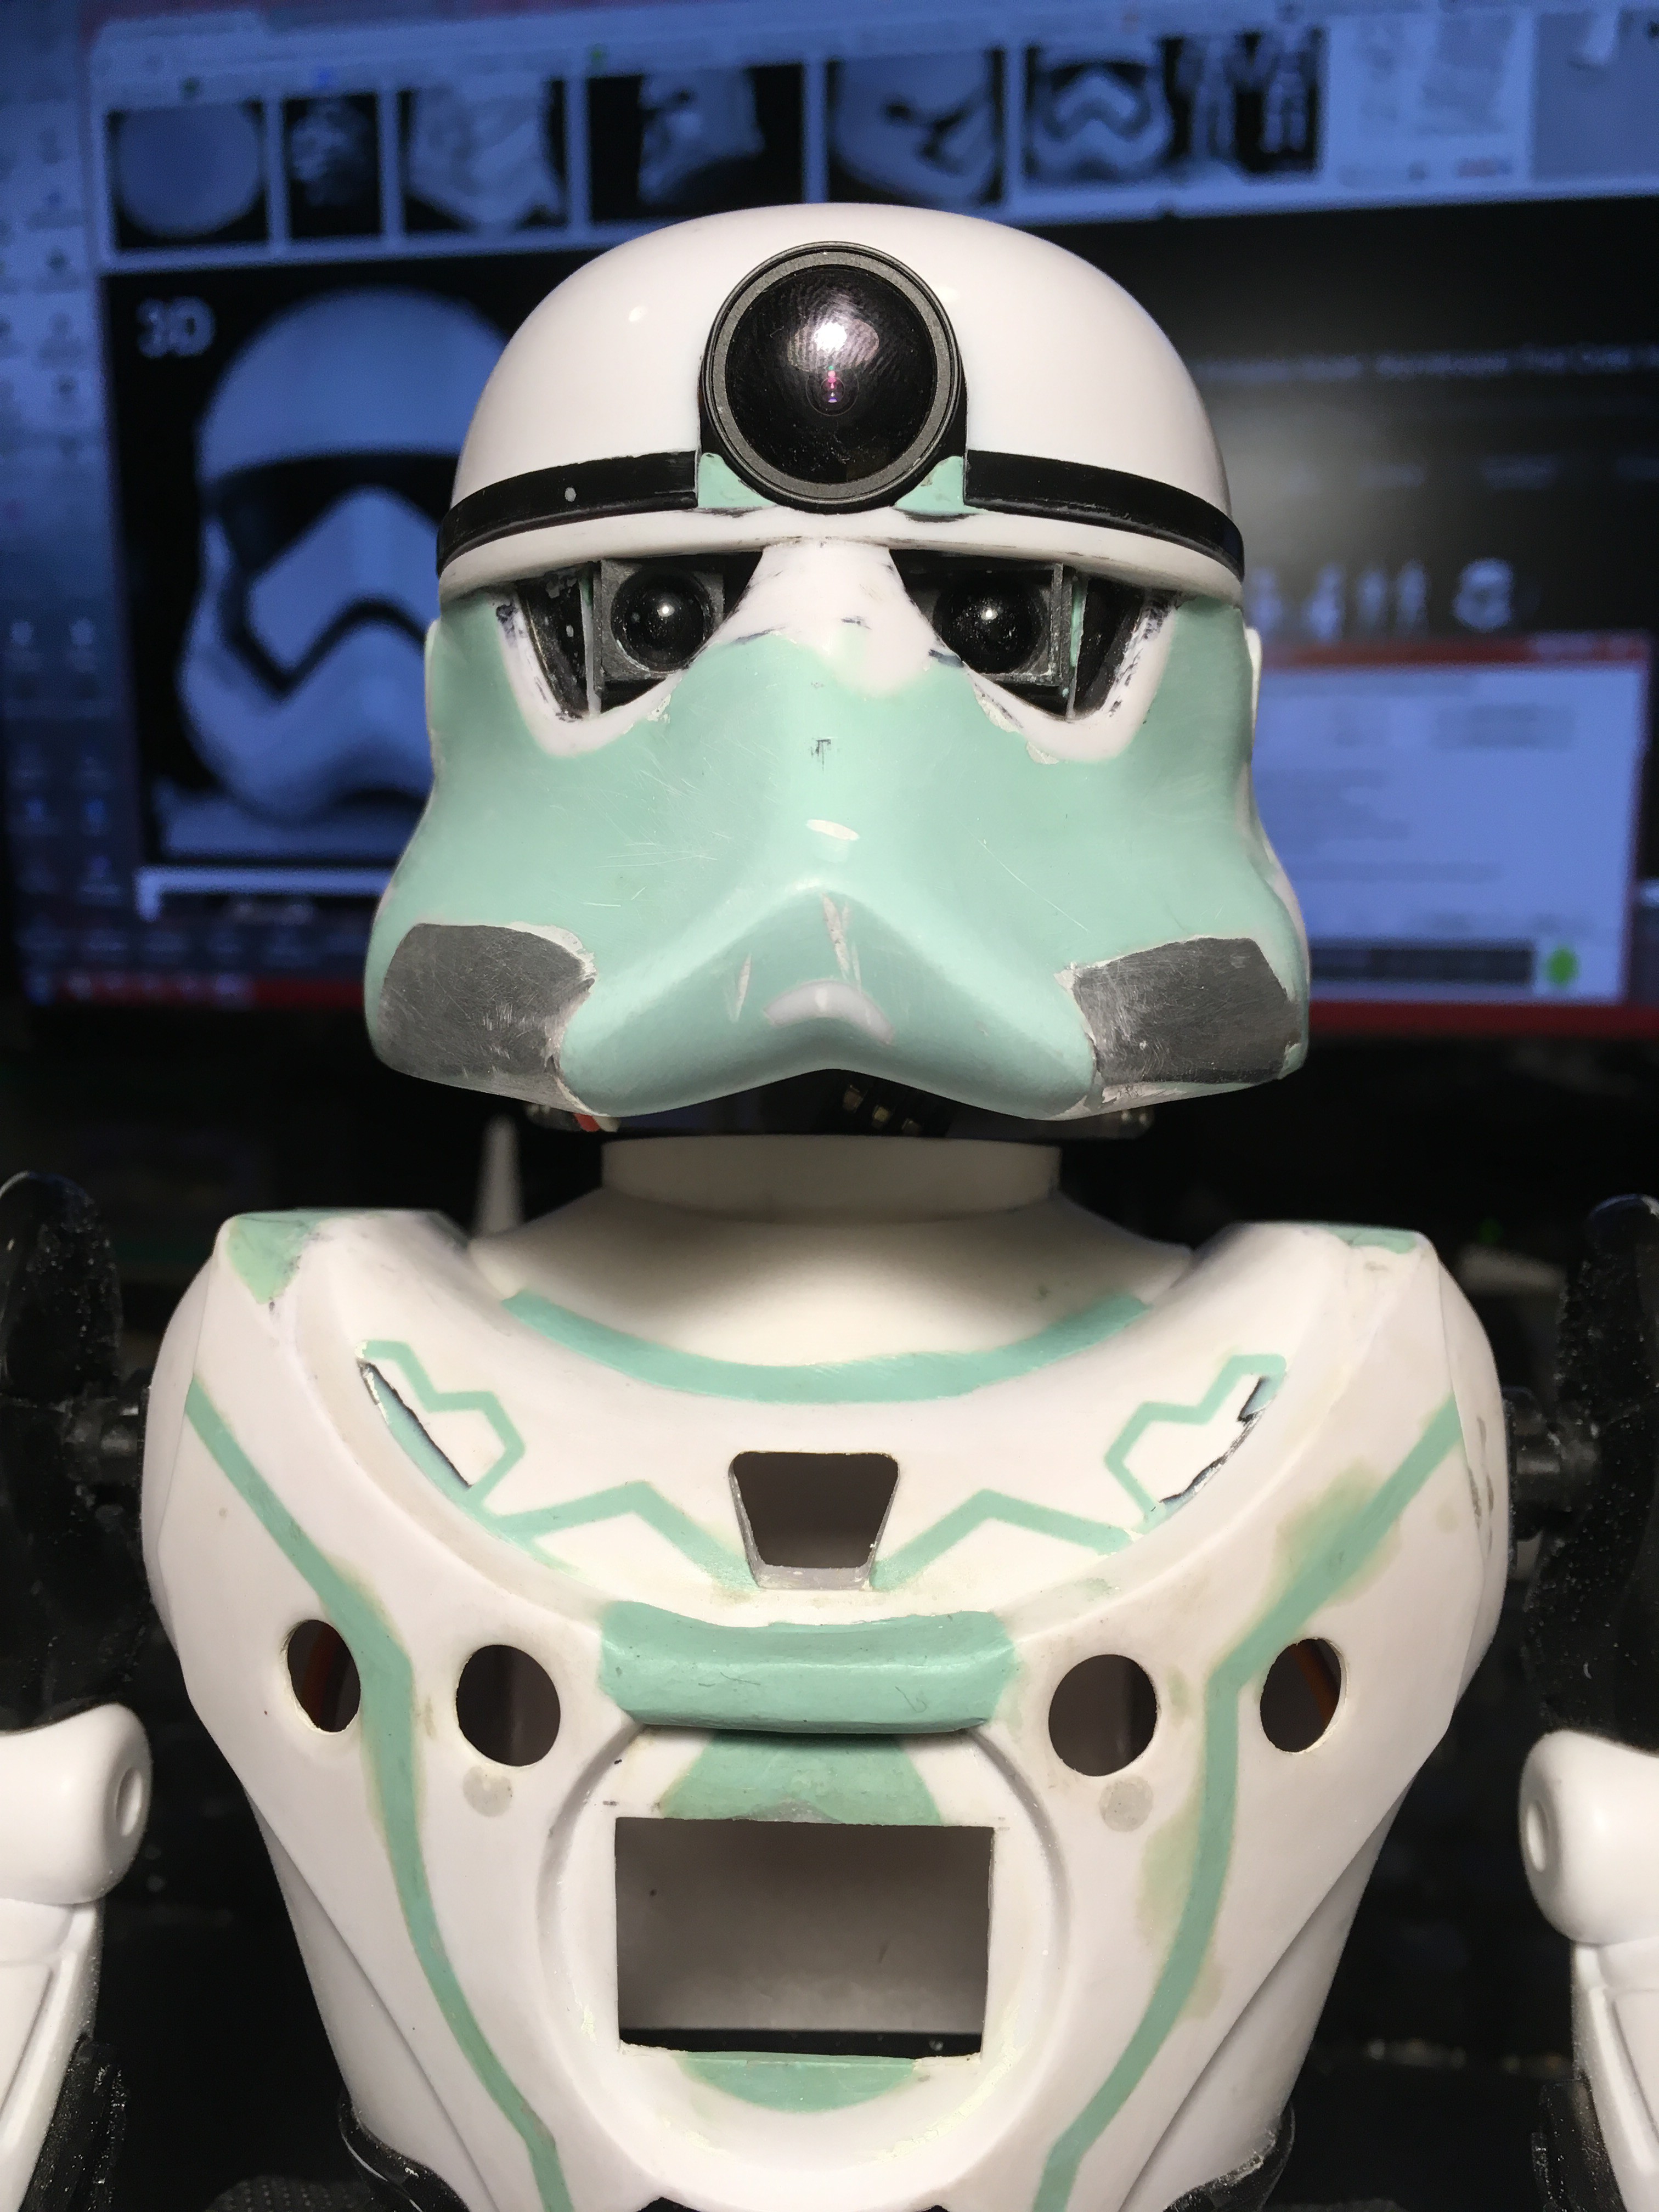
This is how the robot "see" an object

Now, the interesting part:

Originally, Kib robot is based on ARM cortex 0 and uses some wireless chip in 2.4 Ghz to use it by remote control. But the balancing control really sucks, it's worst than Mip balancing robot...

I wanted to control the robot in 3 ways:

1.- The robot must be autonomous and have it's own decitions for: Navigation, behaivior and seek objects

2.- The robot can be programed by blocky or anothe simple and graphical language

3.- The robot can remotely be controled using a FPV visor

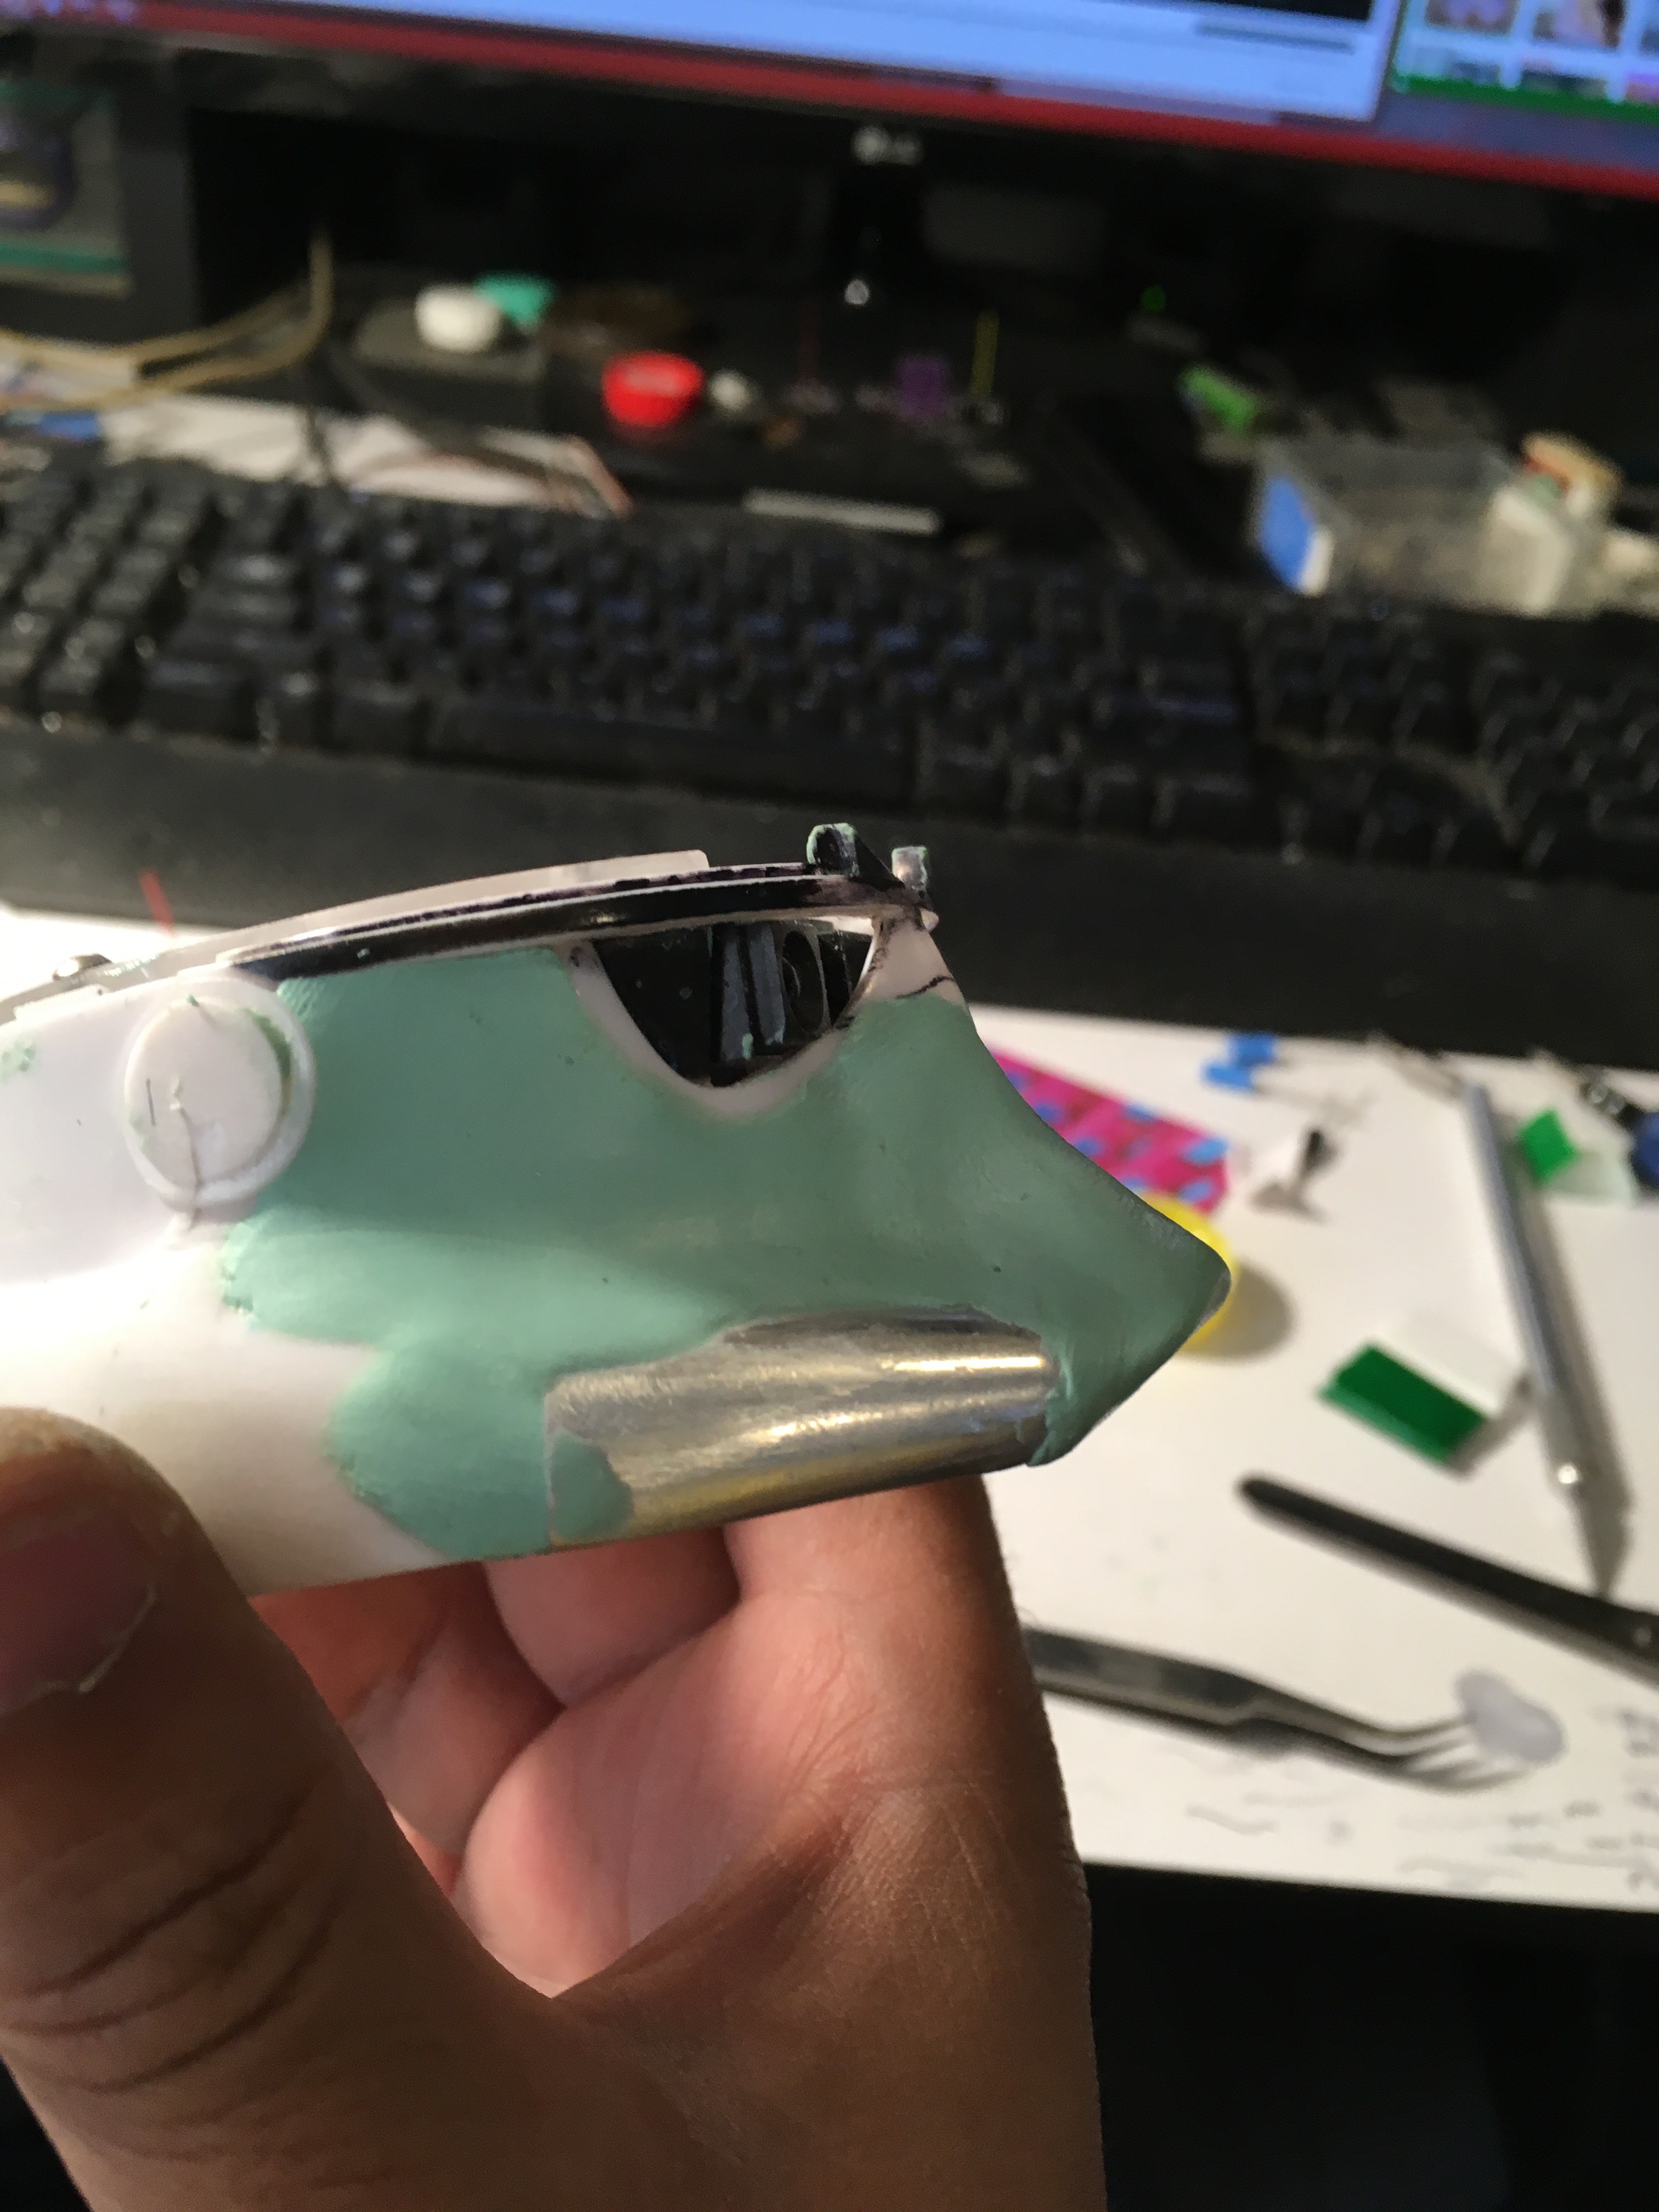
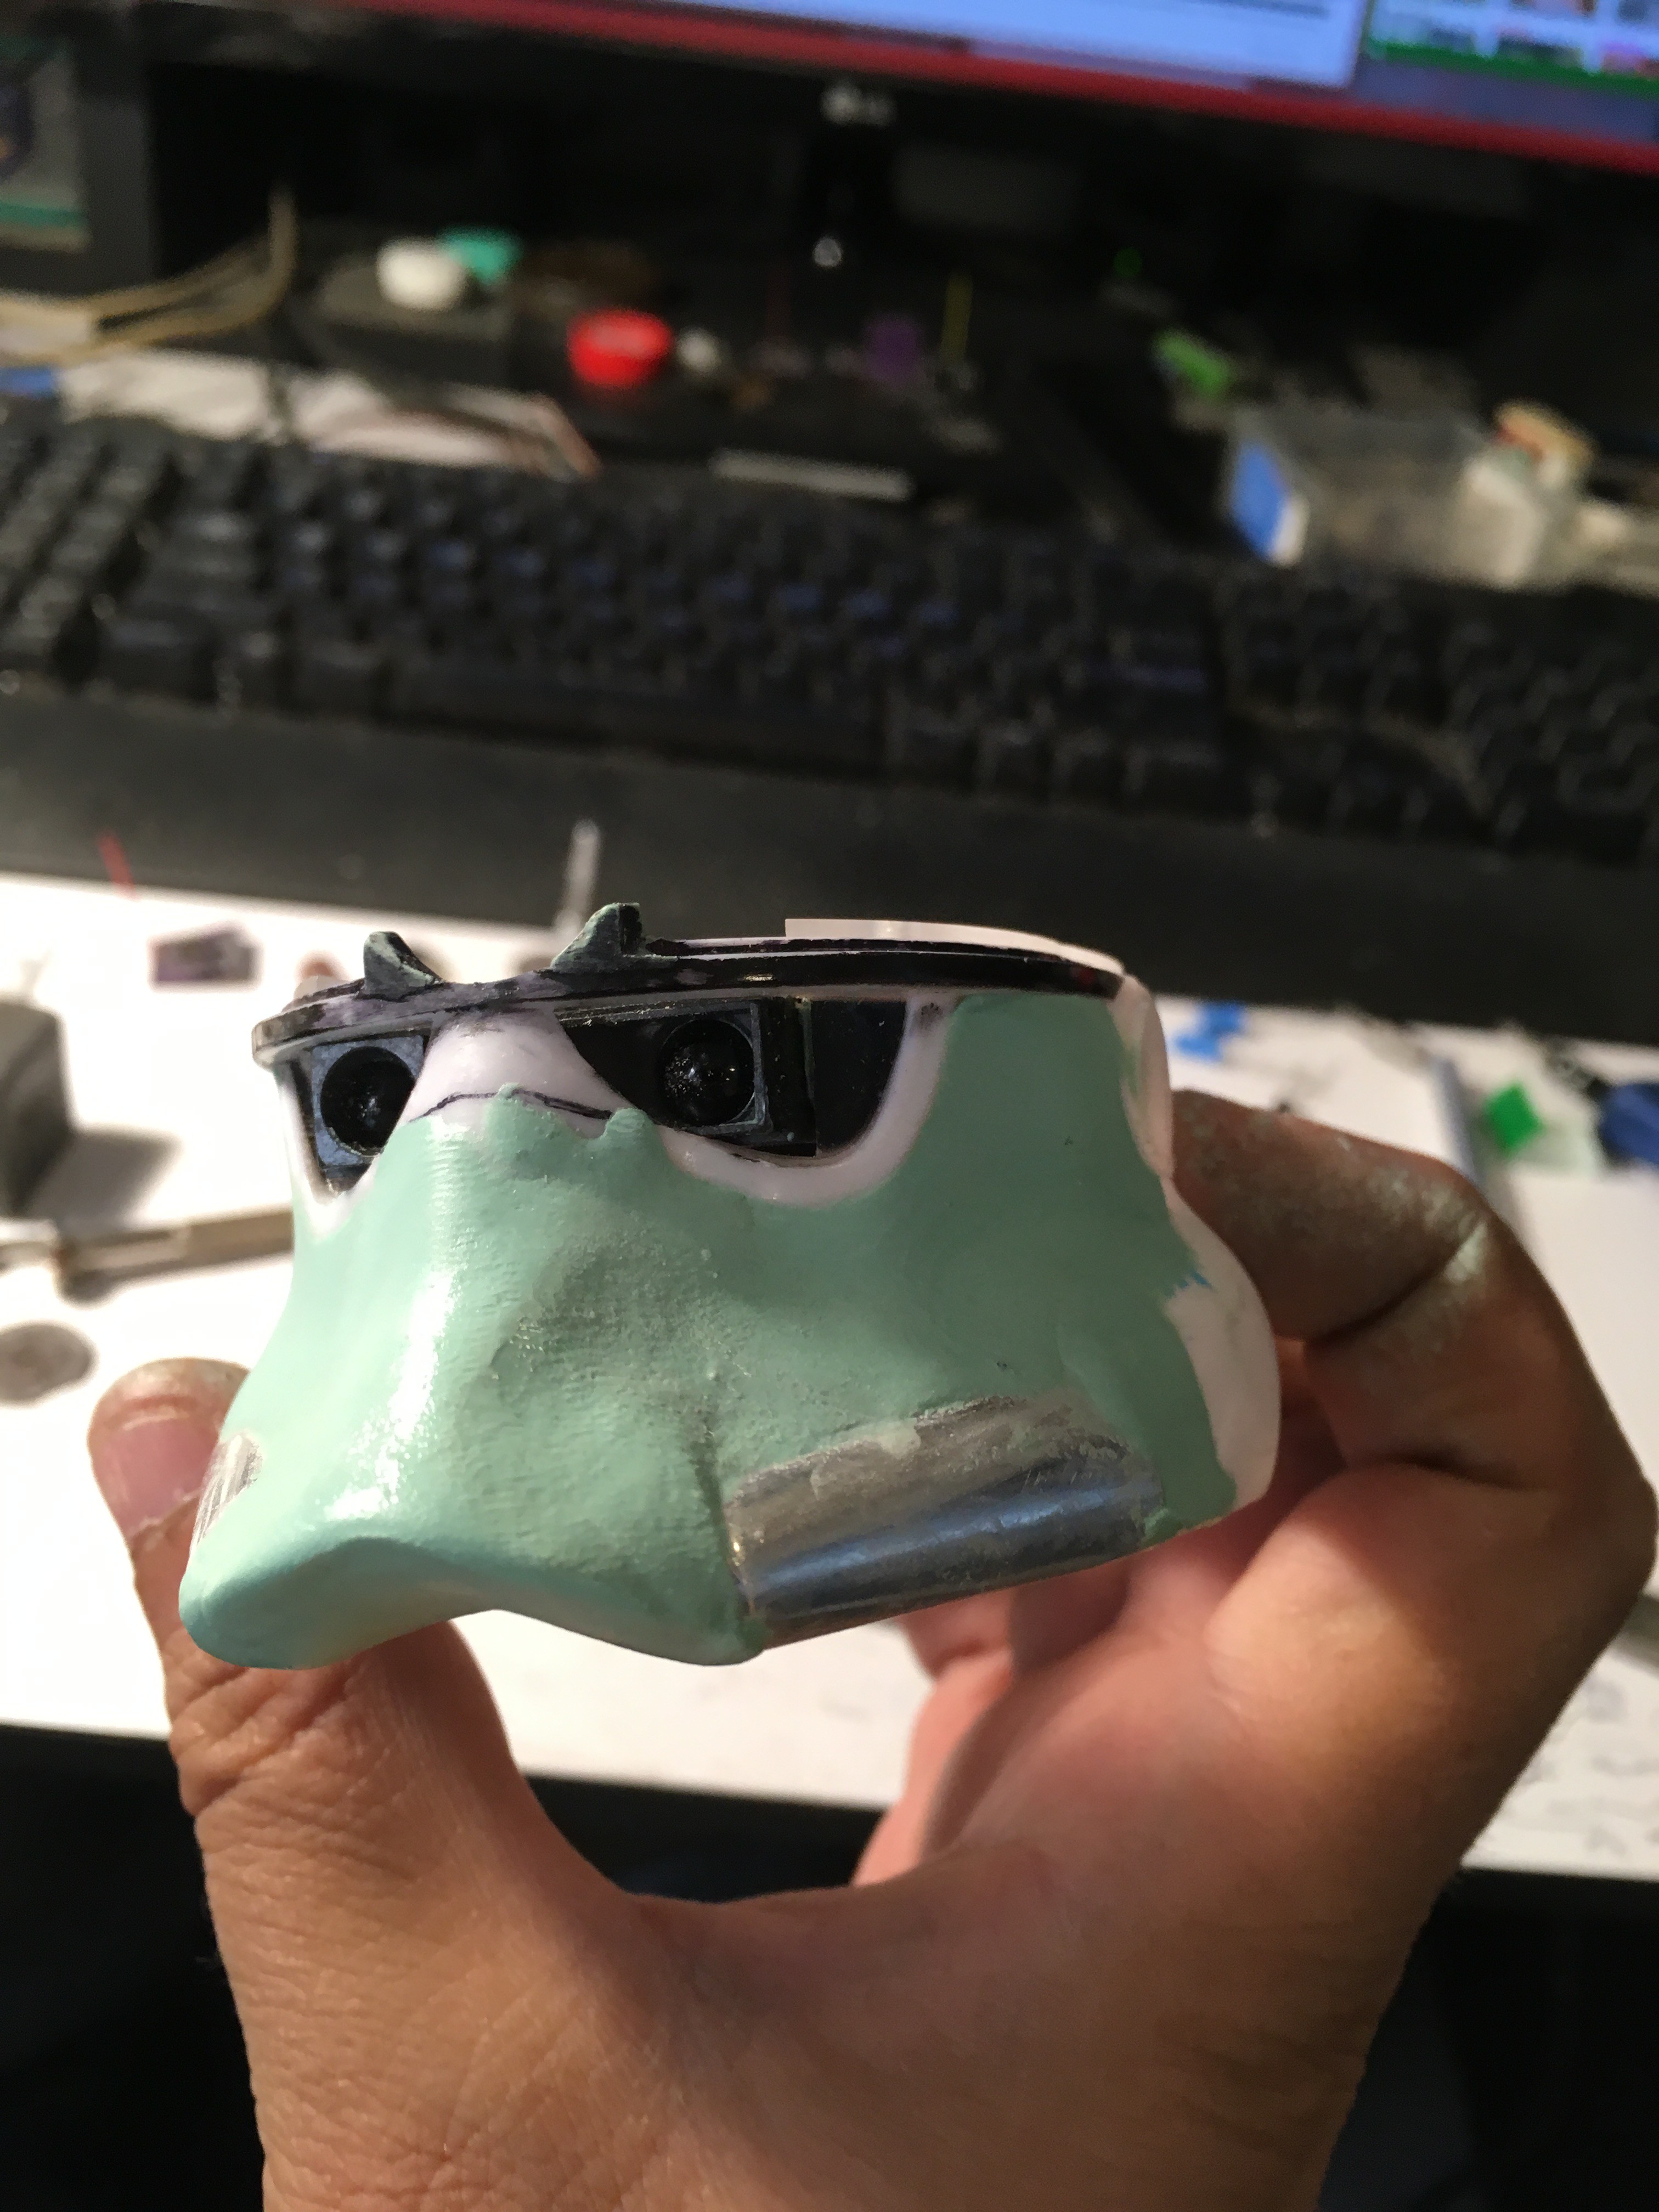
Using FPV control requires that the robot stays still as much as possible, this is because one can get dizzy easily, and original balancing mode looks like a super drunk guy, so, thats why I discarded the original PCB with ARM cortex 0 and instead re-design everything: Electronics, PID control for self balance, wireless communications, sensors, artificial vision etc.

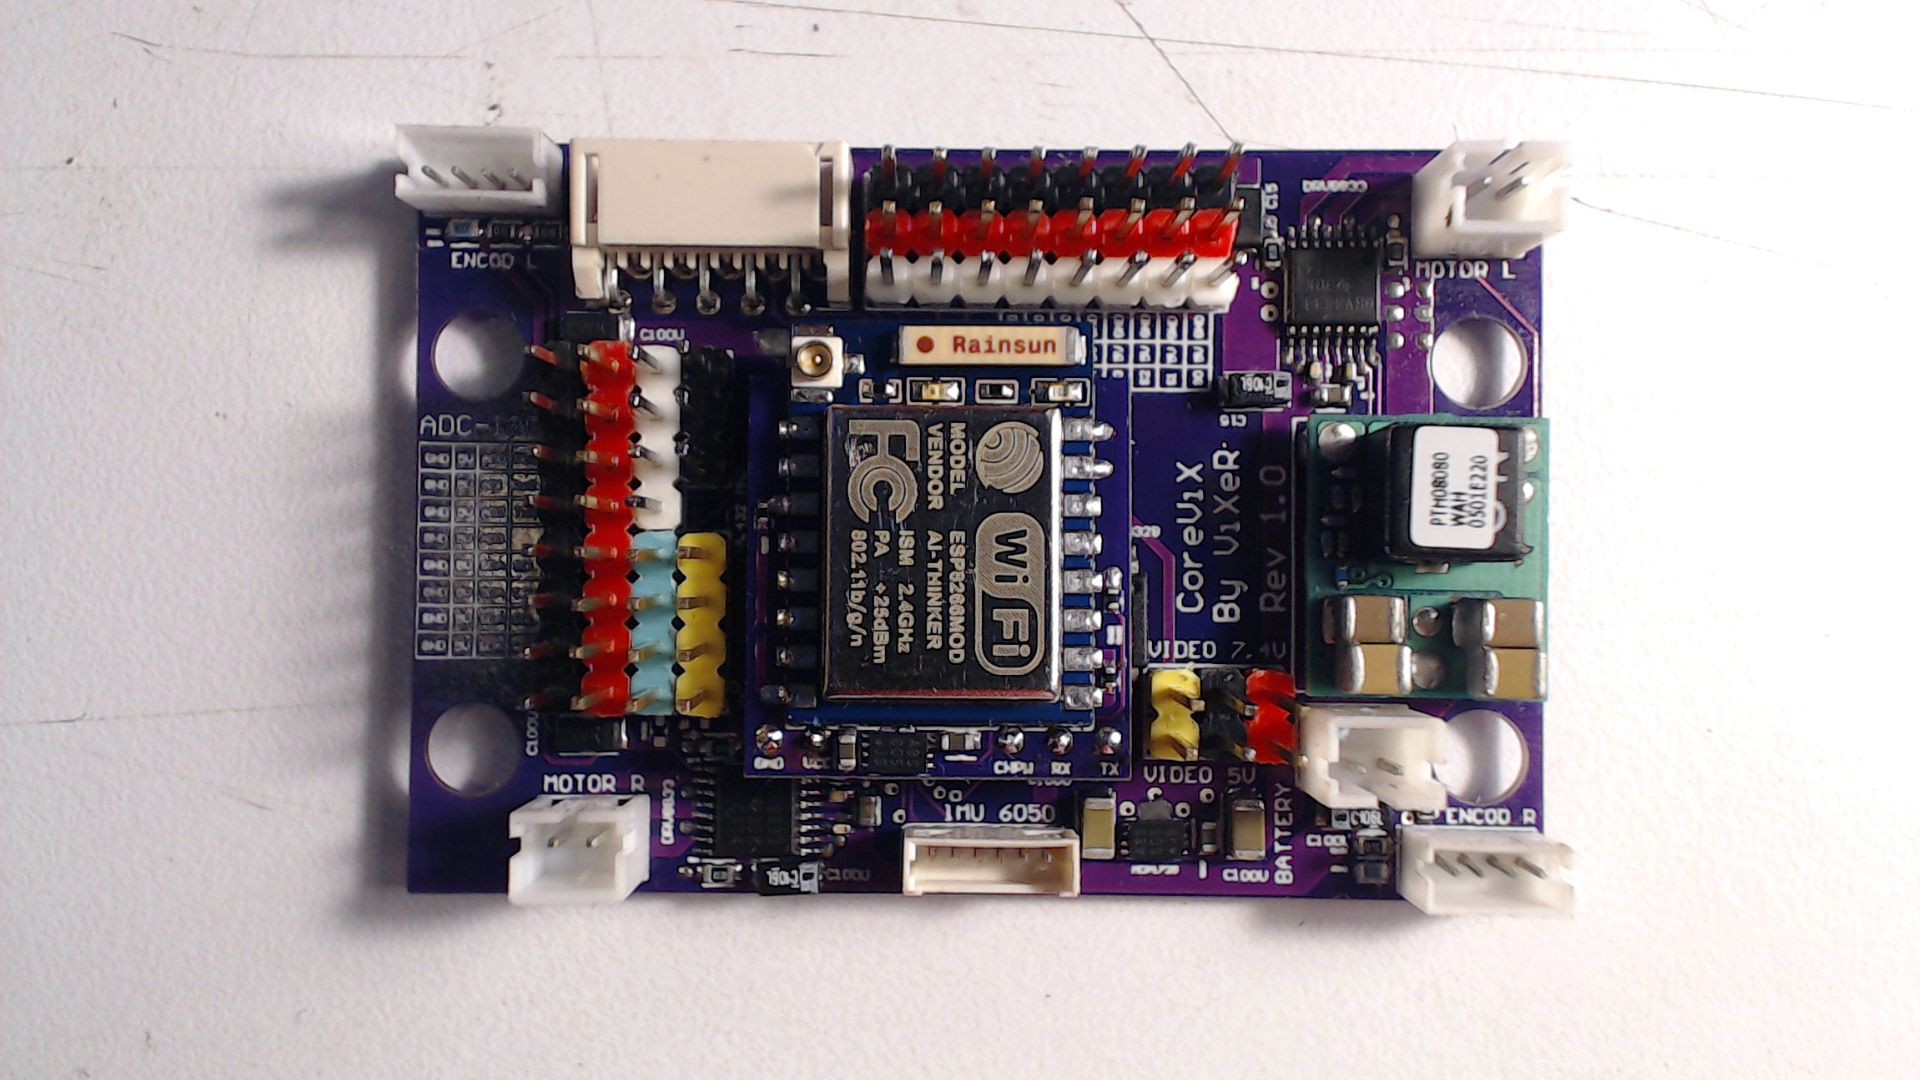
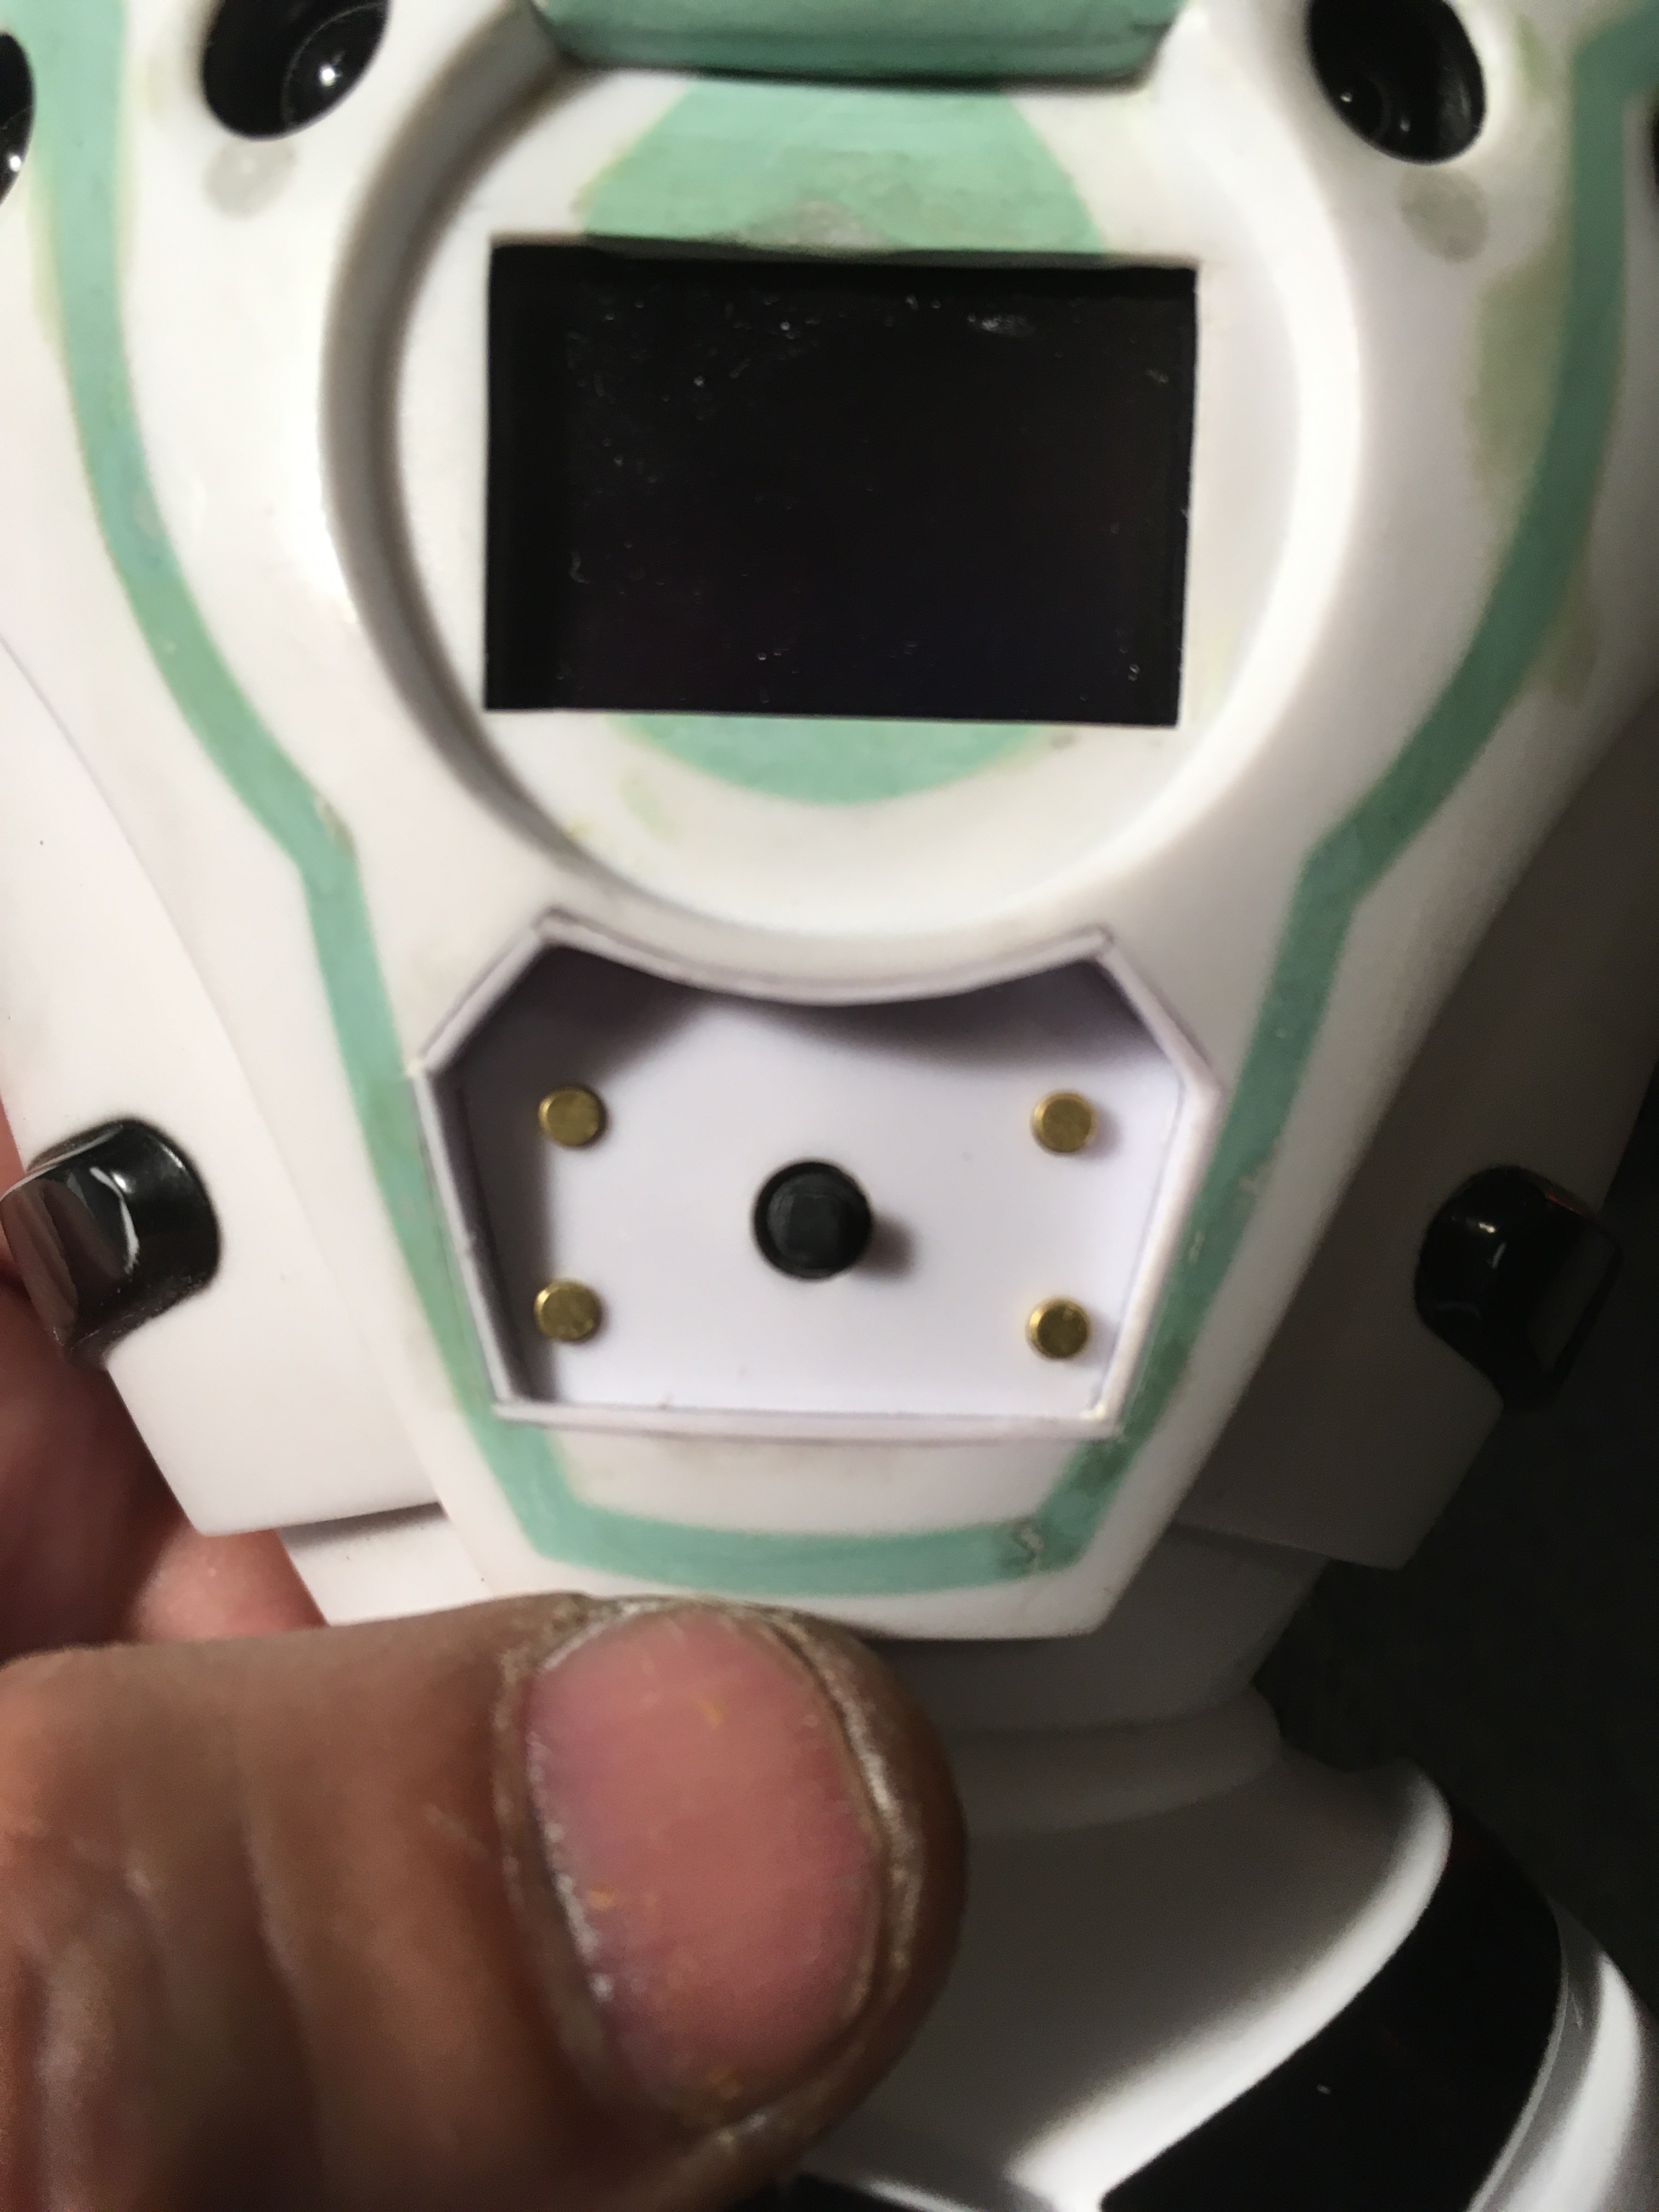
So, for the electronics, I design a board to control all what the robot needed:

8 I/O ports to control servos

5 I/O asigned to ADC, mainly used by distance sensor and battery level

2 H bridges with 3 Amp RMS to control each motor

2 Timer imputs to receive wheel encoders

1 Buck converter to provide enough current to servos and electronics systems.

4 I2C pin ports to conect IMU MPU6050

2 UARTS to control wireless comunications

128 KB SPI RAM 

8 MB FLASH RAM for program data

1 RTC to keep traking of time

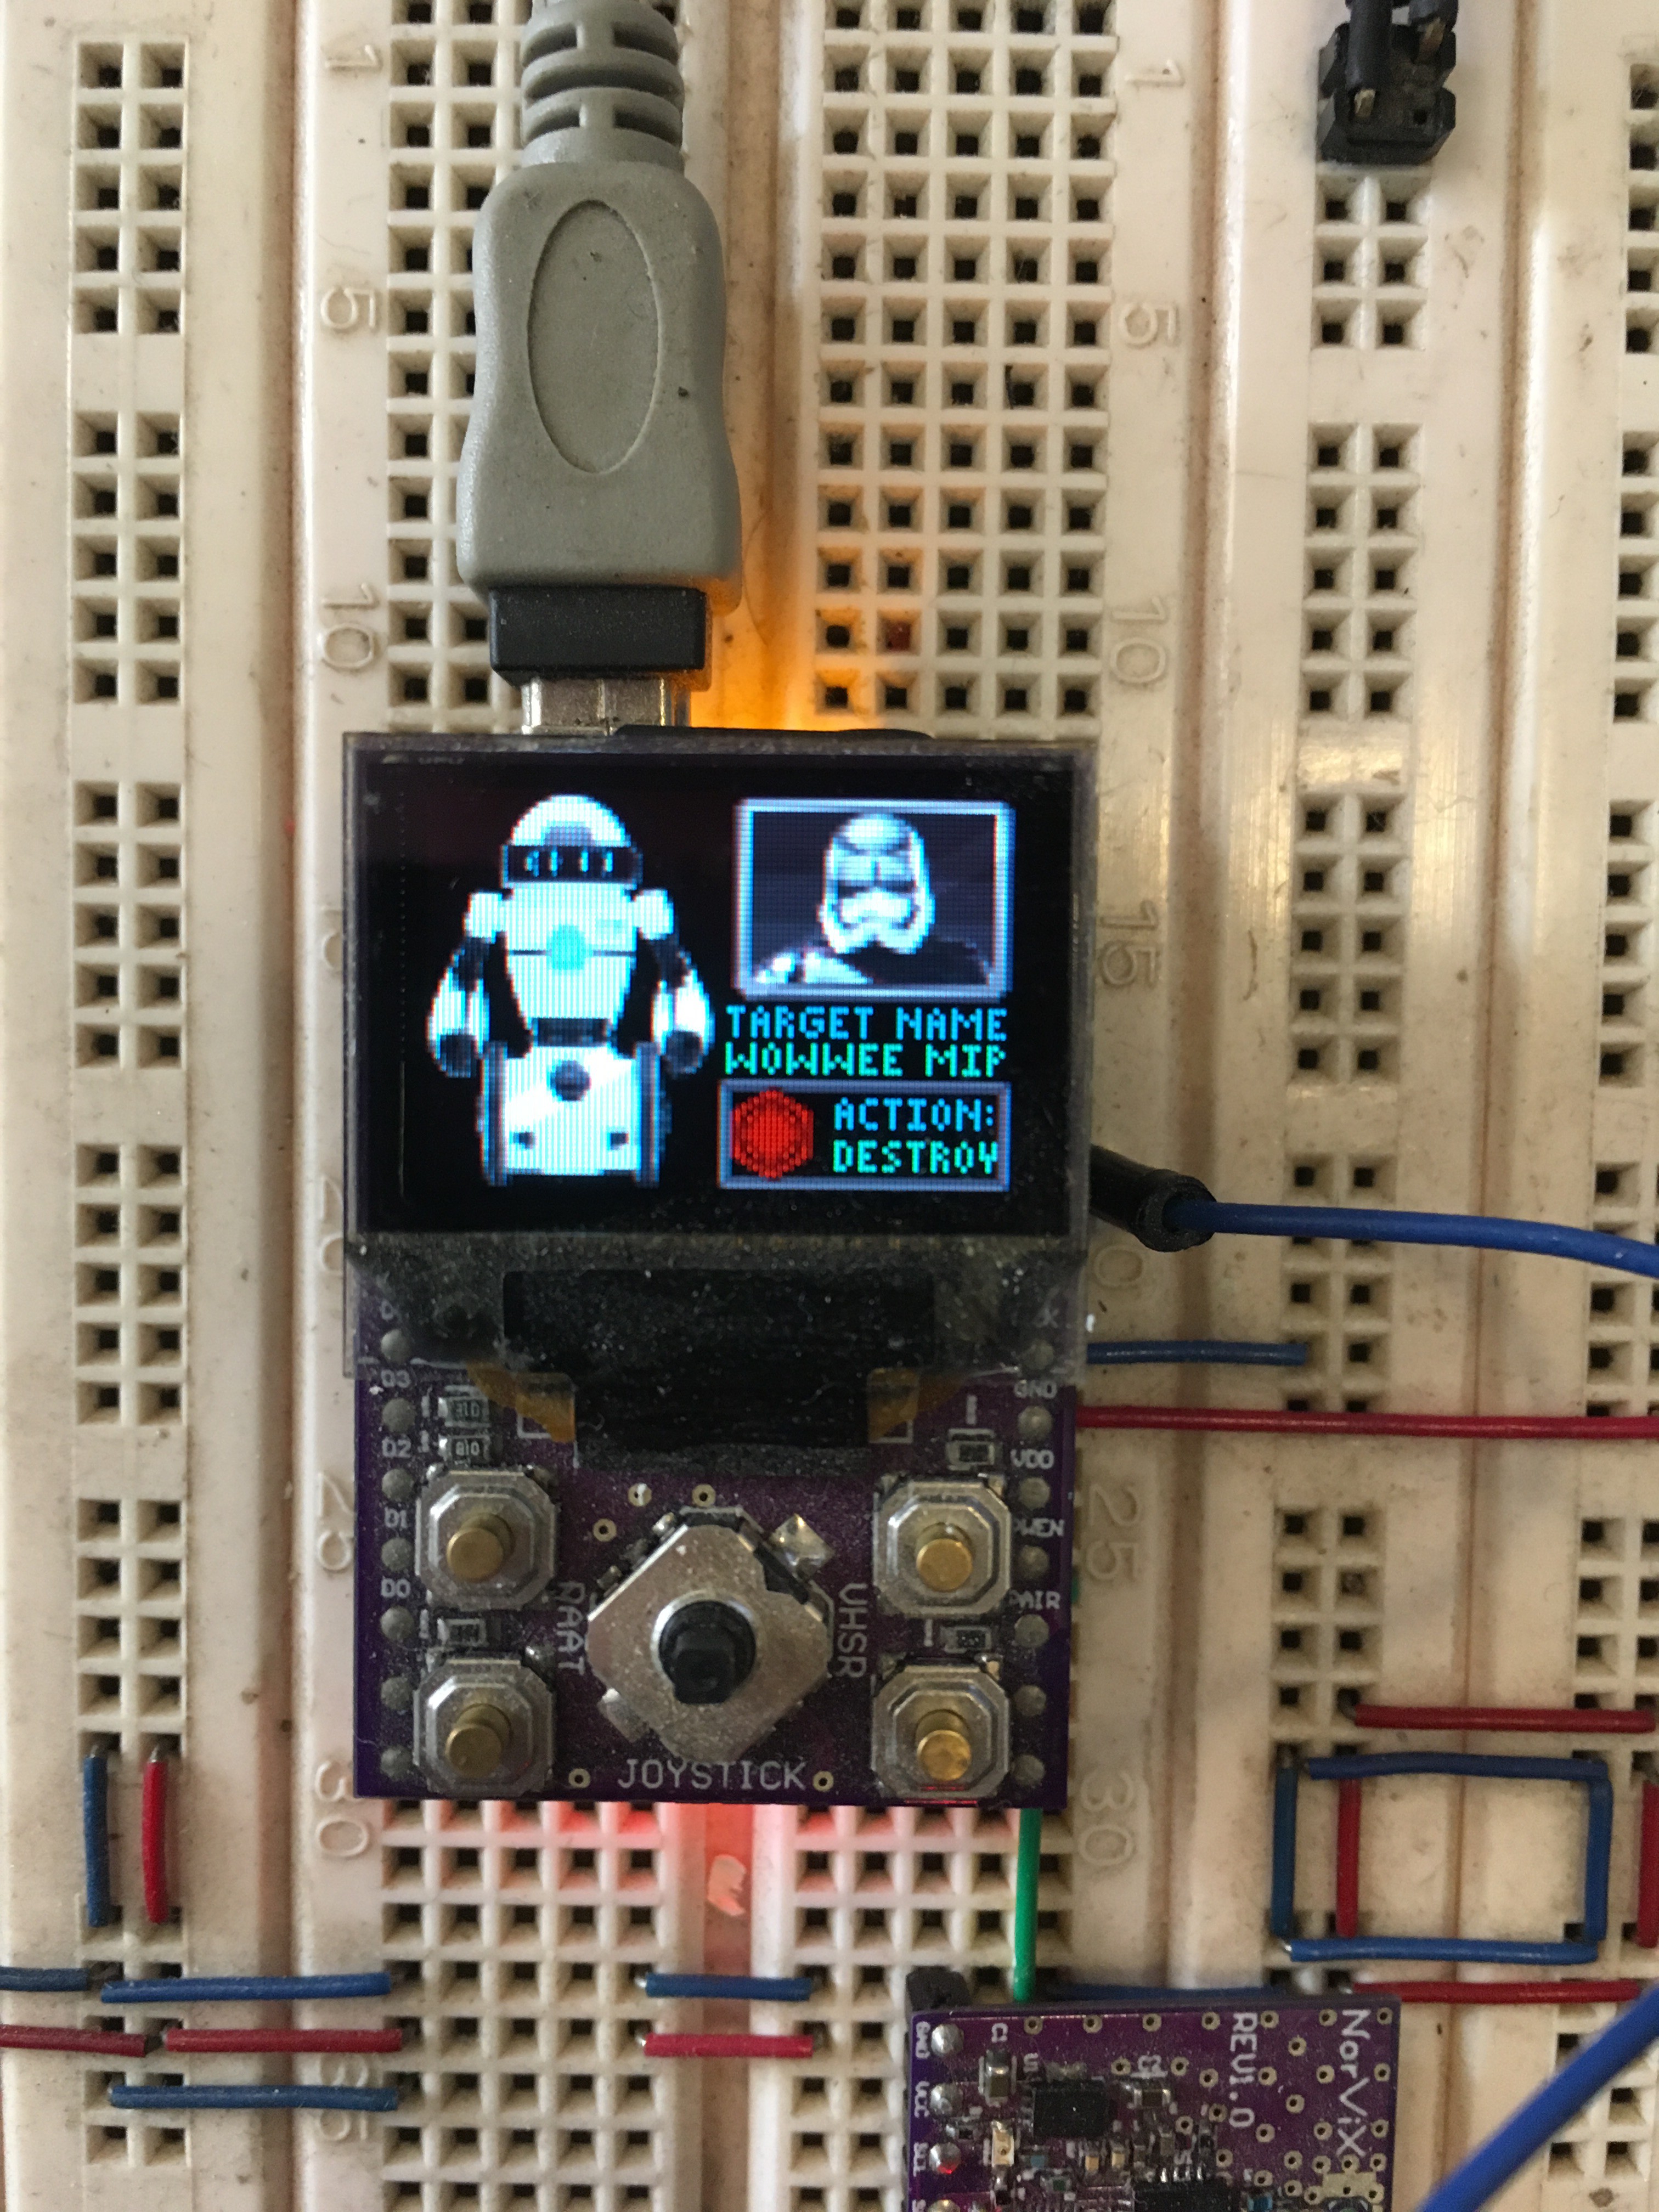
1 Connector to ViXion Cam

1 Serial connector to add Nordic NRF24L01+ or ESP8266

So, I started from 0, designing the PCB in protel with al these specs

And here is a time lapse designing the board CoreVix

Once the design was finished, and after waiting 2 weeks, the PCB boards from china arrived...

Now, with this new card, I could started the programming of the robot...

  • 3 × PIC18F46K22 Microcontrollers microchip
  • 1 × PIC18F24K22 microchip microcontroller
  • 1 × MPU6050 IMU 6 degres off freedom
  • 3 × GP2Y0A60 Sharp distance sensor for body
  • 1 × GP2D12 Sharp distance sensor for head

  • 1
    Scratching an idea, from a termo cup and a chinese robot...

    I started this robot in 2016 spring, for the campus party show in Mexico.

    I has been doing robots since 2004, for the latin american robotics contest, when I was at university, but I really love doing them and time to time I enjoy started a new one. (I have 6 different robots)

    I choose a starwars character because I'm a fan since I remember, and I was working in a self balancing robot but it doesn't seems to nice, so, I decided to buid a Storm trooper (dark side of the force rules!)

    I had this starwars termo, with a storm trooper cover

    I also had a self balancing robot: Kib (the cheap chinese version of woowe Mip)

    Kib robot hasn't moving parts and also the self balance control sucks (and it's worst than mip's control balance), so, first, I cut the head and atached and old vision camera that was developed in 2005 for latin american robotics contest, and 2 servos for pan and tilt movements

    This head is really ugly, and doesn't has enough space to place all the electronics inside.

    I tried to cover it with termoformable poliestirene but the results was too bad...

    So, I started to "hacking" my Kib robot, changing the head for the storm trooper cover, but storm trooper's head are very large at the bottom and very very difficult to move in X axis

    The Kib has some ugly stripes in the body, and this horrible "cyan" button in the chest.  I covered the stripes with epoxic clay, change the button for a square hole and add 2 servos in order to move the arms.

    I also add ViXion, my artificial vision camera and 1 sharp's GP2D12 distance sensor in the head (eyes)

    The body has also 3 GP2Y0A60 distance sensors to avoid obstacles and navigate alone

    The problem is to move the head in X axis:

    At first I tried to cut some plastic from trooper's head but it wasn't enough, then I partially solve the problem adding a PVC tube from scratch

    But, still, X axis movement has only a few degreer of freedom.

    The answer was to cut all the bottom part of the helmet and re-build the head with expoxic clay

    Then cut an electrolitic capacitor by half and use each half to reconstruct the "breath intakes"

    mmm it doesn't look like storm trooper... =O(

    But, old school epoxic clay does the job...

  • 2
    Doing the face

    I know... at this point many of you will terrified and claim why not to do all the job in 3D printin, but at that time I only has days to finish the robot for campus party, and also old school technics are "old, but not obsolete"... (said by T100)

    I like working with epoxic clay because you can glimpse how the work progress, and change it just by cutting and sanding...

    Opps, it looks like duck or hokey player face...

    Ok, just not looks like a storm trooper helmet but with some extra epoxic clay...

    First, cover the face with painter's tape to add some black details

    I added the tiny holes in the "breath intakes" using a stripe of pin connectors...

    The "nose" can be covered with some poliestirene sheet

    Now, this is how it looks, the head can move freely in X and Y axes...

    You can note that the original body's shoulders has been removed and refilled with epoxic clay in order to give more freedom in head's X axis

    After the head has the right shape, it looks more like a storm trooper, I didn't wanted to look "exactly" like the new order starwars trilogy but some between original storm trooper and the newest storm trooper...

    After several hours waiting to epoxic clay to dry and get hard, now is the time to sand and sand and sand...

    This is the final result after sanding, painting and polishing the paint... (I used white spray painting and a dremel to polish)

  • 3
    Making the chest screen and controls

    Remember the square hole in the Kib's modified body?

    I wanted to add some nice and cool screen at the robot chest, I used a module called WeBeatOs, this module has an Oled creen with 96 x 64 pixels and a mp3 player inside

    This module has 2 purposes:

    1.- Display pictures, status, or info about the robots mision's

    2.- Use the mp3 player feature to playback voices, blaster sounds and starwars sound's effects.

    If we want to destroy those rebel robots we must know their scum "pictures" ... =O)

    This module has a joystick and 4 buttons to select diferents actions, so, I included in the robot's chest...

    The hole in the center, which contains joystick and buttons, was covered with poliestirene sheet...

View all 5 instructions

Enjoy this project?

Share

Discussions

Eva James wrote 11/16/2022 at 06:31 point

Thanks for providing us this great knowledge, I love the green space so visit https://apkintl.com/papas-wingeria-to-go-apk-mod/

  Are you sure? yes | no

Evan Juras wrote 05/15/2018 at 19:37 point

Dang man this is an awesome project! I love the level of detail you put into the build instructions. You should try and sell these things! (I know it's easier said than done, though.)

  Are you sure? yes | no

Victor Serrano wrote 05/15/2018 at 21:13 point

Thank's for the comment, I will add more features, videos and material as soon as I can (too much work in these days). I love doing things from 0 and do all the parts, not because they doesn't exist but to learn and enjoy doing. Maybe one day this robot can be commercial, but is more difficult as you said, but who knows?

  Are you sure? yes | no

Bill wrote 05/12/2018 at 20:25 point

Awesome work.  He's really cute, too.  :)

  Are you sure? yes | no

Similar Projects

Does this project spark your interest?

Become a member to follow this project and never miss any updates