 blinkingthing
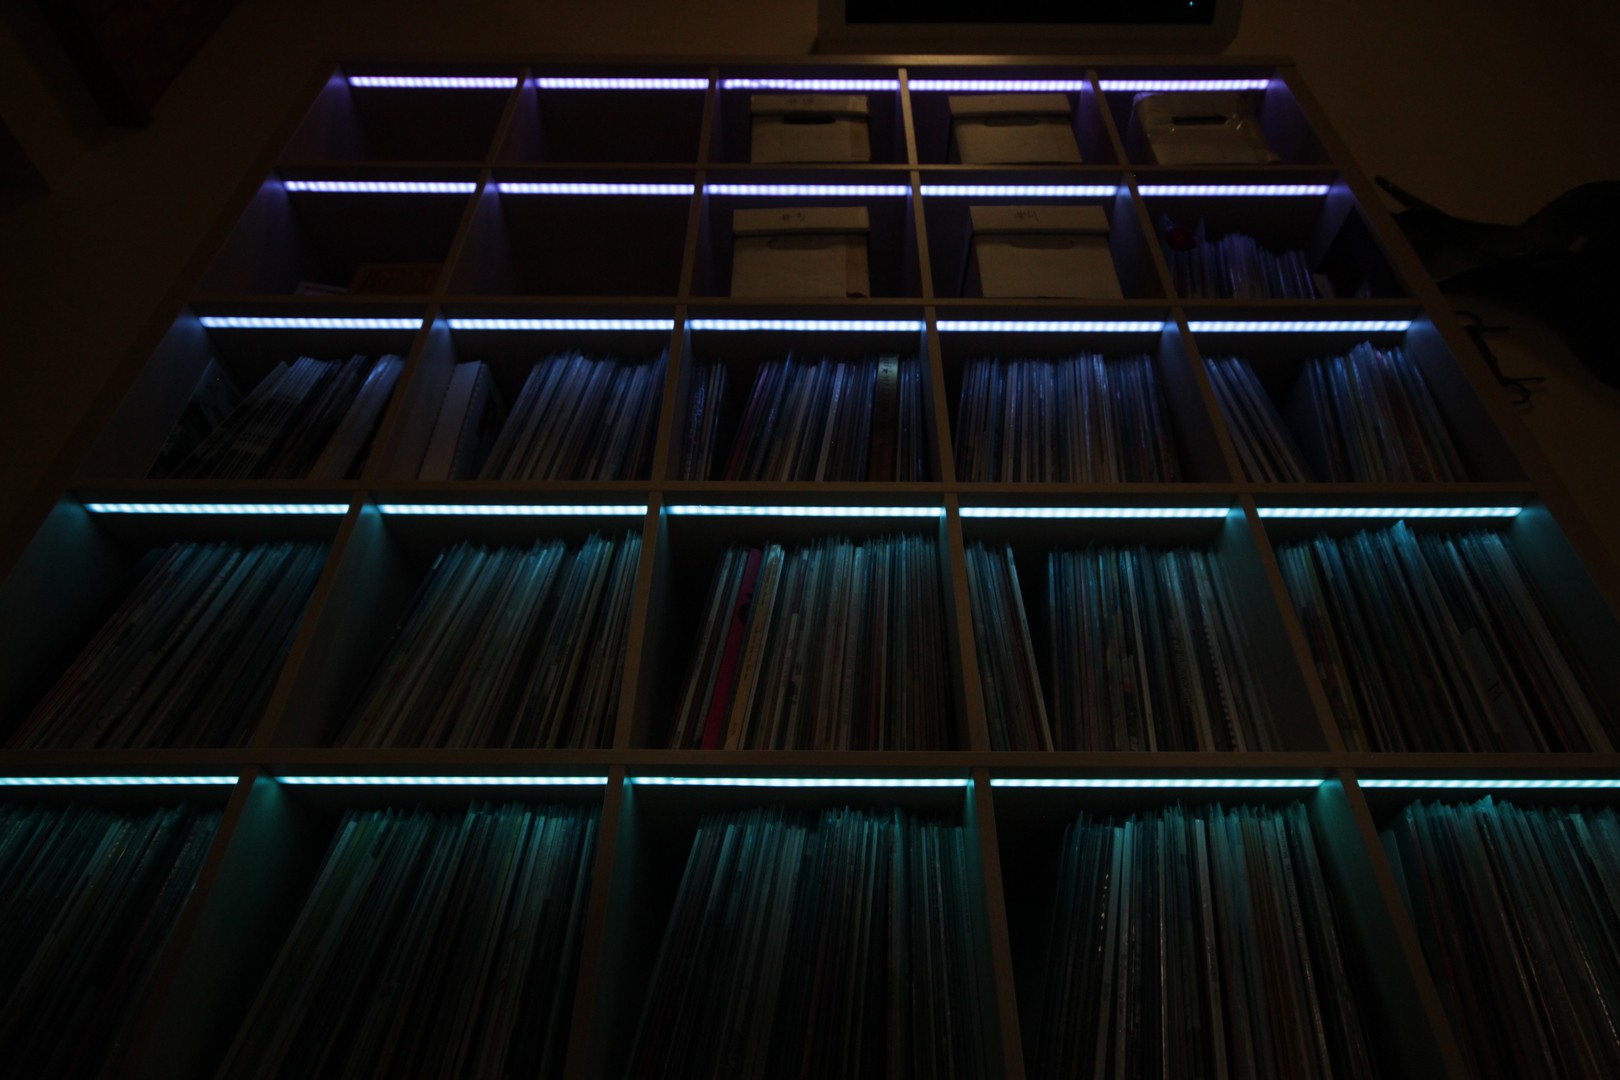
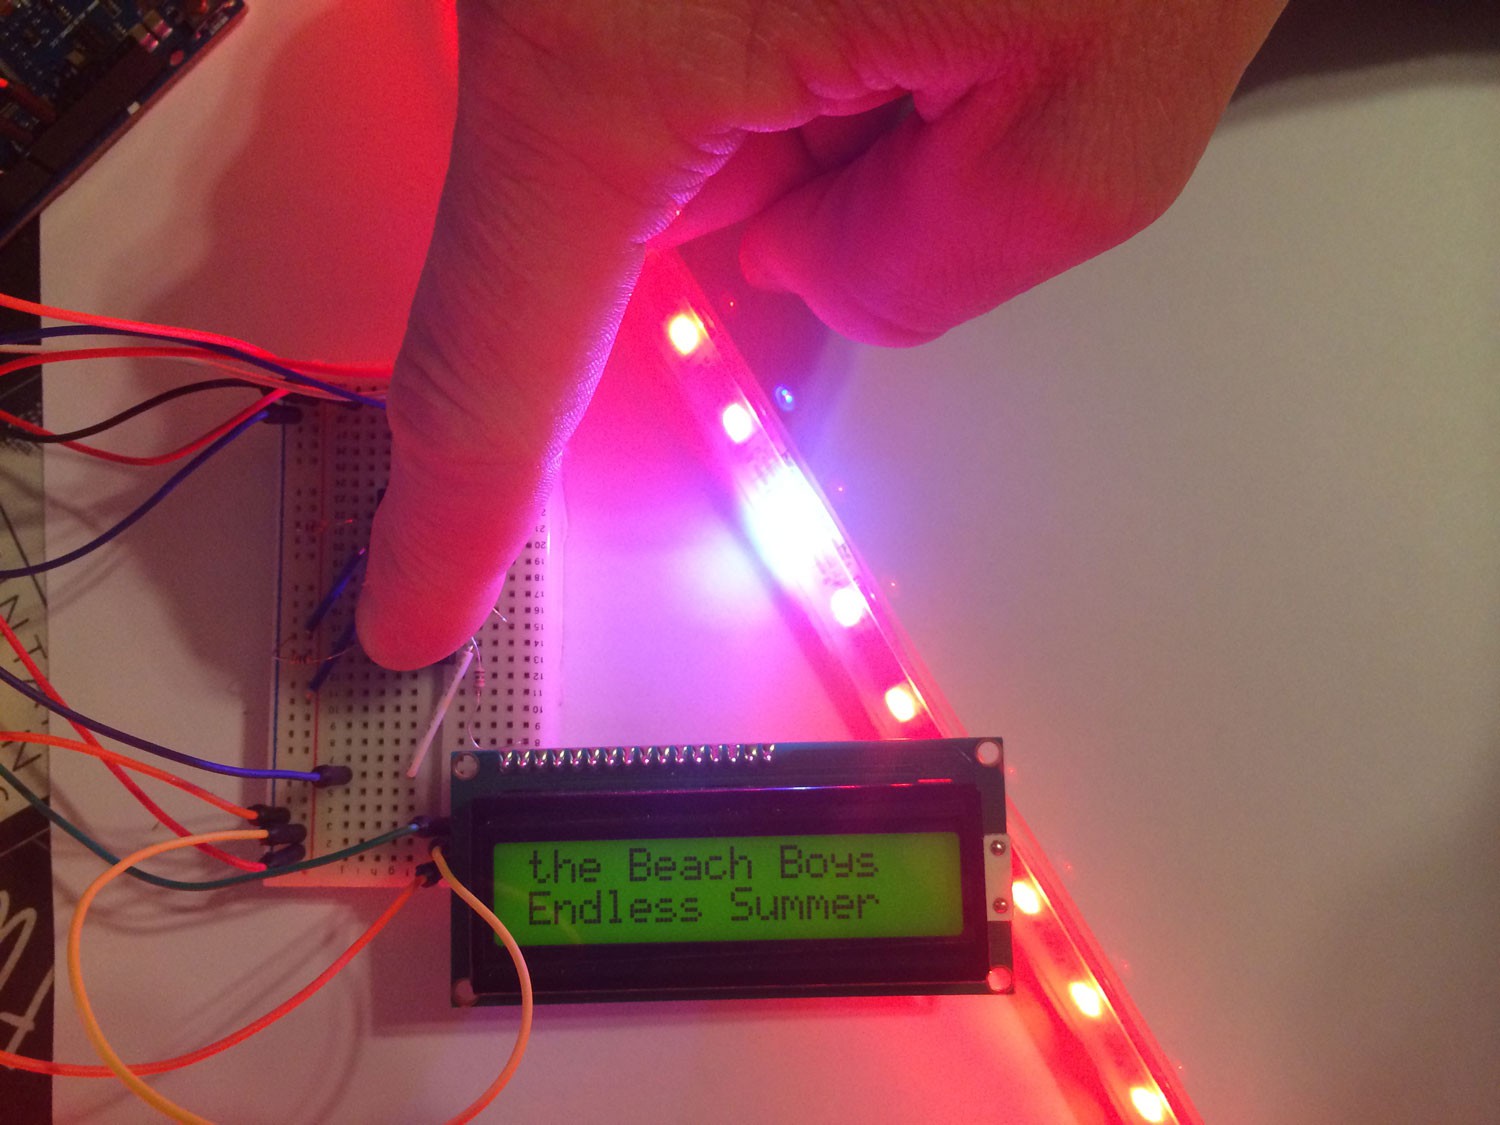
recordShelf is a light-based tool to visualize information about vinyl record collections. The system is meant for you to browse a digital list of records, select one, and have an indicator LED nearest the desired record blink to help you find it's location.
October 2017 Update
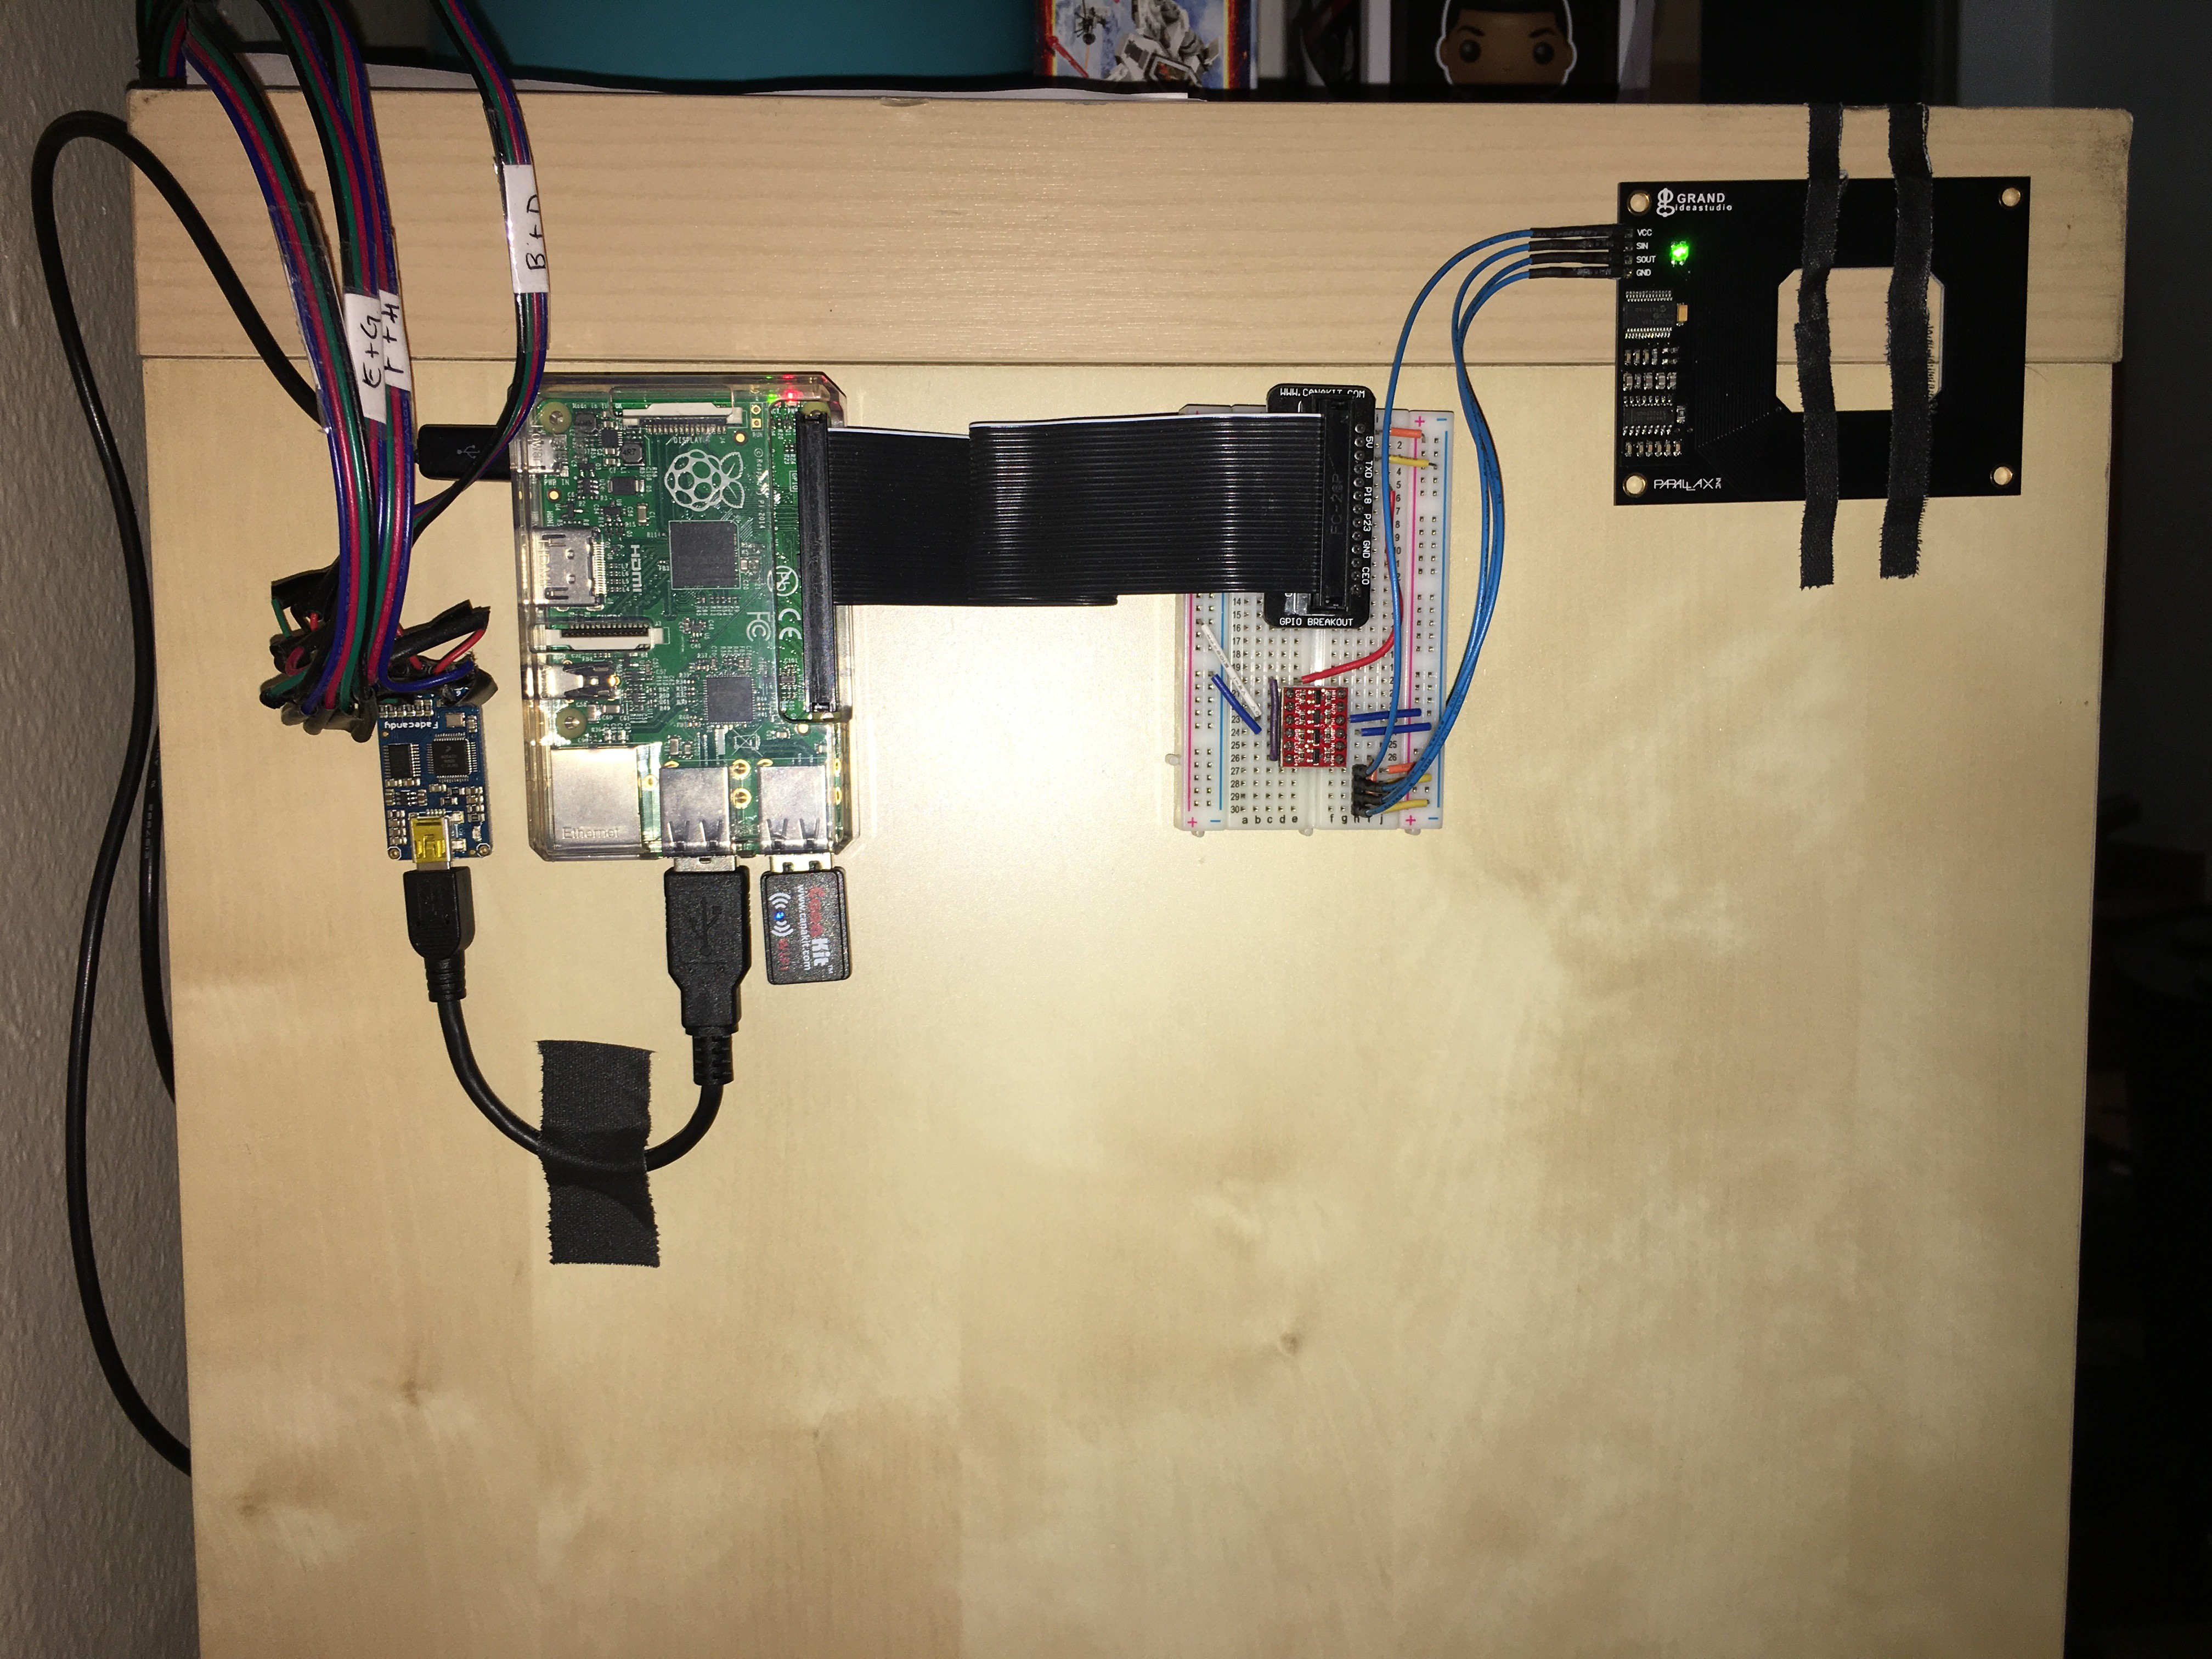
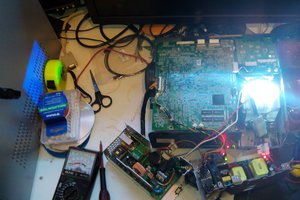
- Switched over from using Apache/Mysql based webserver/database to using Python based Flask set-up.
- Discogs.com integration started - Collection data pulled directly from Discogs.com via JSON.
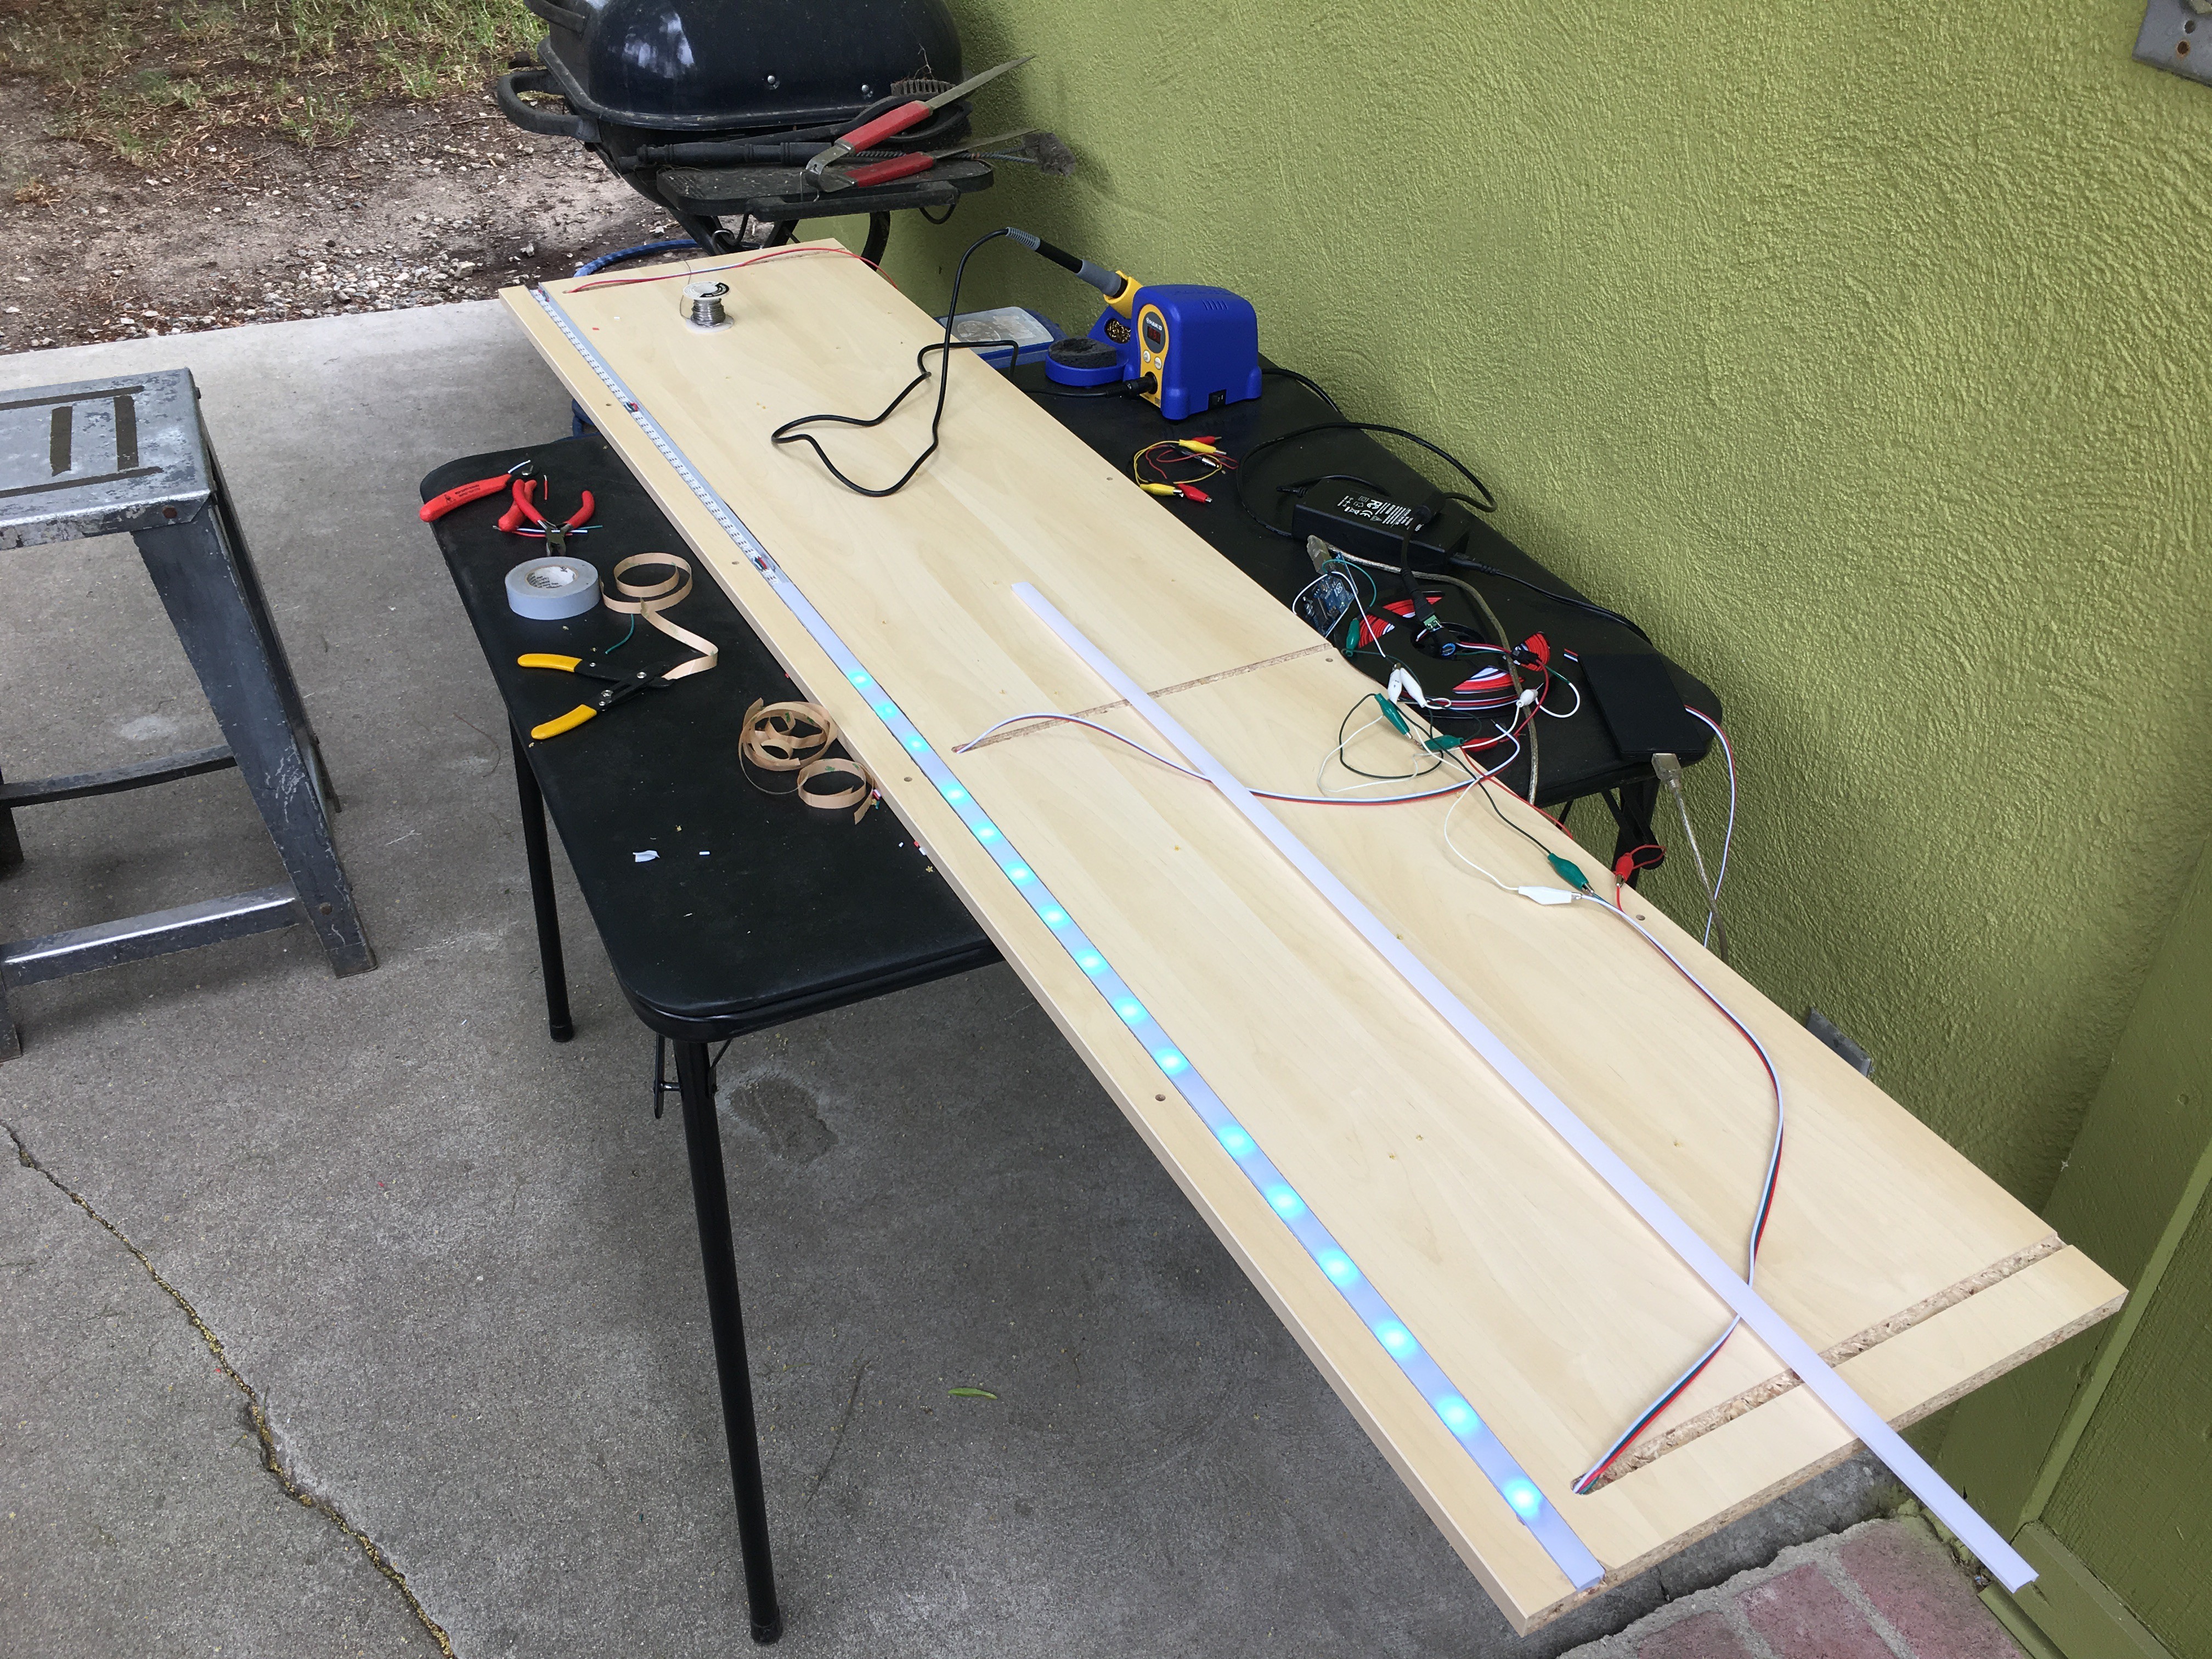
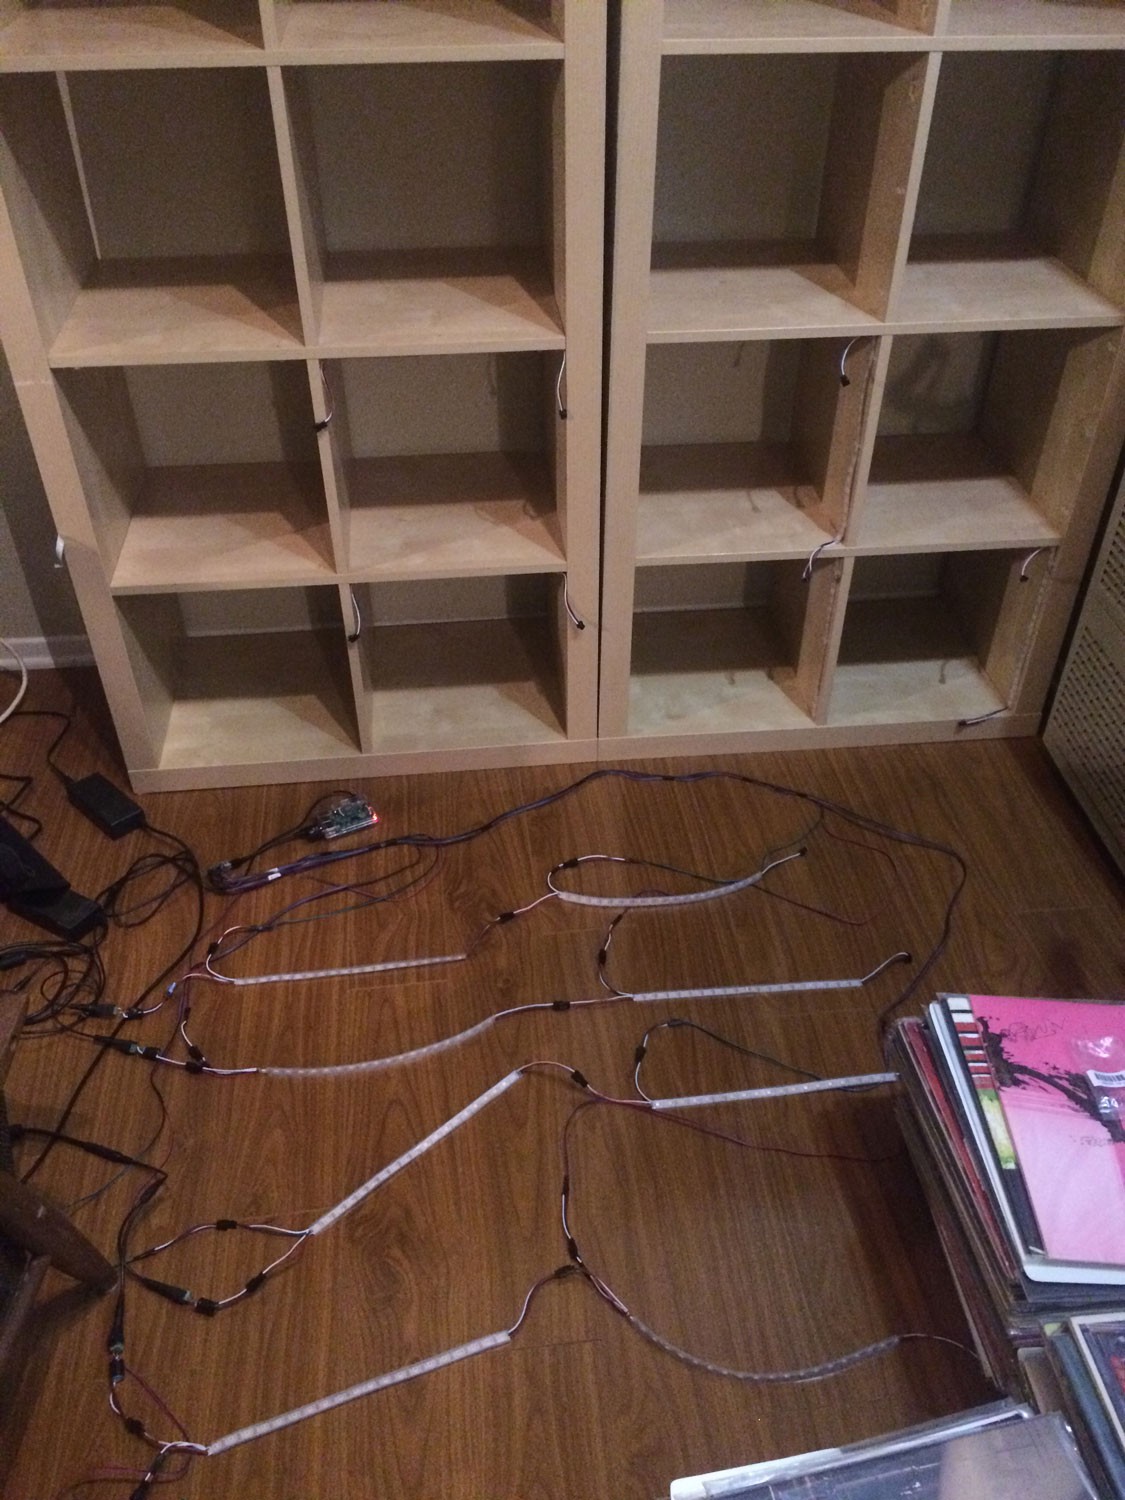
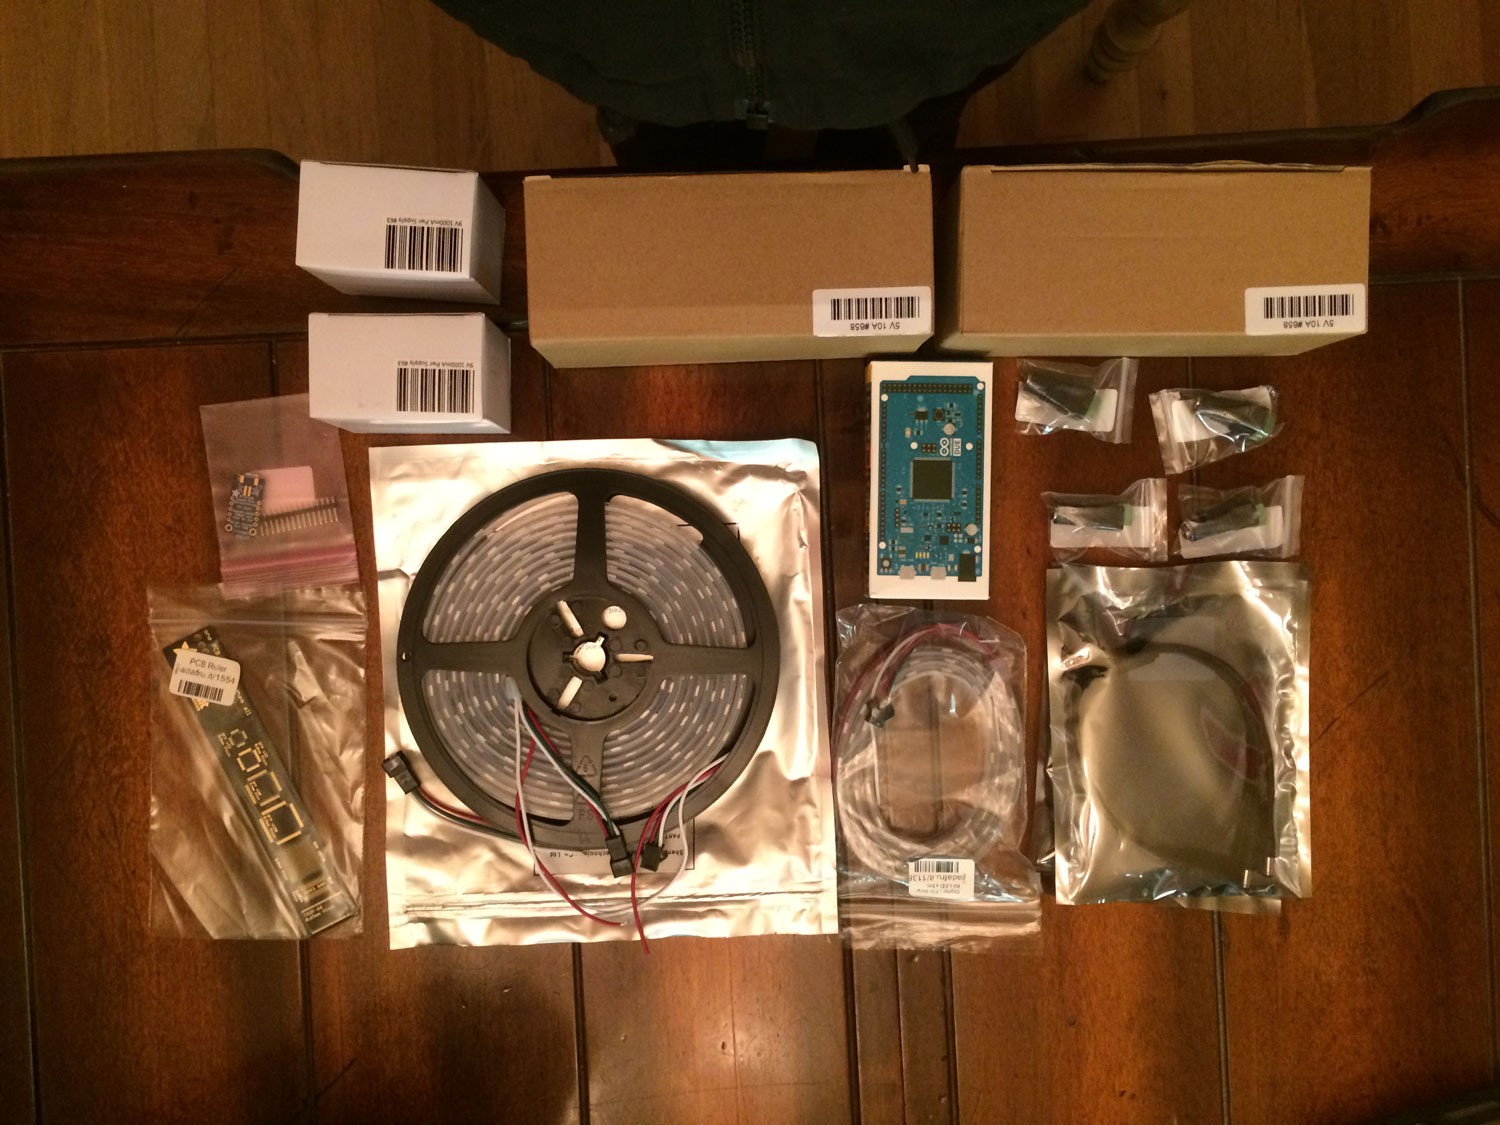
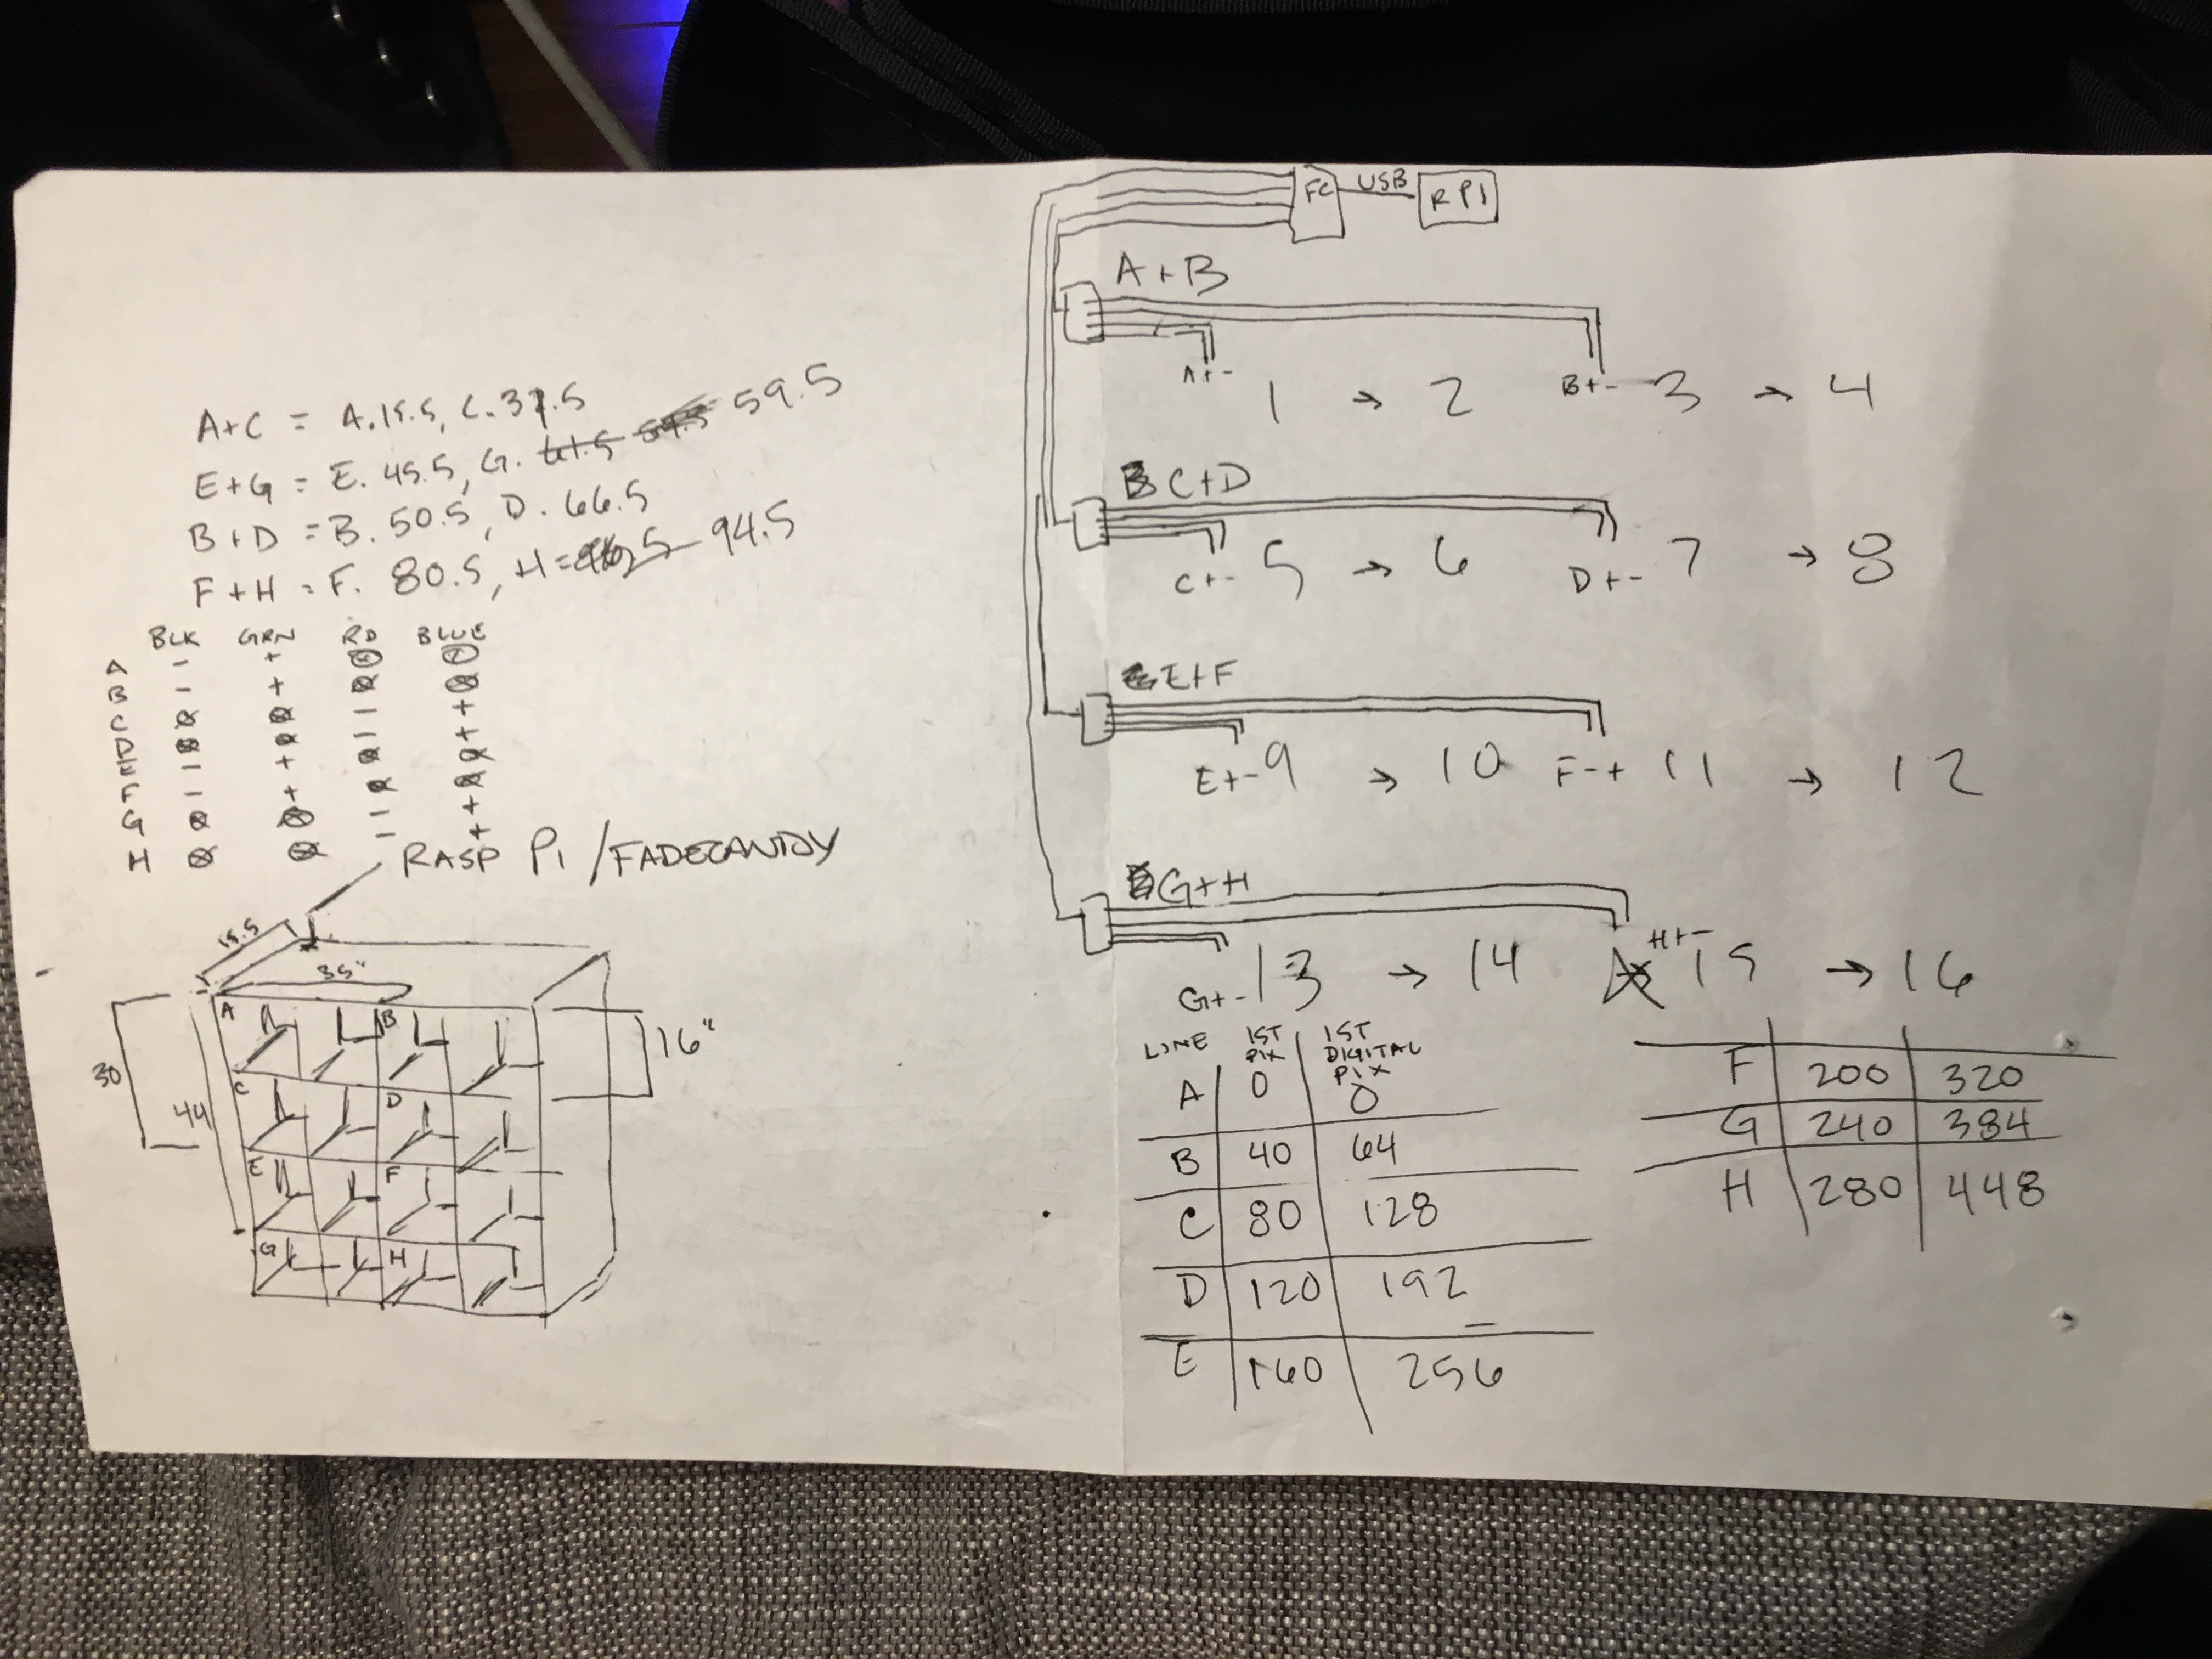
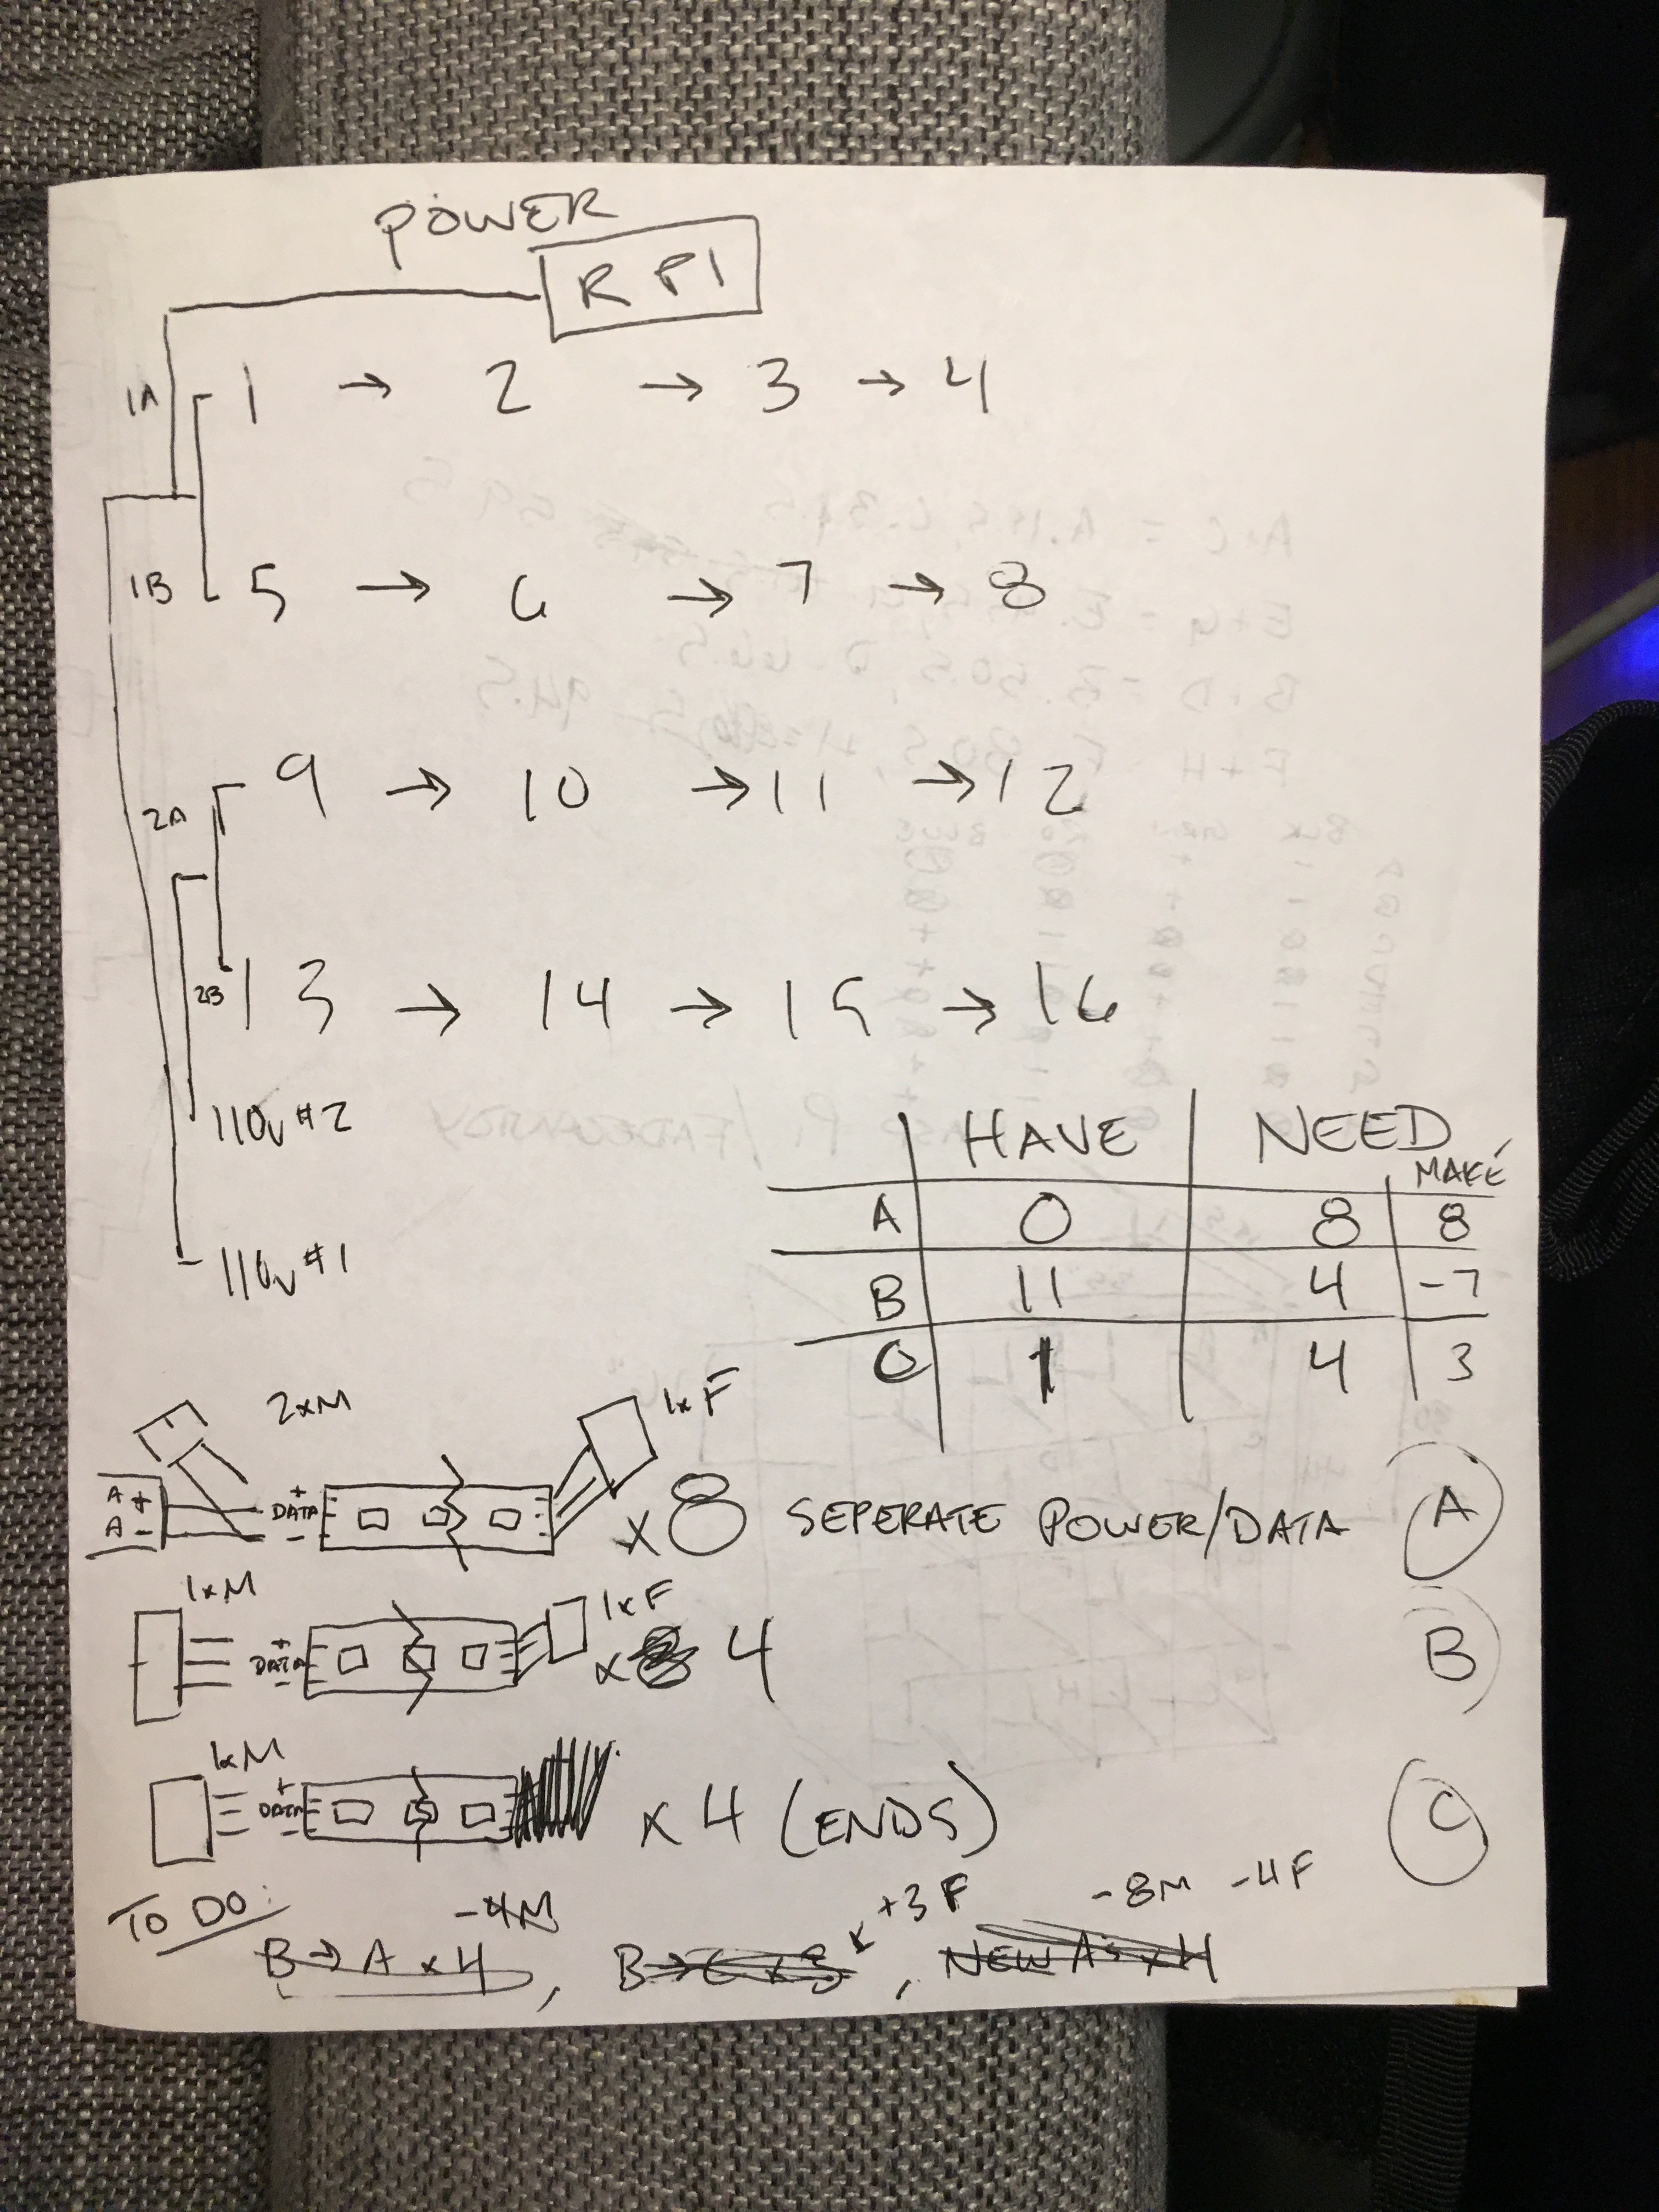
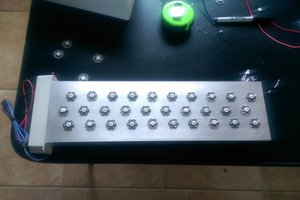
- Upgraded to 5x5 shelf from (2) seperate 2x4 shelves.
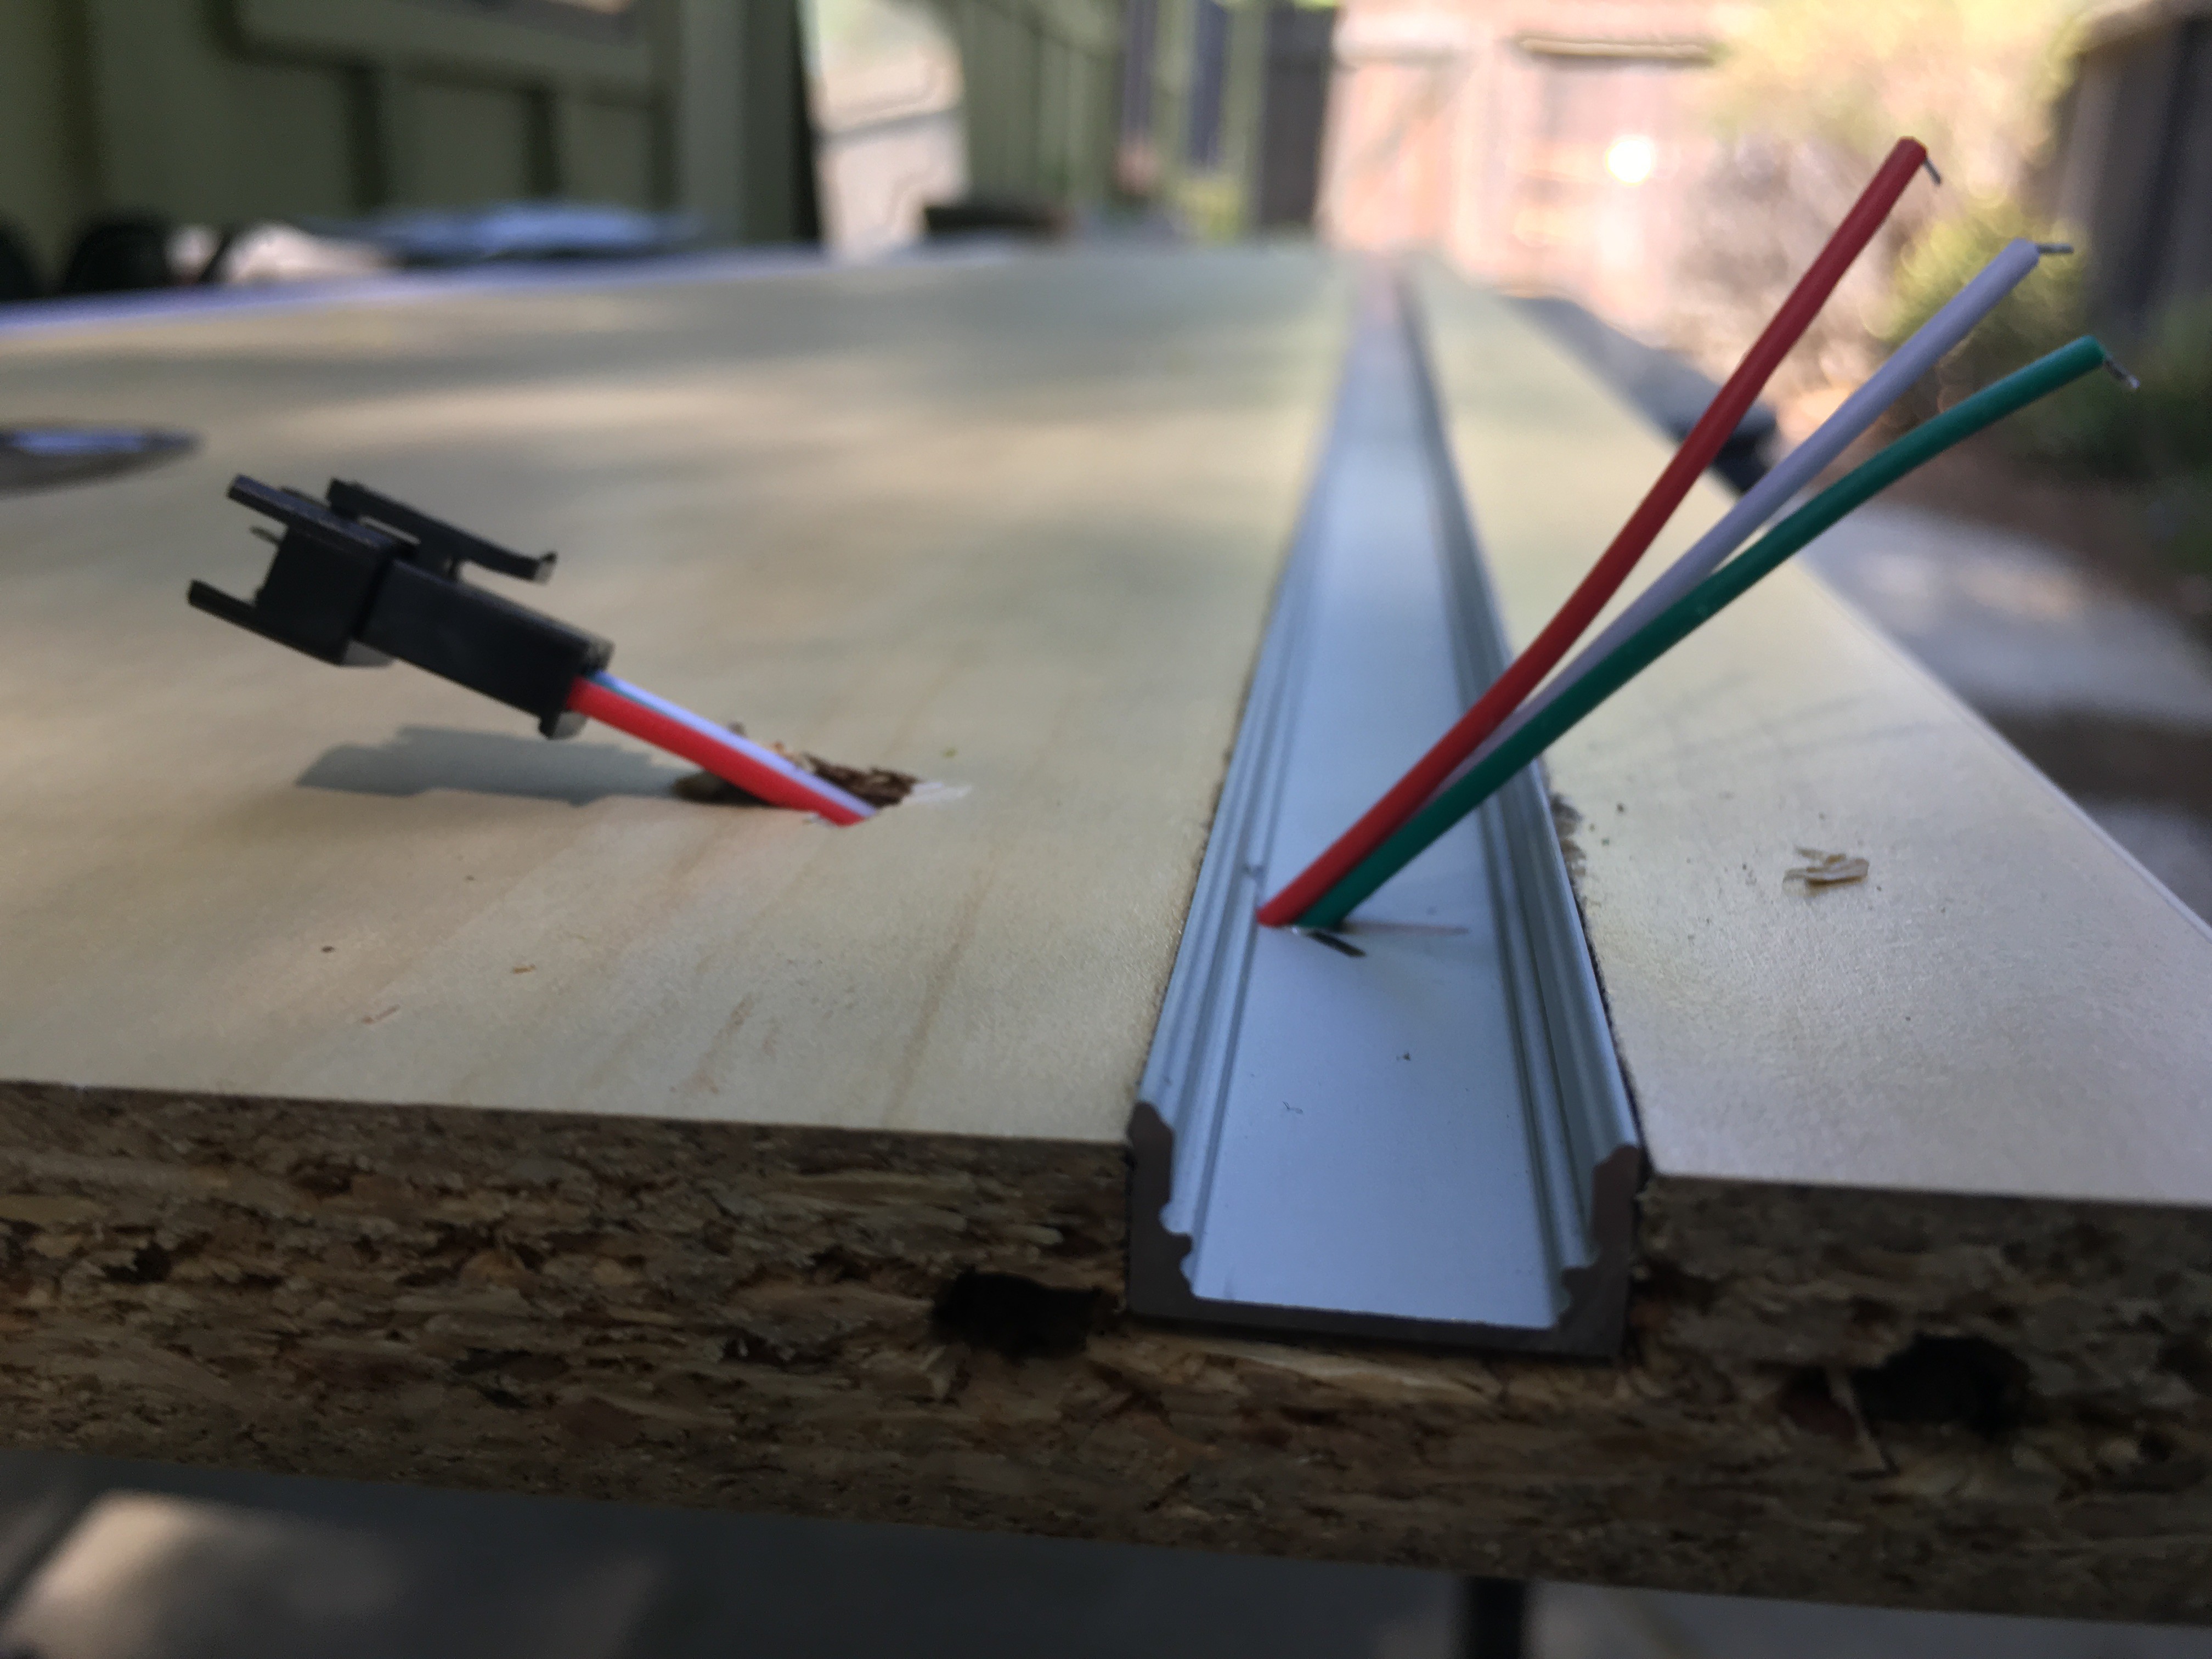
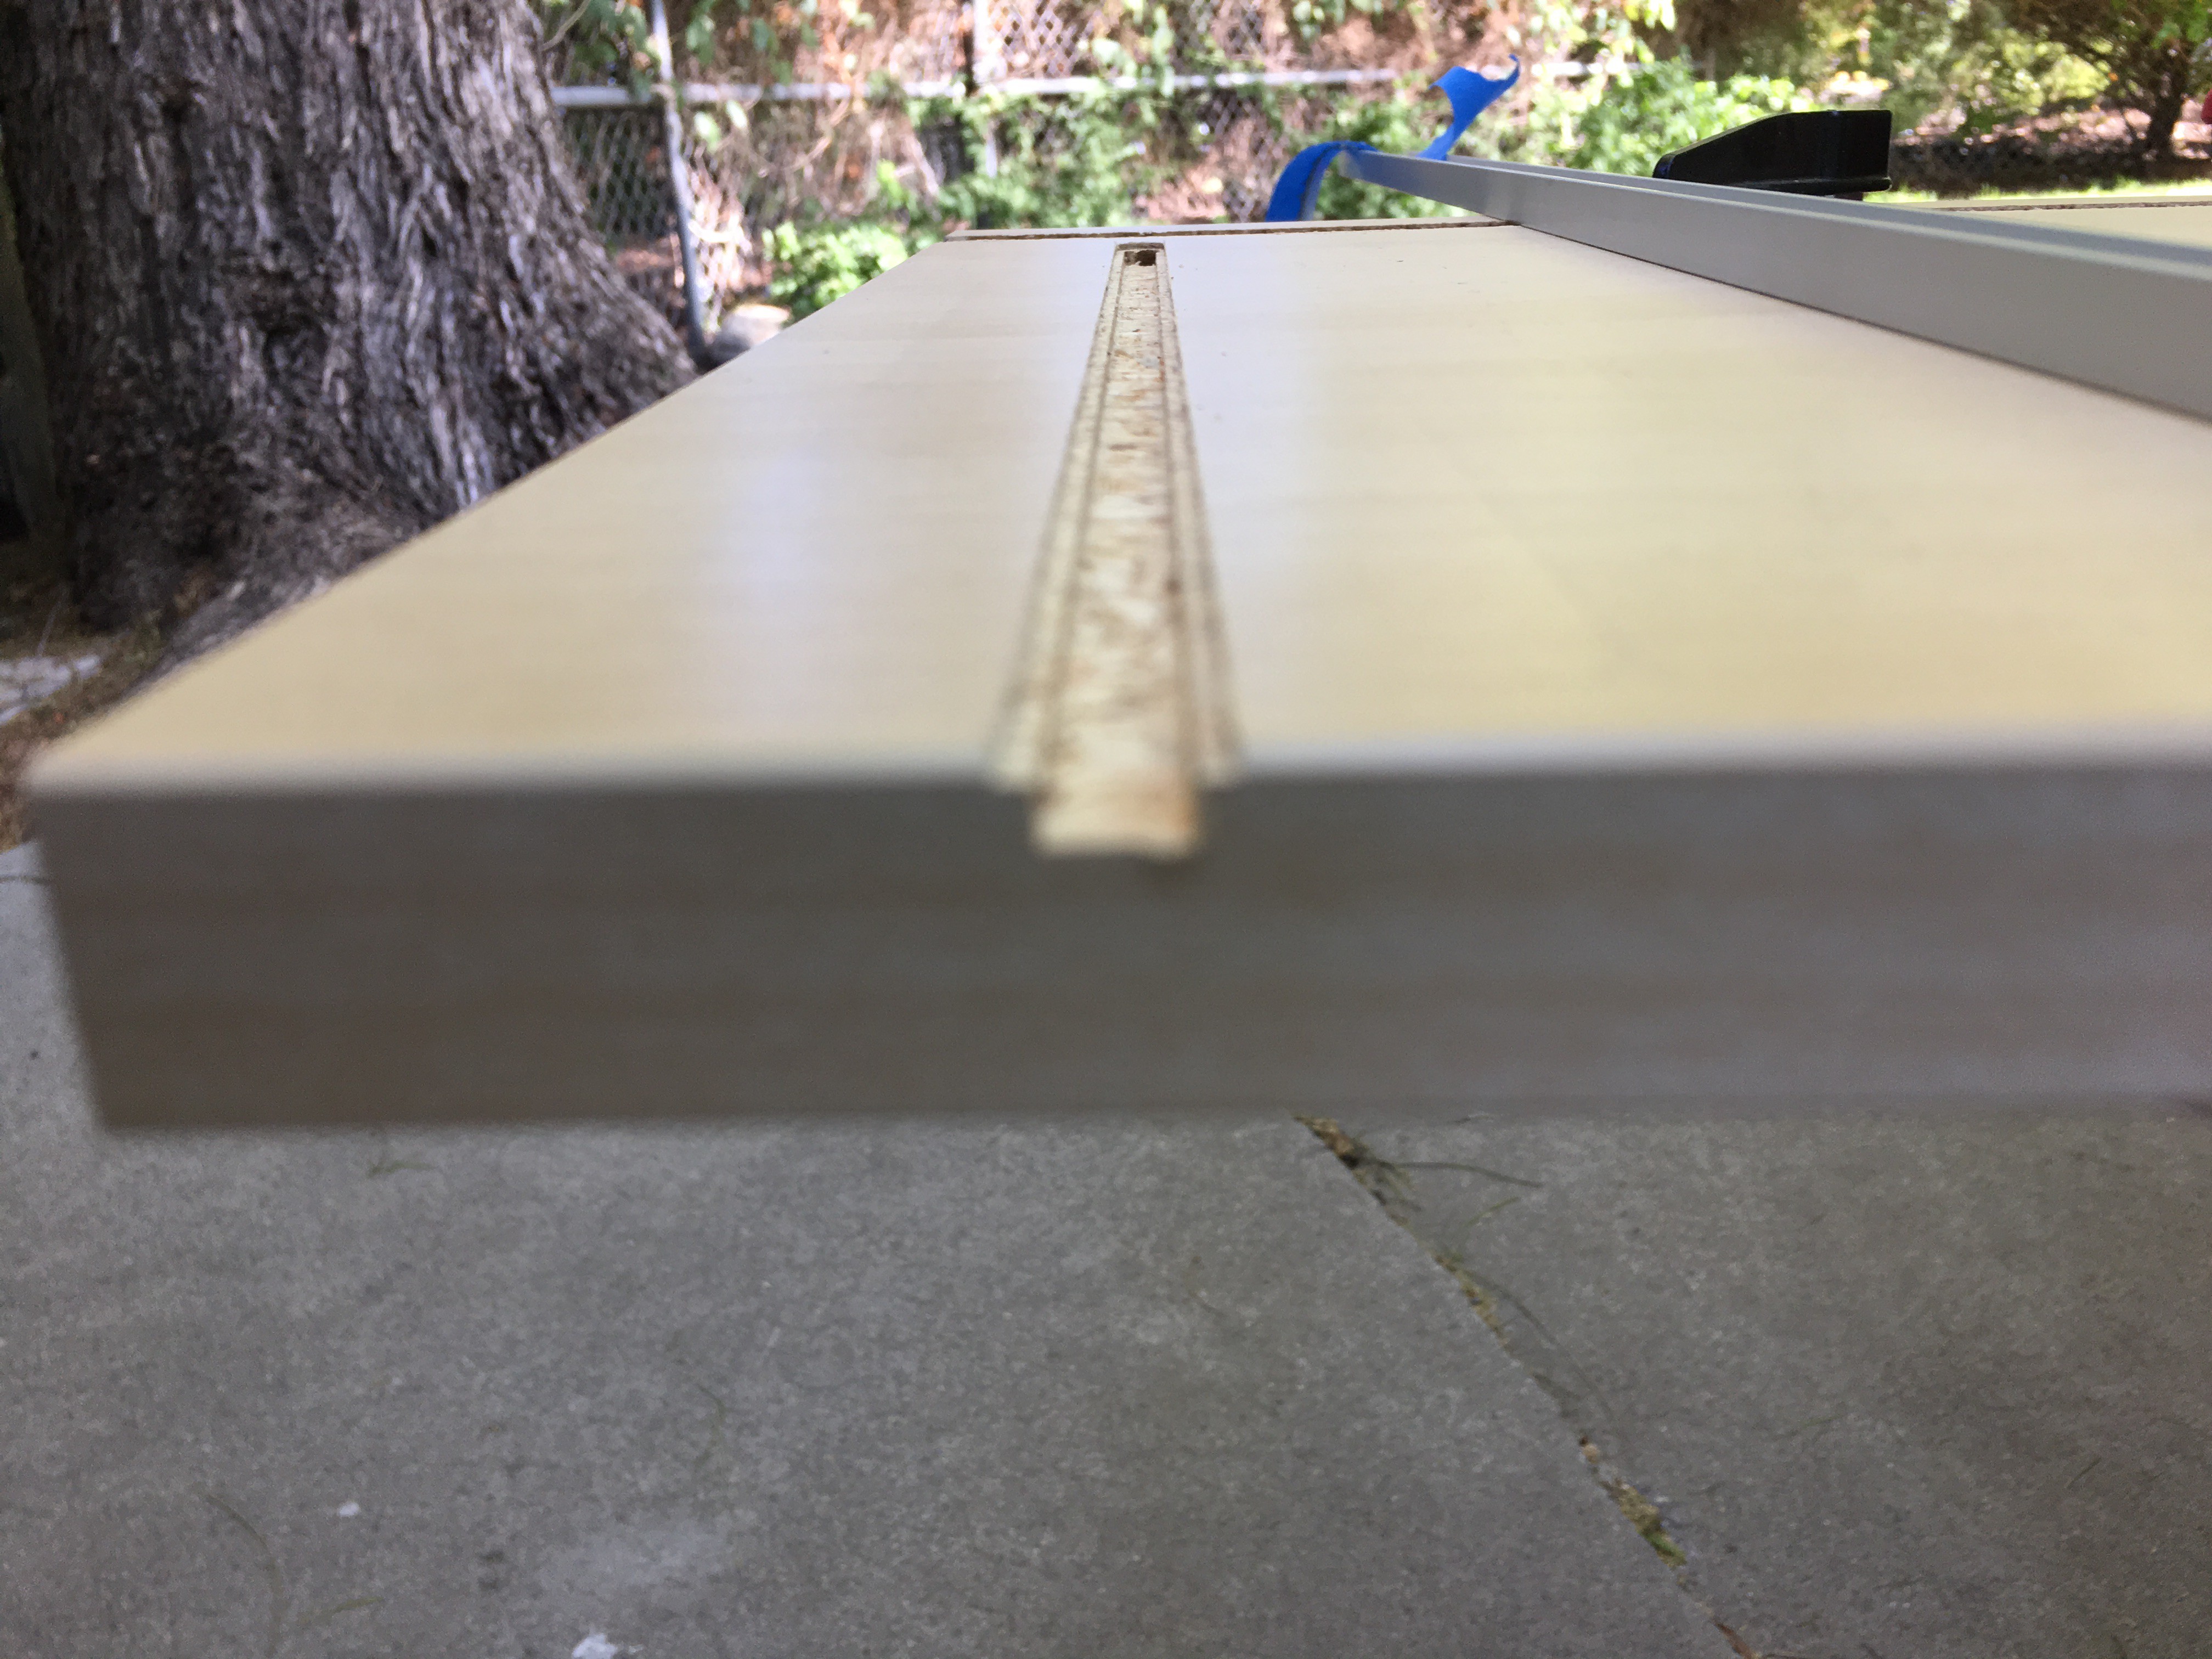
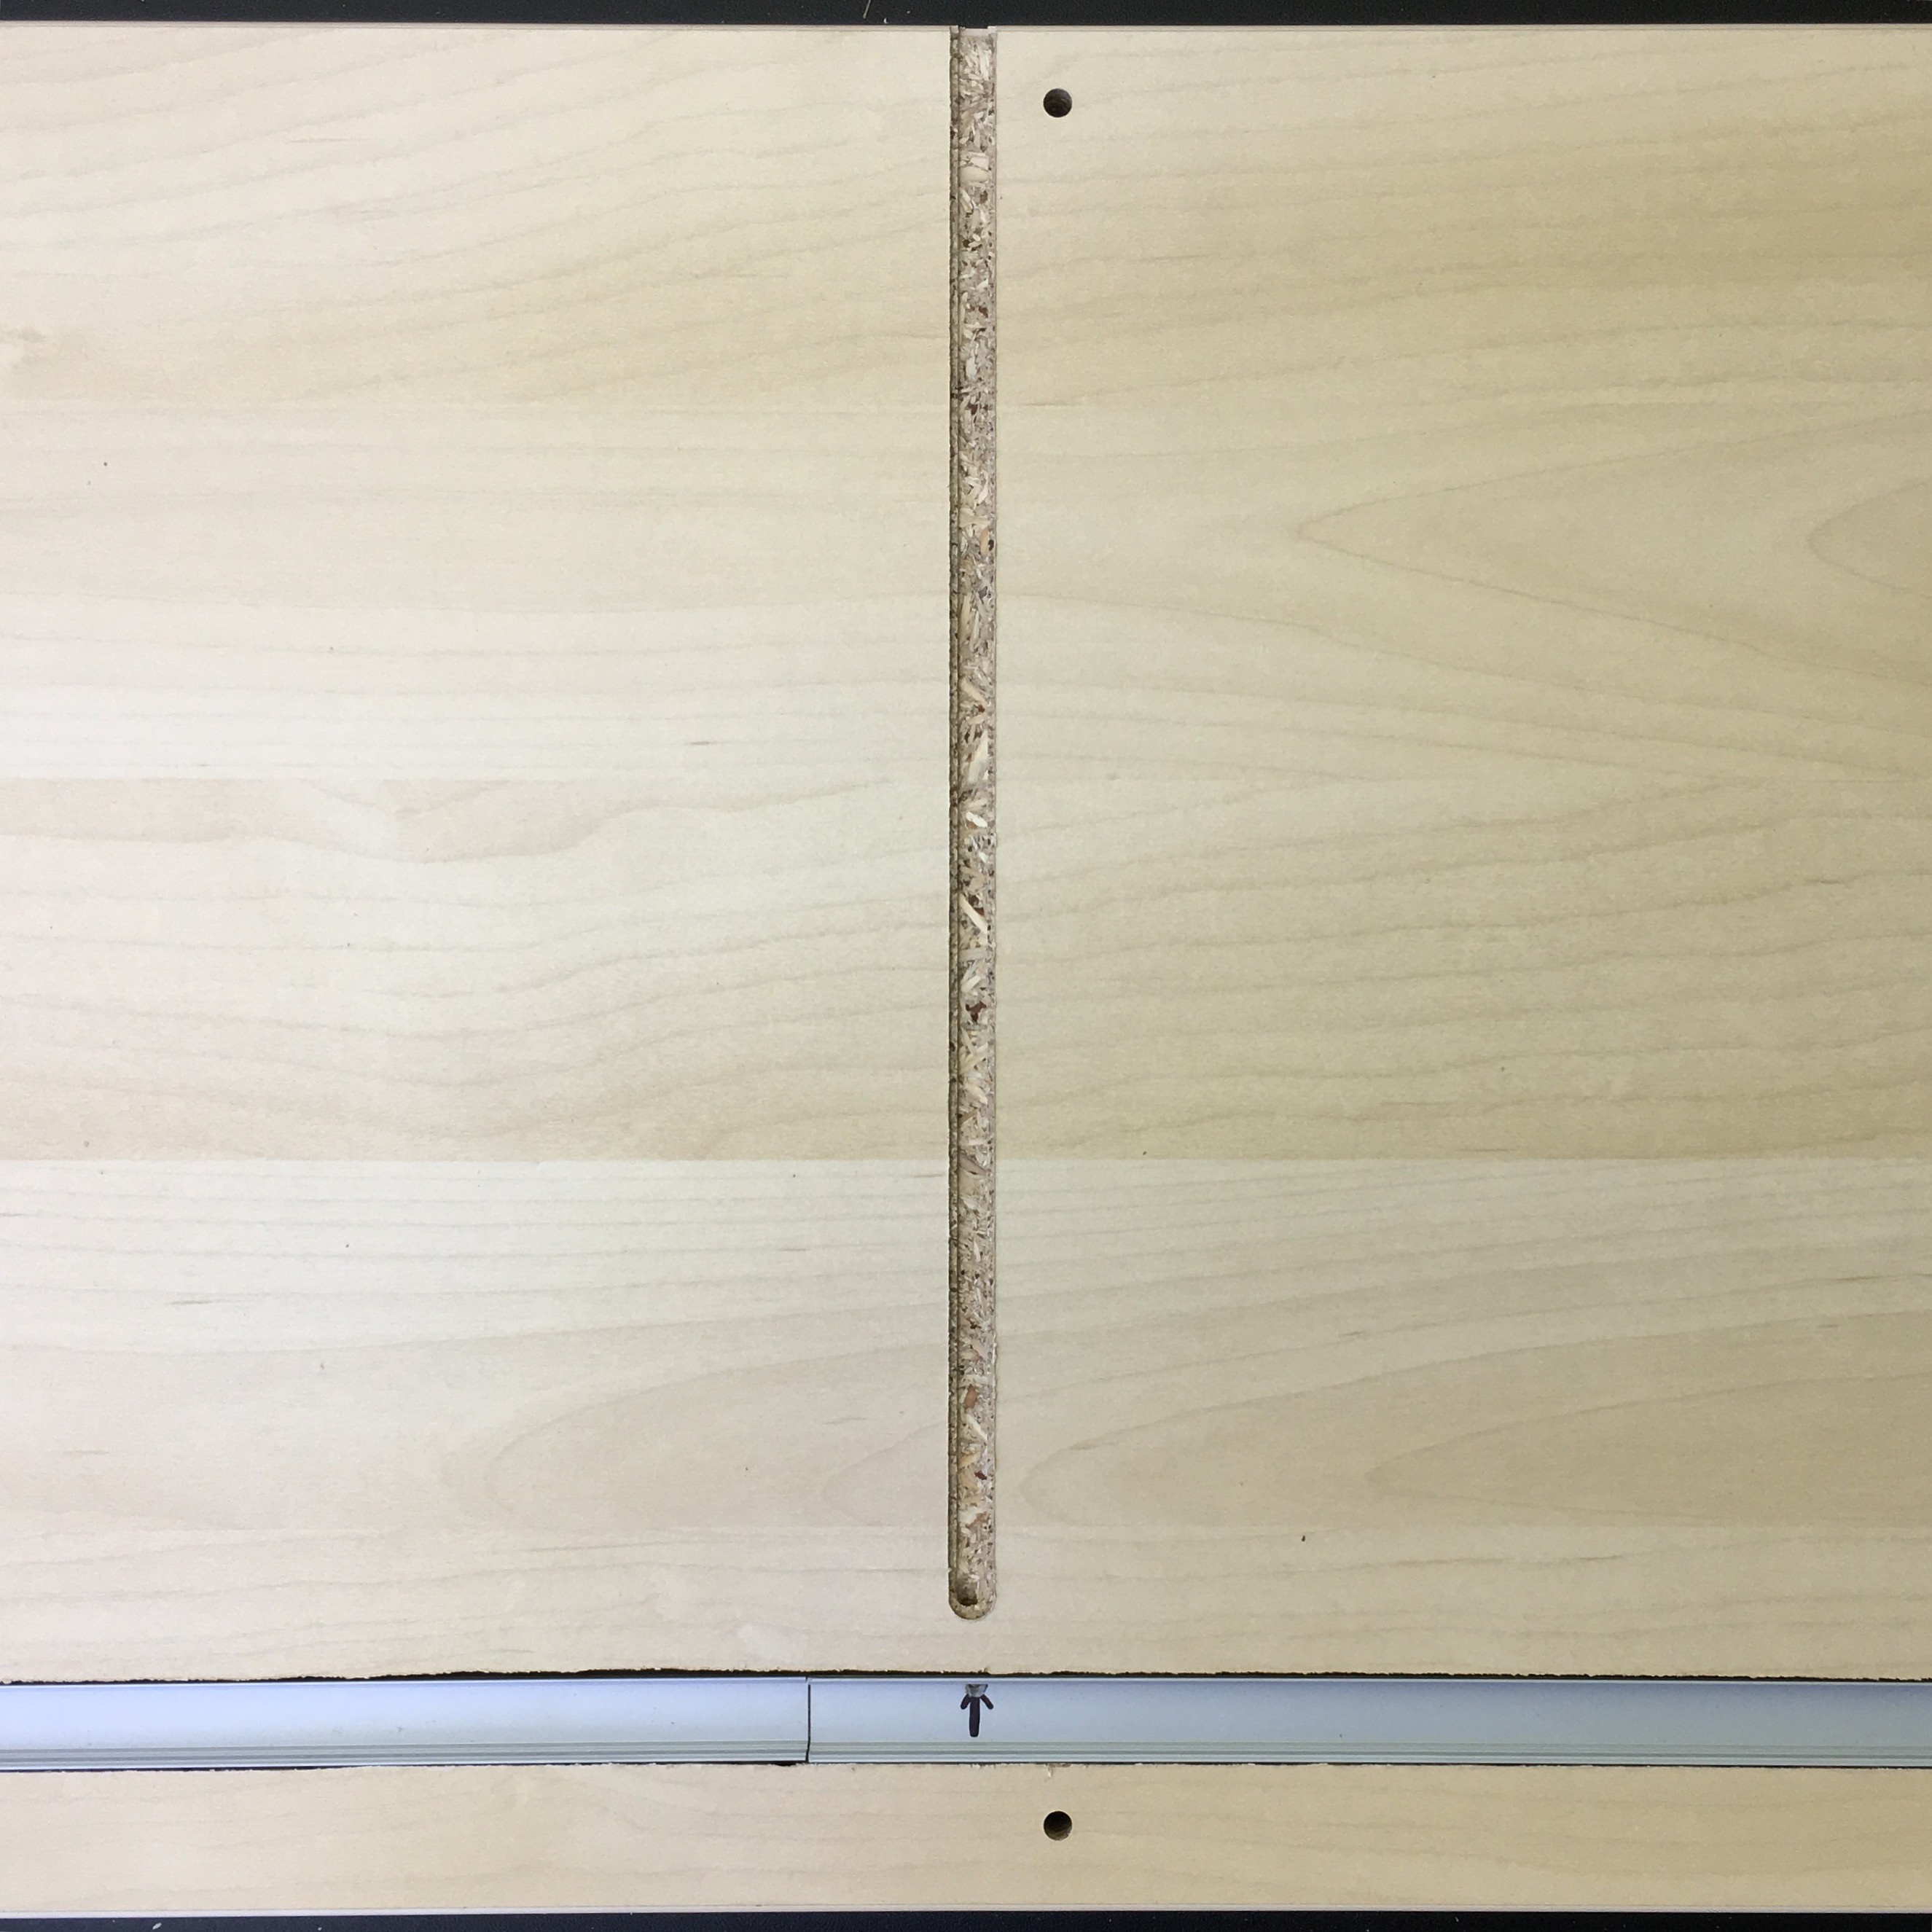
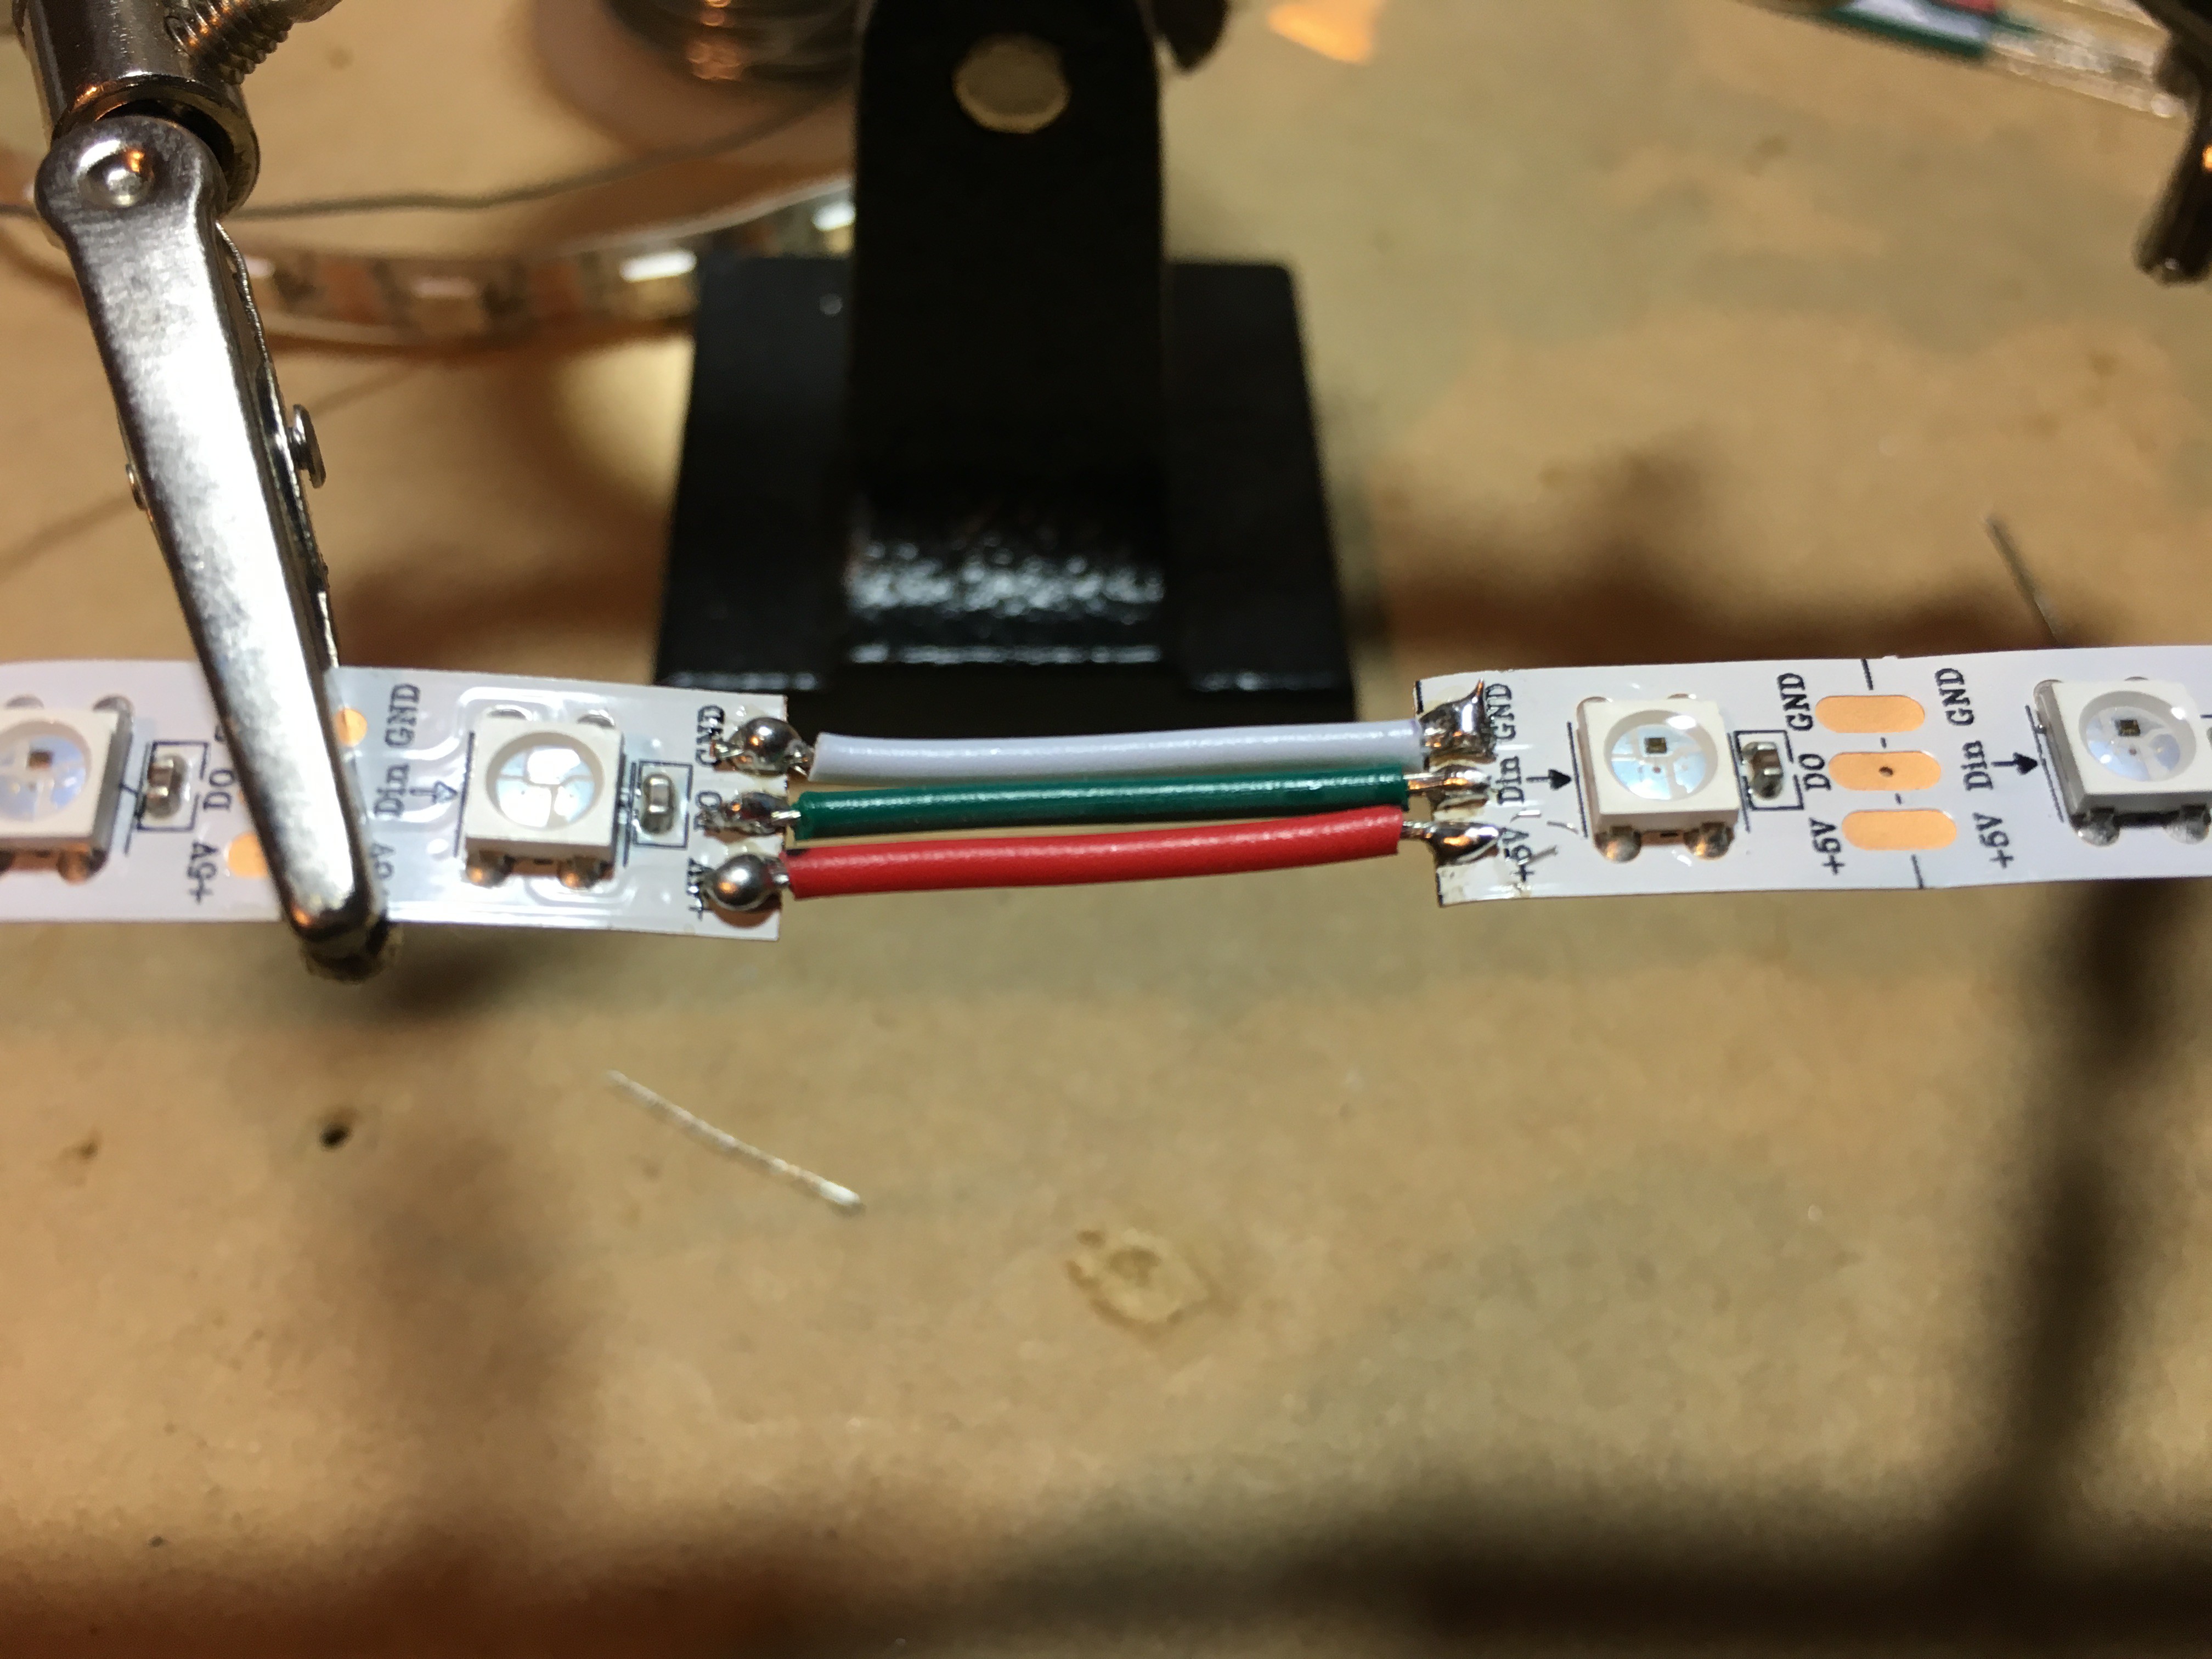
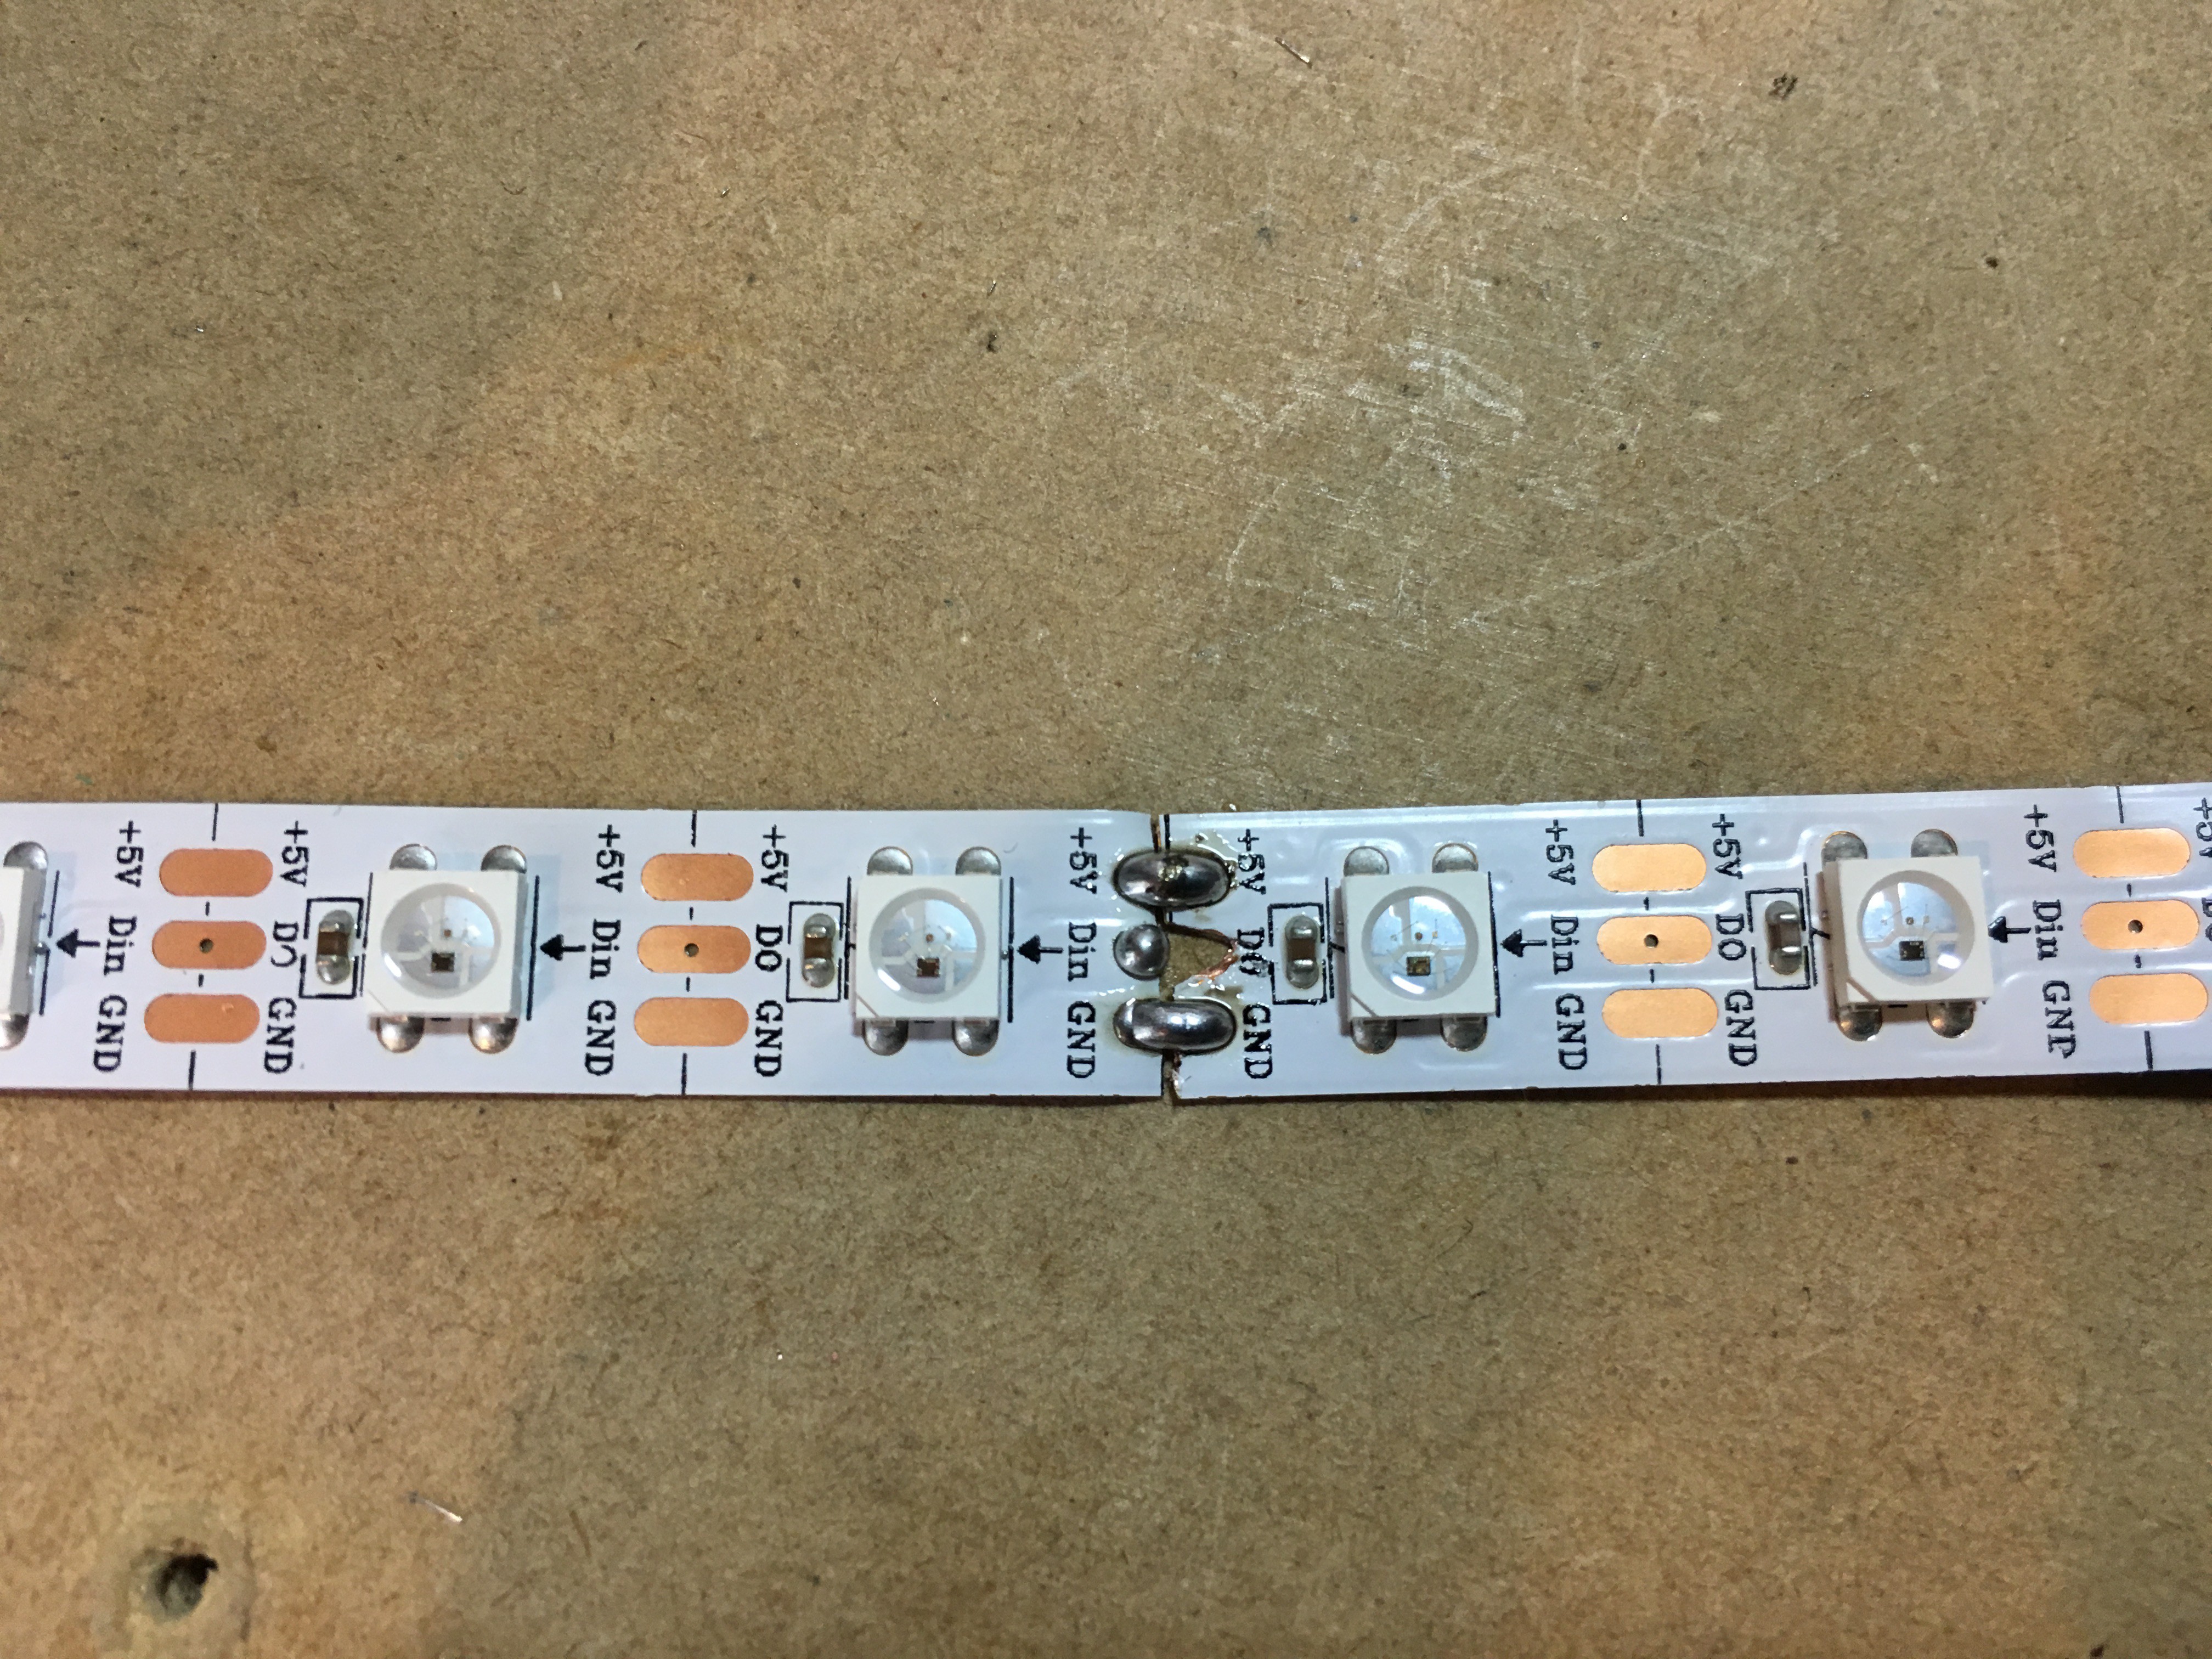
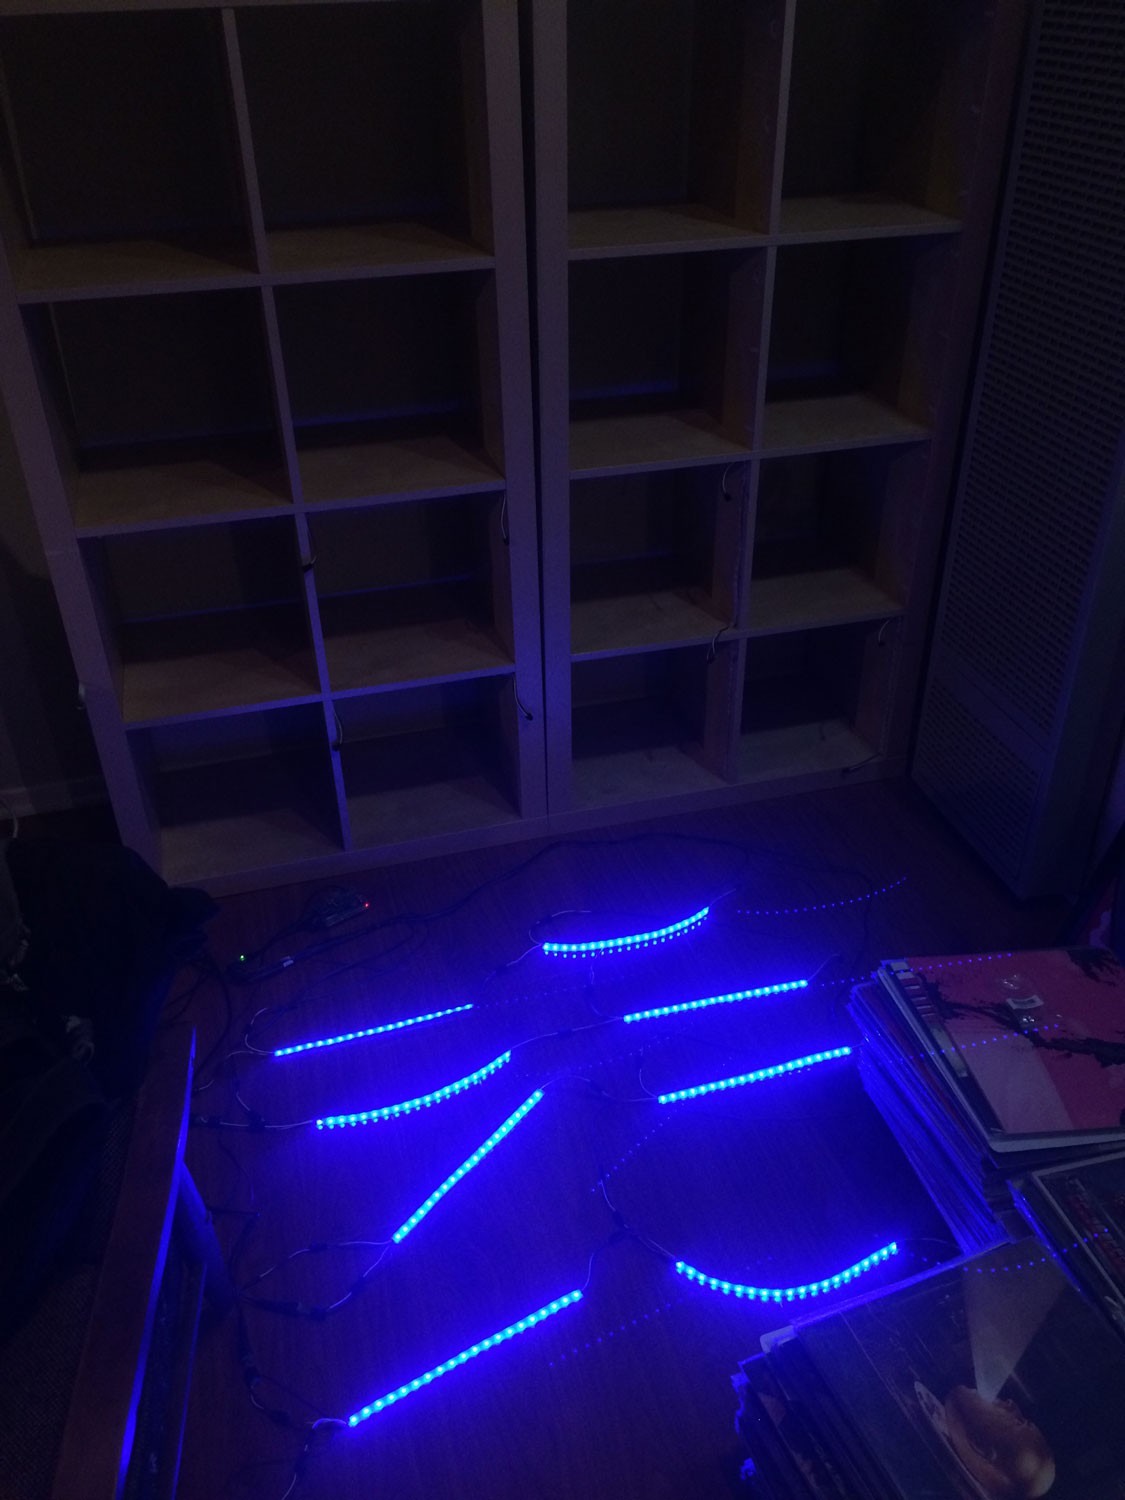
- Flush-mounted LED's inside shelving
- Designed new selection animation
Upcoming features:
- Either RFID or Barcode system for re-shelving.
- Wireless transmission of necessary audio data from turntable+stereo setup on other side of room for audio visualization purpouses.
- Decide whether a 'physical width' parameter for each record is necessary or not. (Gatefold and Double/Triple LP's are thicker than Single LP's and throw off the accuracy of the LED locator system by a tiny degree)
Possible Discogs.com integration (Discogs collection database vs my personal mysql database on RPi)?Routing out shelving and adding lenses to recess led strip for a cleaner look. (https://www.1000bulbs.com/product/100395/KLUS-B5390.html) (ikeahackers.net/2015/03/light-kallax.html)


 ric866
 Grayson Schlichting
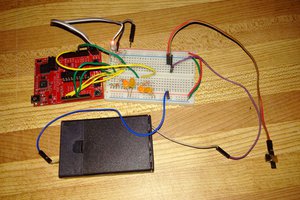
 Petri Varsa
Very awesome project, I'd love to try to replicate this. I noticed the last update showed starting integration with Discogs, I was wondering how that was going.