 El Jefe
project started out as a joke.
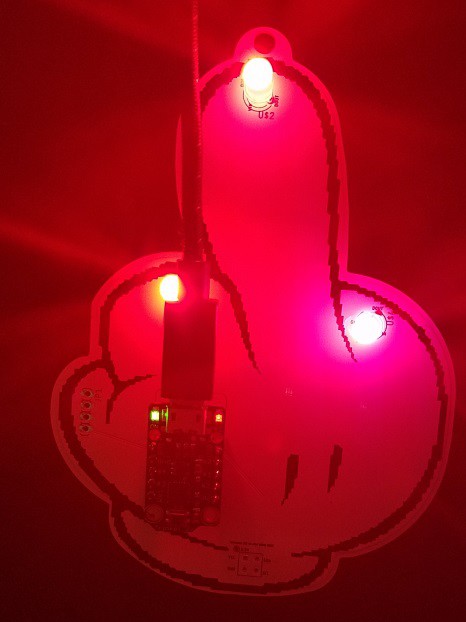
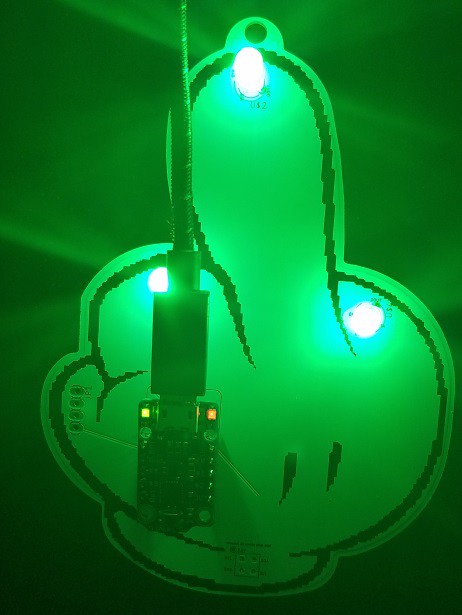
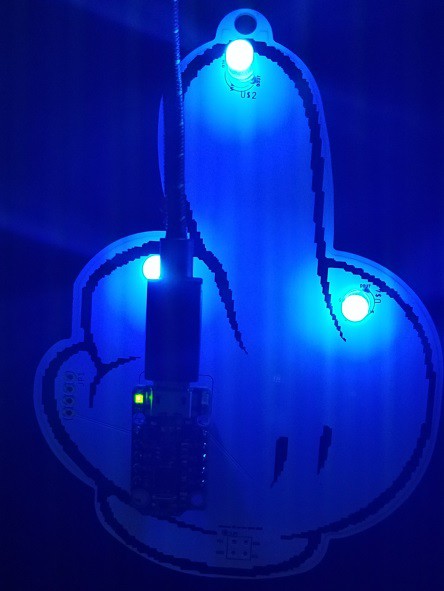
How would people react when they discover that they are being recorded? do they look away? change emotions? put their hands up, or, would they just simply flick you off? this is my way of making light of that dialogue.
This is also an exercise in learning how to make PCB's in bulk, and see how far I could stretch it. This was designed to take basic off the shelf iot parts, and make a little something out of it to help newbs get access to some entry level geek tech.
This helps you learn how to:
-Sodder!
- Sodder sum moar!
- learning how to program CircuitPython
-Learn about LED addressing, color, and intensity levels.
- be resourceful! add your own stuff, over I2C, or add an analog sensor or 2, or, heck, you can even try to learn about DMA! (no I don't know what that is and don't ask me till next year)
Pre-orders!
Yes there are gonna be Pre-orders. there's gonna be an extremely short window (LIKE THIS WEEK!), and this only available for pickup at Security summer camp! Keep your eyes peeled over the next 24 hours for details on Tindie, Twitter, and the githubs.
I'm not making anything on this, and I'm already out of pocket for ~300 boards. I'm doing this more from a deep cold pirate heart that's gotten a bit soft for the next generation of hackers, and giving some access to tools and toys to help them grow.
You can order one now, and pick up during DEFCON now: https://www.tindie.com/products/336c6614/defcon-26-middle-finger-badge-diy-kit/
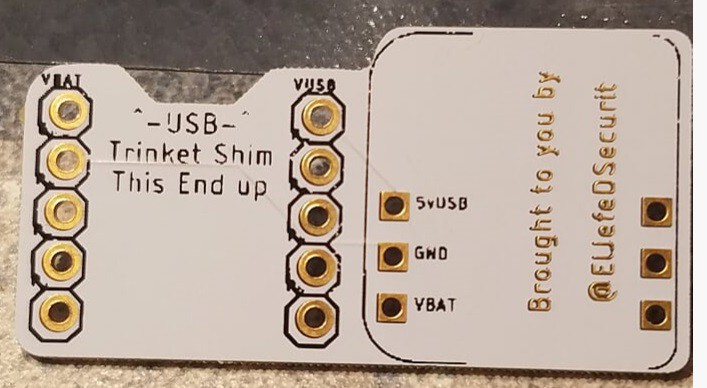
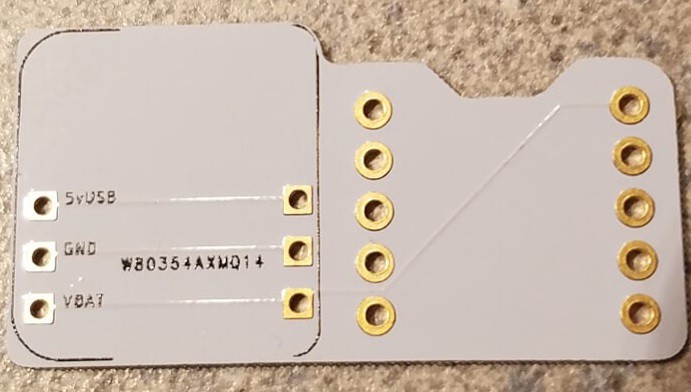

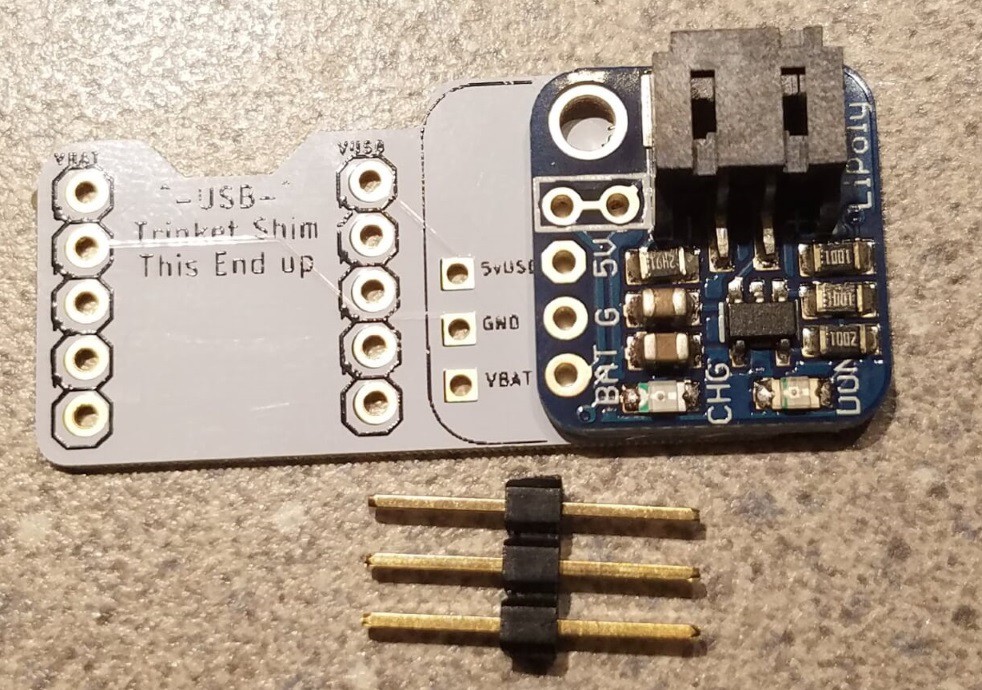
 if you put them on the backside, be sure to solder the pins for the trinket in backwards! (while I didn't try this, it could work, good luck. but anyhoo)
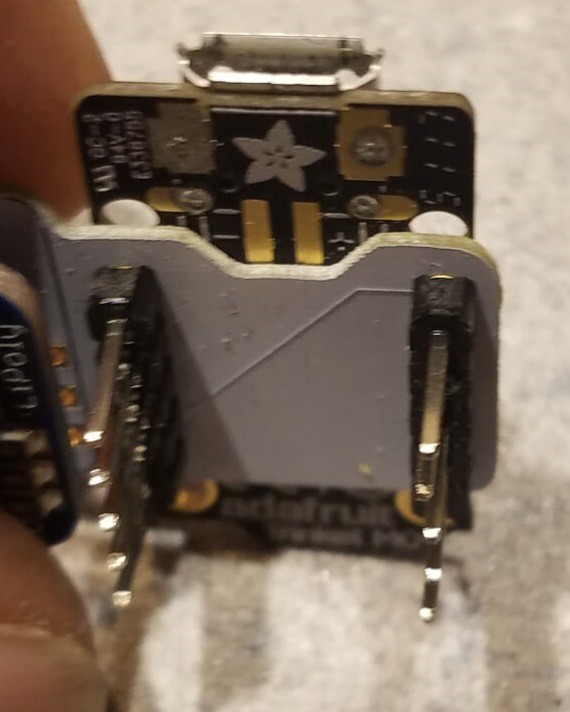 so it looks like this:
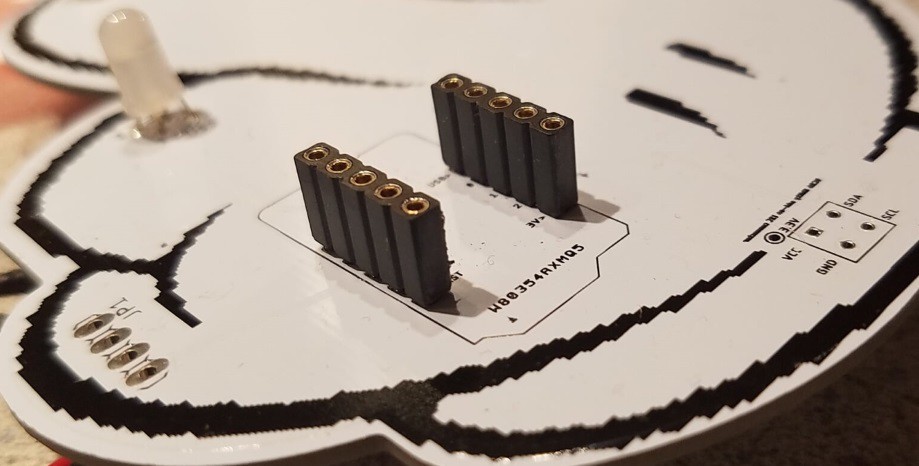
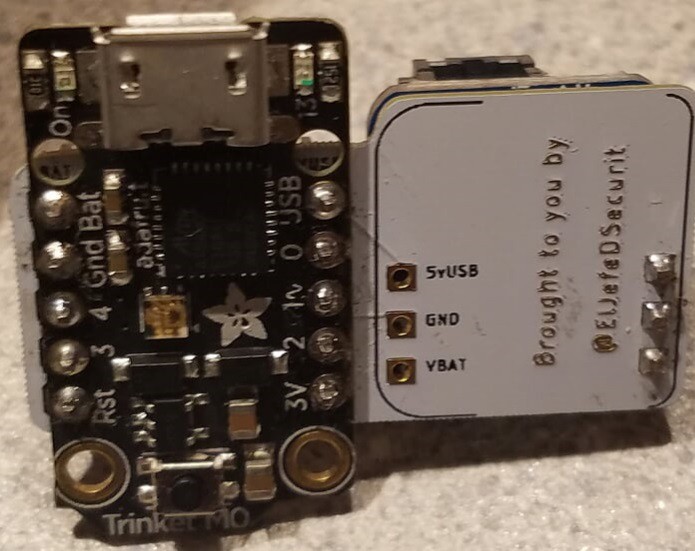 now, if you don't want it to be permanent, you can probably make it pinned, and socketed, and make it stackable.
 blinkingthing
 mrpendent
 deʃhipu
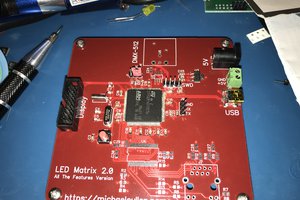
 Michael Cullen