 deʃhipu
Once I decided to use the CircuitPlayground Express board, everything else clicked in place. The battery will need to be sandwiched between the carrier board and the CPX, because the other side of the carrier board is pretty much dominated by the barrette itself. That means I need a relatively large battery that will fit in there. Something like this:
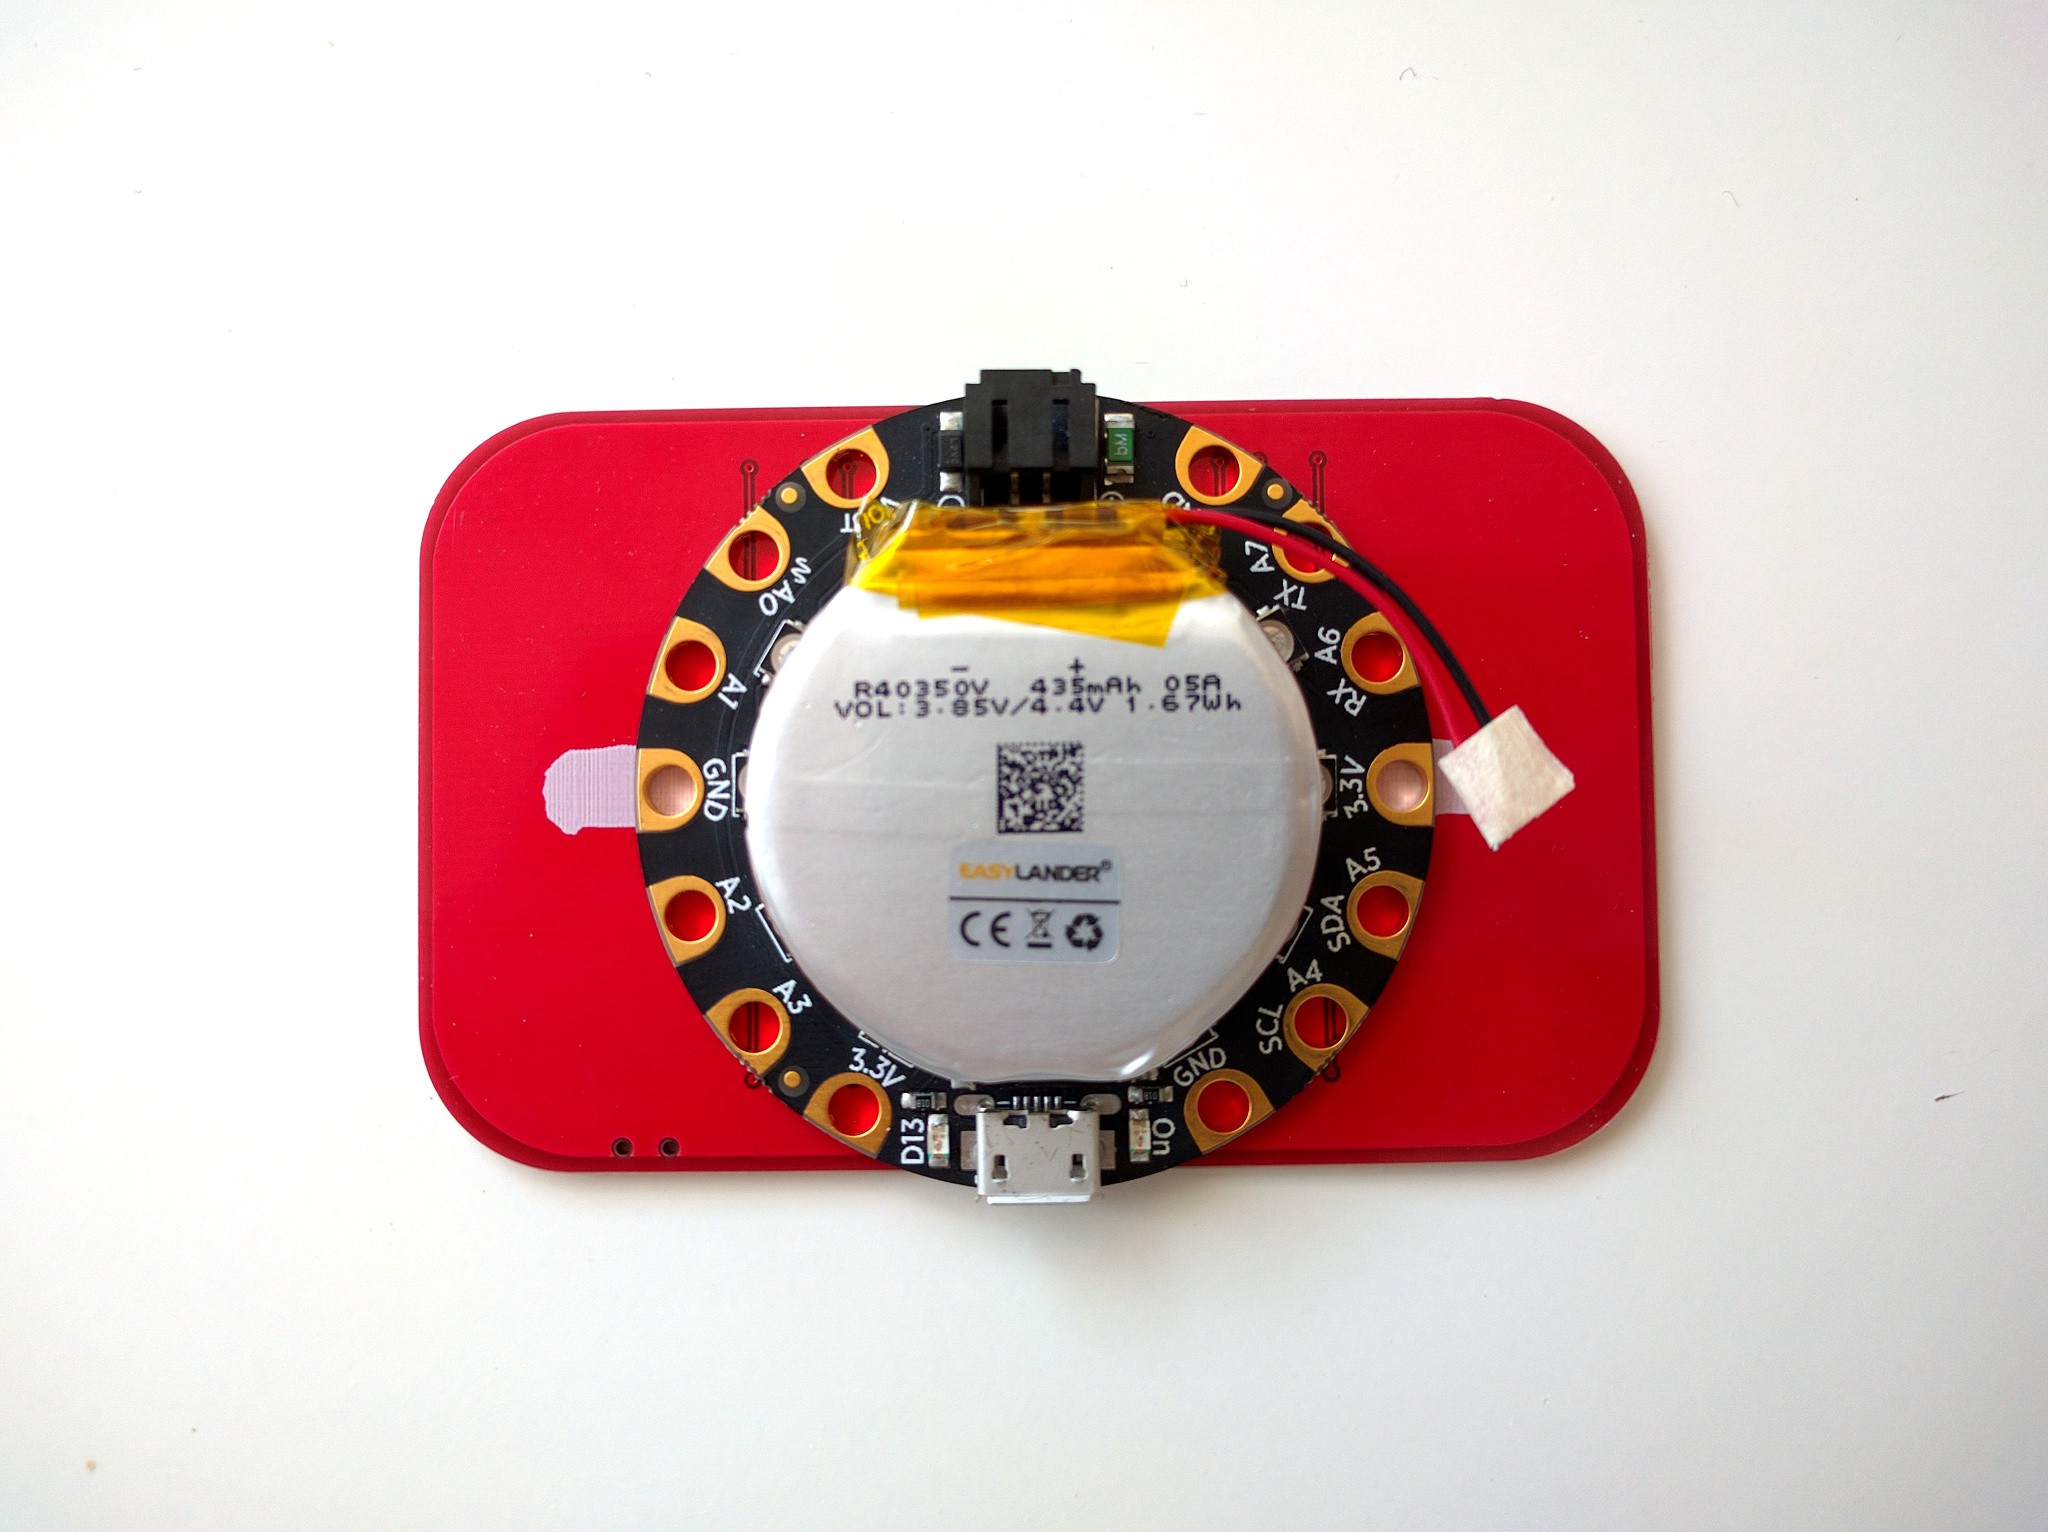
There will be a second USB port on the carrier board for charging the battery and for programming the addons (this way the addons can have a less troublesome connector on them, that you will connect to the carrier board for programming).
There will also be 8 sockets for connecting the individual addons for wearing. Those sockets require some thought. On one hand, the plugs need to be small and light, because they will be most likely attached to almost invisible magnet wires, and we don't want that to break. On the other hand, they need to be easy to connect and disconnect, because you will be likely doing it while the barrette is at the back of your head already. Finally, they need to be keyed, so that you won't connect anything in reverse and burn it.
I was looking at various molex, jst, servo and other connectors, but they are usually rather expensive, bulky or require large force to connect. Finally, I decided to simply use 1.27mm female pin headers on the barrette side (female, because they expose power, so you don't want any shorts there), and male pin headers with heat-shrink tube as plugs.
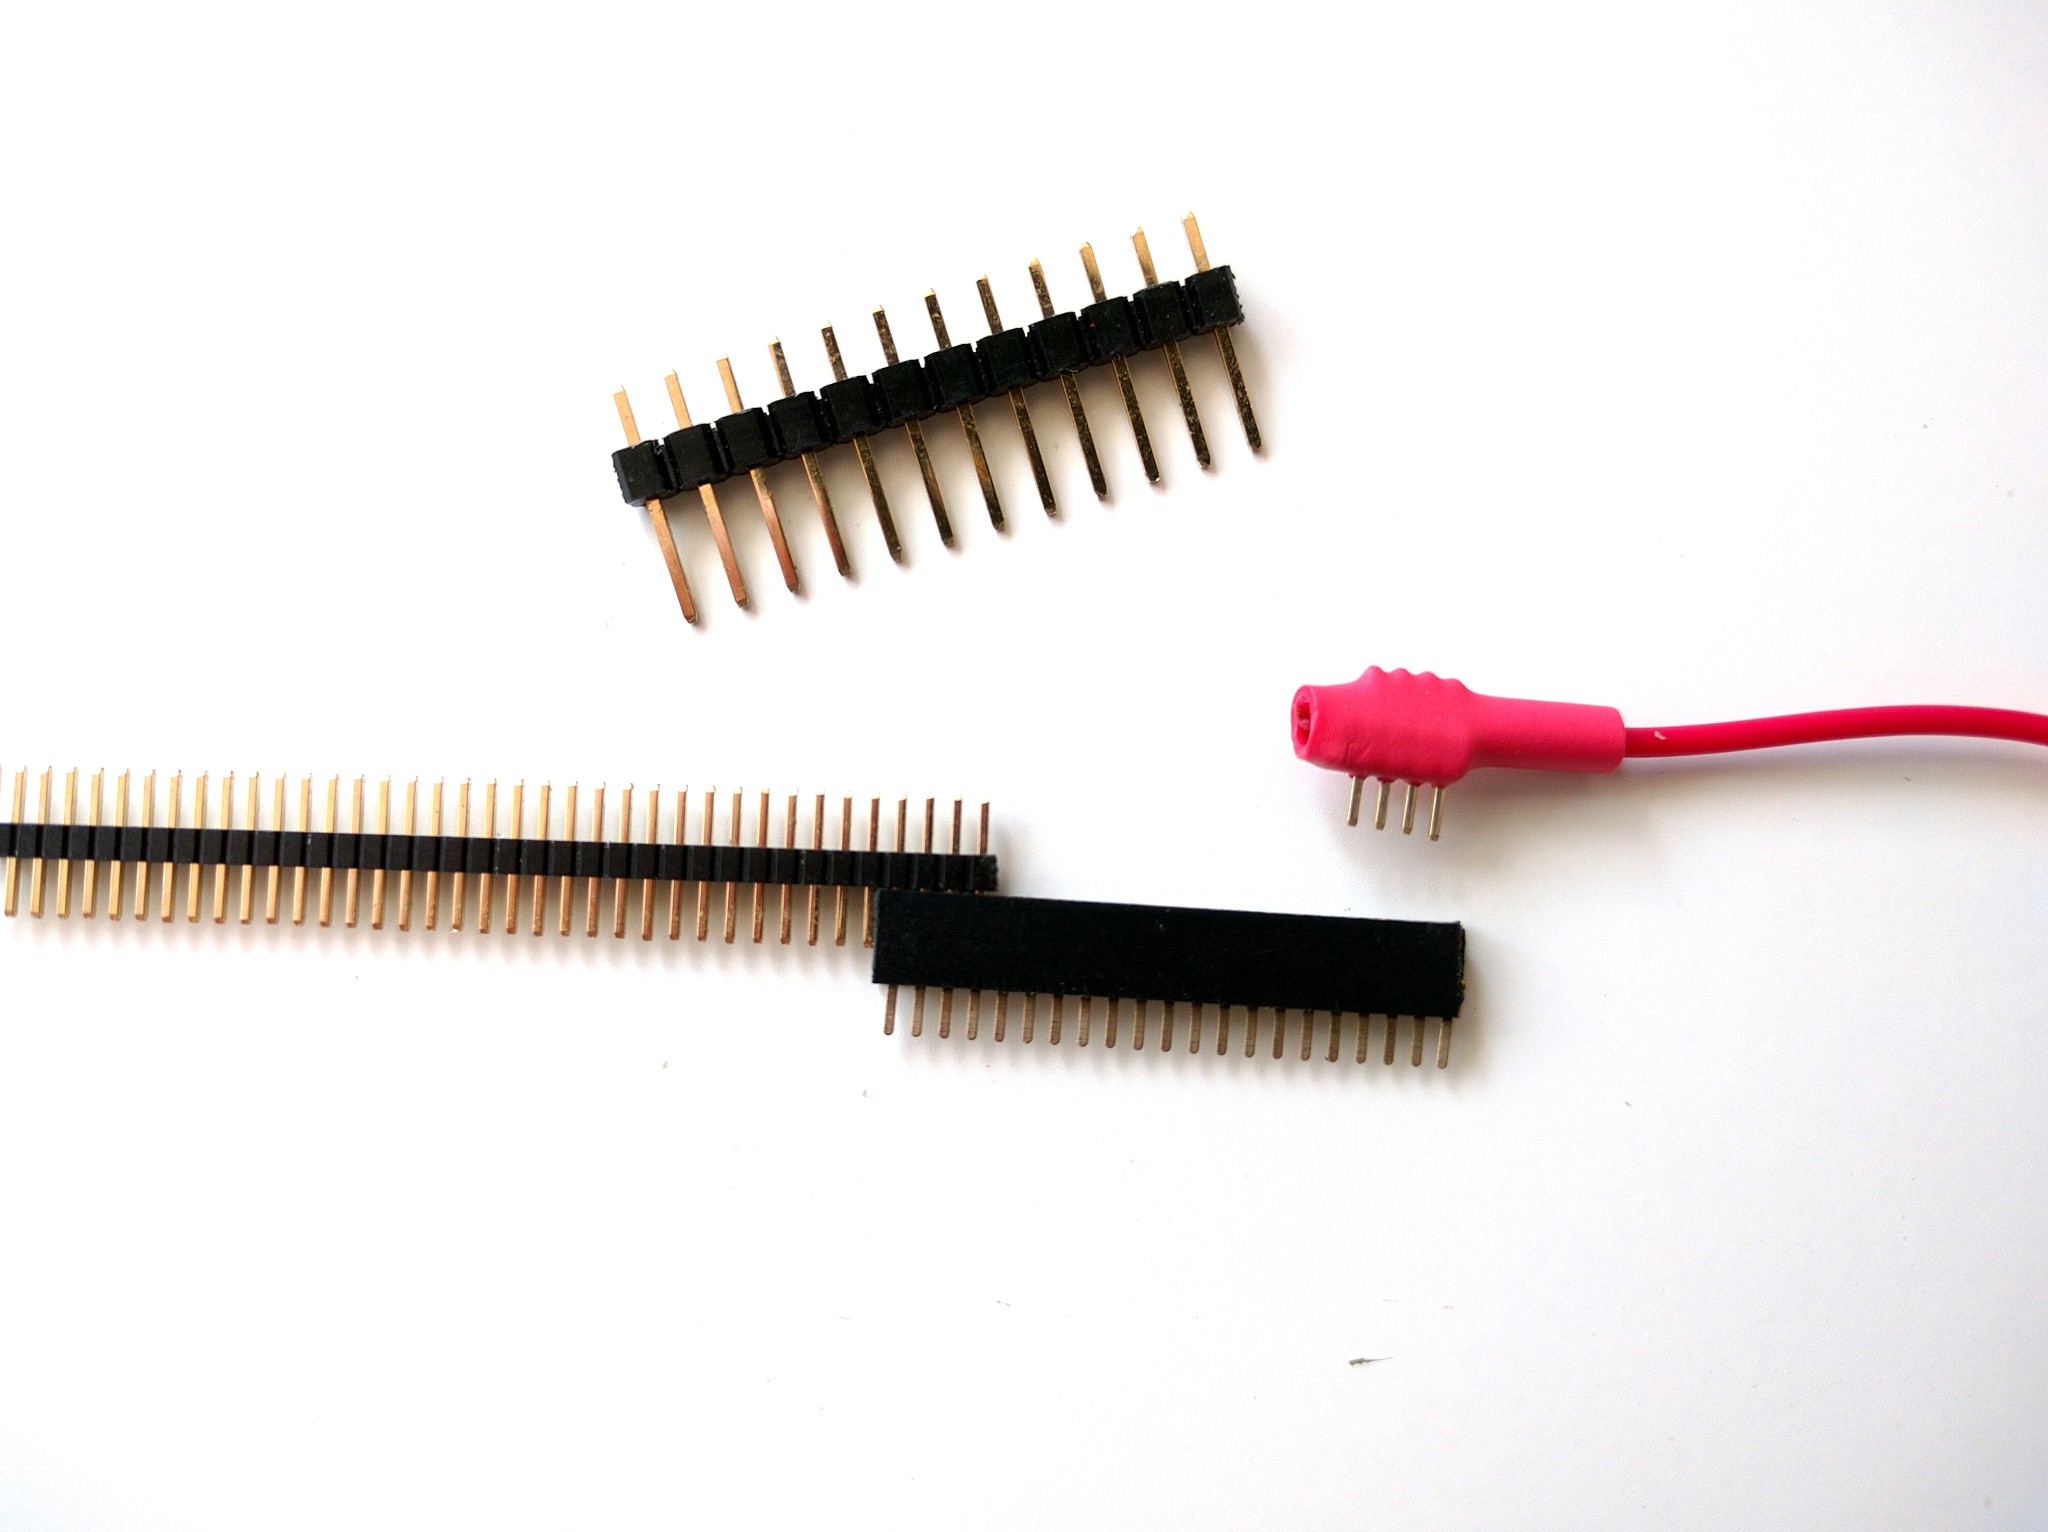
What about keying them? Well, as you can see, the assembly is asymmetrical, so all I need is some physical obstacle on the side where the cable is not supposed to go. Like a single male 2.54mm pin, for example.
Discussions
Become a Hackaday.io Member
Create an account to leave a comment. Already have an account? Log In.