 magnustron
Here's the diagram – howto press this button by foot:
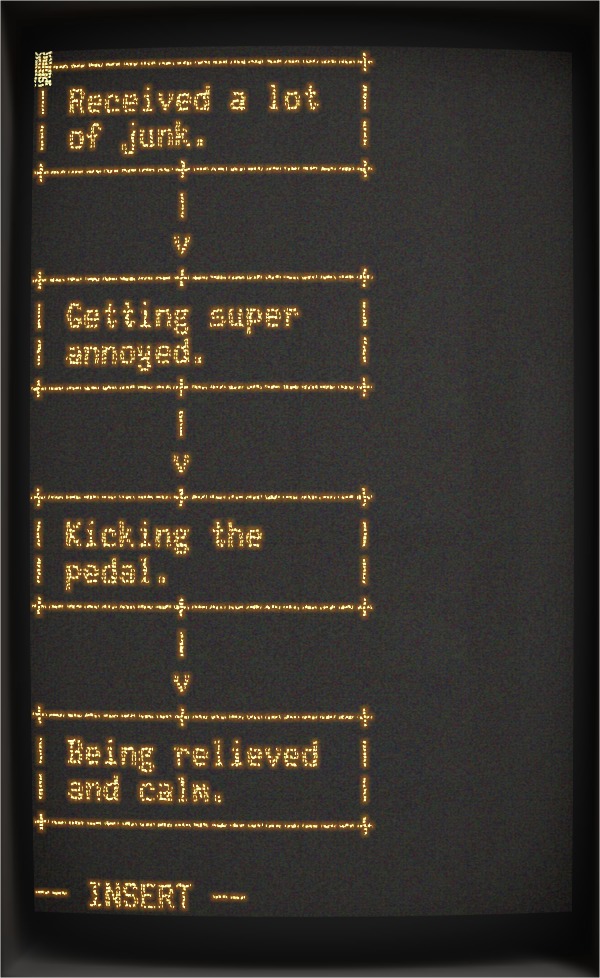
Created using the awesome http://asciiflow.com and Cathode (http://www.secretgeometry.com/apps/cathode) as usual ;)
It's not a hack. It's arduino based. But, it's mental medicine. Introducing the kick-it-to-delete-it gesture.
Already have an account? Log in.
To make the experience fit your profile, pick a username and tell us what interests you.
Here's the diagram – howto press this button by foot:
Created using the awesome http://asciiflow.com and Cathode (http://www.secretgeometry.com/apps/cathode) as usual ;)
Assembly, is pretty straightforward! Just works out of the box.
BUT, overnight, the connection is sometimes lost and the device does not appear anymore in the USB settings (e.g. lsusb). Perhaps some improper sleep/suspend mode?
Well, needs a short reconnect in the morning and works again, but would be nice to solve this at some point.
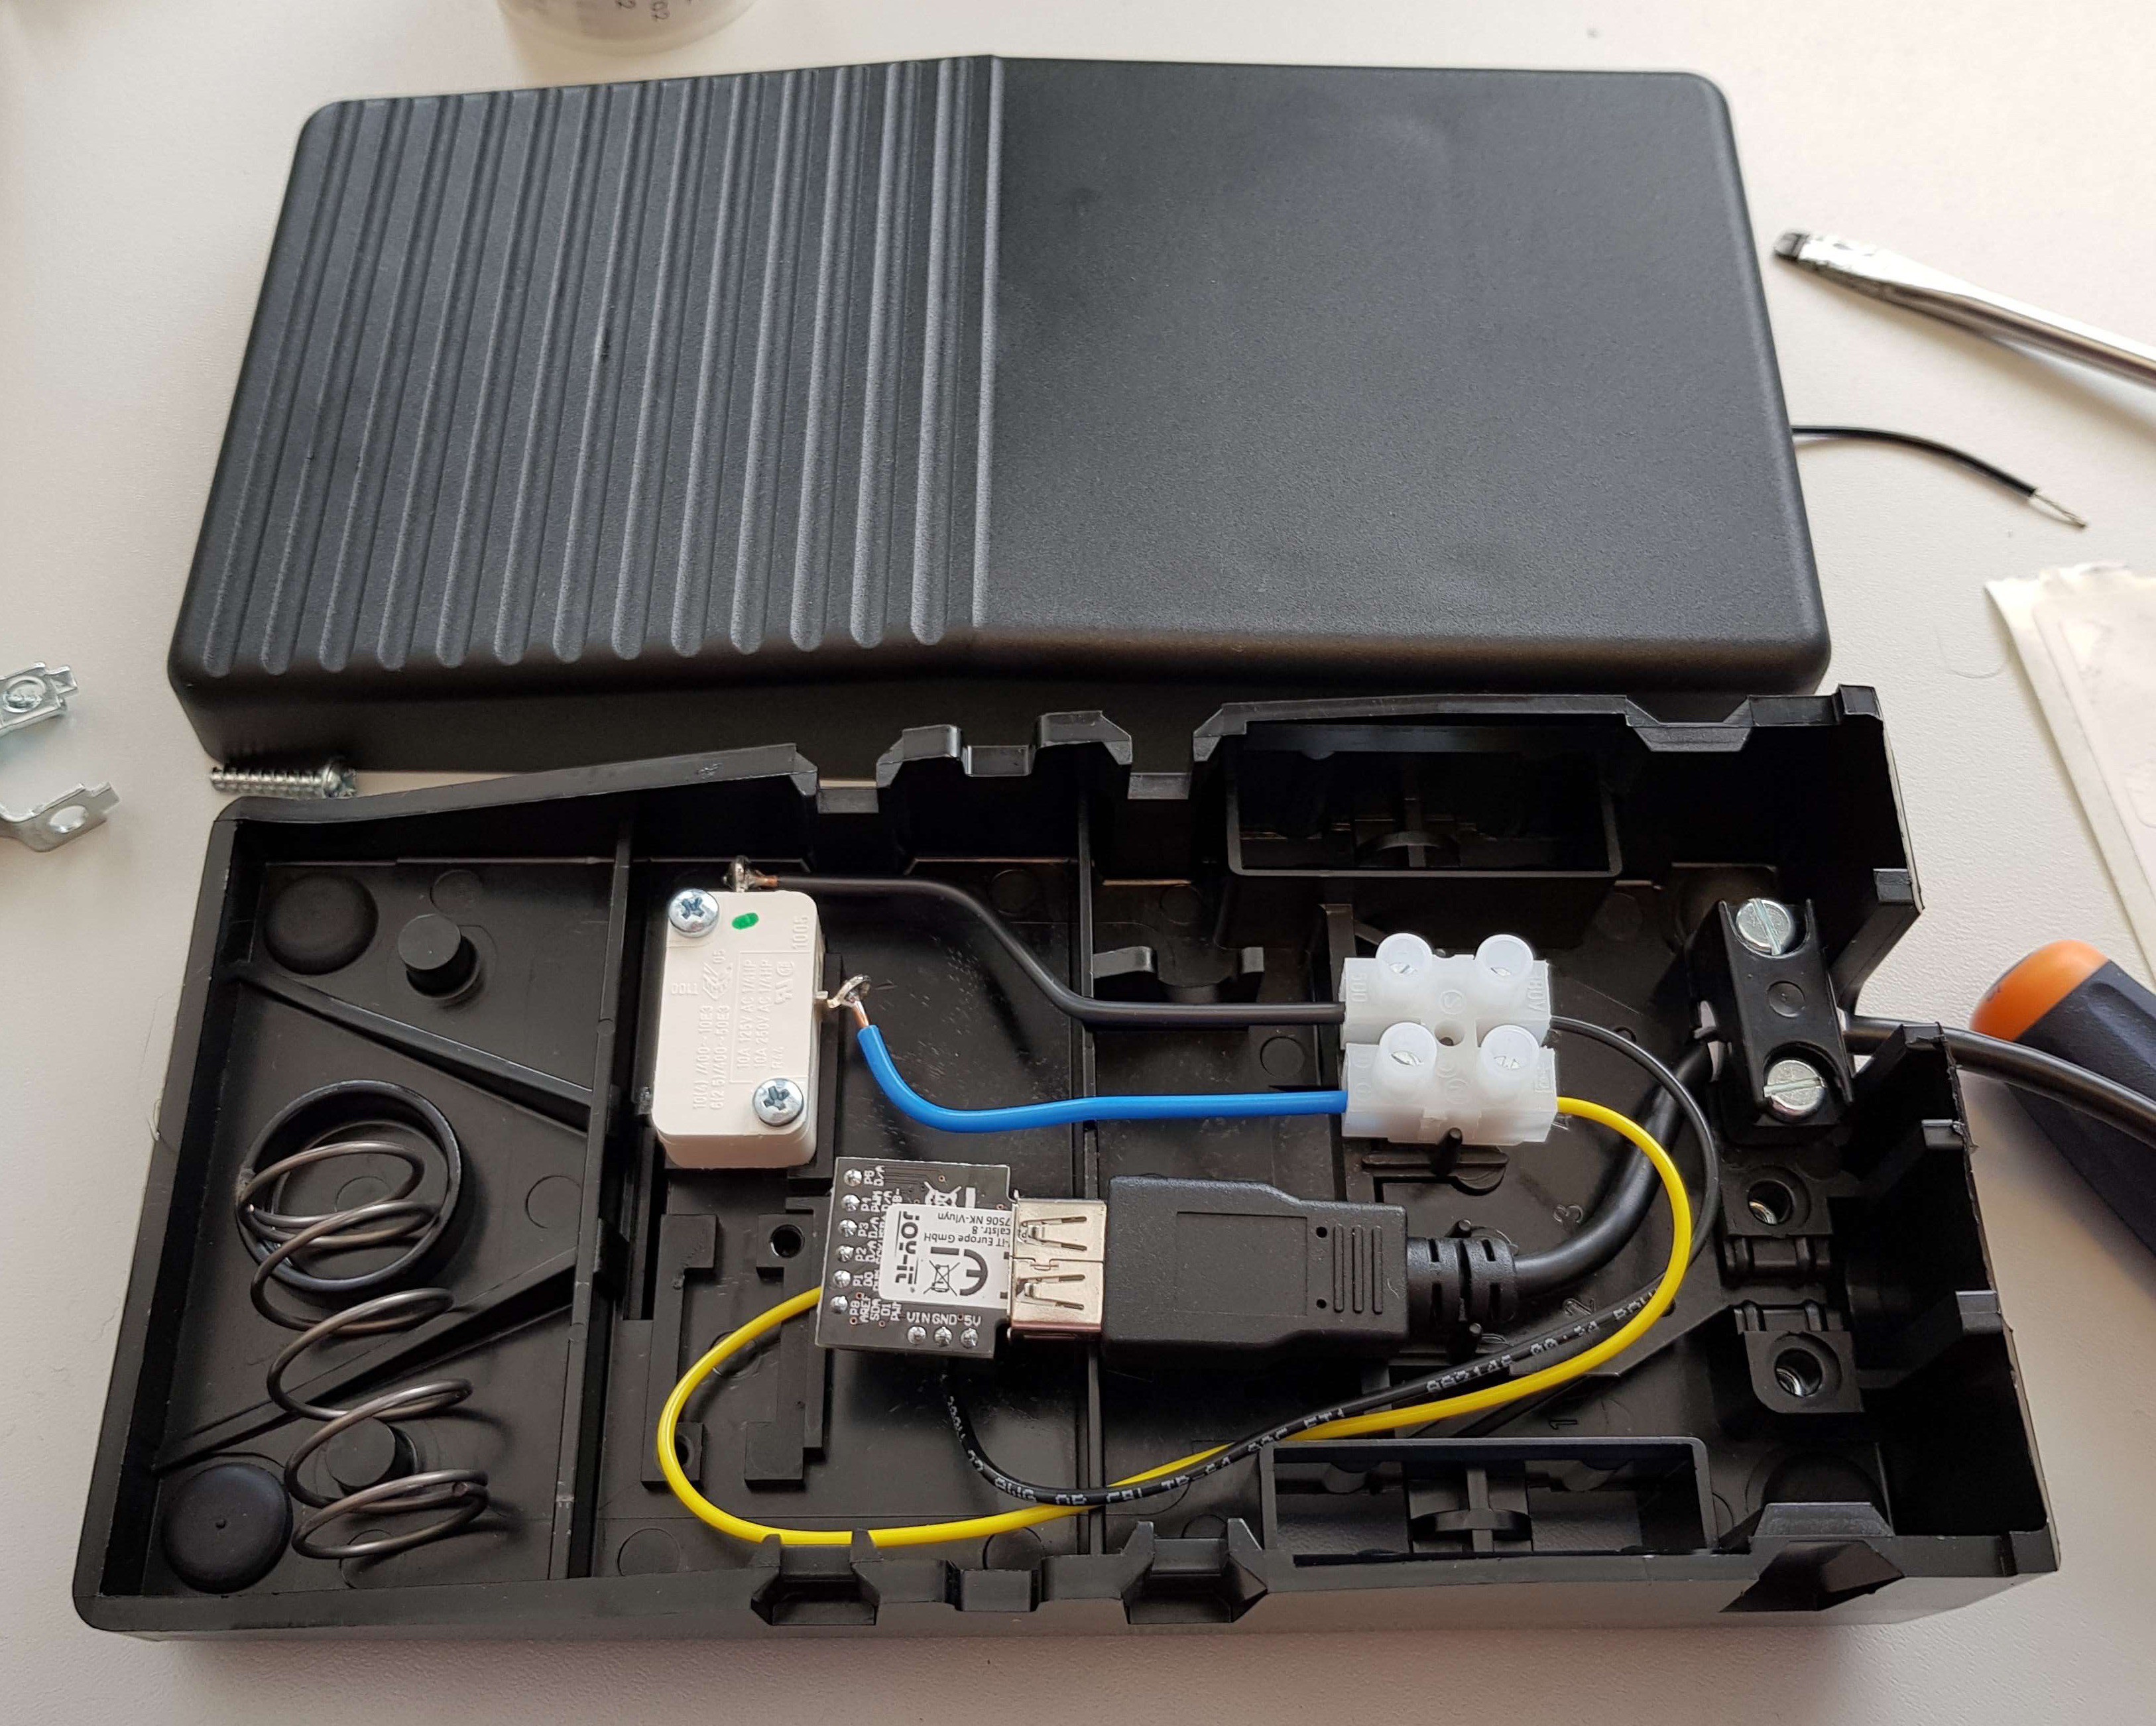
Good news: it's 2018 and all we need is easily source-able. You will also need a screwdriver for assembly. A parts list with example parts is provided on the project page.
2nd good news: two jumper wires suffice. No need for soldering. Just use the screwdriver (see step 1 ;)) and replicate what is seen on the image here.
Now, this is what we want: every kick is a single key press (press+release) of the delete key (better: back-space, key code 0x24; yes, I am on a Mac).
// Public domain
#include "DigiKeyboard.h"

const int LEDA=0;
const int LEDB=1;
const int BUTTON=2;

void setup() {
  pinMode(BUTTON,INPUT_PULLUP);
  pinMode(LEDA,OUTPUT);
  pinMode(LEDB,OUTPUT);
}

void loop() {
  while (digitalRead(BUTTON)==HIGH) DigiKeyboard.delay(10); // <- important to have USB stuff still running in BG.
  digitalWrite(LEDA,HIGH);
  digitalWrite(LEDB,HIGH);
  DigiKeyboard.sendKeyStroke(0);
  DigiKeyboard.sendKeyStroke(0x2A);
  DigiKeyboard.delay(100);
  while (digitalRead(BUTTON)==LOW) DigiKeyboard.delay(10);
  digitalWrite(LEDA,LOW);
  digitalWrite(LEDB,LOW);
  DigiKeyboard.delay(100);
}
Some comments:
Upload using the instructions here: https://digistump.com/wiki/digispark/tutorials/connecting
 facelessloser
 origamimavin
 Tommy Callaway
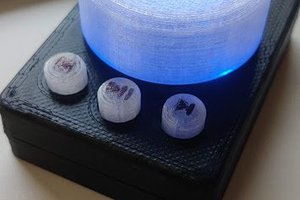
 Colin Russell-Conway