Close
0%
0%

Arduino Birthday Candle

An Arduino based project that can turn off led by blowing on it (uses Microphone Sound Sensor module).

Similar projects worth following
This is my entry to the Mouser and MacroFAB 'Blink An LED' Challenge. My idea is to make a birthday candle that can be turned off by blowing on it, and based on delay given on the program it turns on back again. The main part of this project is microphone sound sensor.

How  does a Microphone Work ?

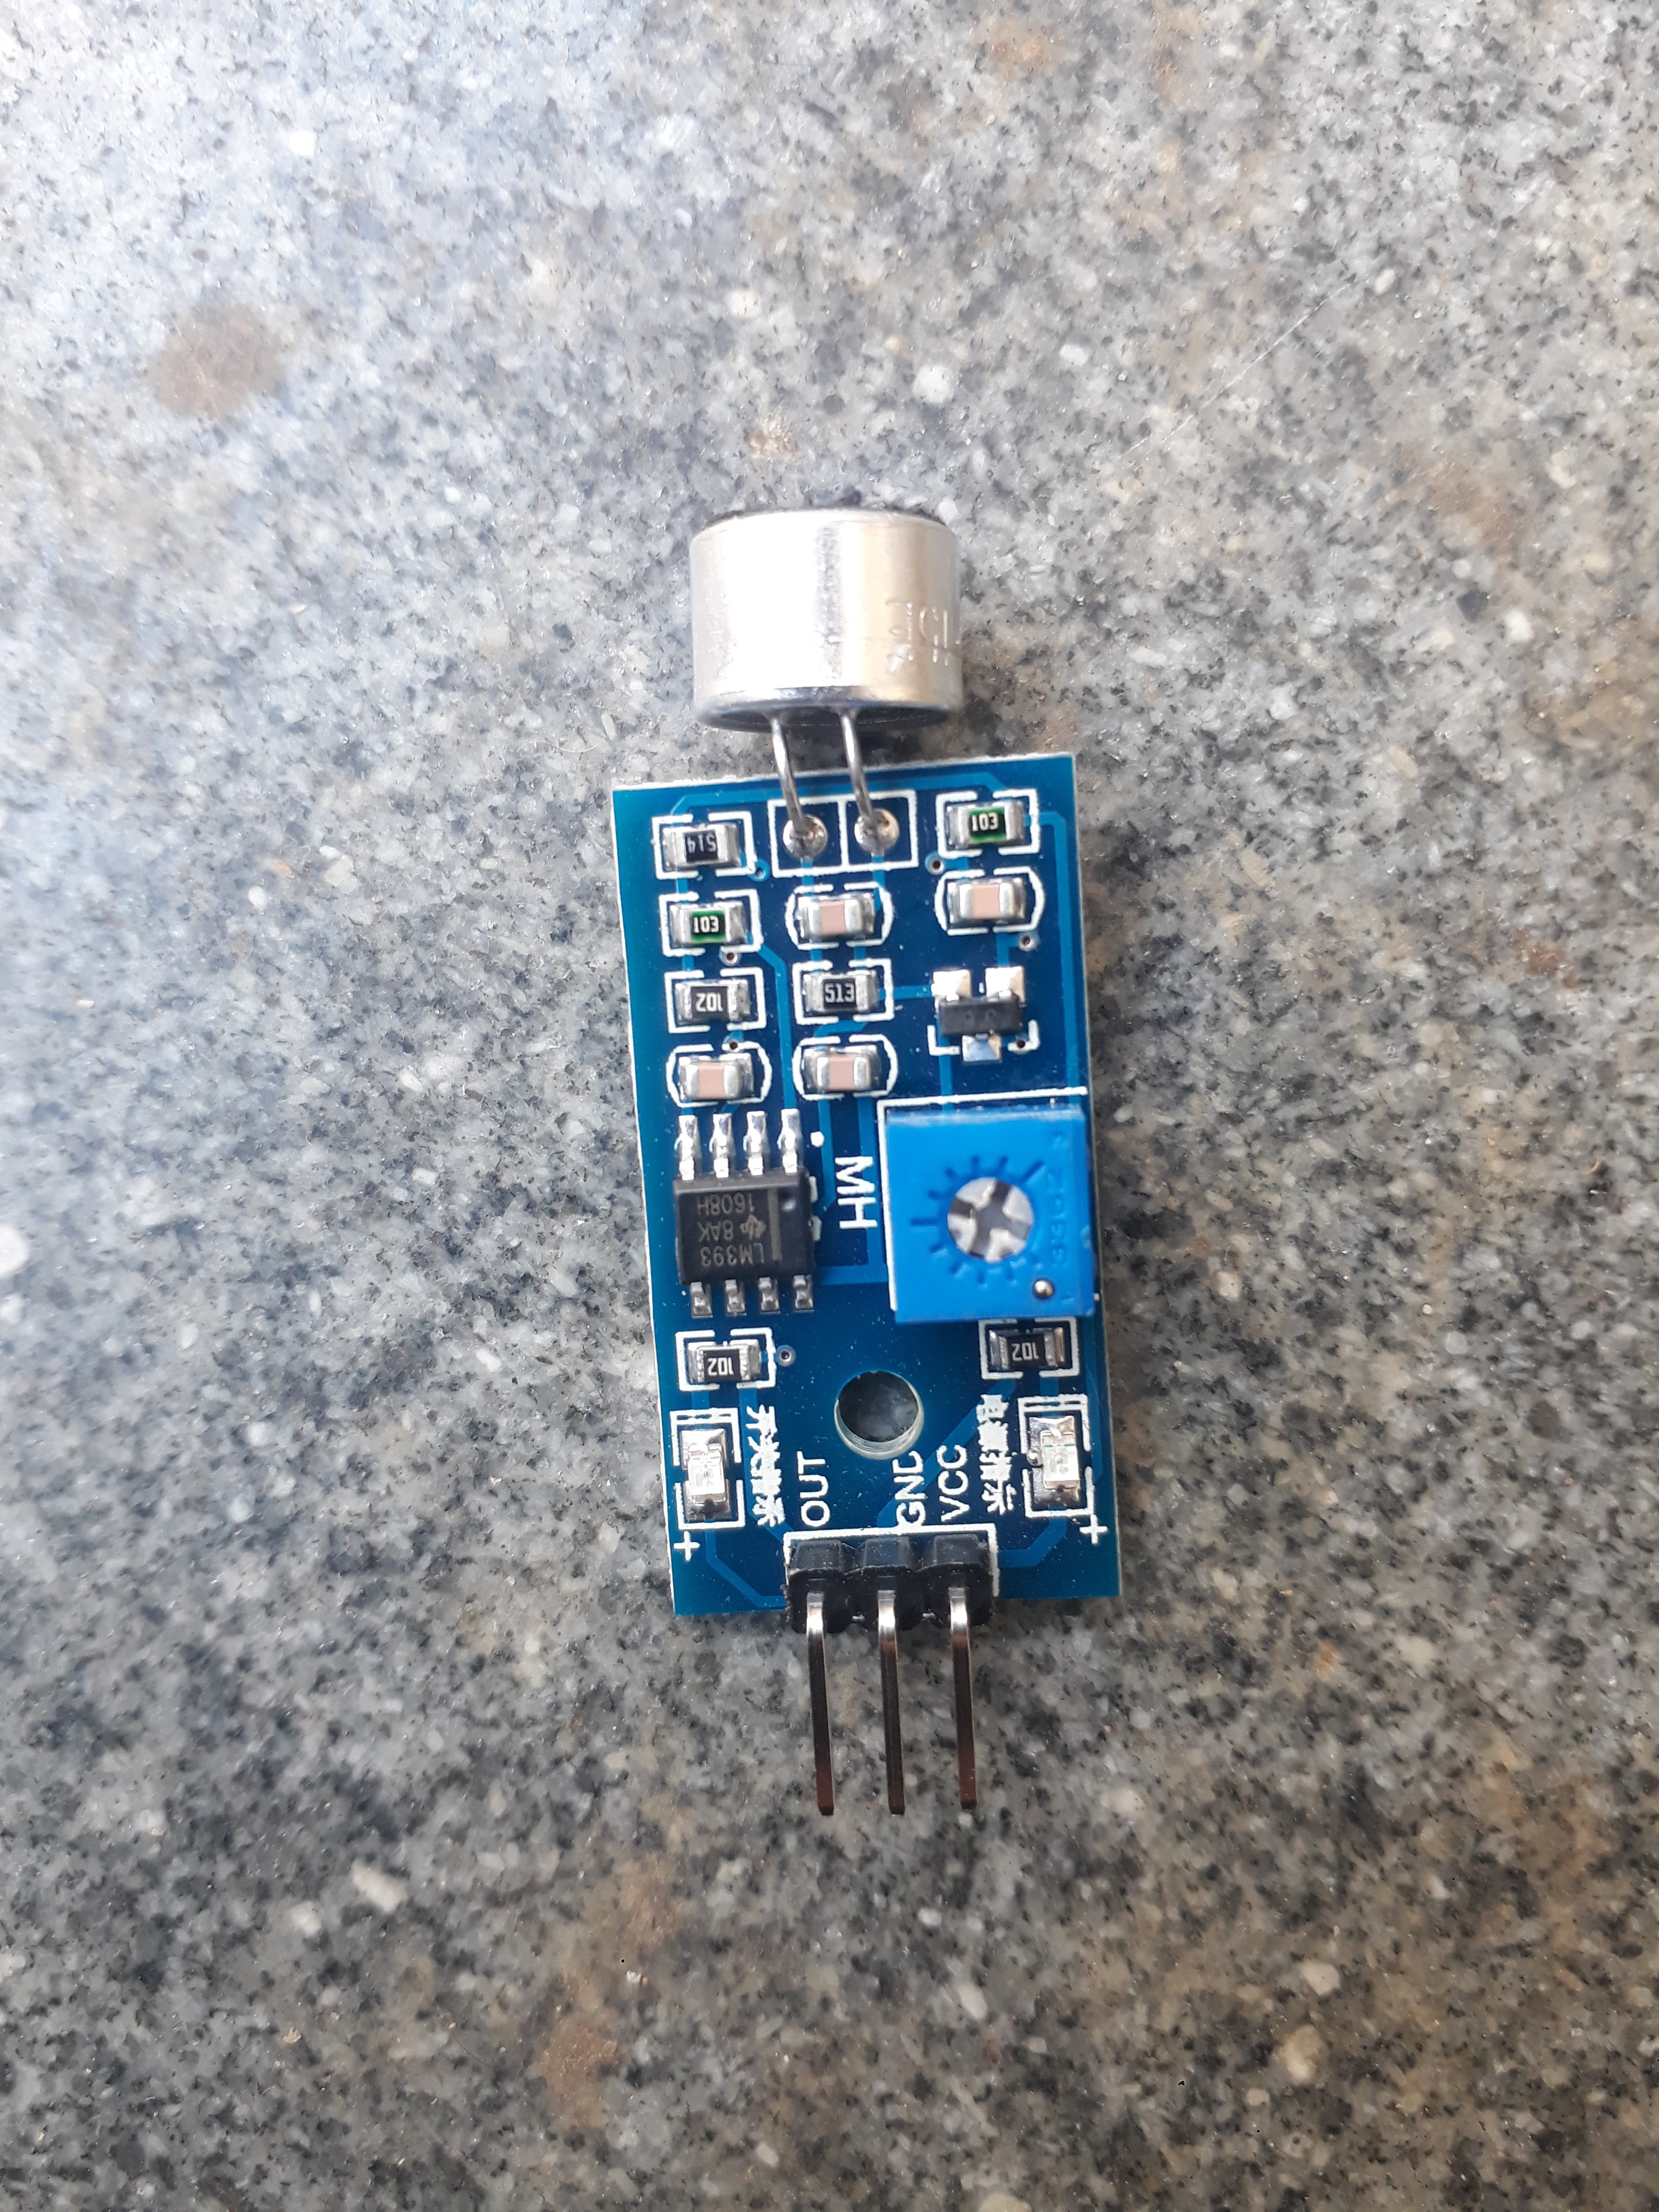
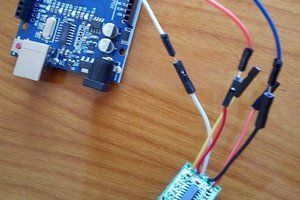
A microphone is an acoustic to an  electric transducer or sensor that detects sound signals and converts them into an electrical signal.

In short, wind is not sound, will this project  work ?

My answer is yes!

To generate an electrical signal all you need to do is make movements in the diaphragm. So when blowing on a microphone sound sensor, microphone’s diaphragm responds because it is a displacement of air molecules pushing on one side of the membrane to the other causing electrical signal in the microphone to make it seem like sound.

ino - 475.00 bytes - 09/06/2018 at 14:01

Download

Arduino_Birthday_Candle.png

Circuit Diagram

Portable Network Graphics (PNG) - 179.53 kB - 09/06/2018 at 14:00

Preview
Download

Portable Network Graphics (PNG) - 51.79 kB - 09/06/2018 at 14:00

Preview
Download

fzz - 7.54 kB - 09/06/2018 at 14:00

Download

View all 6 components

  • 1
    Microphone Sound Sensor

    I have used  a LM393 Microphone sound Sensor, It is having built-in Potentiometer to adjust the sensitivity of digital output pin. This module allows you to detect when wind(sound) has exceeded a set point you select by varying potentiometer. Sound is detected via microphone and fed into an LM393 op-amp for the digital input to the Arduino Board.

  • 2
    How to Connect ?
    • Connect  OUT pin of LM393 microphone sound sensor  to  Arduino Digital pin 7
    • Connect  GND pin of  sensor to  GND pin of Arduino
    • Connect VCC pin of sesnor to  5V of Arduino 
    • Connect a 220 ohm resistor series with negative terminal of LED and connect resistor to GND of Arduino.
    • Connect positive terminal of LED to Arduino Pin 13 

    Note:

    The value of resistor in series with LED may be a different value than 220 ohm ,the LED will lit up also with values up to 1k ohm.

  • 3
    Prototype

View all 5 instructions

Enjoy this project?

Share

Discussions

Similar Projects

Does this project spark your interest?

Become a member to follow this project and never miss any updates