 matthewkleinmann
The first step is scavenging. You need an old truck cap or camper top, look around road side and check on CL. And you need some 2x4's and plywood.
I found a guy with a couple free truck caps on CL that I got home on my car. Yes, my car. Put a moving blanket on the roof. Flip the truck cap on its end so the roof of the truck cap is facing your car. Lift up the bottom of the truck cap unil gravity takes over and it is sideways on your roof. Spin it around. First, run a ratchet strap all the way around the cap. You do NOT want the door of the truck cap popping open and they are not secured well. If the door pops open the handle WILL hit your window. Ask me how I know.. A long ratchet strap prevents this. You have been warned. Next, open up your front doors and rear windows. Run a ratchet strap through the door jam and around the truck cap and tighten it down good. Your doors will still close. Do the same through the back windows. Push on the cap. The car should rock on it's springs but the cap should not move. Drive home slowly.
For the wood, I found two sources of pallets. One source has pallets with 3 runners under them that are not very good, but they do have 4x4 foot pieces of plywood. The other type of pallet has 2 or 3 8' 2x4's and some oak slats to hold them together. Both types of the pallets are held together with pallet nails with barbs. I have broken down hundreds of these. My trick is to get a piece of rough cut oak 2x4 that is a bit wider than the piece you want to get off and put in on one side of the runner and whap it with viciously fast hard strikes with the flat face of a 32oz ball peen hammer. I have found a heavier hammer does not have as much "snap" and a lighter hammer does not have enough oomph.
Nails that pull through can be pulled out with a crowbar, or of the heads come off, a pair of vice grips with an LED that fits over the handle with the adjuster. FYI, in this trade an LED is a Leverage Enhancement Device, aka a piece of heavy walled pipe.
The cool thing about these is the walls only need to be 4' high so they work well with sheet material. Most truck caps are at least 2' tall, so the height of the wall plus the height of the cap is tall enough for most adults to stand up in.
Me, breaking down some free raw materials I have saved up for this project.
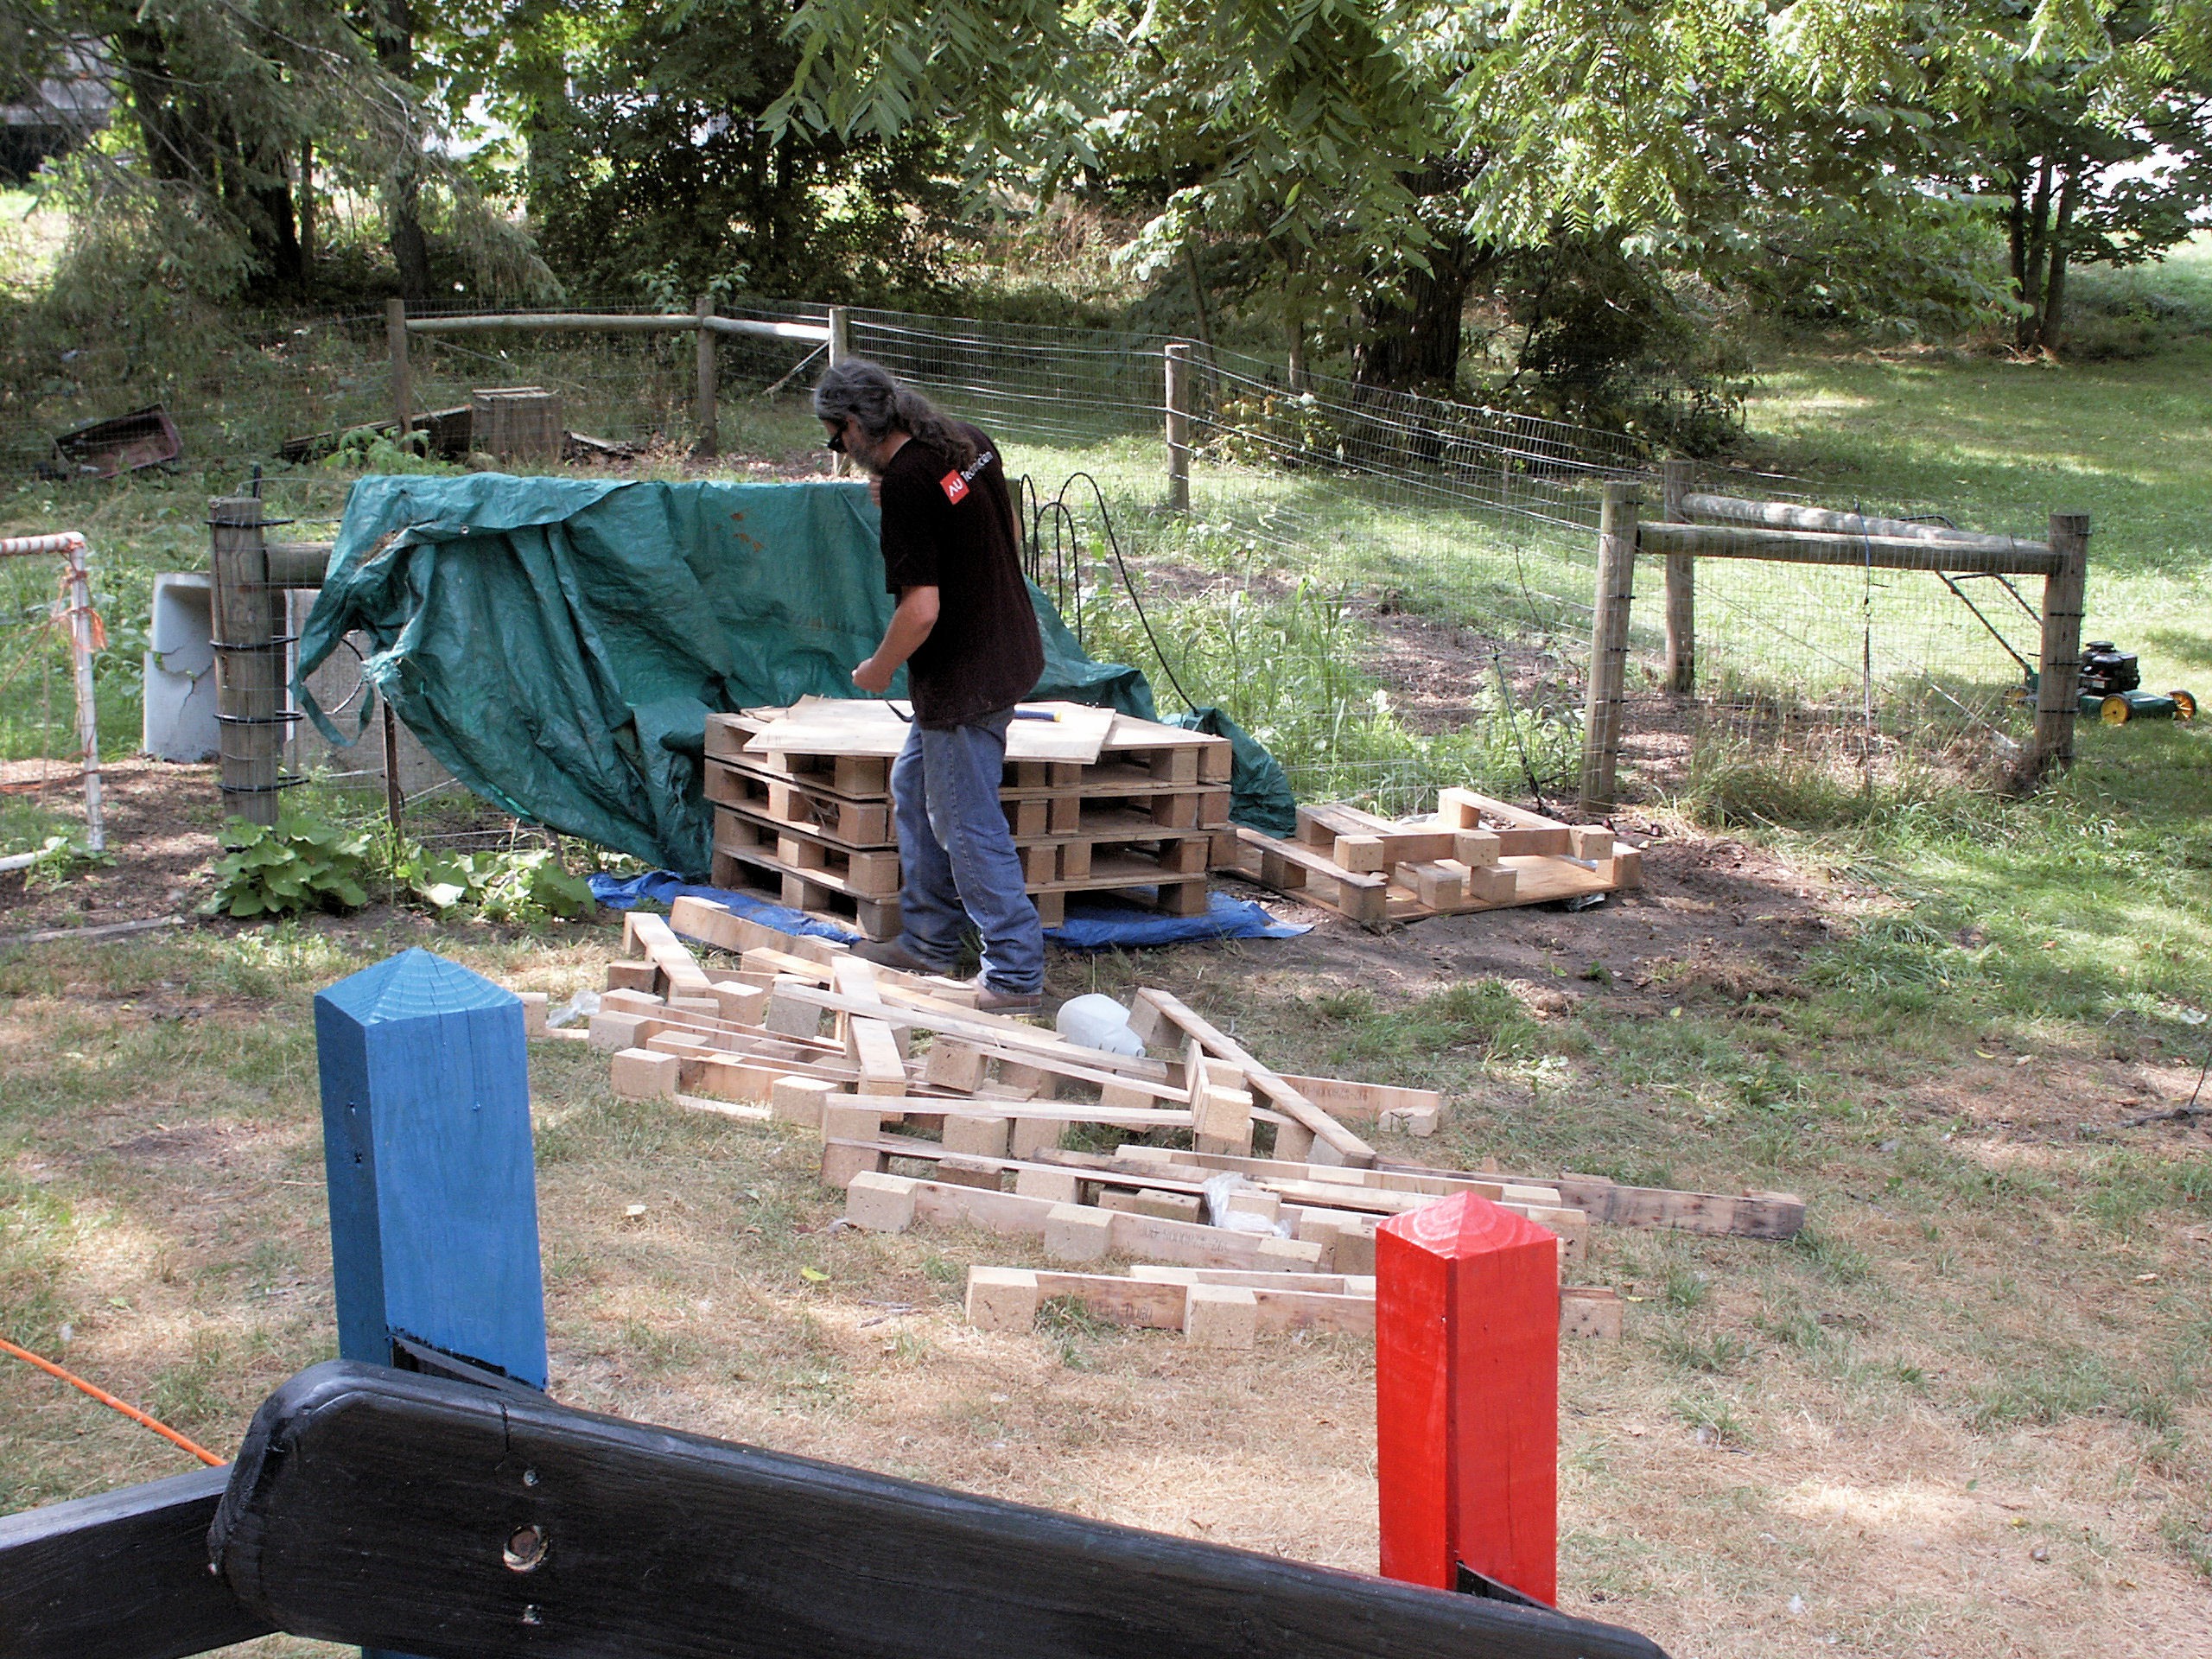
One you get rolling it is a pretty straight forward process. That pile took under an hour. The pallets with the 2x4's was much harder.
Next, find a flat place of level off a place for your building. Mine was roughly 6x8 feet. Also find a good place to set up shop. I use power tools, but you could do this by hand. It would take longer.
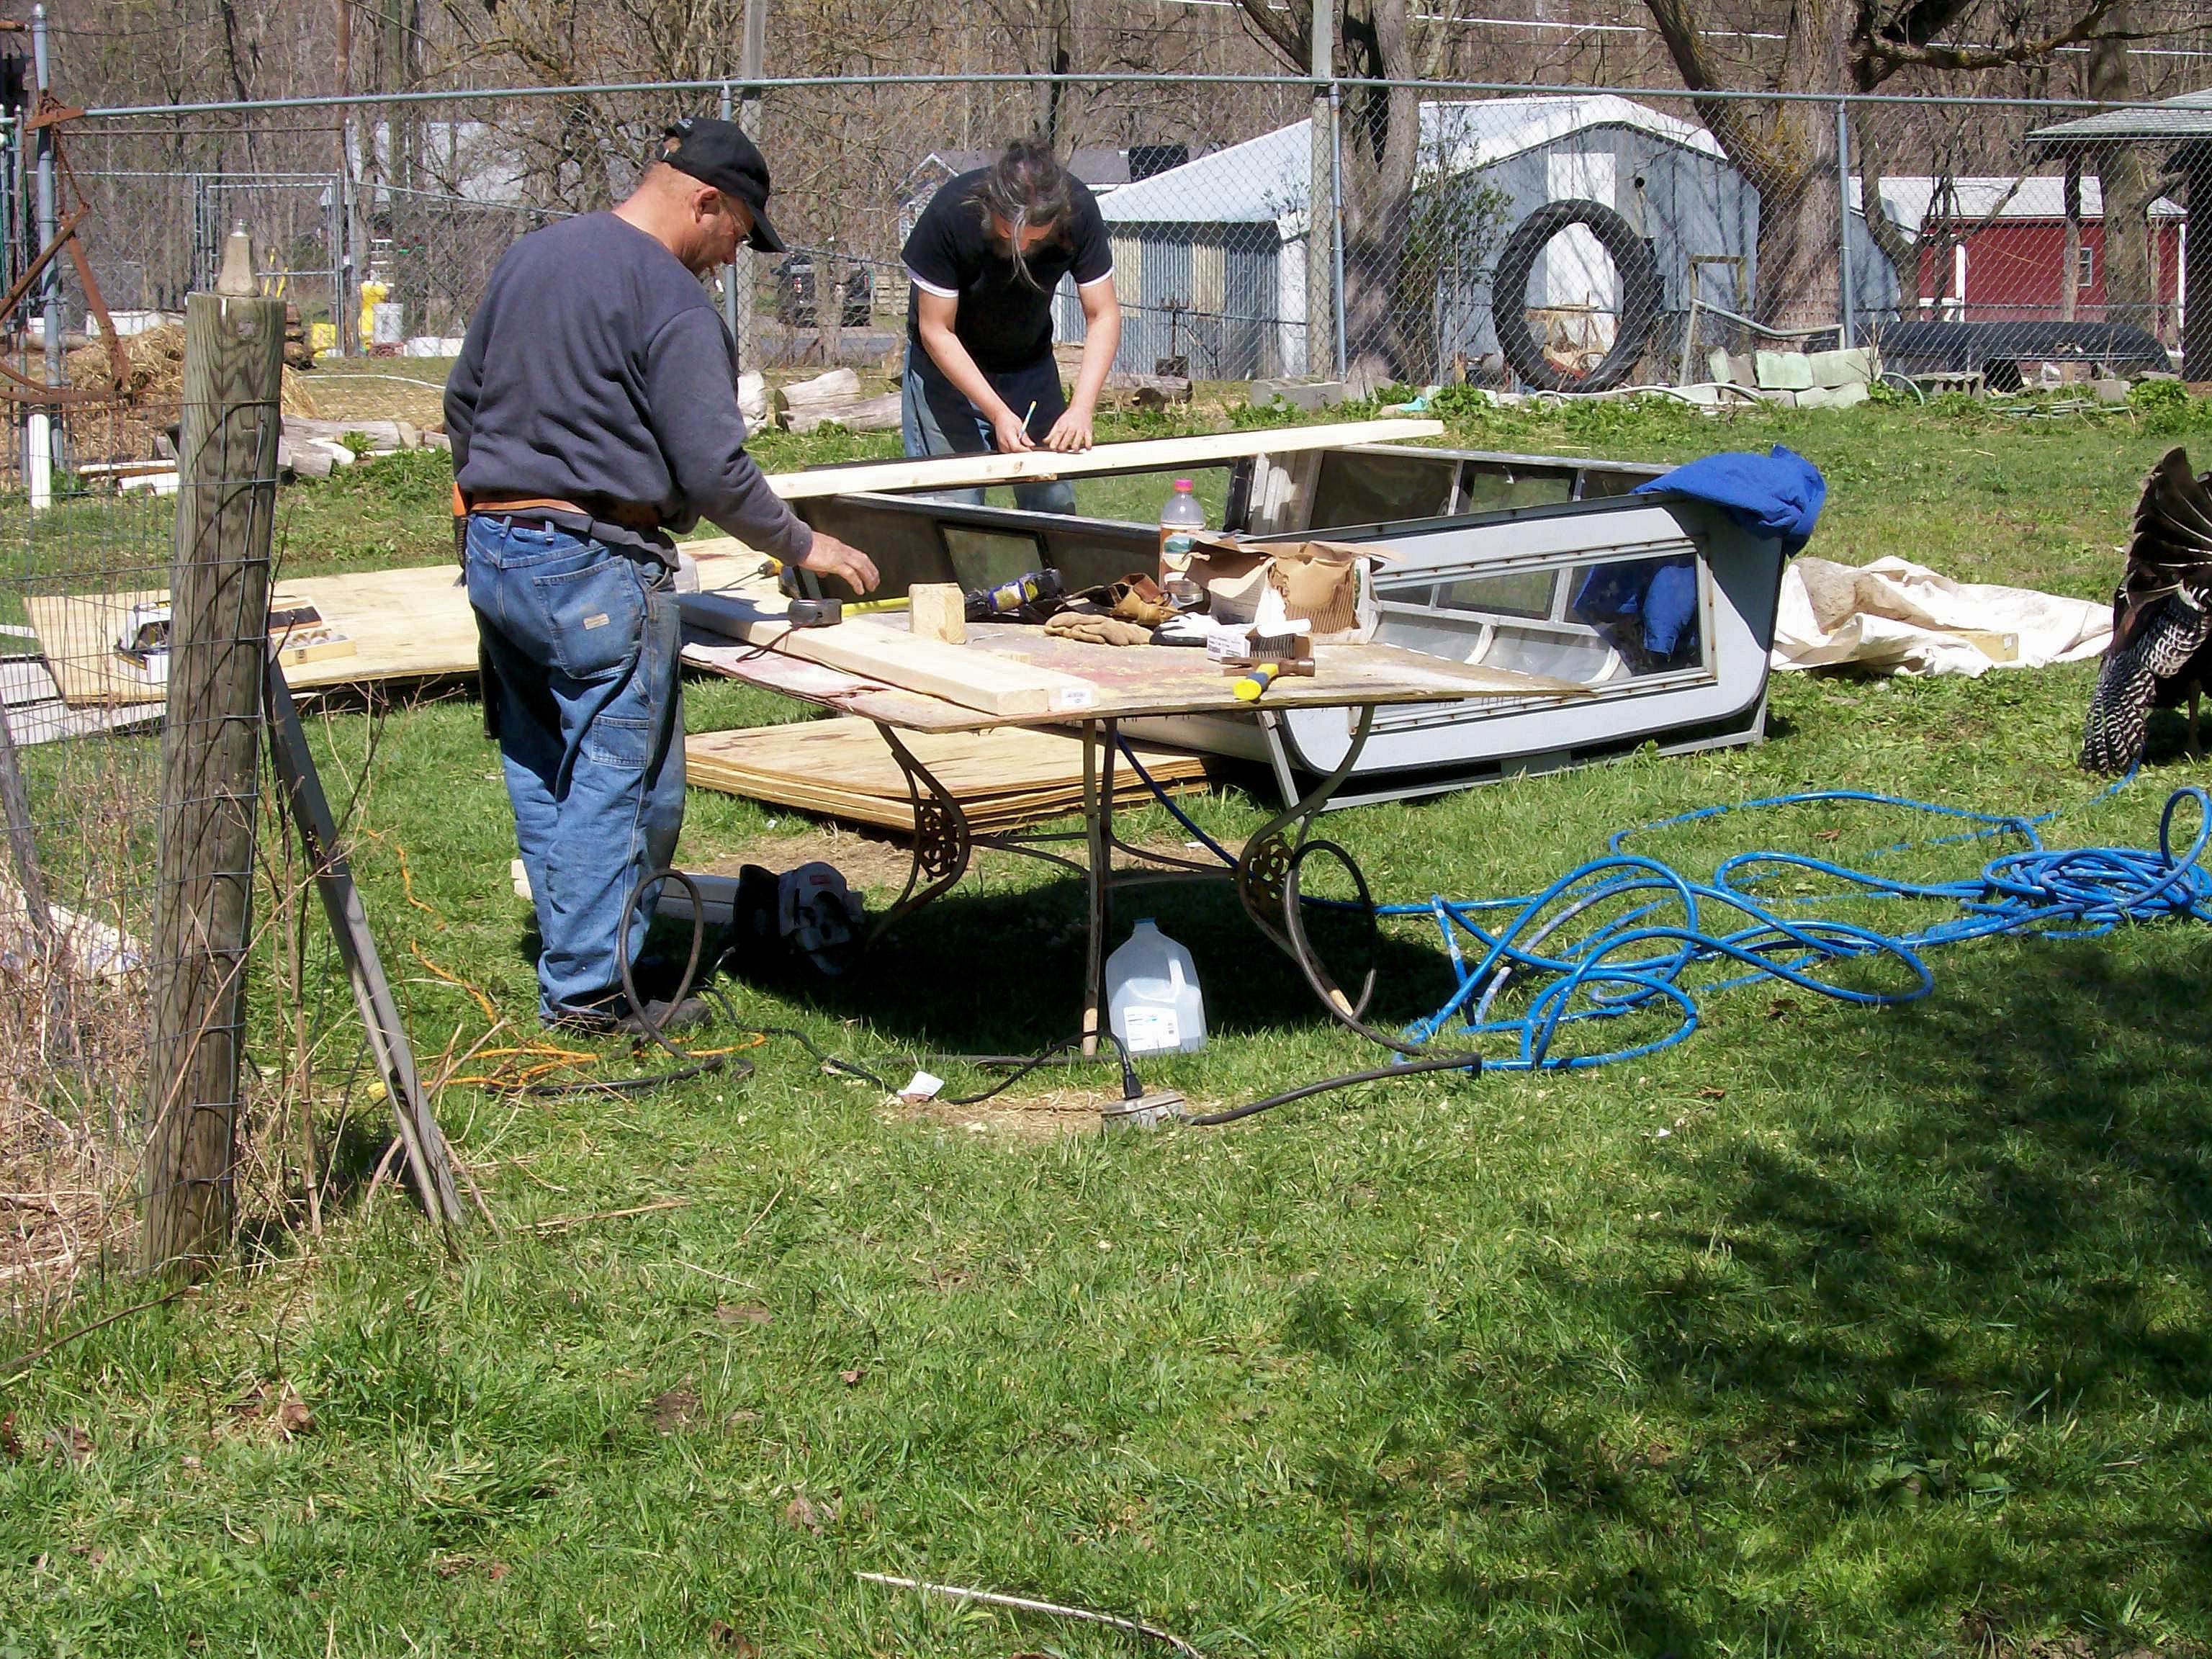
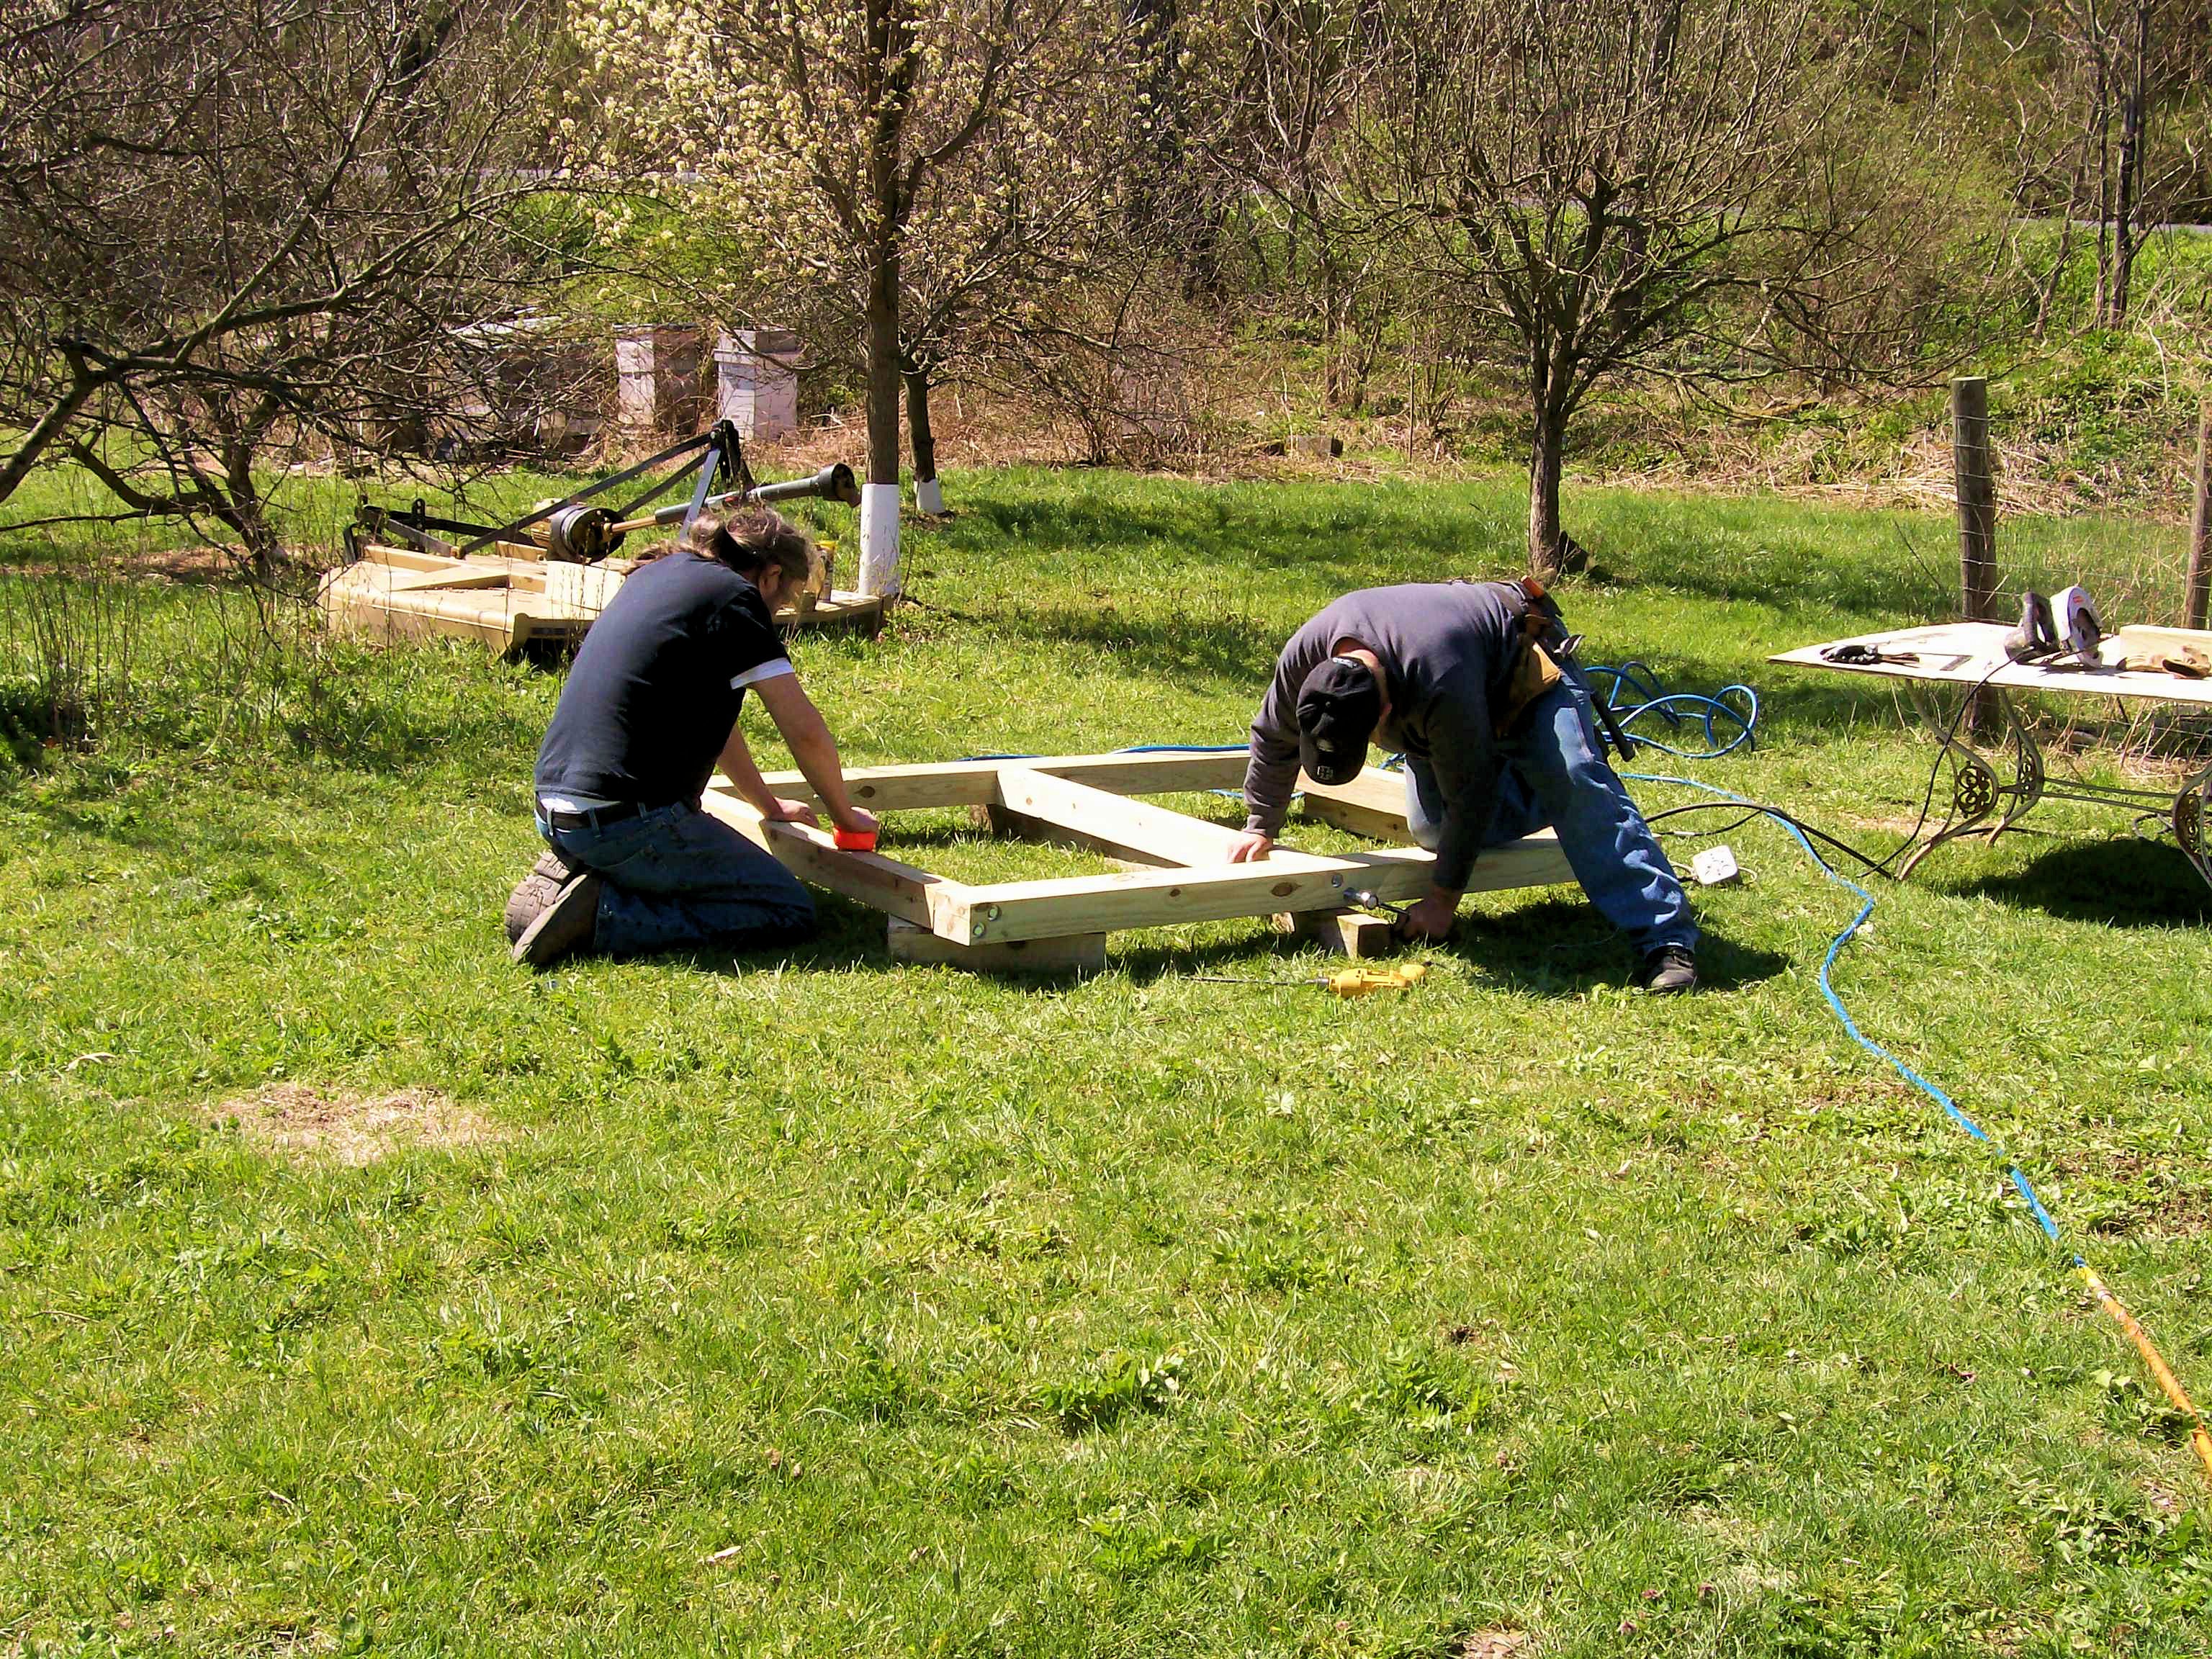
Now, with our shop together, and power and air, we can build the base.. Start from the bottom and work up. It is really hard to start from the top!
Here my friend Tim and I are putting the base together.
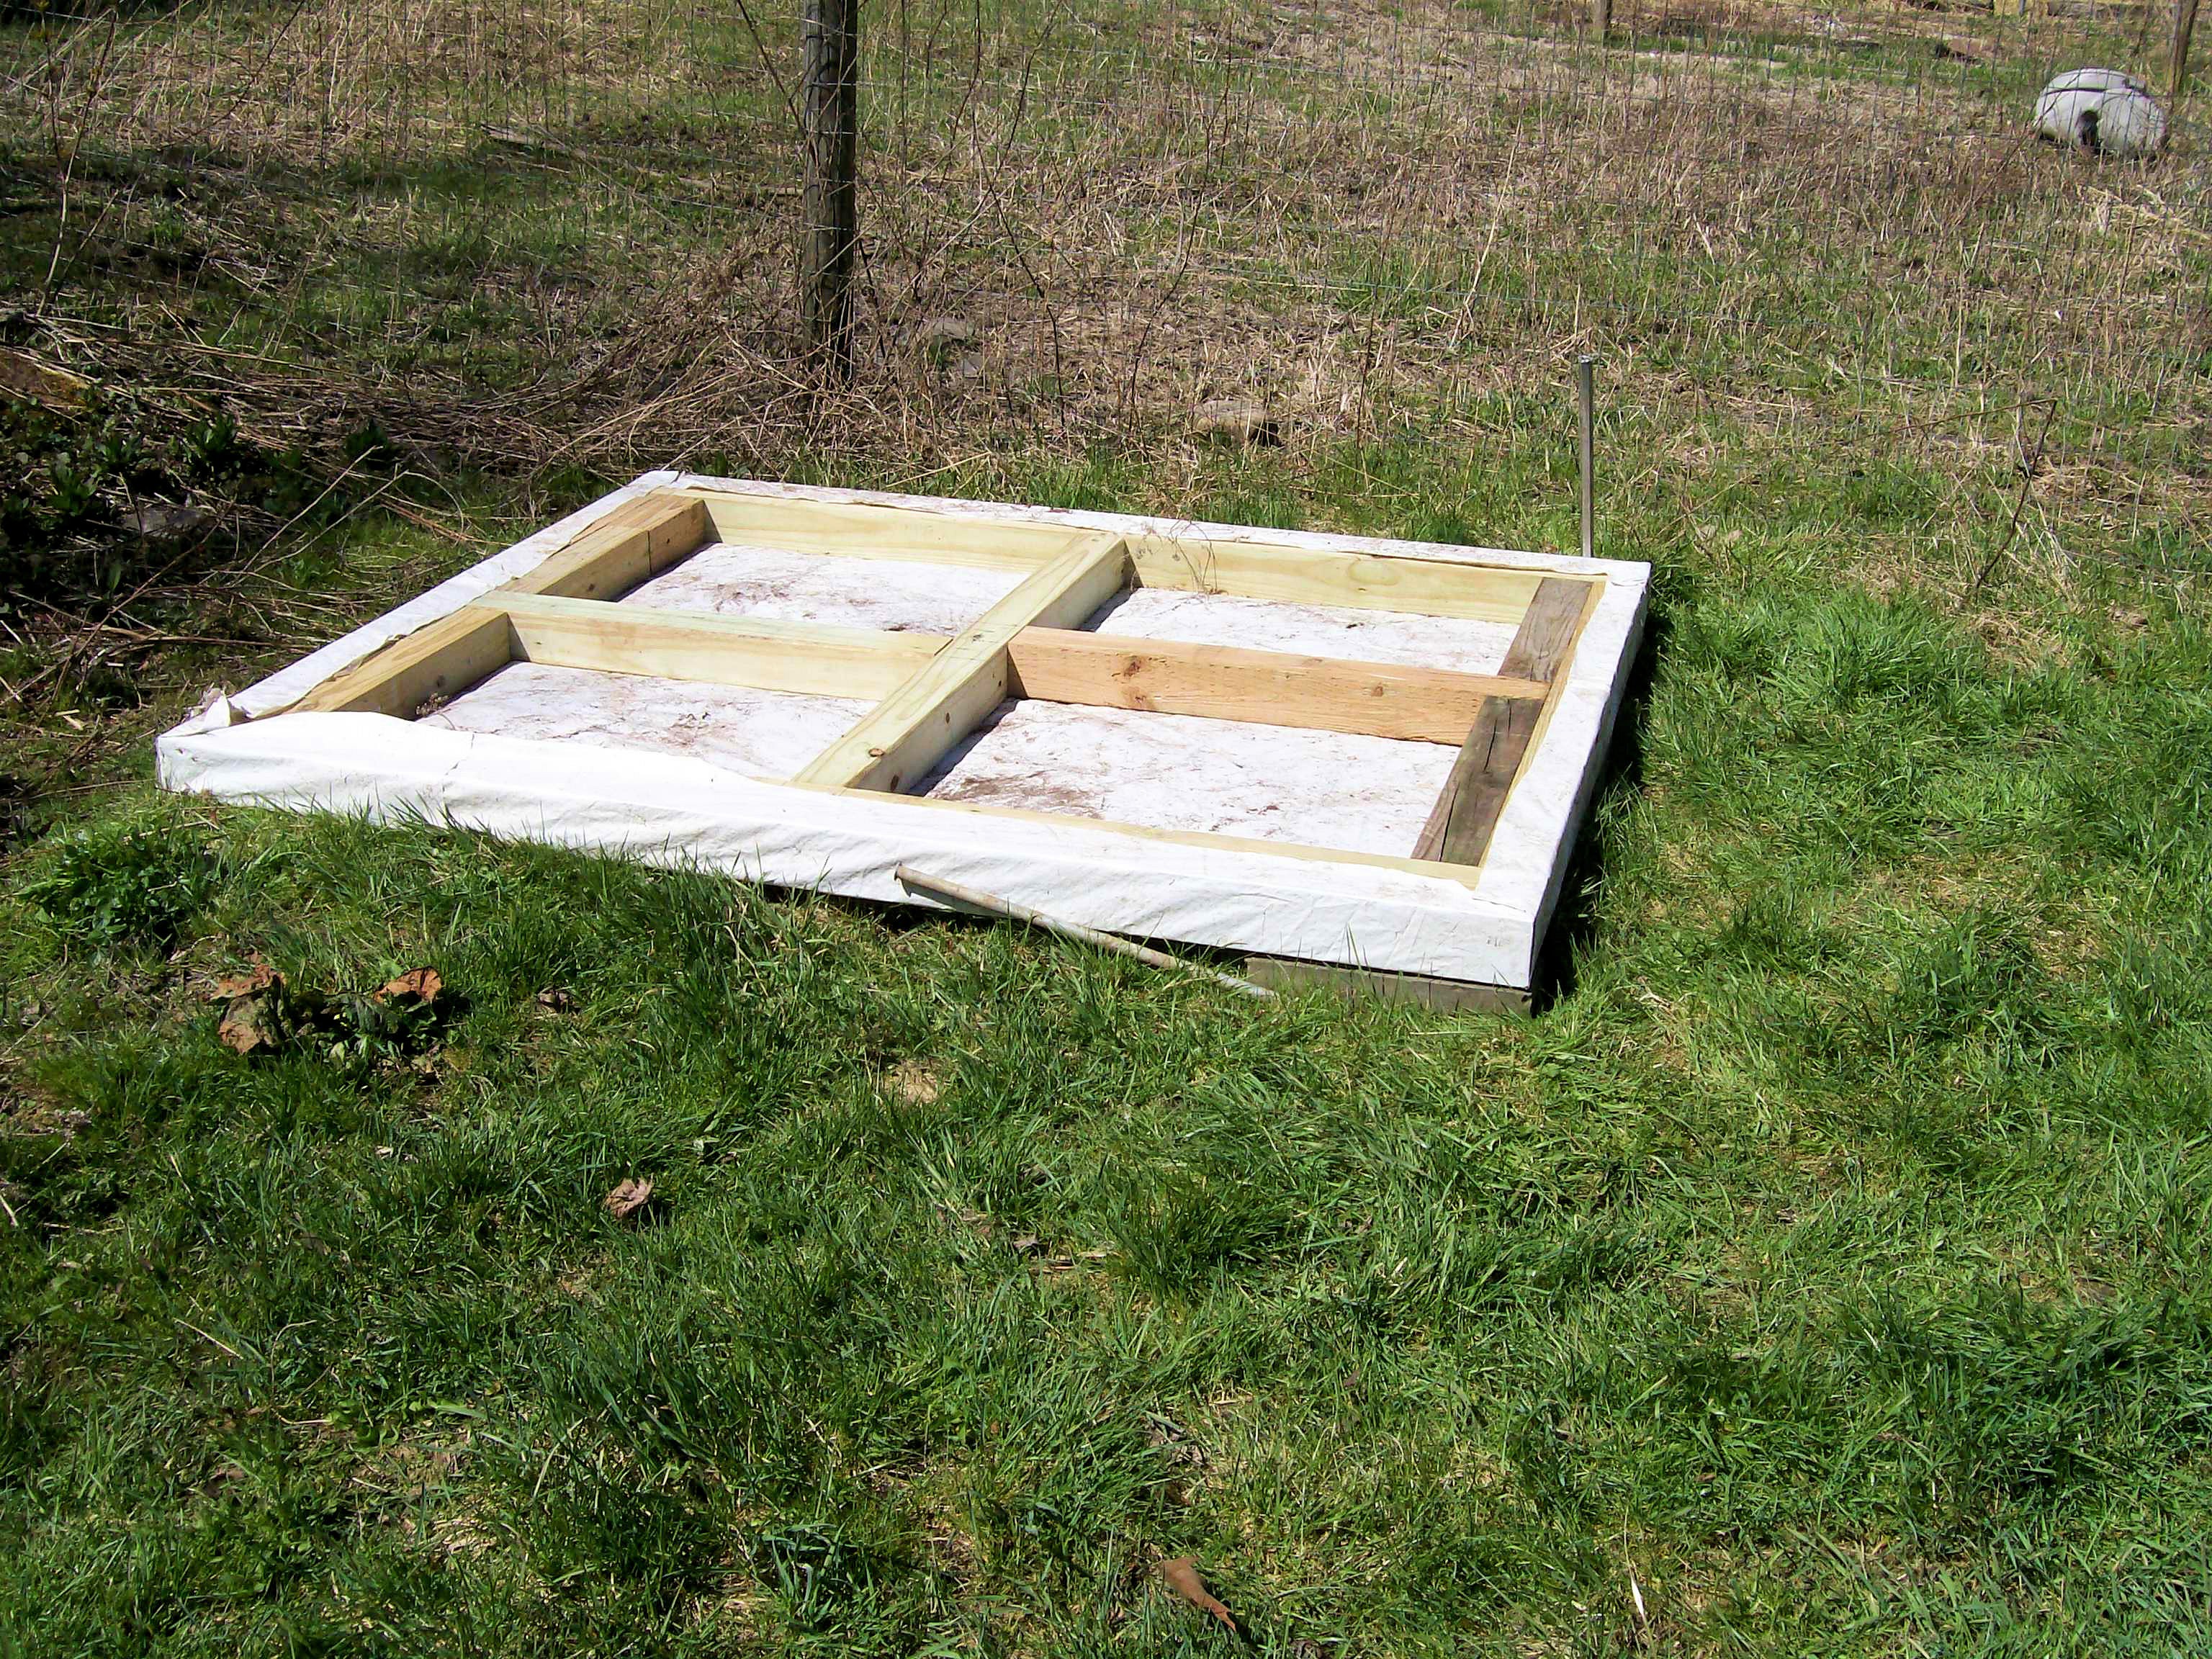
The base is pressure treated, but still we wrap in in a tarp to keep it out of direct ground contact. One of the farmers up the hill got a big piece of equipment and tossed out a couple big pieces of this tarp material that it was covered with.
With the base in place and wrapped, we can start with the walls. We went with regular framing on 16" centers.
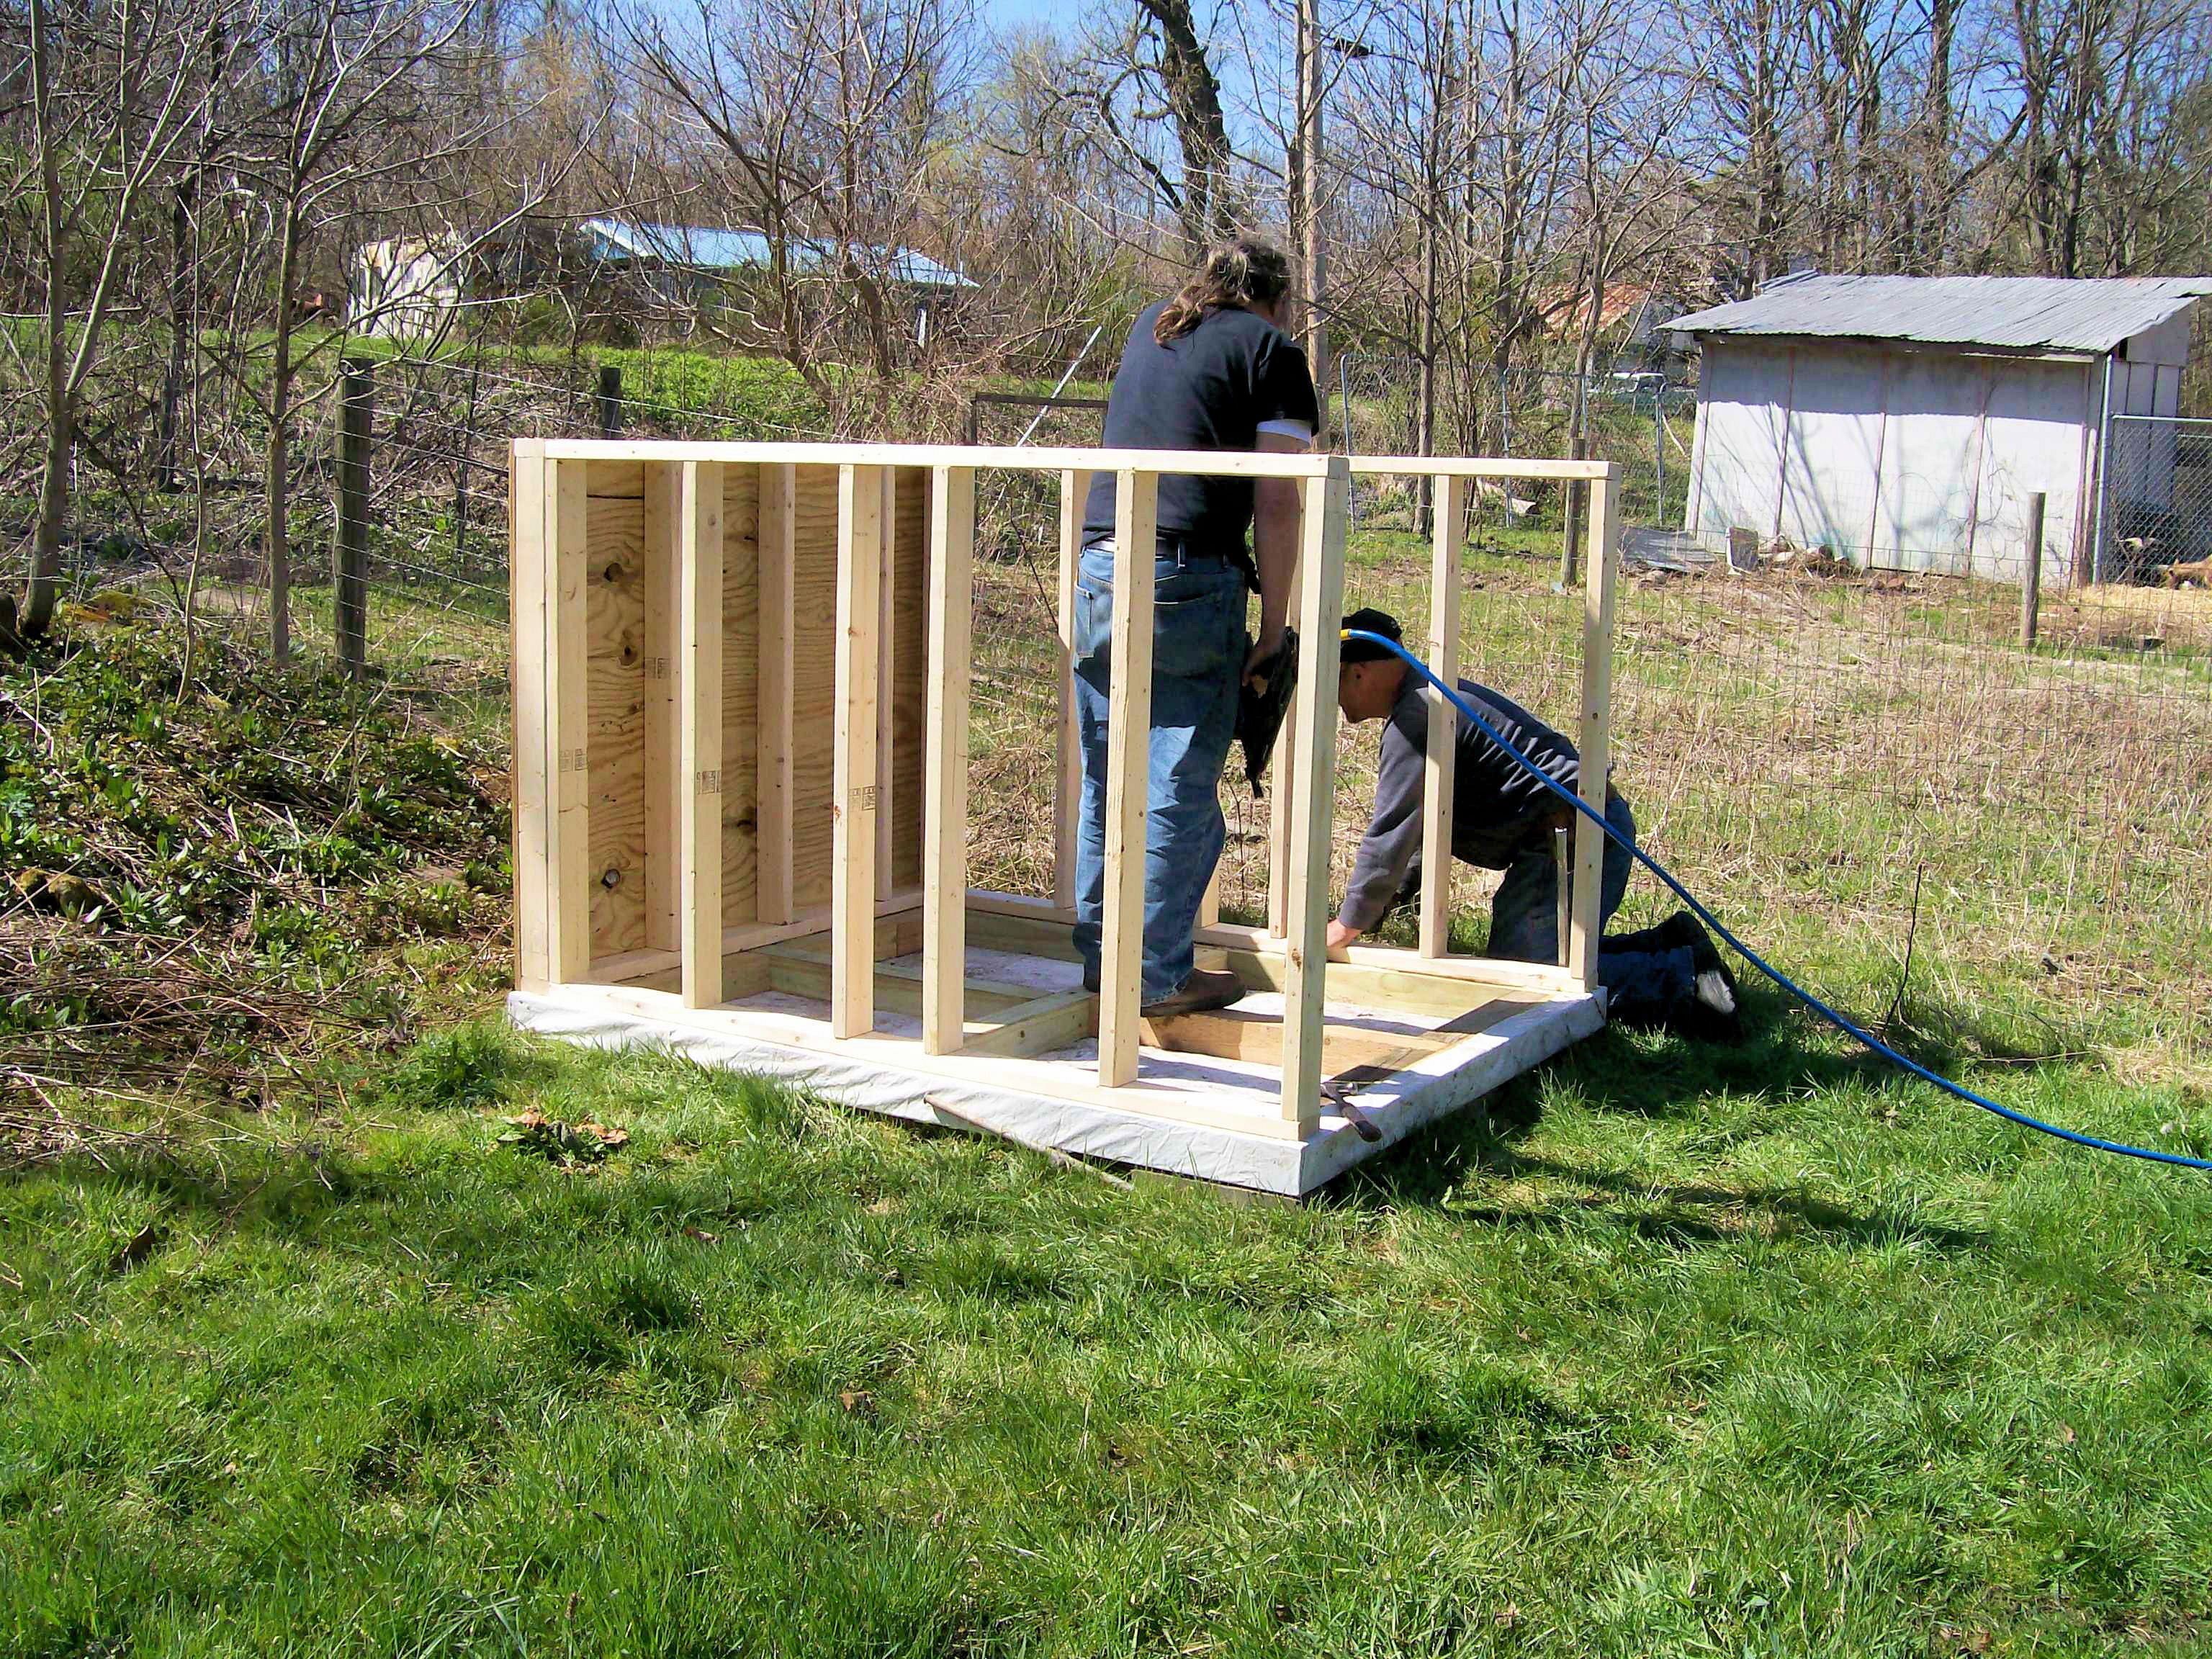
The walls go up fast! Pro tip: Build all the walls on the base before you put the first one up. The base is flat and level and assembling the walls on a flat surface will make getting perfectly square walls much easier.
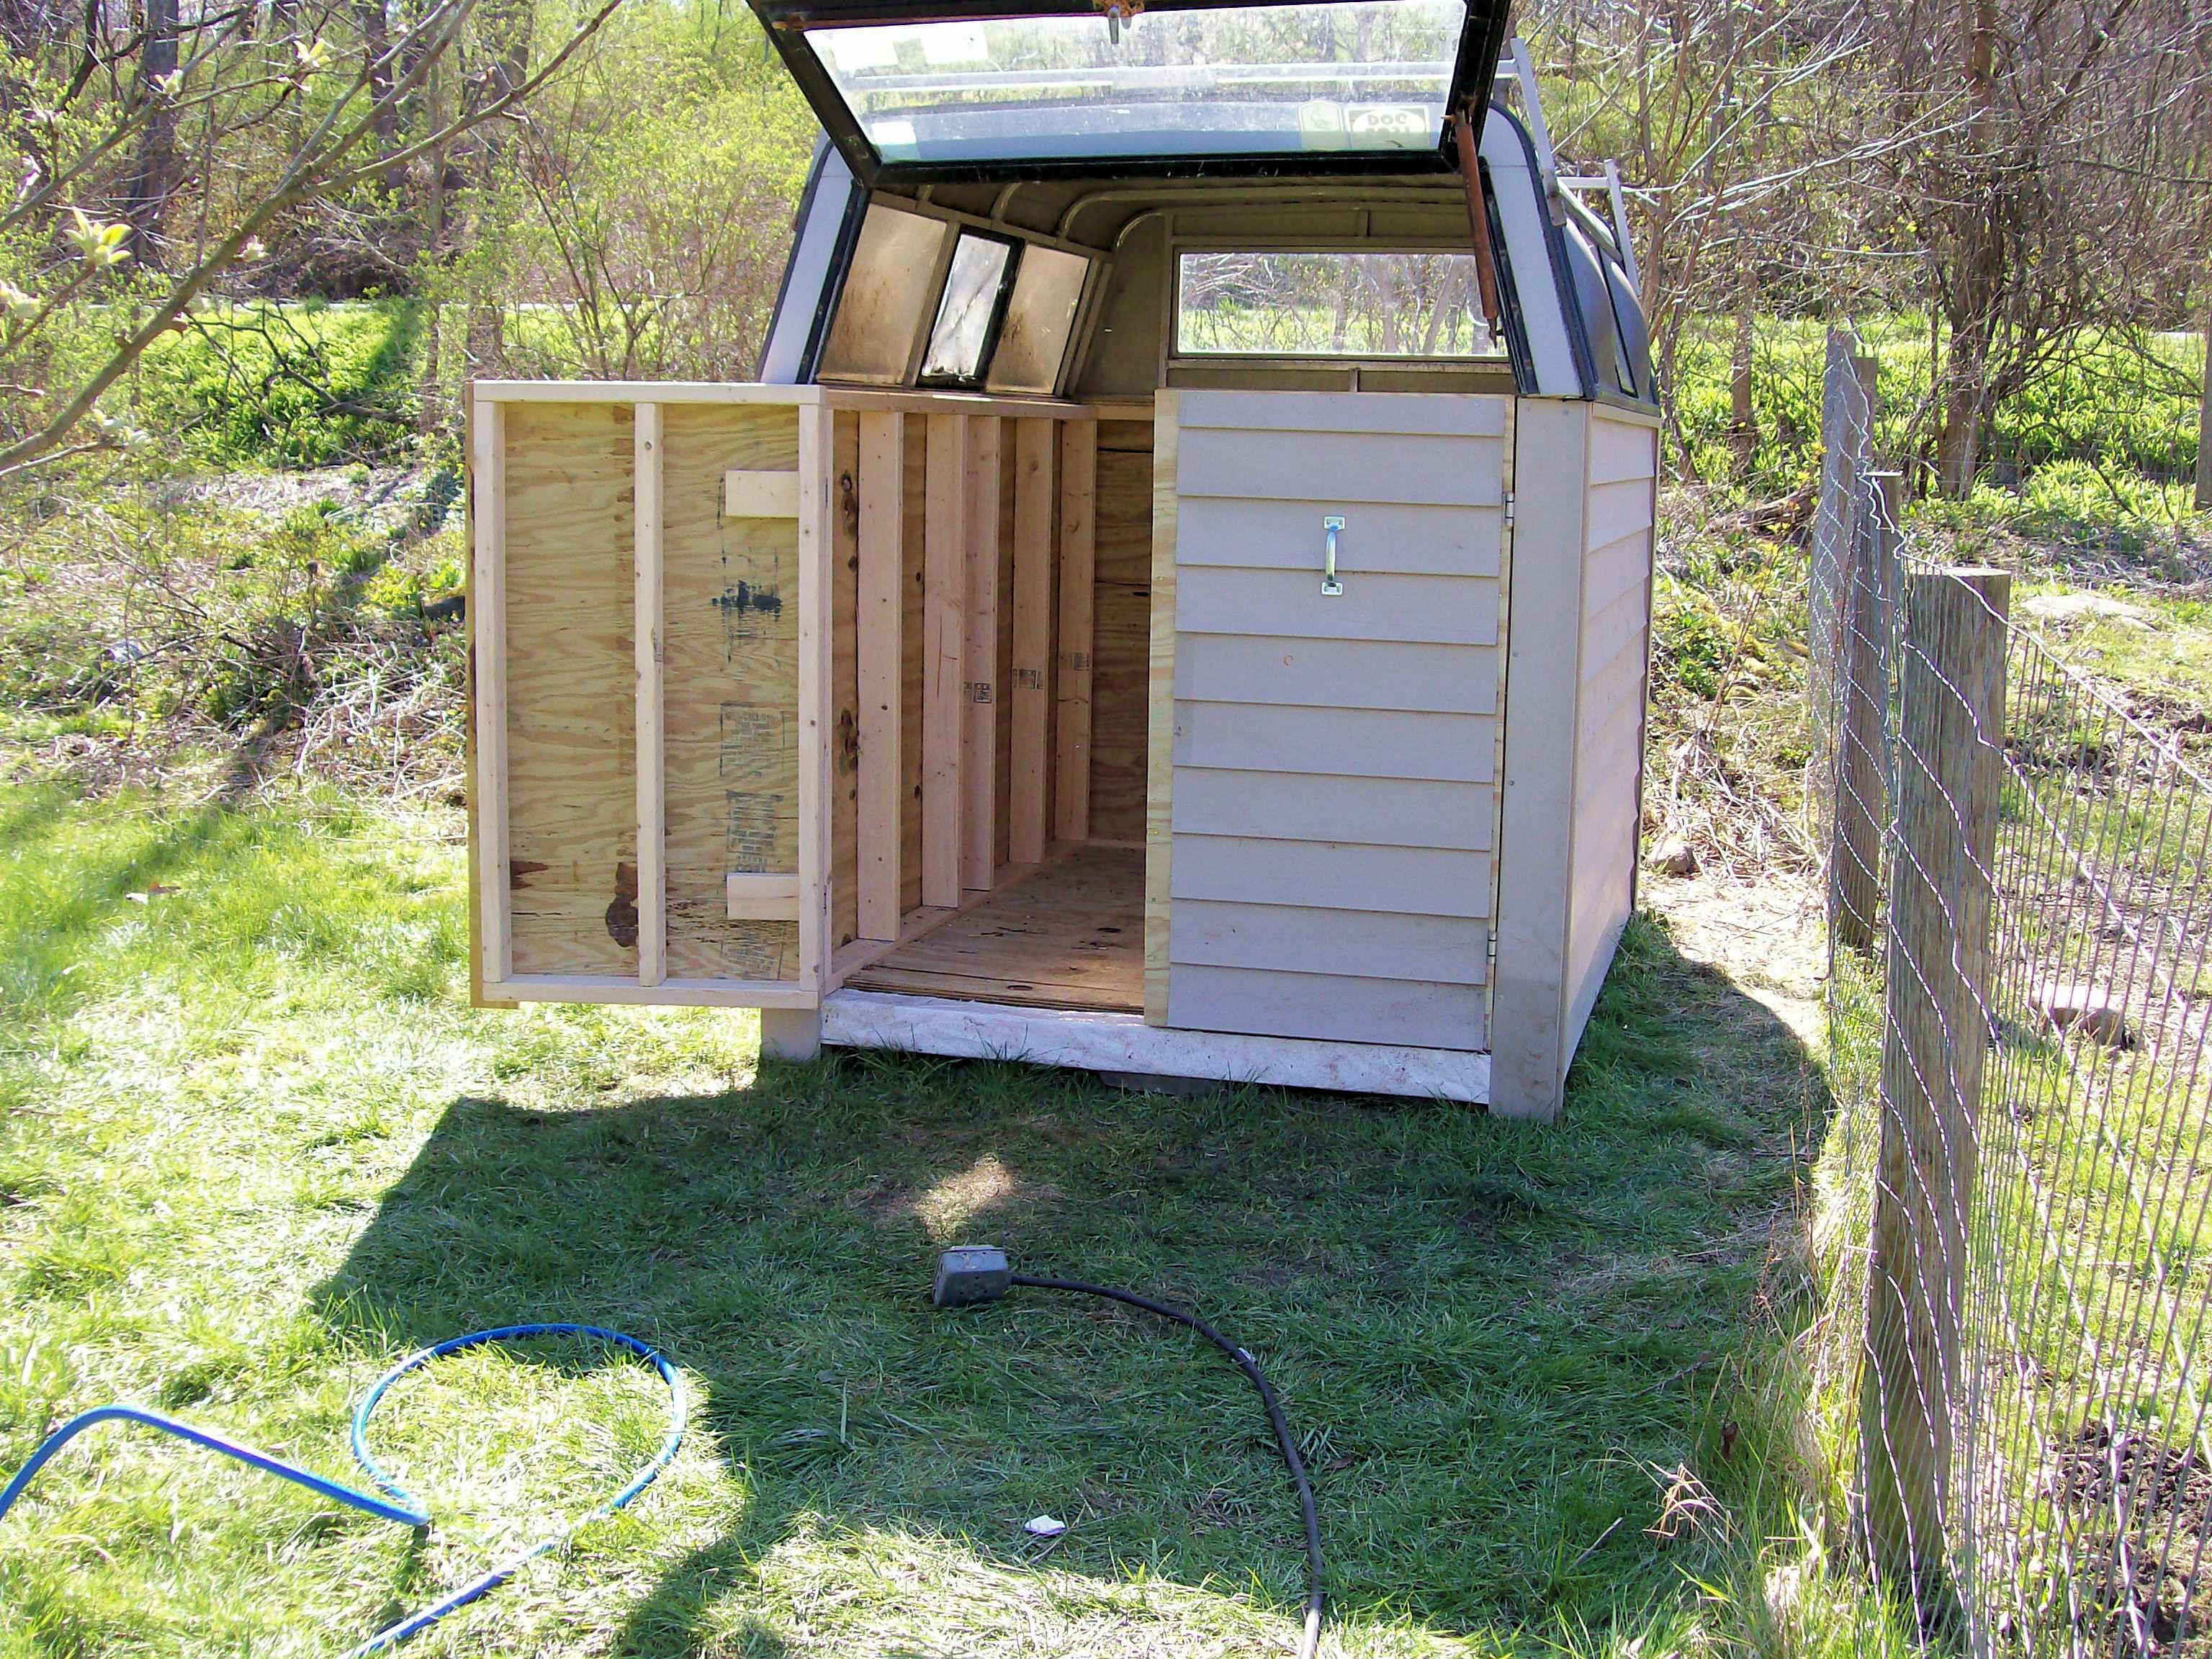
Next, skin with walls with plywood...
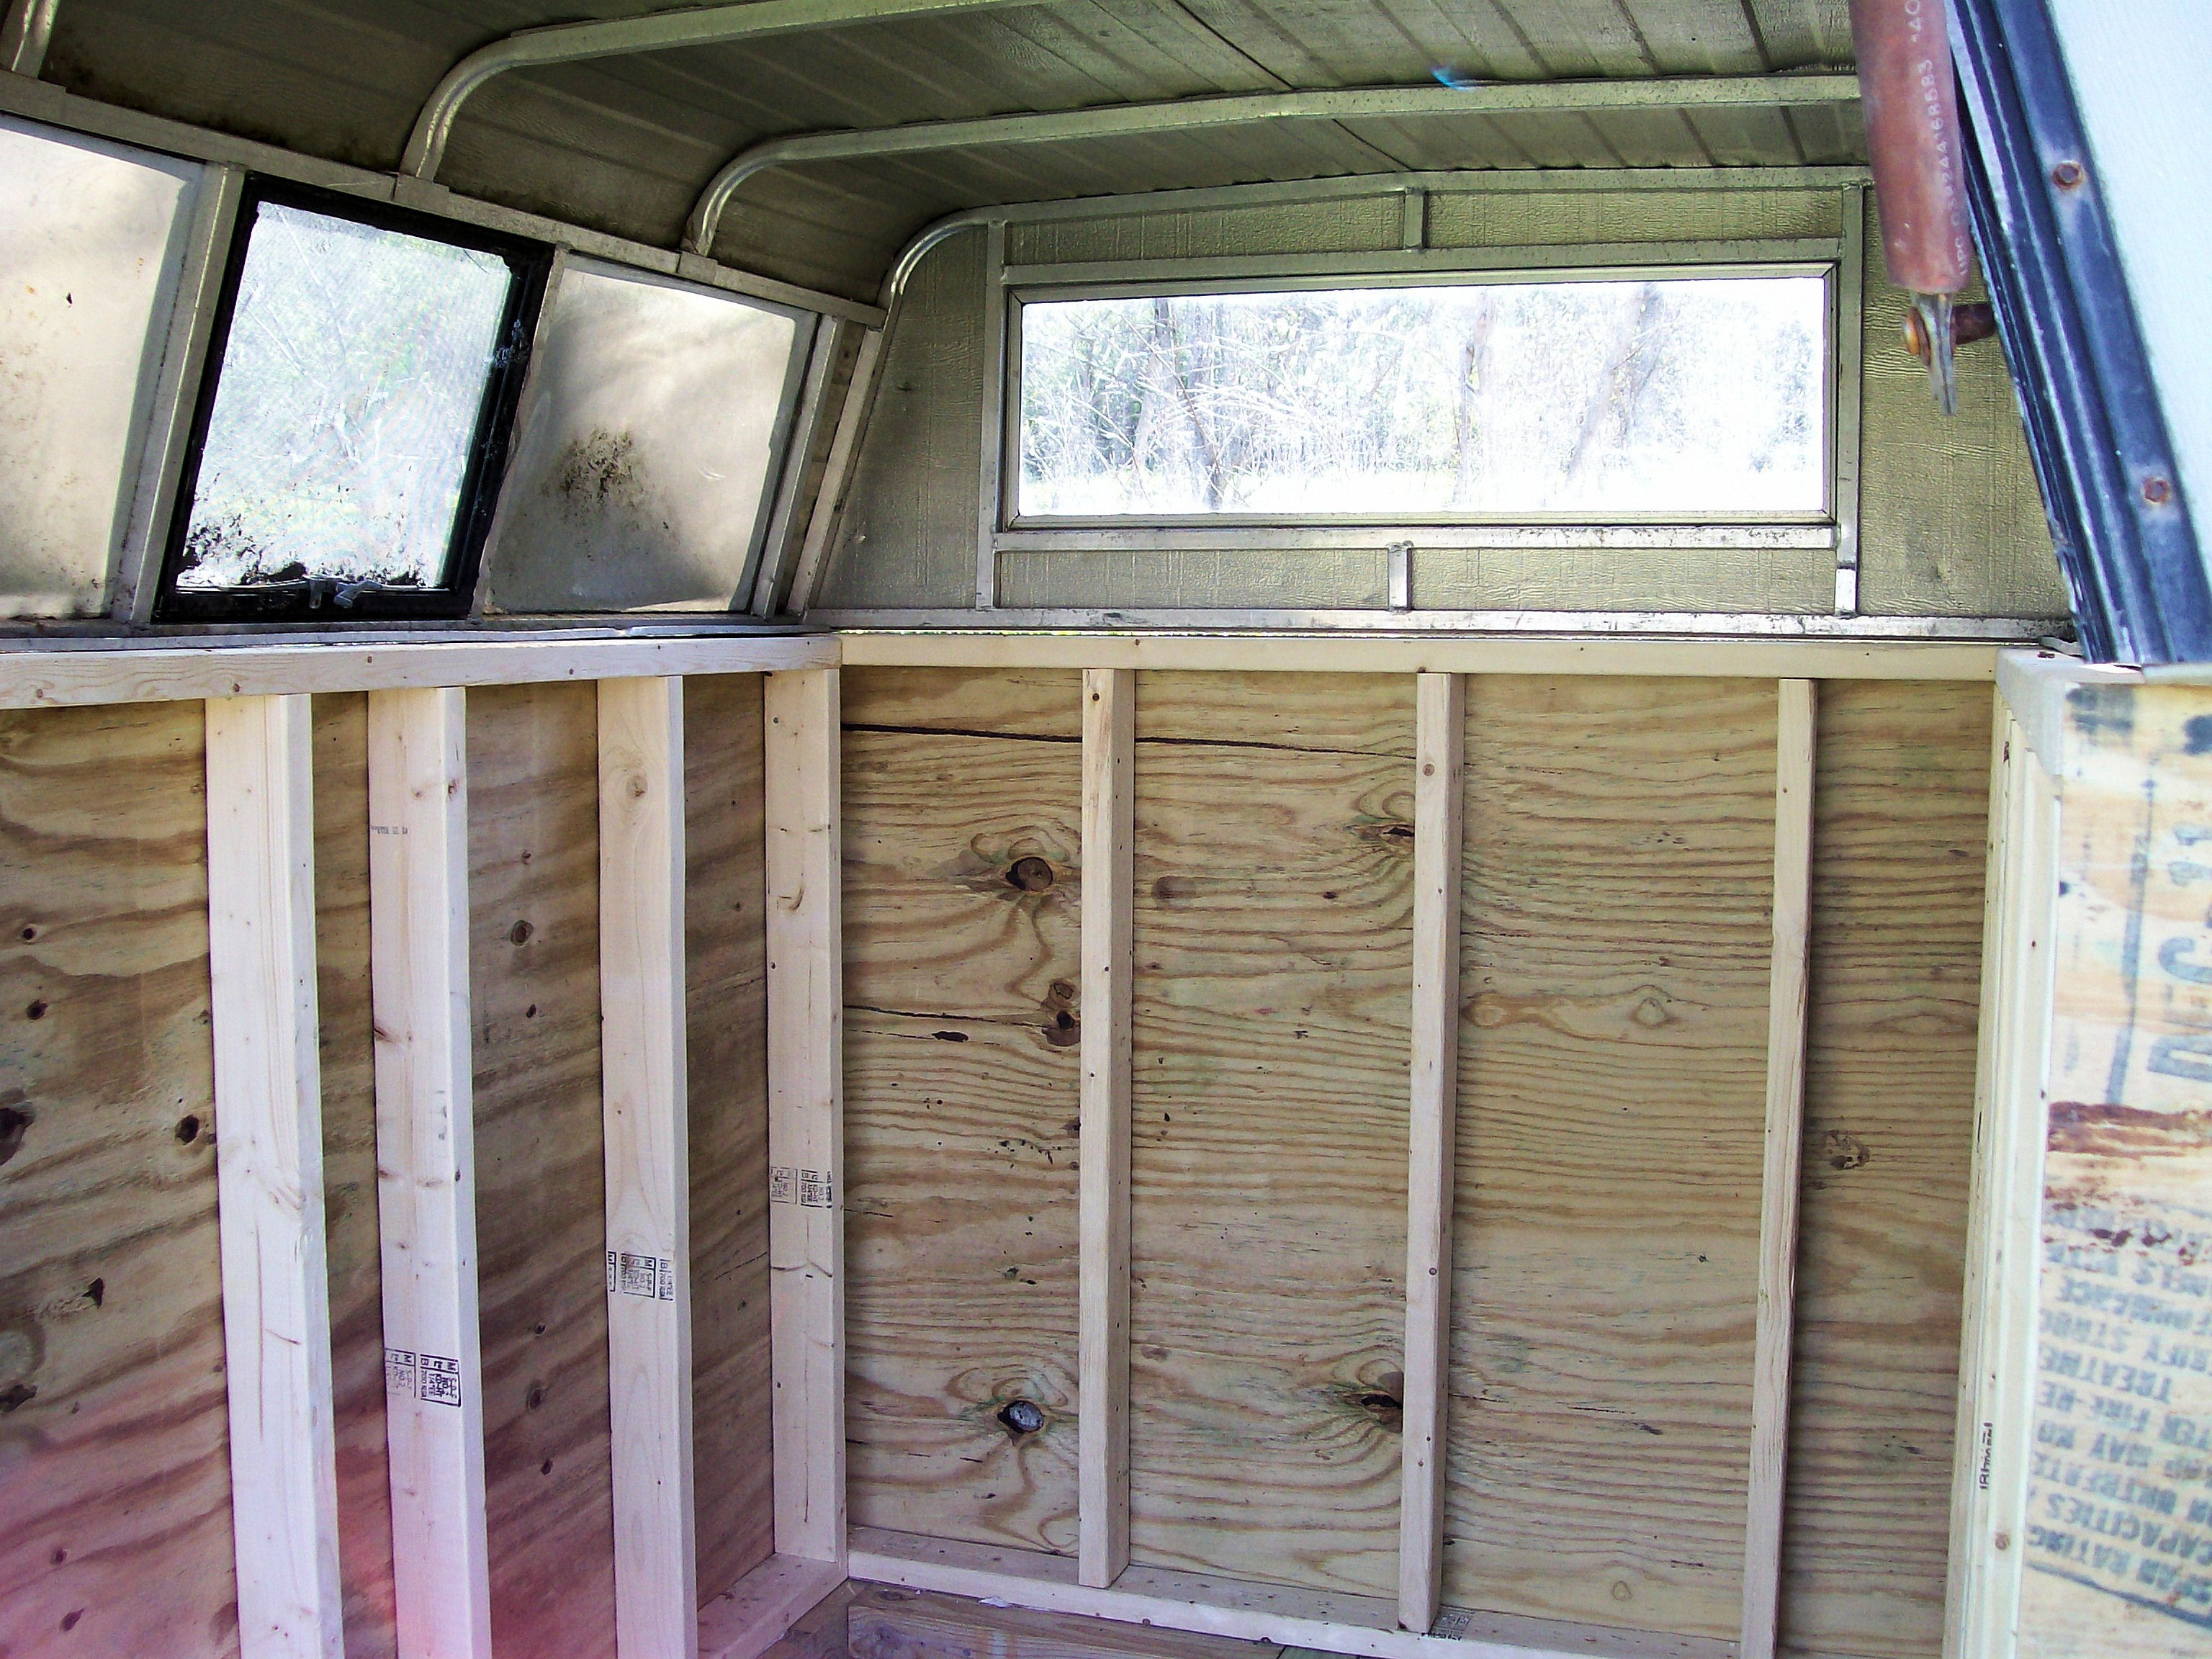
And put the truck cap on. I used lag bolts to hold the truck cap on this one.
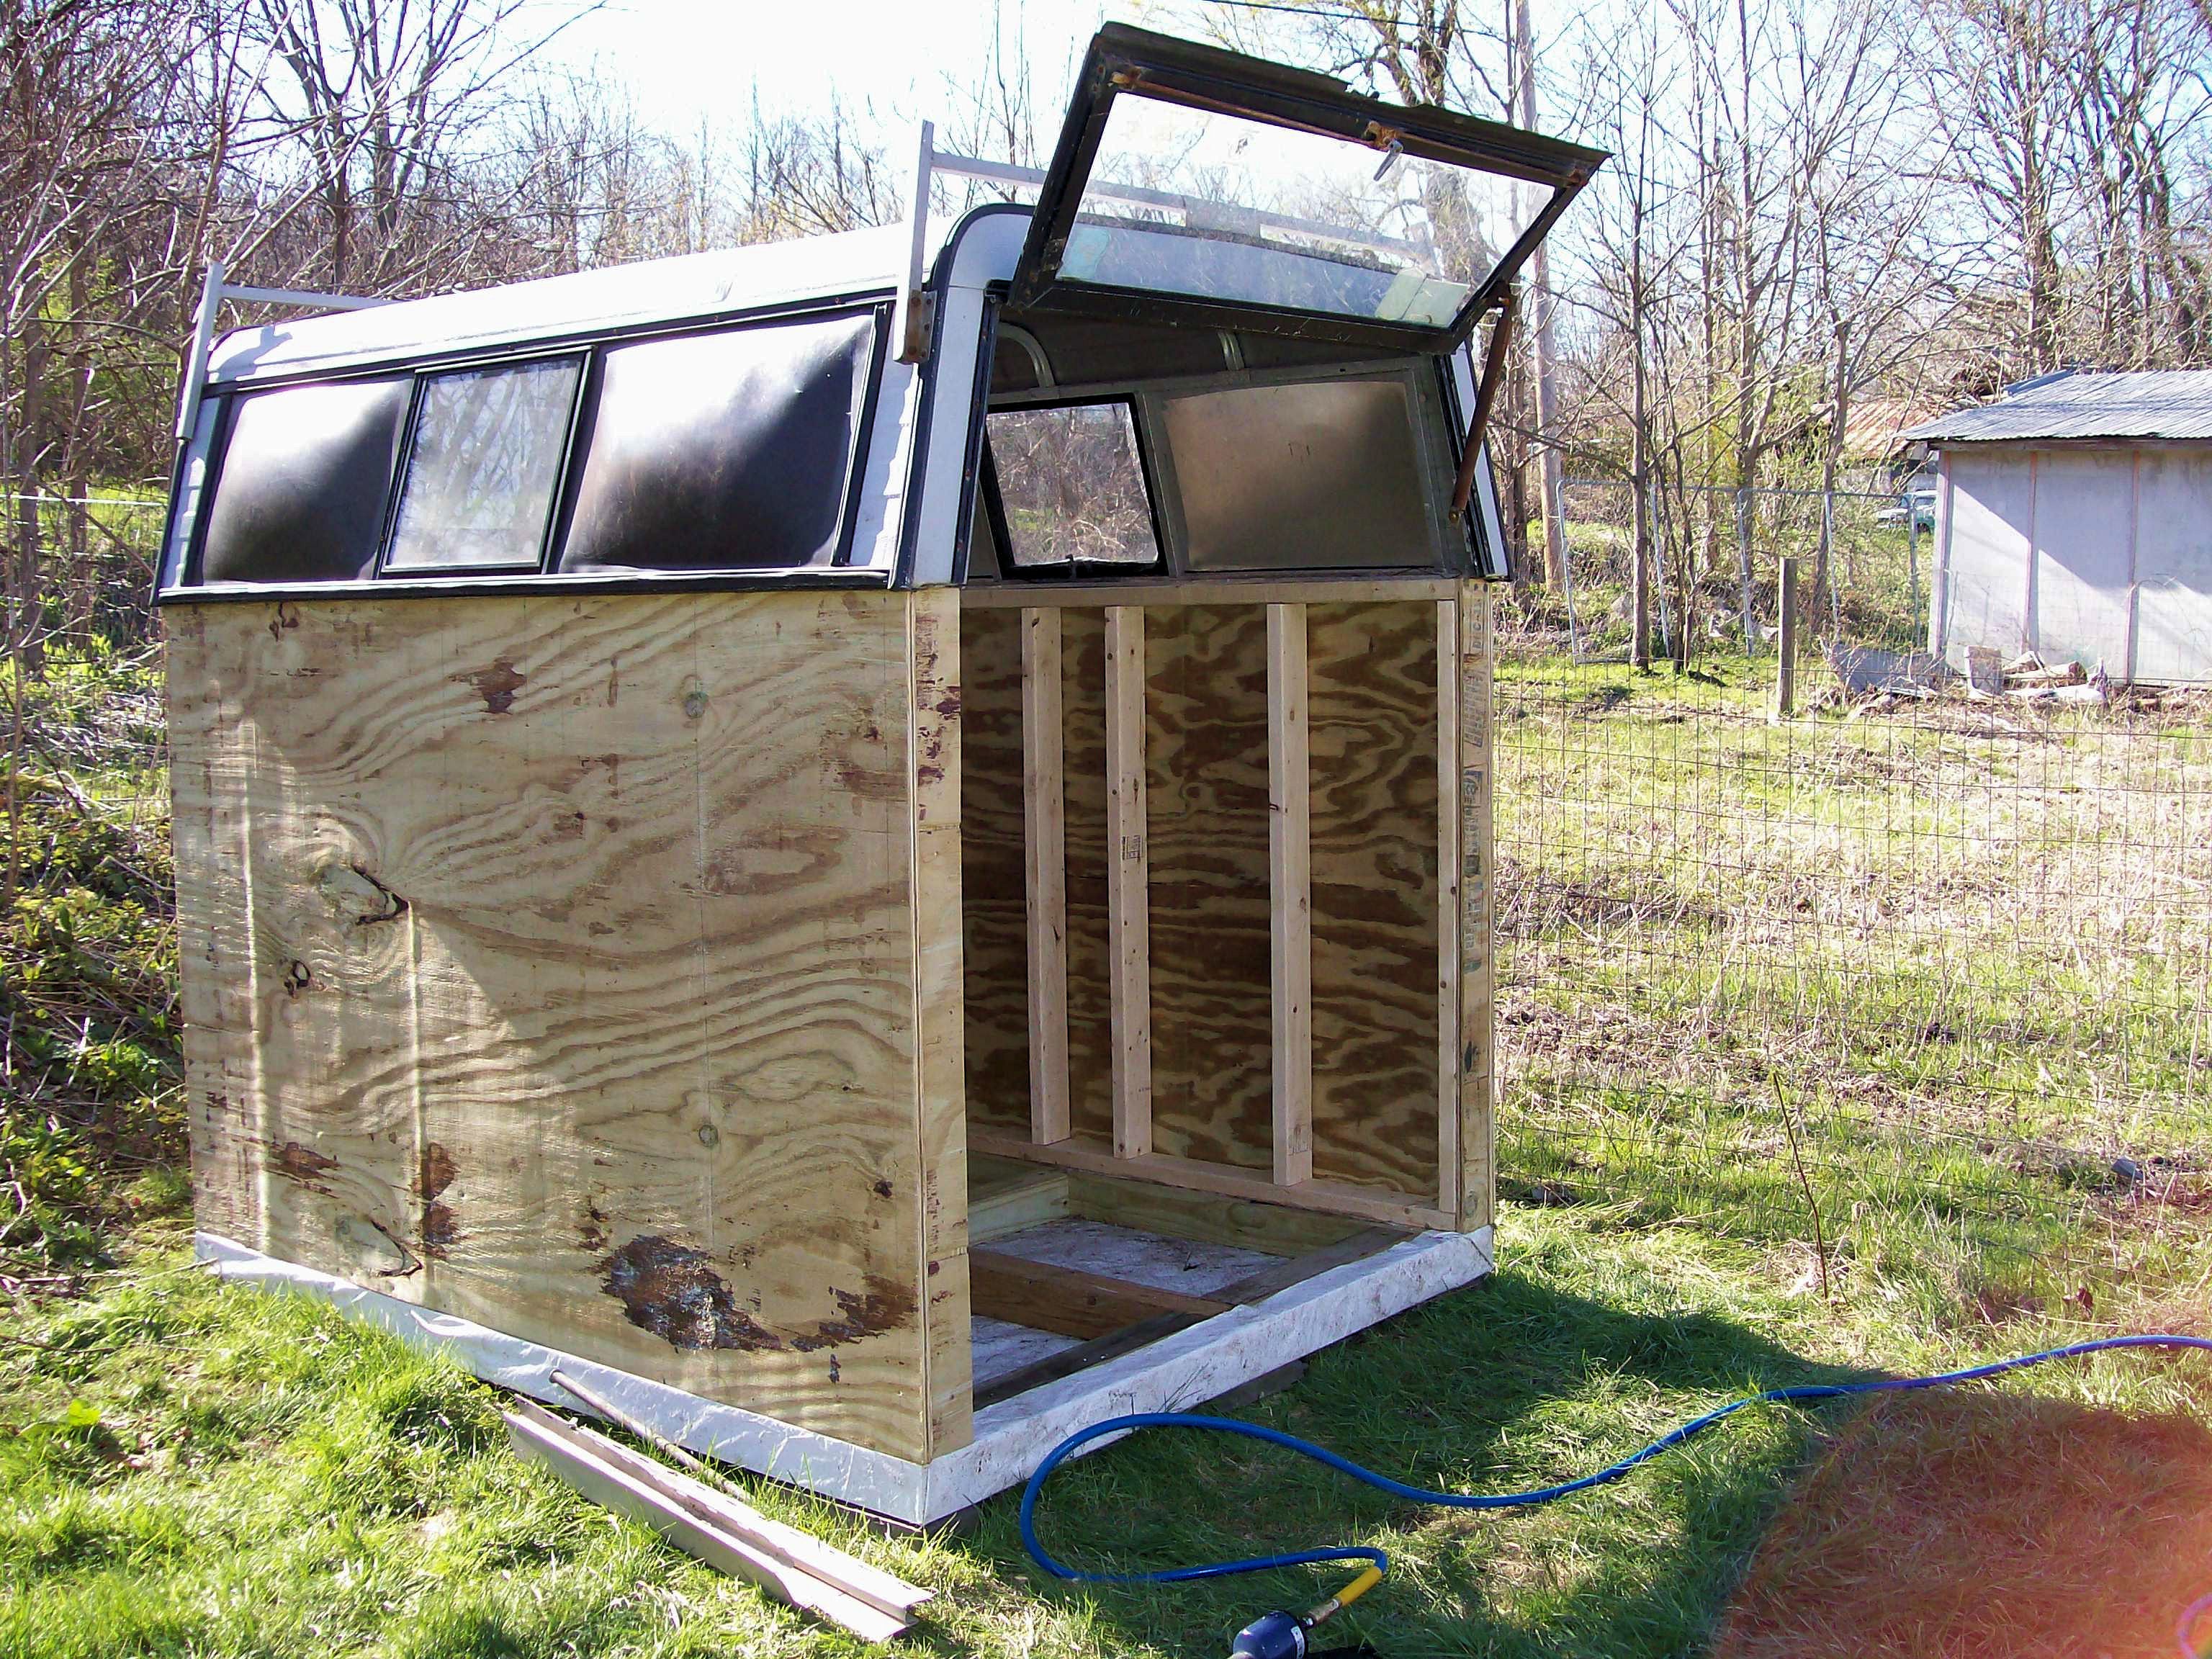
Note that the walls are in a bit over an inch from the truck cap. I got some salvage vinyl siding and we are going to side this instead of painting it. The siding sticks out roughly 3/4 of a inch and that still gives us 1/4 of an inch of overhang for water coming off the roof. It would look ugly but you could also put flashing under the truck cap and over the siding. If I had enough flashing I would have done that.
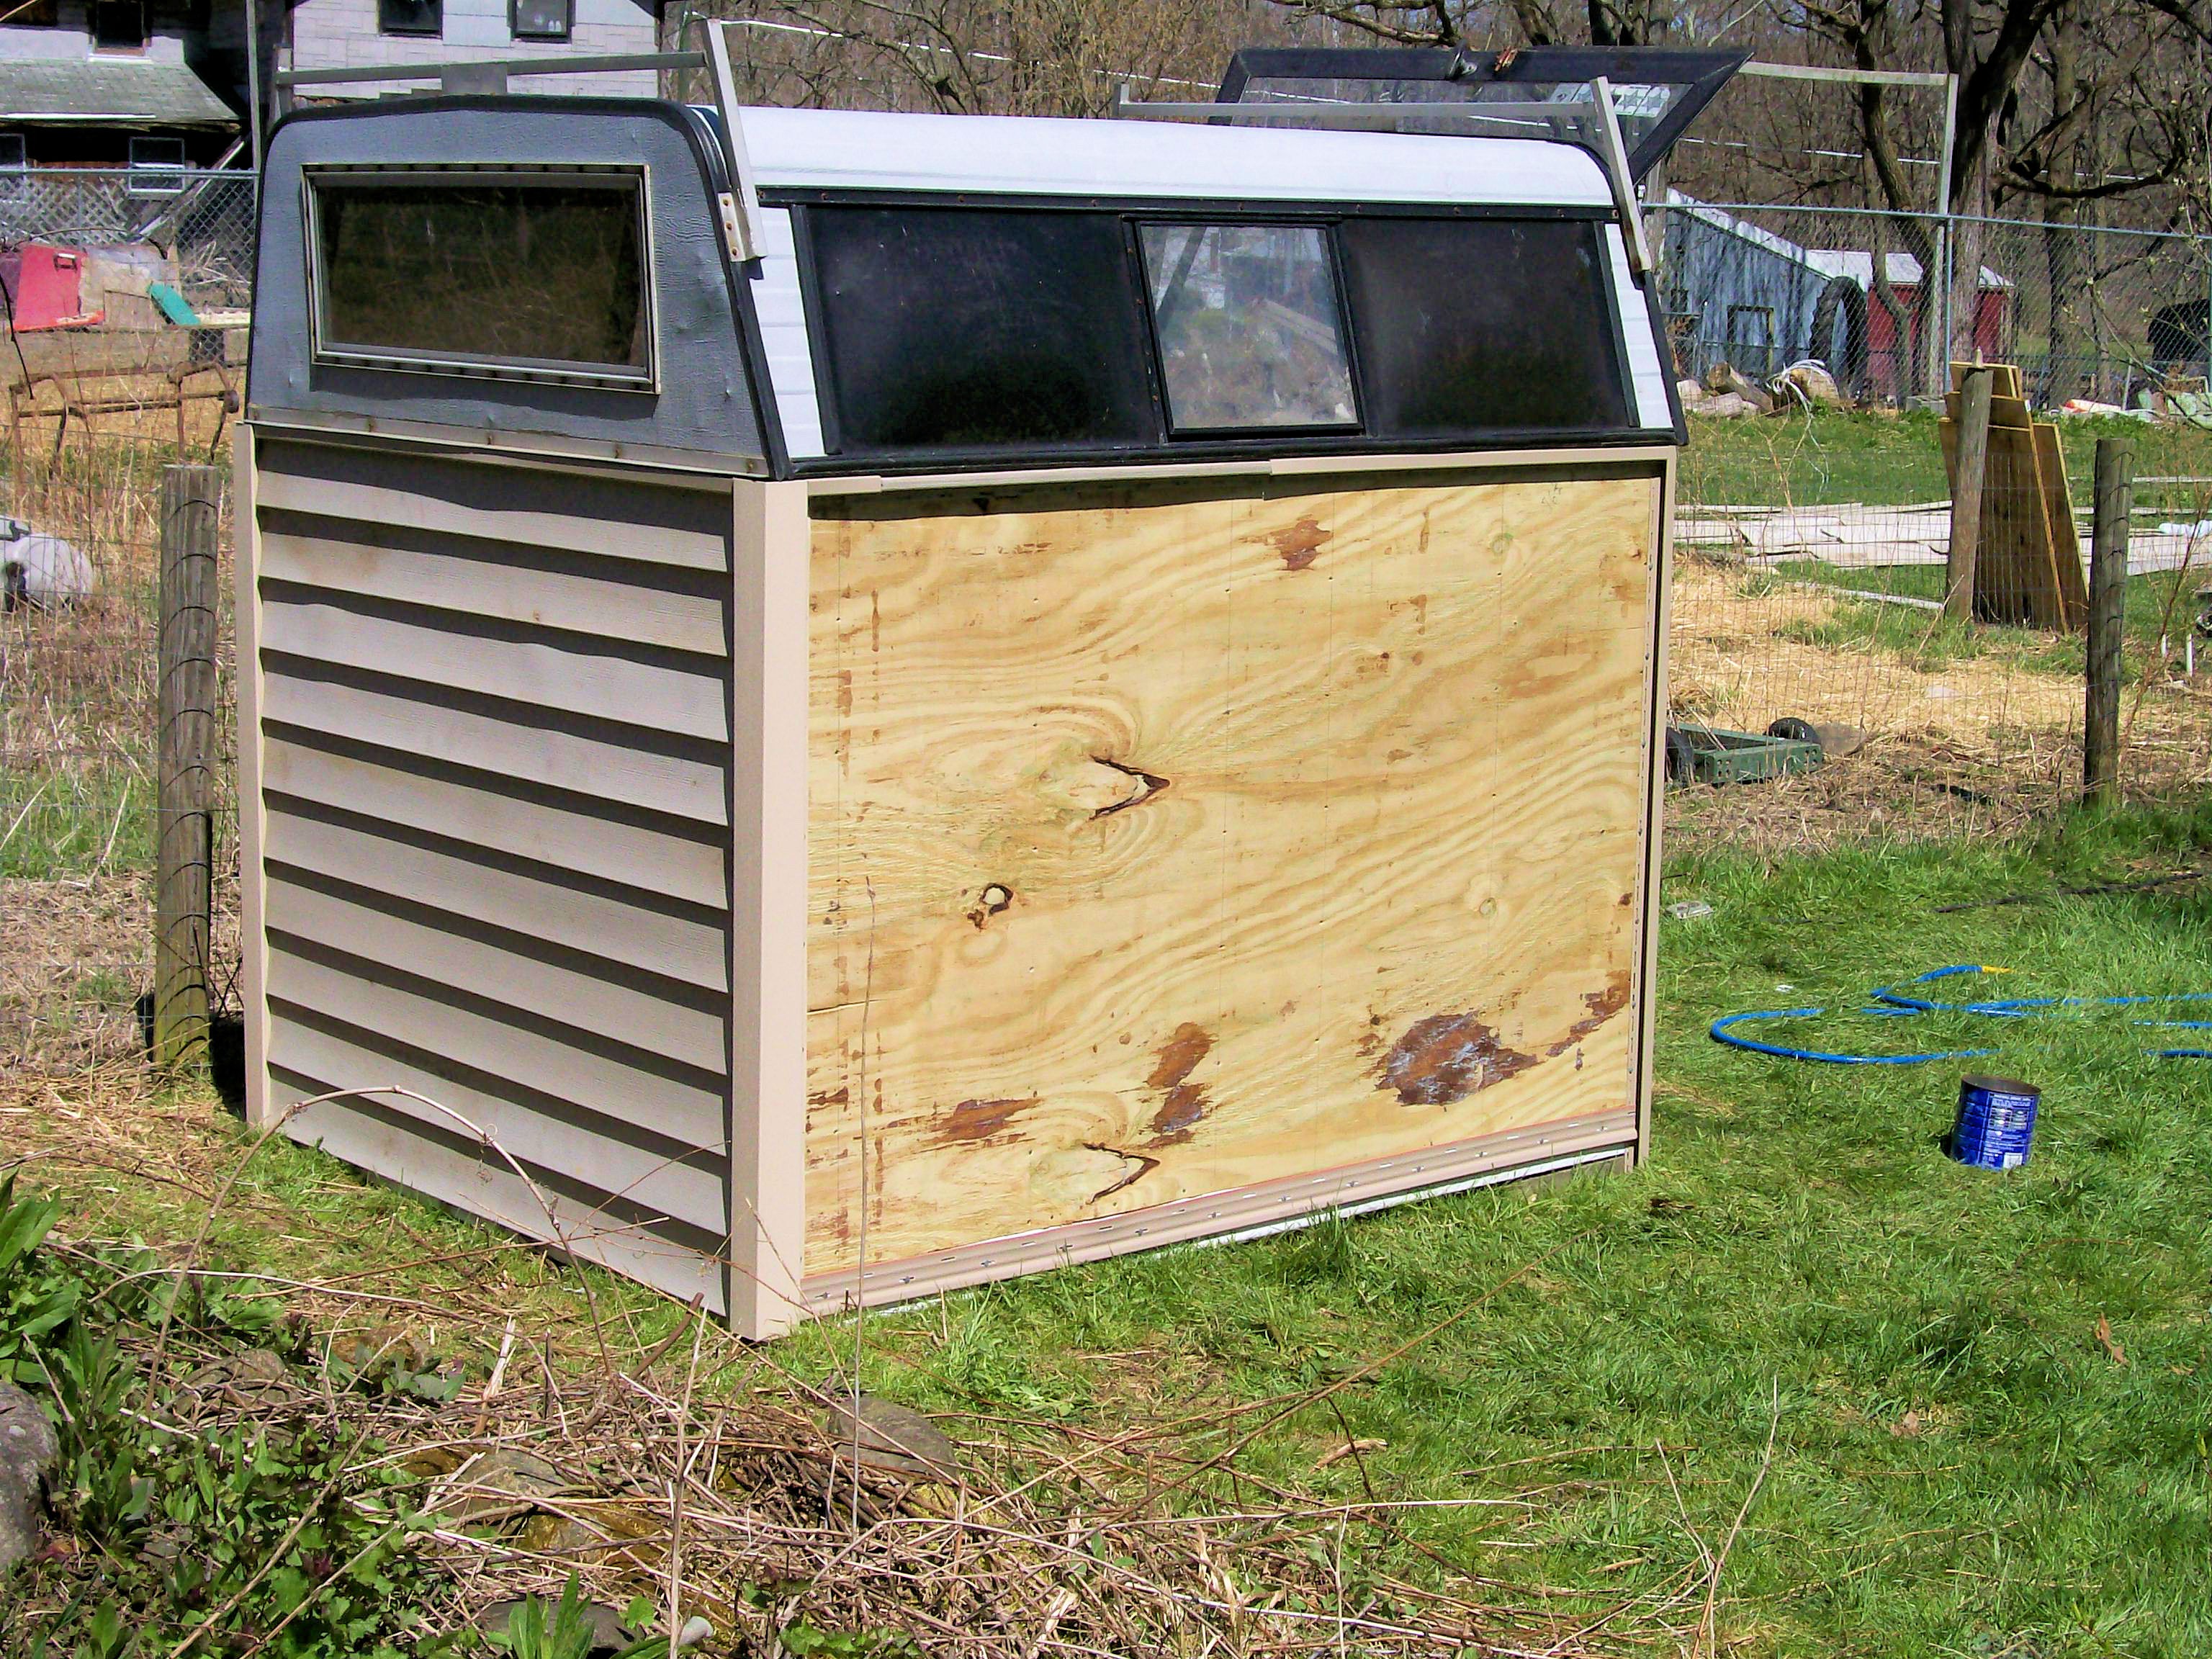
This siding had been sitting outside in the weeds for a few years. It looks a lot better now than it did when we put it up. A lot of the little kinks evened out in the sunlight and a lot of the dirt washed off in the rain.
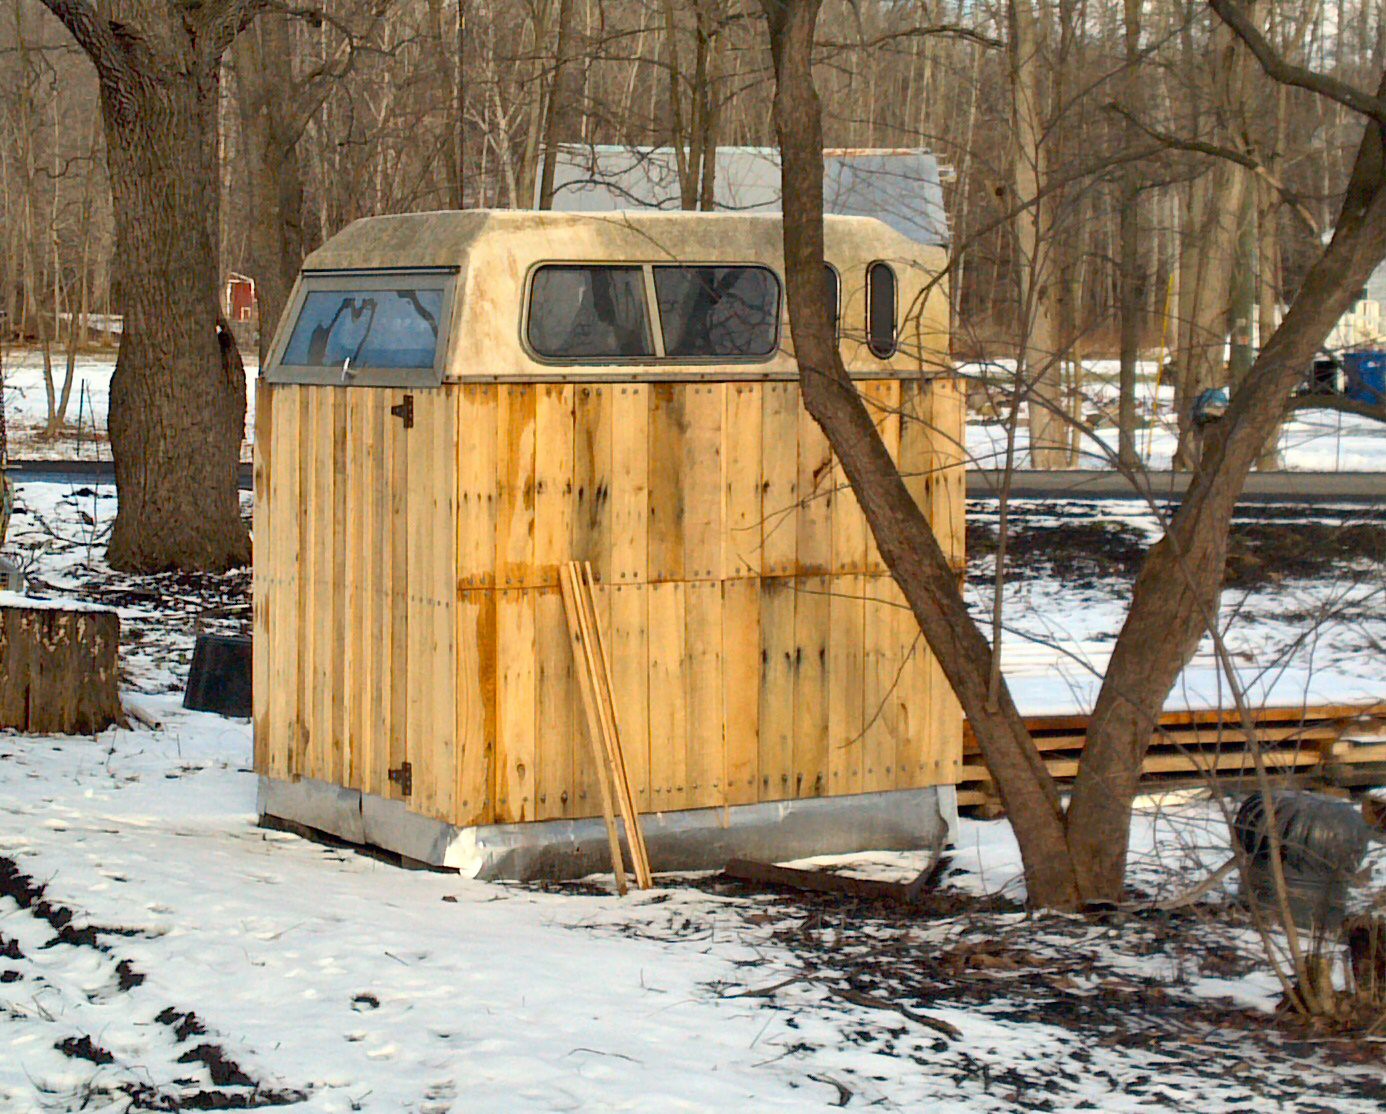
The finished product. Note that we put backer blocks up where the hinges grab the doors. We also cheated and did not use proper siding trim on the front door. We drilled bigger holes and nailed loosely and hoped for the best. 5+ years later and no cracks. I think pieces that small don't expand and contract that much.
The finished building has been totally dry since the day we built it. I have an inexpensive HF solar kit in it along with a little iverter. In the summer I use it for painting pieces that I don't want bugs stuck to, and it gets nice and hot in there. It is also a nice shop space for breaking down things with little parts like lawn mower carbs etc. Much easier to find a little part on the plywood than in the grass. In the winter the lawn tractor lives in here. I hook the solar up to a battery tender and the tractor cranks over like it was freshly charged every spring.
To date I have 8 of these, one is a two story tiny house for guests out in the woods. It has a big picture window that opens overlooking the creek and our woods. You can hunt and fish from the couch in it. It has vent free propane heat and solar electric. The second floor has a sleeping loft.
Other buildings include the chicken house with 48 laying boxes, a hospital building for critters that are not doing well or who have just had babies, a tool and supply storage right next to where I park my truck so I don't need to lug tools from my truck to the barn every time I got to do something that requires them. There is one other that houses our generator, and one other one that is just random storage. It has shelves on 3 sides and a small aisle down the center.
These make great storage or small shop spaces, or critter housing. They are a good size, east to make watertight, and can be almost free to build if you are a good scavenger!
This one is totally made from junk. Pallet 2x4's for the frame, pallet slats for the walls, flashing was a roadside find, and the cap came from CL for free.