 Stephen Harrison
IO7 intentionally has a WiFi based ESP 8266 module, this was to allow the display to be a standalone internet connected display to show real-time data.
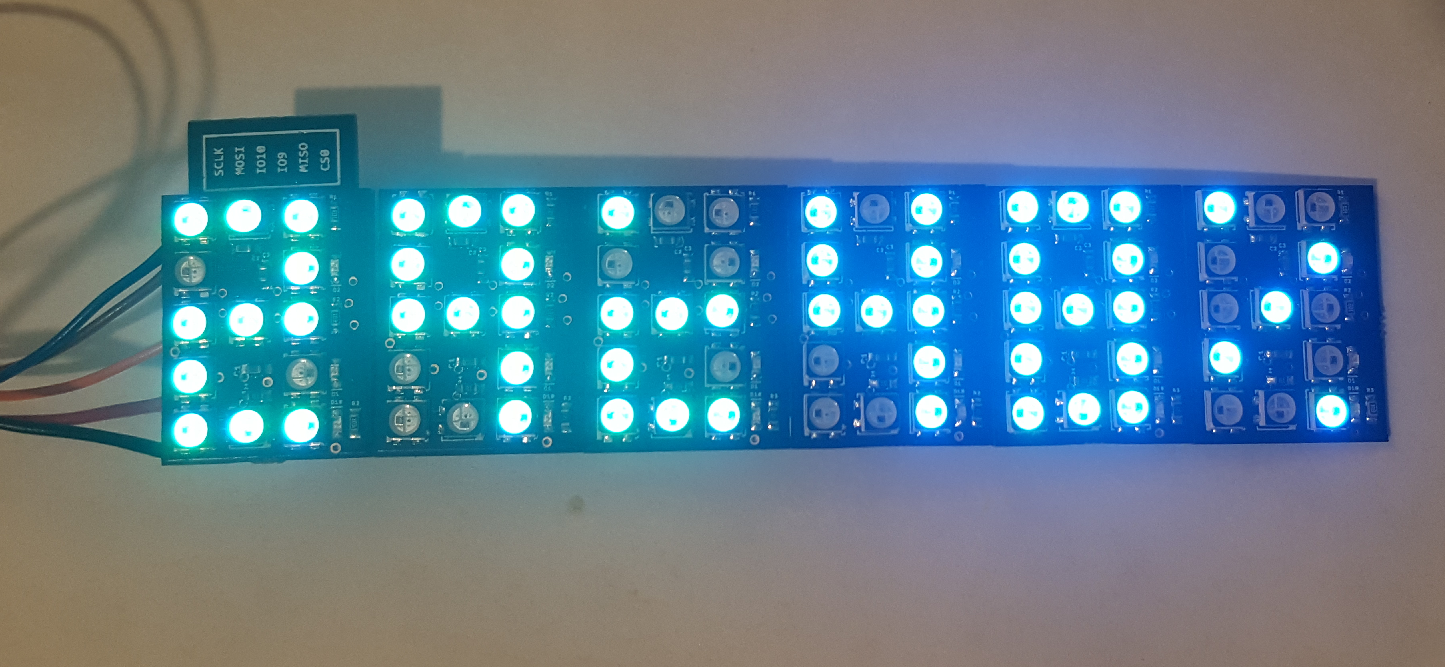
Temperature (29°C) and Humidity (48%) displayed from my kitchen air quality sensor:
DataFeed:
I have a variety of sensors connected to my Tinamous account(*) these include a ThingySticks Air Quality sensor in my kitchen, as well as two of my other square inch project (Bin Monitored), this data is made available via the Tinamous MQTT server in real-time as well as through an HTTP API.
MQTT is a lightweight messaging protocol and allows us to subscribe to a topic, this data is then pushed to the client rather than the client having to poll at regular intervals.
Tinamous exposes sensor data to MQTT on topic such as:
/Tinamous/V1/Measurements/Environment41F/T
Subscribers to this topic will receive temperature (T) measurements from the device Environment41F (this is my kitchen air quality sensor - no, I don't actually have 41 of them, this is version 4.1 :-) ). The field name (T) comes from the publishing device.
Wild cards can be used allowing the field to be replaced with a wild card to get all fields from the device or we could replace the device name with a wild card and get all fields named "T" from any sensor (assuming they would be temperature) and show various temperatures from various sensors.
Using the field based topic above results in a simple text representation of the value in the payload field. We could subscribe to just the device to receive all sensor values, but this comes as a json document and I didn't want to decode that.
The below code snippet from the TinamousMQTTClient.ion file shows the subscriptions to temperature (T), humidity (H), CO2 and light on the sensor, as well as status messages sent to the device.
  // Subscribe to status messages sent to this device.
  mqttClient.subscribe("/Tinamous/V1/Status.To/" DEVICE_USERNAME);

  // Environment41F: Kitchen sensor.
  mqttClient.subscribe("/Tinamous/V1/Measurements/Environment41F/T");
  mqttClient.subscribe("/Tinamous/V1/Measurements/Environment41F/H");
  mqttClient.subscribe("/Tinamous/V1/Measurements/Environment41F/CO2");
  mqttClient.subscribe("/Tinamous/V1/Measurements/Environment41F/Light");
In addition to subscribing we can also publish and I use a simple status message publishing once a connection is made to indicate the device has connected.
publishTinamousStatus("Hello! Internet Of 7 Segments here :-)");


// ===============================================
// Pubish a status message to the Tinamous MQTT
// topic.
// ===============================================
void publishTinamousStatus(String message) {
  Serial.println("Status: " + message);
  mqttClient.publish("/Tinamous/V1/Status", message);

  if (mqttClient.lastError() != 0) {
    Serial.print("MQTT Error: ");
    Serial.print(mqttClient.lastError());
    Serial.println();
  }

  if (!mqttClient.connected()) {
    Serial.println("Not connected after publishing status. What happened?");
  } else {
    Serial.println("Status message sent.");
  }
}
In order to get WiFi and MQTT working the Secrets.h file needs to be populated with the appropriate values.
// WiFi access point
const char* ssid     = "<Put your WiFi SSID Here>";
const char* password = "<Put your WiFi Password Here>";

// Tinamous MQTT Server
#define MQTT_SERVER      "<Put your Tinamous account name here>.tinamous.com"
#define MQTT_SERVERPORT  1883

// Tinamous MQTT Credentials
#define MQTT_USERNAME    "<Put your Tinamous device username here>.<Put your Tinamous account name here>"
#define MQTT_PASSWORD    "<Put your Tinamous device password here>"
#define MQTT_CLIENT_ID   "<Put your Tinamous device username here>-1"
#define DEVICE_USERNAME  "<Put your Tinamous device username here>"
The MQTT server and username can be a little odd with Tinamous, you could alternatively use a local MQTT server or another service.
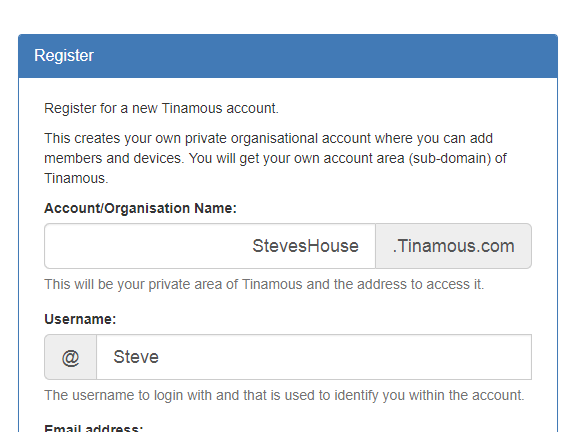
When you register for a Tinamous account, this is a multi-user / multi-device environment, the account name is used in the domain name to specify your account space, so if you signed up with the account name "StevesHouse" the MQTT server address is StevesHouse.tinamous.com
Registering an account at Tinamous.com:
Once you log into Tinamous, you can add a device for the IO7 display:
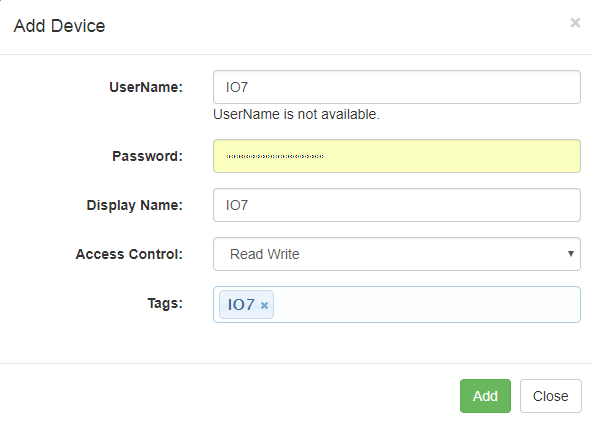
Note that IO7 isn't available in the screen shot above because I'd already added the device.
So now our MQTT credentials are:
// Tinamous MQTT Server
#define MQTT_SERVER      "StevesHome.tinamous.com"
#define MQTT_SERVERPORT  1883

// Tinamous MQTT Credentials
#define MQTT_USERNAME    "IO7.StevesHome"
#define MQTT_PASSWORD    "This is secret!!!"
#define MQTT_CLIENT_ID   "IO-1"
#define DEVICE_USERNAME  "IO7"
Client ID isn't critical, although if you use the same login for more than one device you should use a different client Id.
Note that I'm using port 1883, this is an insecure port for MQTT. Ideally this should be 8883 with TLS encryption, I need to spend more time with the ESP libraries!
Once the ESP8266 is updated with the firmware (available in the Github repository and attached to this project), it will subscribe to the MQTT feed and display temperature and humidity:
(*) Full disclosure - I'm the founder of the Tinamous Internet of Things platform, as well as ThingySticks, Internet connected things on sticks.
Discussions
Become a Hackaday.io Member
Create an account to leave a comment. Already have an account? Log In.