 matthewkleinmann
For a long time I have wanted a little greenhouse to start my garden plants in and to try and extend the growing season of some plants. I had pondered something like one of my little truck cap buildings https://hackaday.io/project/161402-quick-low-cost-shop-or-storage-space but that was not quite the thing.
As luck would have it, the track in the sliding glass door in our kitchen was beyond repair. I found a complete sliding glass door on CL for free so I went to get that for the track. In the end, I had an extra set of sliding glass doors that were roughly 6'3 tall by 3' wide.
Looking at the door panels sitting out on my pile got me to thinking that they would make a dandy A frame roof. I could make the building 6'3 deep and 5' wide. That would let me have shelves running the length of it that would be 18" deep on both sides and still have a 24" aisl down the center for me to shimmy through.
Construction was pretty simple. As with most of my projects it started with breaking down a lot of pallets for the rough cut oak 2x4 runners. I also had a few pallets that had 4x4 runners so I broke a few of them down.
As usual, things started at the bottom. I made the rectangle that the building will occupy out of 4x4's and lag bolted them together. We built the major pieces closer to the shop and schlepped them to the final site after they were built. It is a pain running air and power out that far.
We oriented the base where we wanted it and took great care to make sure it was straight and level. Pro tips: Spend a lot of time on the base and get it square and level. Shim under it where needed. If you find it is not square, find the corner that is wider than it should be, screw a screw eye into each piece about 2/3 of the way out and use a ratchet strap to pull it into perfect square. Pull it a bit past and it should relax into the perfect position.
The walls are a slightly modified construction. Roughly 2' centers but evenly spaced. We brought the walls out and used my poor man's paslode https://hackaday.io/project/161432-poor-mans-paslode on site to attch them to the base and each other.
The supports for the ceiling took some thinking but we finally made templates to cut the triangles. My sliding miter saw was not quite big enough to make it all the way through one of the cuts so I had to resort to a hand crosscut saw to finish it. Talk about work! That white oak is hard. The thing I like about the roof is the door panels just lay in place. They are held in my a stop at the bottom eave and gravity. They can be opened up if I want or removed.
The walls of the greenhouse are covered in 6 mil translucent plastic. I was able to get a roll of used plastic that is 6' wide by 100' long for under $25 on eBay. The plastic is held in place with oak slats that I ripped down and air stapled in. The walls are exactly 6' tall, so the plastic works out perfectly.
I was originally going to put a layer of plastic on the inside and one on the outside, but after I got the outside skinned doing the inside seemed supflurpus and that it would cut down too much on the light. Perhaps in the winter...
I was also going to put a jalousie window that I had been saving for years just for this project in the back of it. Sadly before I got to this project I was working on siding the house and the window that I had leaned safely up against the house for years got moved by one of my moron helpers to lean up against a fence and a big gust of wind came along and blew it over and a couple of the pains in it broke. I think it is fixable but that is another project unto itself. I don't have the best track record for cutting 1/4" glass so the slate will have to be paid for...
In the end, I had about $25 in plastic, and a few bucks in shelf brackets. I got them 2 for a buck at my favorite discount $1 store after I ran my stash of them out. I always save them when I find them.
Pictures coming soon! Next nice day...

The windmill arriates the pond, which is stocked with fish. We get the water for the greenhouse from the pond. A future project is a savonius windmill to save my having to go and manually move water in buckets.
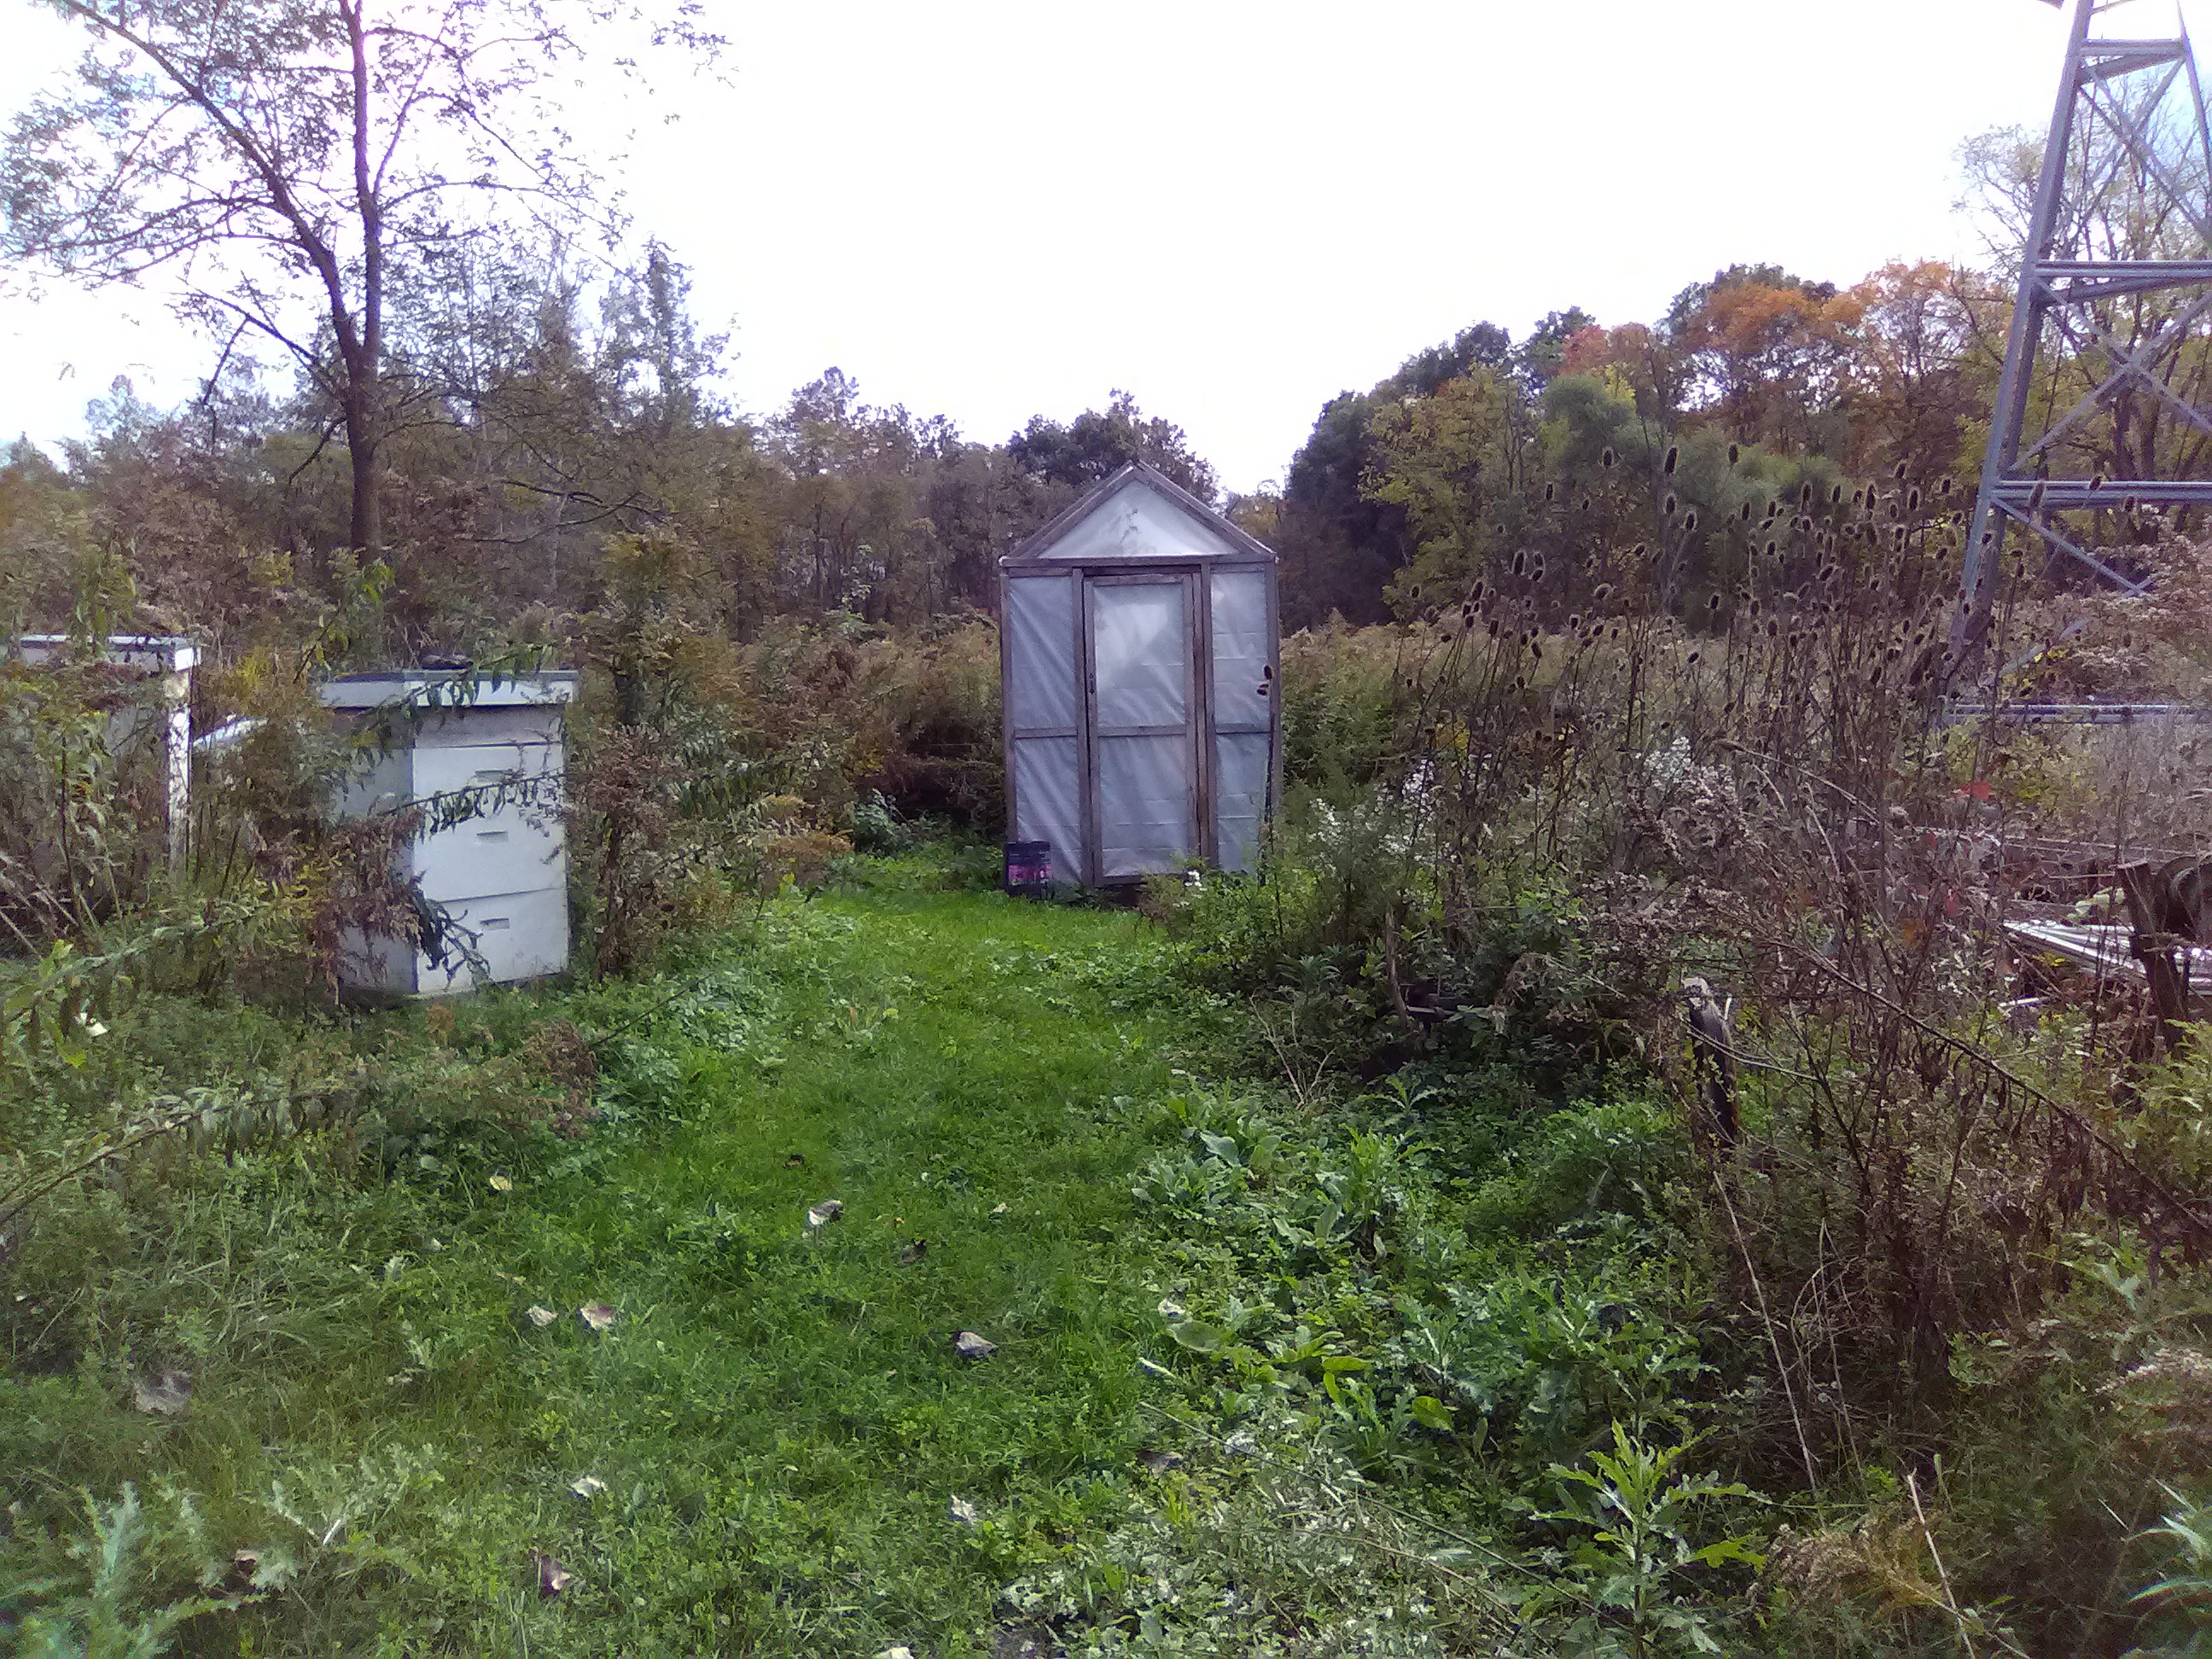
What could be happier?
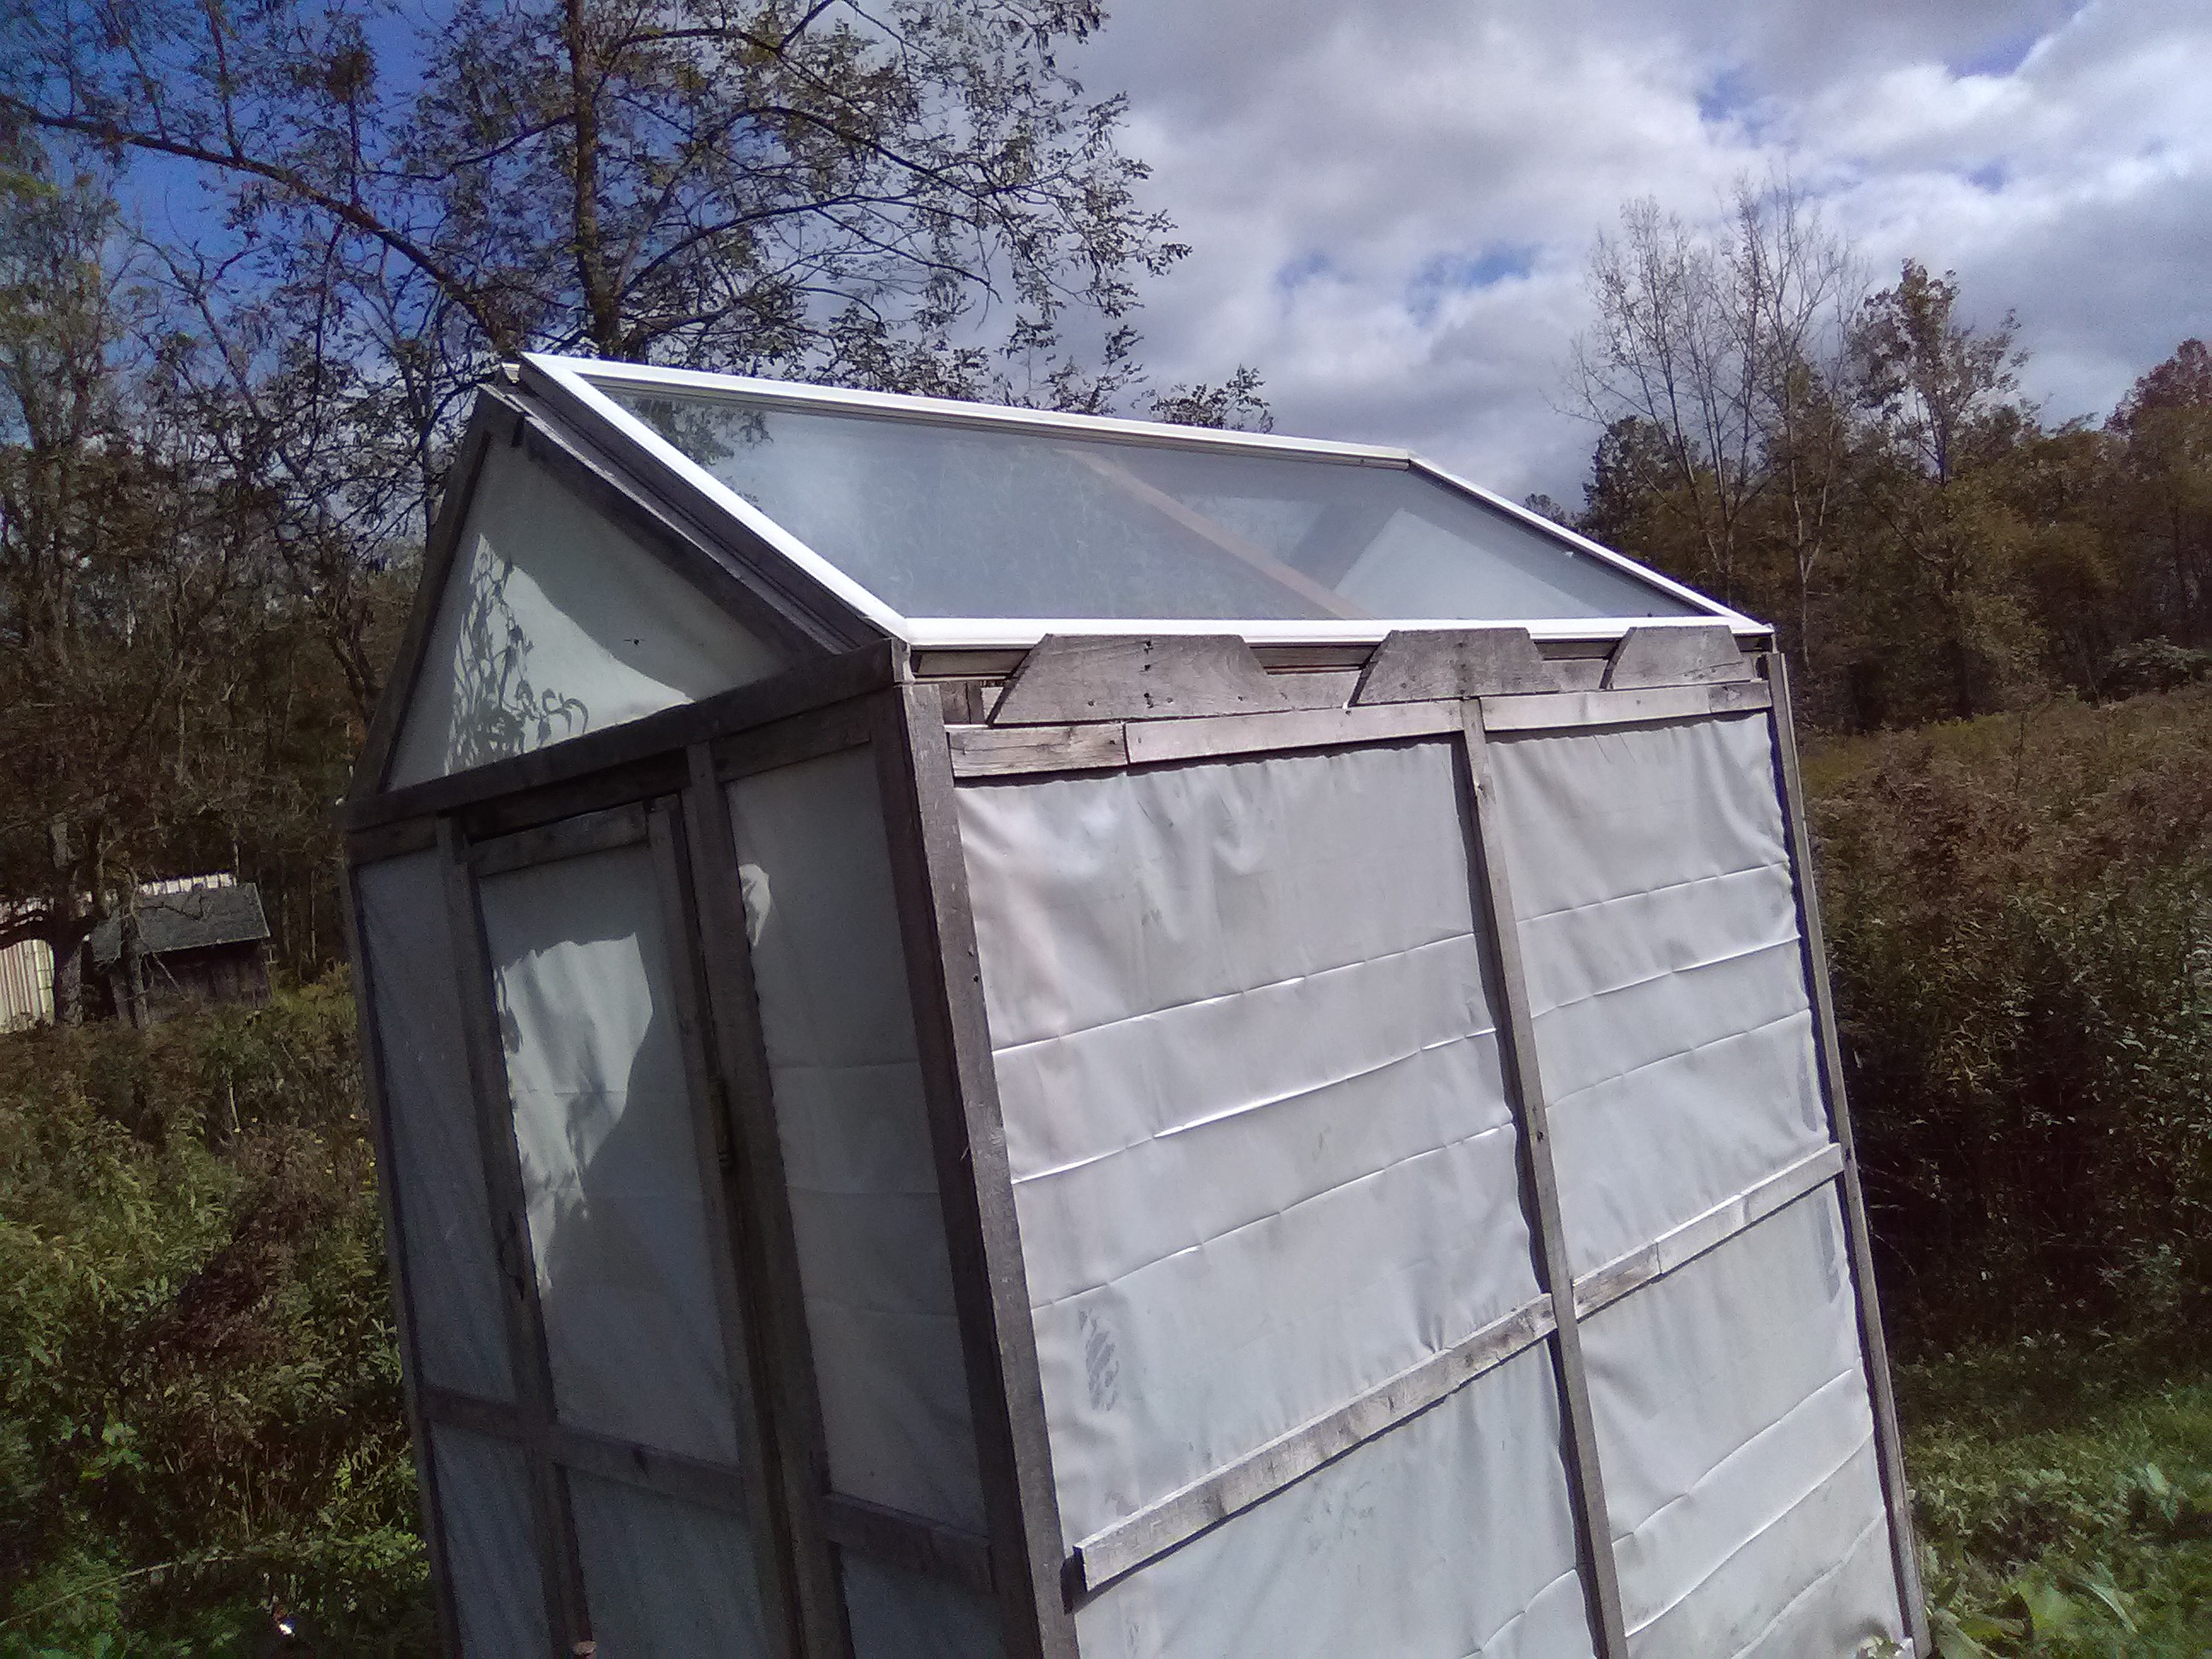
You can really see the sliding glass doors the roof is made out of here. They work great for the roof.

Another shot of the roof..
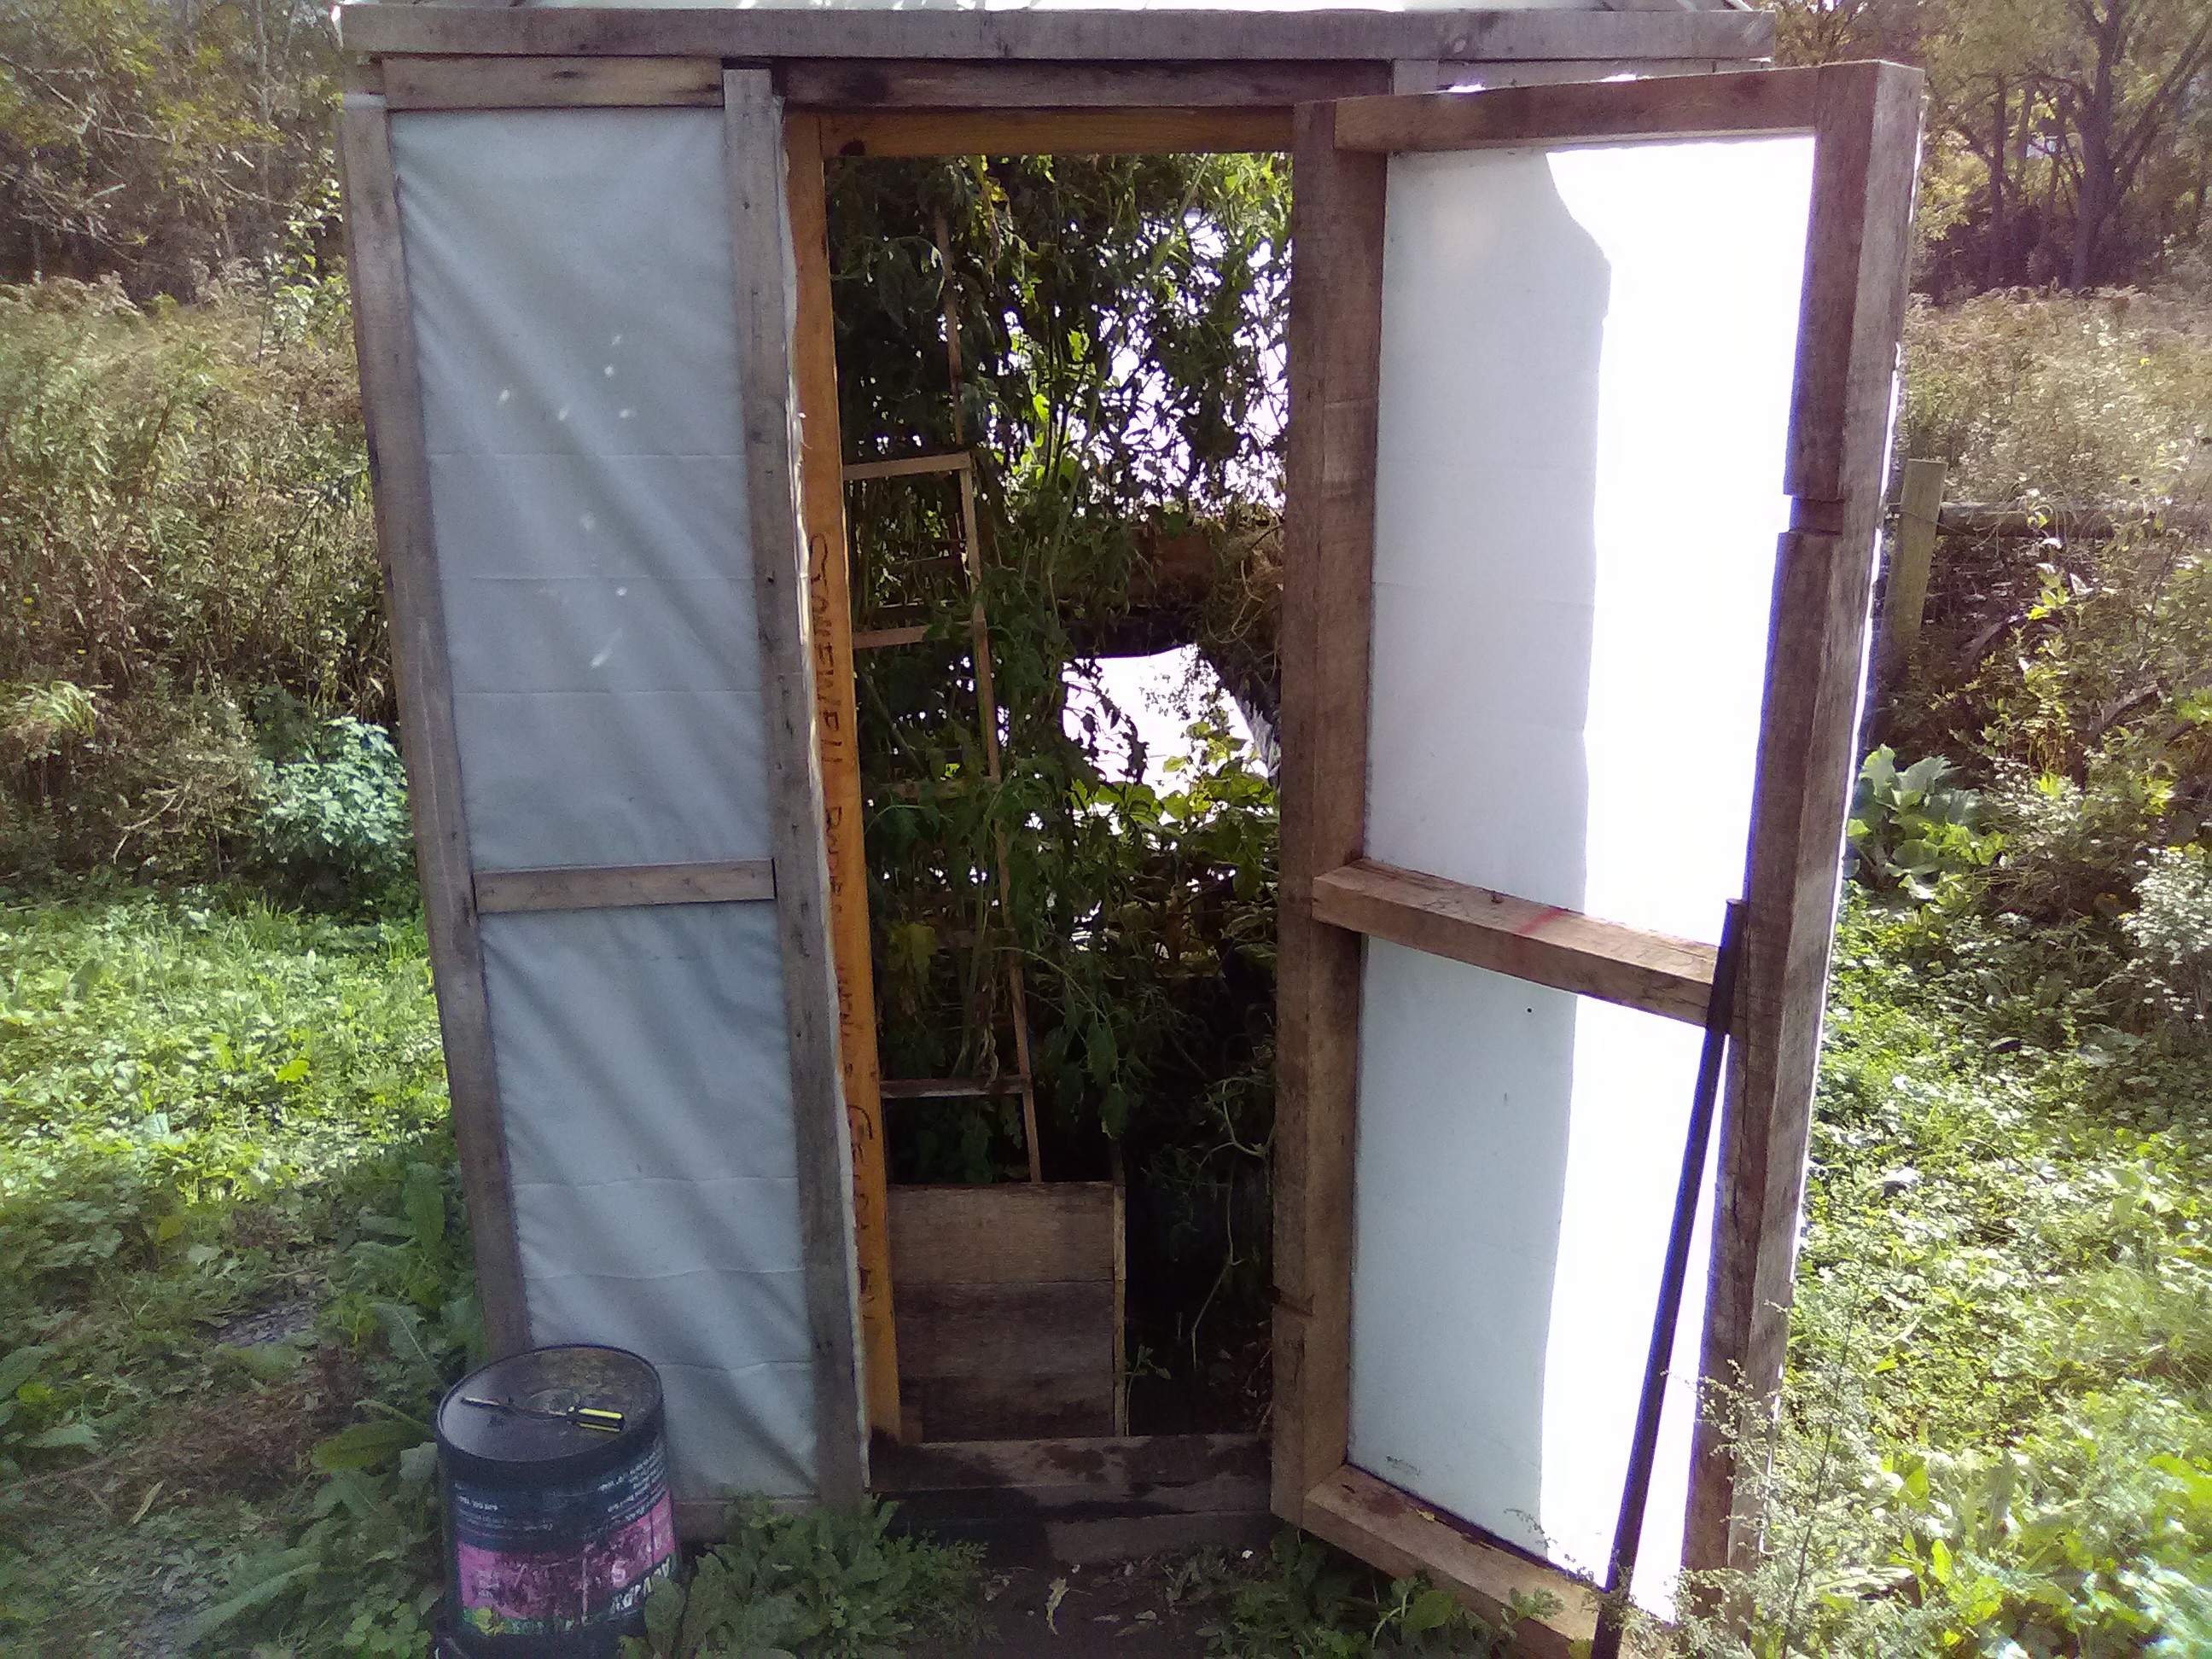
It is like a jungle in there. Next spring it will be used to give some seedlings an early start and again at the end of the summer to prolong the life of some things. It is nice to have fresh tomatoes until november...
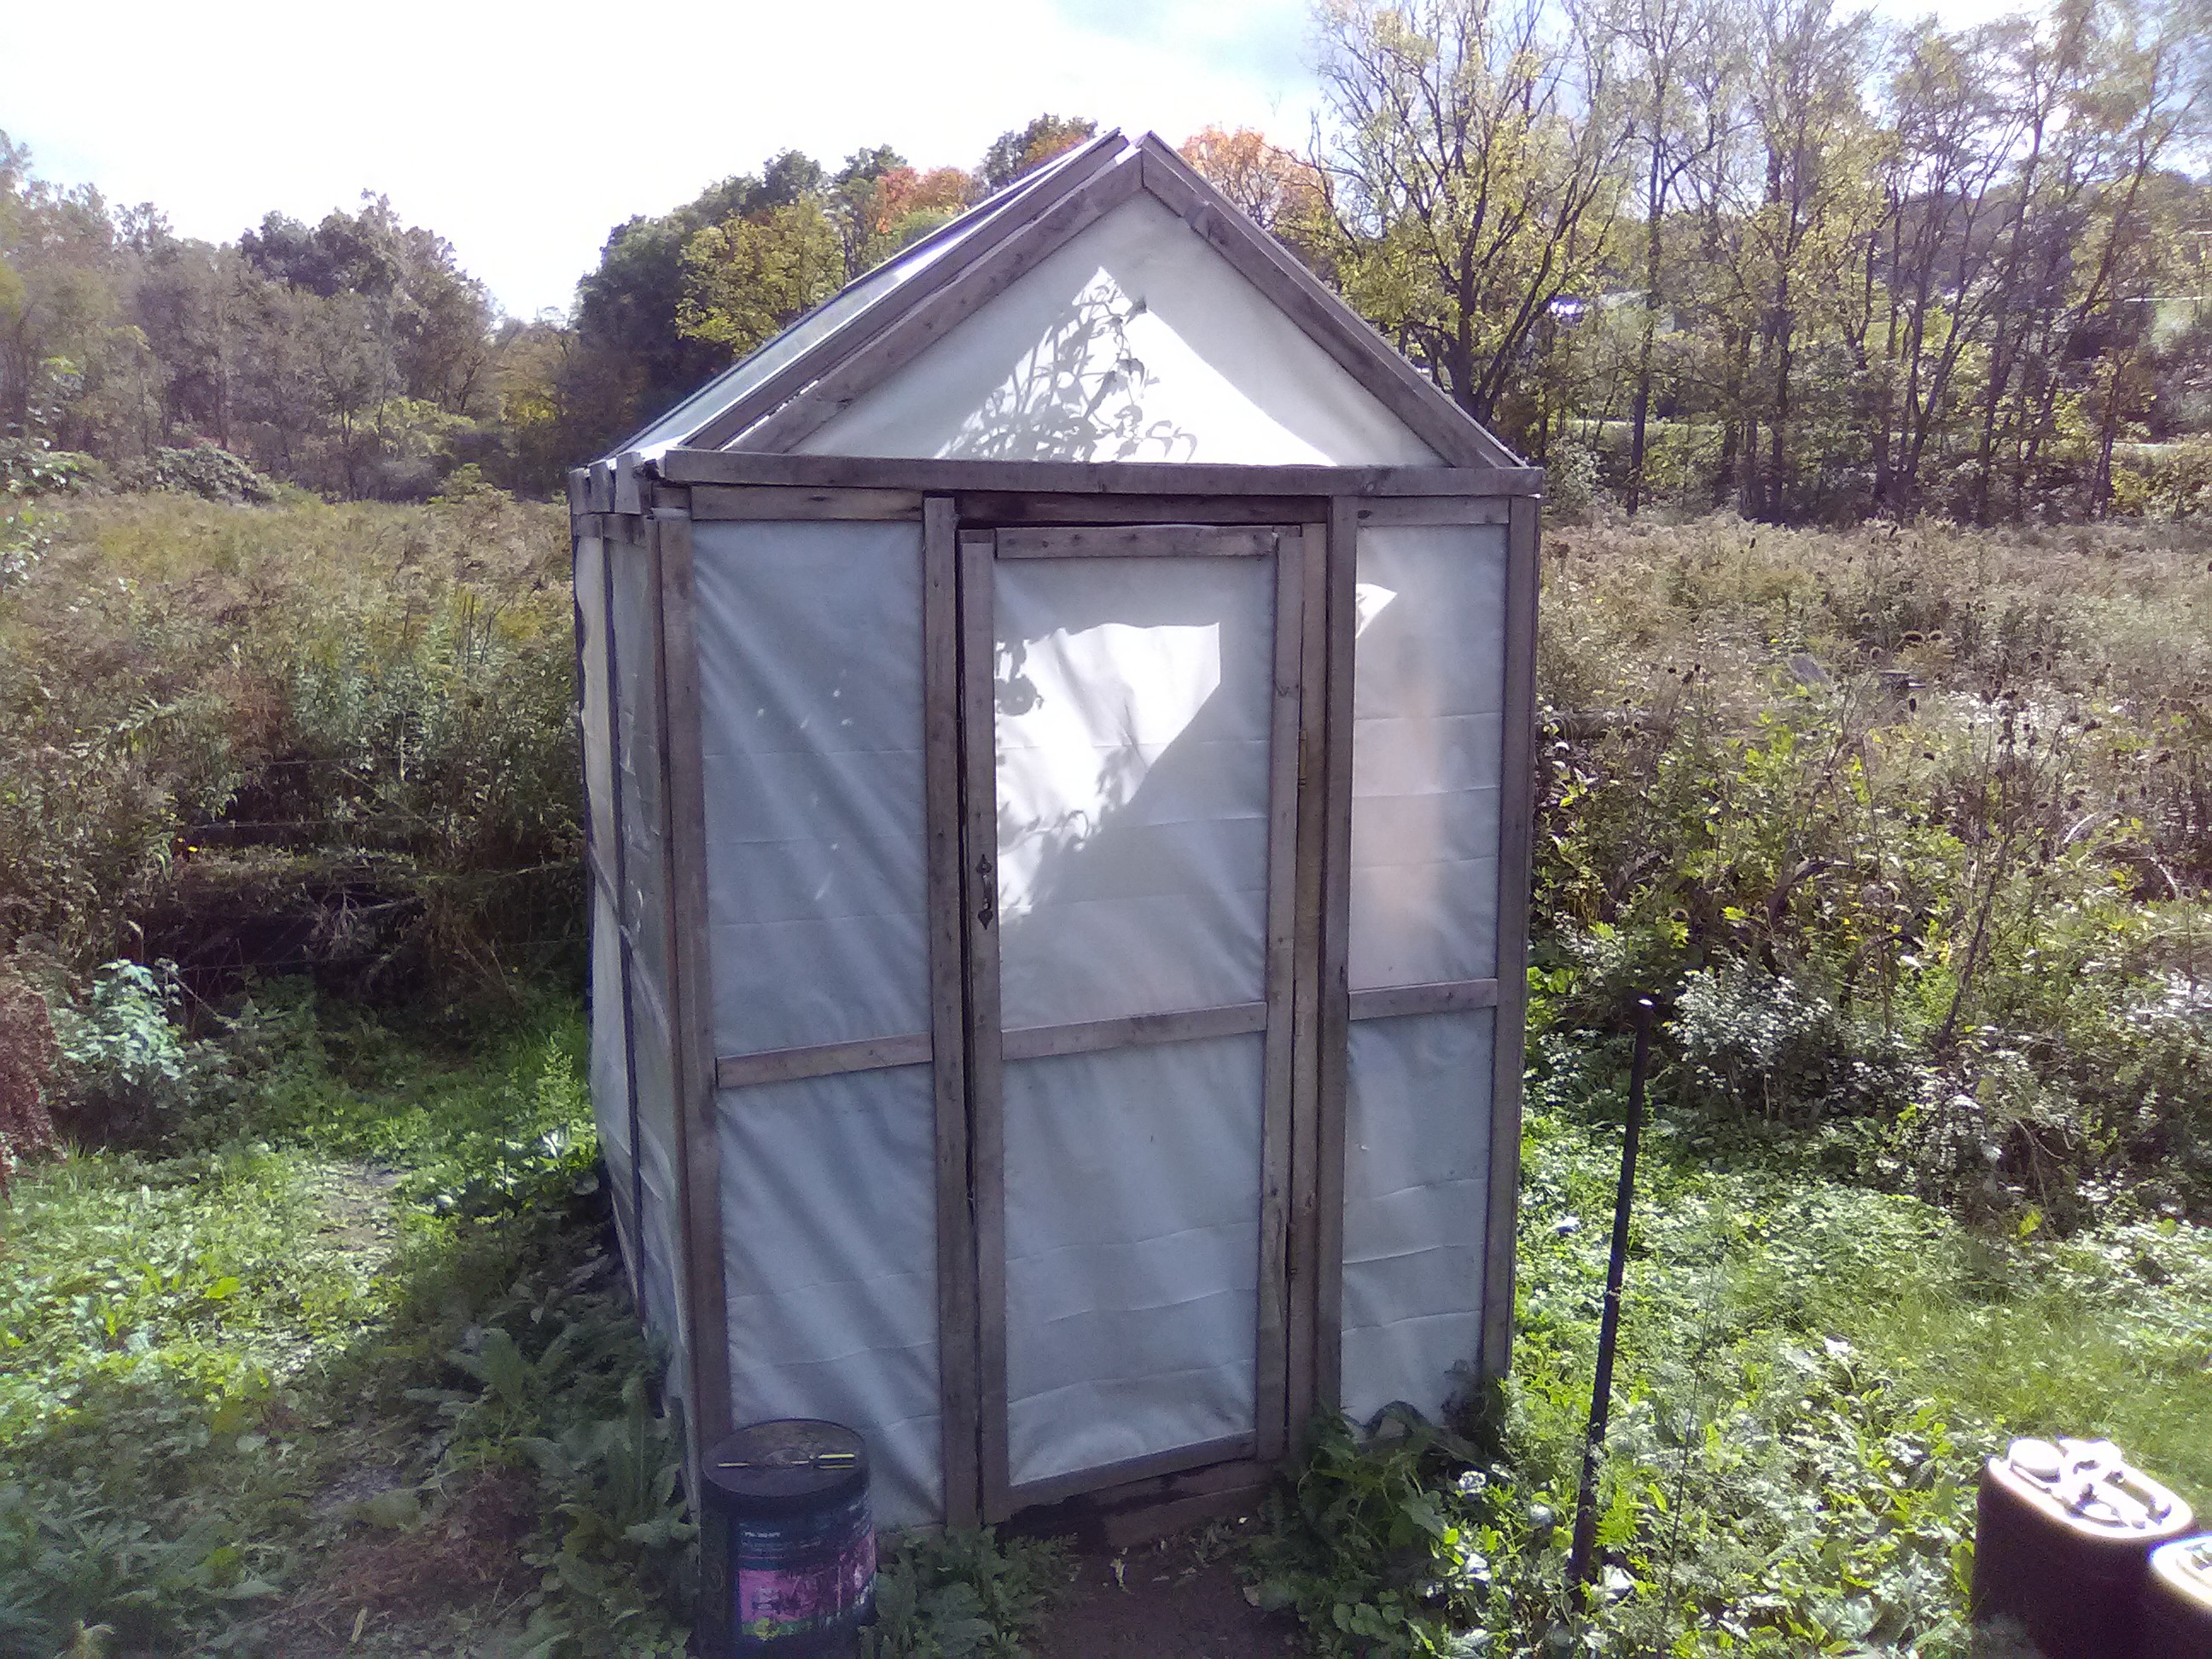
The plastic I got was sold s used. I think it came from a big construction job to cover concrete while it dried as it had some fine power on one side of it in some spots. It was like new though, they did a great job folding it up. You can see the crease lines in it are still crisp.
----------
The greenhouse is still in use. The plastic on the side that gets the wind started ripping so I replaced that this year. I learned one lesson. Do not air staple the struts that hold the plastic on. The air staples are a pain in the ass to get out. You can staple the plastic to the structure but the pieces that go over it and pull it tight, use short Teflon coated, star drive deck screws for that. You can get them in and out easy and even use the same holes. This goes against my being extremely cheap but it sucks having to spend a lot of time trying to hammer air nails back out of oak, and it sucks having to rip thin oak slats..