• 1
    Step 1

    The very first thing we need to get started is NodeCode.

    This is a self-hosted system that routes data via virtual wires (DataStreams) that connect things to things, people to things and people to people.

    You can download NodeCode for free at Downloads. There is no catch.. we want self-hosted clouds to catch on REALLY badly.

    Currently, a Windows Desktop machine is required for NodeCode Studio and for the NodeCode Hub. We are still full steam ahead in developing new features as well as extending supported platforms... but we just couldn't wait!

    Getting Started help: Documents

    When you install NodeCode, you will get 3 icons on your desktop.

    One is the Hub, one is an Agent and one is NodeCode Studio.

    The Hub is the nerve center. The state of the entire distributed system is stored here along with the instructions on routing, the router, the installed plugins (services) as well as the secure connections to the user interfaces.

    The Agent is a lightweight program that does nothing more than to sit on a machine and make sure that everything you think is running, is in fact running. If it is not, it will try to correct and/or send a message to the Hub which will then distribute to anyone or thing listening.

    Side Note: Any device that you would like to use NodeCode services on will need an Agent running. Raspberry Pis have a mechanism for installing an Agent remotely.

    NodeCode Studio is the desktop software that allows you to setup your distributed system, install agents, setup programs, add views, view notifications and much more.

    NodifyMe is the Android Mobile app (iOS coming soon) that allows you to use interact with NodeCode on the go. You can get this from the Google Play store for .99 cents but is not required. If you are logged into NodeCode Studio, you will get updates in real-time as well...

  • 2
    Step 2

    In order to save space and to avoid repetition, getting setup with NodeCode, installing on a Raspberry Pi etc is all covered in the online tutorials:

    Documents

    We'll assume that you've worked through the quick Raspberry Pi example and already have one setup with a RpiGpio service installed.

    We'll pick up here and show how to create this particular, simple, NodeCode program.

  • 3
    Step 3

    In this example, instead of adding a Digital Pin Writer Node, we are going to add an Interrupt Pin Reader Node. As the name suggests, this will monitor the signal pin on the PIR motion sensor and send the state on the Node's output pin. In this case, we are using Pin Number '0' (we are using the excellent WiringPi library under the covers and we use their pin naming scheme https://projects.drogon.net/raspberry-pi/wiringpi/pins/). If this pin is already being used by another Node (like the tutorial LED program), you will need to either choose another pin or delete the Node that is already claiming that pin.. not doing so will cause random behavior.

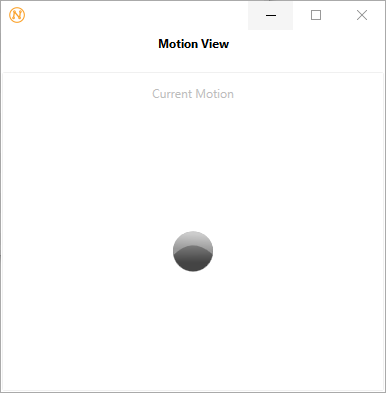
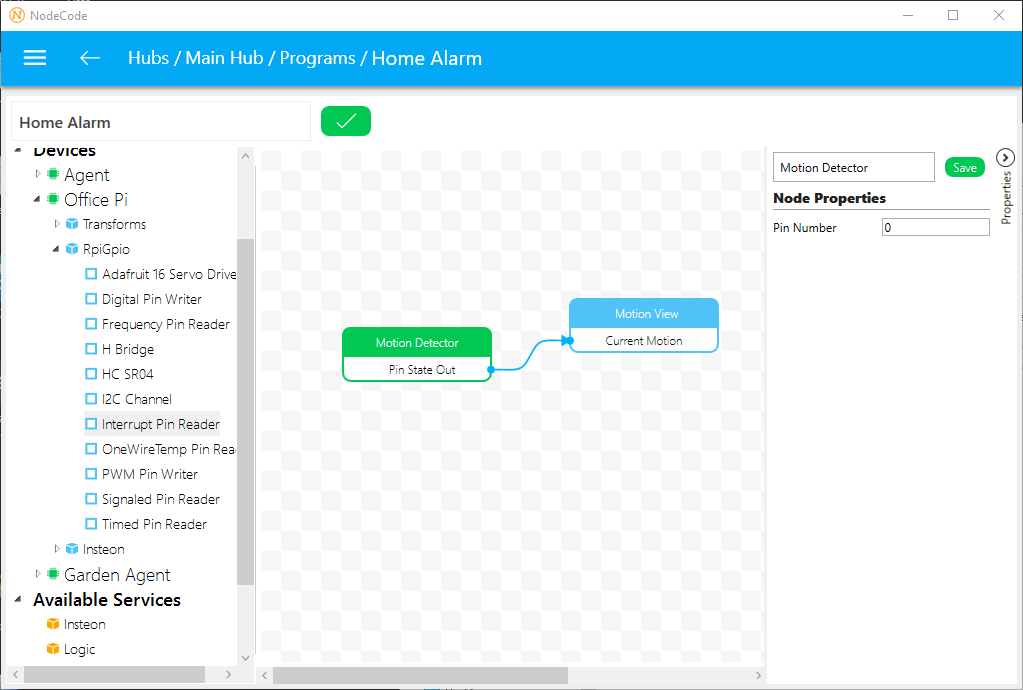
    We've created a simple view that allows us to read the values being piped along the DataStream (blue wire). It is composed of a simple LED View Element that shows the current state of the motion detector hooked to the pin we are reading from.
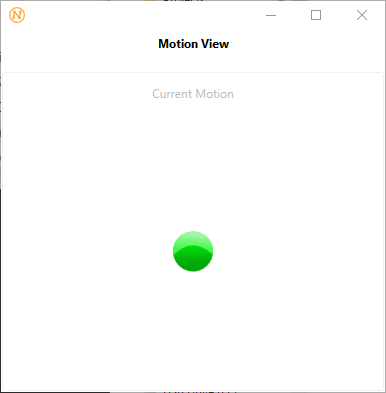
    This is great if you just need a real-time view of something going on in your NodeCode graph. What if you want notifications? Continue on dear reader!