 Alex Rich
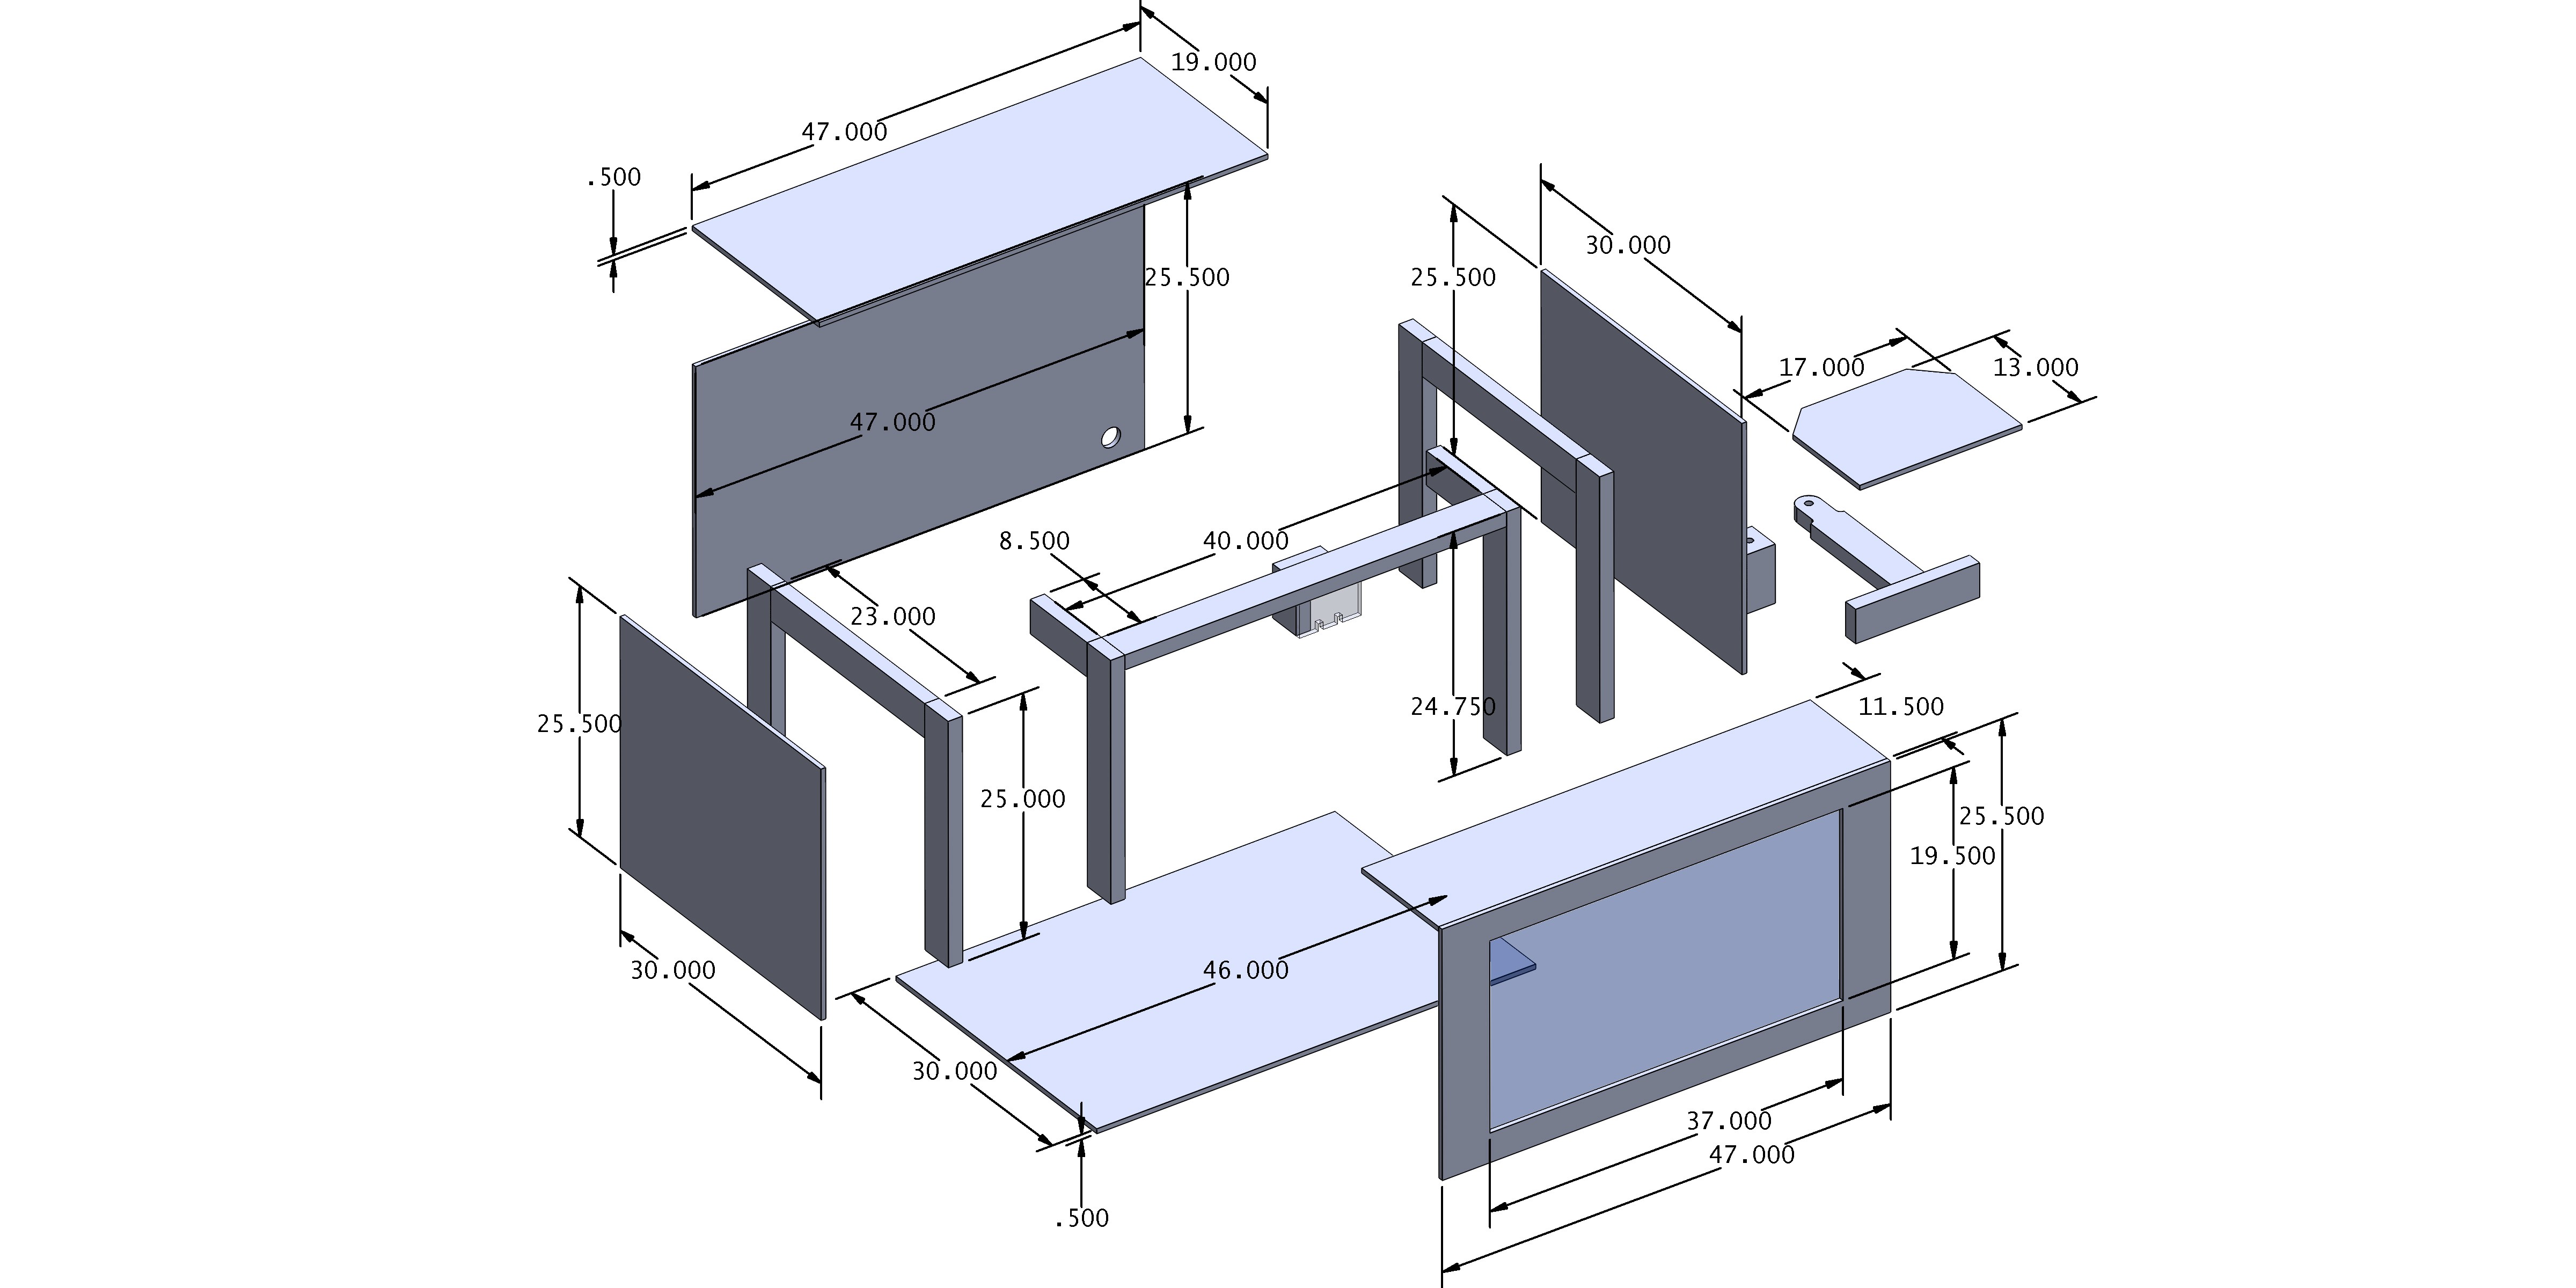
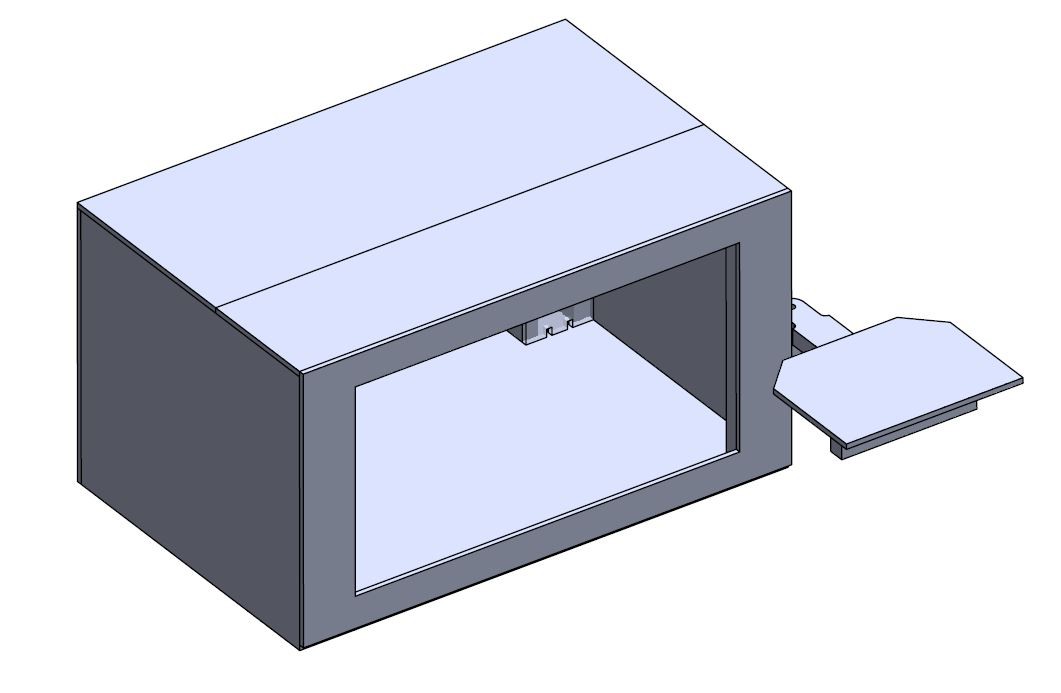
- Big single window made from acrylic (polycarb would be better but much more $$$)
- Enough space for a small vacuum inside the enclosure
- Laptop stand
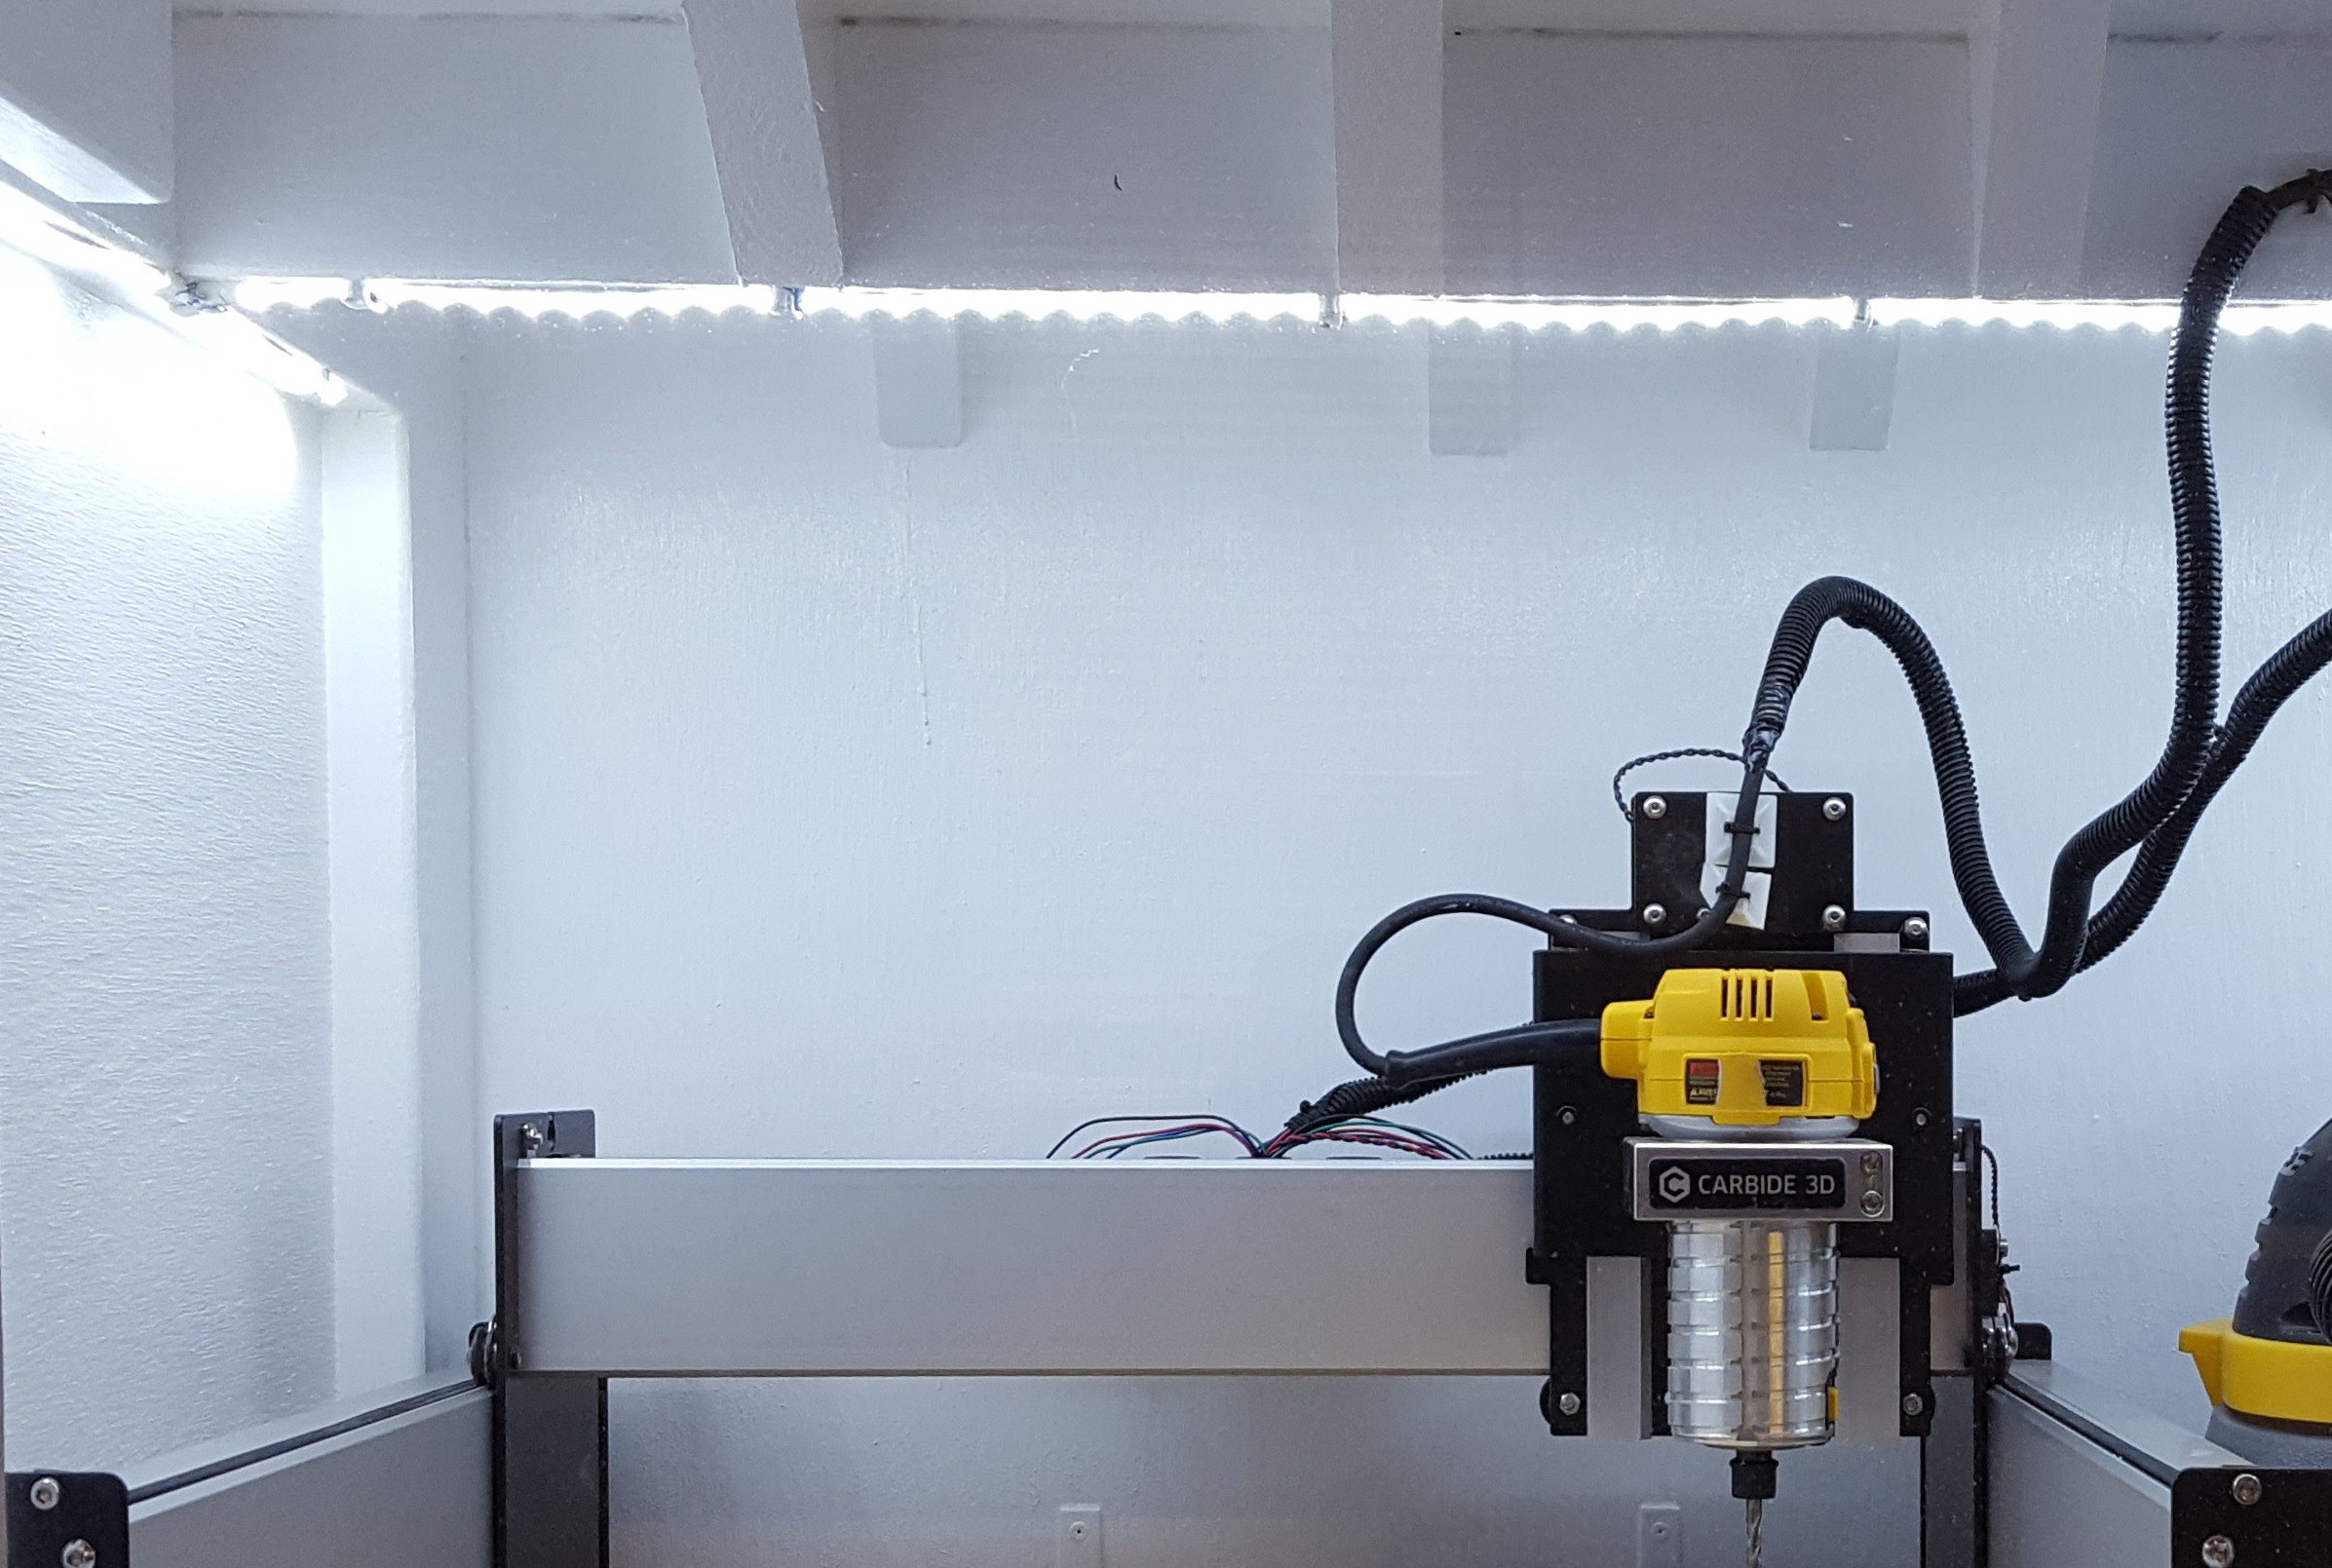
- Painted the interior gloss white to reflect as much light as possible (should I have used mirrors?)
- Exterior is light grey semi-gloss for extra class
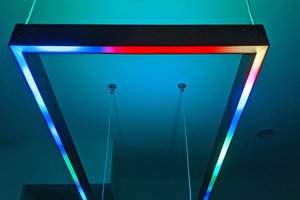
- Interior lighting accomplished with LED strips (see component list for a link to connectors, etc.)
 Steve Pomeroy
 Grayson Schlichting
 Adam Redfern
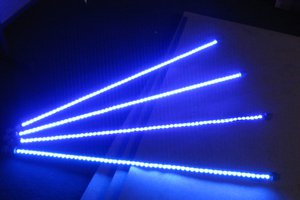
 Ian Norton