 Kevin Arne
Into the Unknown
One of the big unknowns (well, to me) about this version of my nametag was whether I could successfully heat bend the acrylic such that the light would travel around the 180 degree bend. I decided to give this a try today.
The Process
First, I laser cut a flat acrylic piece with my name engraved on it. The acrylic piece had an extended rectangular portion that I meant to bend around. I decided to set the length of that to the distance I needed the acrylic to wrap around to touch the LEDs if I was making perfect right angle bends (obviously an impossibility).
Second, I sandwiched the acrylic piece between two of the spare name tag PCBs with sheets of parchment paper between the PCBs and the acrylic. I reasoned that this would keep any of the lead from burning into the acrylic or leaving impressions. The parchment paper turned out to be a mistake.
Finally, I heated the whole assembly to around 300F in a toaster oven (one I don't cook food in), took it out, and bent it against a surface, holding it until it cooled off.
An Attempt Was Made
The good news is that plenty of light made it around the bend, so this is going to be a workable project.
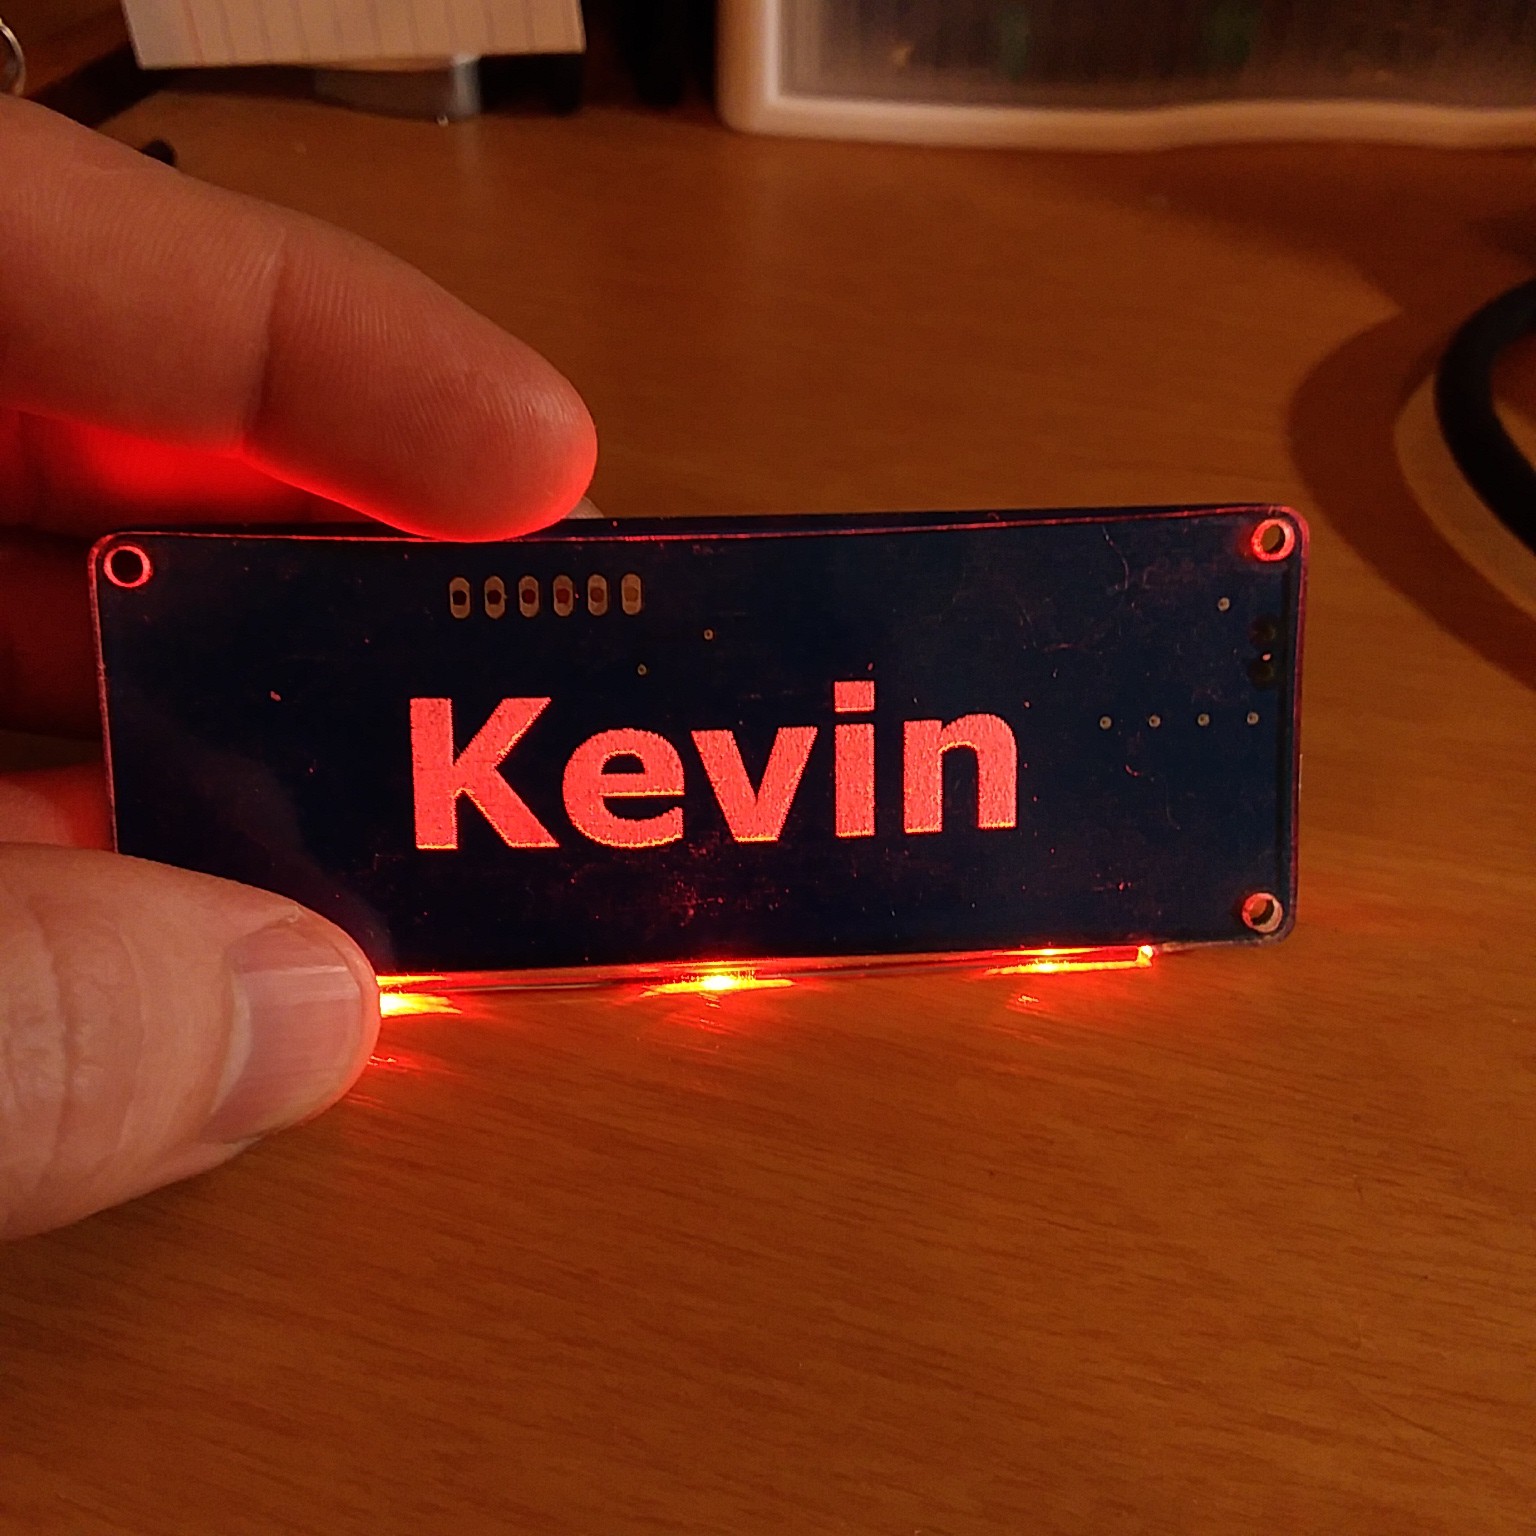
The bad news is that my technique needs tweaks. Because I heated the entire piece of acrylic, some parts ended up deforming that I hadn't anticipated. The whole middle section ended up shifting with the tab, which means the top edge looks droopy.
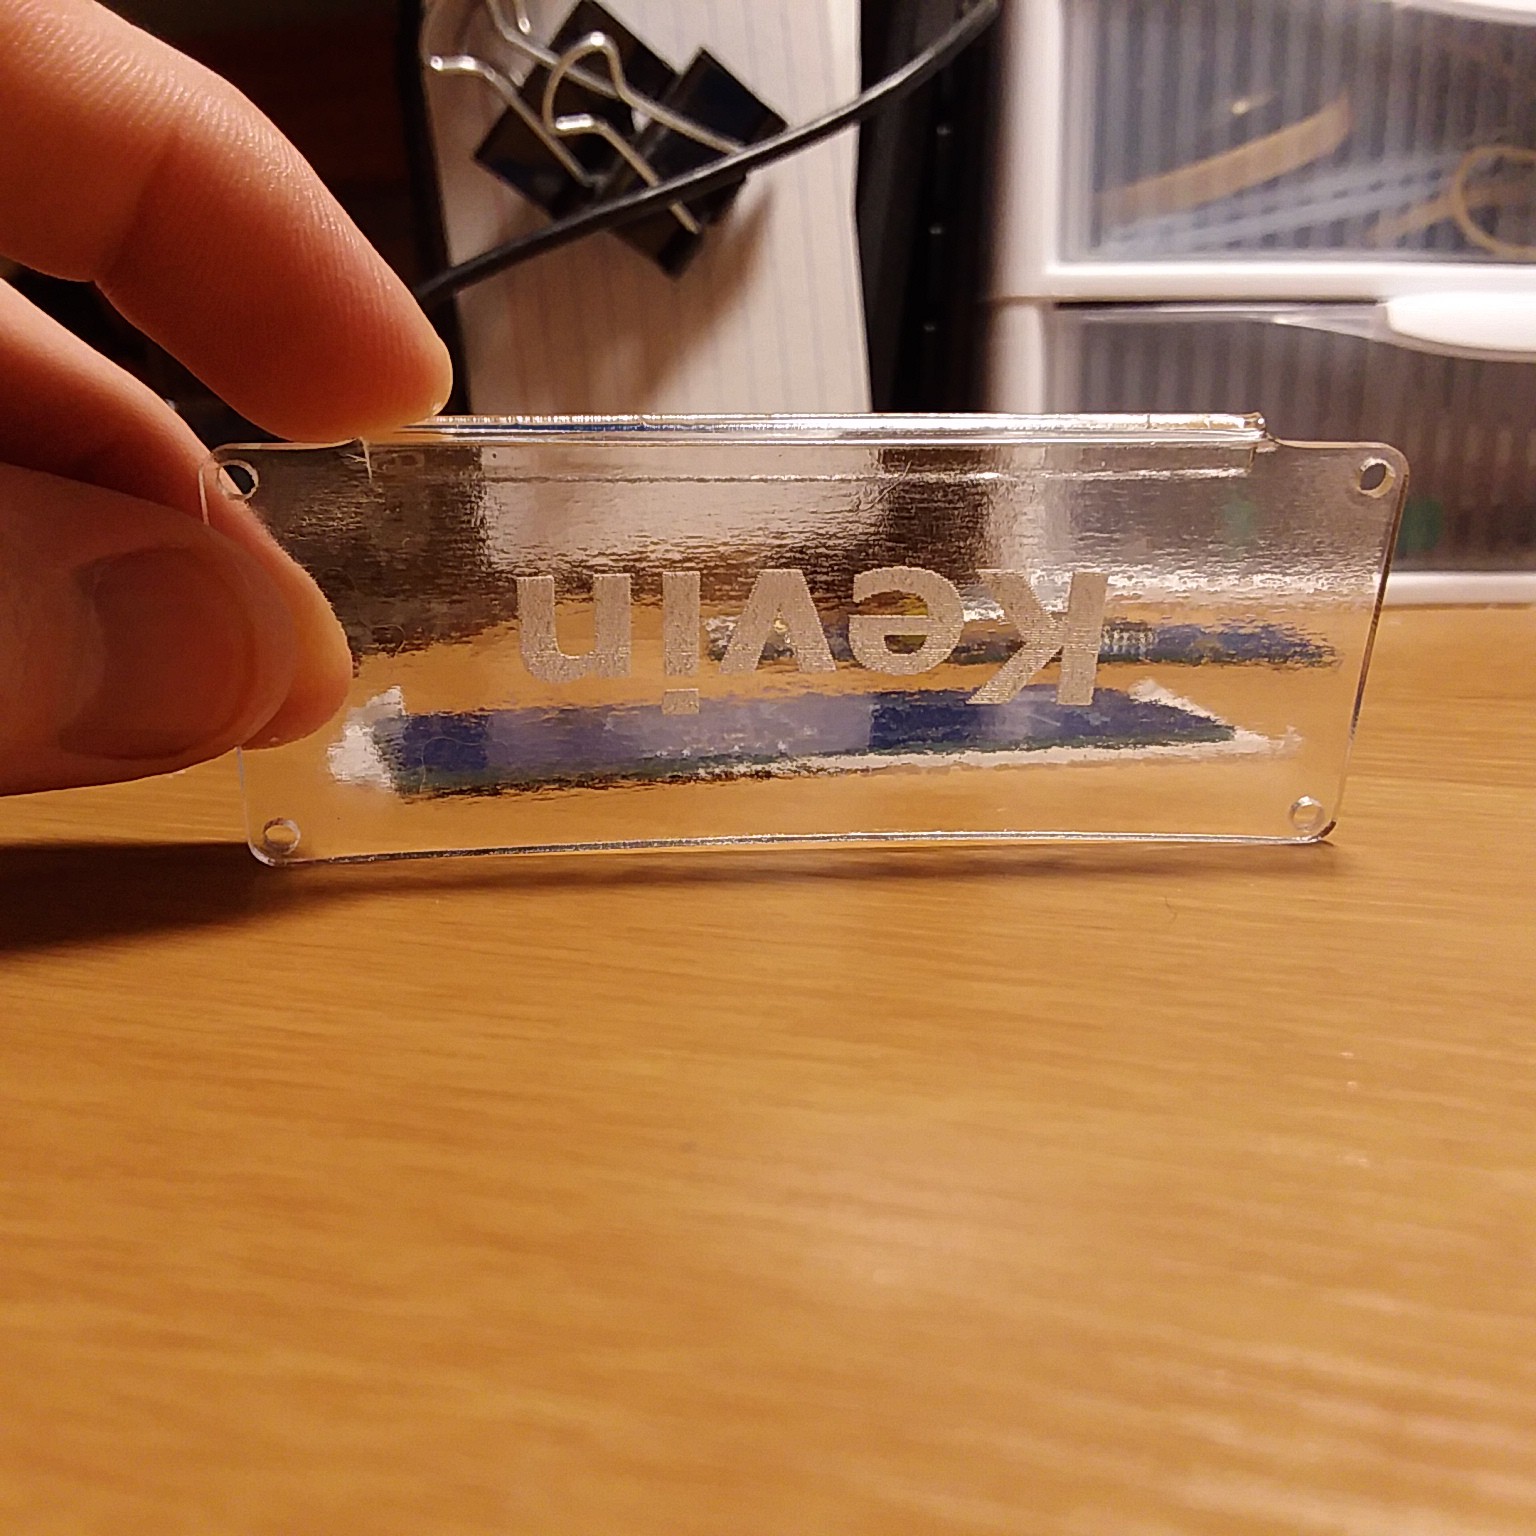
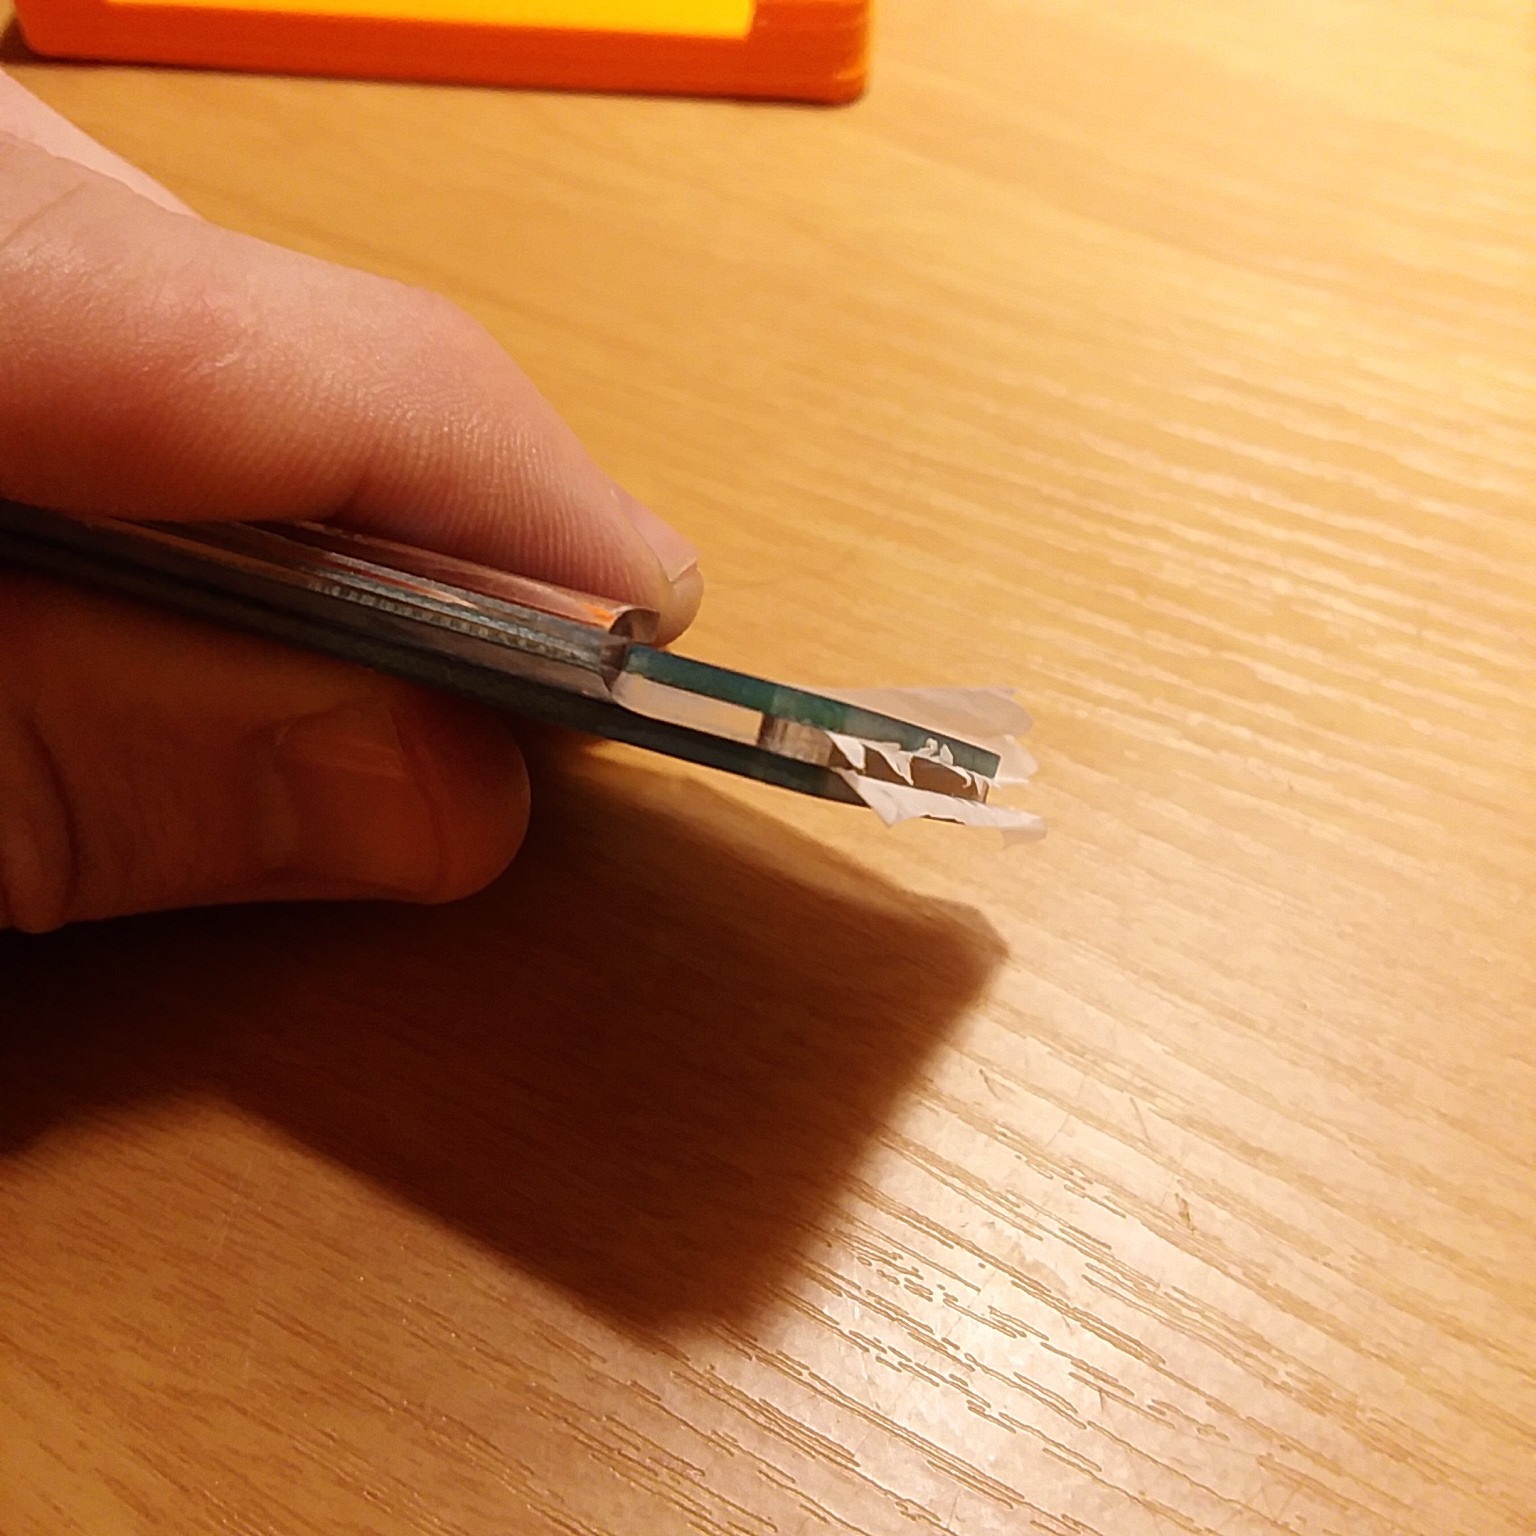
The parchment paper also ended up leaving it's own impressions in the acrylic. They might not be noticeable from a distance, but I'm going to notice them every time I look at it.

I think the next thing to try is a similar assembly, but this time using a heat gun to try to heat only the tab needing bending. It might even be sensible to periodically dip the rest of the assembly in cool water the prevent too much heat from sticking around in the copper.
Discussions
Become a Hackaday.io Member
Create an account to leave a comment. Already have an account? Log In.