 Electroniclovers123
➢Step descriptions:
✦Step 1:Materials we need:
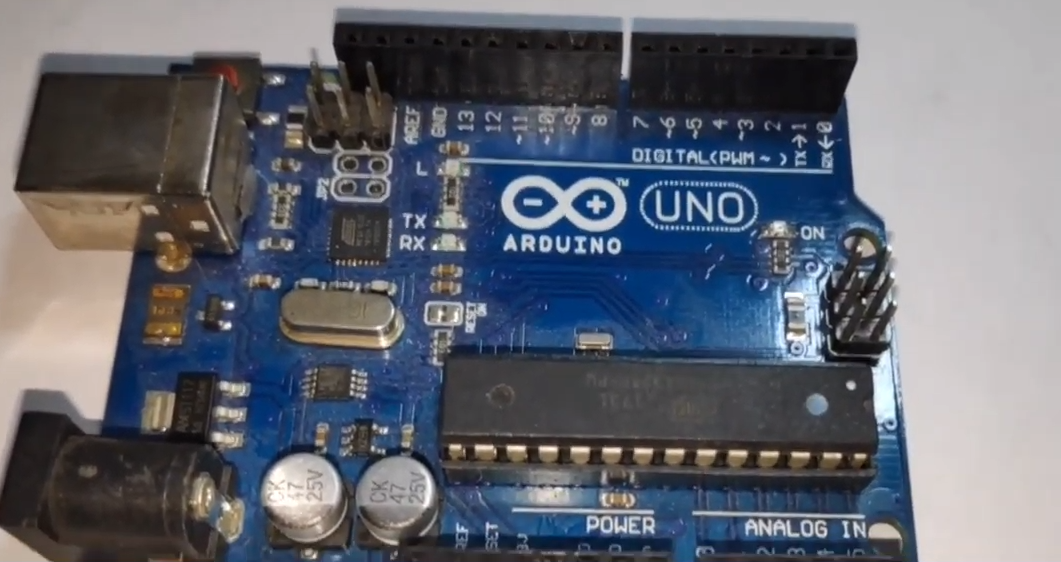
Arduino UNO,
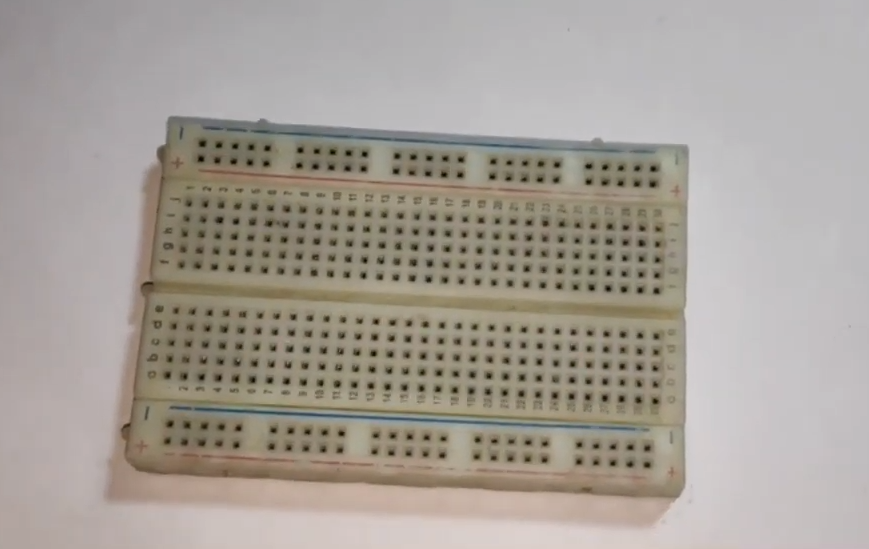
Breadboard,
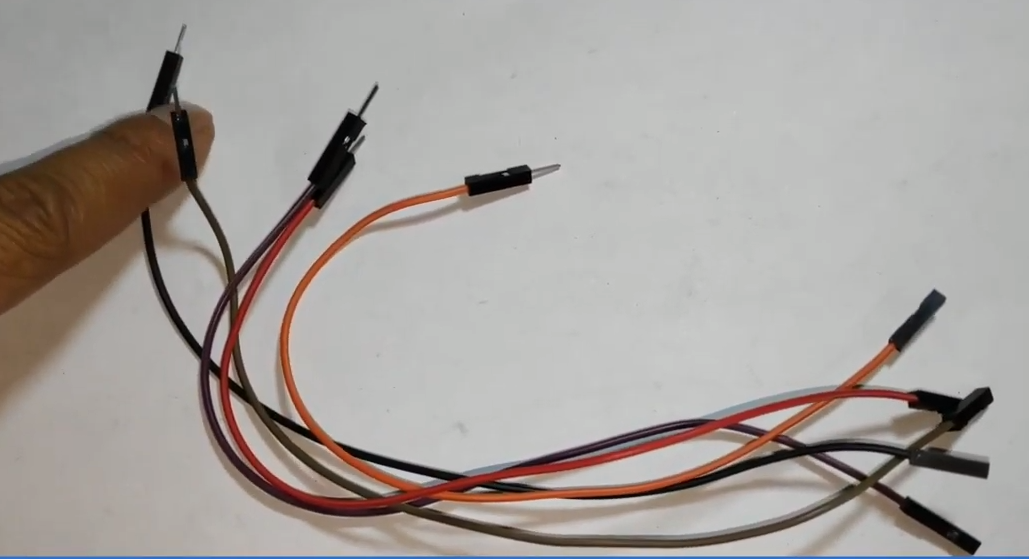
Jumper wires,
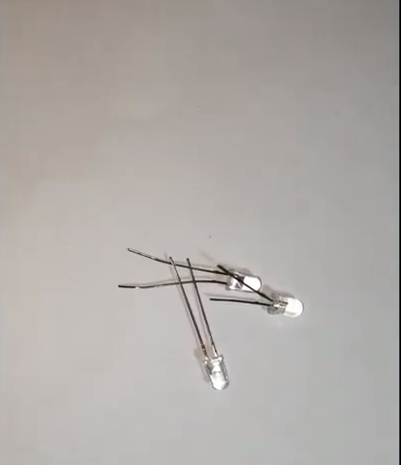
LEDs
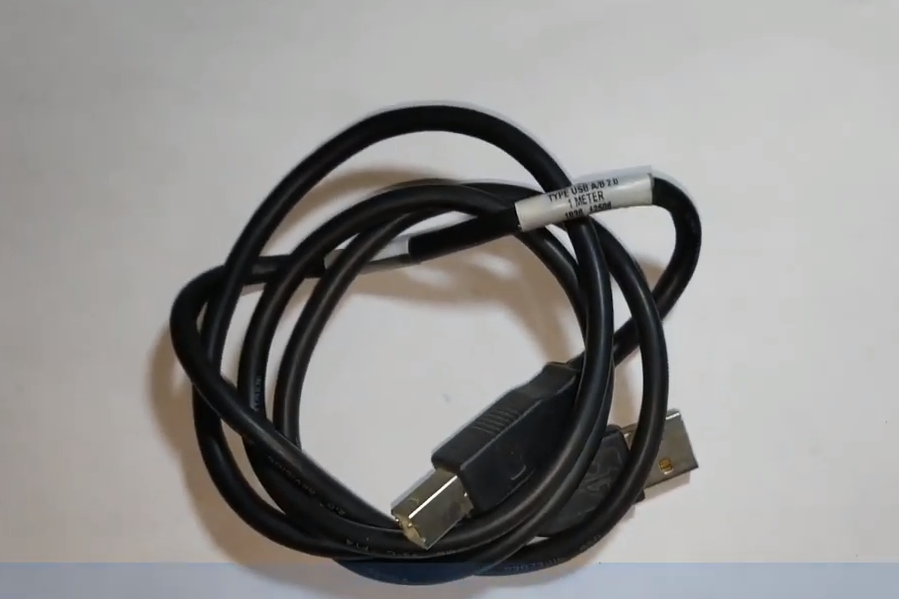
Programming cable,
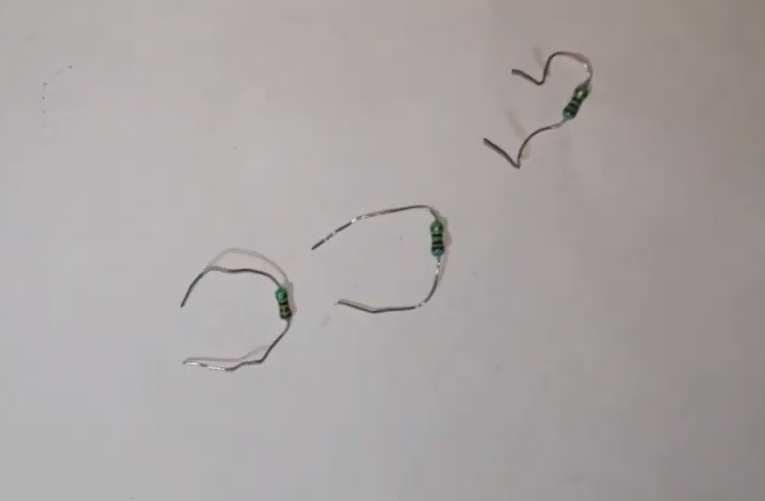
220ohm resistors,
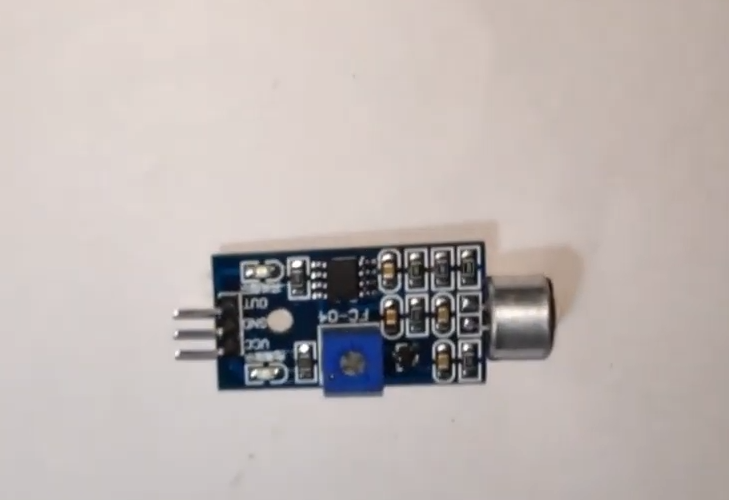
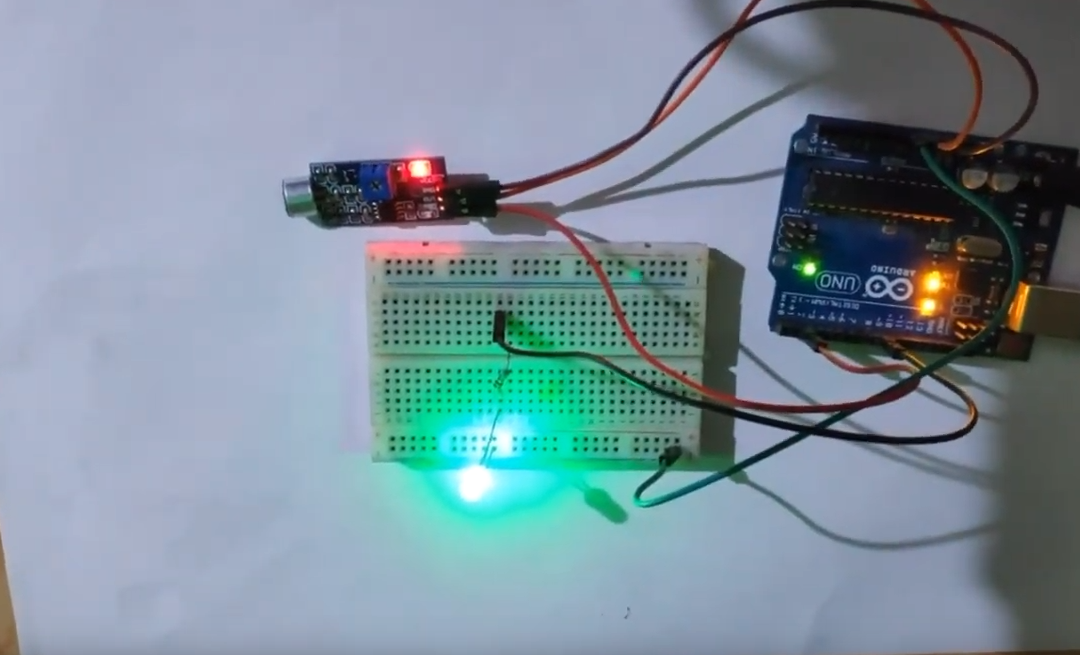
Sound sensor,
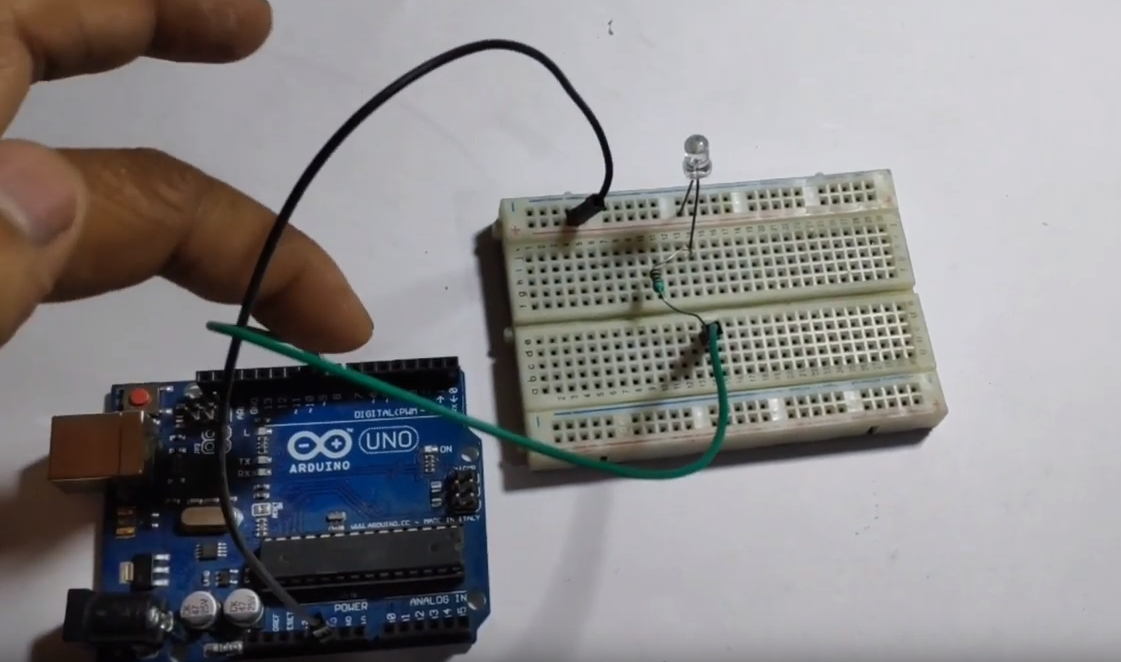
✦Step 2:On a breadboard, connect LEDs+ve leg with 220ohm resistor.
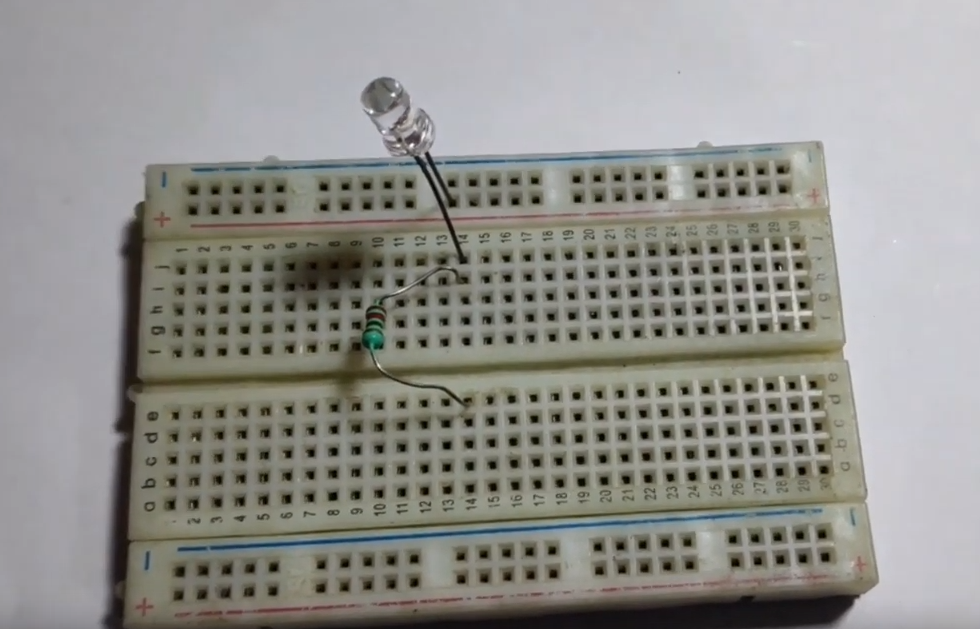
✦Step 3:Small leg of led is -ve, with the help of jumper wire connect it with GND of arduino.
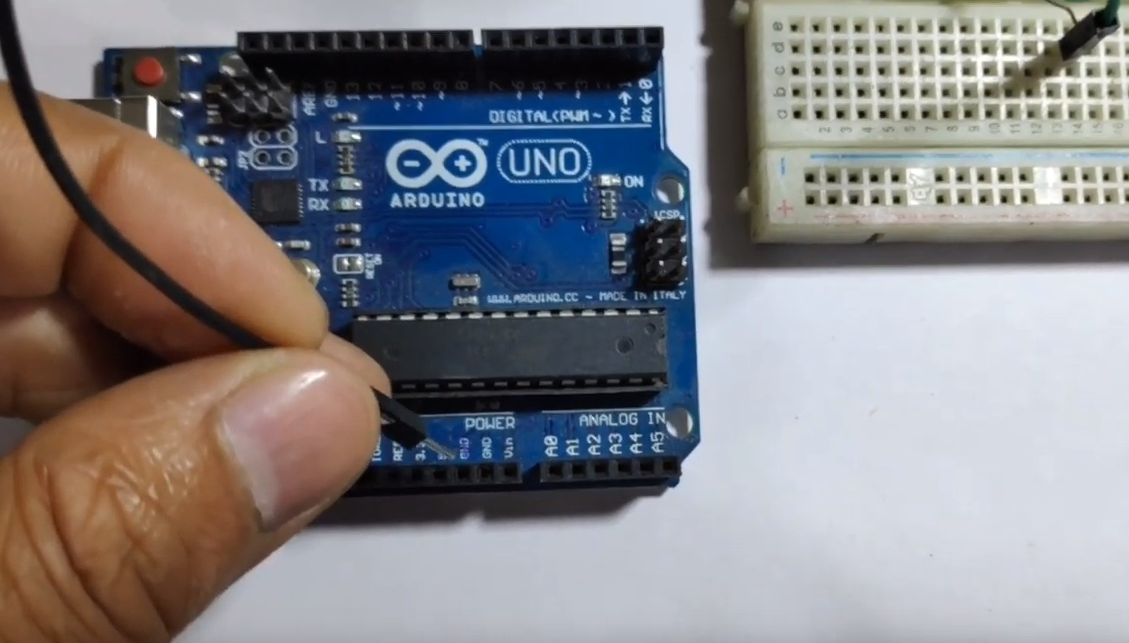
✦Step 4:Connect a jumper wire to the +ve end of resistor and then connect it with arduino pin9.
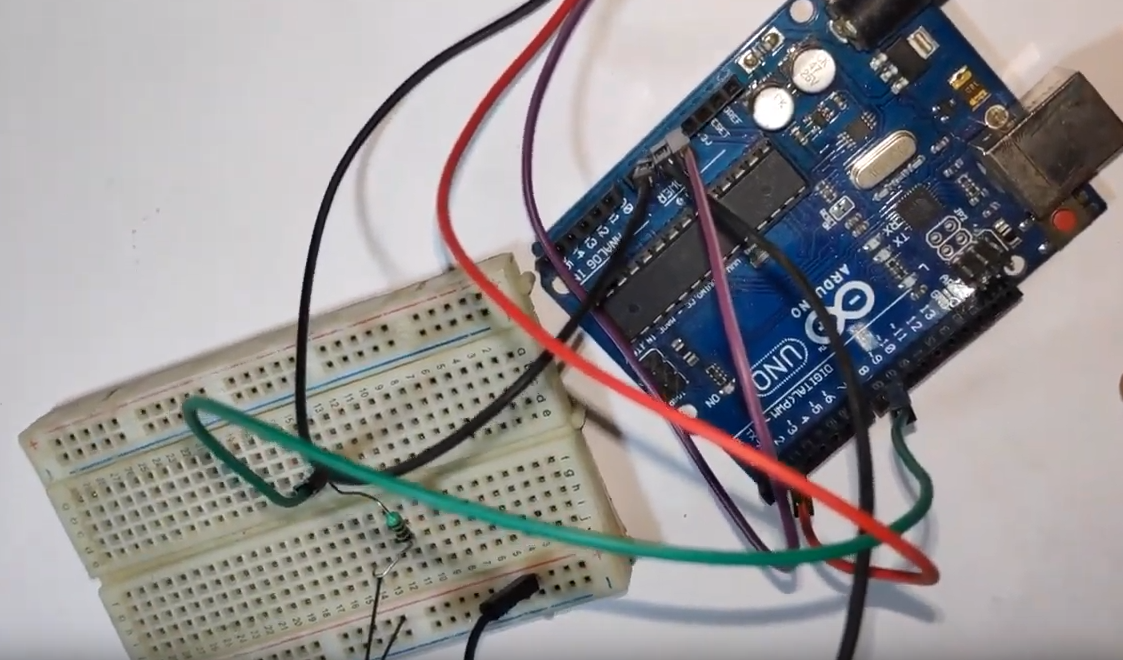
✦Step 5:Connection:
arduino sound sensor
pin no2. out
vcc vcc
gnd gnd
✦Step 6:Coding as in the pic.

✦Step 7:Test
Video on Youtube:

 hIOTron

 Giulio Pons