Close
0%
0%

Color Stealing Fairy

A collection of wirelessly connected color changing costume pieces, controlled by a 'magic' color sensing wand.

Similar projects worth following
A collection of connected color changing costume pieces, inspired by the scene in Disney's Sleeping Beauty where Aurora's fairy godmothers are fighting over the color of her gown. The costume is controlled by a 'magic wand' with an embedded color sensor that broadcasts its readings wirelessly to a dress and headpiece.I’ve been working on the prototype since September 2017 and am enjoying the process of making continual improvements in code and design. The project originally involved an upcycled wedding dress with embedded LEDs in the bodice. The headdress and a prototype of the wand were created for Halloween 2017 and the wings and version 2 of the wand with a custom 3D printed adjusted parts were created for Maker Faire Bay Area 2018. I'm currently working on an updated version of the headdress utilizing 3D printing and rebuilding the wand and wing base for added durability and ease of replication.


Hardware in the wand:

Hardware in the headpiece:

Hardware in the wings:

  • Adafruit Feather RFM69
  • Adafruit NeoPixels Mini Skinny NeoPixel Strip
  • The wing panels were designed in Adobe Illustrator and laser cut out of EVA foam and Delrin.
  • The fabric is an iridescent polyester with iron on vinyl details.
  • The wing base was designed in Adobe Illustrator and imported into Fusion360 for modeling.
  • The wing panels terminate in 3 pin JST connectors that plug into the hardware in the base.
  • The center 'bubble' is plastic bath bomb mold sprayed with frosting spray and placed over a NeoPixel ring.

  • Hacking a Wedding Dress with LEDs

    Angela Sheehan10/30/2019 at 04:03 0 comments

    The first item in the collection that I started working on back in September 2017 was a hacked wedding dress. I had my heart set on creating some kind of color changing dress in this project and spent a few weeks trying on wedding dresses at thrift stores until I found the perfect one:

    I really loved the beaded appliqué and they would be a great design element to strategically embed LEDs into. Most importantly, it fit without major alterations (which rarely happens when I shop for formalwear at thrift stores). 

    After saying yes to the dress, I set out brainstorming LED integration. Rather than install LED strips underneath the fabric for a diffused glow, I chose these low profile addressable RGB LEDs from SparkFun to integrate throughout the beadwork.

    LED - RGB Addressable, PTH, 5mm Clear (5 Pack)
    Image Credit: SparkFun Electronics (CC-BY-2.0)

    In the end, the effect was quite nice, but I didn't realize how much work I was truly in for...

    The Great LED Install

    To prepare the LEDs, I used nail polish to color code each of the legs for when I poked them through the fabric. The ends weren't quite sharp enough to pierce through layers of the thick bridal fabric and occasional sequins, so I pre-punched the four holes using a large needle. 

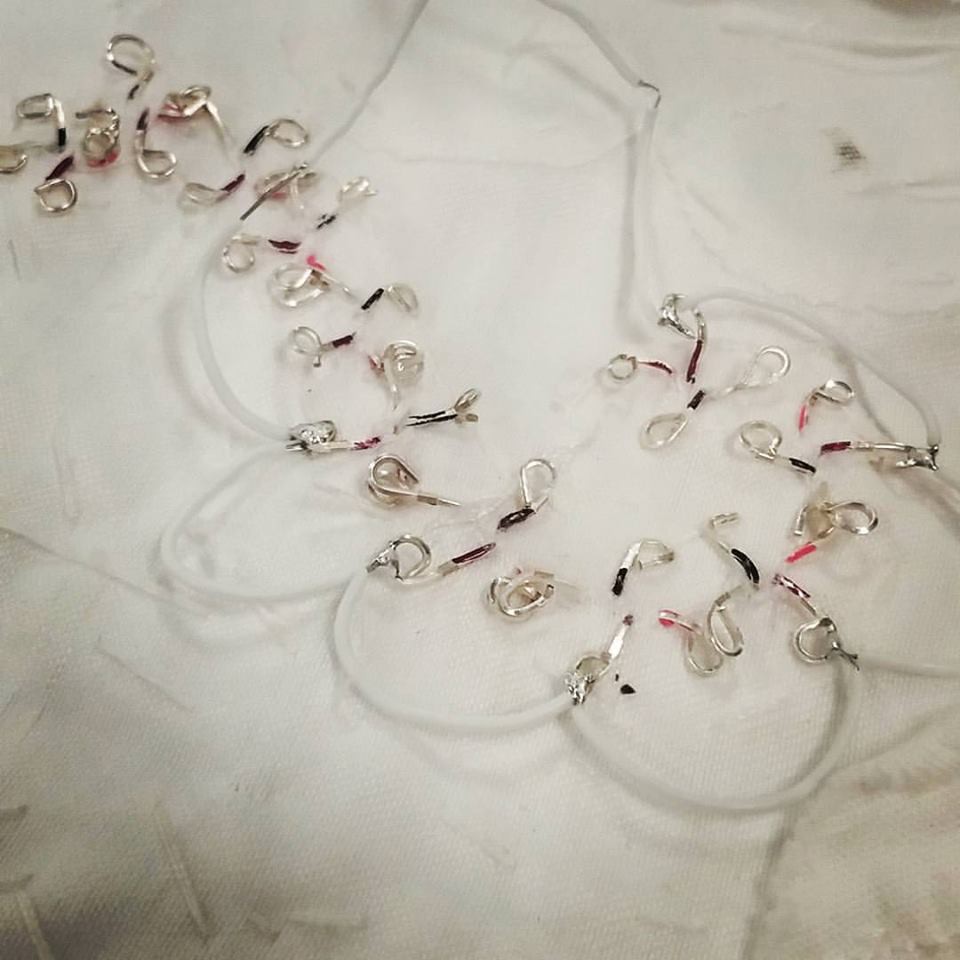
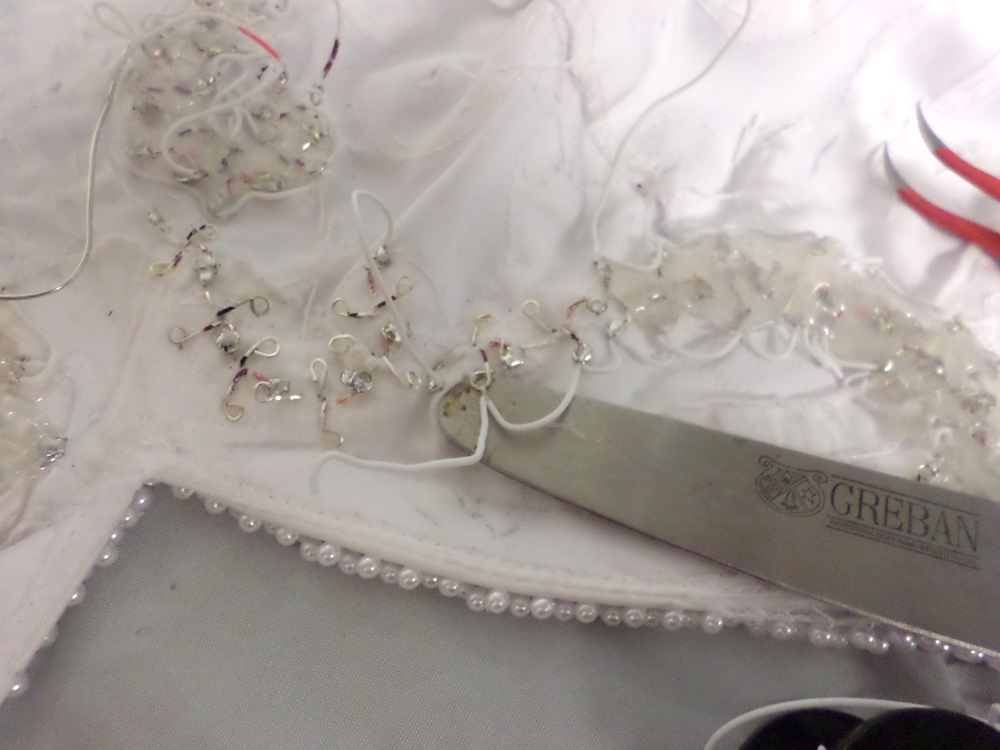
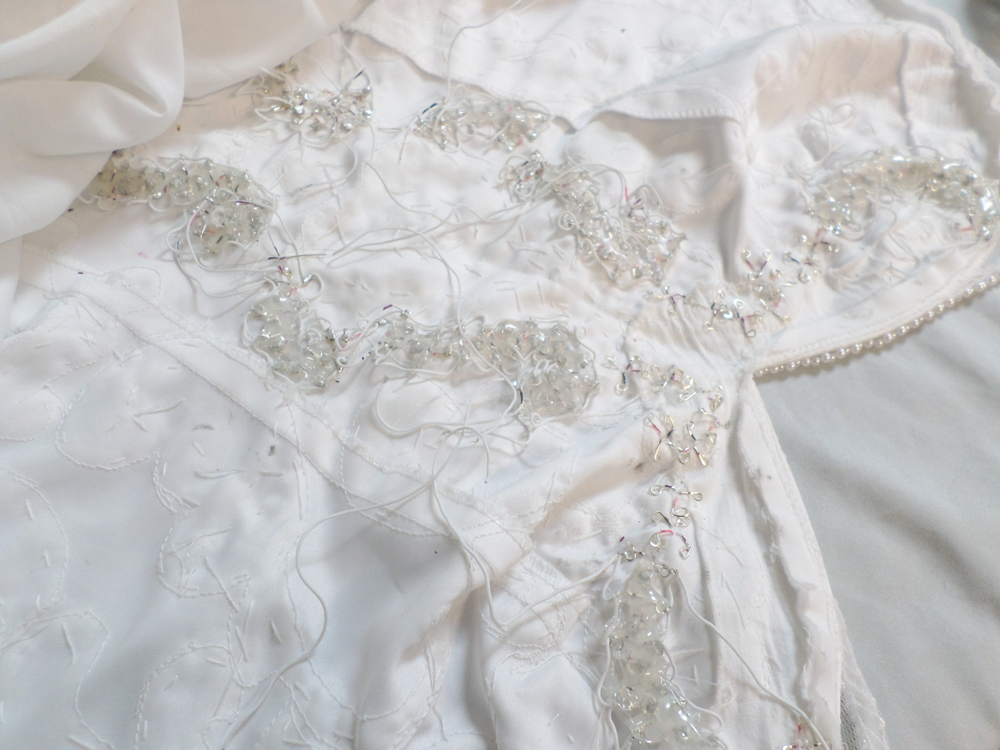
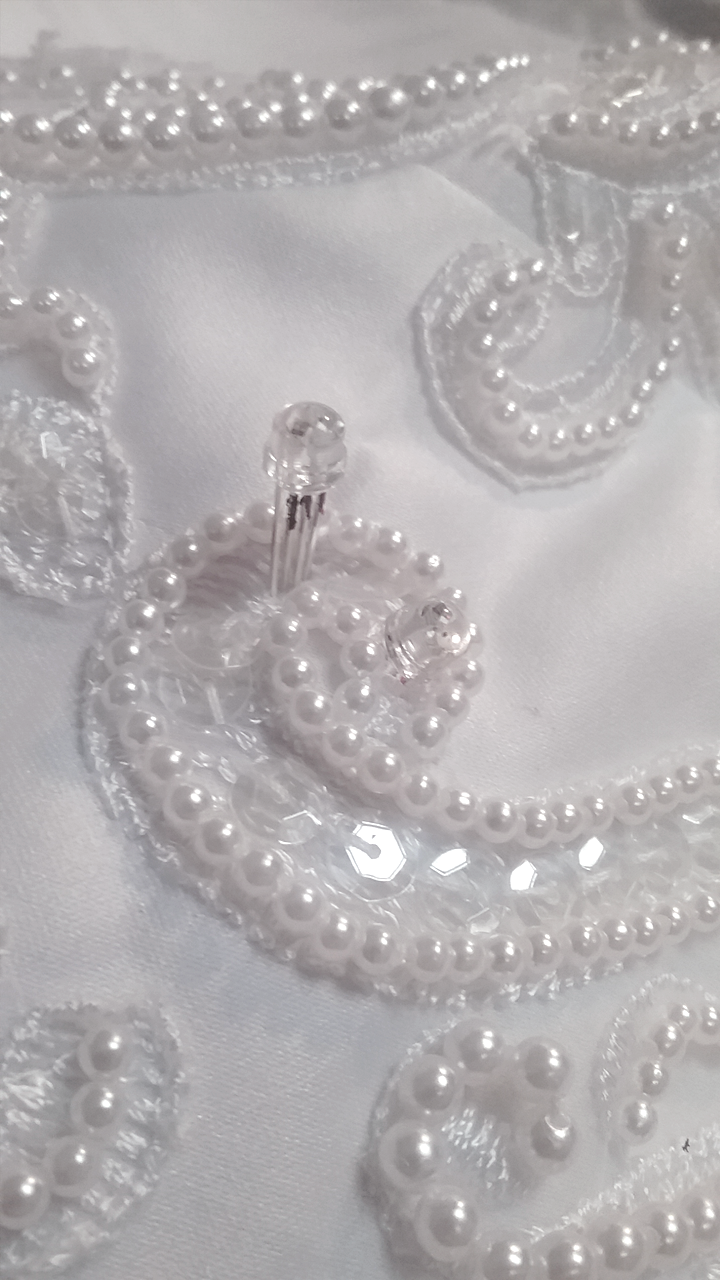
    After pressing the LED flat agains the fabric, I flipped the dress inside out and used pliers to bend the legs flat against the fabric to hold it in. 
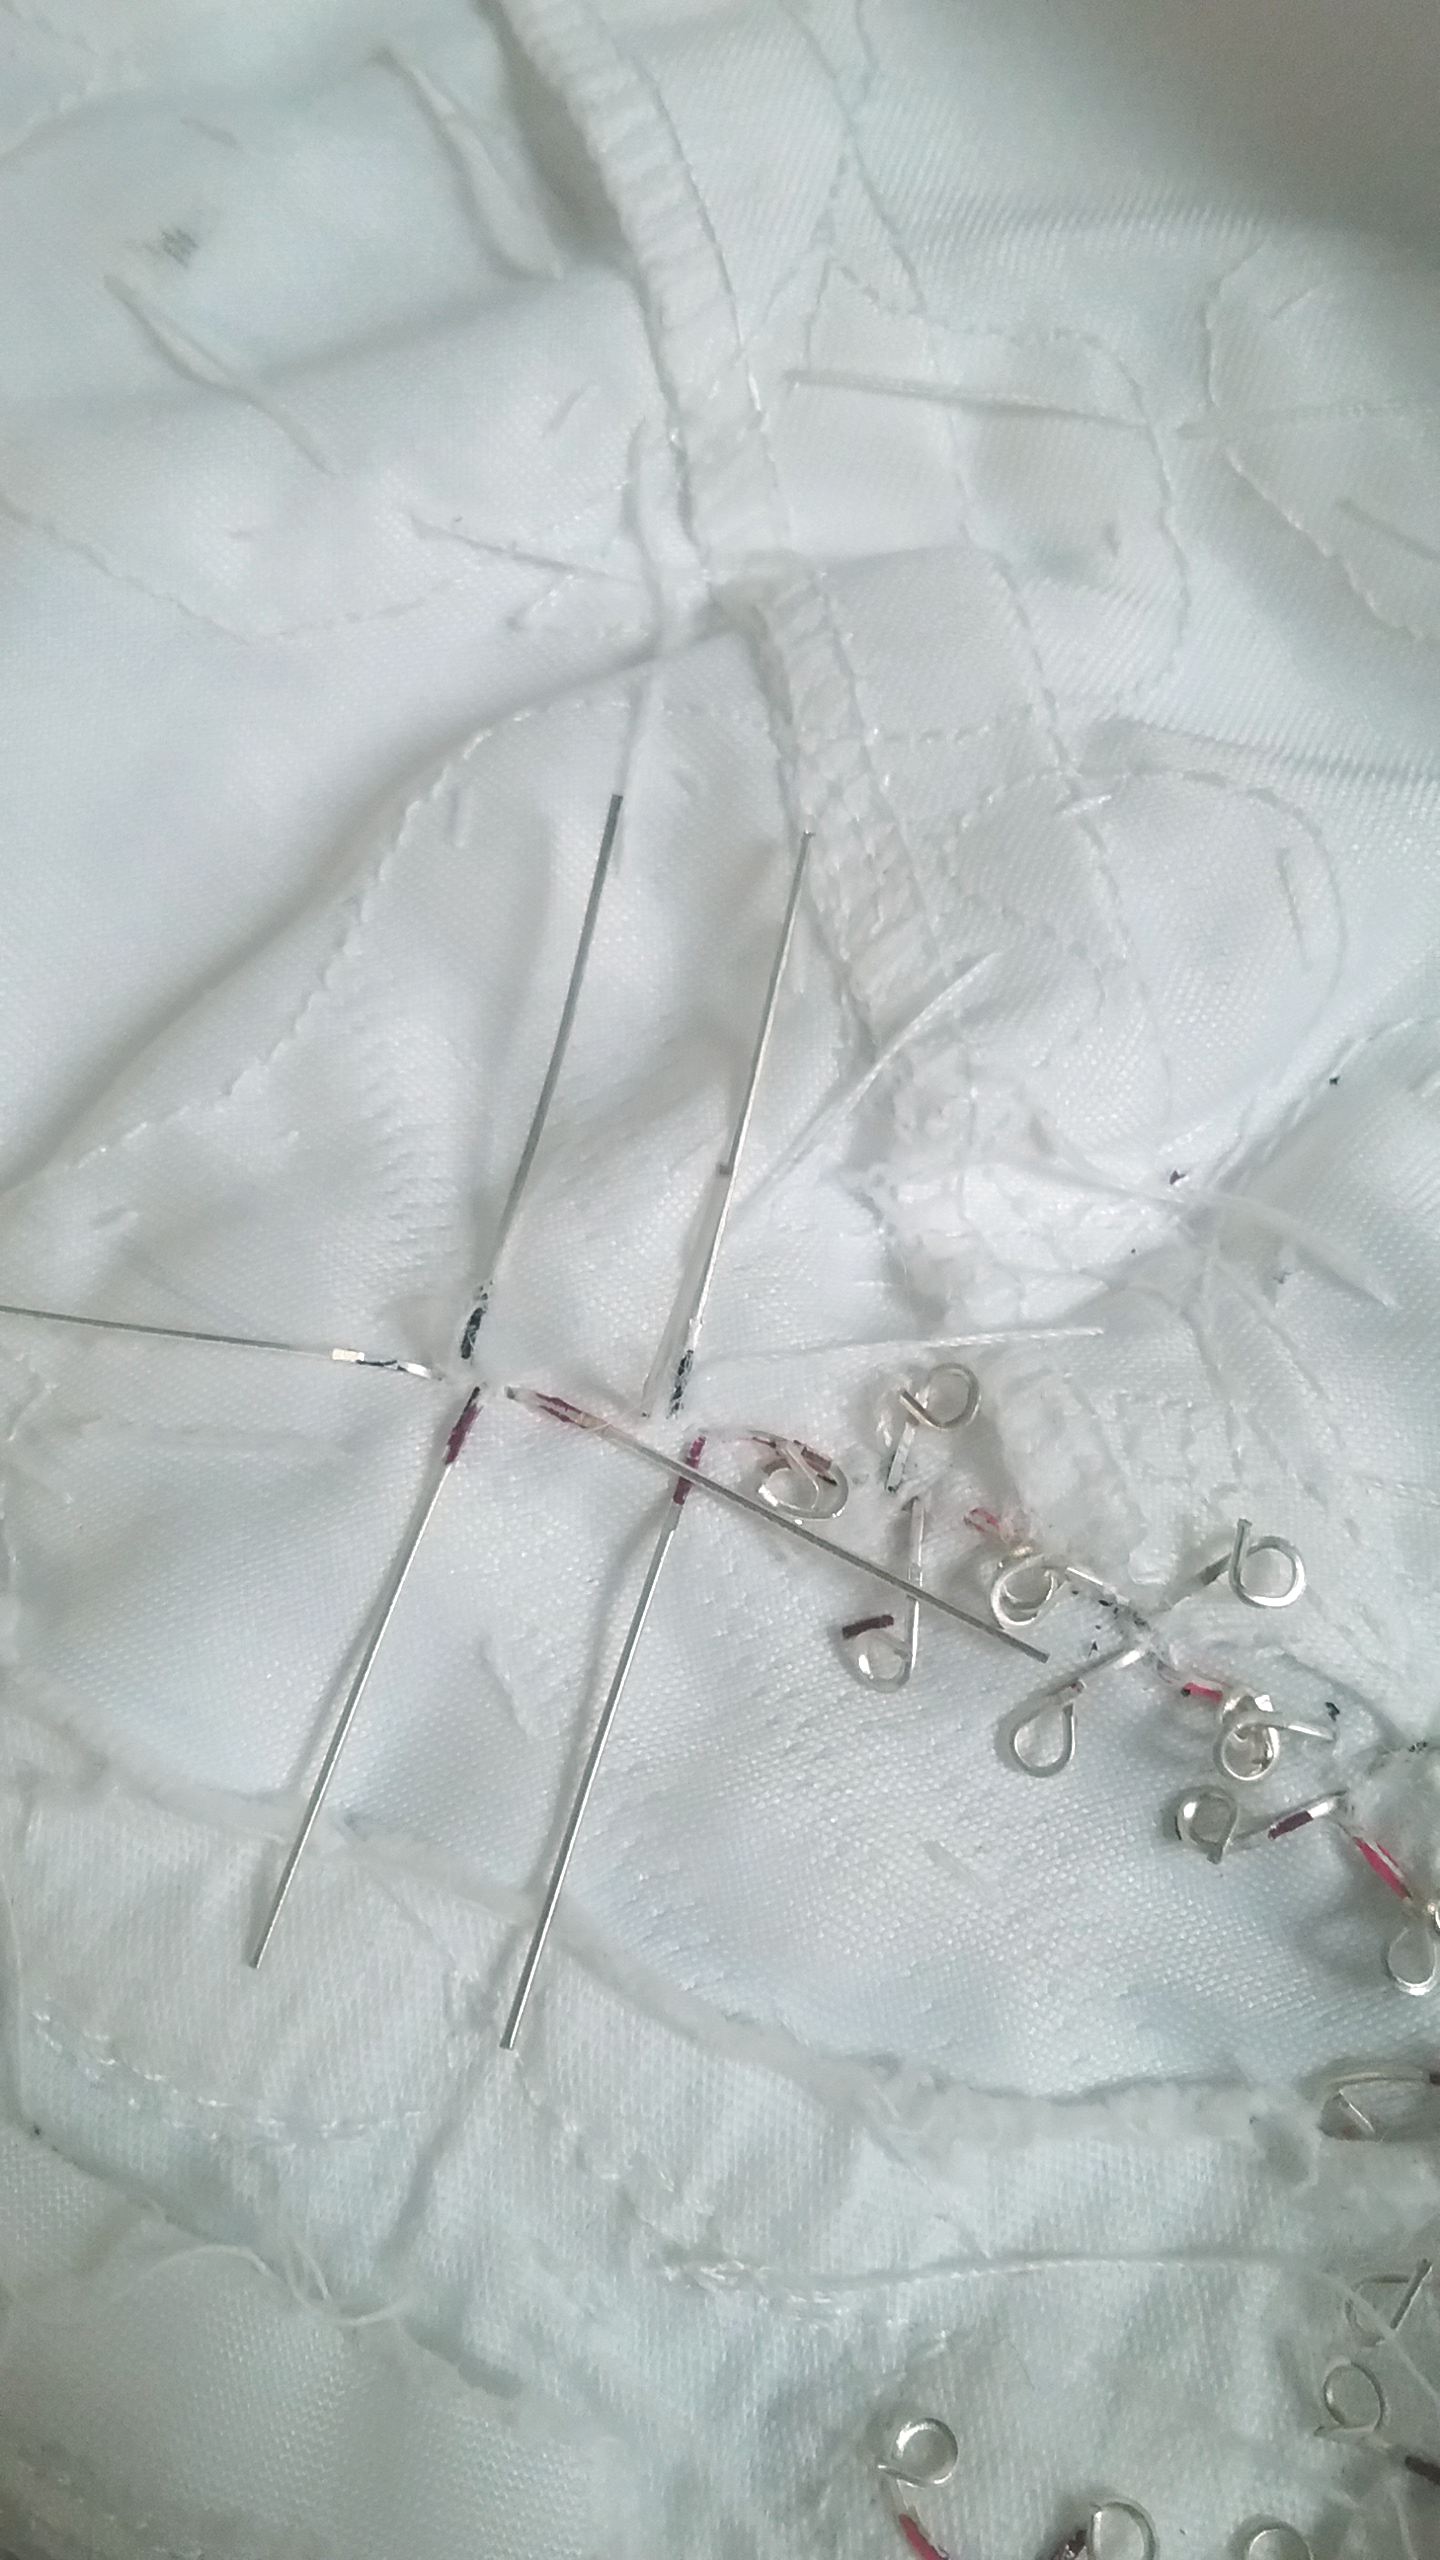
    To create an easier area to solder to, I spiraled each leg into a circular shape.

    I configured the line of LEDs along the inside of beaded spiral details on the dress with all ground lines to the right, power to the left, and chaining the data lines along the middle. I then painstakingly soldered each row with silicone covered stranded wire.

    Pleased with how the first rows turned out, I continued to solder and test more and more until I ended up with two rows cascading down the dress, for a total of 94 LEDs.

    To prevent scorching on the fabric while I soldered the LEDs together, I used a stainless steel spatula inserted behind the area I was working on. 

    When turned off, the LEDs blended beautifully with the beading, I was really happy with how they turned out. The bodice of the dress had some structure to it (not quite a corset) that felt sturdy enough to discourage too much stretching or bending while wearing which would put strain on the LEDs. 

    To try and prevent any shorts I covered the whole thing in hot glue, a plan which I almost immediately regretted after some of the LEDs snapped near the base and needed to be pulled and replaced. Lesson learned.

    I am now actively exploring options for creating breakout boards for these LEDs that will act as a baseplate but that are still small enough for wearable use. The LEDs can easily snap at the base and need to be replaced after a lot of folding or bending over.

    Power Management Woes

    After getting carried away with the LED install and short tests of each batch, I realized these things would be a hassle to power with the tools I had been using. My initial build of the dress tried to use a Qduino Mini and 3.7v LiPo which was pretty insufficient. Up until this point I had been testing using the USB connection to my laptop or a wall wart, and it wasn't until demo day that I tried it on battery power.

    Not pictured in the above images are some capacitors I later placed at the neckline.

    At the time, I  was unable to get everything working consistently with the power source I had available for our big Halloween party at my office. The stress of a deadline (plus a last minute bout of the flu on the week of Halloween) left me in a fog where I was just not ready to hack on it anymore and ran out of time to grab alternative options for power.

    I set the project aside for a time while I worked on upgrading the wand and building the wing accessory. The dress didn't fit me after some weight gain over winter 2018 so it was de-prioritized until I could wear it comfortably...

    Read more »

  • The build so far...

    Angela Sheehan10/28/2019 at 04:13 0 comments

    I'm finally getting around to some proper documentation of this project to prepare for my talk at Superconference 2019. In preparing my slides I realized I hadn't published most of the build photos I have been taking over the past two years, other than a few select moments to Twitter and Instagram.  Stay tuned for detailed logs on how I built each of the components of the project and where I'm going next.

View all 2 project logs

Enjoy this project?

Share

Discussions

Alex West wrote 12/16/2019 at 15:11 point

This is really interesting. My friend from https://scratchcards-now.com/scratchcard-games-online/ told me about it. I like it, thanks for sharing!

  Are you sure? yes | no

Øystein wrote 10/28/2019 at 07:32 point

What an inspiring project! It will be exiting to see the build logs.

  Are you sure? yes | no

Similar Projects

Does this project spark your interest?

Become a member to follow this project and never miss any updates