 UTSOURCE
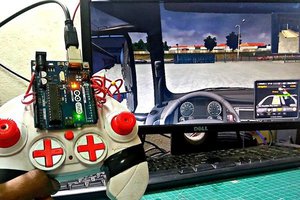
Hello guys, playing games is always fun but playing with your own DIY custom game Controller is more fun.
So we will make a game Controller using arduino pro micro.
So a word of advice here is : please don't try this project with Arduino Uno because Arduino Uno is not capable of HID (Human interface devices) which means Arduino Uno can't be used to make Projects like keypad, mouse, keyboard, game pad etc.
So for the Projects like : keyboard, mouse and game Controller, we have two arduino boards which are capable of doing these kinds of Projects. Arduino Pro micro and Arduino Leonardo are capable for doing these kinds of projects.
So for our game Controller Projects we will use Arduino pro micro here but if you have Arduino Leonardo then that will work as well.
For this game Controller i will be using push button switches as input because they are easy to get anywhere and easy to use but if you want to use any other kind of input you can use it but make sure that your inputs will work with the codes.
So we need 10 switches for 10 inputs and we need to connect these switches According to the above shown schematics so please help yourself with the above schematics and connect everything According to it.
To put it all together we need to make a PCB for it so that we can connect everything together. I used Fritzing for the PCB designing purpose.
You can download the Gerber files from the below link.
Download code, schematics, Gerber :
https://github.com/shveytank/Arduino-Game-Controller
So after getting PCB manufactured we need to assemble it all together by soldering the pin headers and and switches on the PCB. And put Arduino pro micro on the PCB.
So in the coding section we need to program this board for the Switches for the shown input of keyboard as shown in image and i already wrote code According to it so download if from the link below.
Download code, schematics, Gerber :
https://github.com/shveytank/Arduino-Game-Controller
And then make sure you installed sparkfun Boards in your PC and if not please go to sparkfun page and follow the instructions and installed sparkfun boards in arduino IDE.
Then upload the code to your arduino board.
After uploading the code please connect the USB cable to PC and after connecting open any game you like well i am using tekken here and you can start playing.
So have fun with making your own DIY game Controller.
 prabeenraj01
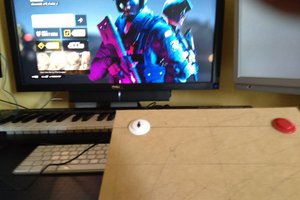
 Juan M. Casillas
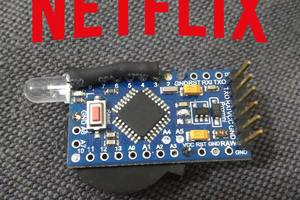
 Bernhard "HotKey" Slawik