Sponsor Link:
UTSource.net Reviews
It is a trustworthy website for ordering electronic components with cheap price and excellent quality.
Setting it up
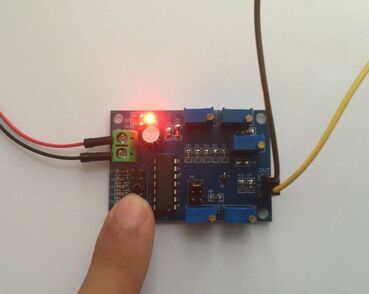
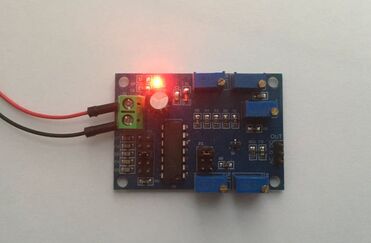 1. Firstly, to power up the ICL8038 Signal Generator, you will need a constant DC power supply supplying 12 to 15 volts, which can be fed into the two input terminal blocks located on the module, marked "VCC"(+) and "GND"(-).
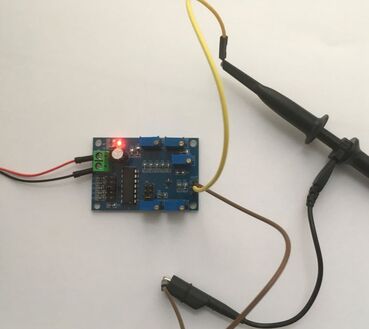 2. After powering up the generator, you can connect output wires from the output signal pins of this module to your oscilloscope or application circuit with either the pure signal output or the DC bias output, but make sure to connect your ground lead first.
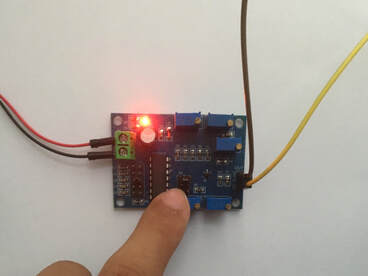
 3. Now, use the jumper as indicated by the picture above to select which type of signal wave you would like to output: sine, triangle or square wave.
 4. After you've done that, use the jumper as indicated by the picture above to select which frequency range your signal would like to be within, all depending on your application: 10Hz - 450Hz, 90Hz - 1.5kHz, 950Hz - 15kHz, 6kHz - 120kHz or 20kHz - 450kHz.
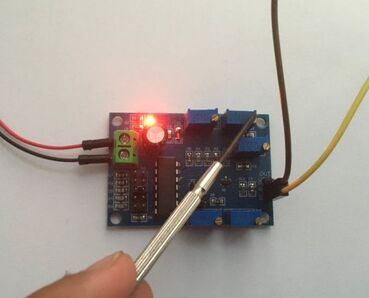
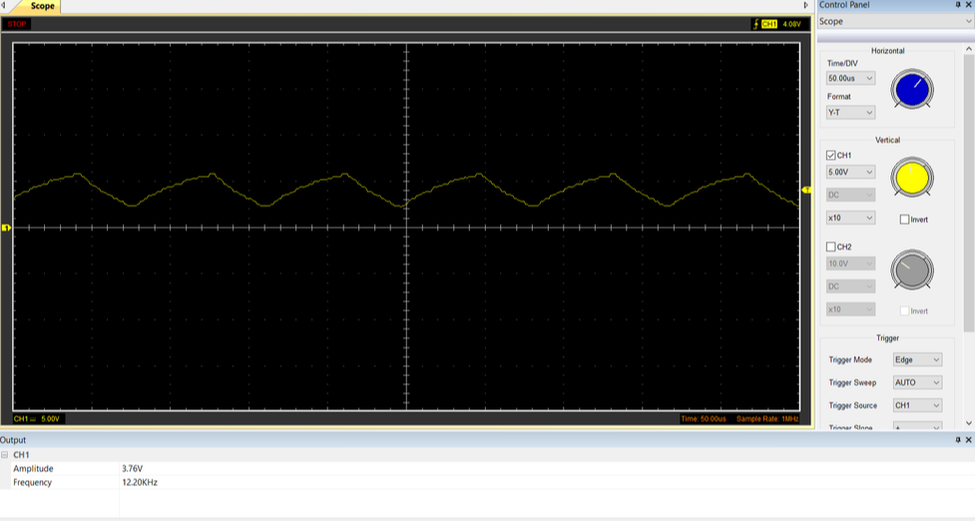
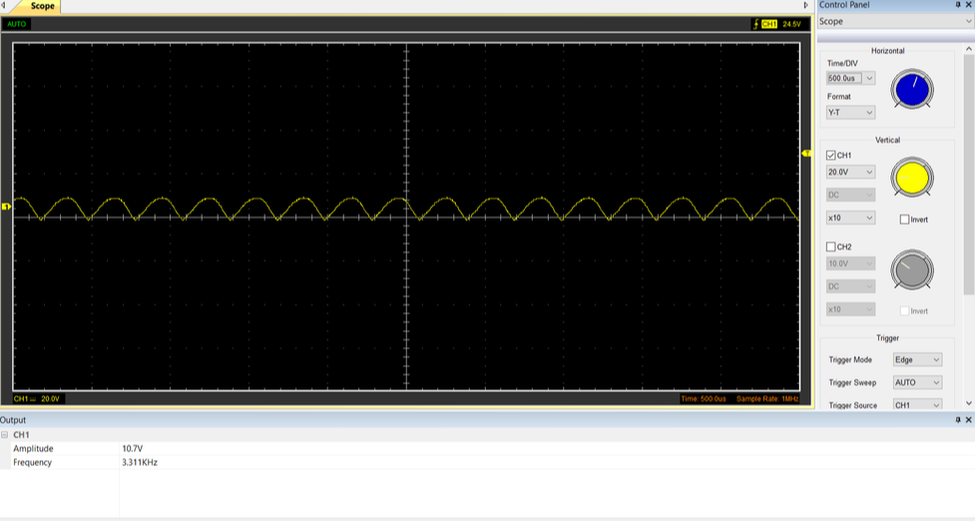
 5. From there, use the frequency regulation potentiometer on the module to alter the output signal frequency within that frequency range as selected by the jumper.
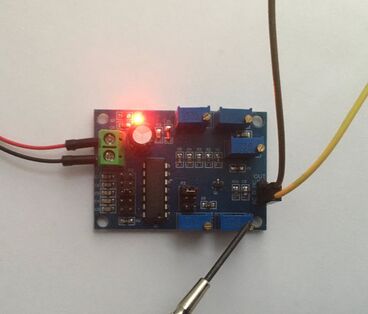
 6. After changing the output frequency to what you desire, you can use the output amplitude regulation potentiometer to change the amplitude (voltage) of your signal, which depends on your supply voltage also. There is no jumper to change the amplitude range so just turn the potentiometer to increase or decrease the amplitude of your waveform.
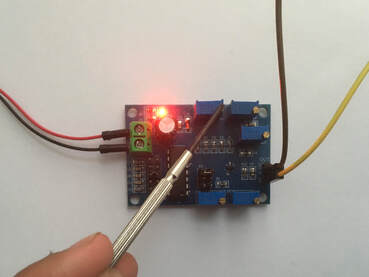
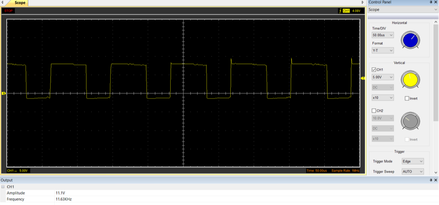
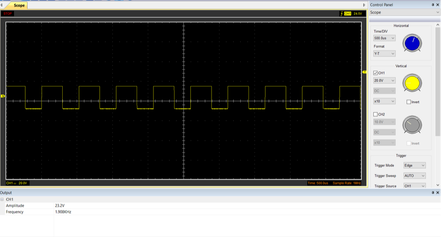
 7. Additionally, if your output signal is a square wave, you can use the square wave duty ratio regulation potentiometer, as shown by the image above, to change how long the square wave stays HIGH or LOW for, which can be useful for timing applications and circuits.
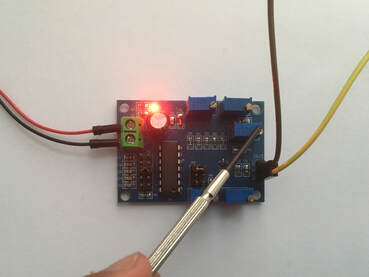
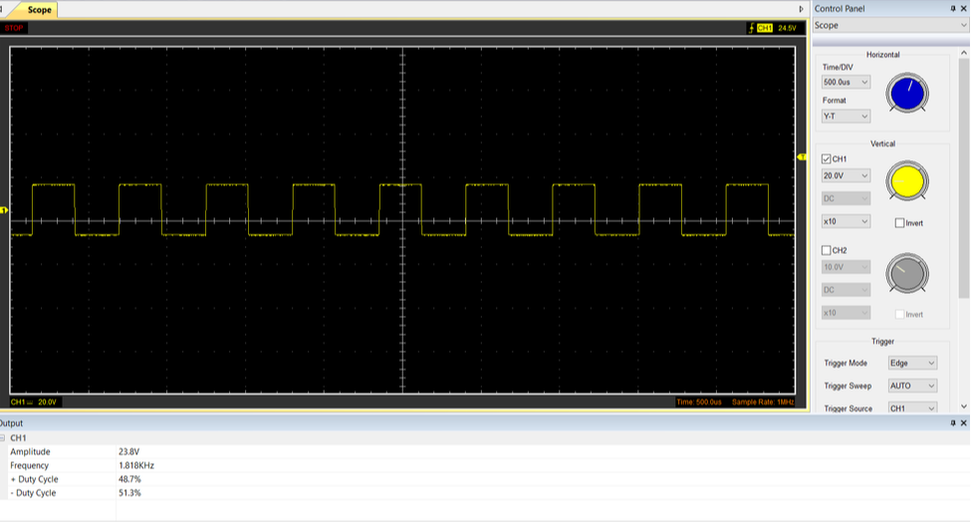
 8. On top of changing the duty ratio for a square wave, this signal generator allows you to also change the linearity and form of your square wave with its square wave linear regulation potentiometer. This feature helps you to really get that perfect square wave form which is ideal for accuracy in your projects, especially when switching from HIGH to LOW rapidly so turn the potentiometer and experiment with it for a bit to find that sweet spot.
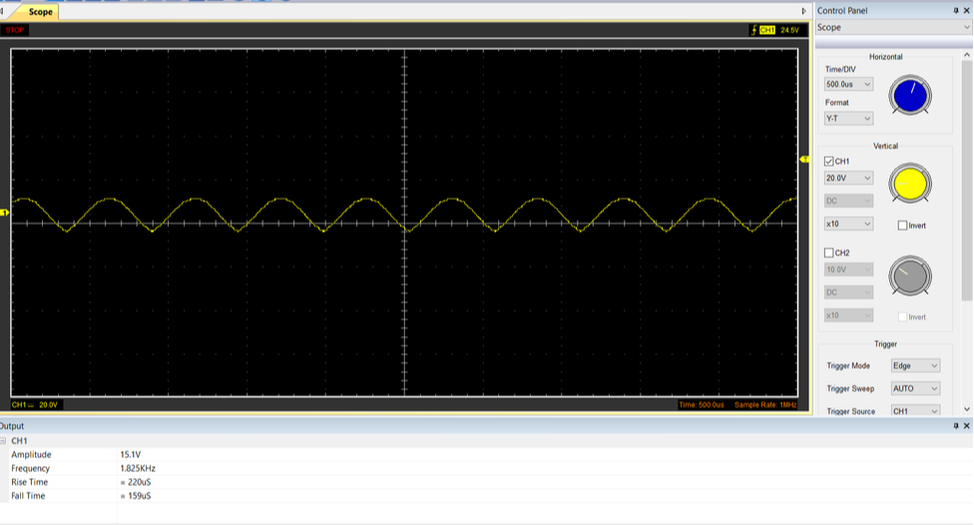 9. Lastly, if your output signal is a sine wave, you can also change its linearity and form of your sine wave with the sinusoidal linear regulation potentiometer which, like the square wave linear regulation potentiometer, helps you to achieve that perfect sine wave form. A clean, smooth sine wave is necessary for projects like op-amp circuits as you will need a decent input signal to receive a decent, amplified output signal. Now, this wraps up everything which you need to know about the ICL8038 Signal Generator.
Conclusion
Now that you have received a brief, overall tutorial covering all the basic functions on ICStation's ICL8038 Signal Generator, from my experience, this product comes extremely handy if you want a portable, affordable signal generator for hobby electronics projects instead of a high-end, more expensive generator. Especially when prototyping breadboard circuits involving certain ICs or testing PCBs, the ICL8038 can be useful as an input signal source but the only downside of it is that there is no visual display to indicate its output information thus, you will need an oscilloscope or frequency counter to measure its frequency, amplitude, duty ratio, etc. Overall, the ICL8038 seems like a solid piece of test equipment which definitely has its place in my lab for the time-being!
Amazing opportunities
Also, be sure to check out PCBWay, a leading manufacturer and distributor in PCB design and manufacturing. They have amazing prices and excellent quality in their services, so don't miss out on them! Plus, PCBWay has an amazing website, online Gerber viewer function and a gift shop so make sure to check out their links below:
PCBWay Free Online Gerber Viewer Function: ...
Read more »
 Elia
Elia
 j
j
 David Levi
 Ringo2k