 Jeff Cooper
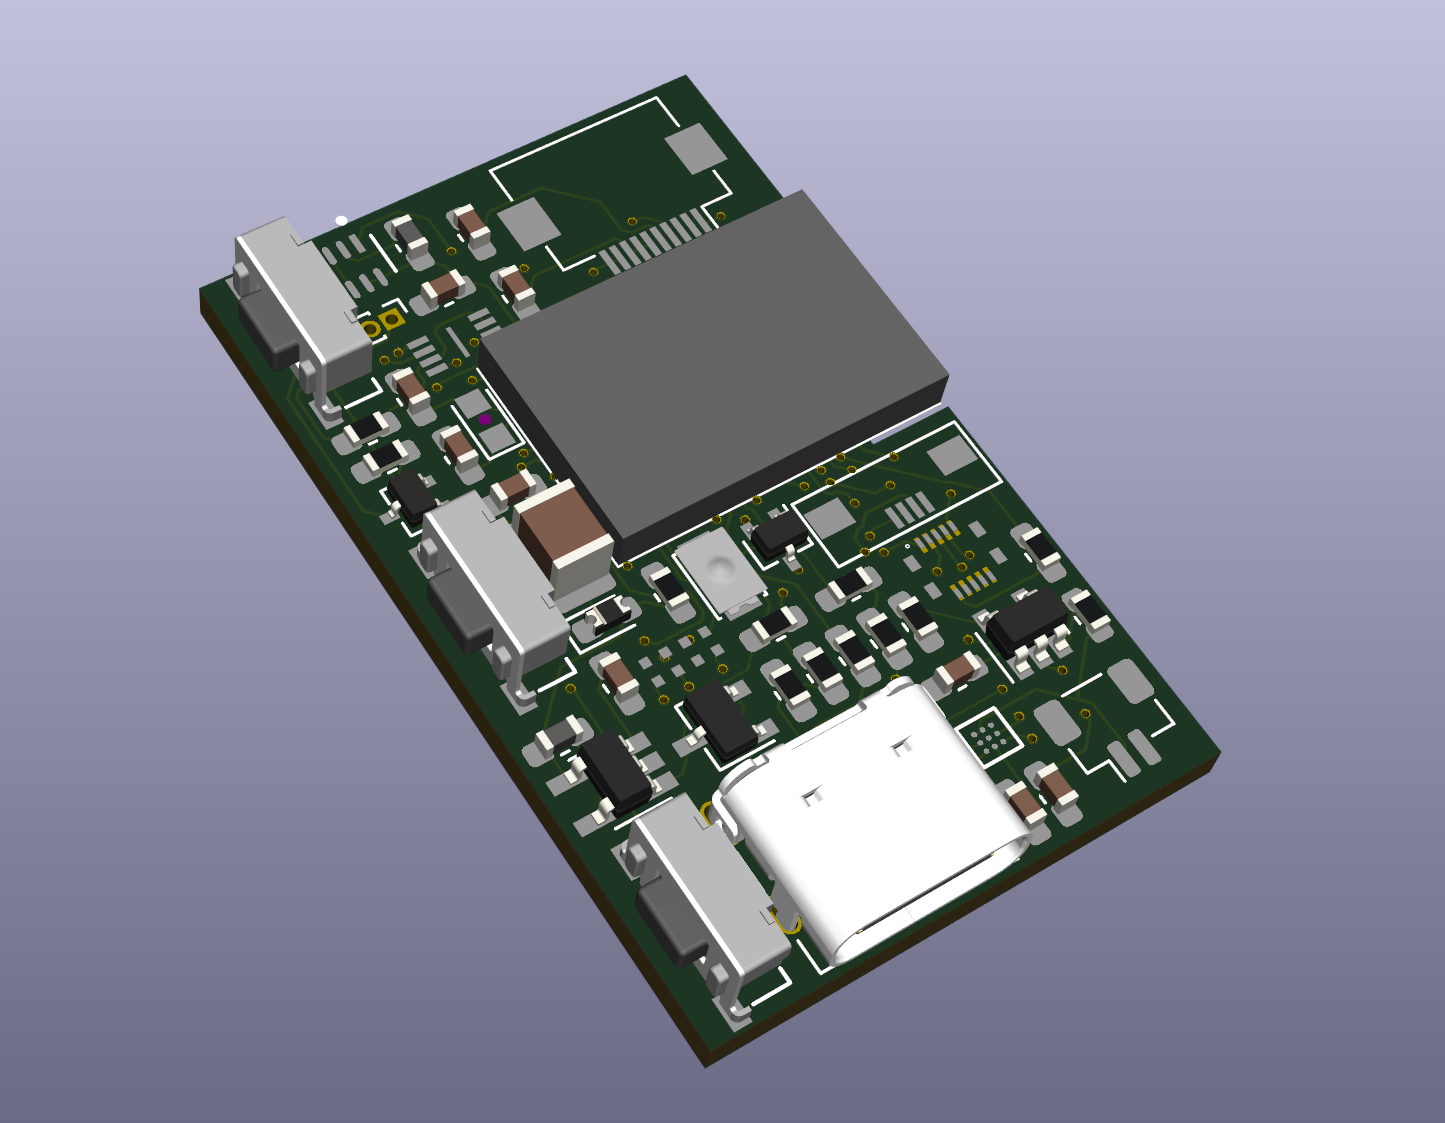
This post is more of a teaser than anything else. I just finished routing the mk2-rev2 board. Due to the way that the PCB has to fit into the case for this design (more on that in the next few days, as I finish the CAD), the back of the board had to be completely flat. This meant that all of the components had to go on the top, which led to the densest board I've ever designed. There's not even space for silkscreen reference indicators on the top layer, which means that populating this board would be a huge pain. Because of this, I'm probably going to have JLCPCB populate the 0603 capacitors, resistors, and diodes. The remaining components aren't in their parts library, but they're distinctive enough that I won't have any trouble placing them by hand. The bottom of the board is totally flat, which means I won't have any issues using my trusty reflow-in-a-frying-pan technique.
Because the top layer of the board is completely stuffed, I couldn't use it as a VCC plane like I normally do. Rather than spaghetti power traces all over the board, I elected to instead set up a four-layer board for the first time. The inner layers are my power planes, and the outer layers are purely signal. This made routing way easier, since I could effectively ignore power and ground until the end and not worry that I was going to end up with power-plane-islands.
One tradeoff I had to make with this design is that I can't directly attach to the PCB anything on the outside (hand-facing side) of the watch. The reason for that will be clear when I post the renders of the full stackup, but the tl;dr is that the lighting module on the display gets in the way. This is where I plan to put at least one button and the flashlight. so I included a low-profile board-to-board connector (it's one of the unpopulated components in the above render). My plan is to get a short flexible PCB fabricated by OSHPark that holds the flashlight LED and possibly a button or two; the flexible material will be able to clear the bump and then bend to mount into the side of the watch.
Discussions
Become a Hackaday.io Member
Create an account to leave a comment. Already have an account? Log In.