I decided to put all electronics (incl. photoresistor and Arduino) on a circuit board. This can be attached to one side of the water tank, while the laser LED will be on the other side - maybe together with a battery pack. Some cables will have to run around the backside of the water tank.
Circuit Board
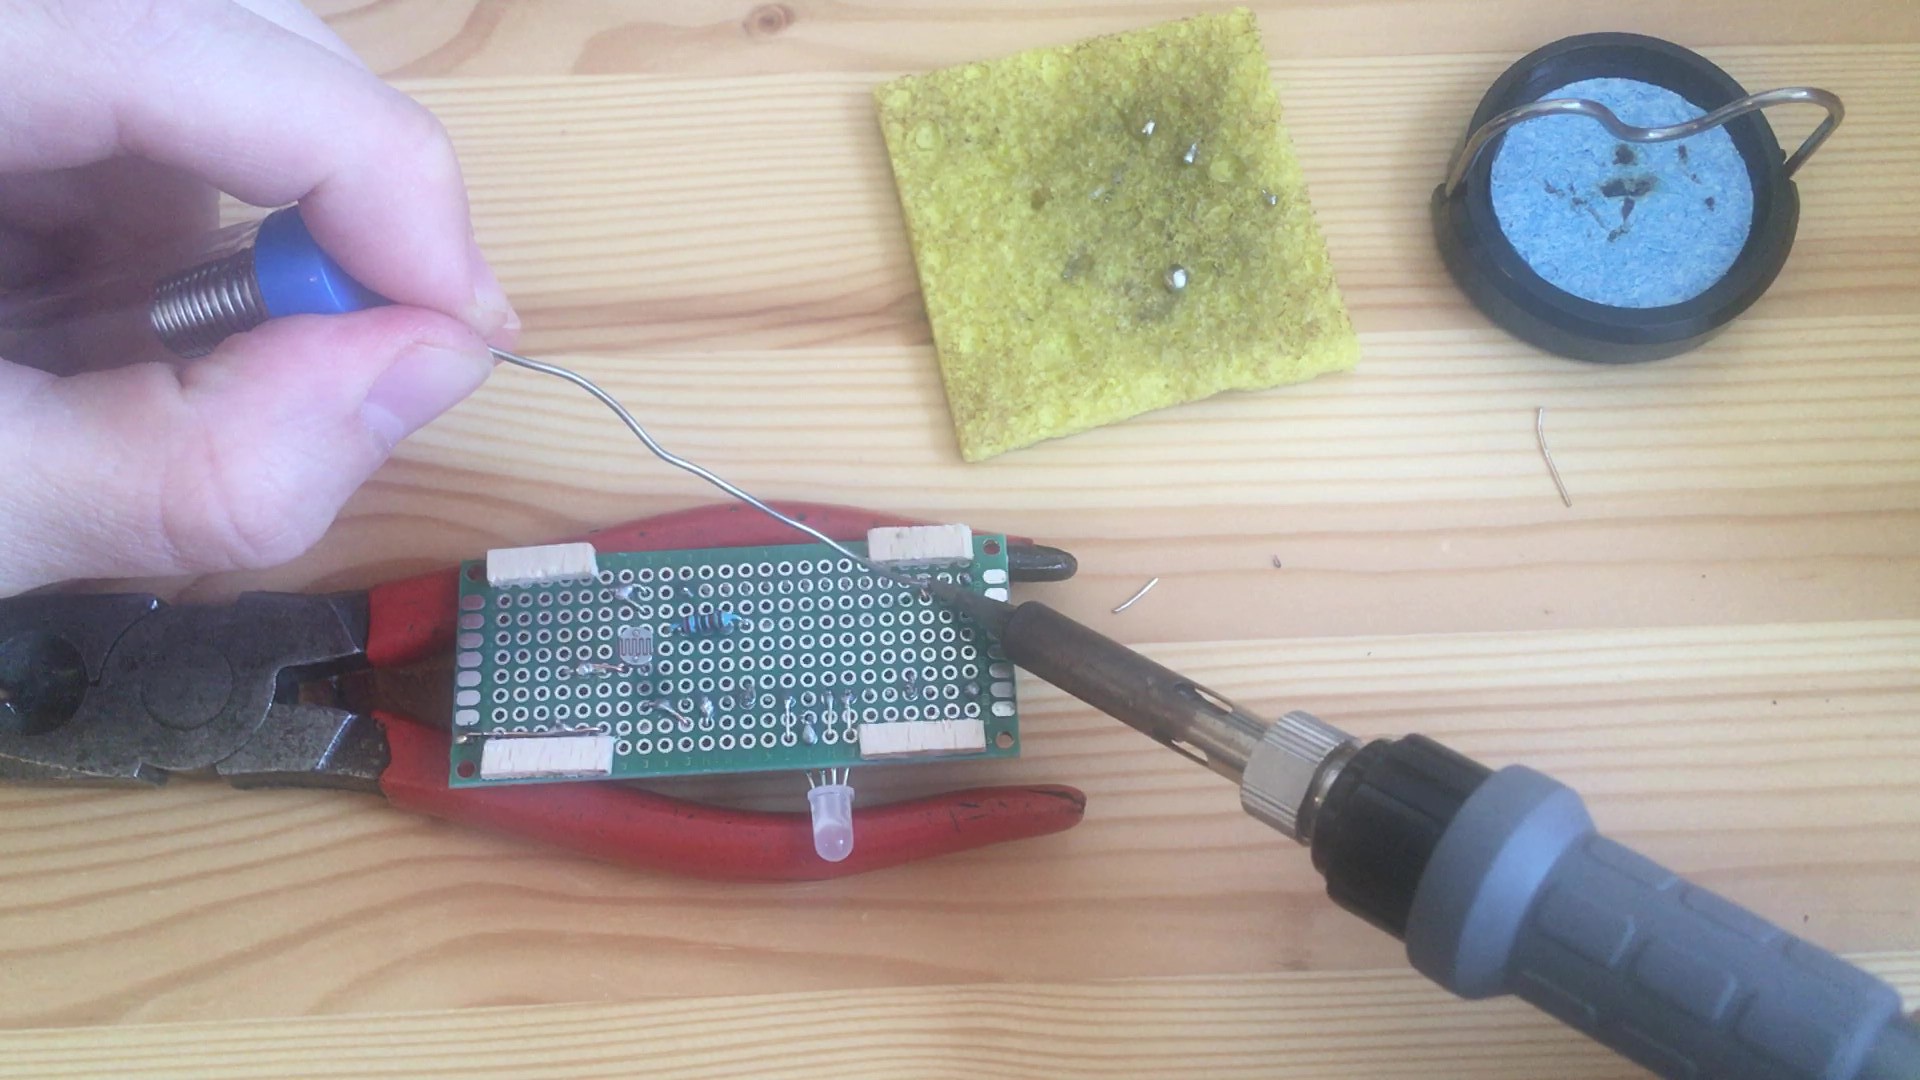
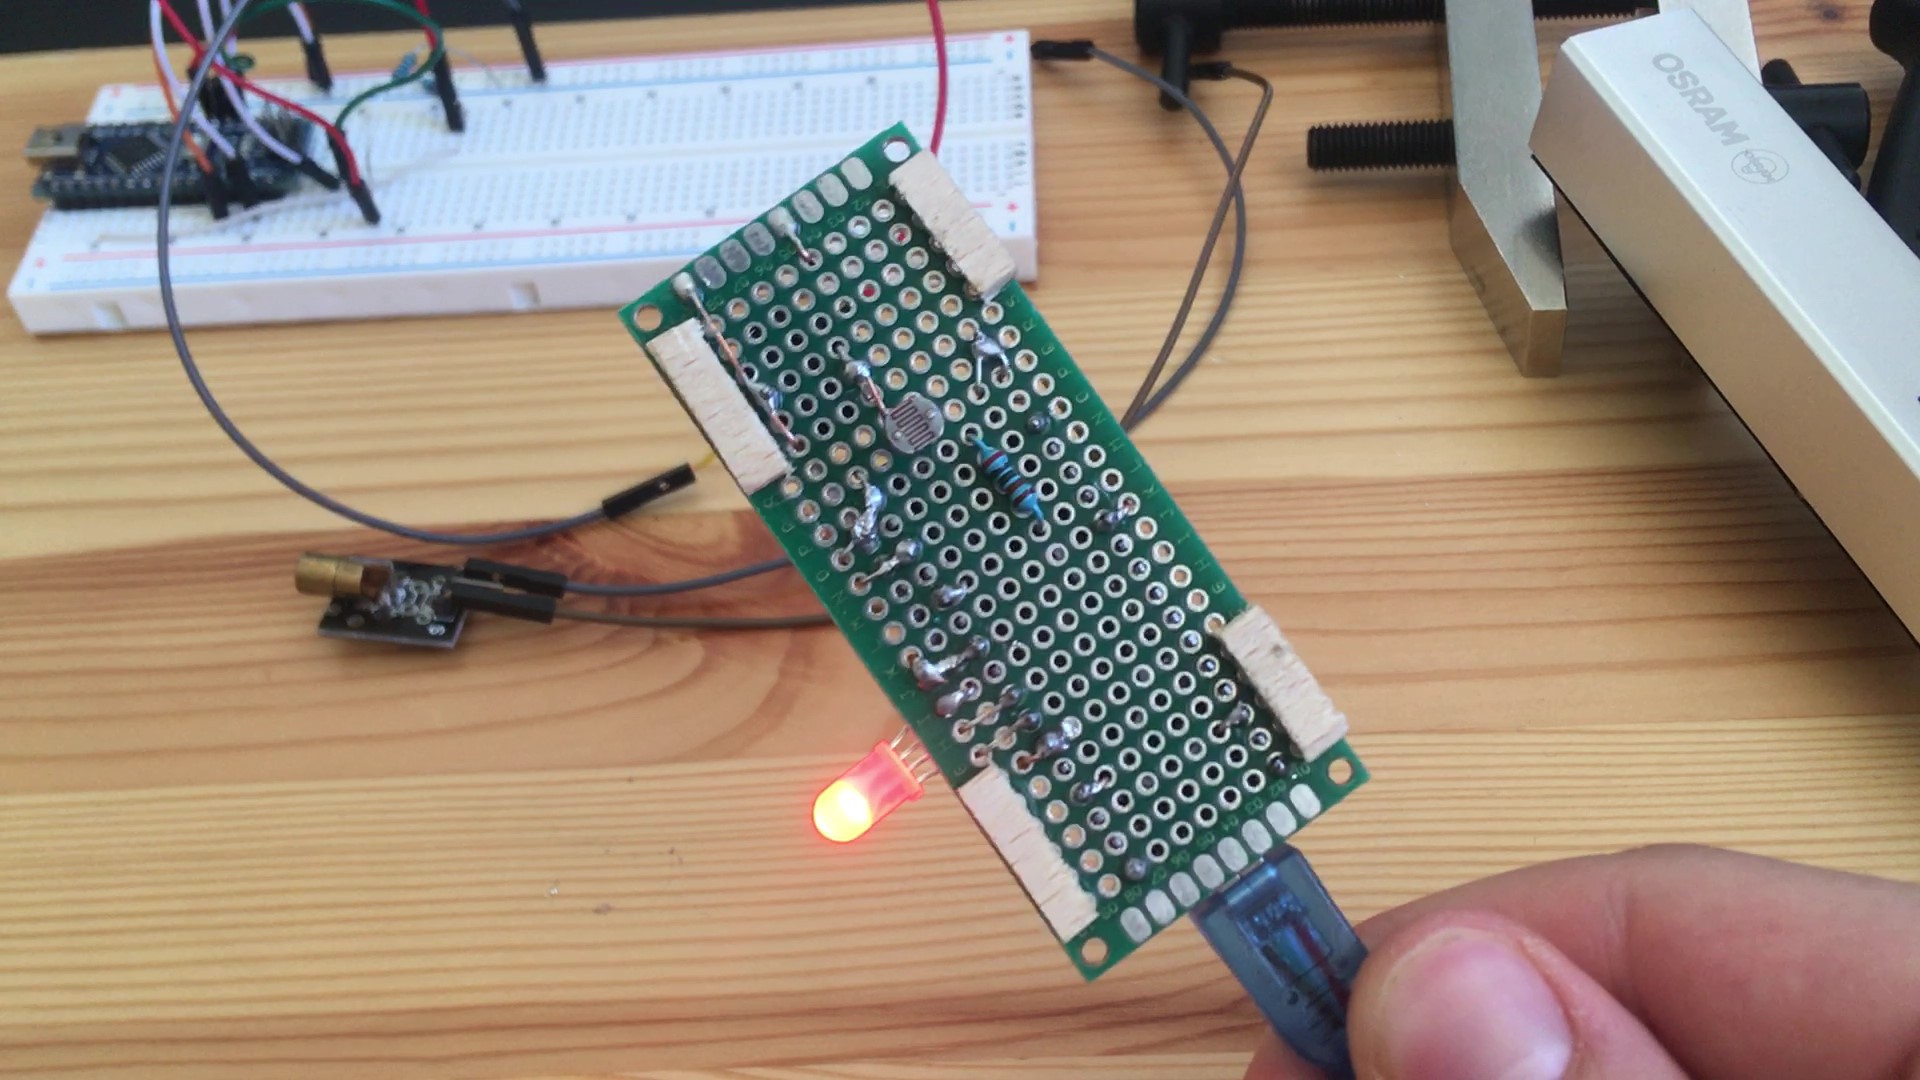
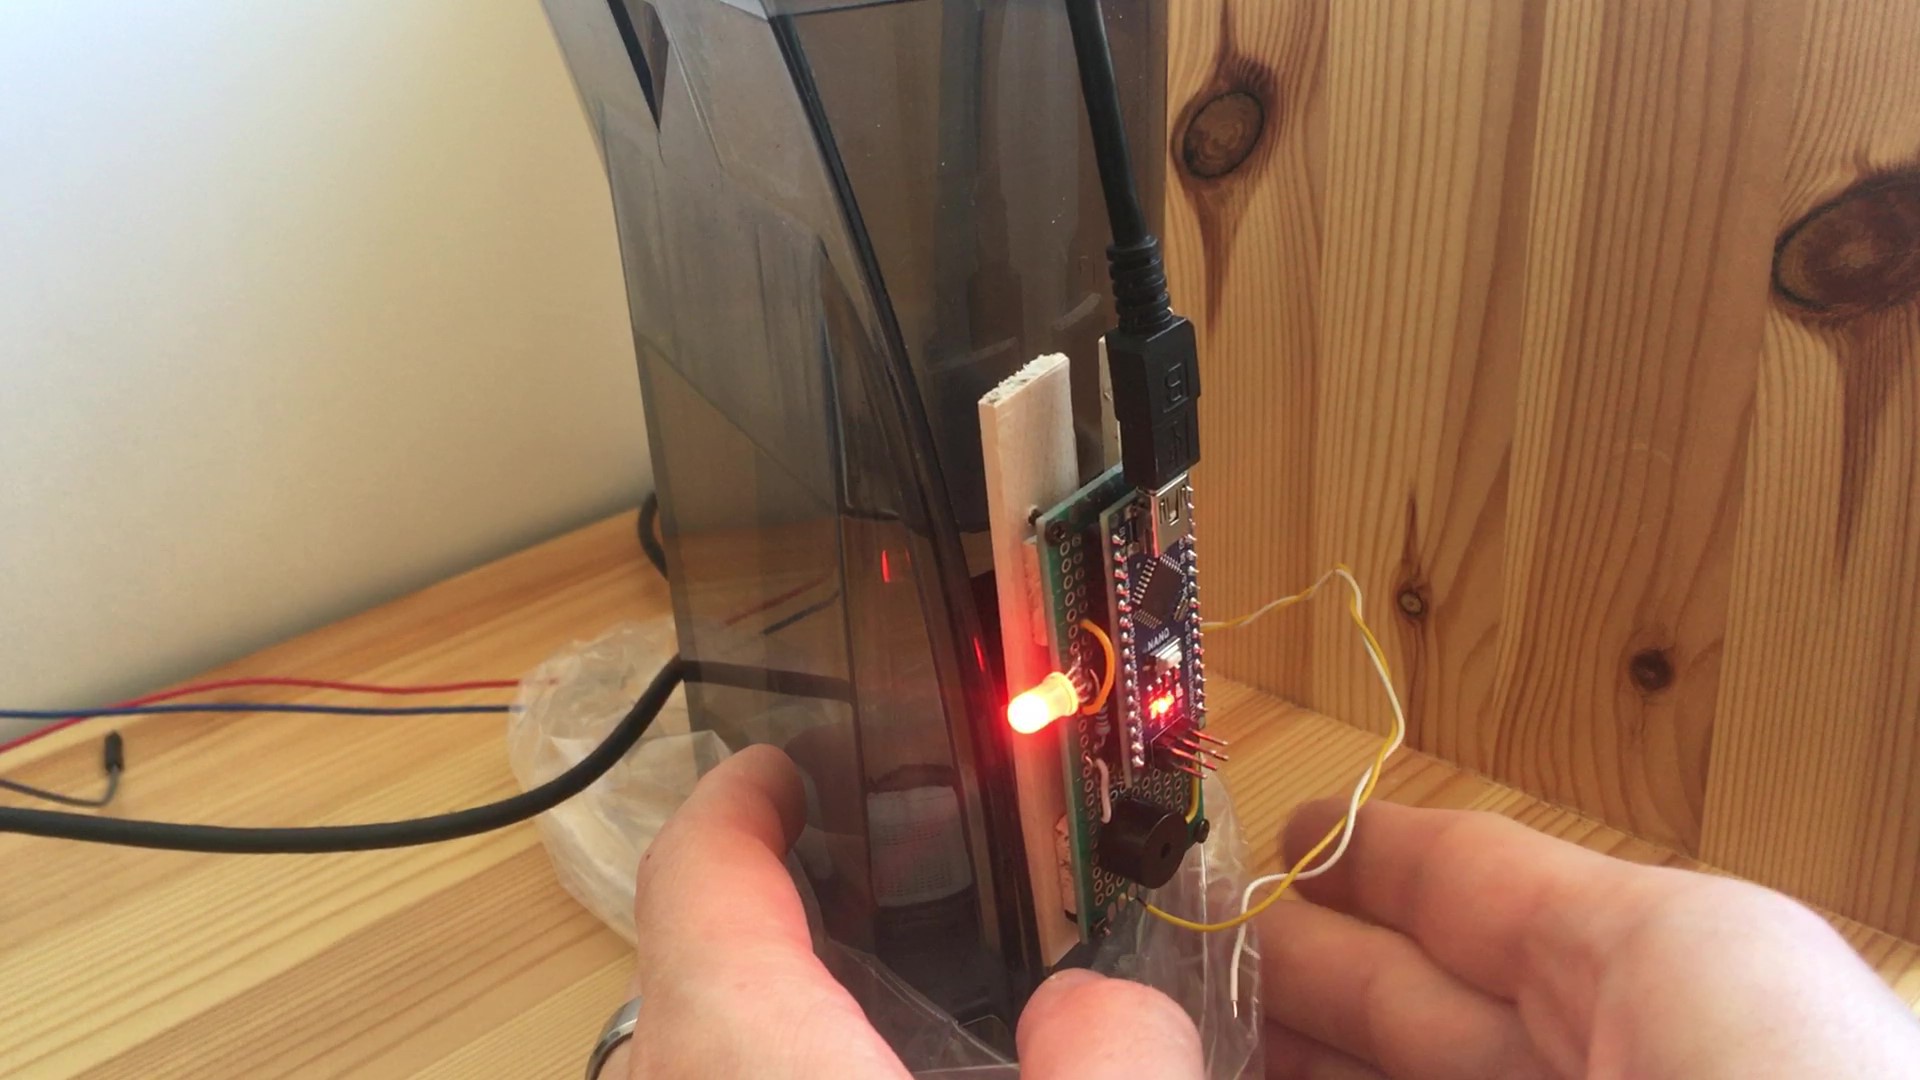
I chose a 30x70 mm² perfboard because I wanted the flat plane I had to attach to the curved tank as small as possible. The photoresistor had to face towards the water tank while the Arduino and most components should face outside, so the board could be brought as close as possible to the tank. This is why I used both sides of the perfboard for components and wiring. I uploaded the diagram to the project.
Basis and mounting
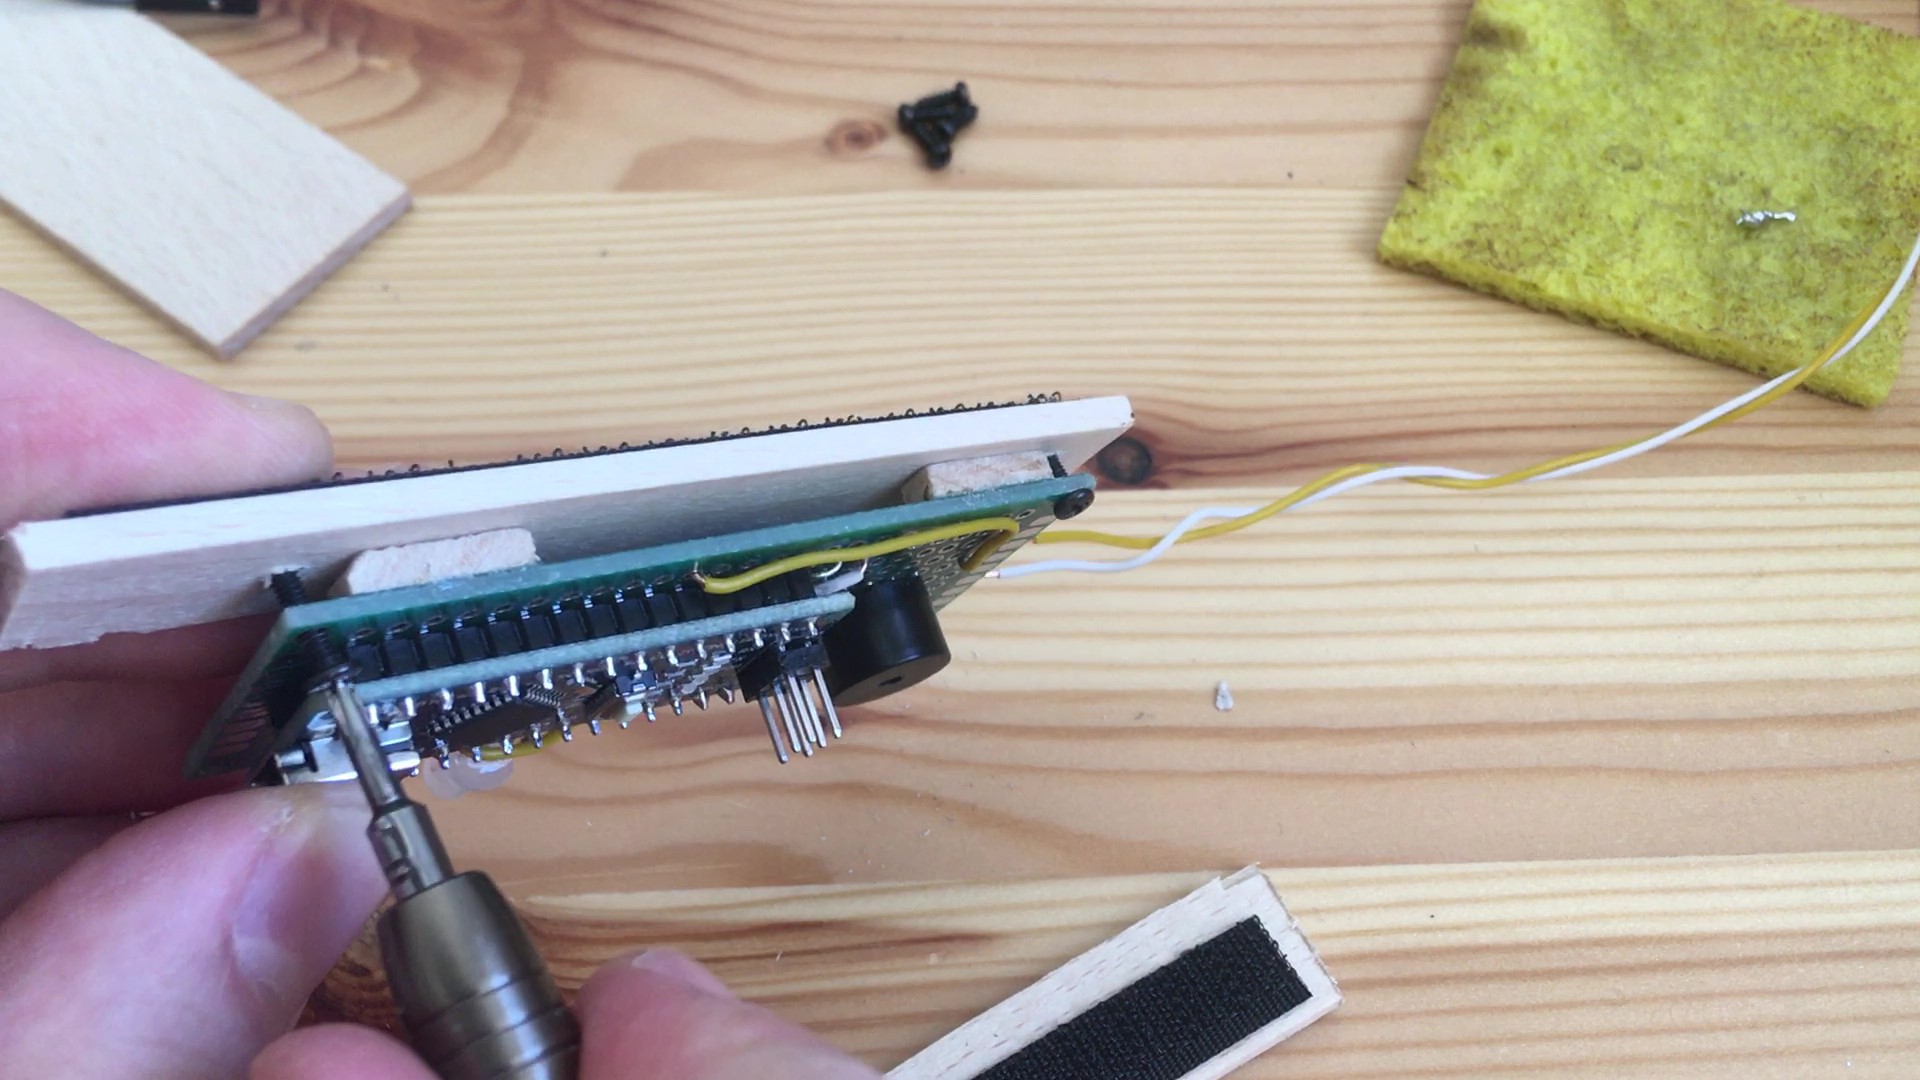
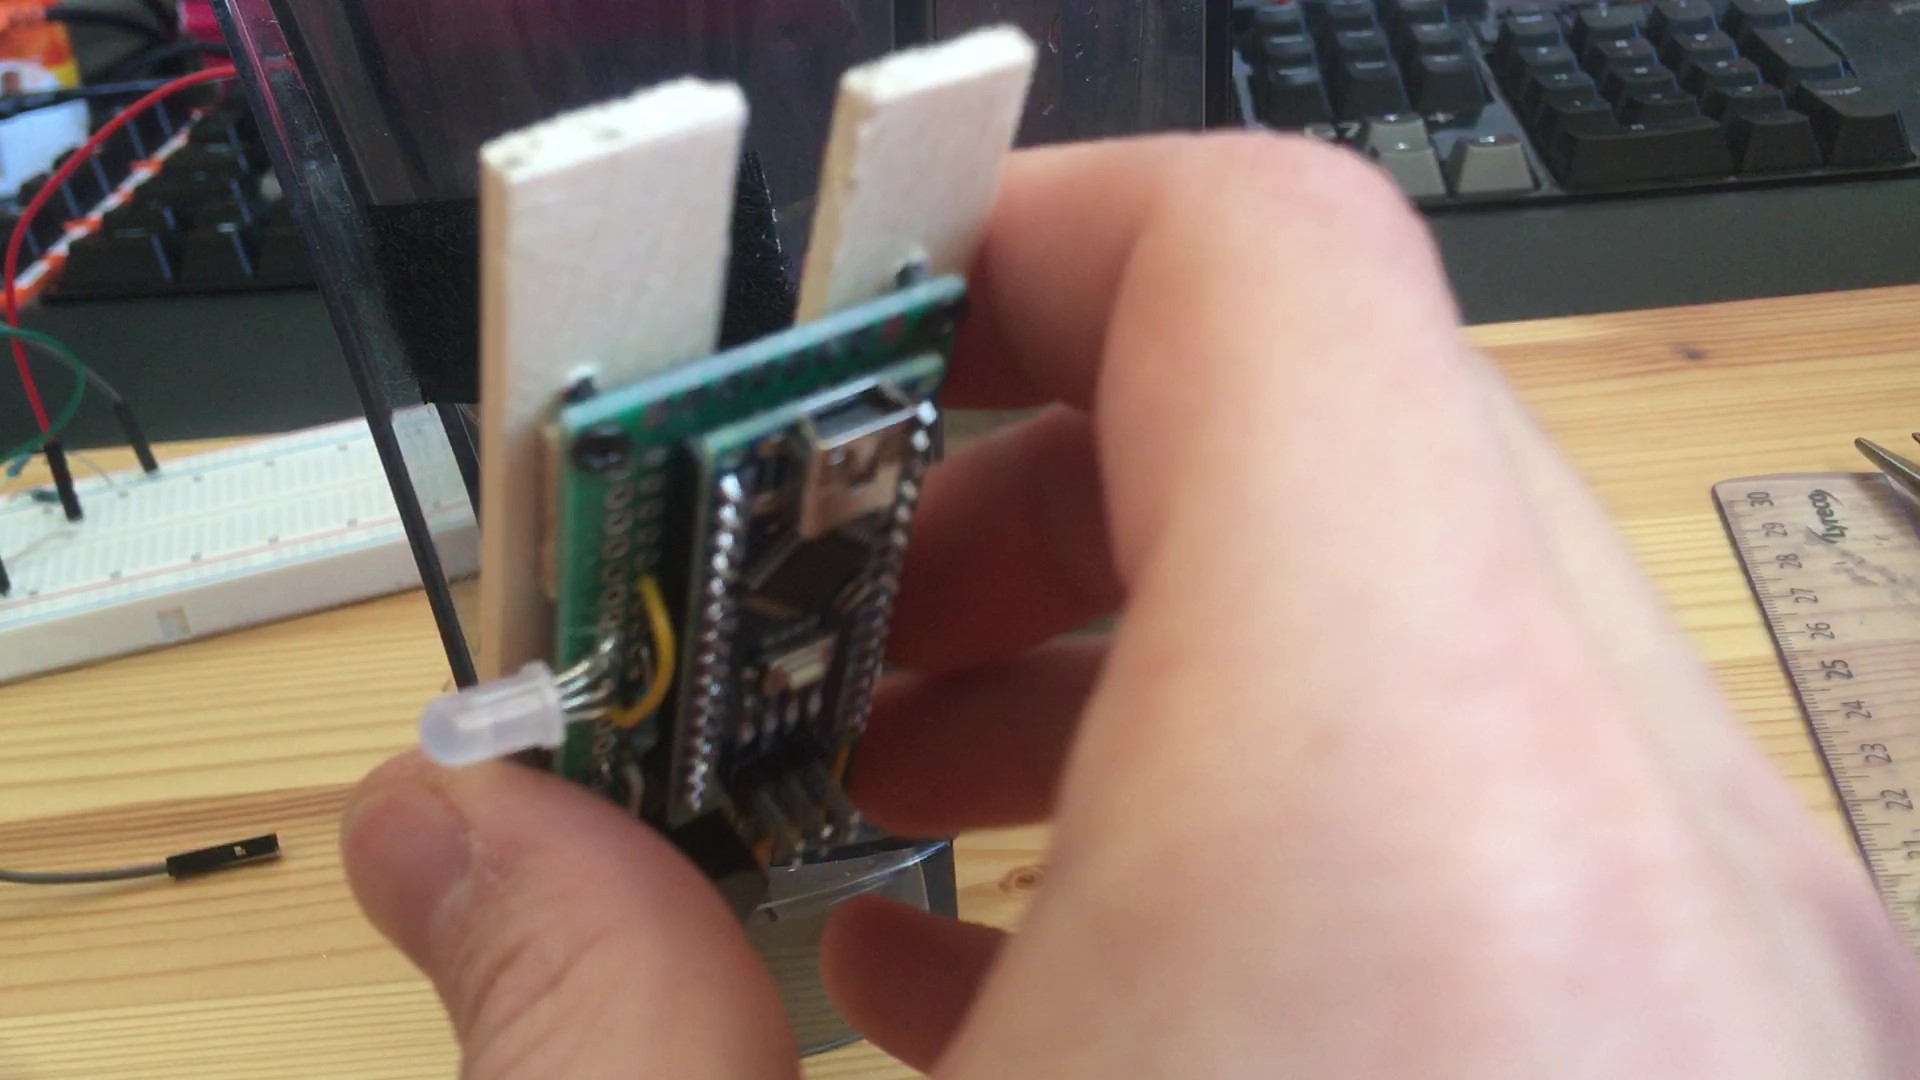
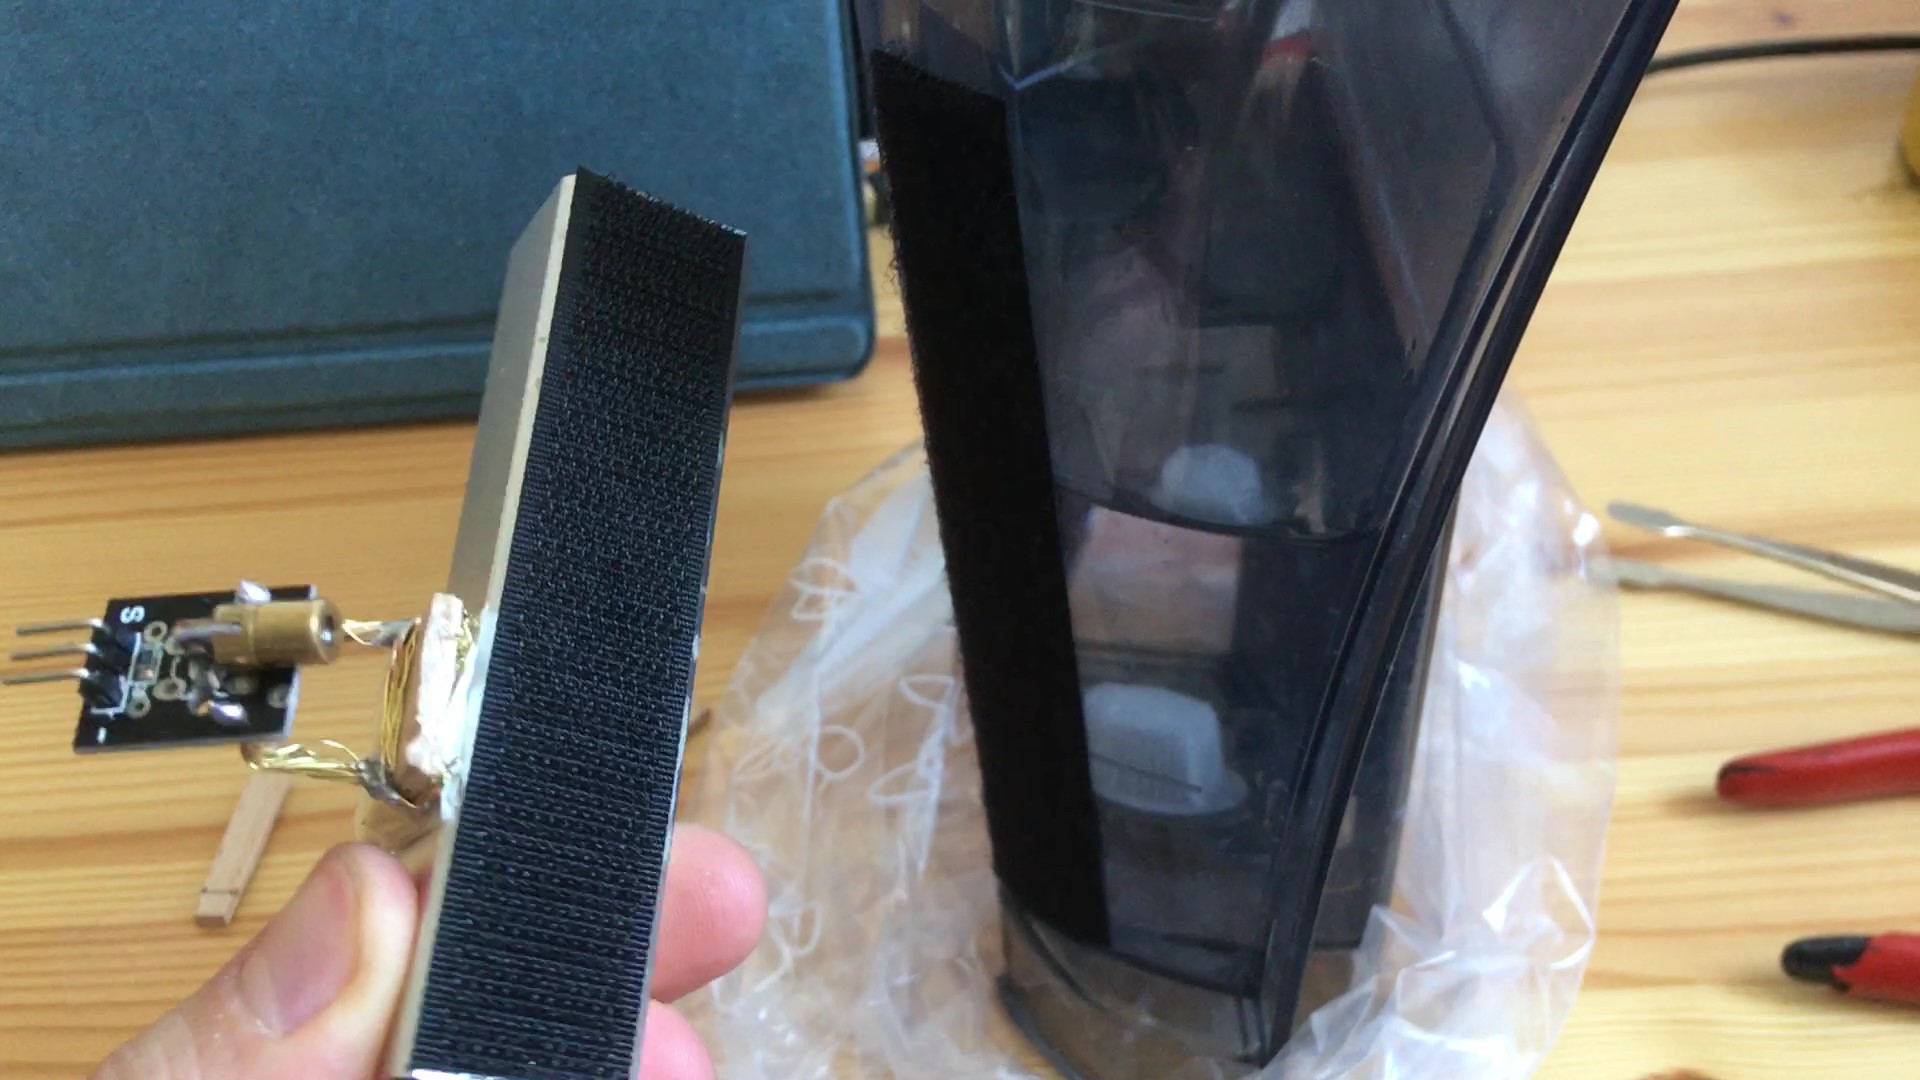
I decided to mount the circuit board onto a piece of plywood which I could attach to the water tank. I wanted everything to be removable and adjustable (in order to be able to choose different water levels as thresholds and line up sensor with laser), so I used velcro tape. I put the "hard" side on the circuit board and the "soft" side on the water tank.
Laser and battery pack
The laser LED is also driven by the Arduino, so I ran two wires on the other side of the water tank. I wanted to have extra flexibility with laser adjustment so I mounted it with some thick wire on another piece of plywood. At first I thought about attaching this directly to the water tank but since I decided to use a battery pack instead of power line, I glued it to the battery. I attached the battery with the laser on the water tank with velcro tape.

Calibration
Two different types of calibration were necessary. After attaching both sides to the water tank, I turned the Arduino on and adjusted the angle of the laser so it would hit the photoresistor through the water. Then, I monitored the resistance values via serial port and changed the thresholds to reflect real-world conditions. I uploaded the code to my Github repository which I link to in this project.
Discussions
Become a Hackaday.io Member
Create an account to leave a comment. Already have an account? Log In.