-
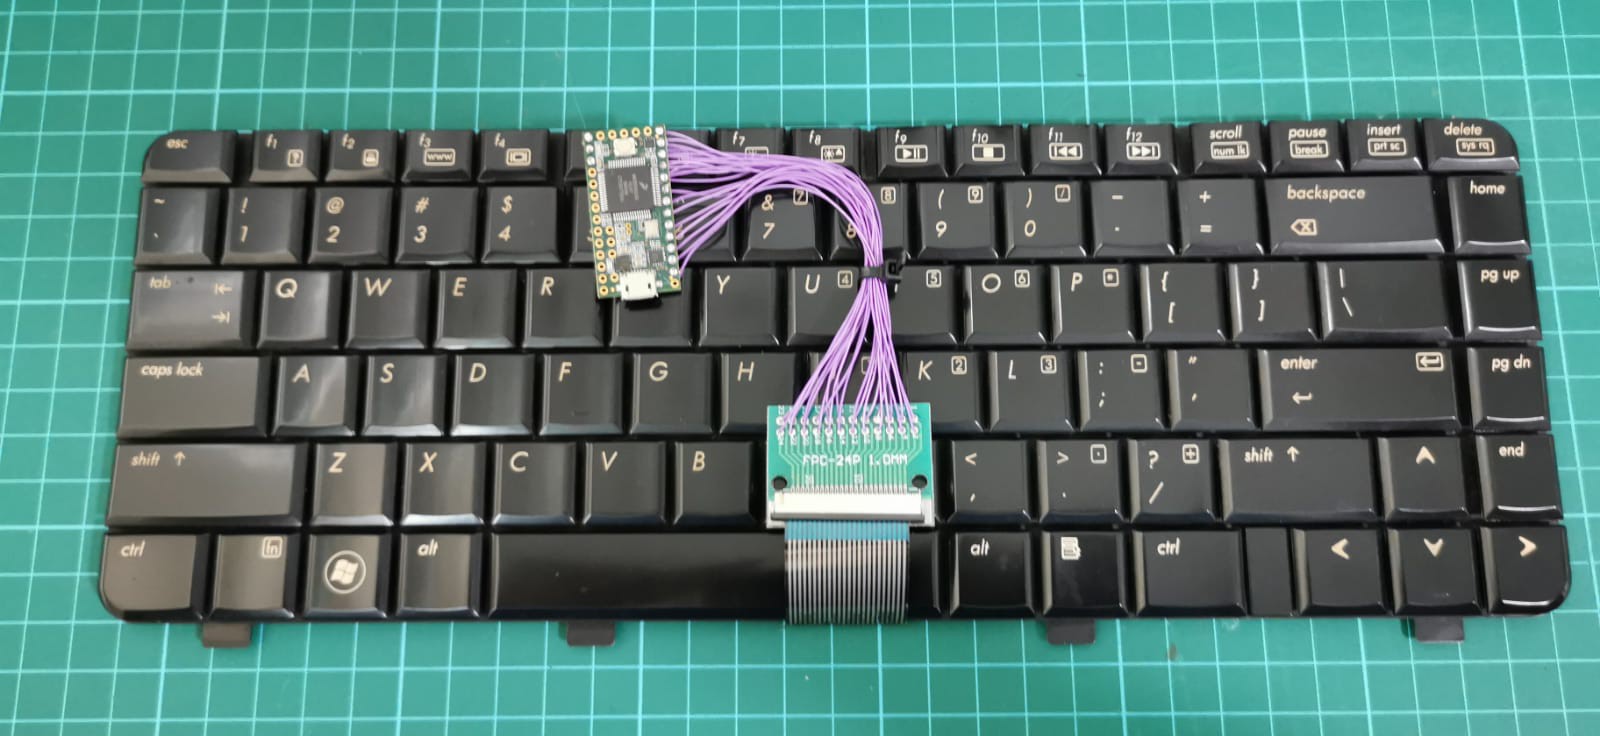
1Solder X wires between FPC breakout board to the Microcontroller.
For me X = 24. and i had poor experience with digital pin 33 and digital pin 25. this is attributed to set up issues which i am not
sure how to solve so i just switched pins.
i used wire wrapping wire for this, as i wanted to maintain flexibility and flatness of the resulting harness so i could reposition it later. its also less distubing to look at.![]()
-
2Load the keyboard decoder sketch
Follow this instructable, https://www.instructables.com/id/How-to-Make-a-USB-Laptop-Keyboard-Controller/ you can jump to step 8. i used the teensy 3.2 decoder sketch and uploaded it through arduino+teensyduino.
Load the teensy3.2 matrix decoder, I edited it a bit for use with excel so i get a nice layout i can keep coming back to later. modify on your own as required.
get the 2 pins associated with each keypress. Generate 1 pair for each key till all assigned.
You can use an excel table to sort things easily. I sorted the results into 8groups of 16keys. At this point the numbers are digital pin numbers. Save this in your spreadsheet to come back to it later.Re assign them numbers for a new coordinate system with origin (0,0) (row=group, column=key), this would be what kbfirmware.com is looking for.
From the earlier pin numbers map it to the port assignments, you will use this to modify the keyboard config.h files later. -
3Create keyboard layout
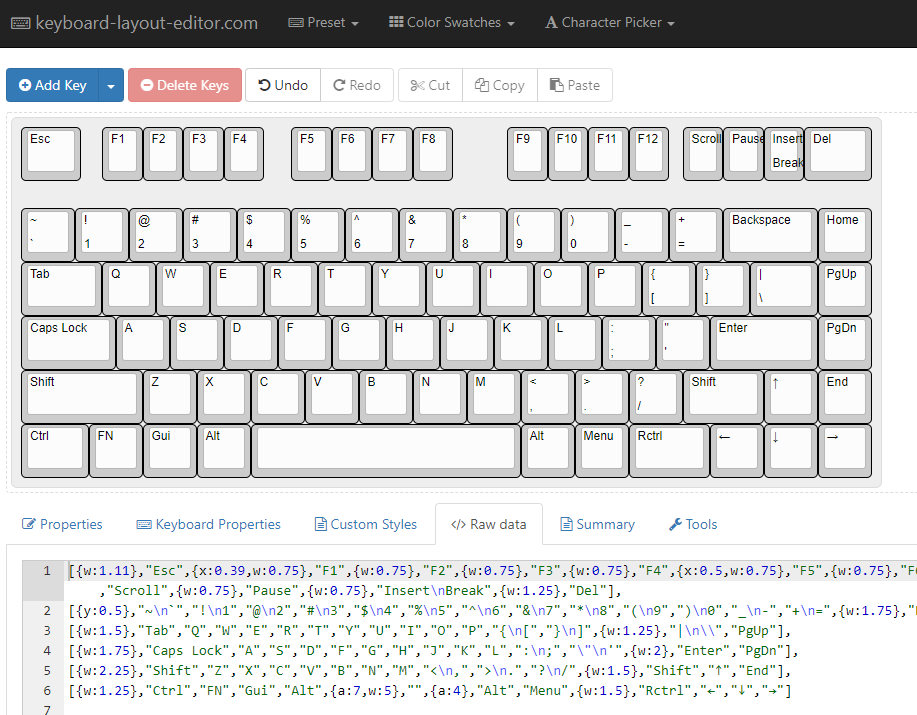
http://www.keyboard-layout-editor.com/
Used to generate a visually accurate gui to start off with. Download json file so you can come back to it later.
-
4first half keyboard firmware. (kbfirmware.com)
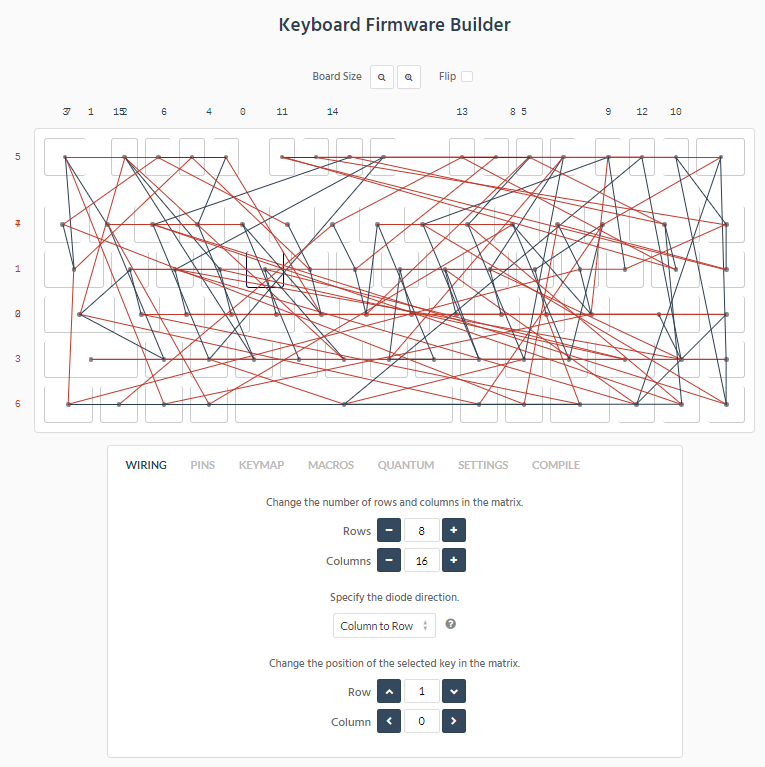
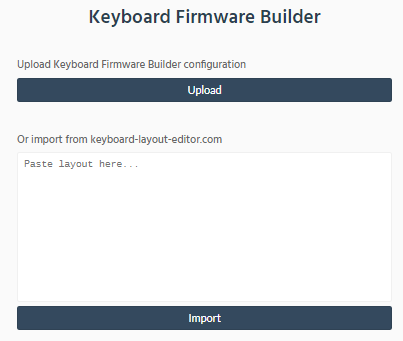
paste in the raw text layout information from step3, to start the firmware editor. im using kbfirmware.com like graphical programming ide, to produce layouts in kb.h and the desired keymaps in keymaps.c.
This would not be used to generate the final firmware as it does not support the teensy3.2. However the layout and keymaps is generated very nicely.
set 8 rows and 16 columns. Assign each key with the coordinates derived earlier.
Select whichever controller which gives you 8+16 pins, randomly assign unique pins. This step is just to appease the compiler.
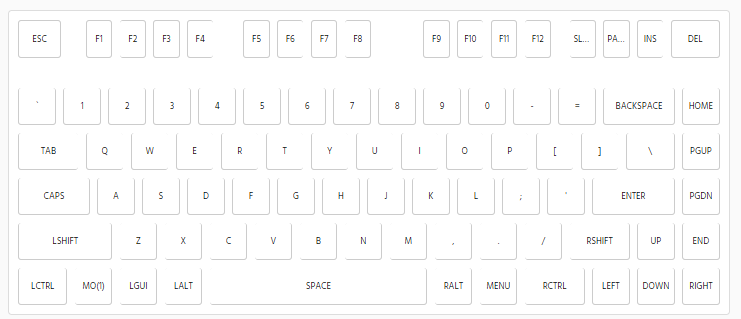
Generate all your keymaps graphically.Save the config file so you can return anytime, and download source files to leverage the information within. namely kb.h and keymaps.c.
-
5second half keyboard firmware (qmk toolbox)
Clone qmk toolbox. Follow this guide to set things up: https://matt3o.com/building-a-keyboard-firmware/
Download his yourkeyboardname keyboard. and follow the instructions to choose the right microcontroller you have.
Edit config.h to match the pin to port assignments in your excel file.
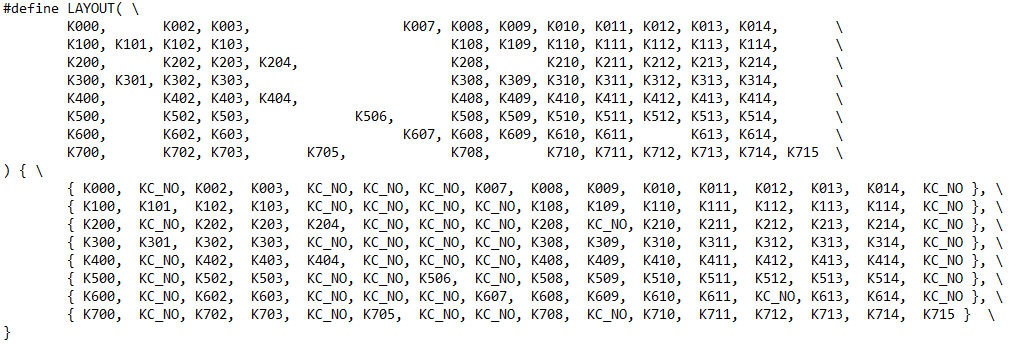
Edit yourkeyboardname.h(matt3o), with info from kb.h(step 4) which specifies the layout. it has already been autogenerated and layed out for you.
Edit keymaps.c(matt3o), with info from keymaps.c(step4), which specifies the keymaps. it has already been autogenerated and layed out for you.
Make yourkeyboardname:default
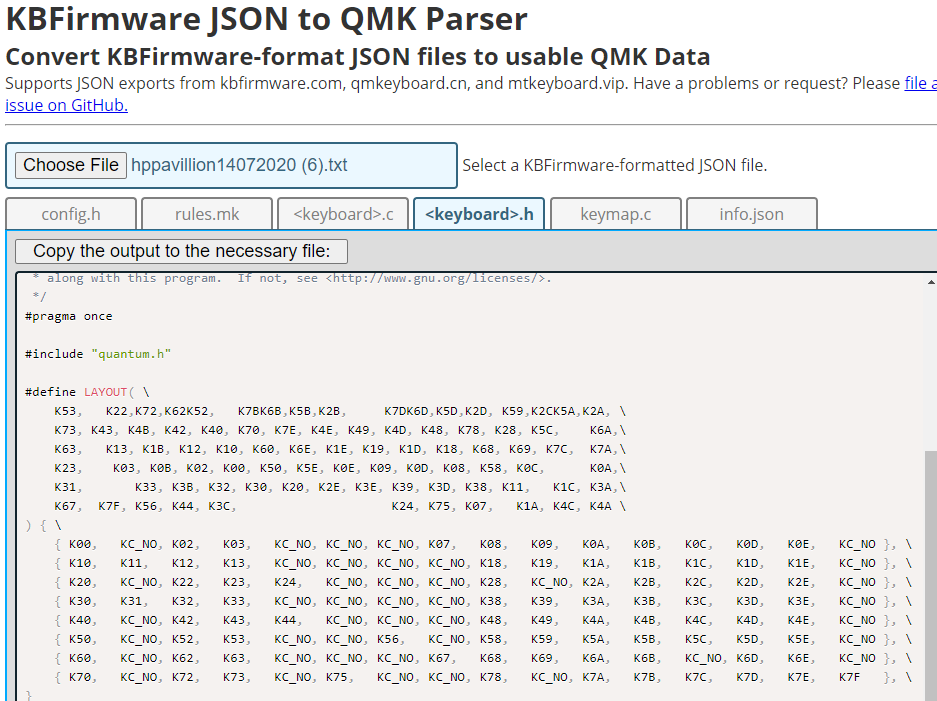
Use teensy.exe to flash hex file to your teensy.MASSIVE UPDATE 17072020!!! i just discovered that there is a KBFIRMWARE to QMK parser. @ https://noroadsleft.github.io/kbf_qmk_converter/
this does a good job in generating user understandable keymap matrix and layout matrix. however, just note that it doesnt do anything to specific your microcontroller, hence you will still need to edit some things manually.
-
6modify
you can modify your layouts by going back to kbfirmware again to edit things.
its unlikely that pins/ports need to be changed at this point.
QMK Powered Laptop Keyboard
Laptop keyboard extracted and used as an external keyboard. custom mapping. reprogrammable. its gymnastics.




Discussions
Become a Hackaday.io Member
Create an account to leave a comment. Already have an account? Log In.