 w_k_fay
I wanted a large boom microscope for electronics. The options were not cheap, at least not in Canada. $500 for the scope, plus $100 shipping, plus sales tax, plus exchange on the Canadian dollar. The delivered cost of the scope would be around $1000 Canadian. Too much for this hobbyist. So I sadly looked at pictures and tried to convince myself to pony up all that cash. Then, an internet miracle occurred. I found an article about a long forgotten workhorse of a microscope : the BAUSCH AND LOMB STEREOZOOM 4. I was intrigued............
At fifty something I can no longer read the markings on ICs even with reading glasses and my arms aren't long enough for me to hold a book at a distance where I can focus on the type. Surface mount soldering isn't in the realm possibility without some serious magnification. I now wear reading glasses even at the computer. If you are laughing right now don't worry your time will come.
StereoZooms were made between 1959 and 2000 under the names Bausch and Lomb and later as Leica and Cambridge Instruments. They were uses in schools, laboratories and attached to some production equipment. All of them carry the trademark StereoZoom name. There are fixed magnification and various zoom models in this family. I have included two brochures in the documents section for you to download and read. The brochures are a huge asset when trying to identify various bits and pieces that are up for sale. The most common model seems to be the StereoZoom 4 with 0.7x to 3x magnification. This is the model I have so I will focus on that.
The microscope's total magnification is calculated by multiplying the magnification of the scope by the magnification of the removable eyepieces. With 10x eyepieces I get a magnification range of 7x to 30x . The zoom knob is inconveniently located on the top of the scope, which makes constantly zooming in and out a little awkward, but probably not how you will use the microscope anyway. I generally set the zoom once and go to work. The zoom range can be further modified with different eyepieces and Barlow lenses... more on that later.
Like B&L I will divide the microscope into four parts :
1 Head with the optics
2 Eyepieces
3 Focusing mechanisms / base
4 Accessories
Head:
I bought all of my parts on eBay. Some of the heads I bought were listed as "for parts or not working". This means the seller offers no warranty, it does not necessarily mean the microscope is broken. A careful inspection of the pictures can tell you a lot about the condition of the head. That being said if you need to buy two to make one that can happen. At $35 for a "no warranty" head I decided to take the chance.
You will likely find the best deals on items that are poorly listed. Listings with very general terms won't make it into to your search. So search eBay with a variety of term (and different combinations) such as - Bausch and Lomb - Leica - Cambridge Instruments - microscope - stereo microscope - stereo zoom - stereozoom. All you are really looking for is the head and E arm. The rest you can build or buy inexpensively.
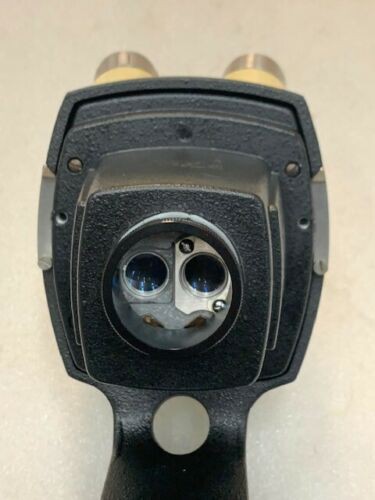
Listings often read "no objective lenses" when the eyepieces are not included. Objective lenses are at the bottom of the microscope and they are nearly impossible to find and insanely expensive. Make sure the objective lenses are included ! Eyepieces on the other hand are cheap and plentiful. Bare in mind that sellers often don't know microscope terminology. You can always ask the seller a question or request additional photos.
The StereoZoom uses mirrors instead of prisms. This makes the head lighter and brighter. De silvering of the mirrors will make the microscope dark or completely useless. A picture showing light passing through the head is very helpful. Mirrors are also nearly impossible to find and insanely expensive.
A stiff zoom knob probably means that it needs re greasing, but the mechanism could be damaged. It doesn't hurt to ask the seller if the zoom knob appears to be working. If you buy a bargain you may have to buy a second head for parts. A head with parts missing is not worth fixing, but it might make a spare for parts.
Lastly mold on the lenses from improper storage can occur. Mold is often removable, but you will have disassemble the microscope to clean it. Not impossible, but best avoided unless you are up for a challenge.
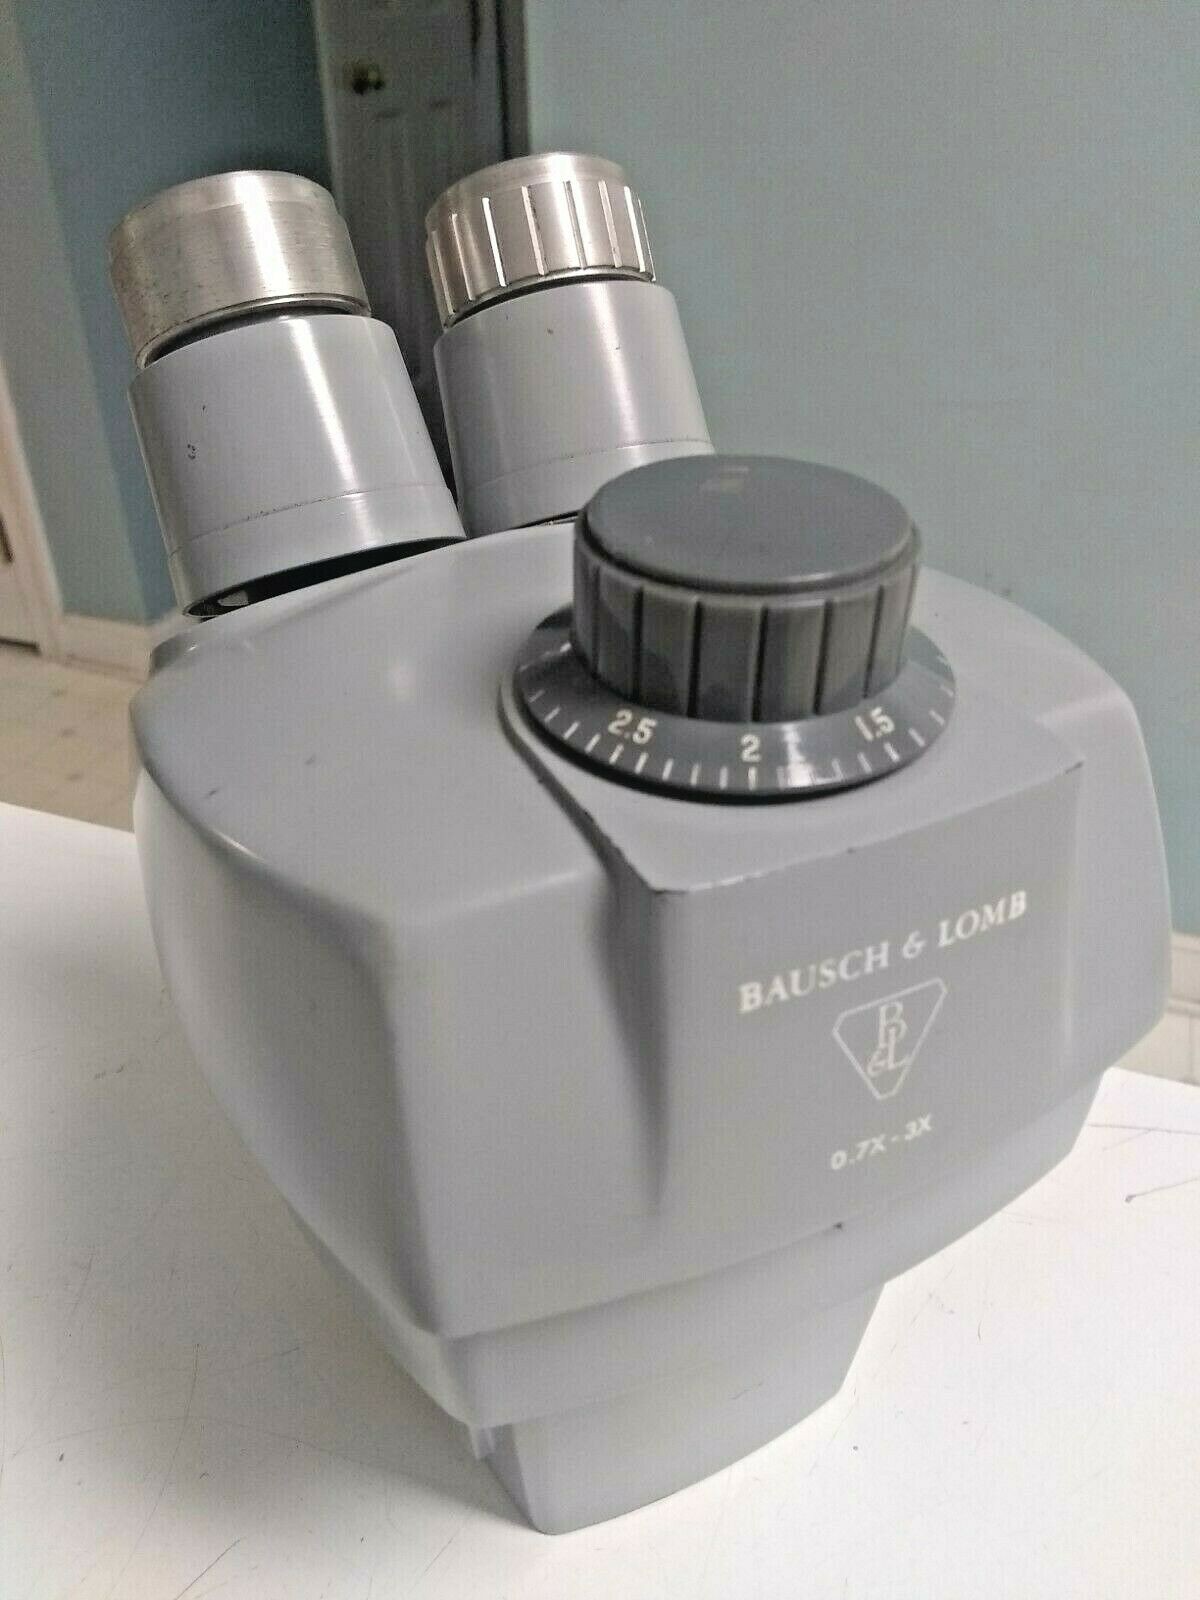
The StereoZoom 4 head. Eyepiece tubes present, no eyepieces, zoom knob intact, looks OK. Seller stated the head seemed functional and the zoom knob turned freely. No guaranties, and the seller accepted my offer of $35. It turned out to be in great shape.
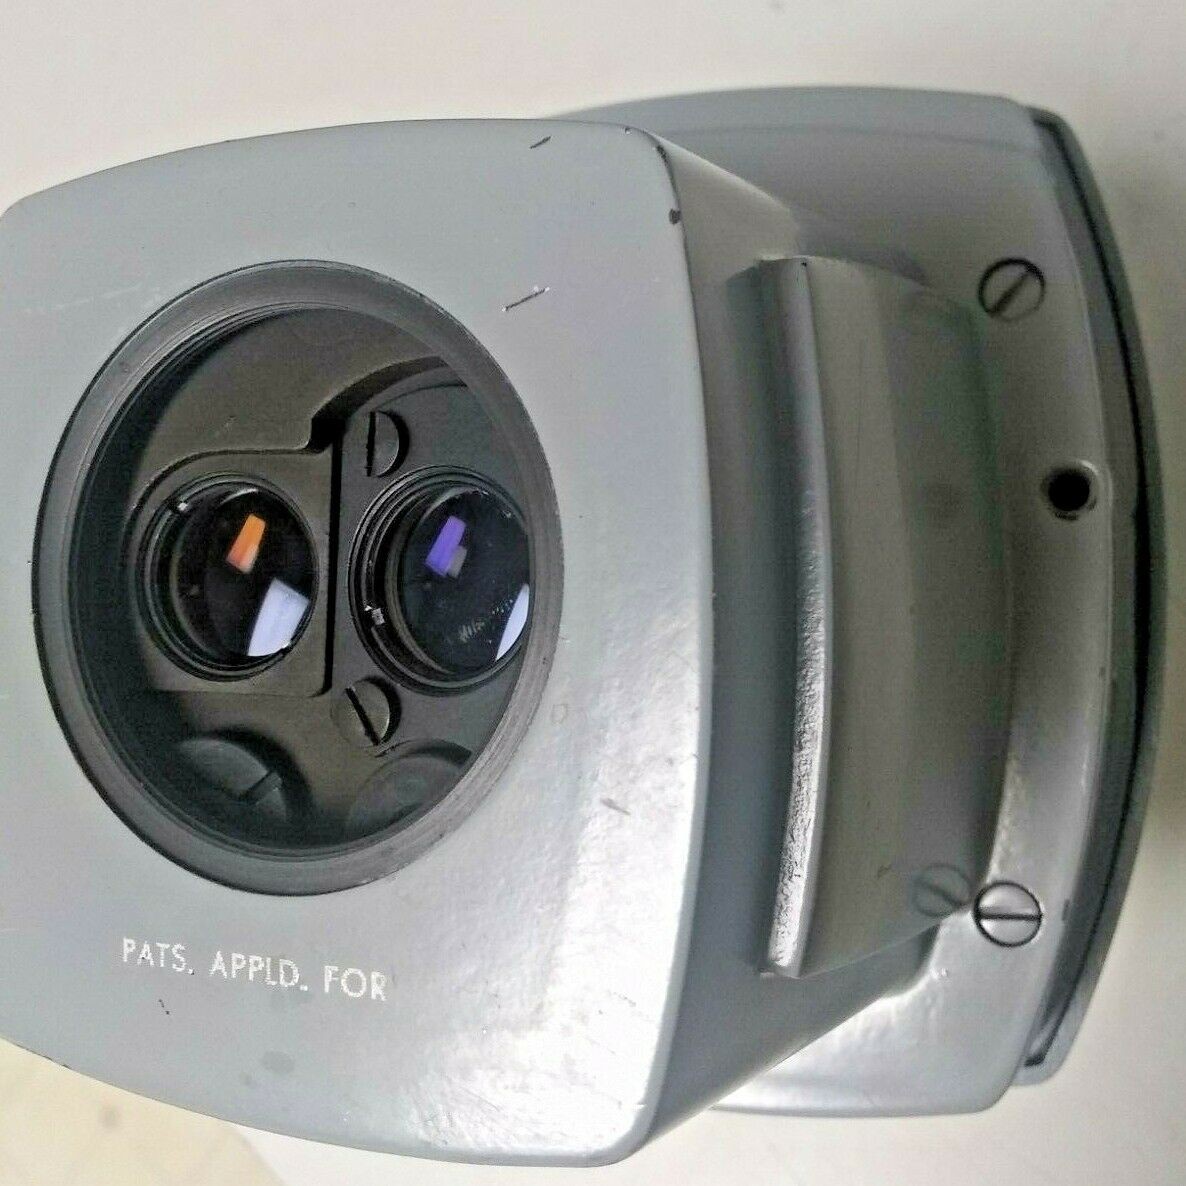
Objective lenses are present. No scratches, no corrosion or mold present. Looks good.
Looking through the head, the mirrors are bright.
This one has a protection lens over the objectives and that is a necessary piece of equipment to keep corrosive solder fumes out of the mechanism and solder spatter off the lenses.
Eyepieces :
Sellers usually sell the head without eyepieces. The eyepieces just drop into place and will fall out if you turn the head upside down. So no problem getting a pair of eyepieces. They run $20 for Chinese made and about $50 for original B&L. I have both and there is NO difference in the image quality. If there is mold in the eyepieces it can be impossible to remove. Don't buy moldy eyepieces at any price.
The important thing is to get eyepieces with the right specifications:
23.2mm barrel (a standard microscope size)
10x / 20 Ten times magnification with 20mm wide field of view
or
10x / 23 Ten times magnification with 23mm wide field of view (optional upgrade but probably not worth the extra cost)
20x eyepieces are also available but they are too powerful for electronics work.
I bought a set of 5x magnification eyepieces, but they are like looking down a paper tube. The field of view is too narrow. If you want to lower the magnification then get a Barlow lens.
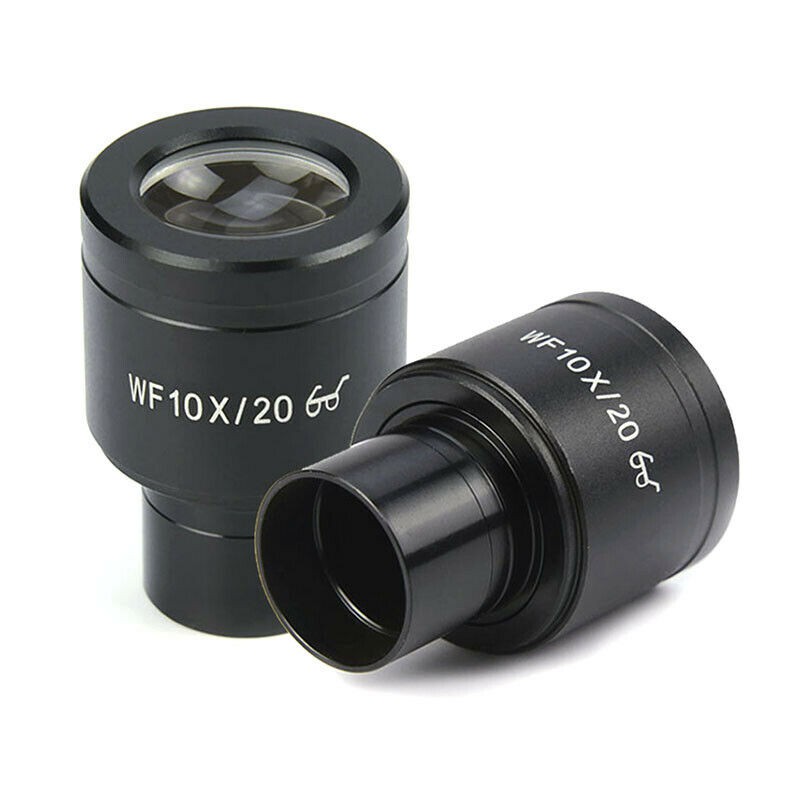
These are new Chinese made $20 eyepieces. They are "high eye-point". They focus slightly above the surface of the lens for eyeglass wearers. They work just as well for people without glasses, but you will probably need rubber eye-cups to help you find the right viewing position. Eye-cups will keep your eyelashes off the lenses and significantly reduce the need to clean your eyepieces. And yes that is a real problem.
Focusing Mechanism :
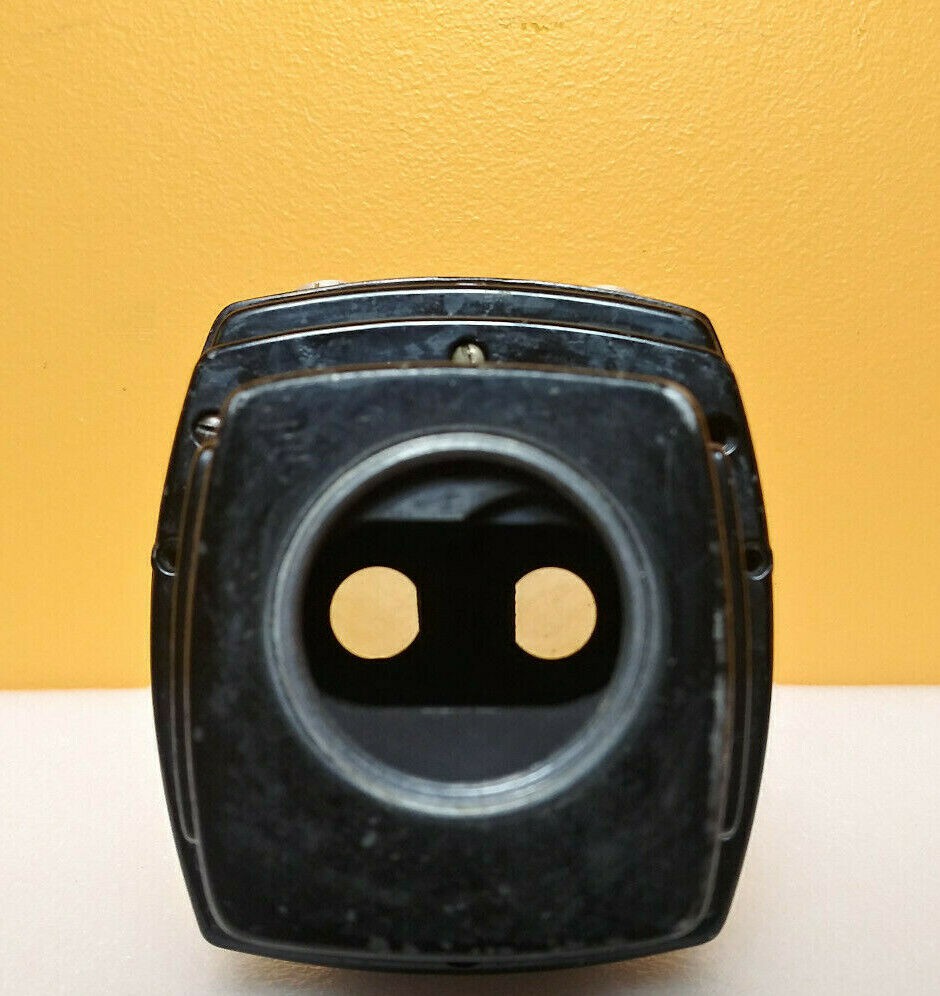
The focusing mechanism has a 5/8 inch end that fits any microscope base / boom stand with a 5/8 receiver.
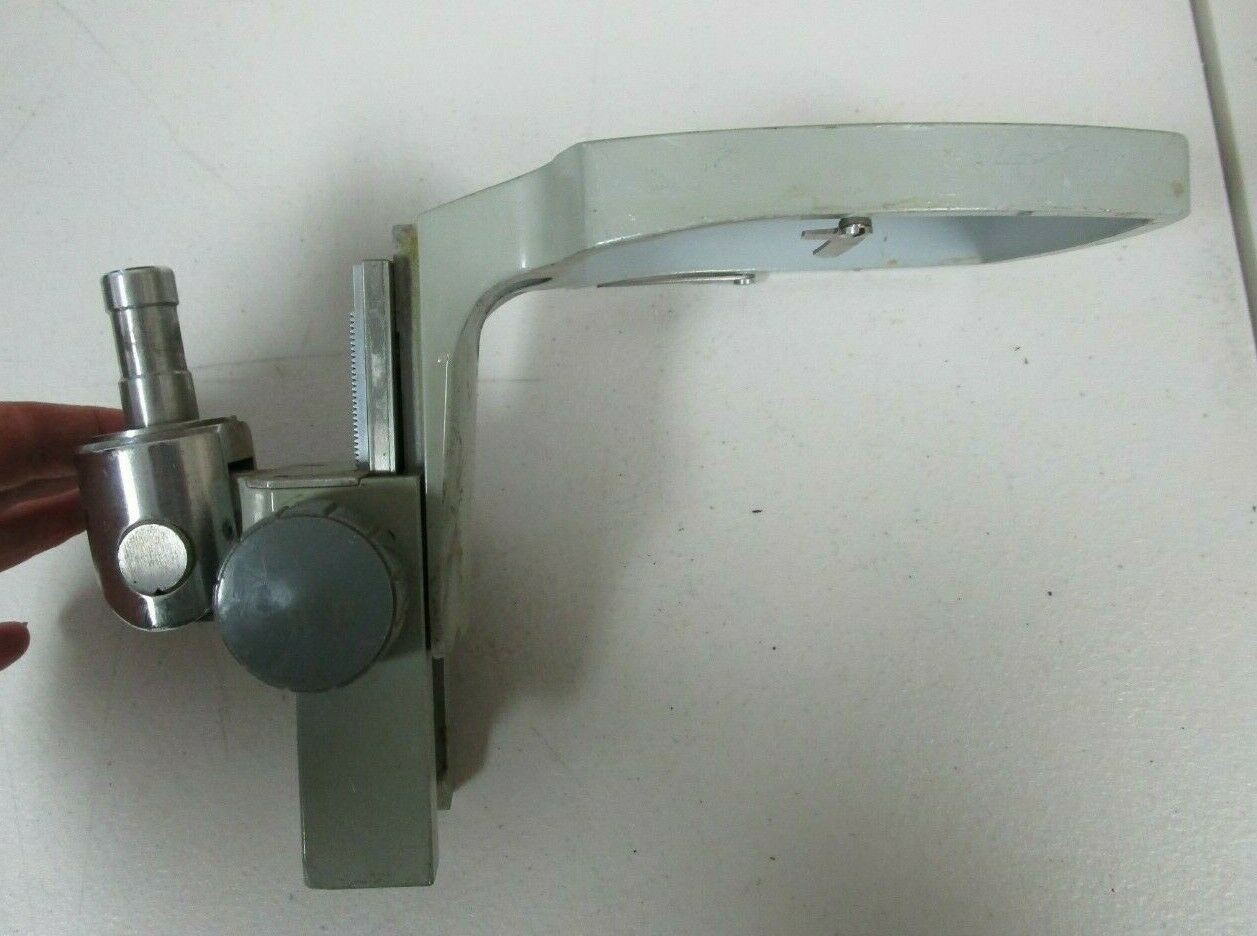
The head sits in the focusing mechanism (B&L calls it an E arm) and the head is secured with the two silver clips at the bottom. The 5/8 pin at the rear fits into the stand.
The head mounted in the E arm.
The E arm often sells for more than the head. You will get the best deal buying a head with an E arm still attached, sometimes for less that the cost of the E arm alone.
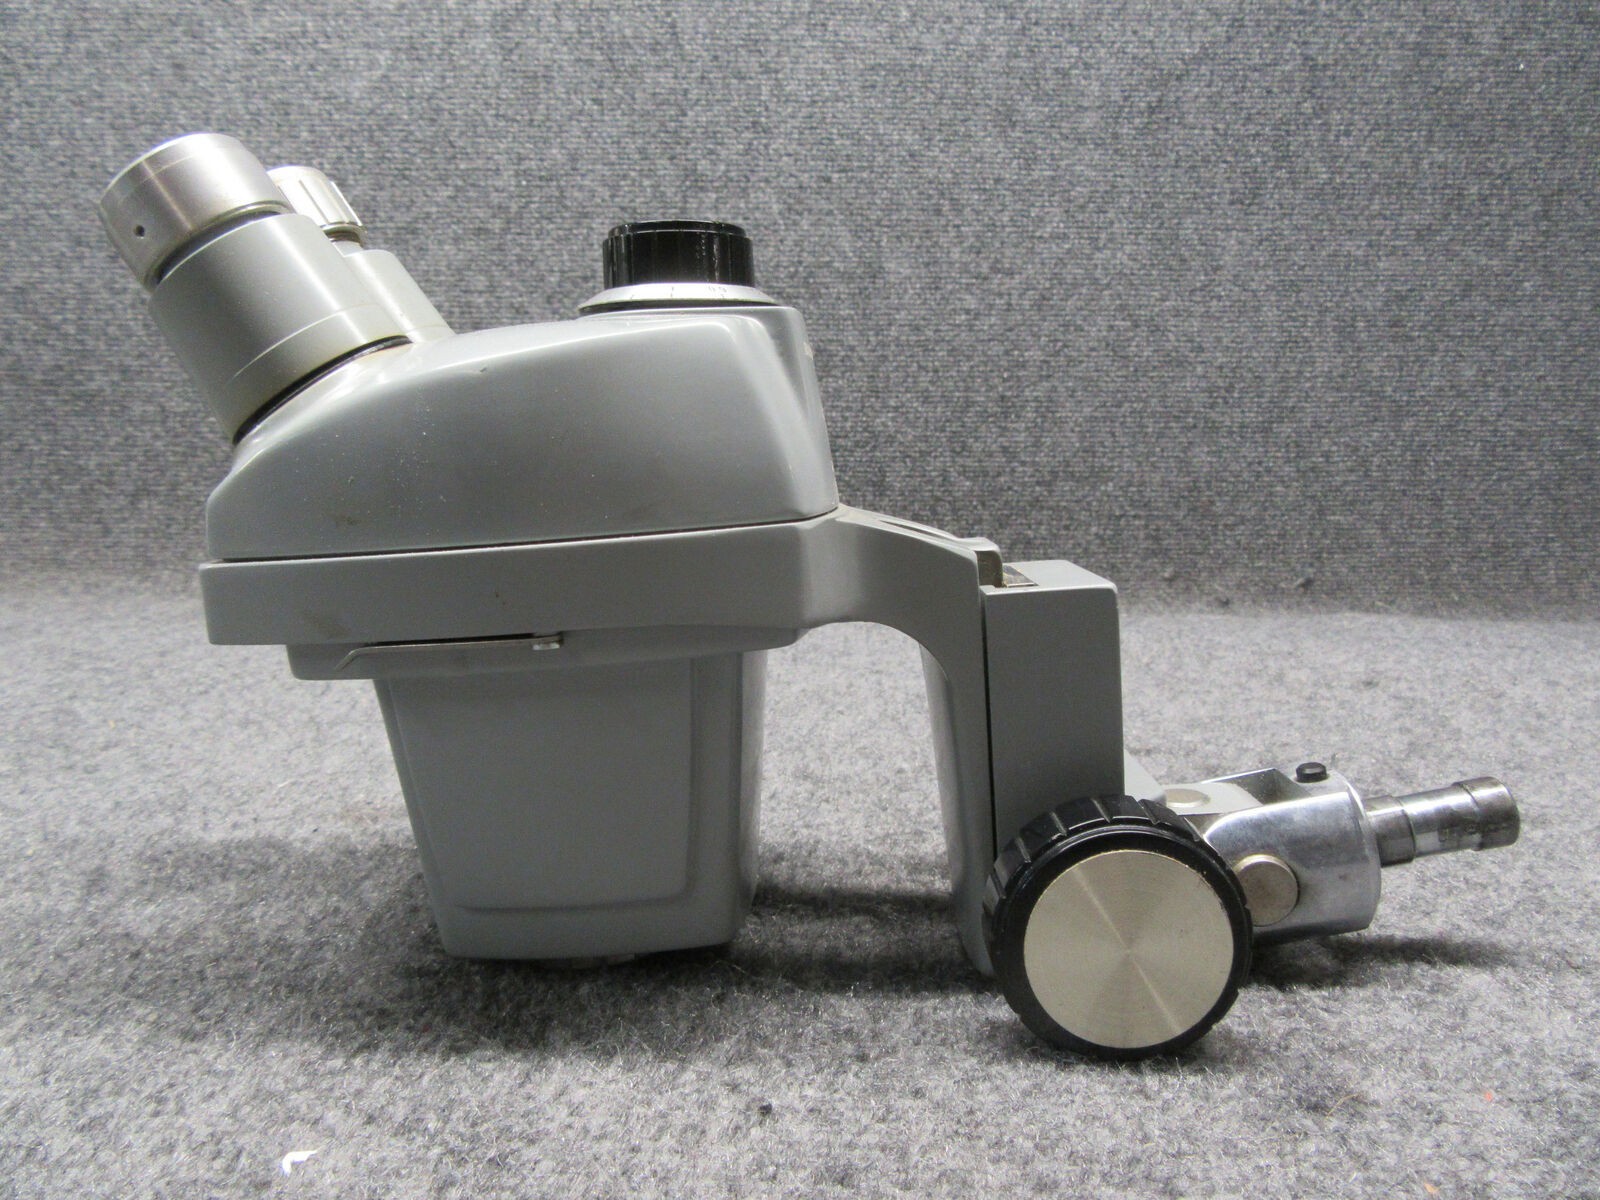
Base :
B&L also made complete stands.
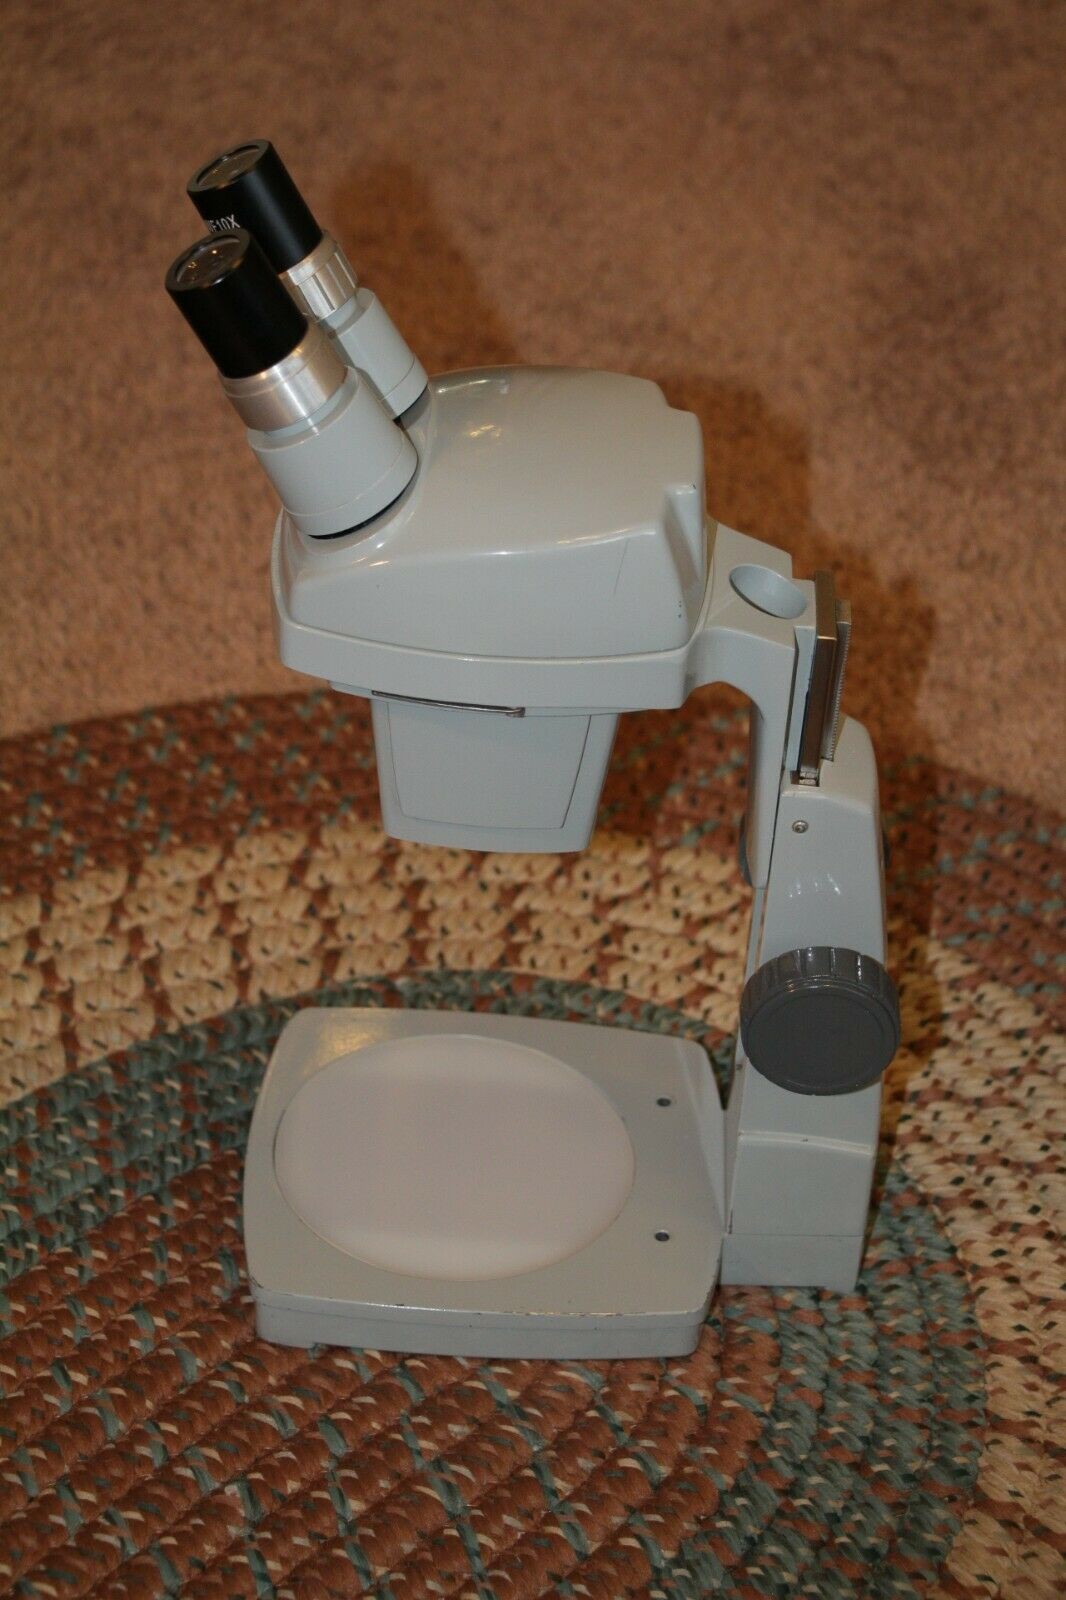
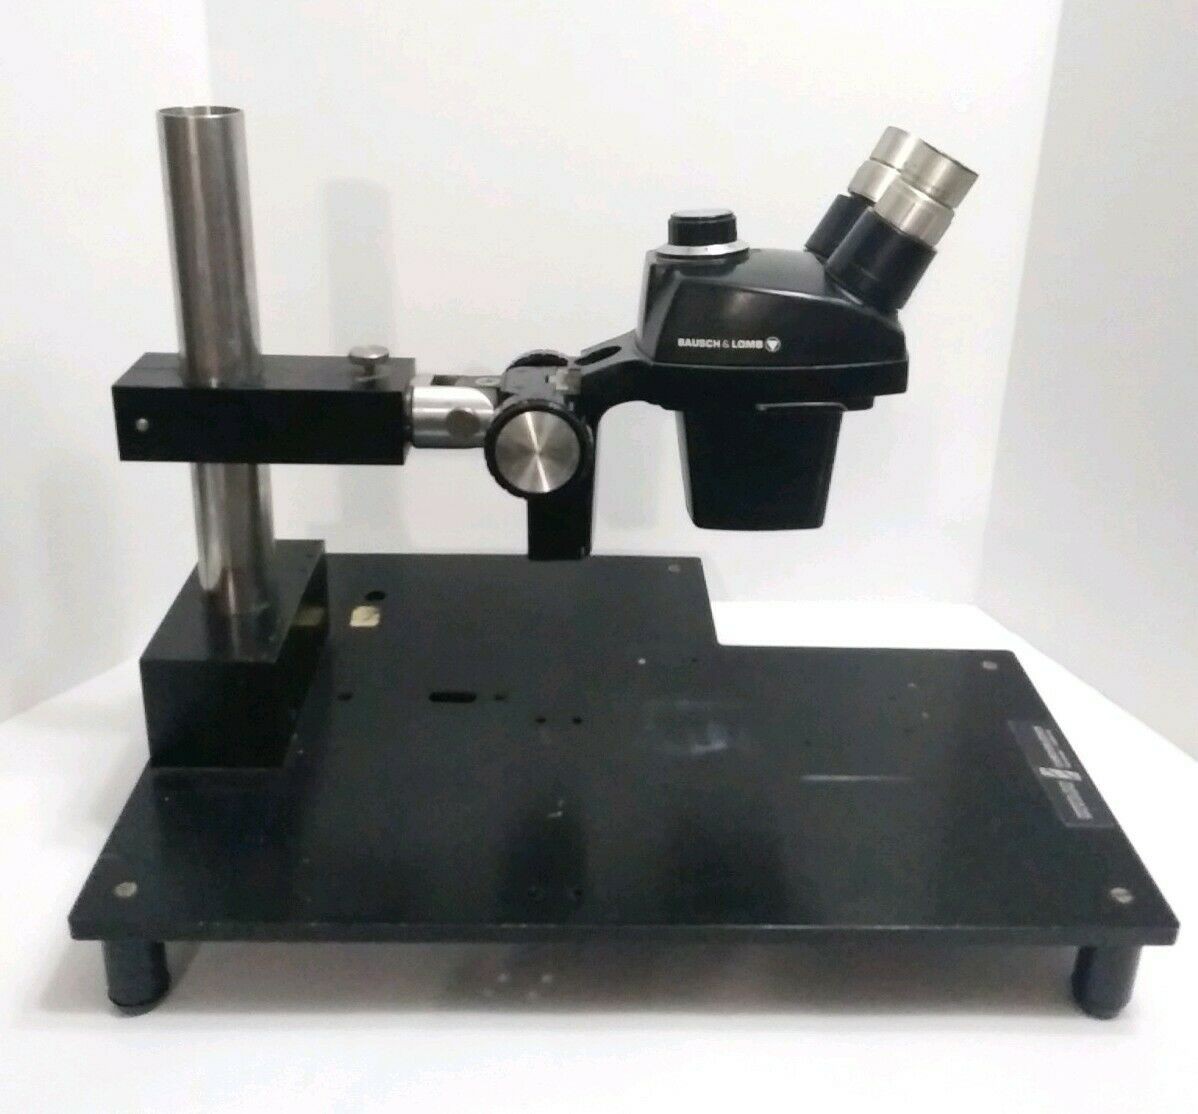
Fixed magnification head in stand.
The head can be inserted in the stand with the eyepieces facing toward the post or turned 180 degrees so the eyepieces face away from the post.
This base is quite small and will limit the size of the circuit board you can work on. It will also limit the height of the object you can fit under the stand. This is not an ideal setup for electronics. A boom stand is a far better option.
Building a boom stand:
I liked the flexibility of a boom stand, but the cost of the stand and shipping for a used one was $200 to $300, so I decided to build my own. Rigidity is the key to a good base, so that was the main concern for my design. The commercial boom stands move both vertically and horizontally. After much consideration I decided that I could eliminate much of the complexity and rigidity issues by deleting the horizontal movement.
Two axis boom stand.
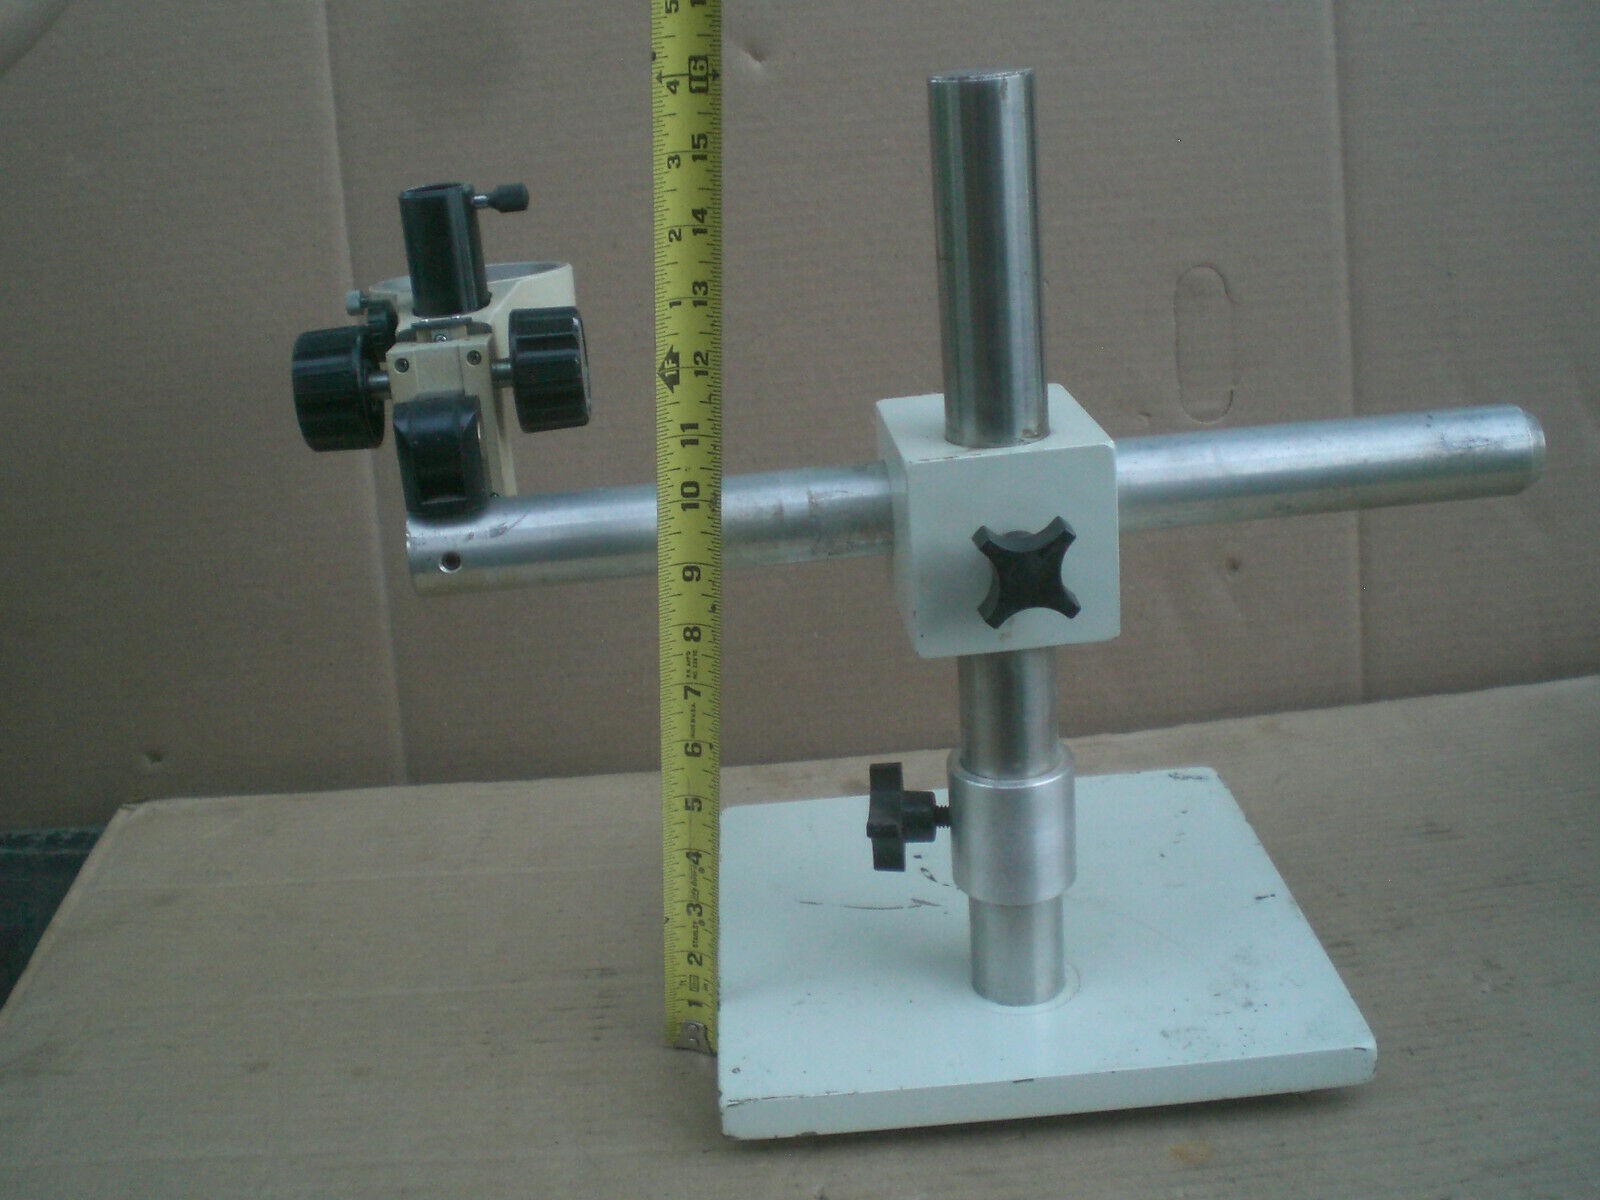
I found this on eBay and decided I could build something similar. One axis of movement and sturdy as a rock. If you lived in the US of A the shipping was minimal, but ship to Canada........ouch !
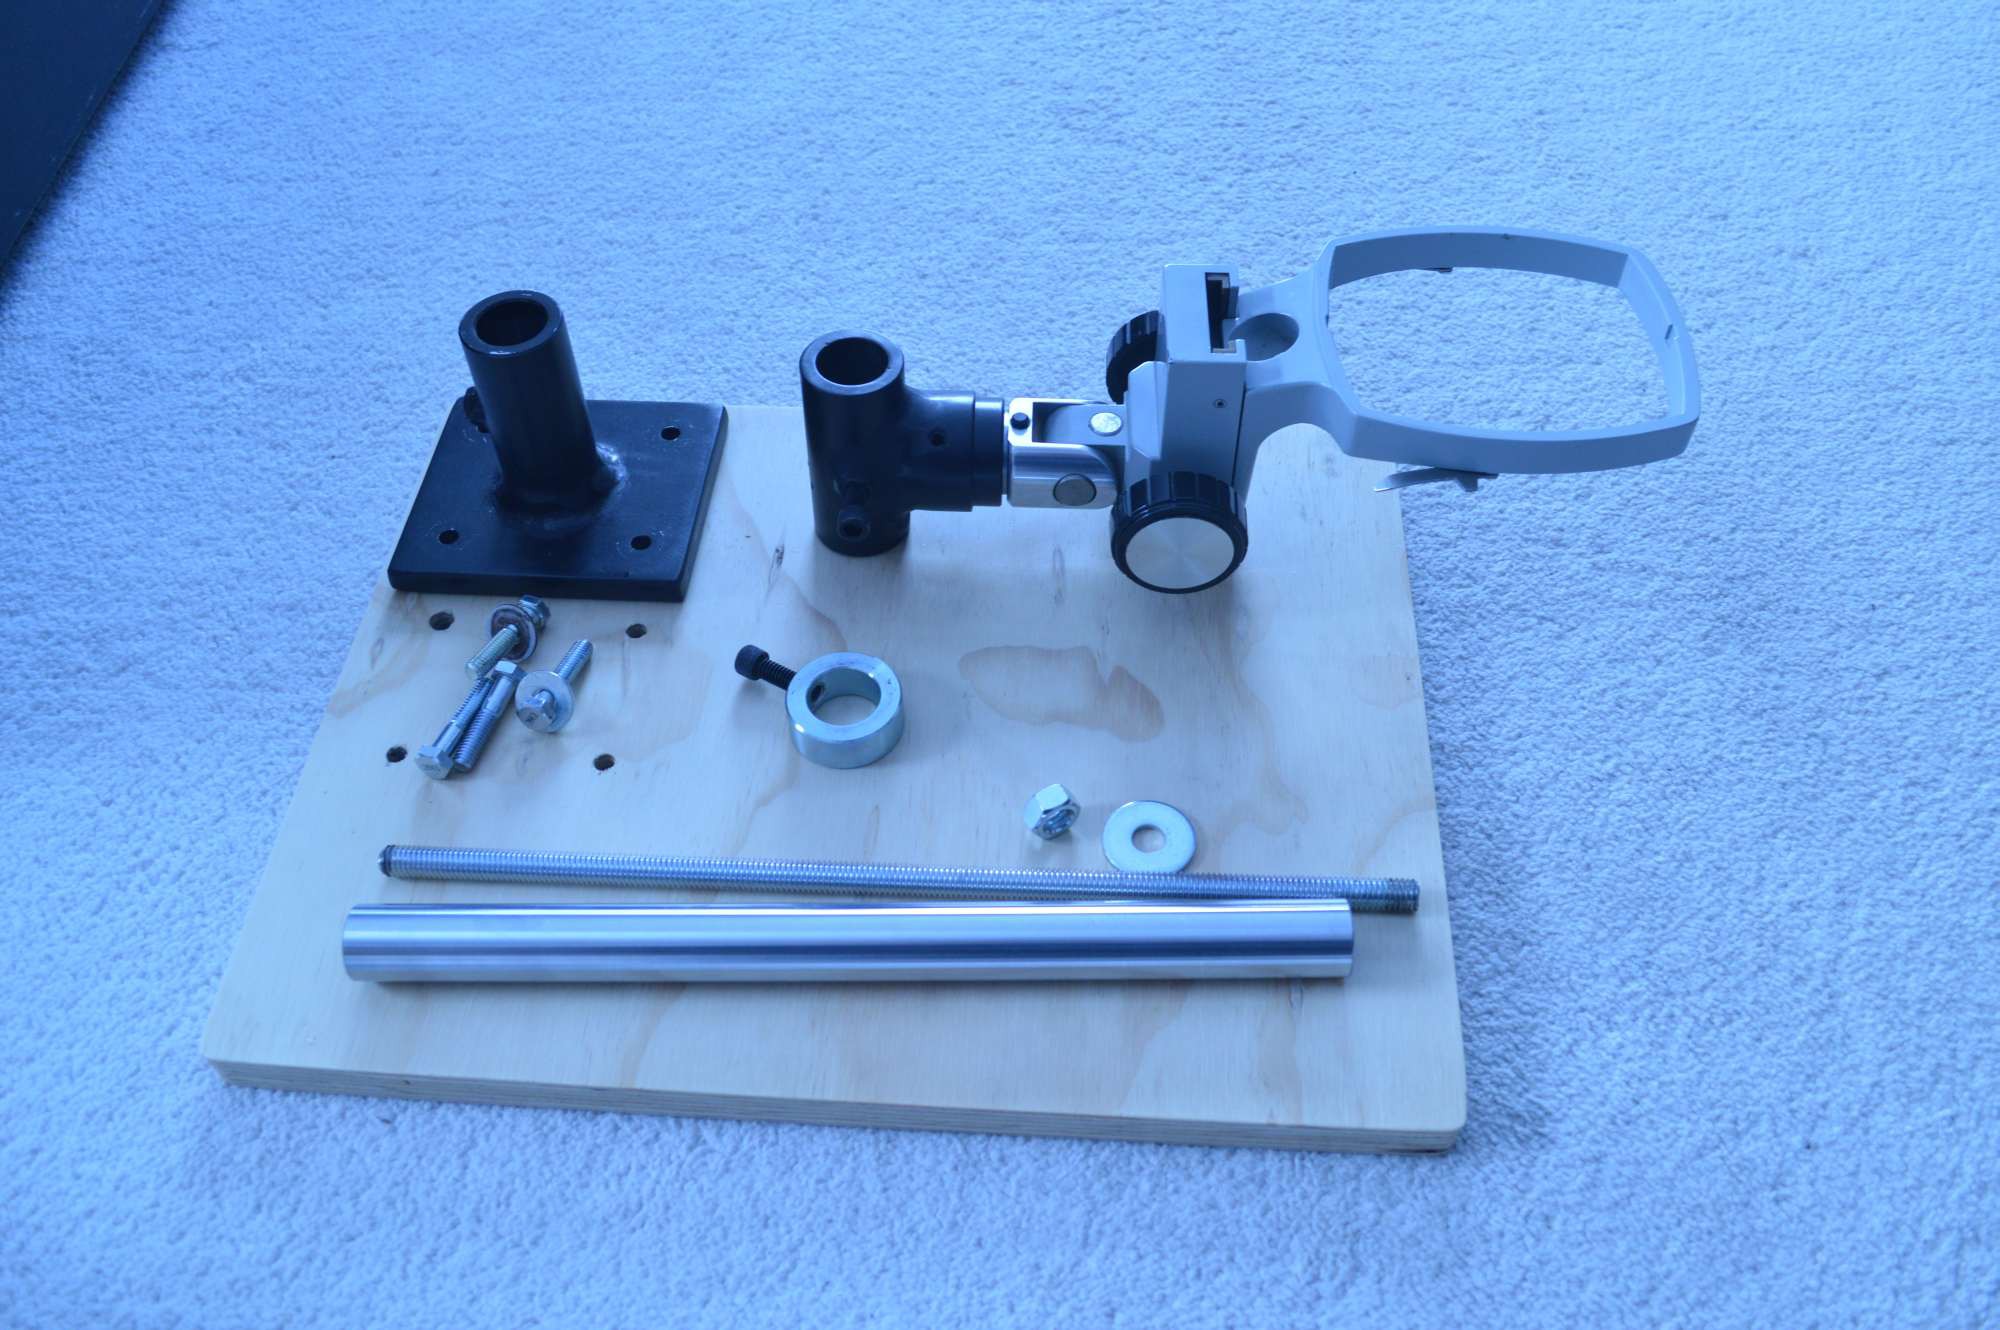
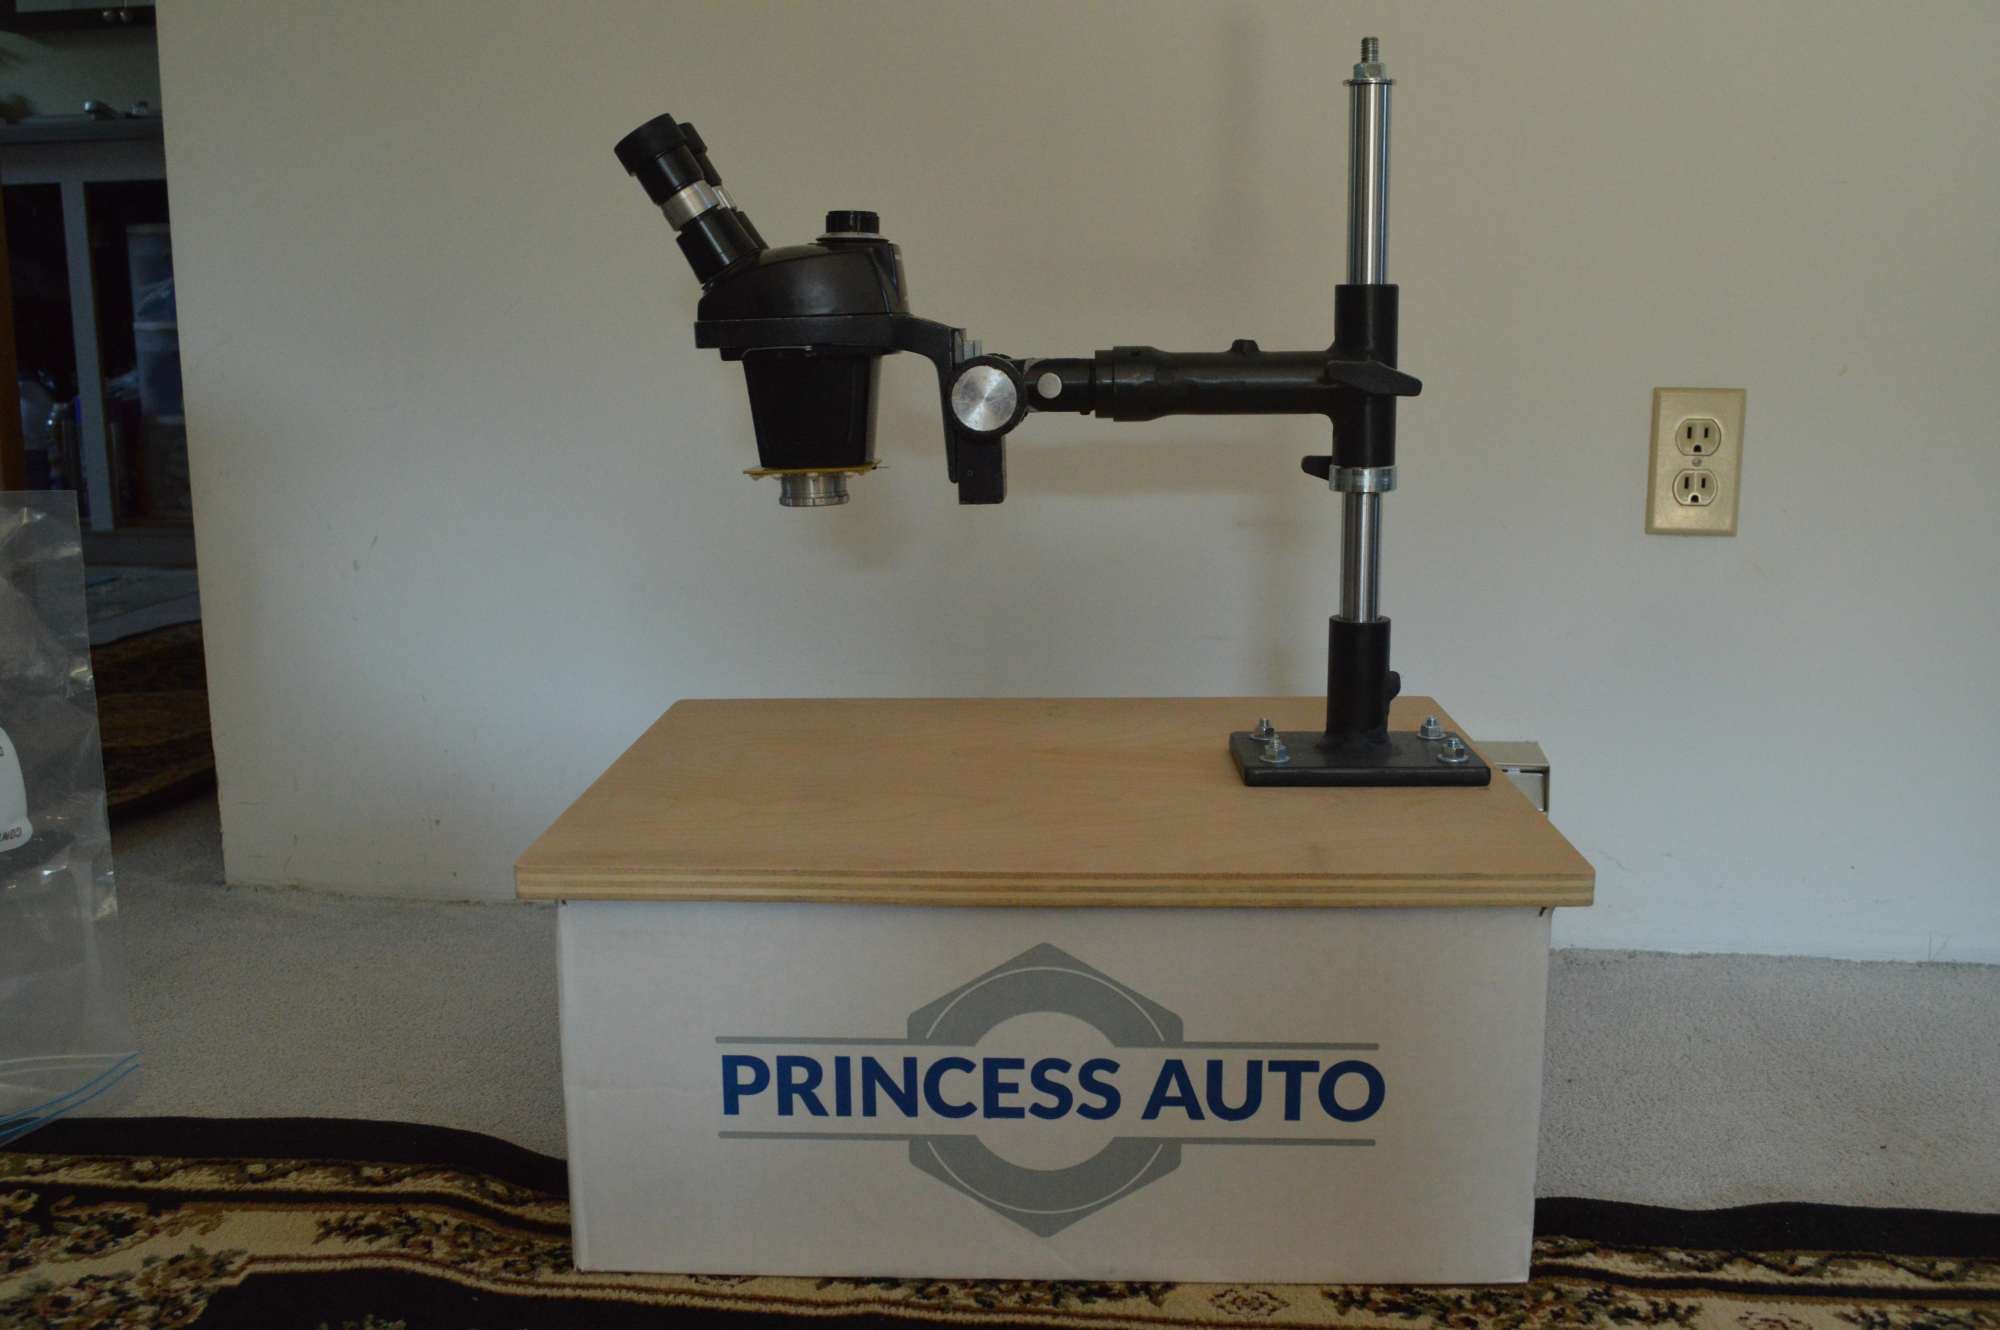
I ordered some chrome 25mm heavy wall tubing from China and a trip to Princess Auto (Canada's Harbor Freight and Tractor Supply all in one) for some 1 inch shaft collars, 1 inch hydraulic cylinder cross tubes, and 5/8 inch weld on sprocket hubs.
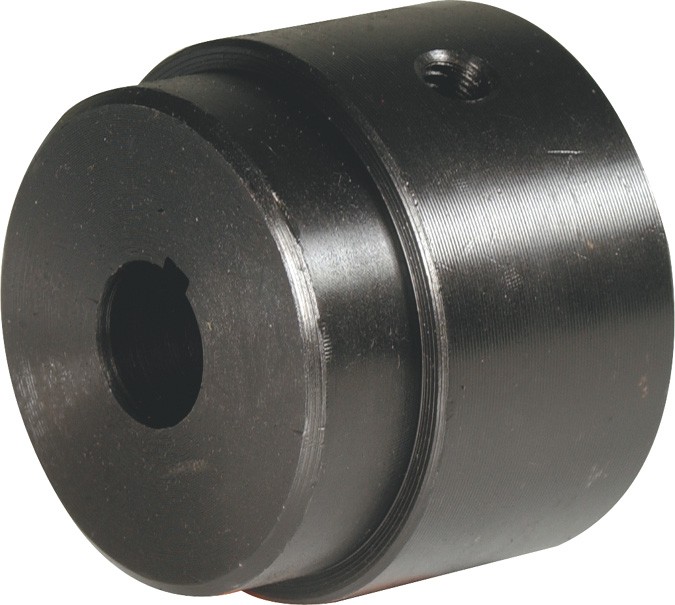
5/8 sprocket hub
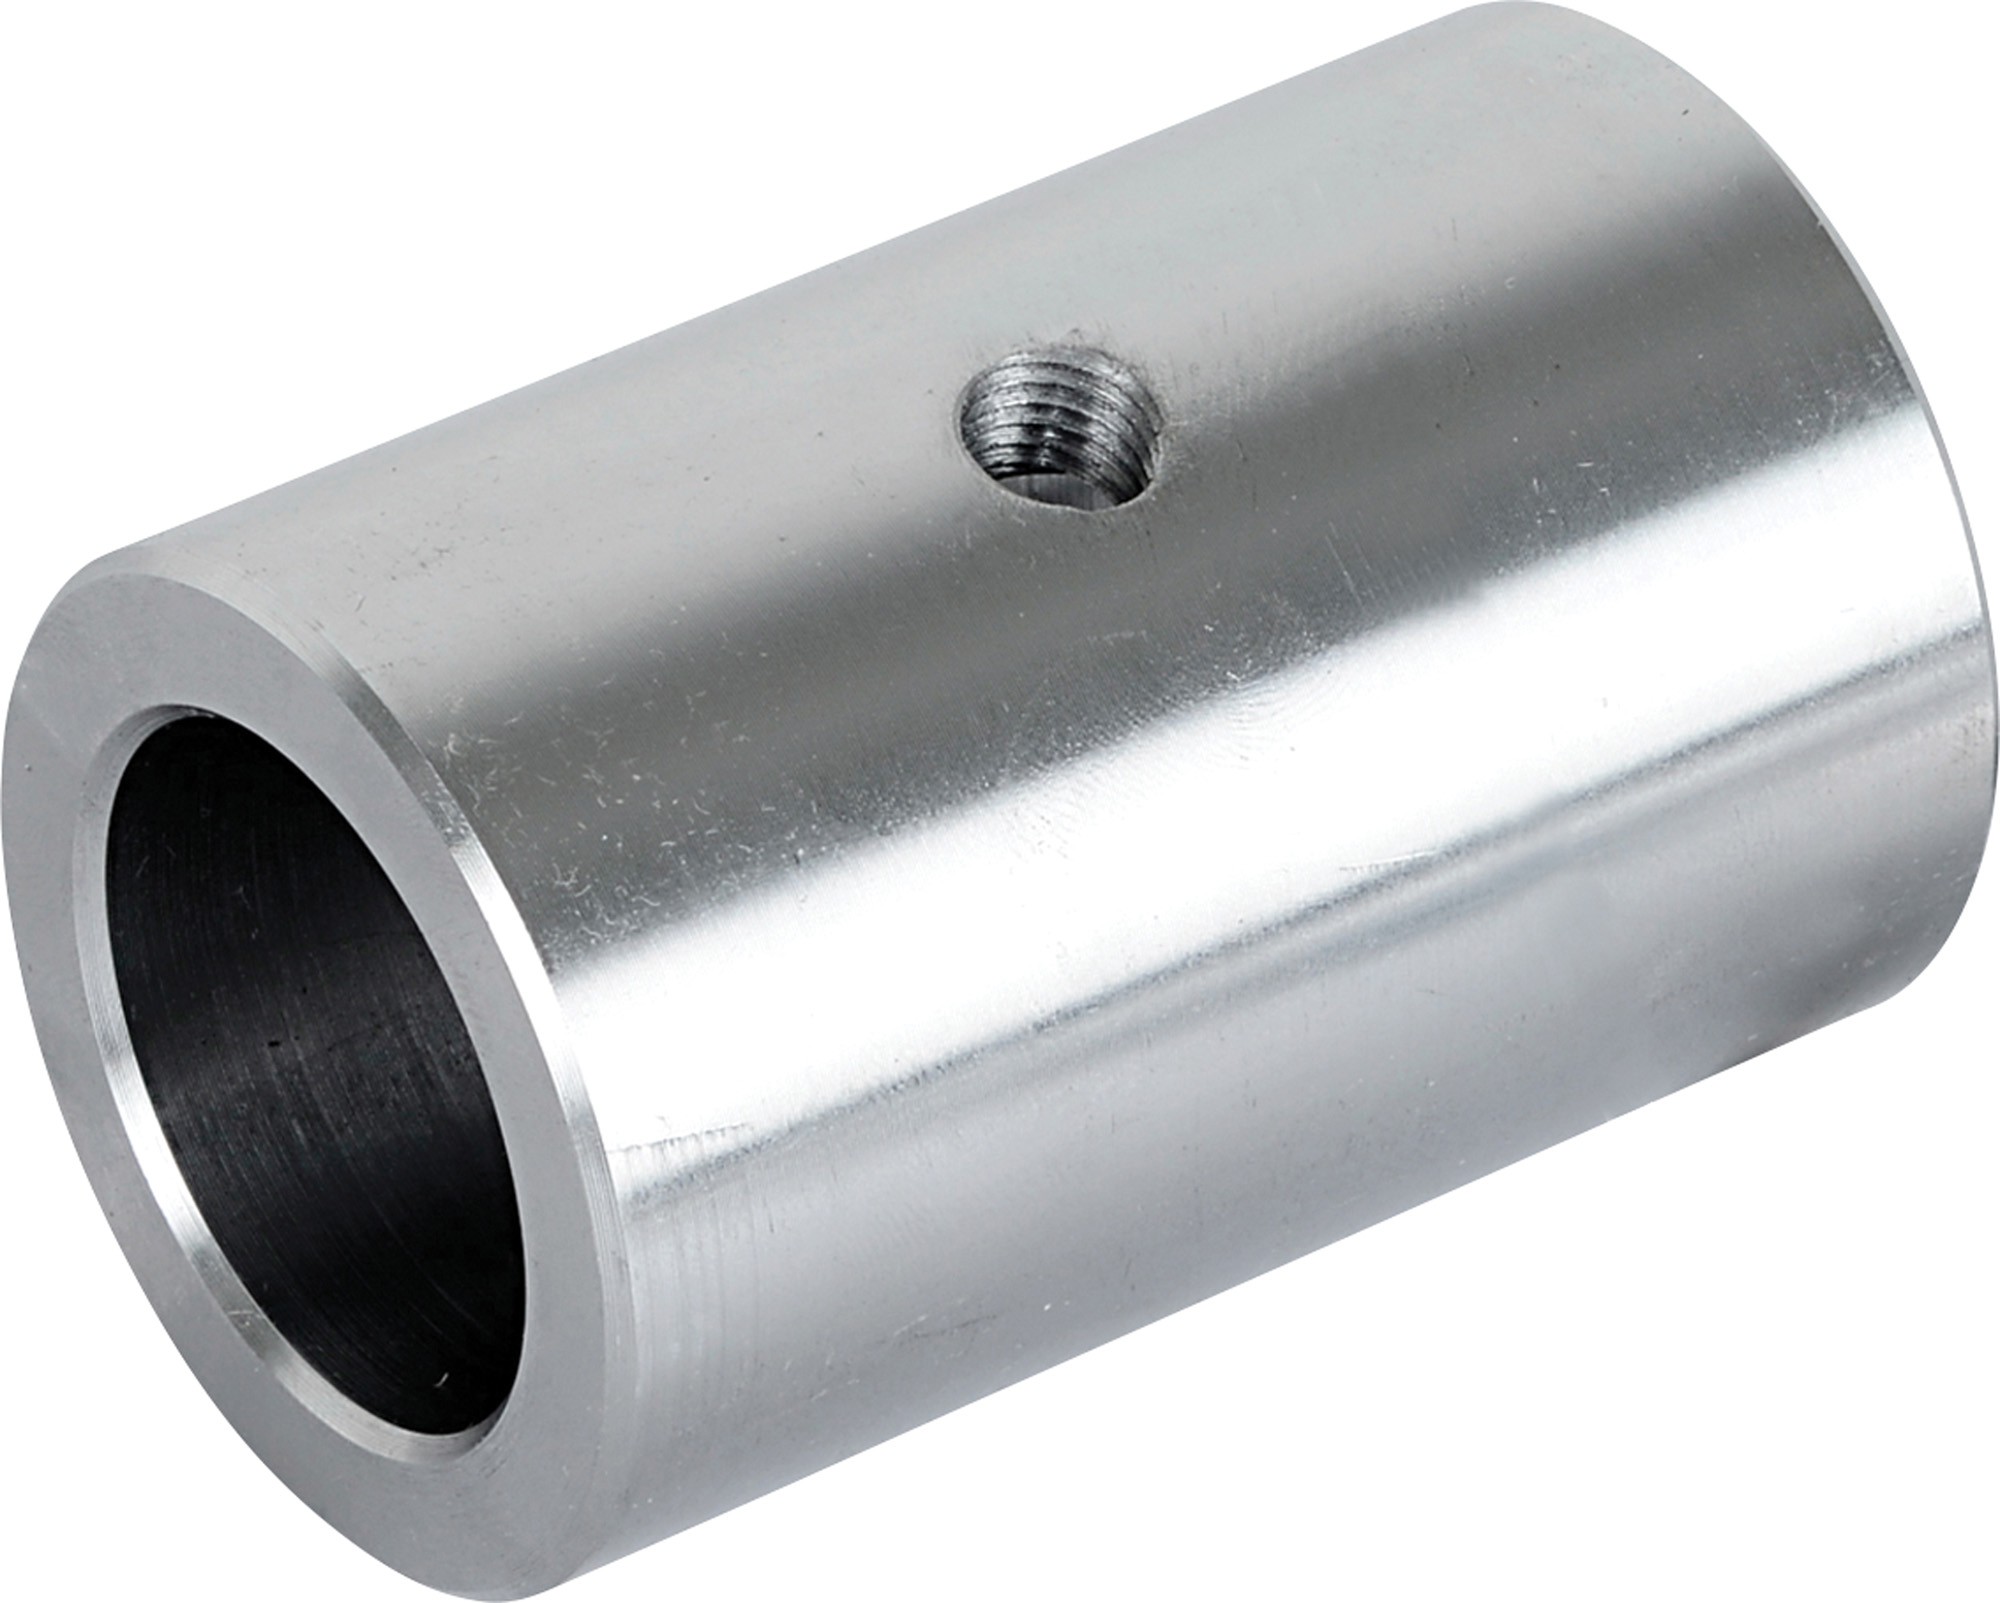
hydraulic cylinder cross tube *** If you can't find the cross tubes, some heavy wall seamless 1 inch ID tube will do. You will have to cut it to length and drill / tap a hole for the locking bolt. You can find this at any industrial supply store. ***
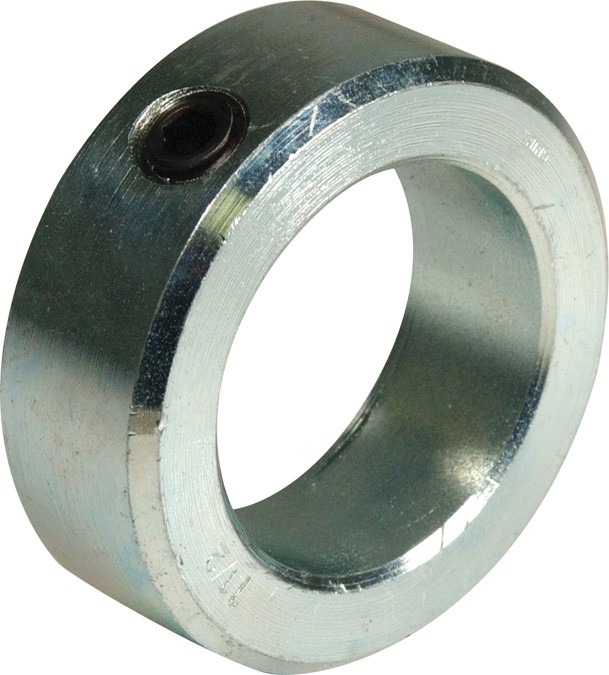
shaft collar
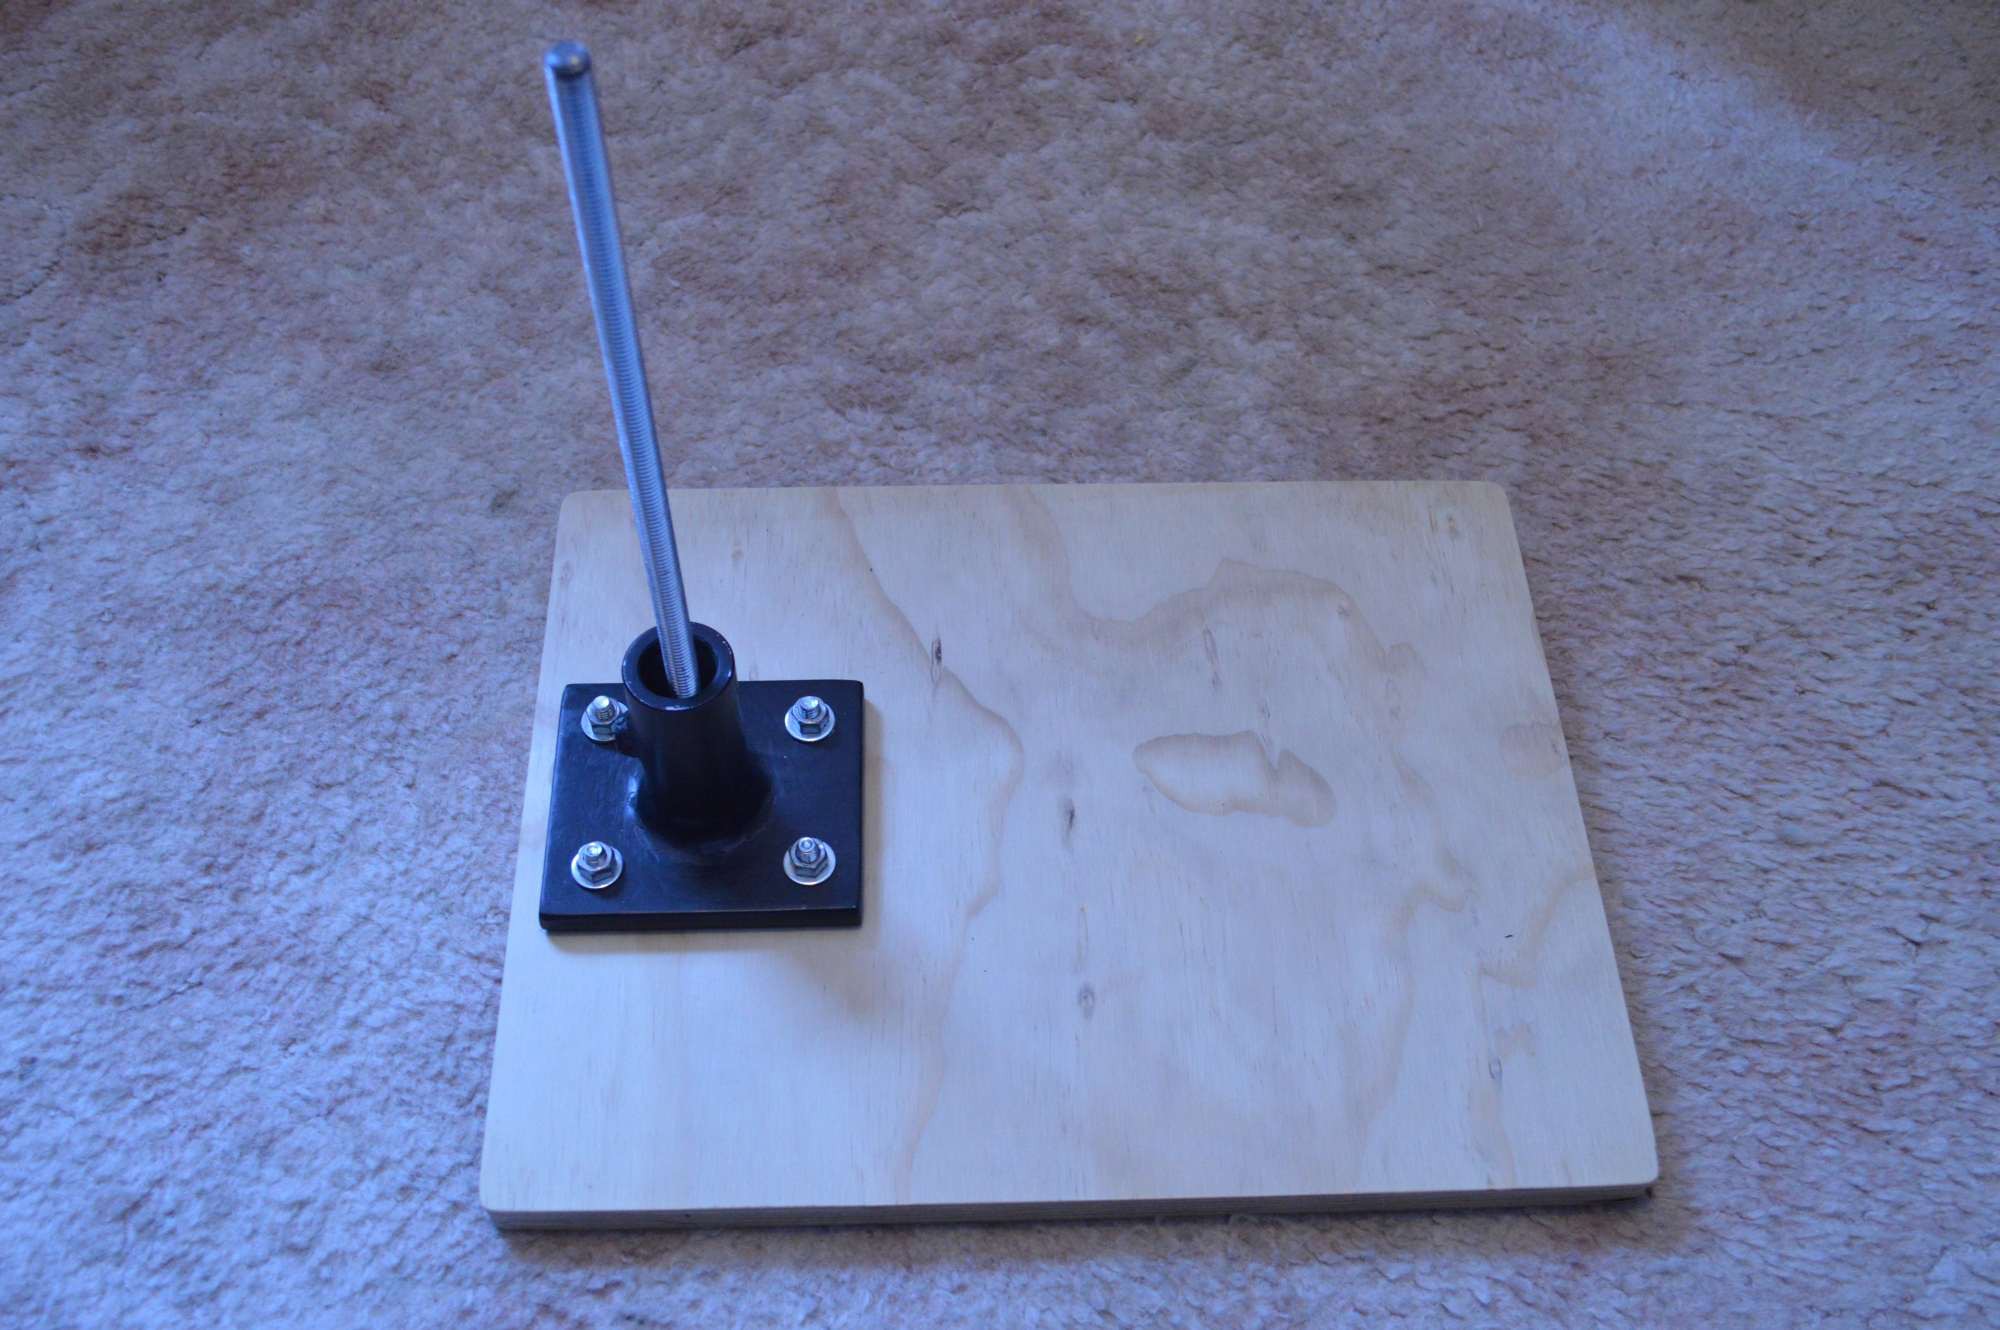
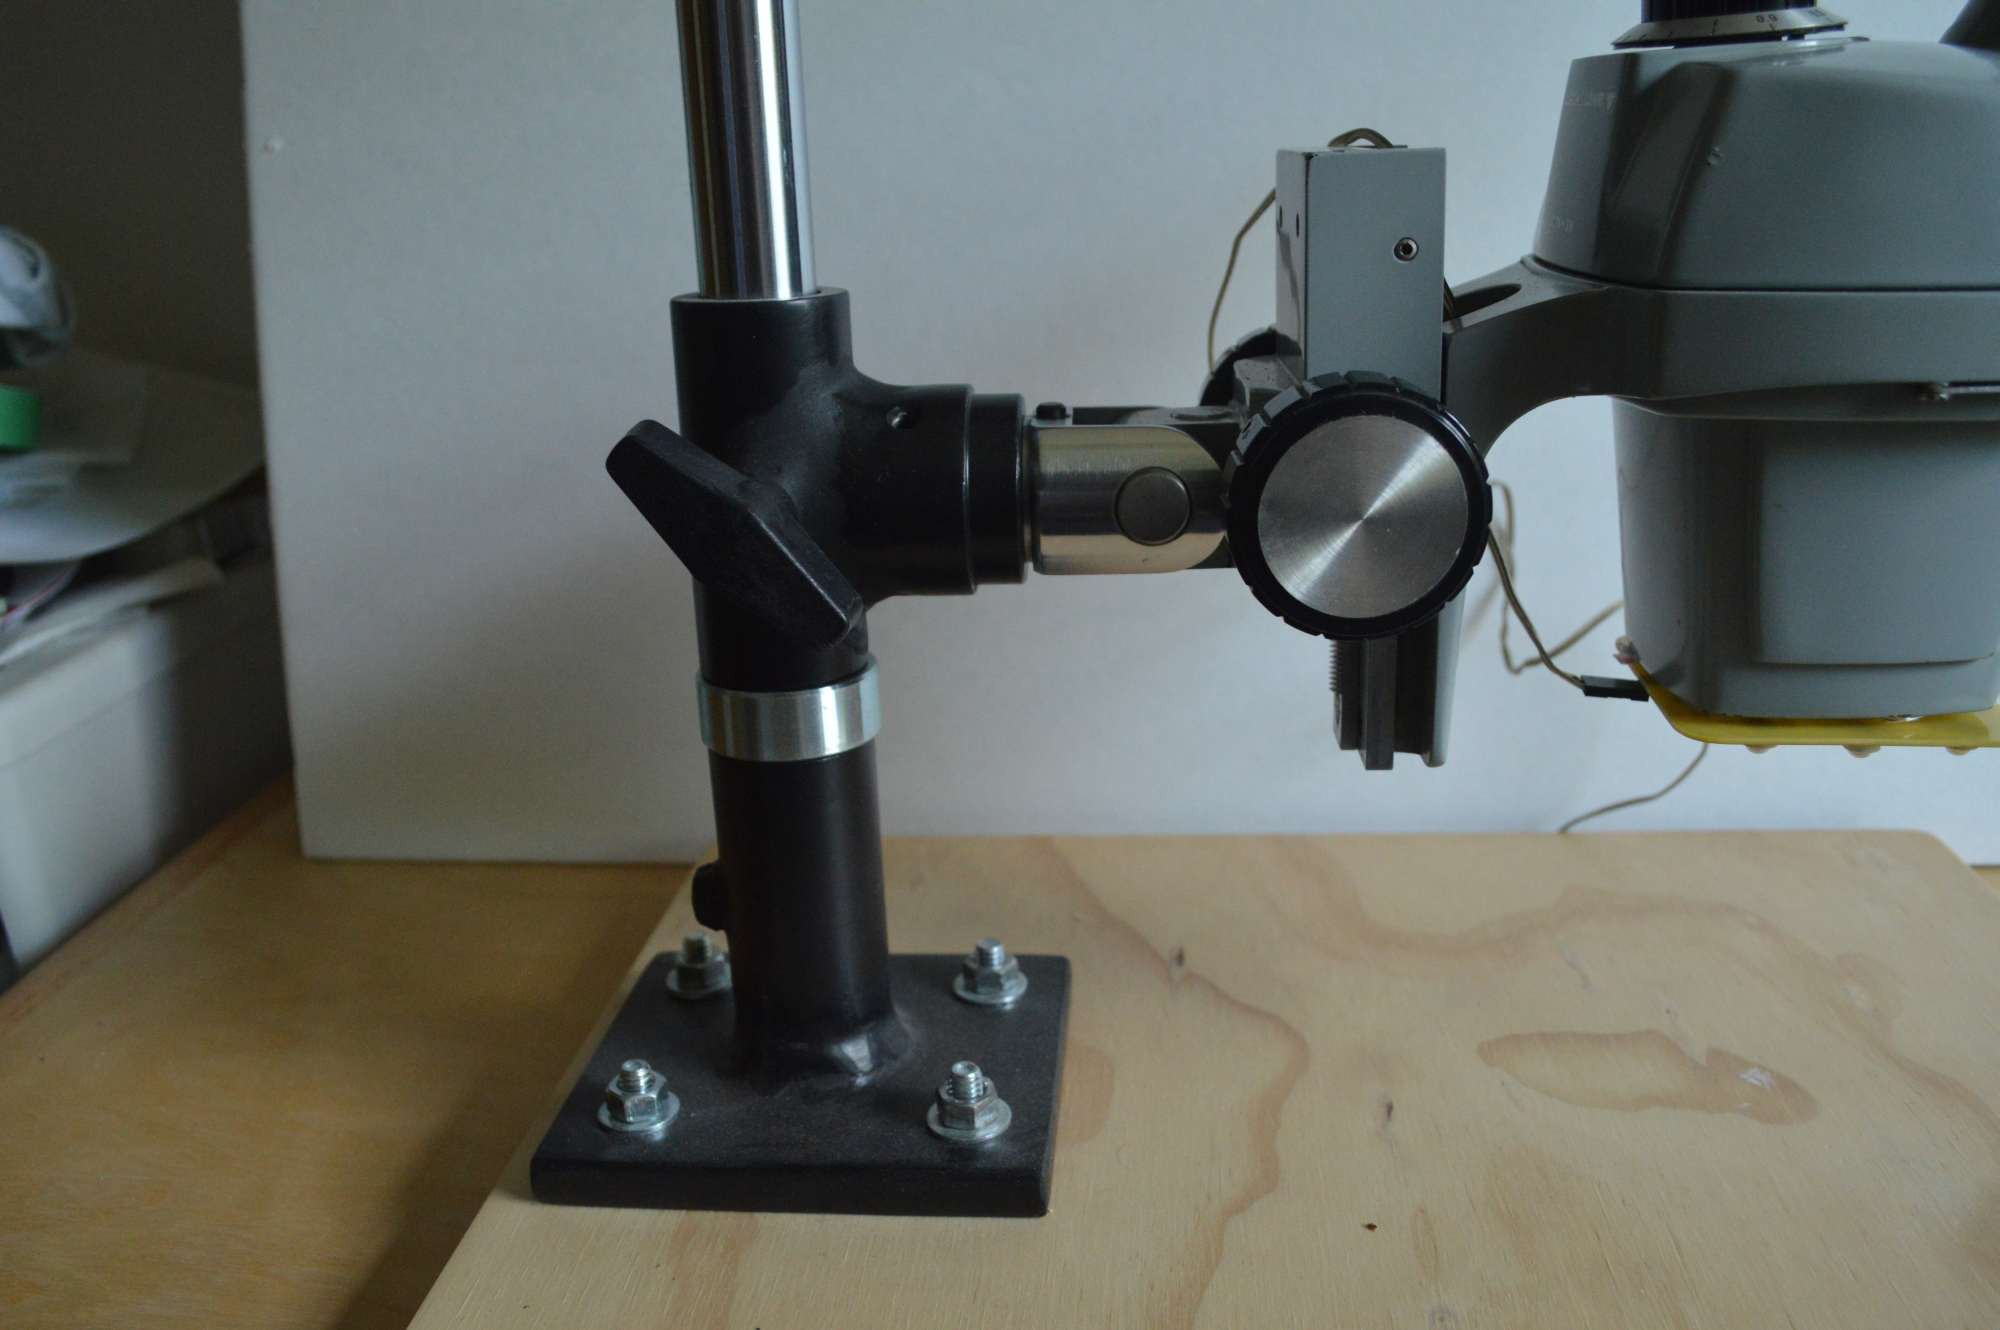
The 5/8 pin of the E arm fits into the 5/8 sprocket hub, which comes drilled and tapped for set screws. I welded nuts over the grease fitting holes on the cross tubes and tapped them for fine thread bolts. Bolts with large knobs act as friction locks. The sprocket hub is welded to the end of the cross tube, which is welded to another cross tube at right angles, to form the E arm receiver. Another cross tube is welded to a base plate to make the column base and a threaded rod runs up the center of the chrome tube to increase rigidity. The shaft collar acts as a safety stop, allowing the microscope to swivel without falling. The following pictures illustrate my convoluted description.
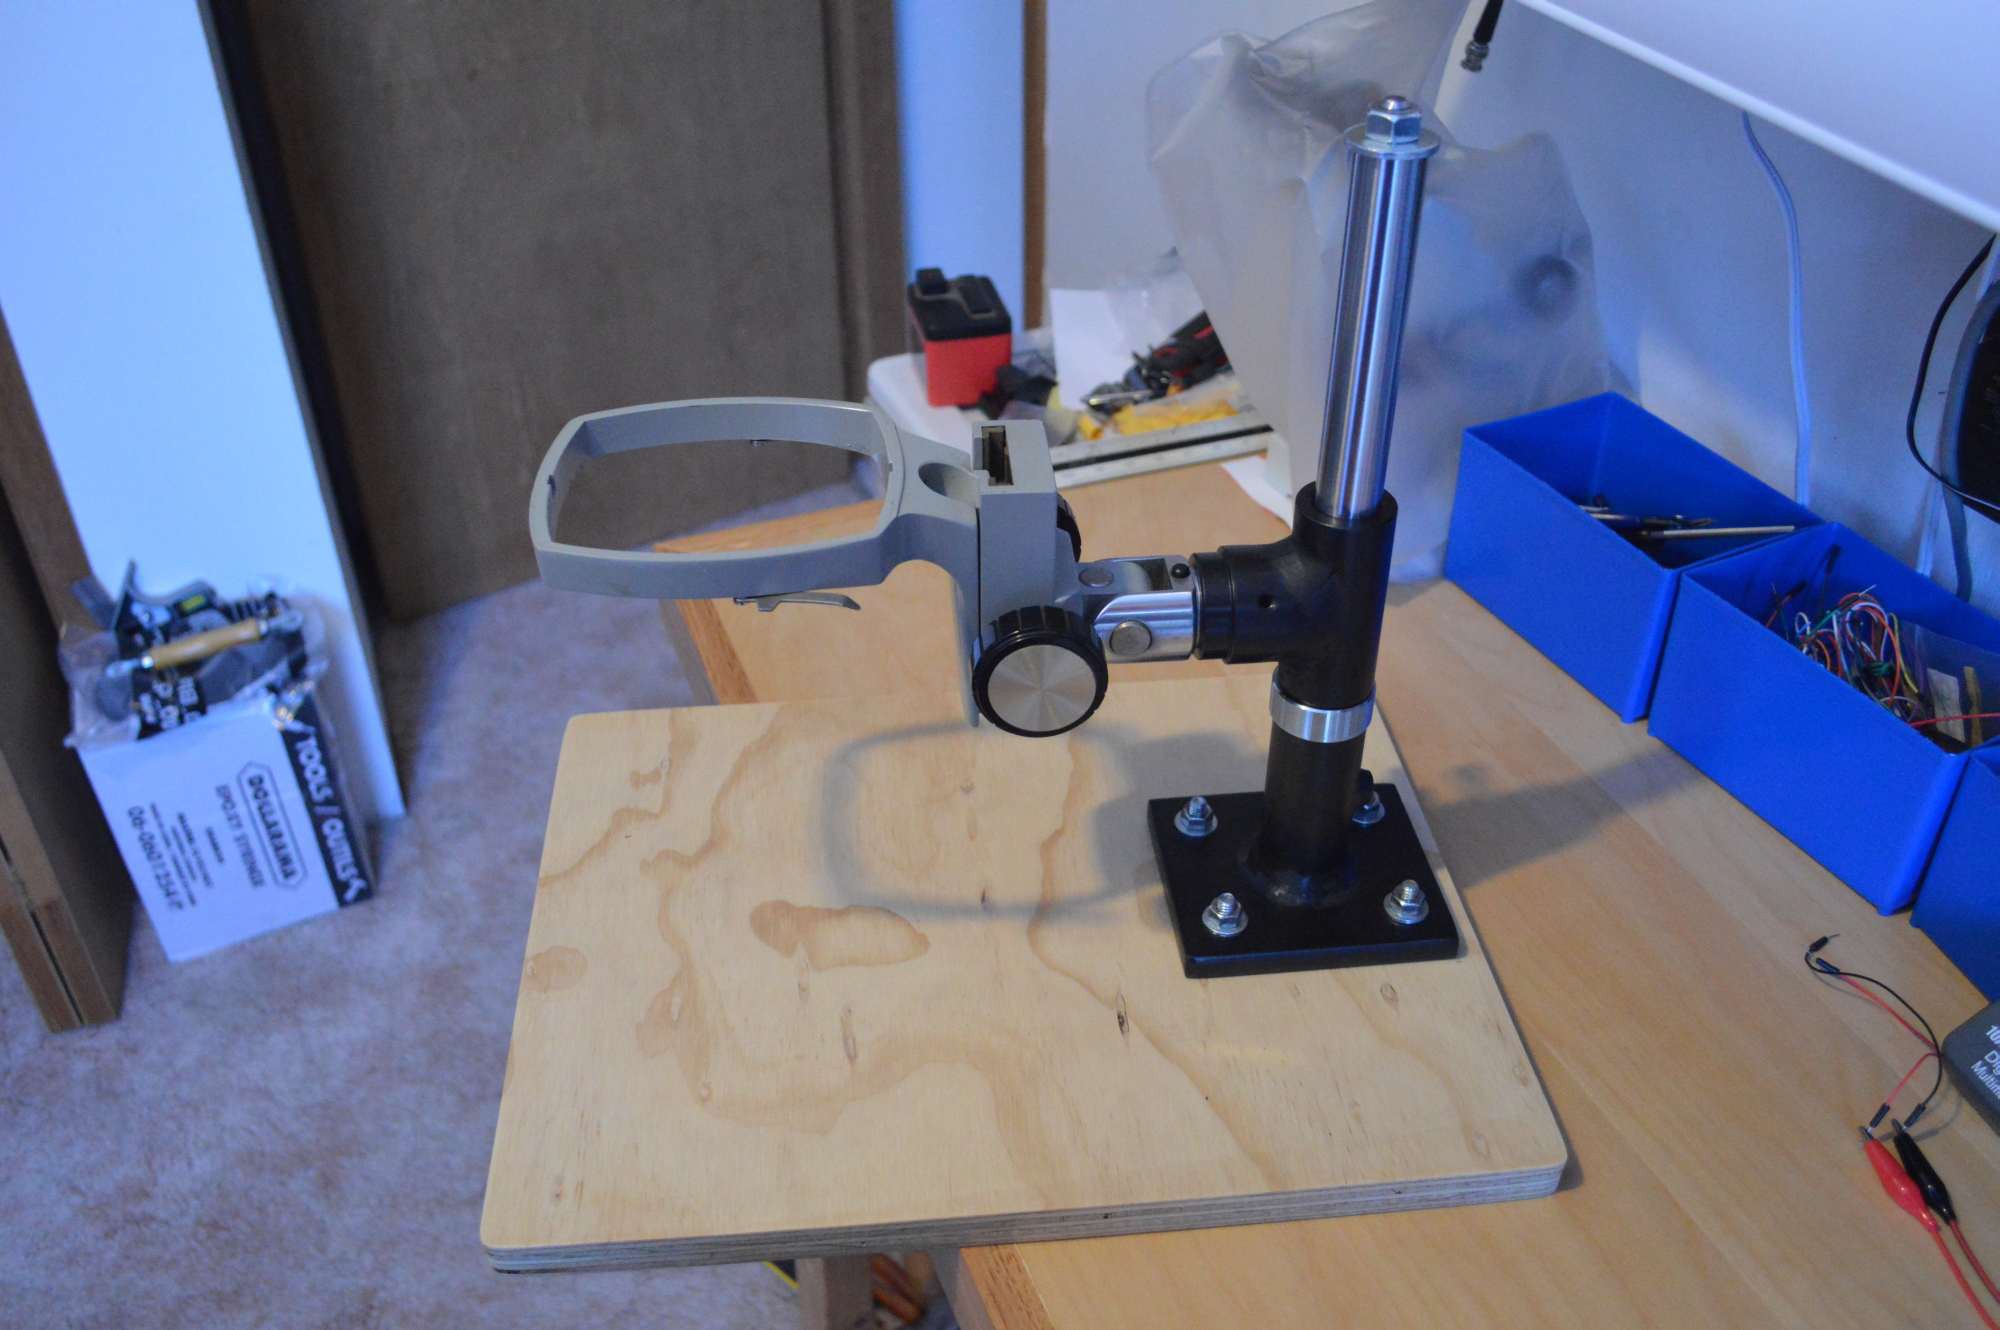
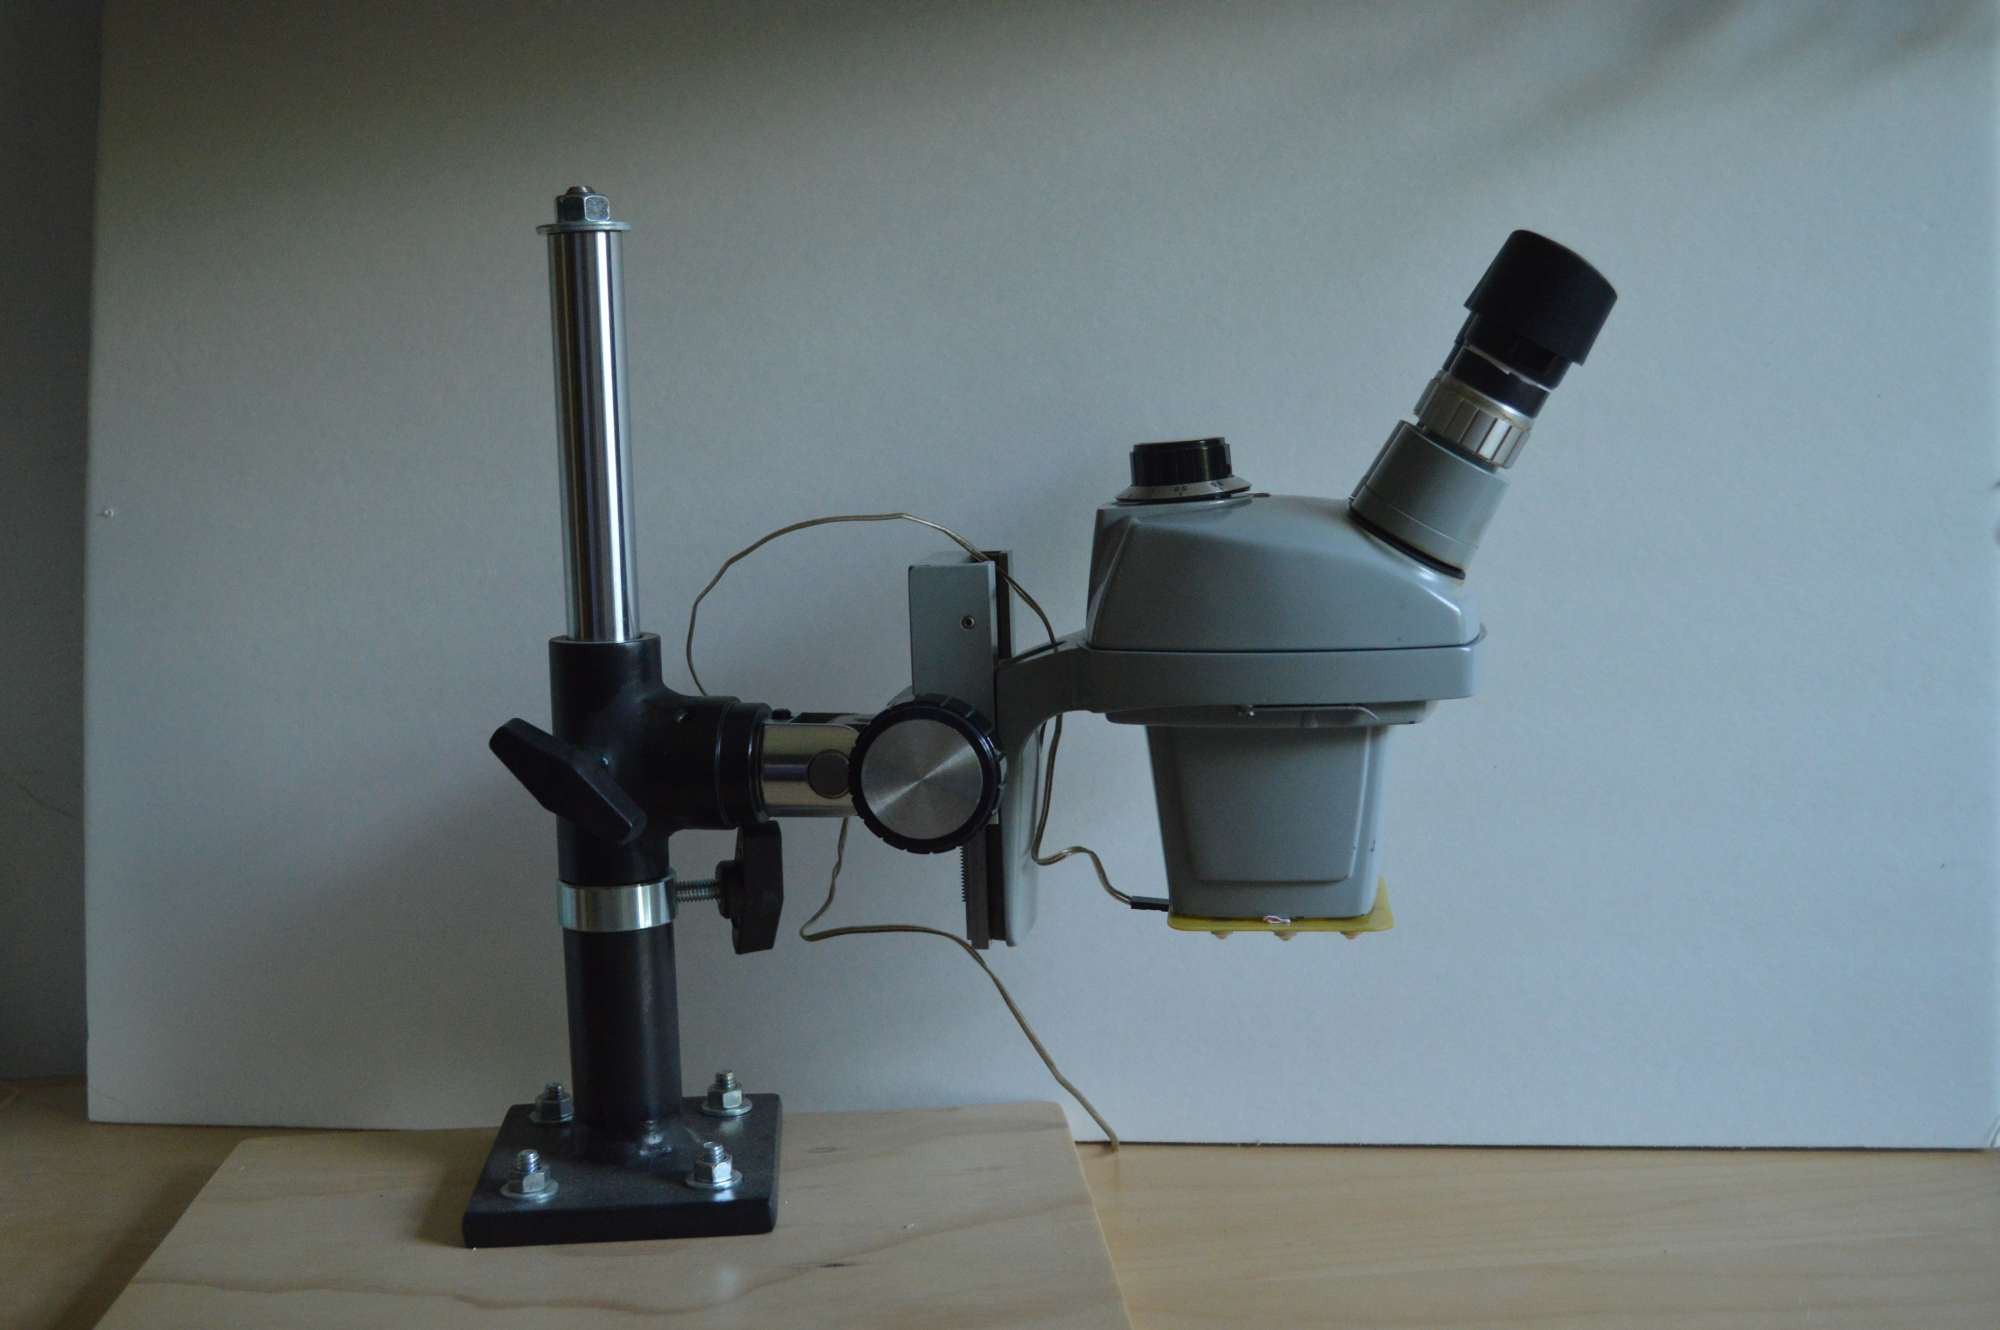
 Small stand for inspection and "general use". I use it to inspect circuit boards, read the fine print on ICs and splinter removal (invaluable). This is set at its focus distance of 4 inches and provides 7x to 30x magnification. I paid $75 for this head and E arm together and $50 for a pair of B&L eyepieces.
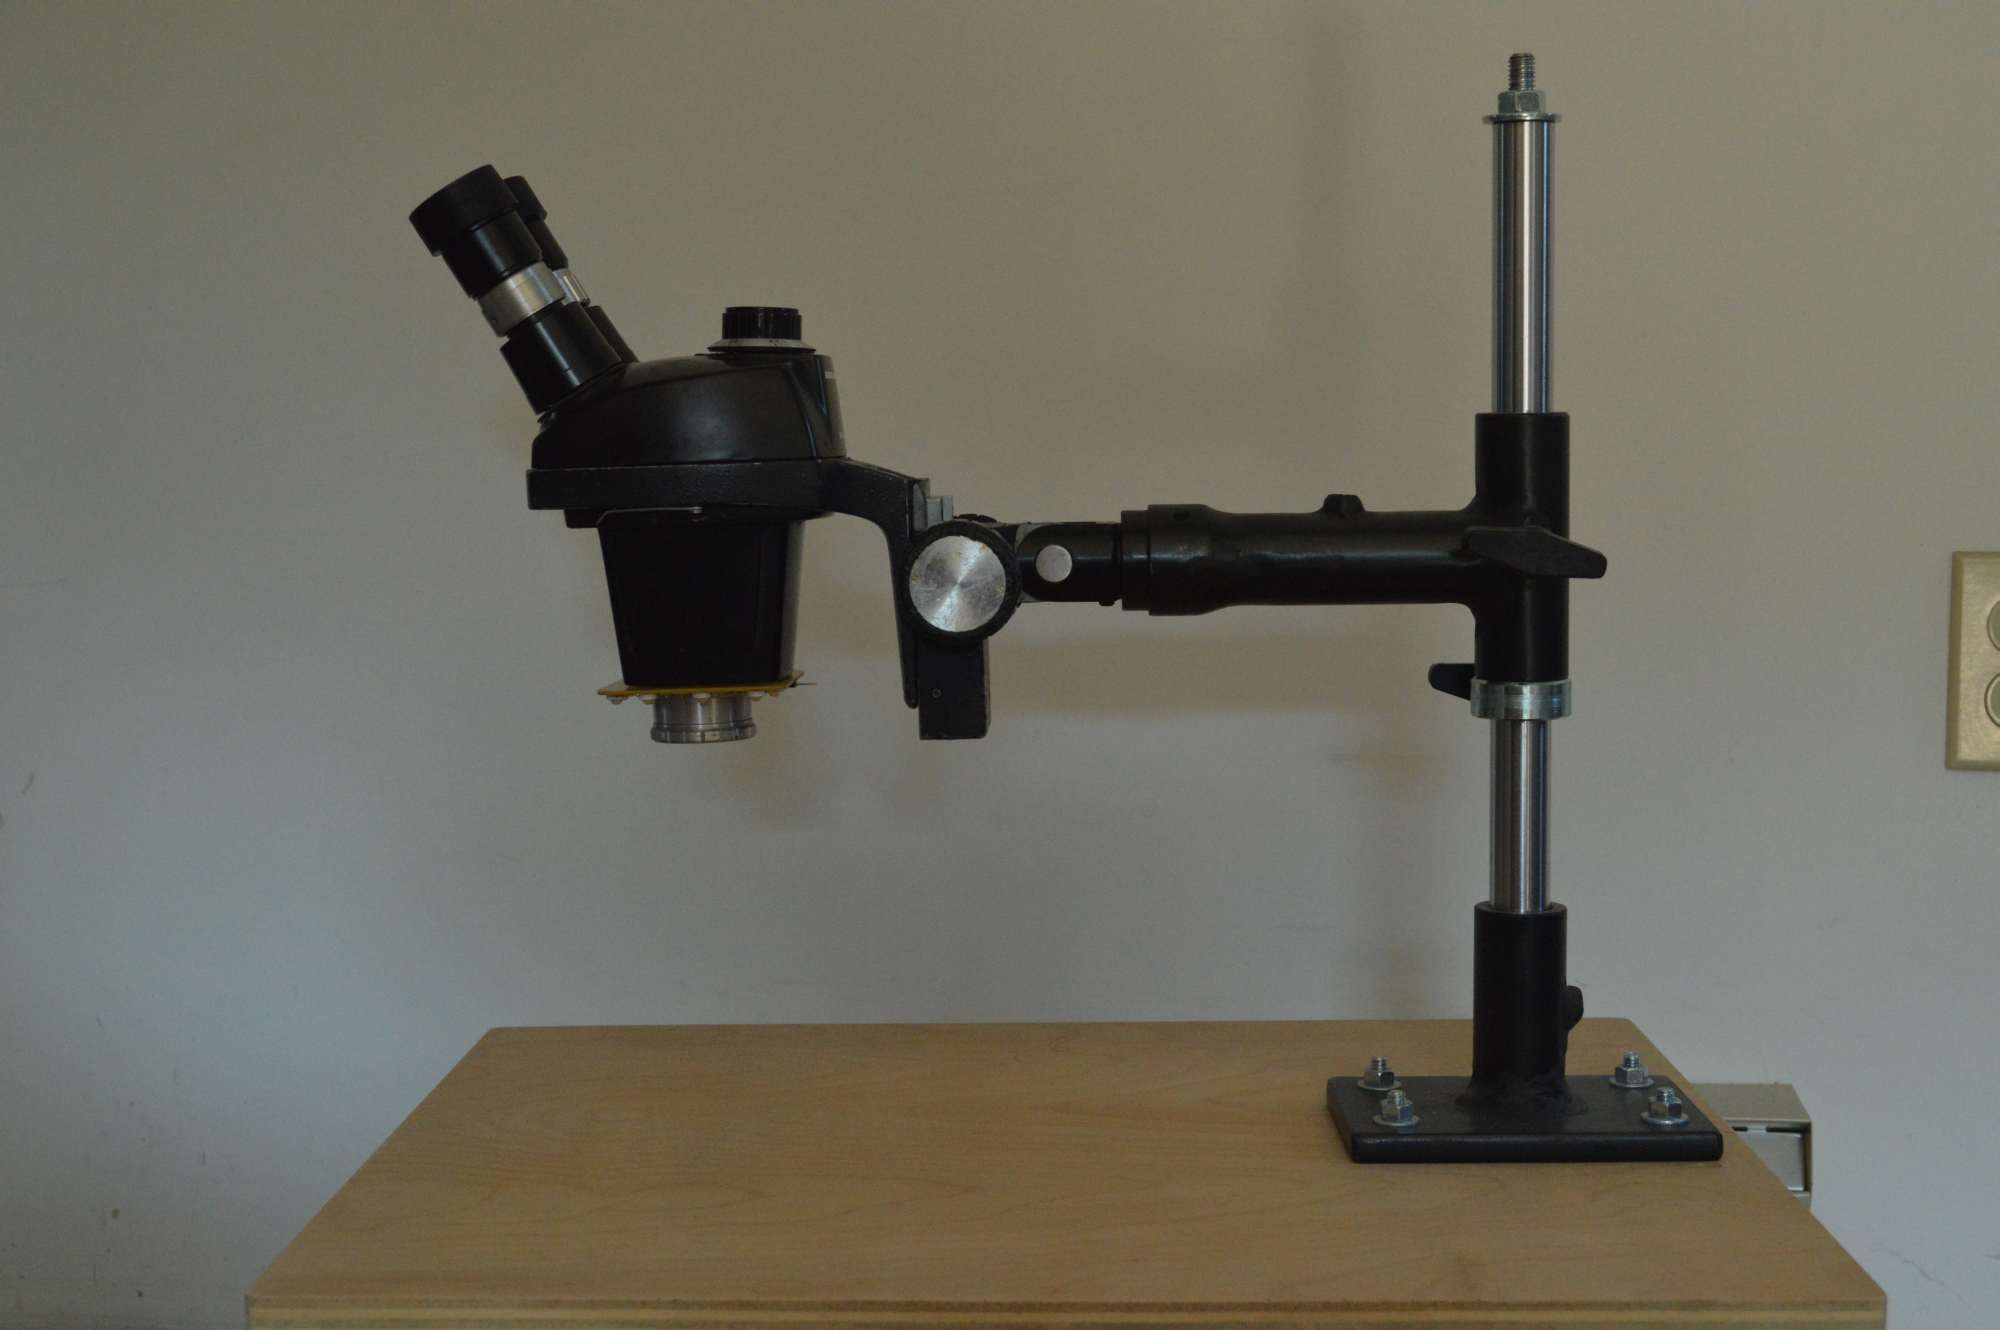
Solder microscope with 0.5 Barlow lens. Focus distance 8 inches and magnification 3.5x to 15x. I think this is the ideal magnification for electronics. Long arm stand to reach the middle of any circuit board. I bought this head for $40 because it included a 0.5x Barlow lens which sells for about $150 by itself. The head turned out to be in perfect working condition so I bought a third head for $55 which had eyepieces, E arm and protection lens and build this microscope for my solder station. The third head is a spare for parts if necessary. B&L parts are hard to find and outrageously expensive. You can buy another head for a fraction of the cost of a single mirror. Cost for both stands about $80.
Accessories:
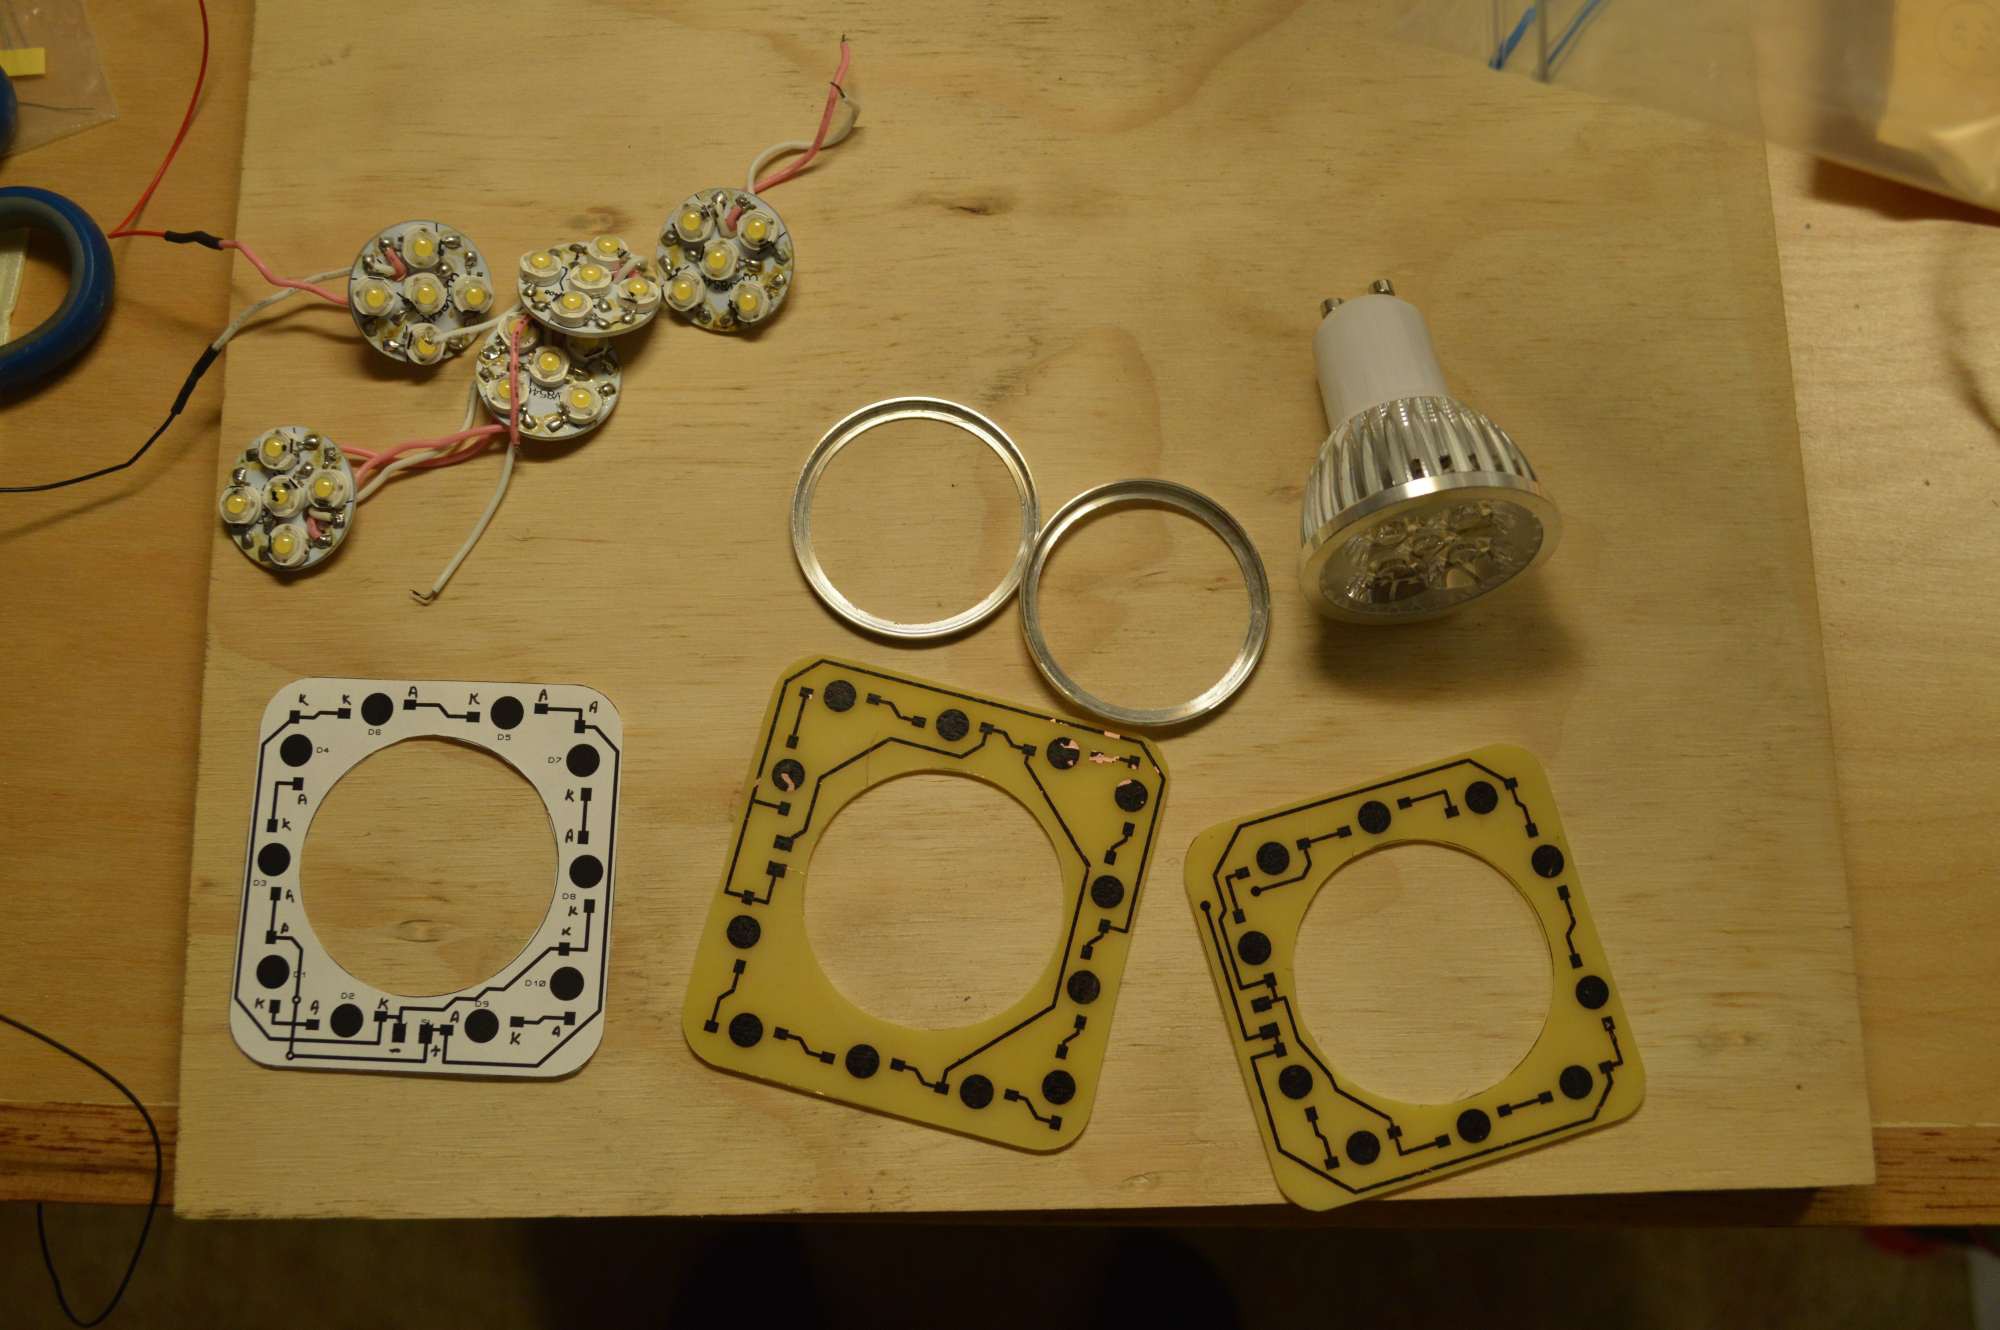
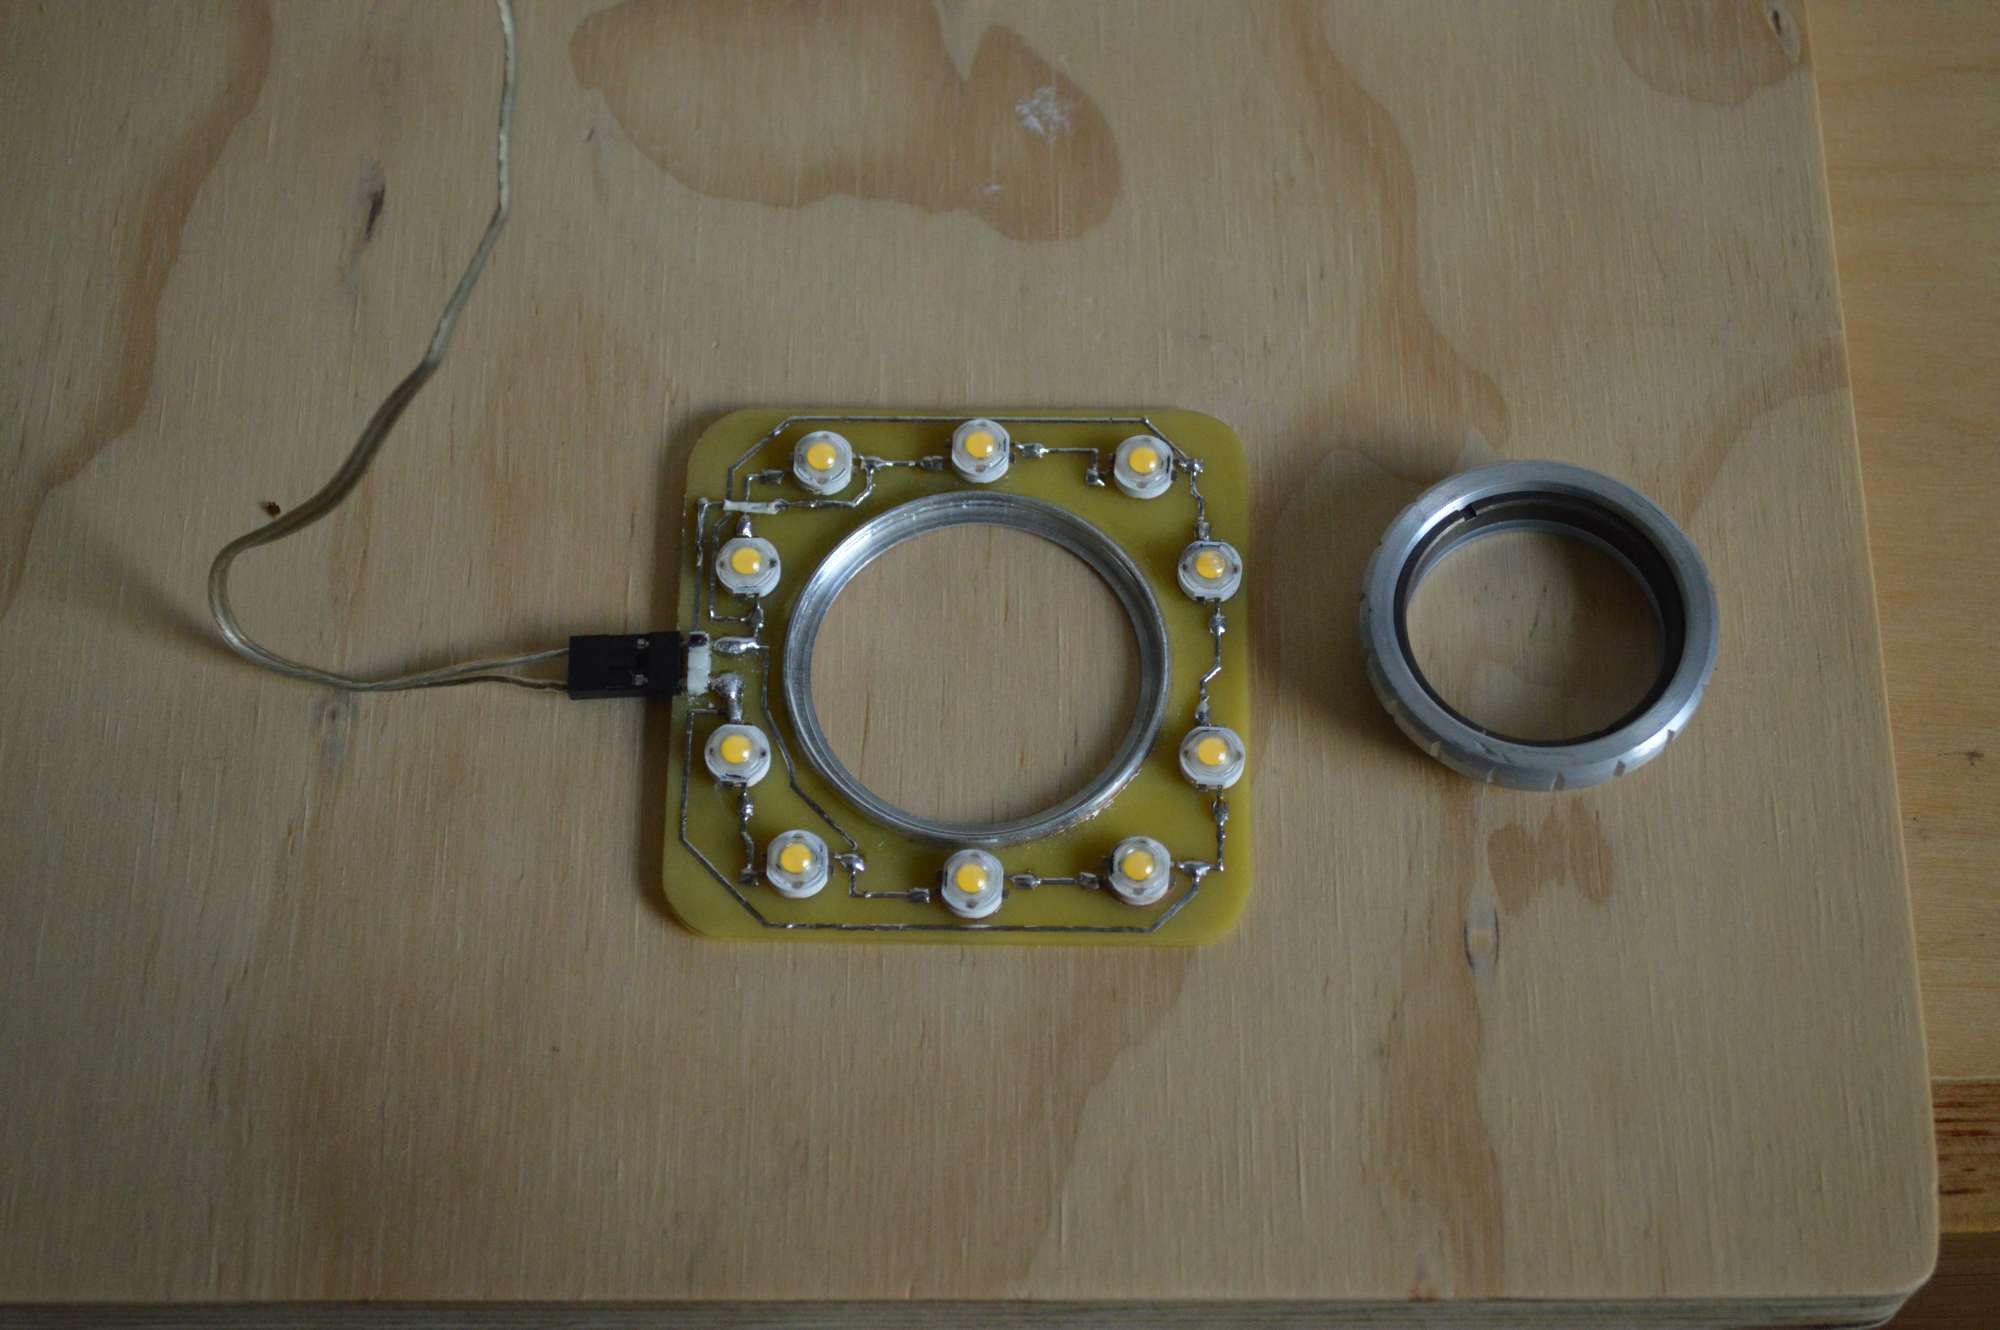
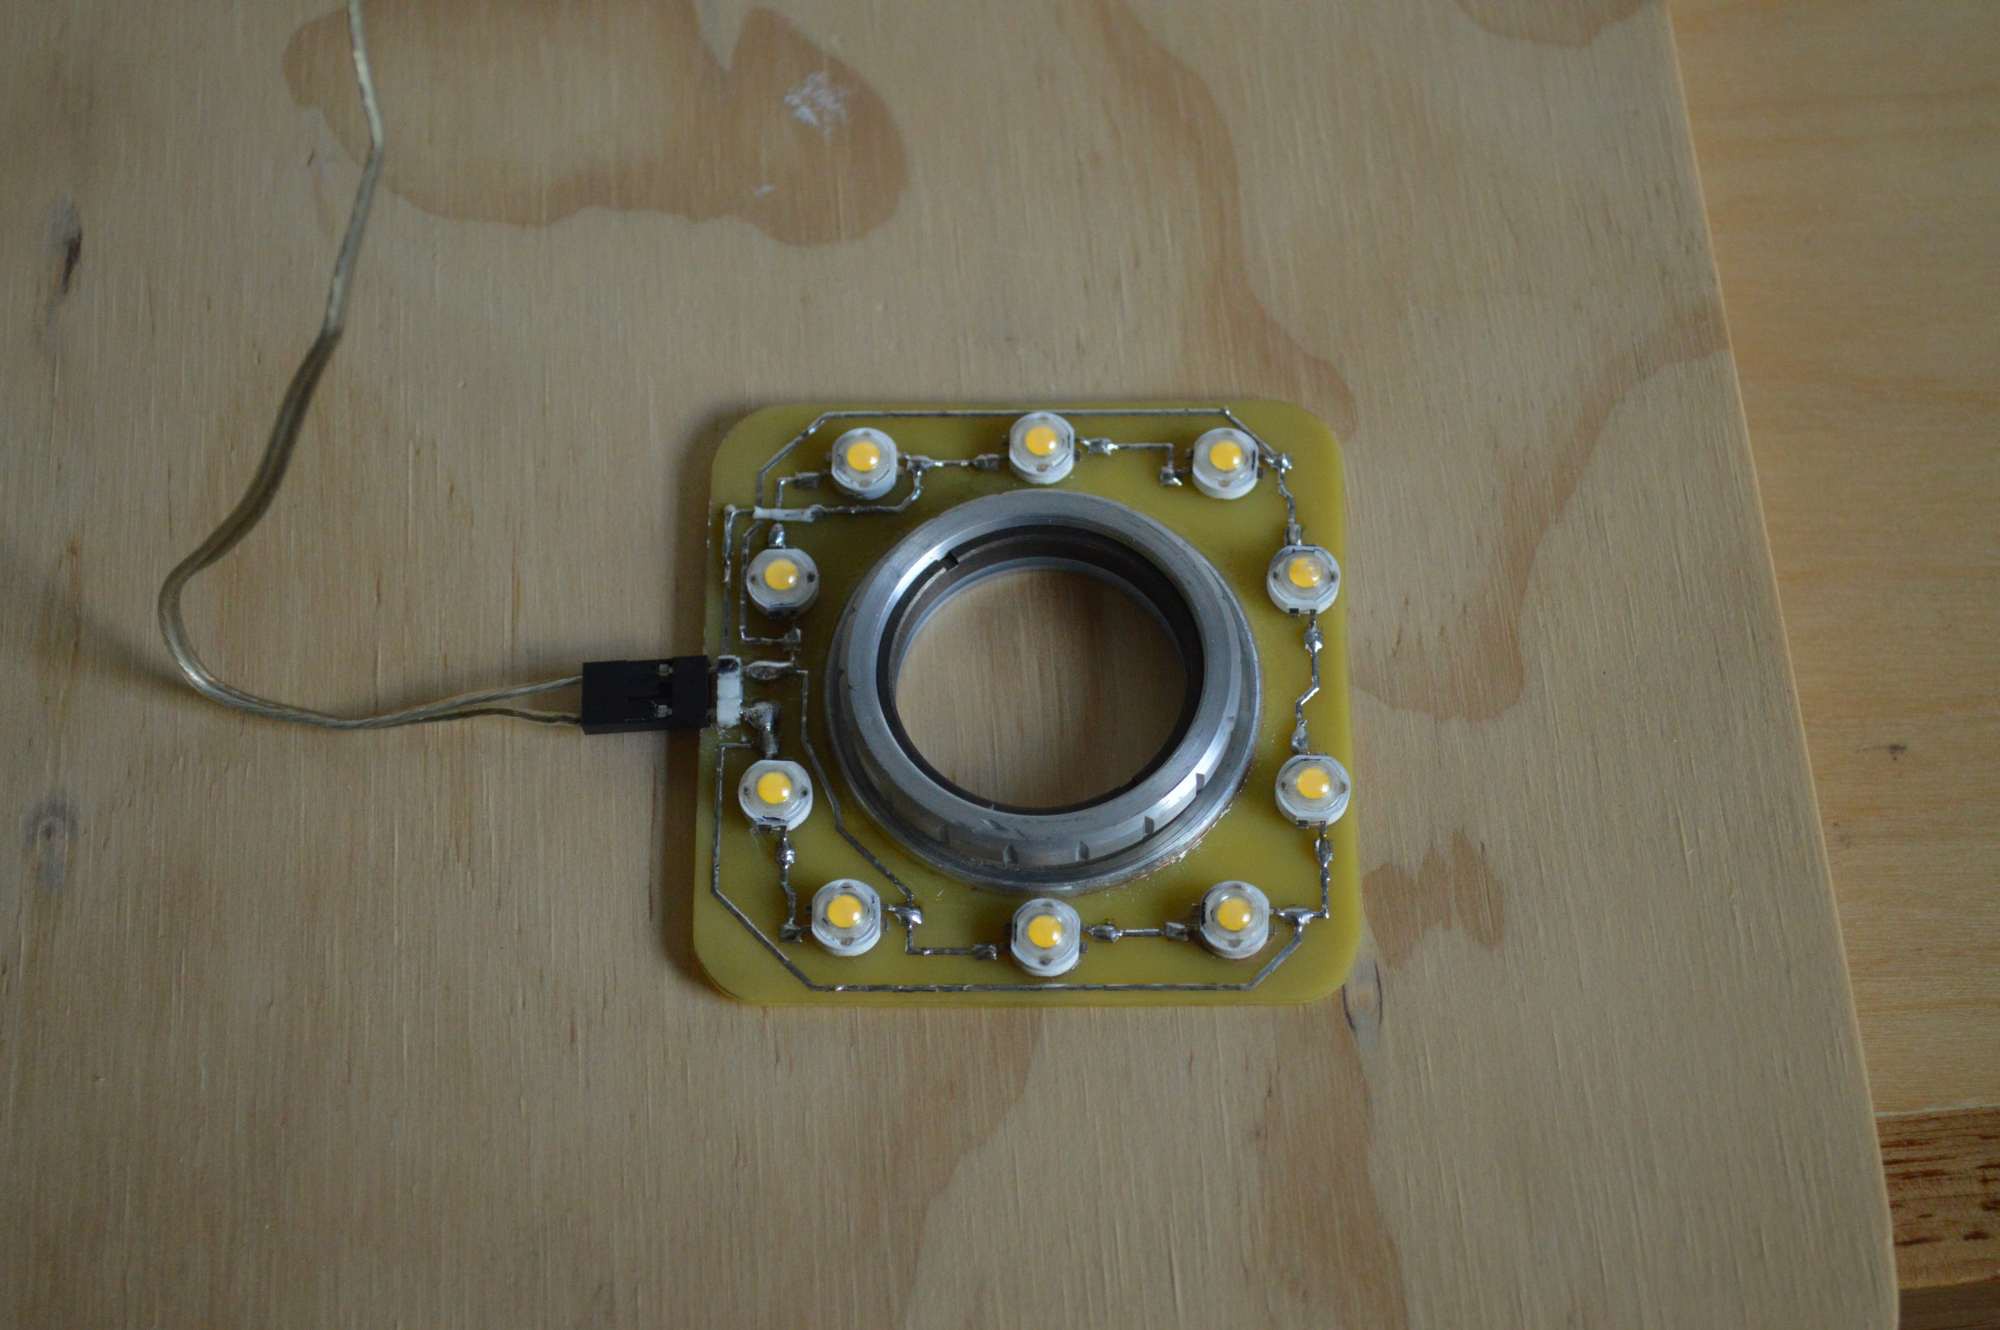
Homemade ring light that is retained by the protection lens.
You will need illumination and a ring light is a convenient way to light the subject. The StereoZoom's flat bottom and 38mm filter ring make mounting a cheap commercial ring light difficult. I found surface mount 1w LED beads to be a great solution. They are operating at 60ma and consume about 200mw of power, well below their 1 watt rating. At this power level they don't even get warm and they output more light than a small commercial ring light. Here is a link to the ring light project https://hackaday.io/project/174782-build-a-ring-light-for-your-microscope-or-camera
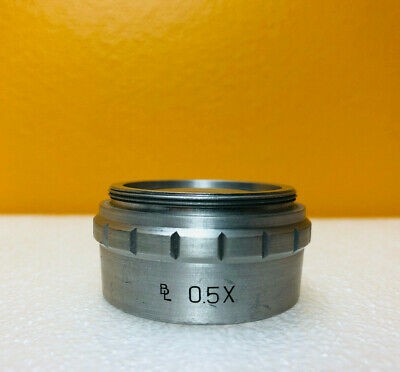
38mm diameter B&L 0.5x Barlow lens. It will cost you an arm and a leg. I have one of these mounted on the black large stand microscope. A protection lens is mounted below the Barlow lens to protect it from solder spatter.
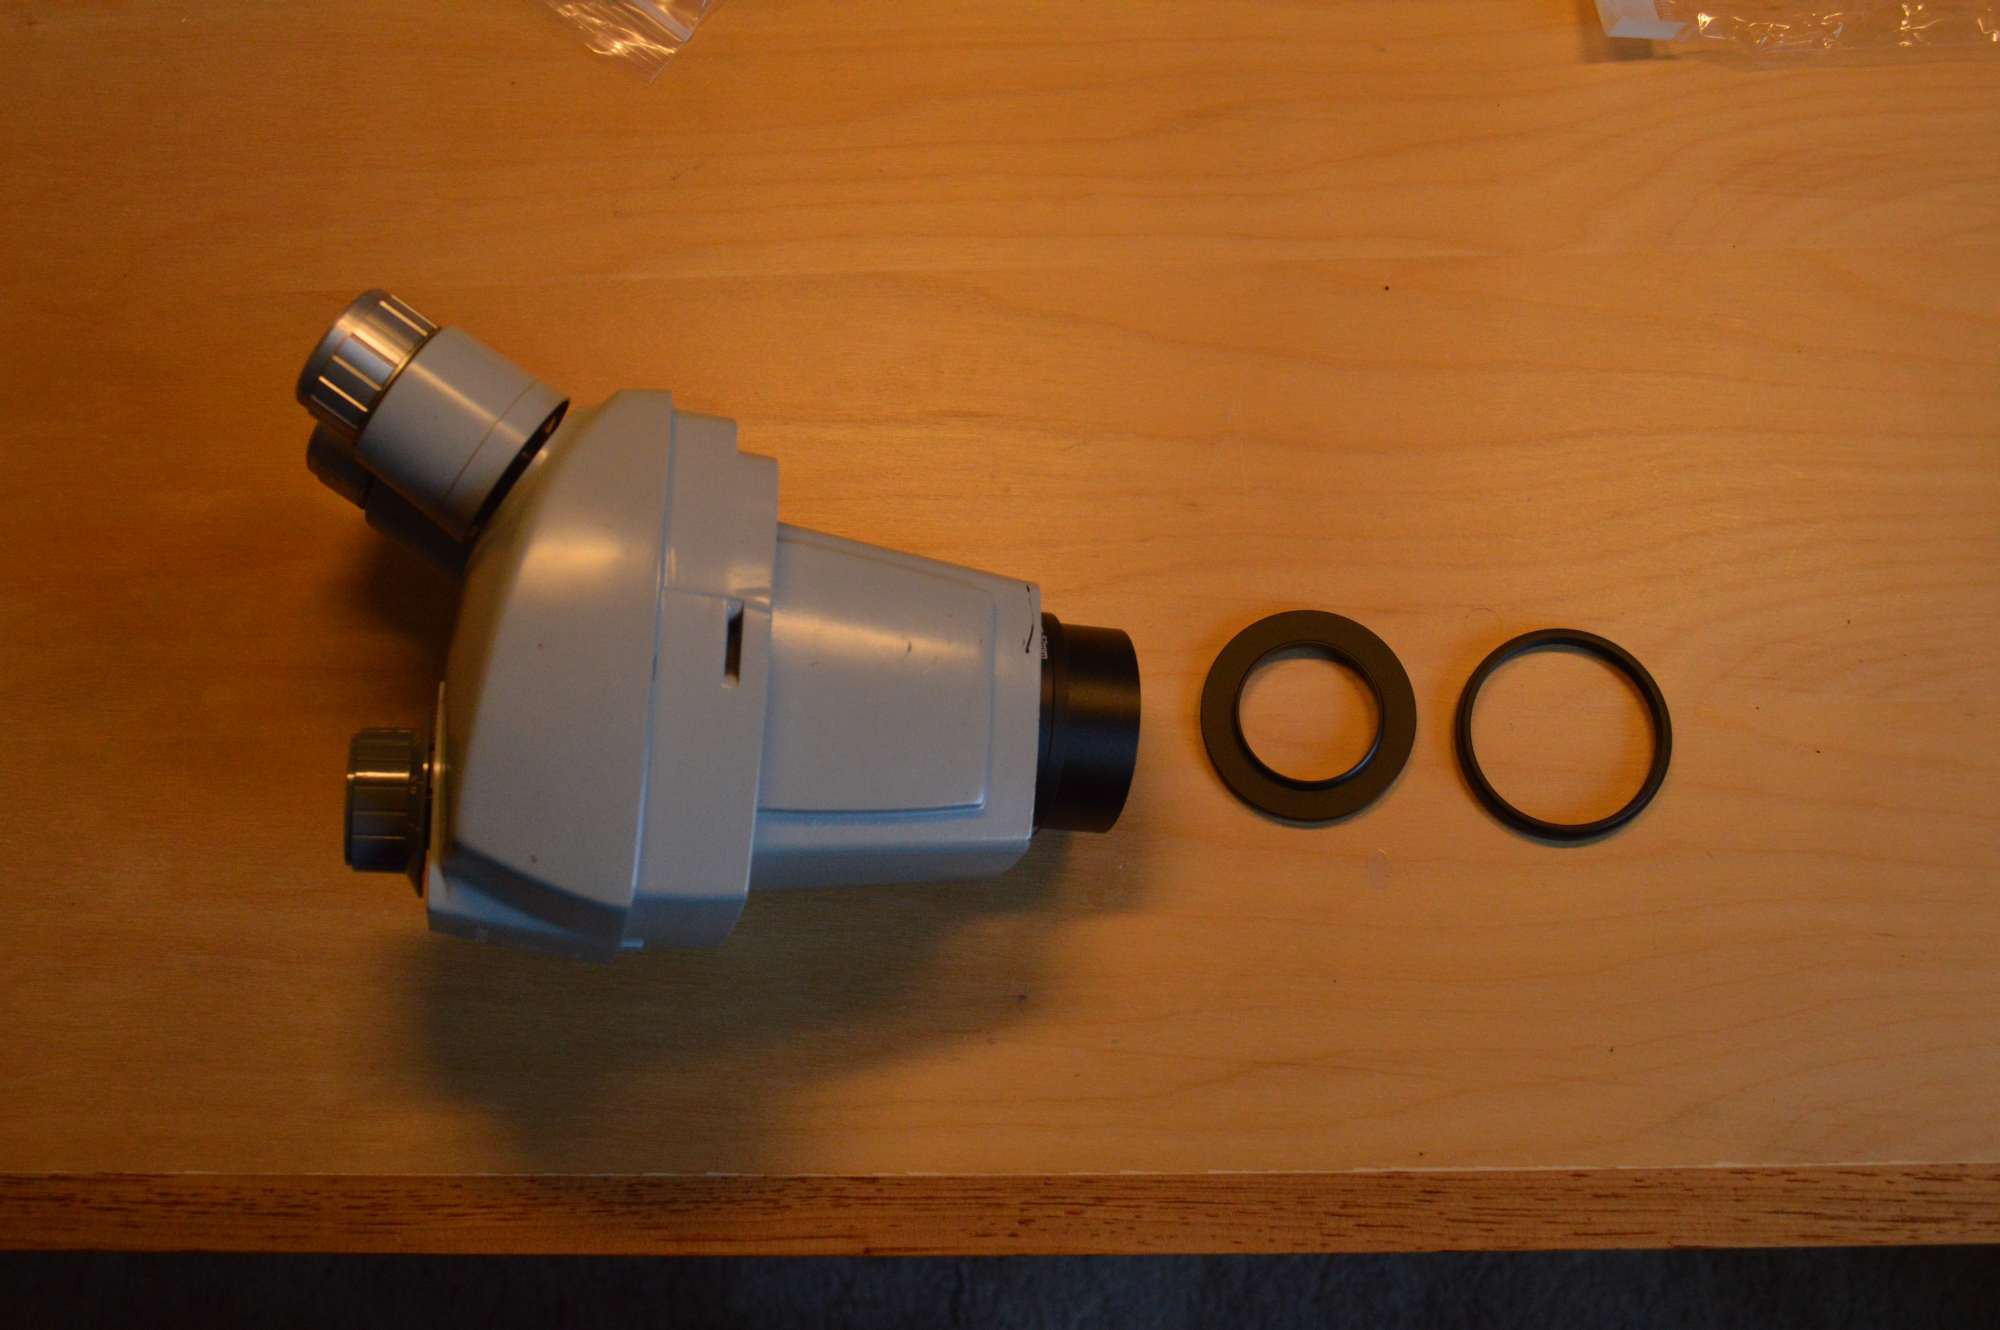
Chinese 48mm diameter 0.7x Barlow lens mounted on the 38mm diameter StereoZoom 4 using camera filter adapters.
A Barlow lens is a supplemental lens mounted below the objective lenses. It can be used to multiply or divide the magnification of the microscope. A 0.5x will halve the magnification, increase the field of view and double the working distance. A 2x will double the magnification decrease the field of view and halve the working distance. Barlow lenses typically come in 0.3x 0.5x 0.7x and 2x. They can help fine tune your scope's magnification, field of view and working distance to suit your particular application.
The Chinese 0.7x Barlow lenses costs about $20, that is at least $100 less than a B&L lens if you can find one. I found a 38mm to 52mm camera filter adapter ($2) and a 52mm to 48mm ($1) camera filter adapter. Putting them together gave me the 38mm to 48mm adapter I needed to mount the Chinese Barlow lens on the StereoZoom. I couldn't find a single 38mm to 48mm adapter so combining the two gave me a cheap and readily available solution. The 0.7x combination gives a magnification of 5x to 20x with a working distance of 6 inches.

Taken with a DSLR camera adapter mounted in the eye tube. You can see the ring light reflection in the Leds.
All tolled I spent about $300 to build two complete microscopes, bases, ring lights, Barlow lenses and I have a spare head. Shipping not included. If you live in Canada you know that shipping is never included. So, yes you can build yourself a high quality stereo microscope for around $100 if you are willing to do a bit of work.
I got a little carried away and built two microscopes, and then I bought some goodies to go with them like a camera adapter. I make no apologies. Once you start playing it IS hard to stop. Still, I spent about half the cost of a new microscope to build two microscopes, and learned a lot along the way. Besides two microscopes are better than one microscope, and three microscopes...... I think it's getting late. Anyone remember the M*A*S*H episode with the incubators ?
Anyway, there is enough information here and some ideas on base design to help you keep the cost down to about $100. Once you get started you may find that you want to add a few goodies to tailor your setup to your specific application. Even with a new scope you will be tempted to add a few extras.
If you've got the coin and a penchant for pretty things, there are plenty of shiny new microscopes out there for you to peruse. However, If you are on a budget, you like to tinker, or you just like vintage stuff with a little bit of character the StereoZoom 4 is a great option. Here is another webpage about the StereoZoom 4 with some information on setup and adjusting the microscope. http://www.covingtoninnovations.com/stereozoom/
If you enjoyed this article or found it interesting a like or comment would be appreciated. If you own or use a StereoZoom 4 please comment about your experience with it.