 Mr.Else
First of there were considerations on how exactly I could build a vacuum robot garage:
The garage needs to recognize when the robots starts
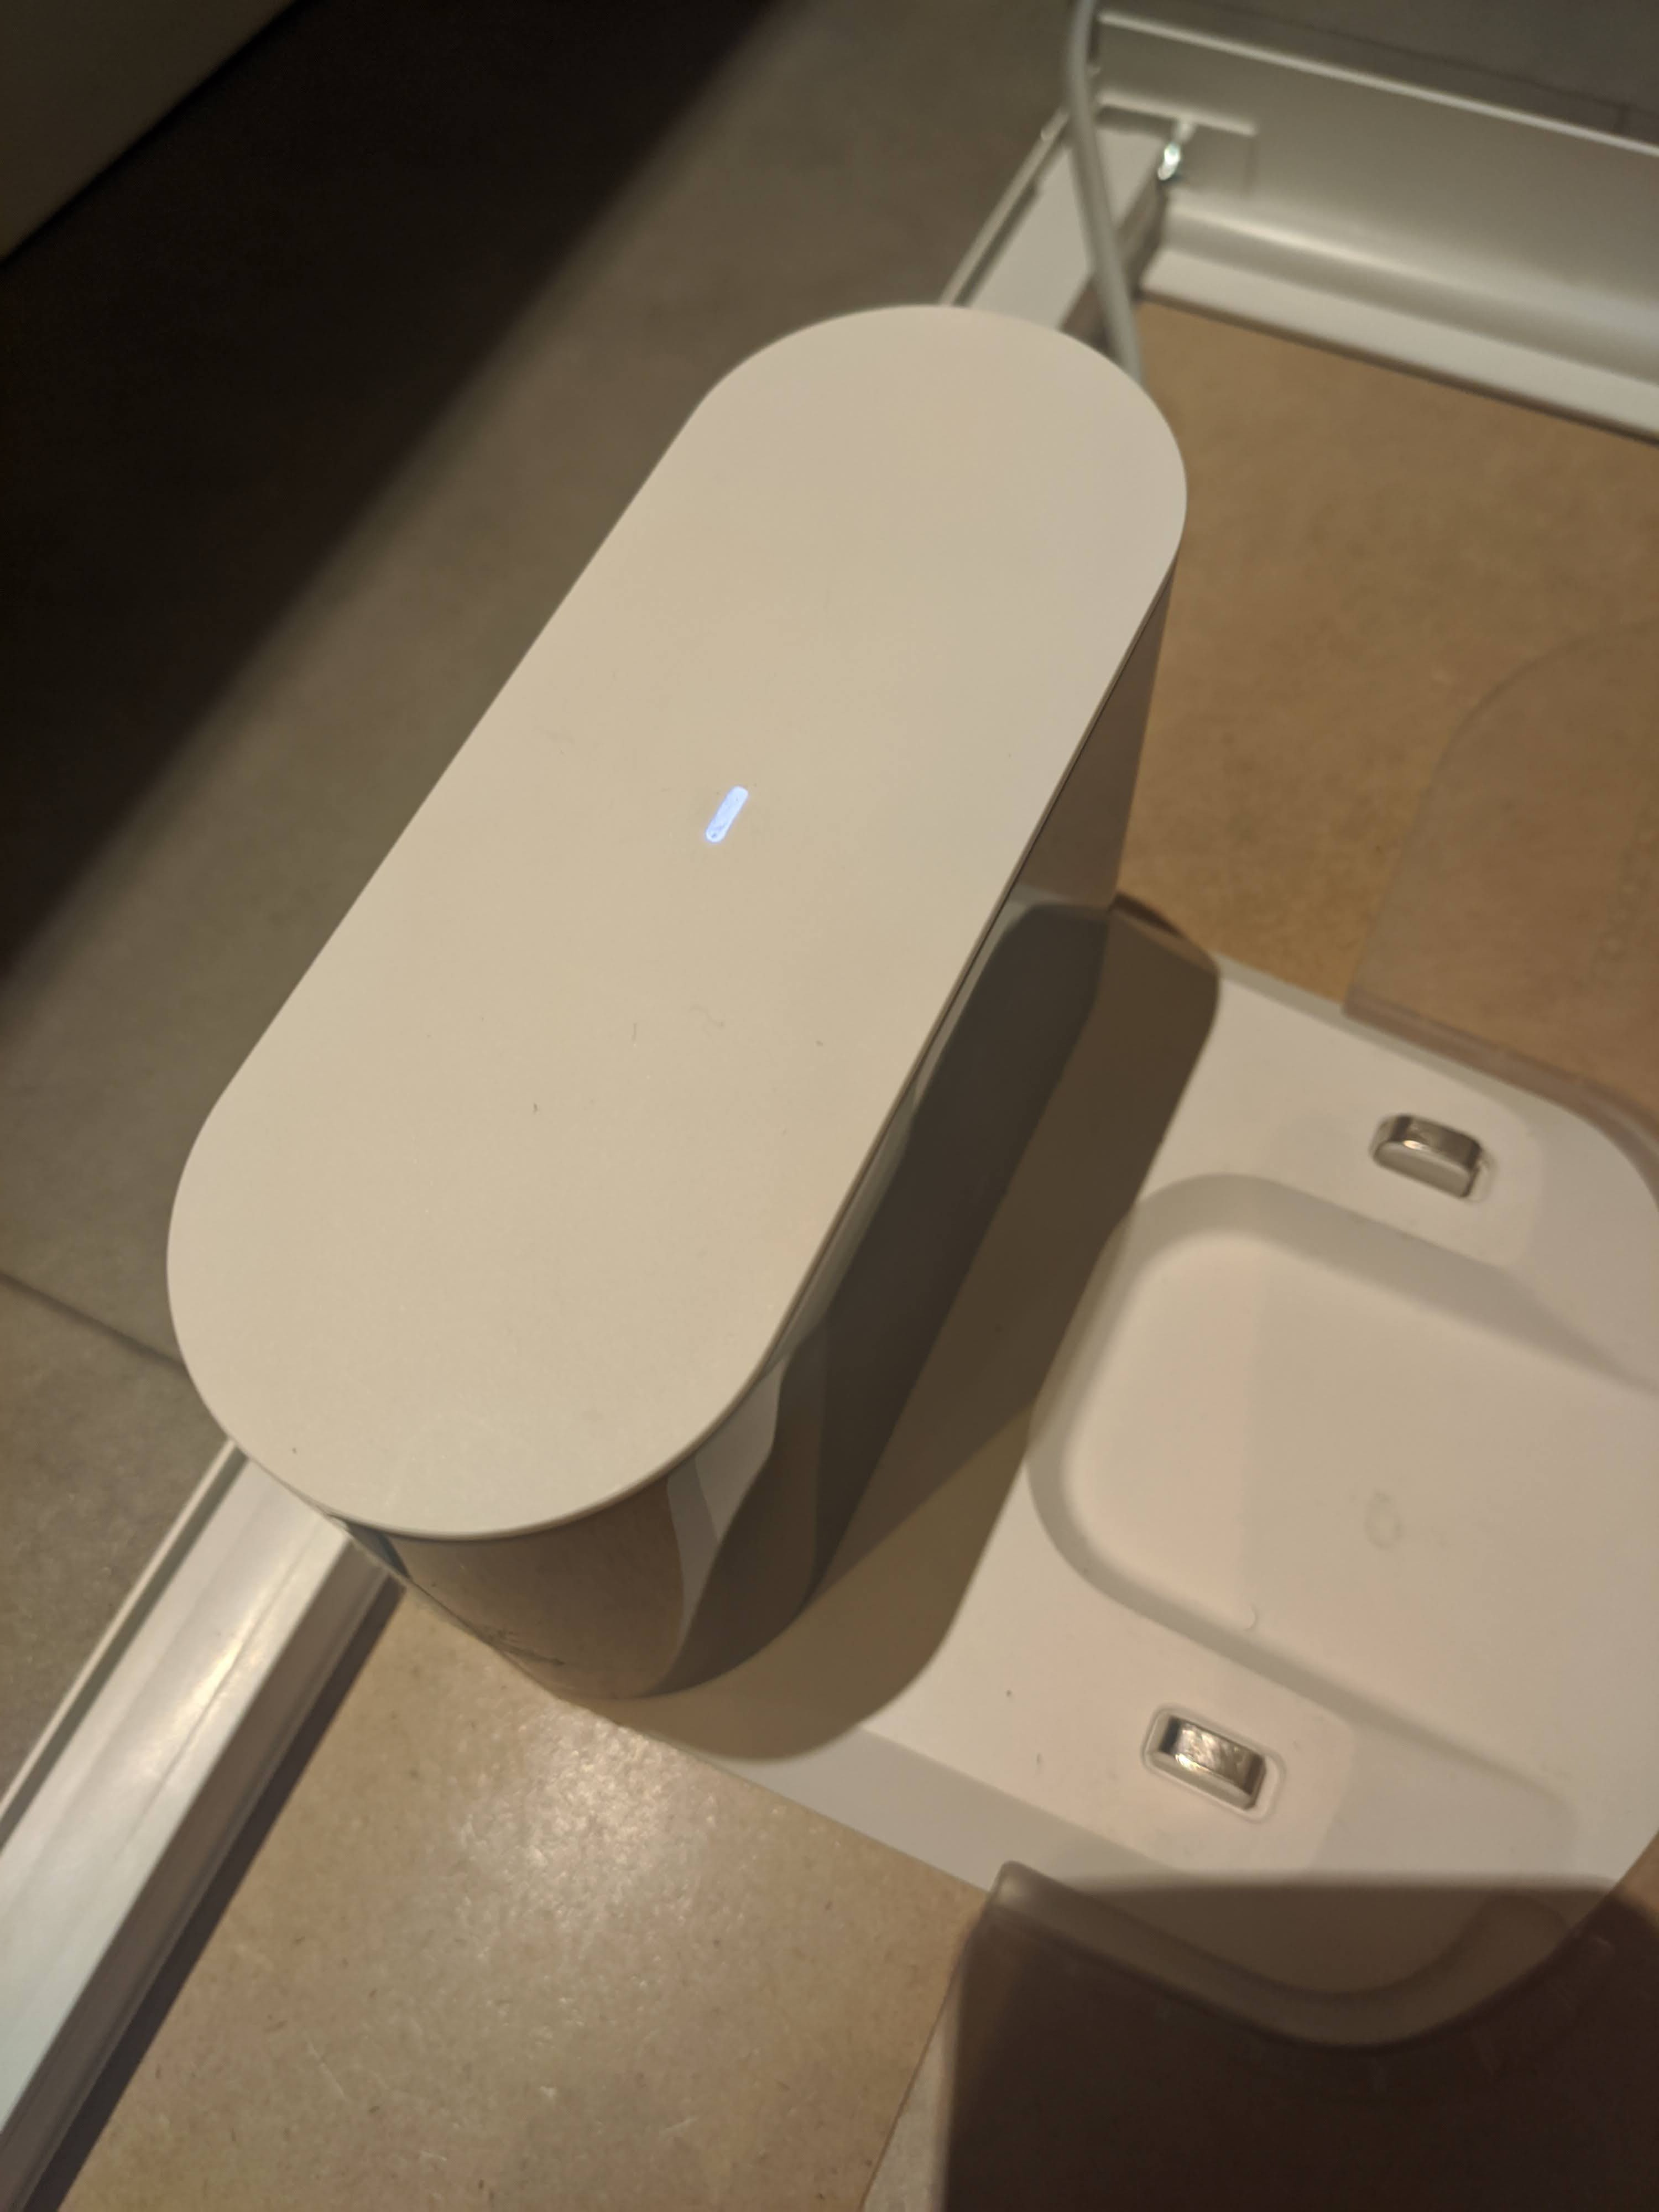
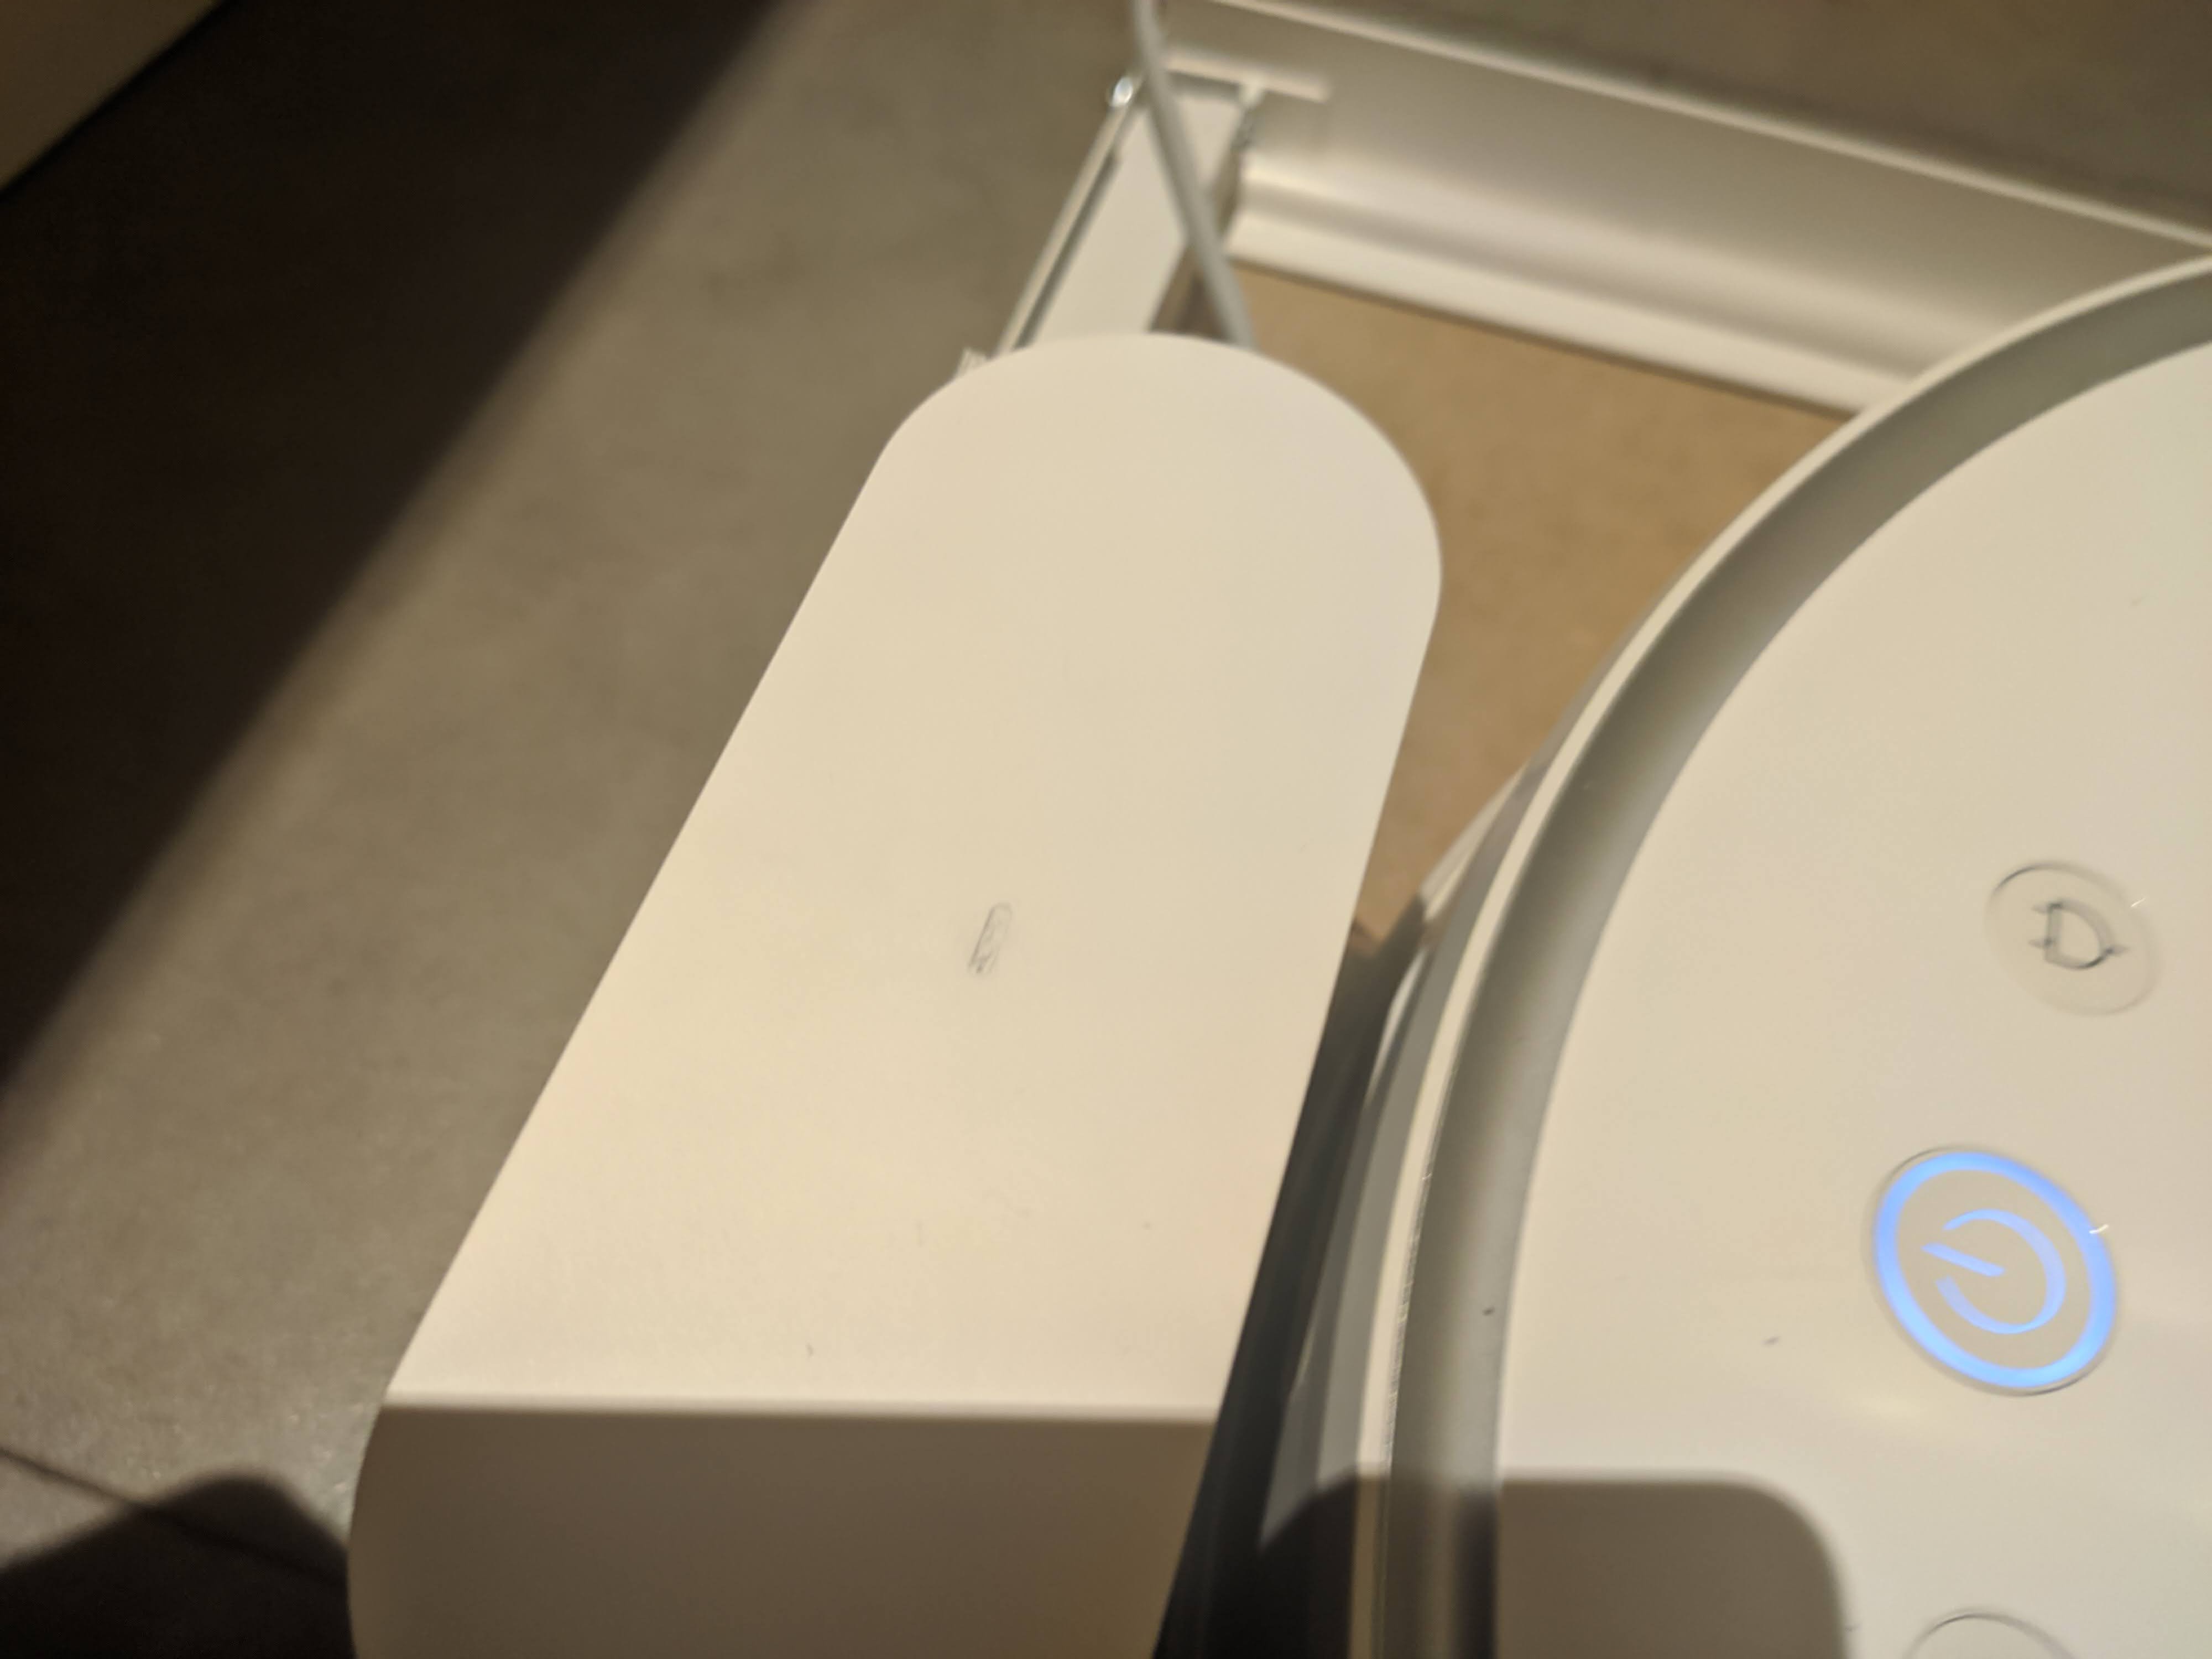
I wanted to keep things as simple as possible. The Roborock S 50 has a status LED on its loading dock that switches from off to on during cleaning. So I wanted to use it as a trigger for my garage. Since I didn't want to disassemble the charging dock, I wanted to read the LED signal with a light sensor (LDR).
The space under the kitchen cabinet is limited by the depth and width of the cupboard
In my case this was approximately 43 cm x 50 cm. Since the robot already needs a width of 38 cm, there is not much space to the left and right. Therefore, too bulky frames could not be used. For the first version I used wood, later I changed to plastic L profiles.
The height prohibits bulky open and close mechanisms for the garage door
In my case the available height is 16 cm. It would have been nice if the garage door had disappeared into the frame when it was opened. This is difficult to achieve because there are only a few centimeters left between the robot and the cabinet. For this reason, the door opens outwards by two servo arms pushing the door up.
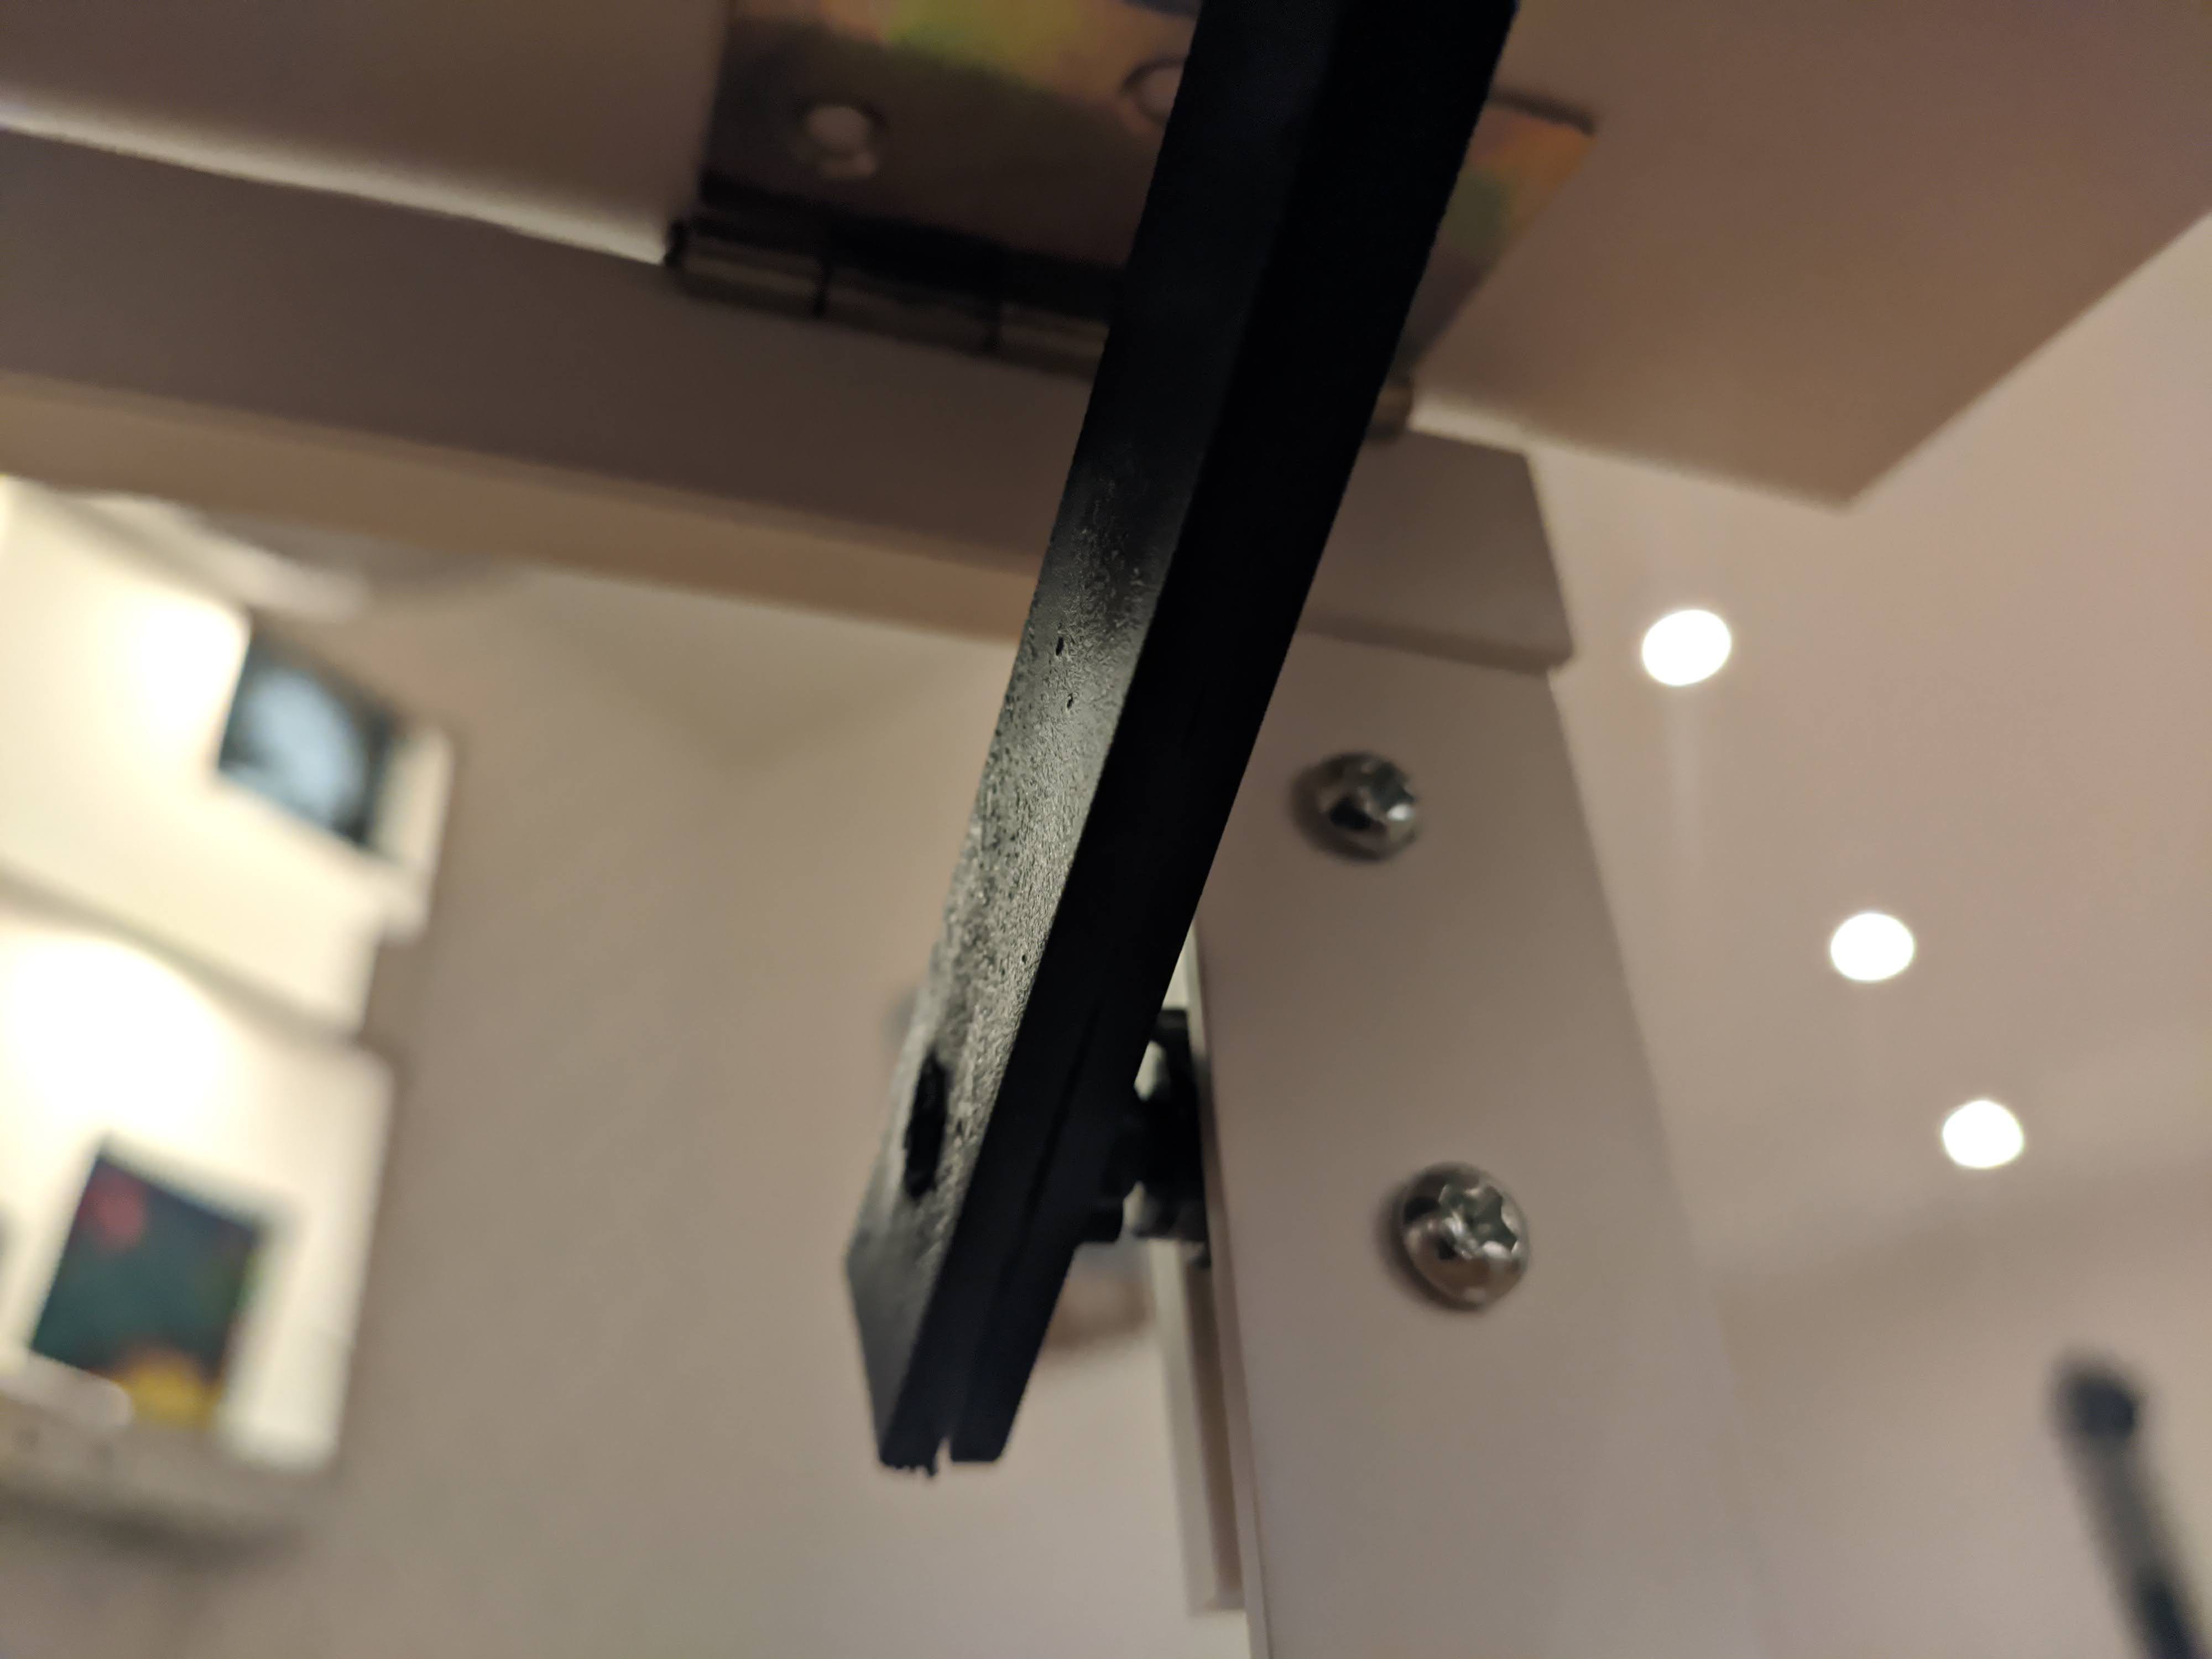
With this approach, however, the load on the servo arm is quite high. So the weight of the door itself needs to be as low as possible. Unfortunately, a wooden door would be too heavy (at least for the servos I used. Obviously you could use high torque servos, but the usually expensive and require more space). Instead I simply used hard foam board for the door. The material is light, thin and durable and fits my needs perfectly
Discussions
Become a Hackaday.io Member
Create an account to leave a comment. Already have an account? Log In.