 Arnov Sharma
This is a TTGO T1 board which is an ESP32 powered Dev board which have an ST7789V 1.14 Inch Display.
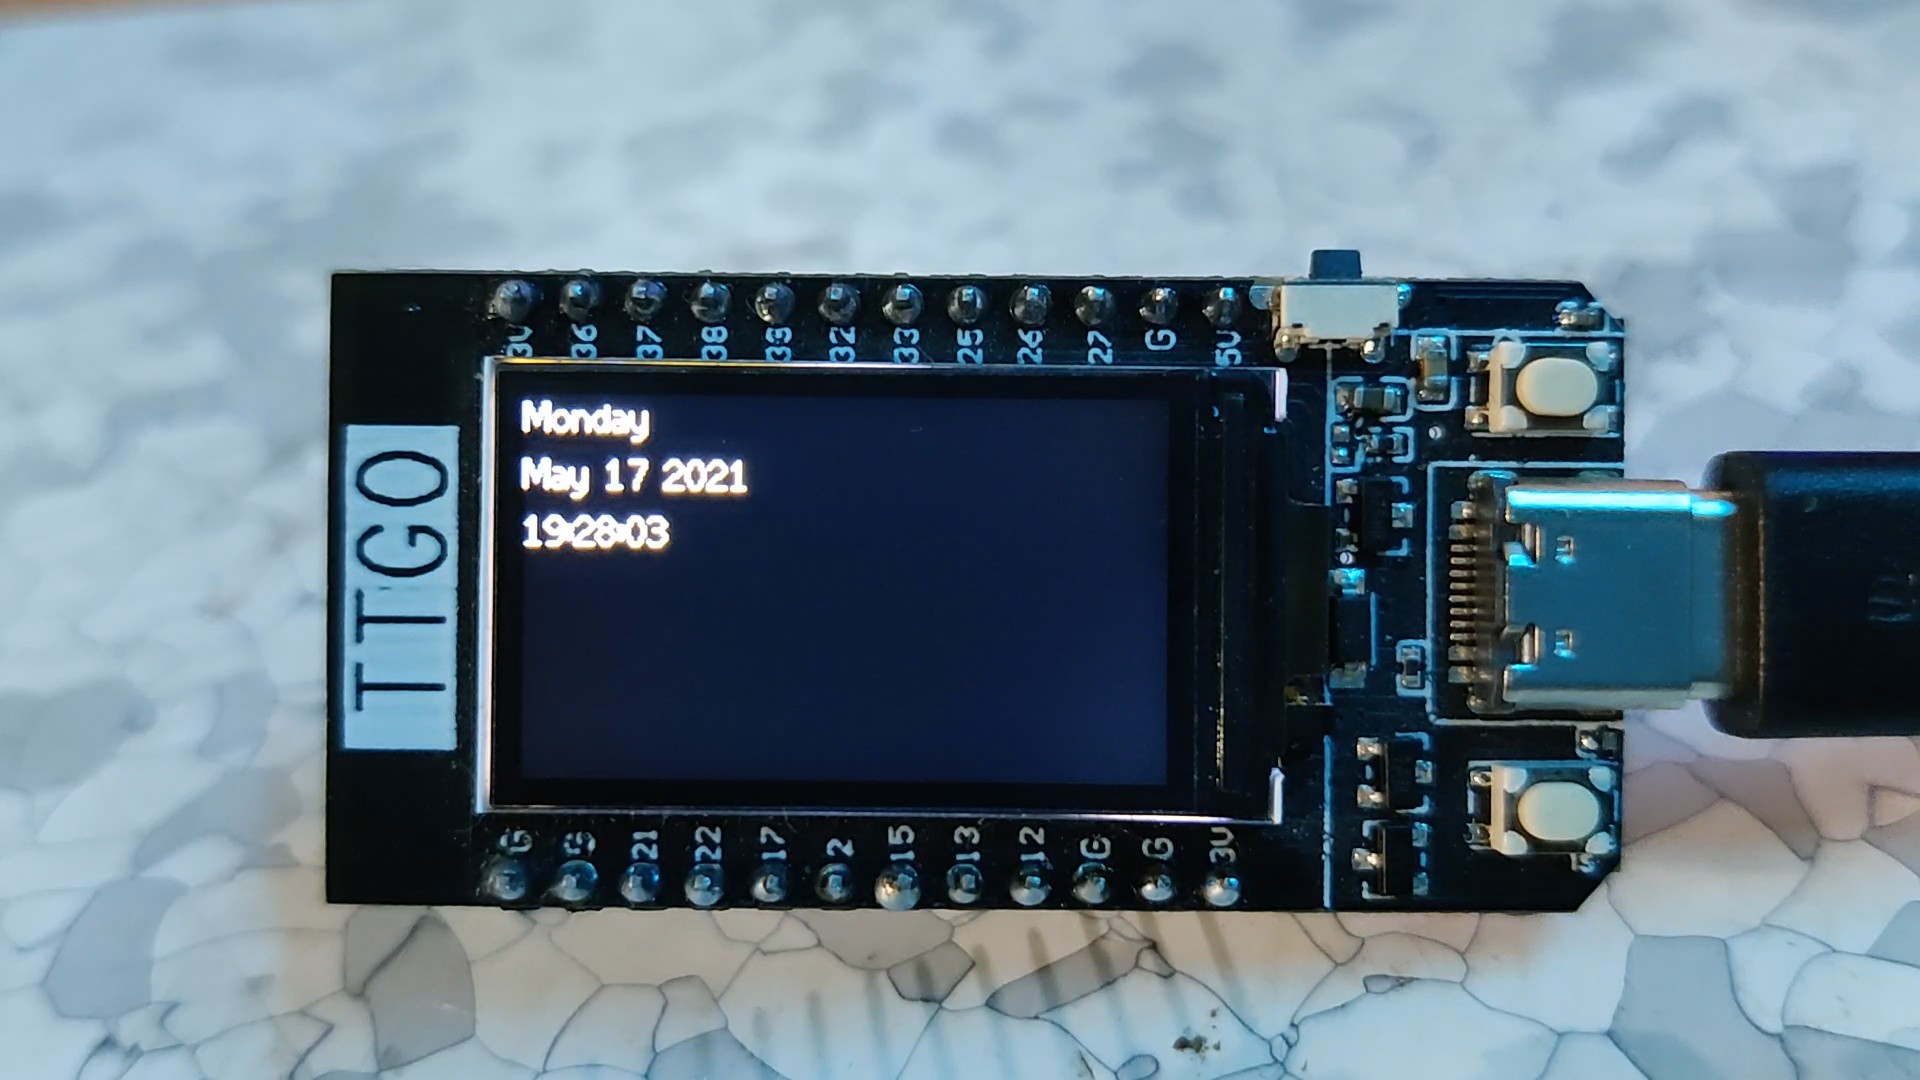
Here's a cool project for this Board, an "Internet Clock".
I always wanted to make a Clock project as it requires quite a few stuff jam-packed in a small compact form factor.
like for example, to run a clock we need a LiPo cell and to charge that cell we need a charging circuit of some sort on it. the clock also needs a deep sleep mode which will save the battery from constant discharge.
The charging circuit has an overcharge and over-discharge feature which will protect the battery from these two issues, one IC which can be used here is the TP4056 which is ideal for such a task.
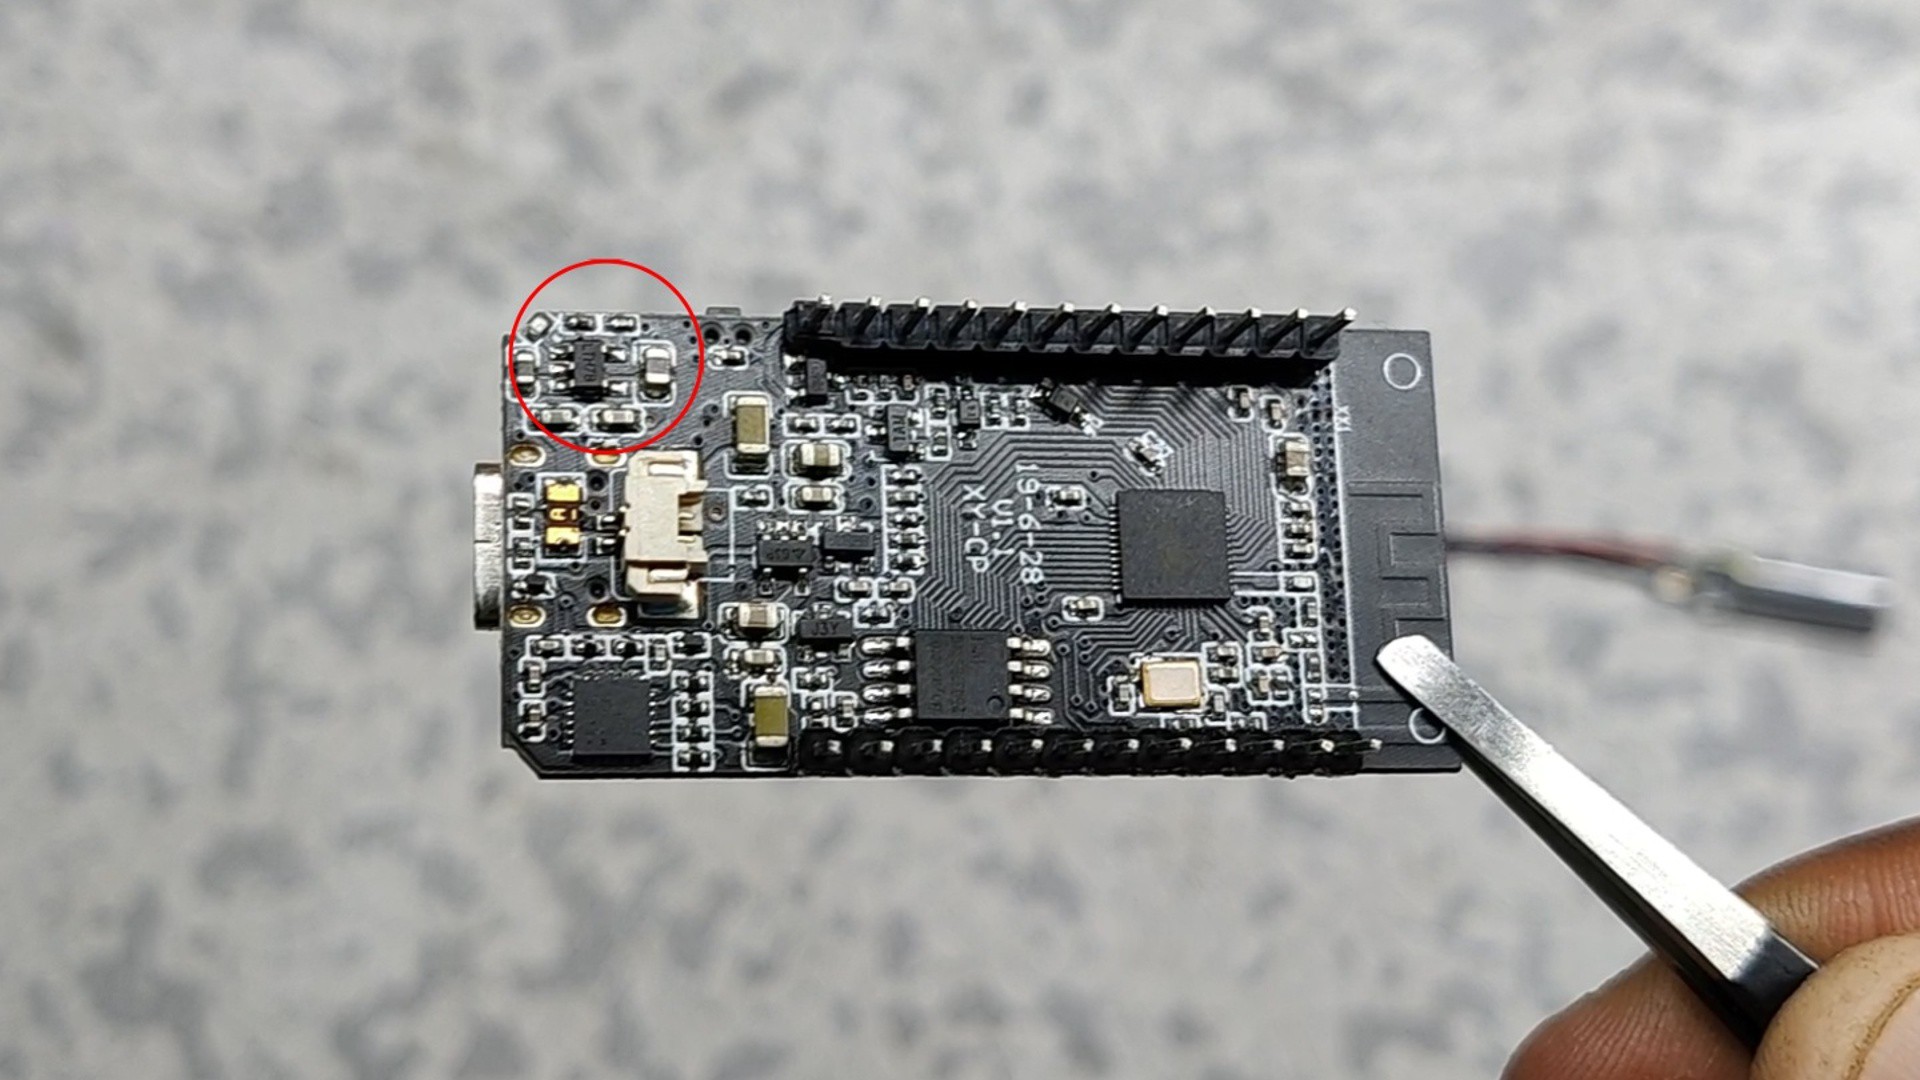
BUT the TTGO T1 already has a battery management IC so we don't really need to make any complex circuitry of any sort, also we don't need to add an external display to this board as it already has quite a powerful display onboard.
Also, no PCB is needed for this setup.
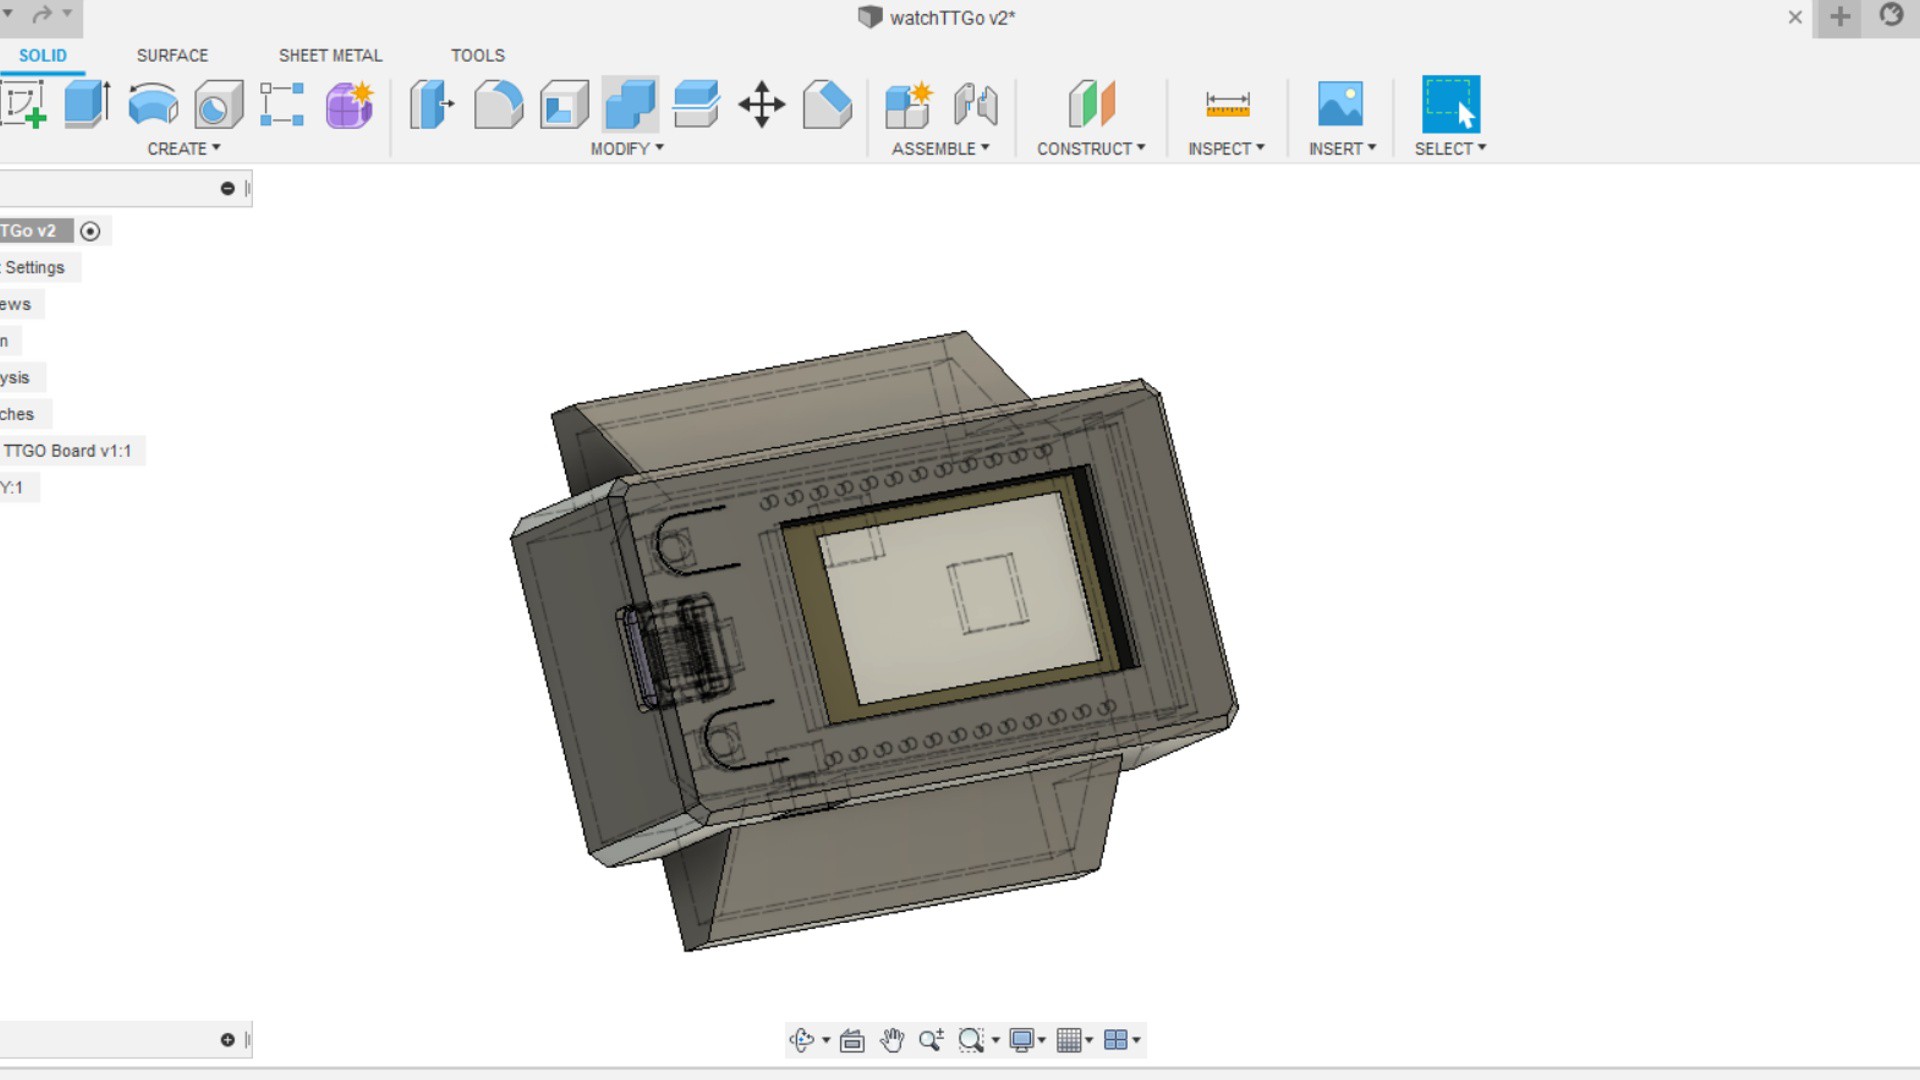
even for the Body of the Clock, I will be making a custom enclosure that will have slots for a Wrist strap.
Anyways, let's get started with the main part for this small built which is - editing the ESP32 Clock example sketch.
But even before that, these are the things do you need for this small built_
- TTGO T display Board
- Stable Wifi connection
- And Your country's UTC. (find your country's UTC from here)
 Craig
Craig
 Discreet Mayor
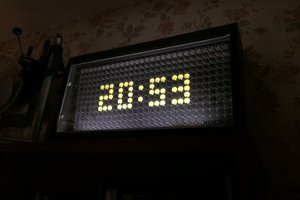
 pauliusbau
 4D Makers