Idrees Hassan
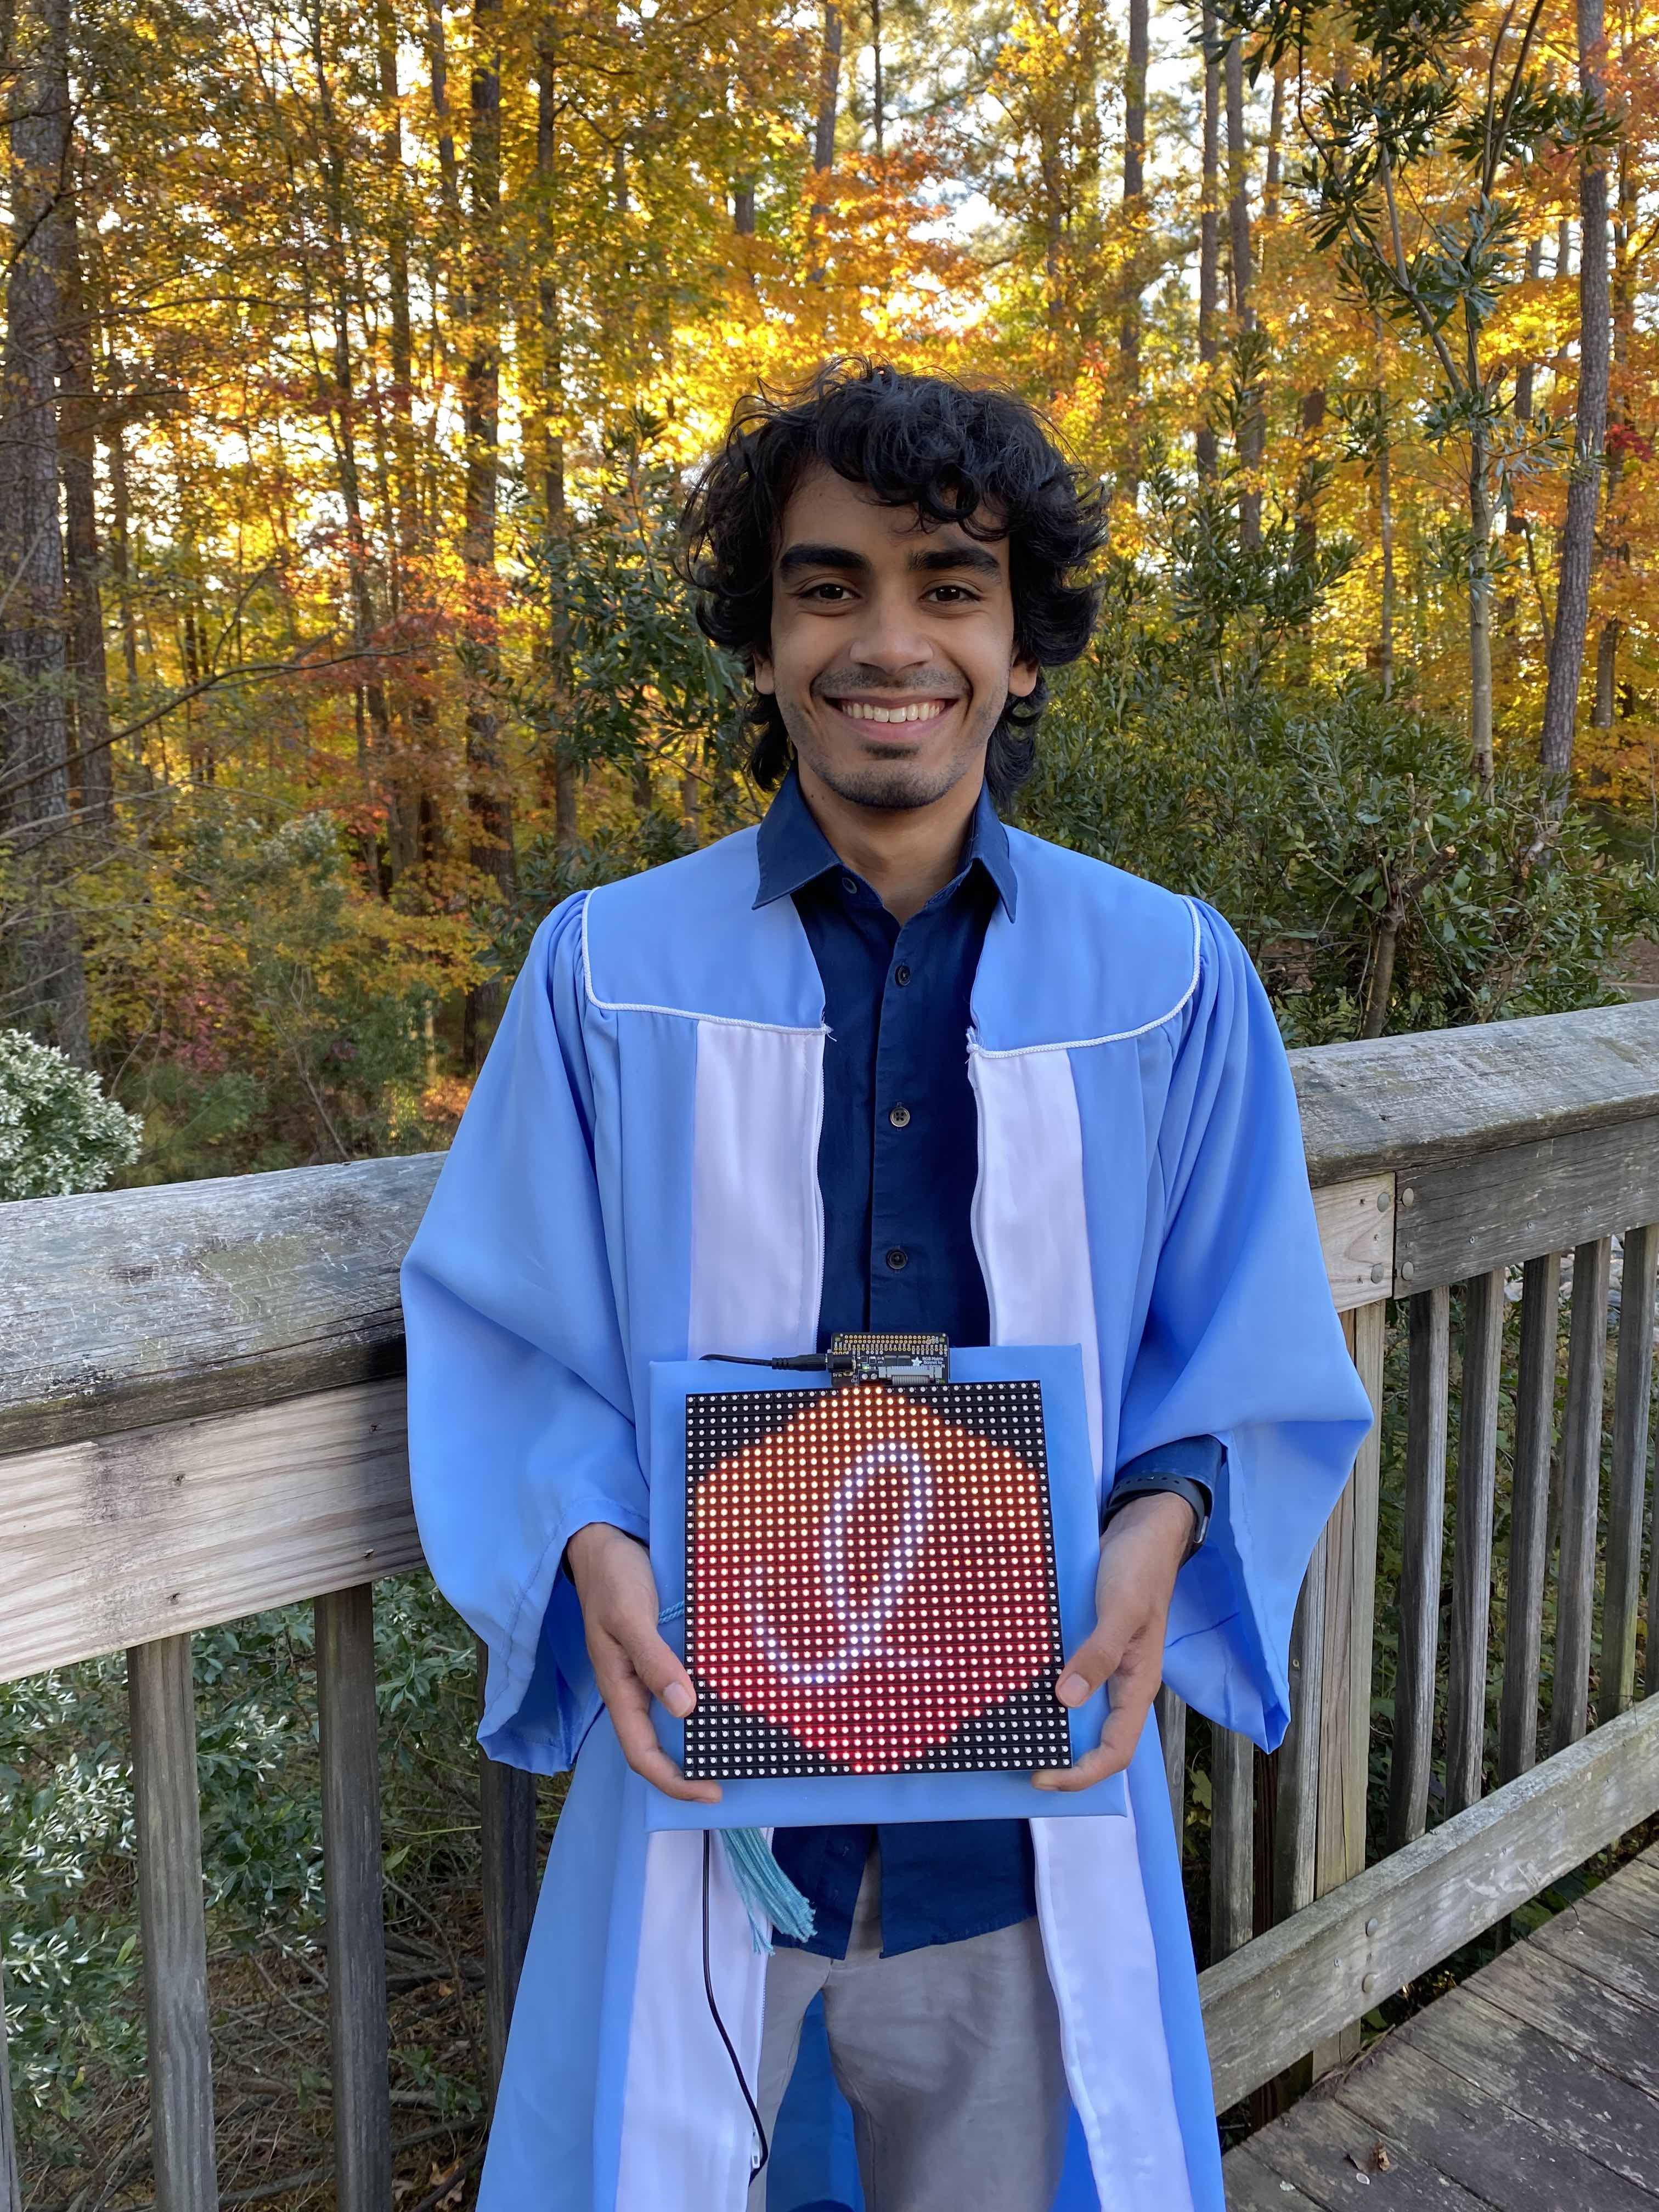
What's that thing you're holding?
Hey, my name is Idrees Hassan and after a long delay due to COVID, I was finally able to graduate with the UNC Class of 2020 on October 10th, 2021. To celebrate, I created a grad cap with part of a billboard that can display anything you can think of! And to top it off I let anybody who donated to a charity supporting Afghan refugees submit their own designs to be shown off during the ceremony! After four weeks of fundraising, we raised over $2,000 and received dozens of submissions that I proudly wore on my head during graduation weekend! Check out this video I made about it:
For about a month, I reached out to friends, family, and strangers on the internet asking for their help donating to refugees and decorating my grad cap. And let me tell you, making the hat was nowhere near as difficult as figuring out how to get the word out. But with their generous support, we were able to raise over double the original goal for charities supporting refugees!
How did it go!
It went way better than I expected! We raised $2,274 for Afghan refugees, received 33 submissions, and the project went off without a hitch during the whole ceremony and other events that weekend!
A full write-up is available on my website here, including all of the designs submitted and more links to the source code.
The hardware held up, the battery remained above 50% the whole time, my software didn't let me down, and a billion bobby pins kept it all together on my head. For three days, I was able to rock a glowing graduation cap and finally graduate with the Class of 2020! Thank you for everyone who helped me with this project, and I hope this write-up can help anybody else who wants to do a project like this in the future.
So how did you do it?
With blood, sweat, tears, and craft supplies!
The Hardware
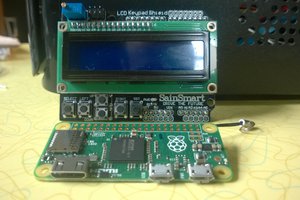
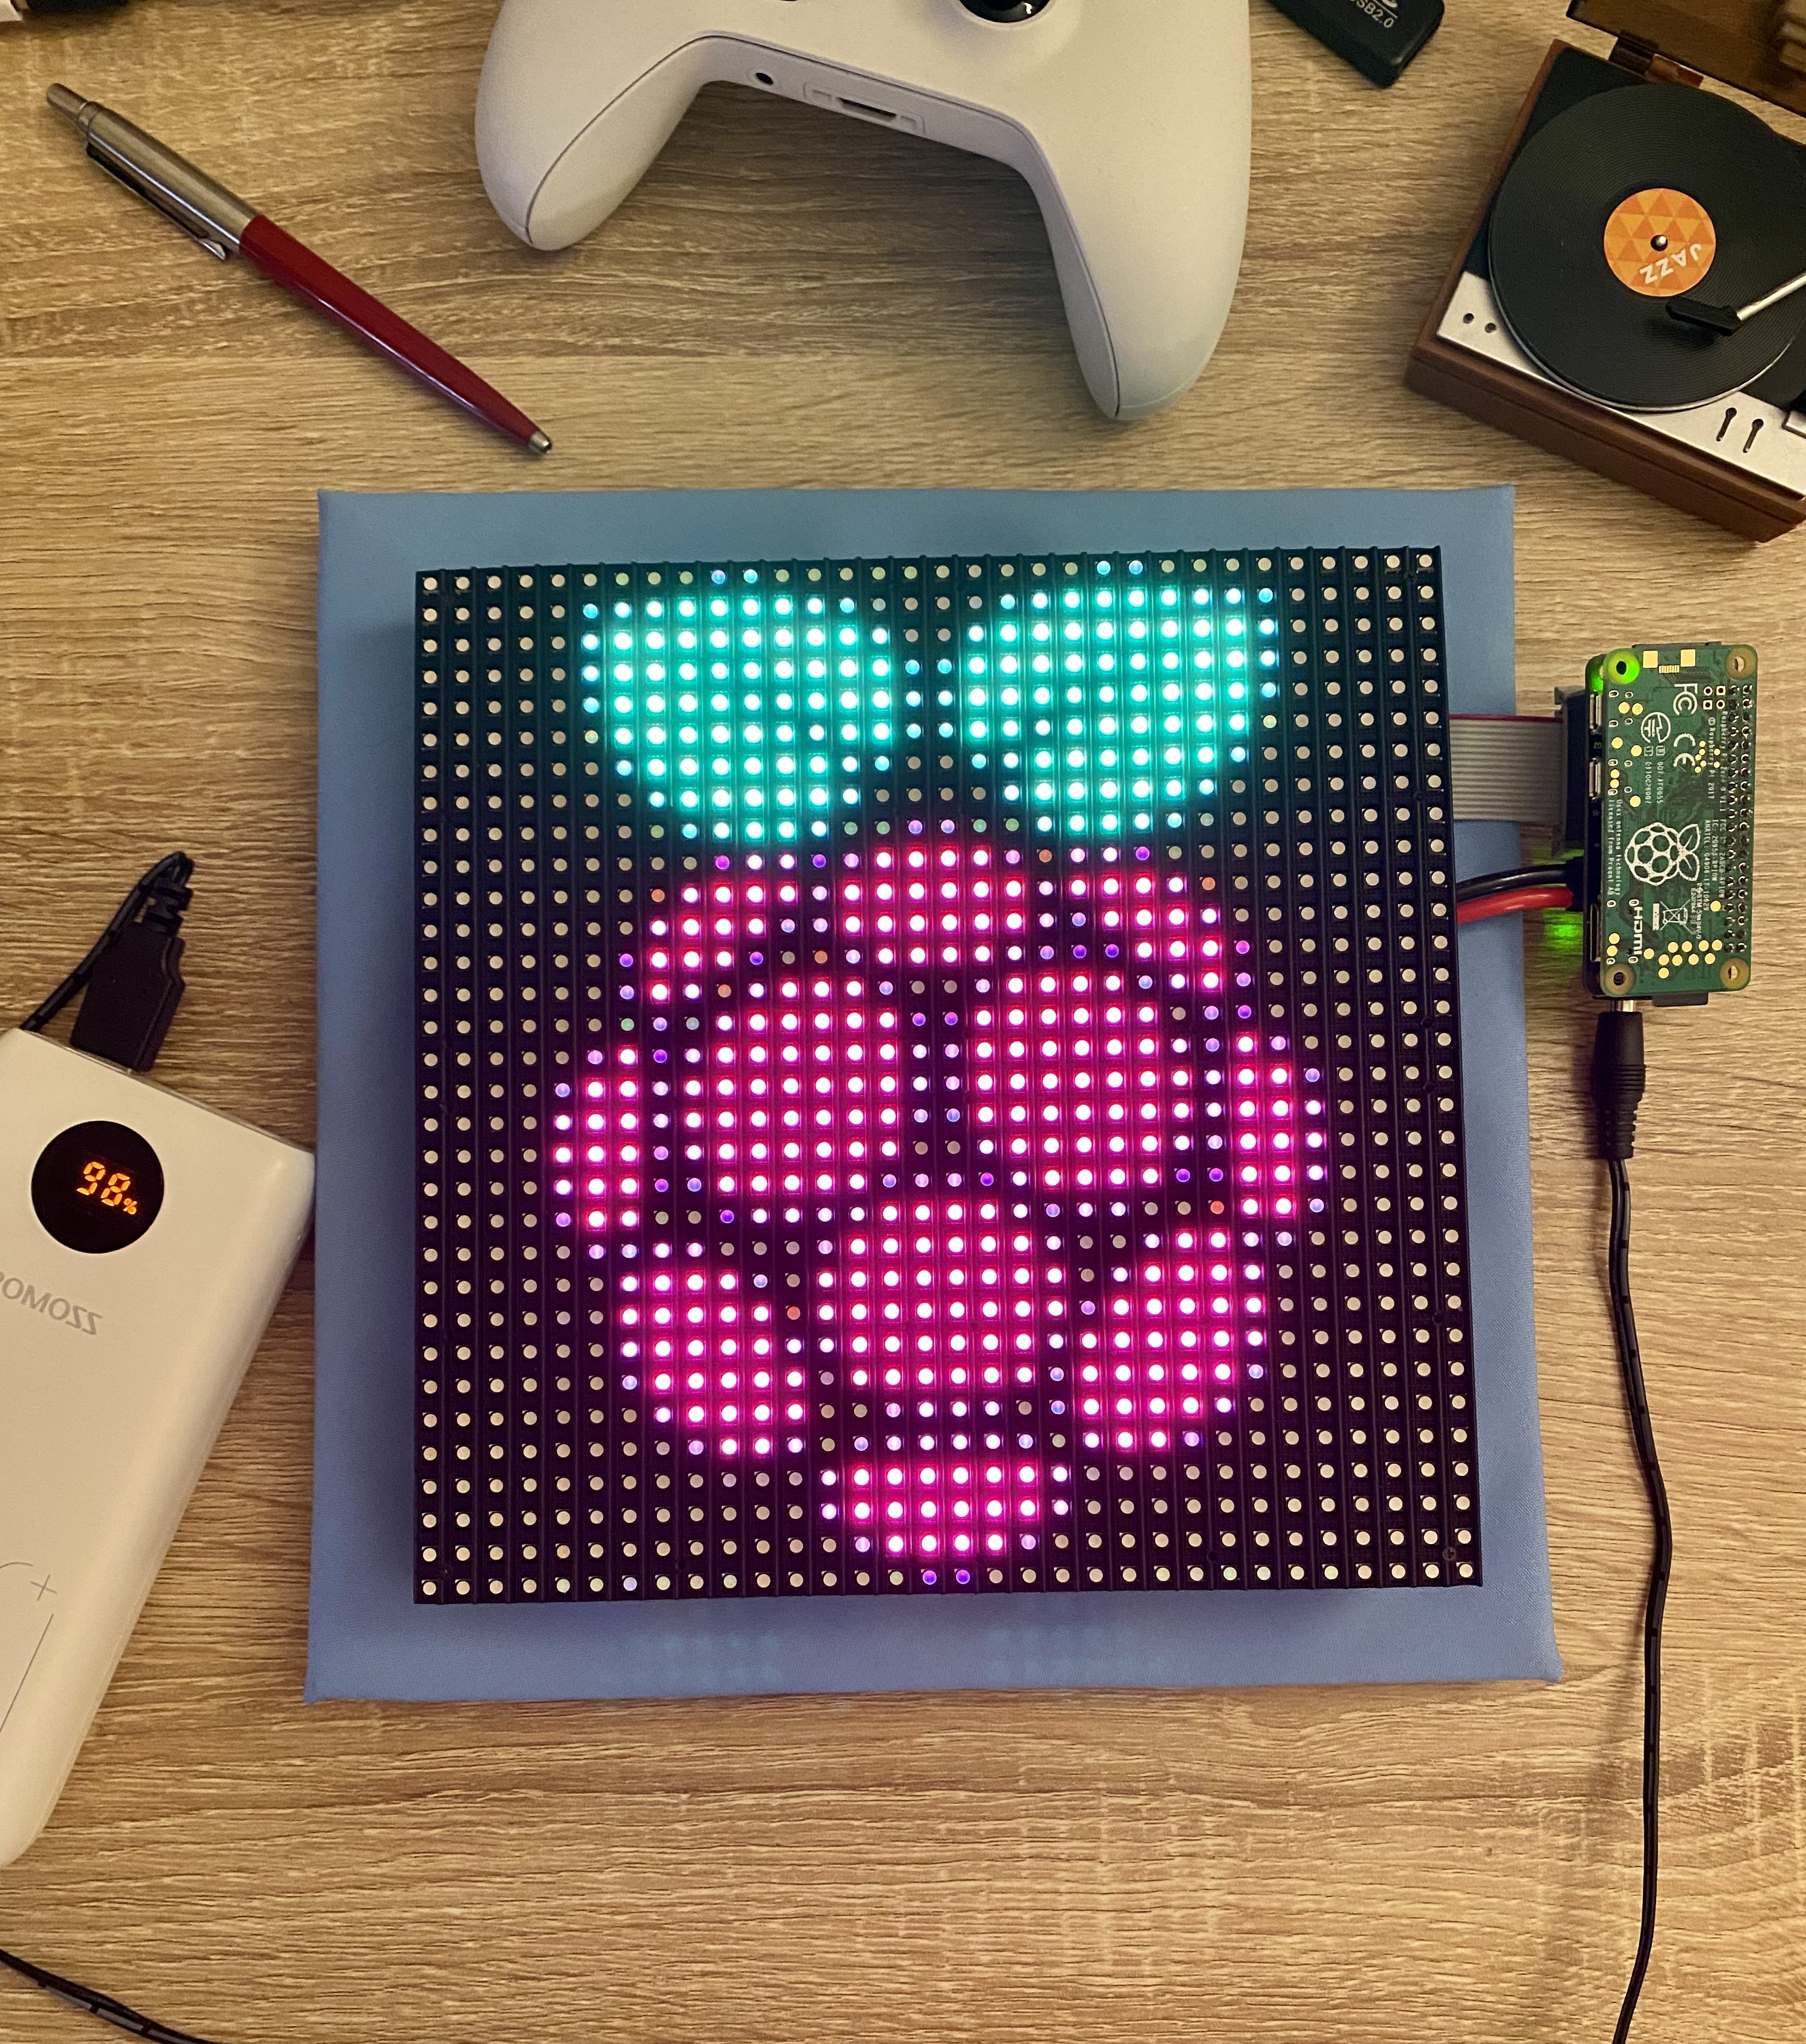
- A Raspberry Pi Zero W
- Dual male headers
- An Adafruit 32x32 LED Matrix w/ 6mm pitch
- An Adafruit RGB Matrix Bonnet
- An overpriced graduation cap that I stole from my girlfriend
- A 20,000 mAh portable battery
- A 6ft USB to DC power cable
- Glittery UNC blue ribbon
- Double-sided tape for the ribbon
- A high-temperature hot glue gun
- So many bobby pins
And here's a general summary of how I built it:
1. First, I soldered the headers onto the Raspberry Pi Zero W. This was necessary so that the LED Matrix Bonnet could attach to it, but not knowing how to solder made it way harder than it should've been (and I may have lead lungs now). I think I'll just buy a Pi with pre-soldered headers in the future.
2. Next, I popped the bonnet on, easy as pie!
3. Then I stripped the screw connectors off of the power cable that came with the LED matrix and stuck the newly stripped wires into the bonnet's screw terminals. Careful to make sure you get the polarity correct!
4. To get the Pi and the cables to stay together nicely, I used some painter's tape for cable management. It wasn't great, but it got the job done. It's important to make sure that the cables don't get in the way of the matrix standing on its pins.
5. Since the matrix was going to be glued onto my cap, I made sure to mark where it would go with a pencil. Remember to make sure that the matrix display is in the orientation you want it before gluing, otherwise your images will be sideways/upside down.
6. I removed the magnets from the matrix's stand-off screws and hot glued them to where I marked on the cap. Again, you really want to be sure you measured and marked correctly, you only have one go at this. Hot glue sticks to the cheap polyester like...glue.
7. With the magnets in place, the matrix can now be popped onto the cap with a satisfying magnetic snap! This allowed me to remove the matrix at will while keeping it on my cap firmly enough so that it wouldn't separate while walking around campus.
8. To make things pretty, I attached a glittery UNC blue ribbon all around the edge of the matrix using double-sided tape. This hides all of the cables and adds some...

 Reagen Ward
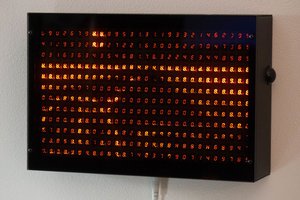
 Chris Combs