 KSUdoubleE
I will update project logs as I try new things. I based my process of the following YouTube video, it was very helpful getting started
0%
0%
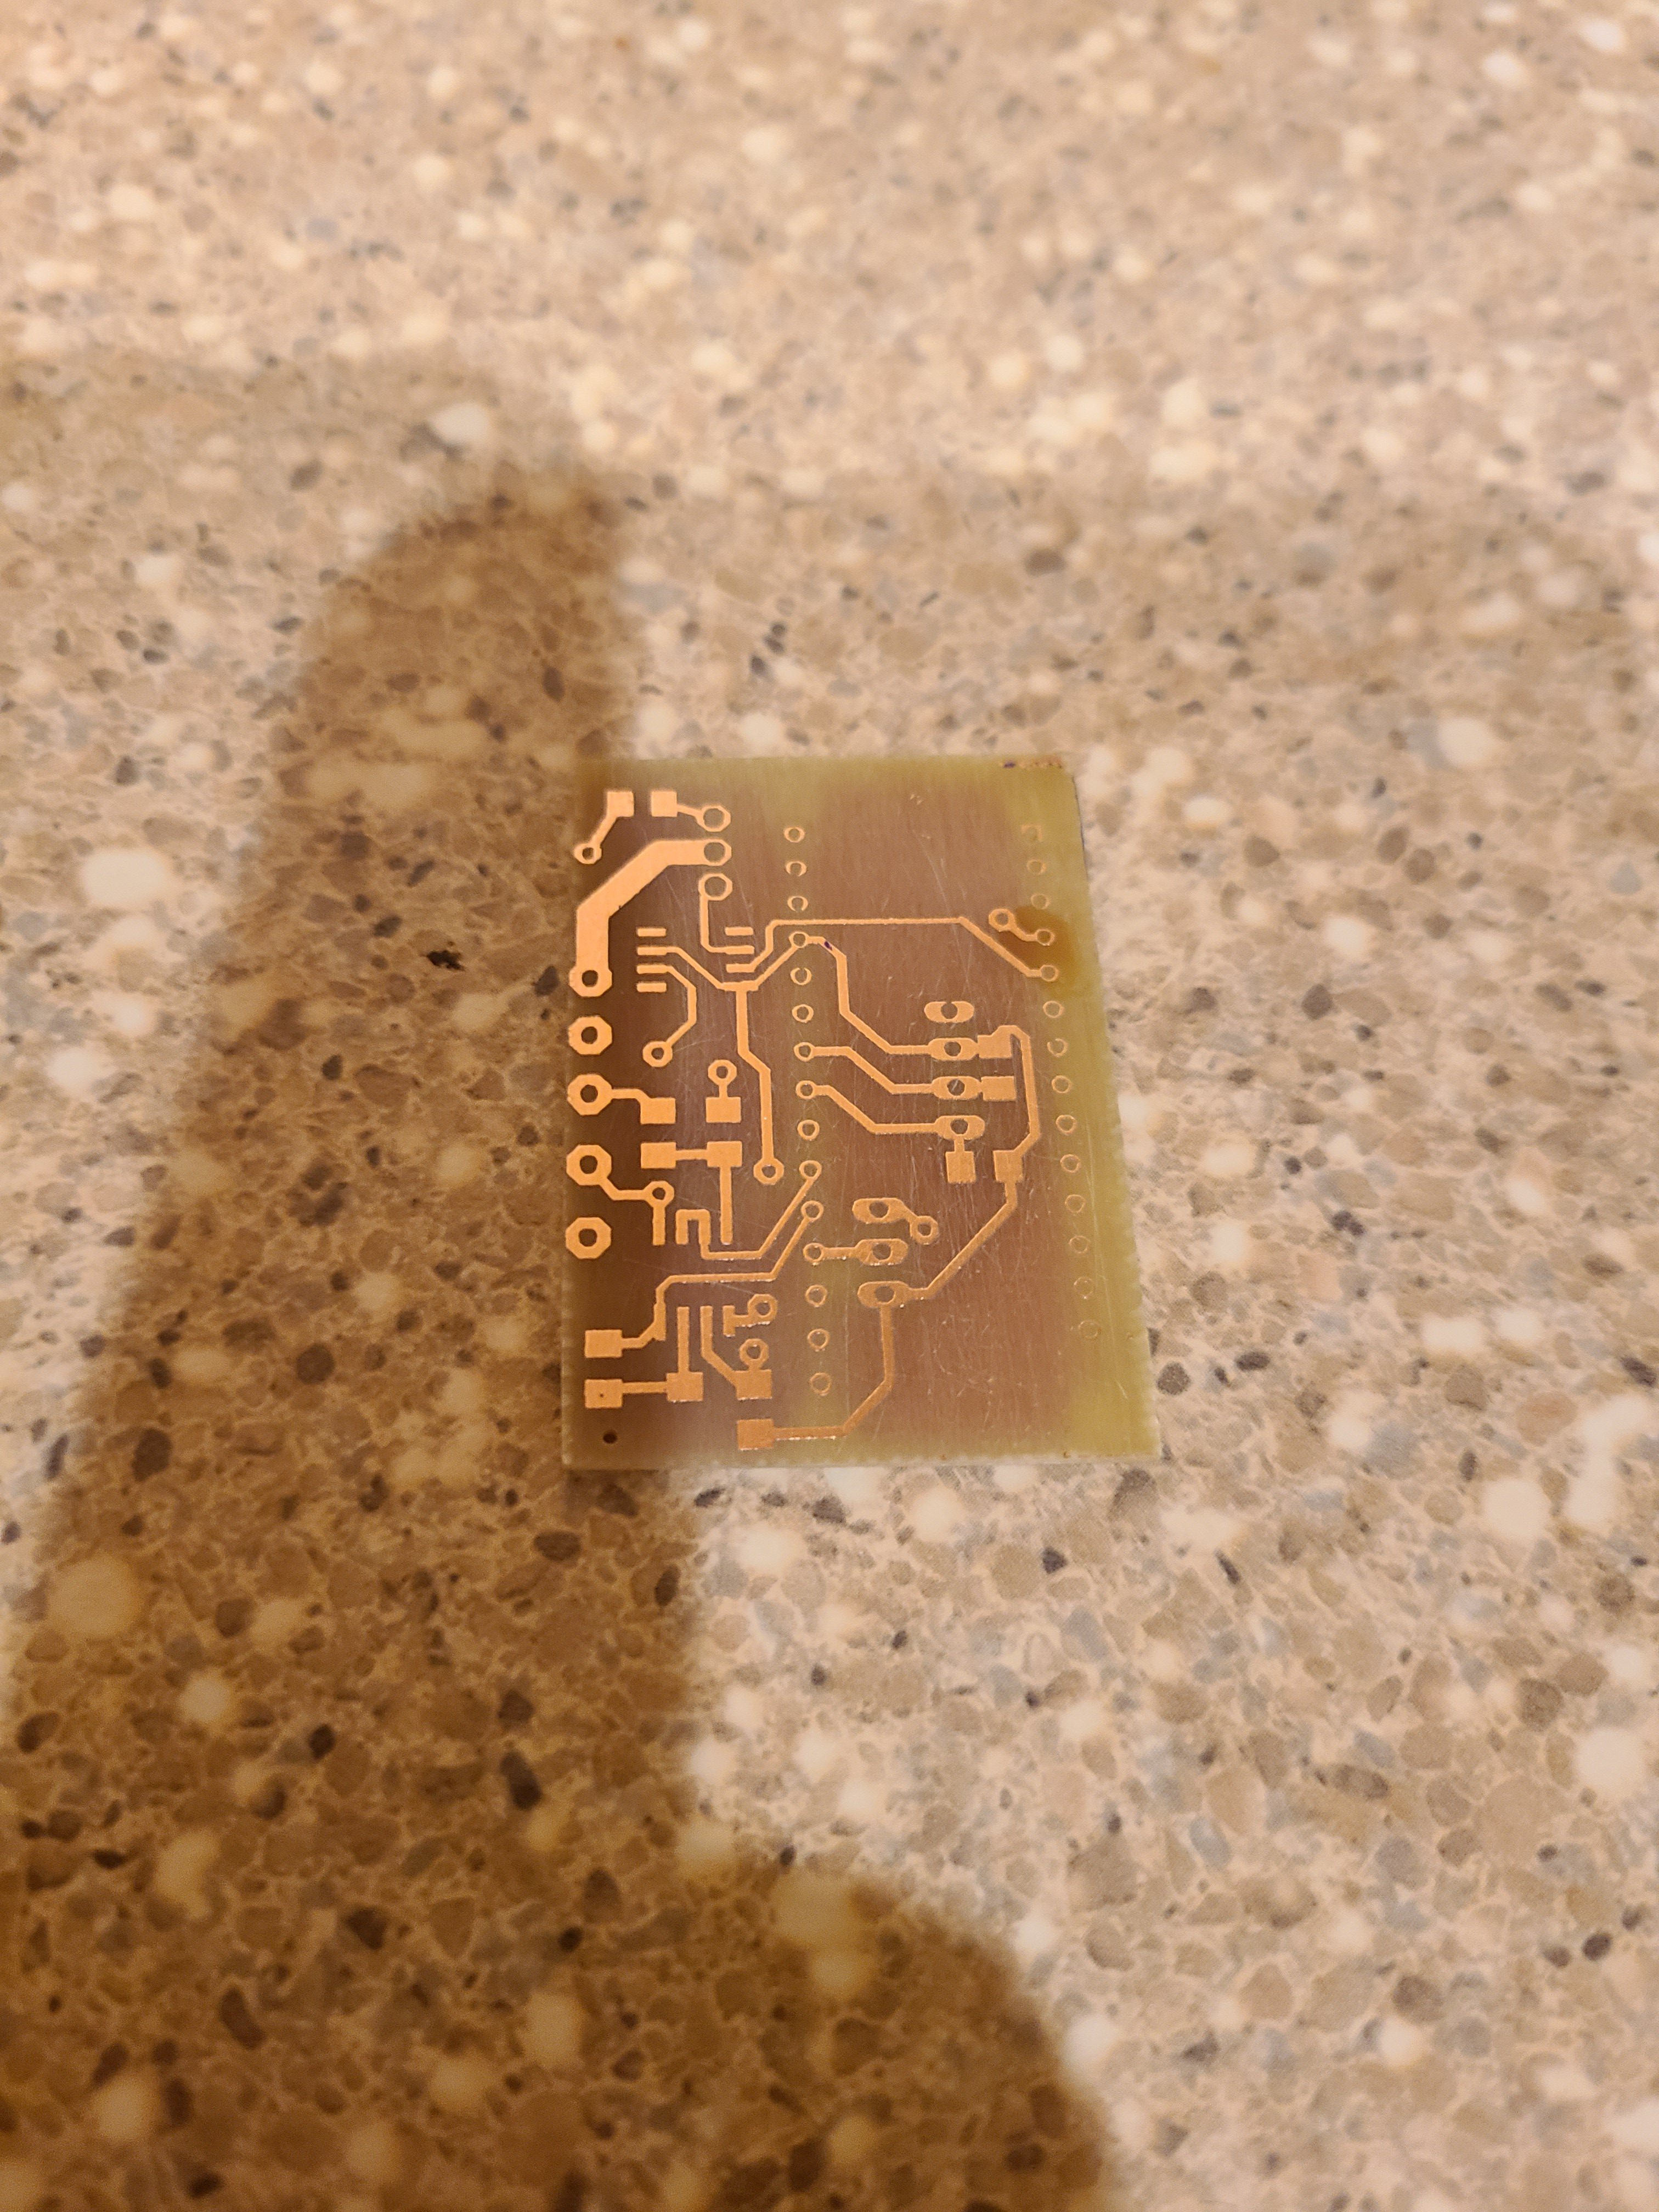
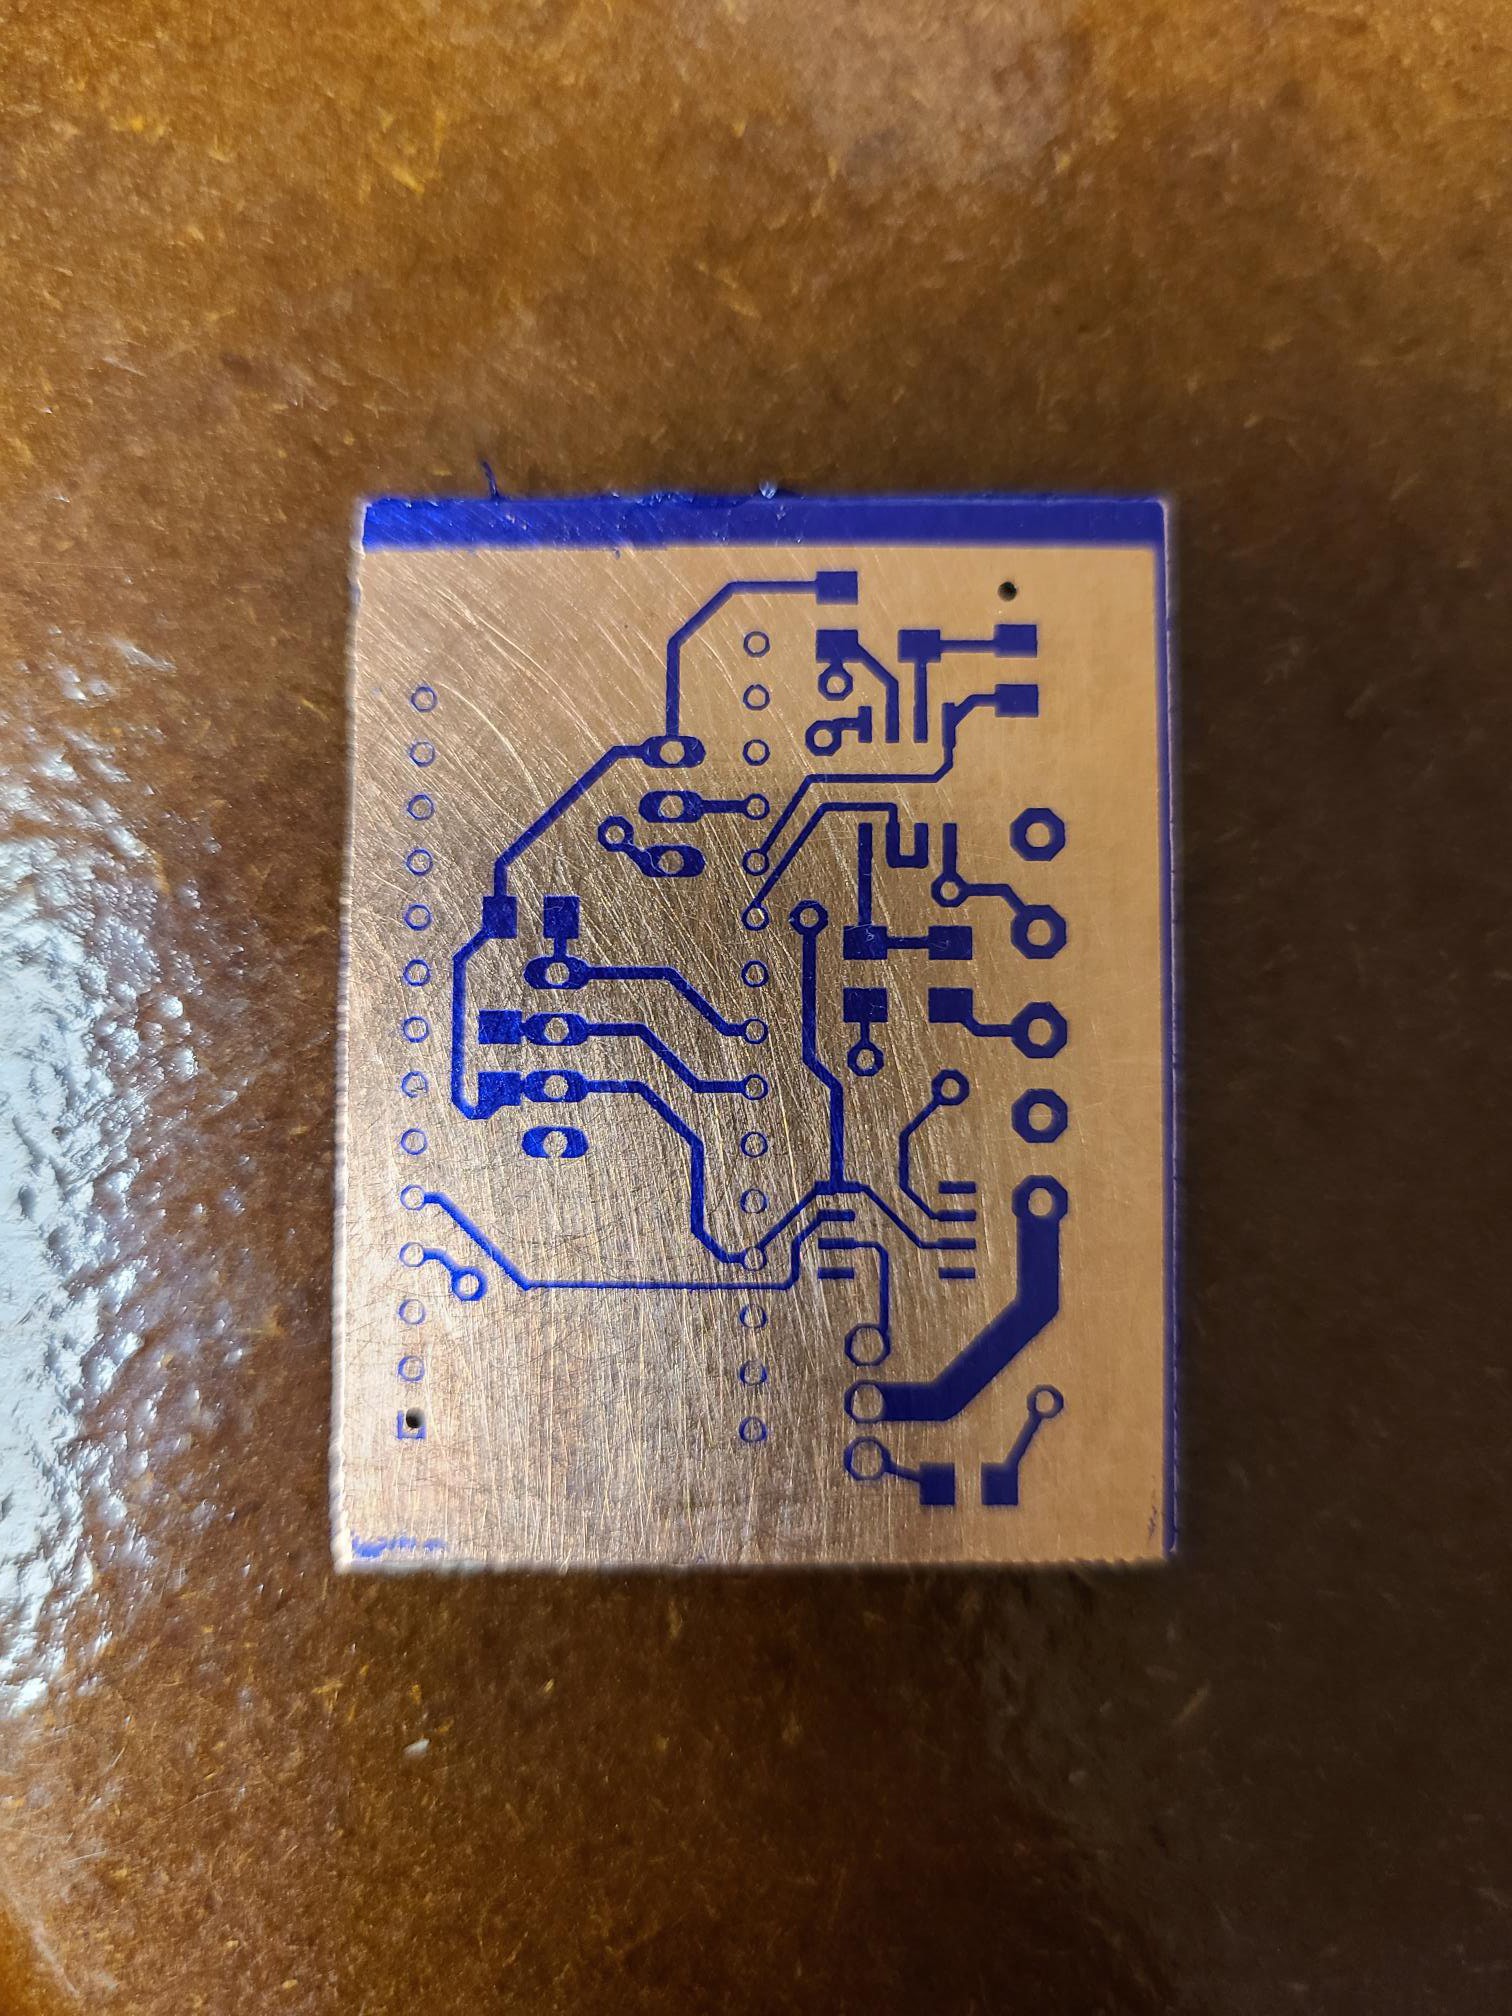
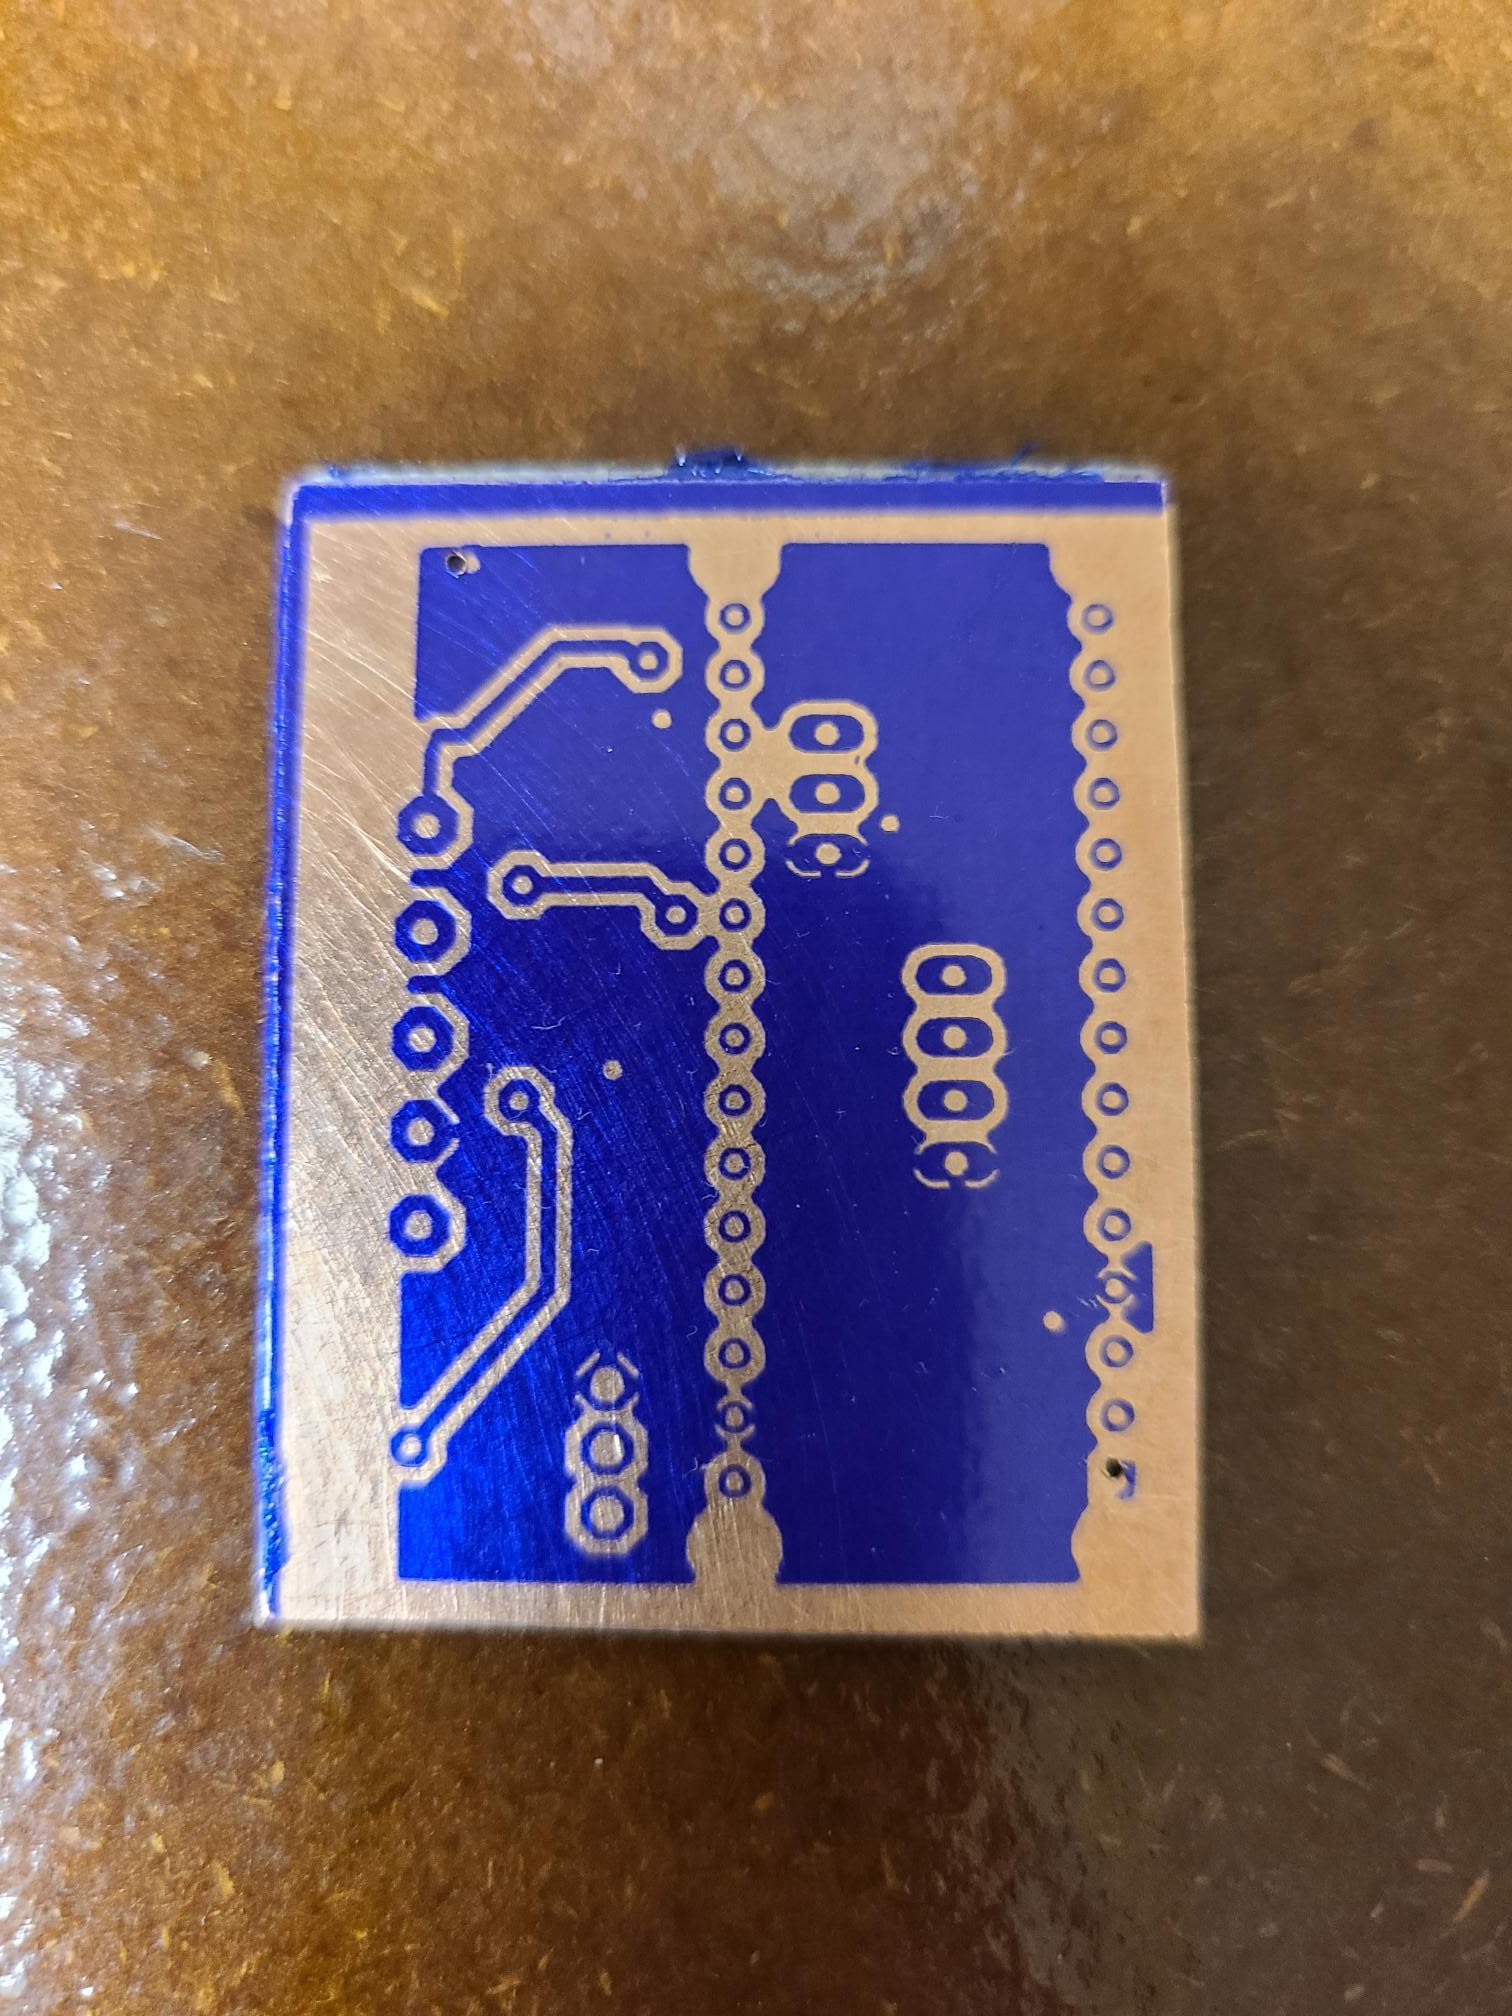
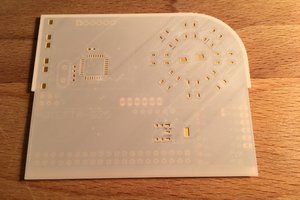
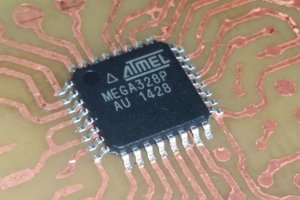
DIY PCB with Photosensitive Film and Etchant
This is a place to keep my notes as I experiment with different processes in making PCBs using photosensitive film
Become a Hackaday.io member
Already have an account? Log in.
Just one more thing
To make the experience fit your profile, pick a username and tell us what interests you.
Pick an awesome username
hackaday.io/
Your profile's URL: hackaday.io/username. Max 25 alphanumeric characters.
Pick a few interests
Projects that share your interests
People that share your interests

 Robert Kirberich
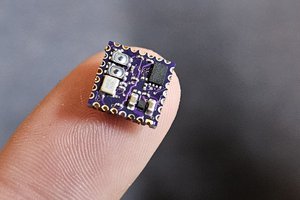
 fl@C@
fl@C@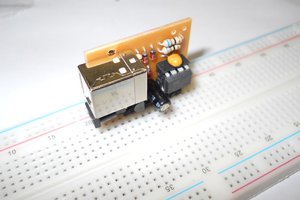
 danjovic