 Colin Maykish
Mackerel-08
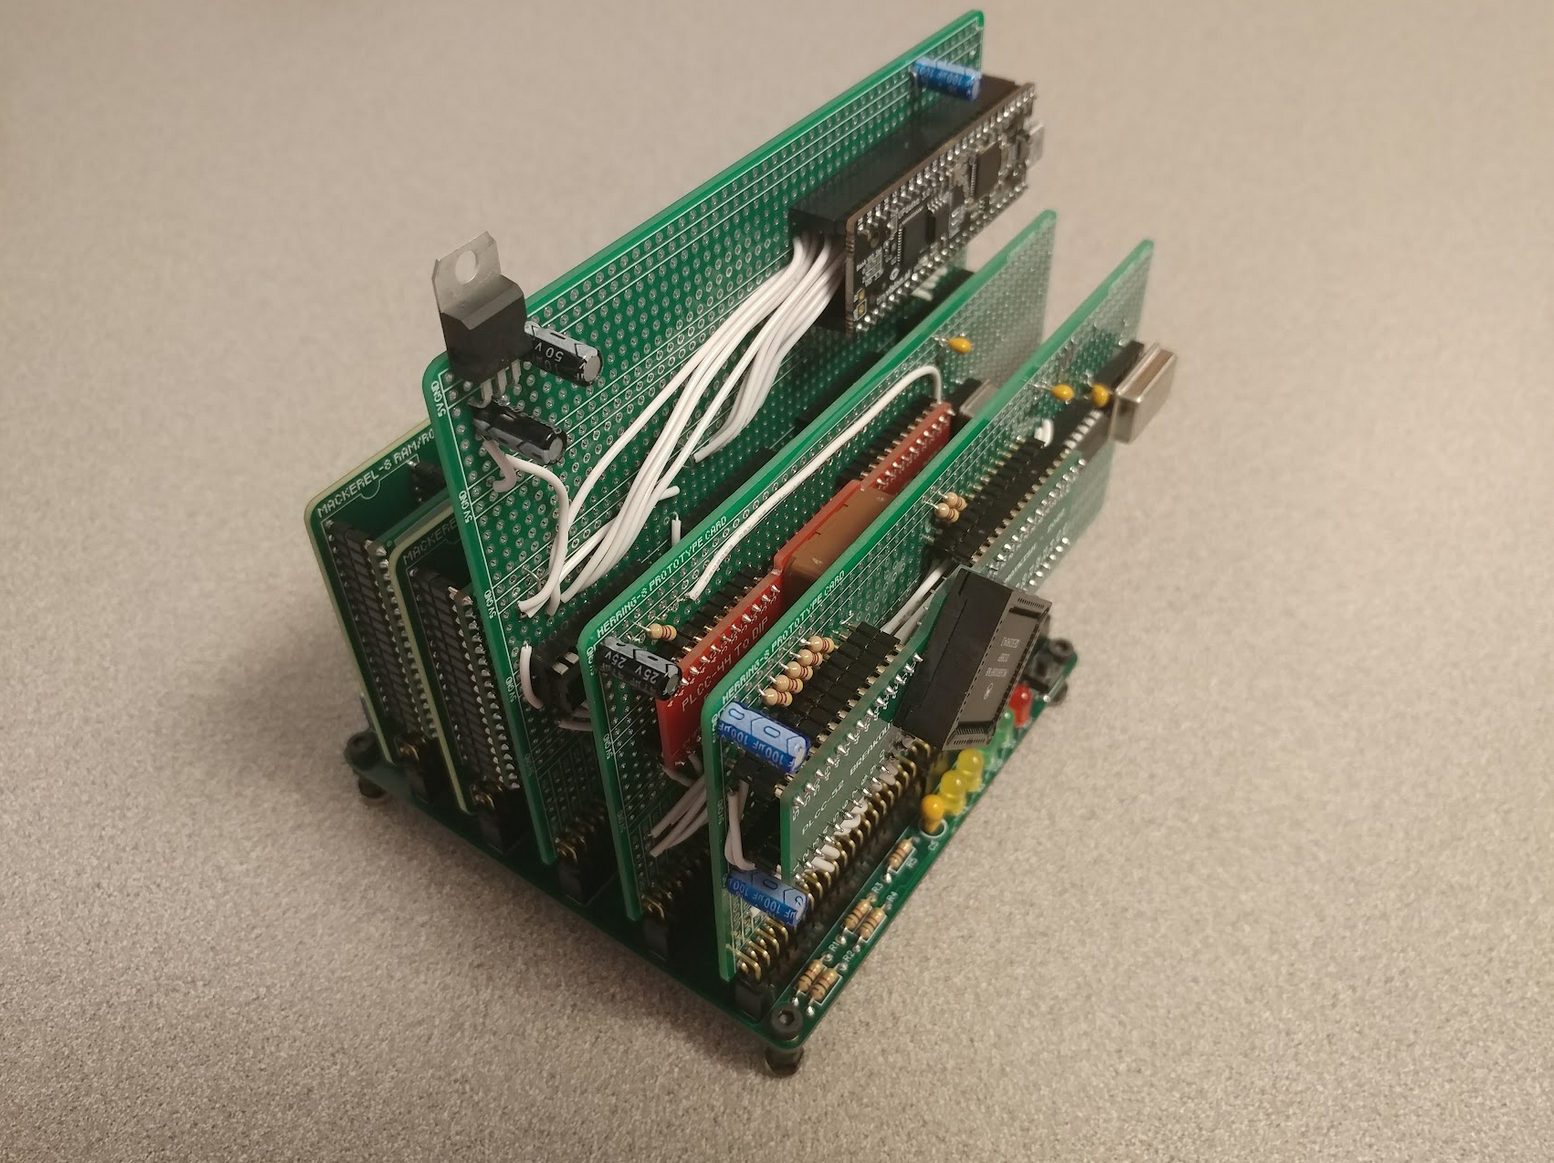
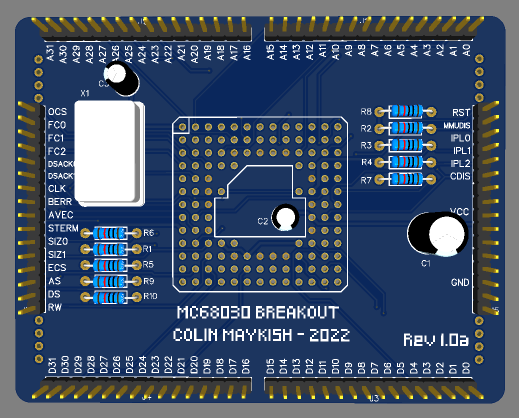
This is the first (and as of now, only) iteration of Mackerel. Using the 52-pin PLCC version of the Motorola 68008, it has a 4MB address space and runs uClinux 2.0.
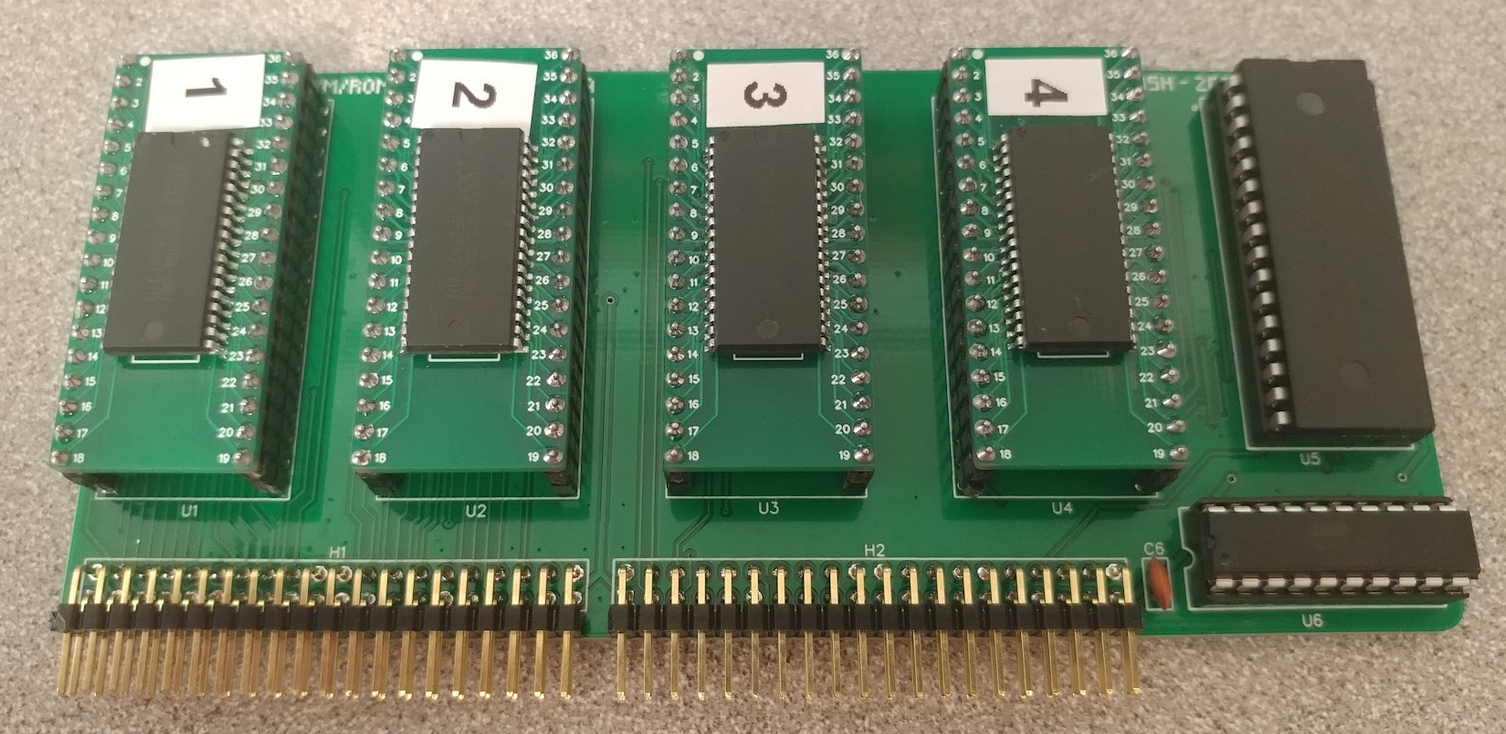
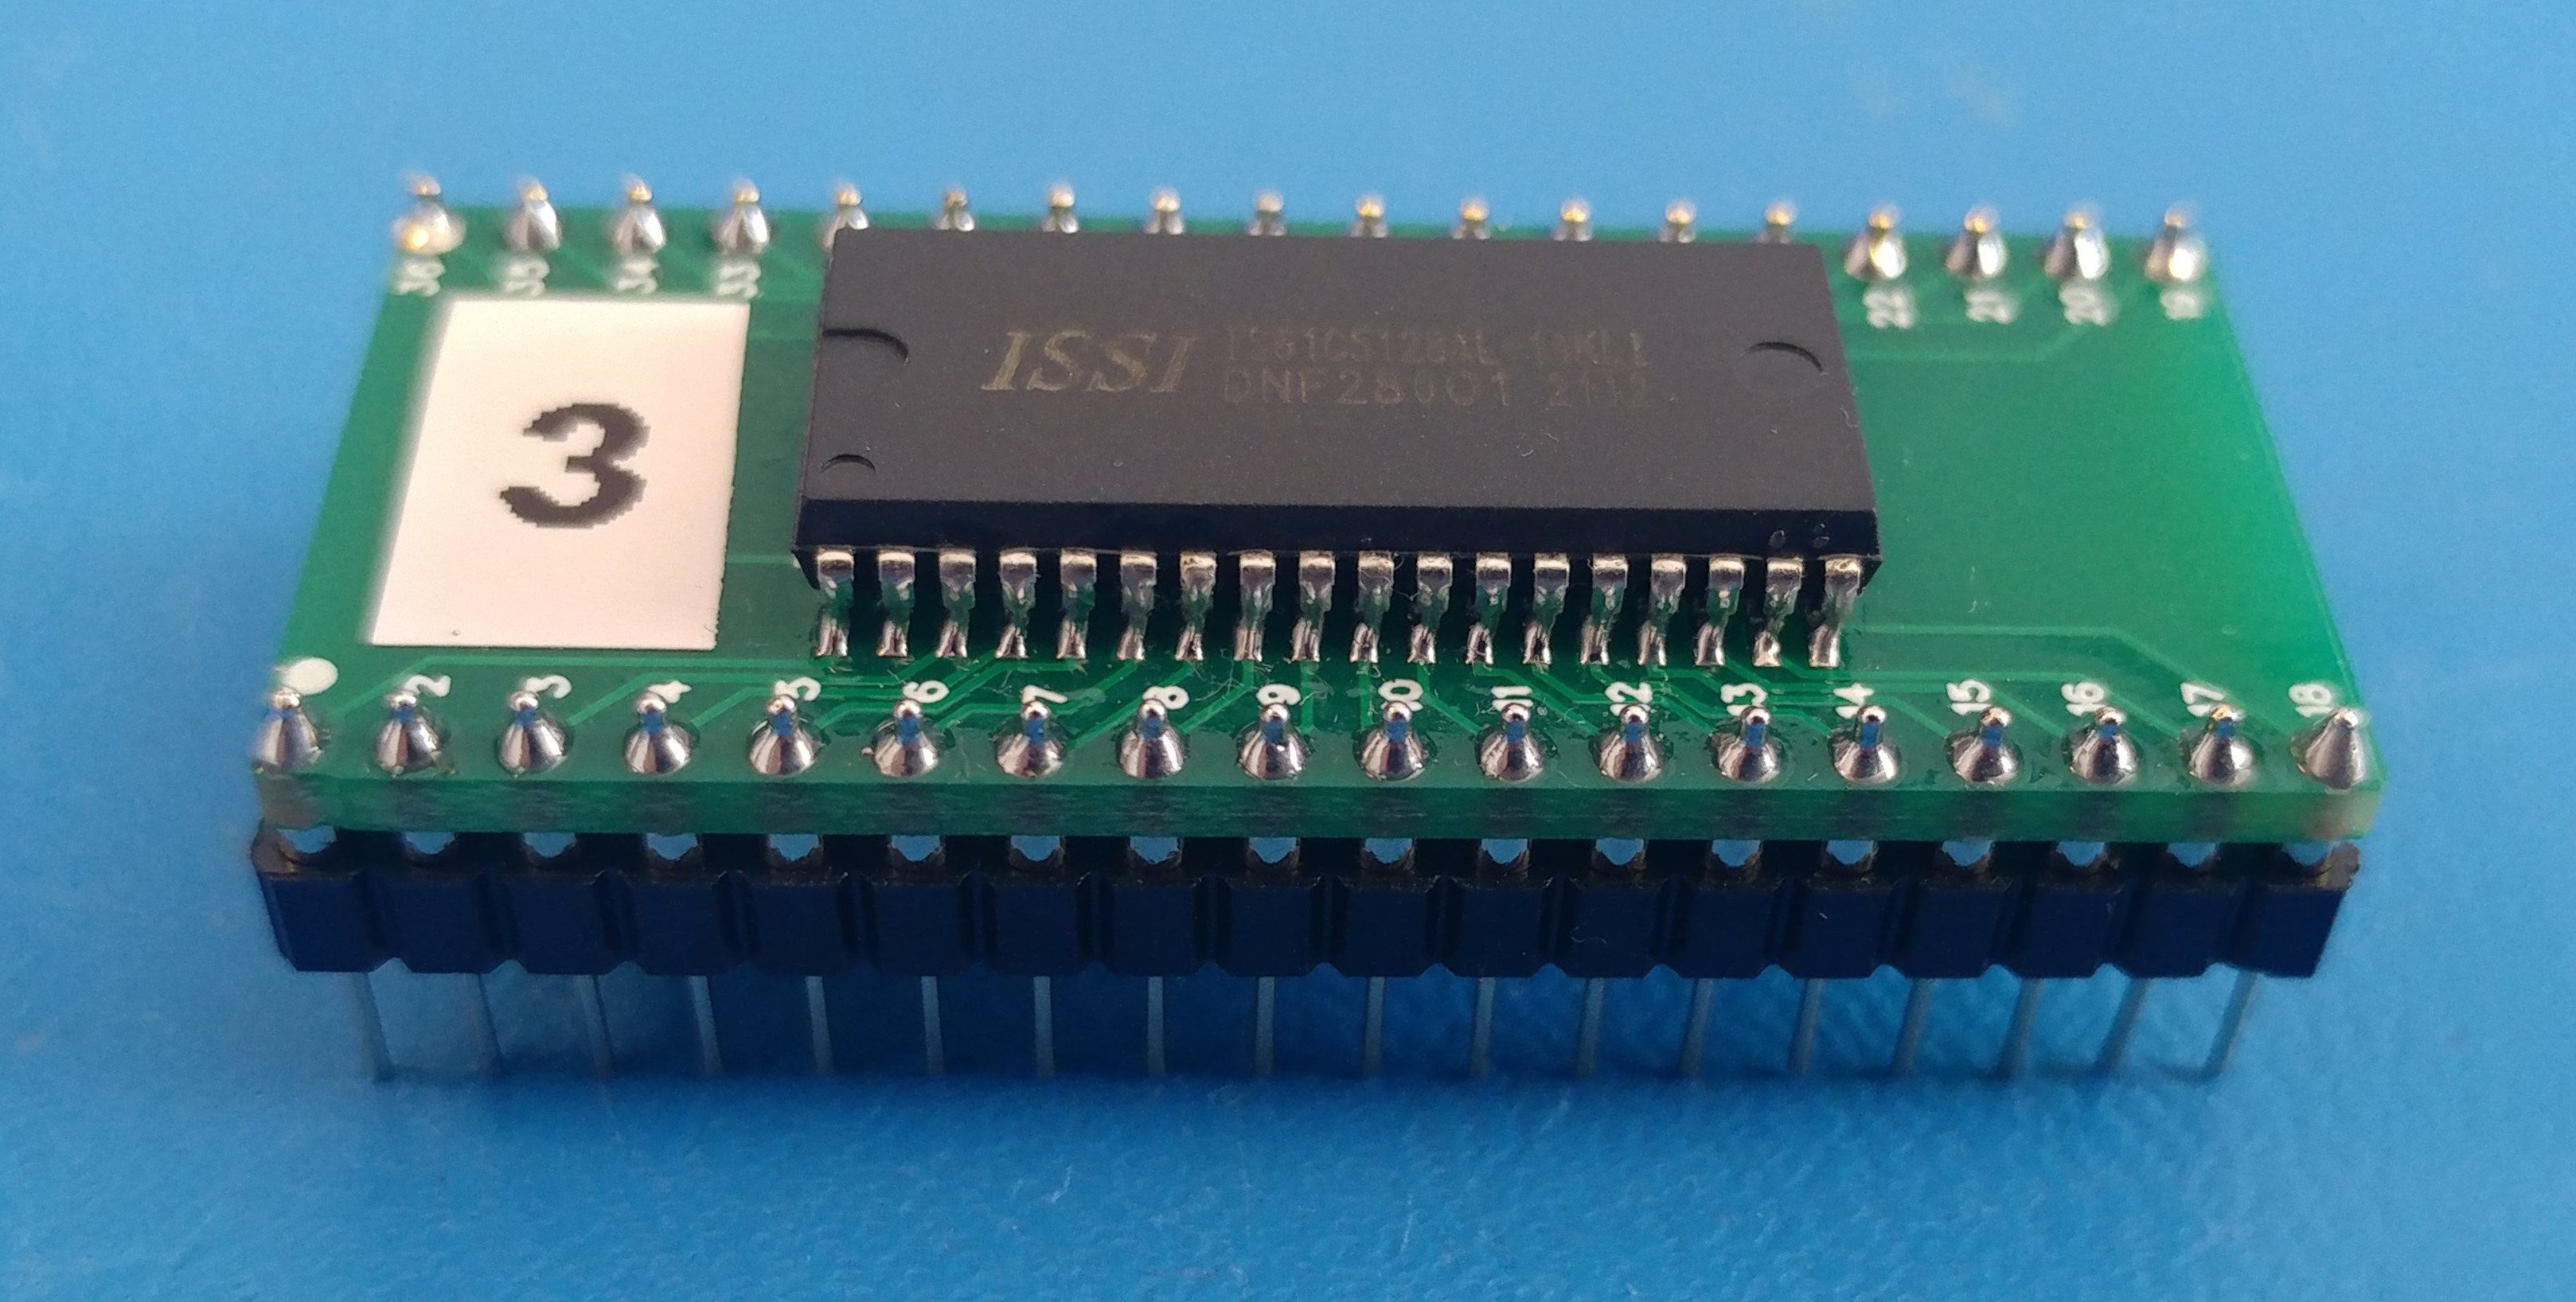
The hardware includes the CPU, 512KB of ROM (used by the bootloader), 3.5MB of RAM, and a XR68C681 DUART chip for timer and serial port.
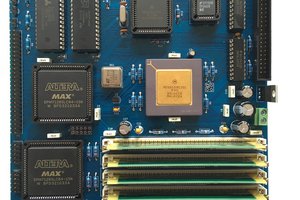
Address decoding and assorted glue logic is done by a handful of ATF16V8B PLD chips.
Programs (including uClinux) can be compiled and copied into RAM over the serial port. The bootloader is responsible for this transaction and for starting the loaded programs.
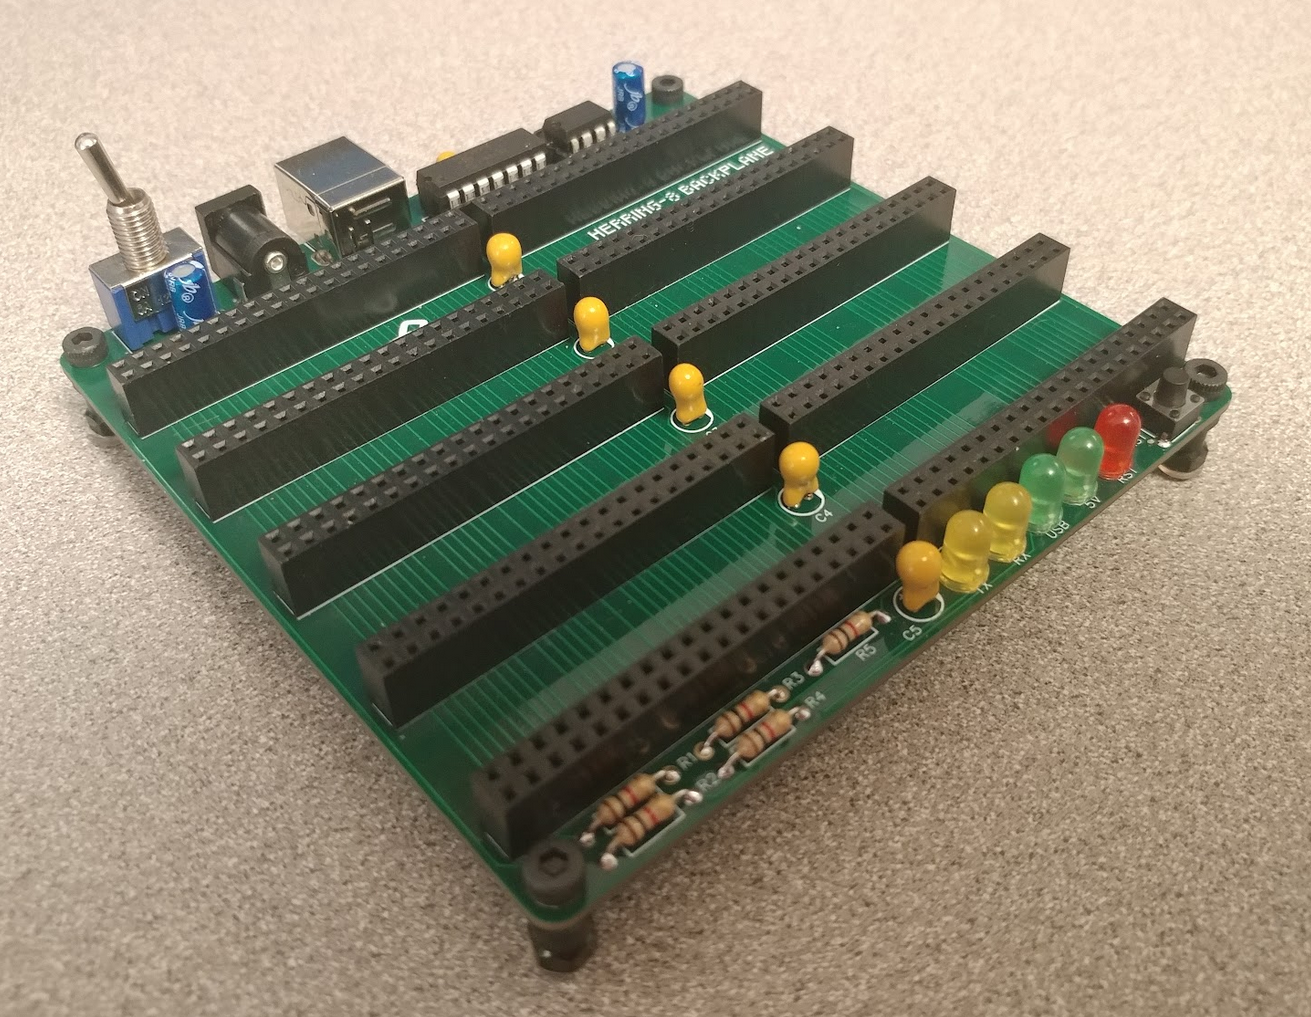
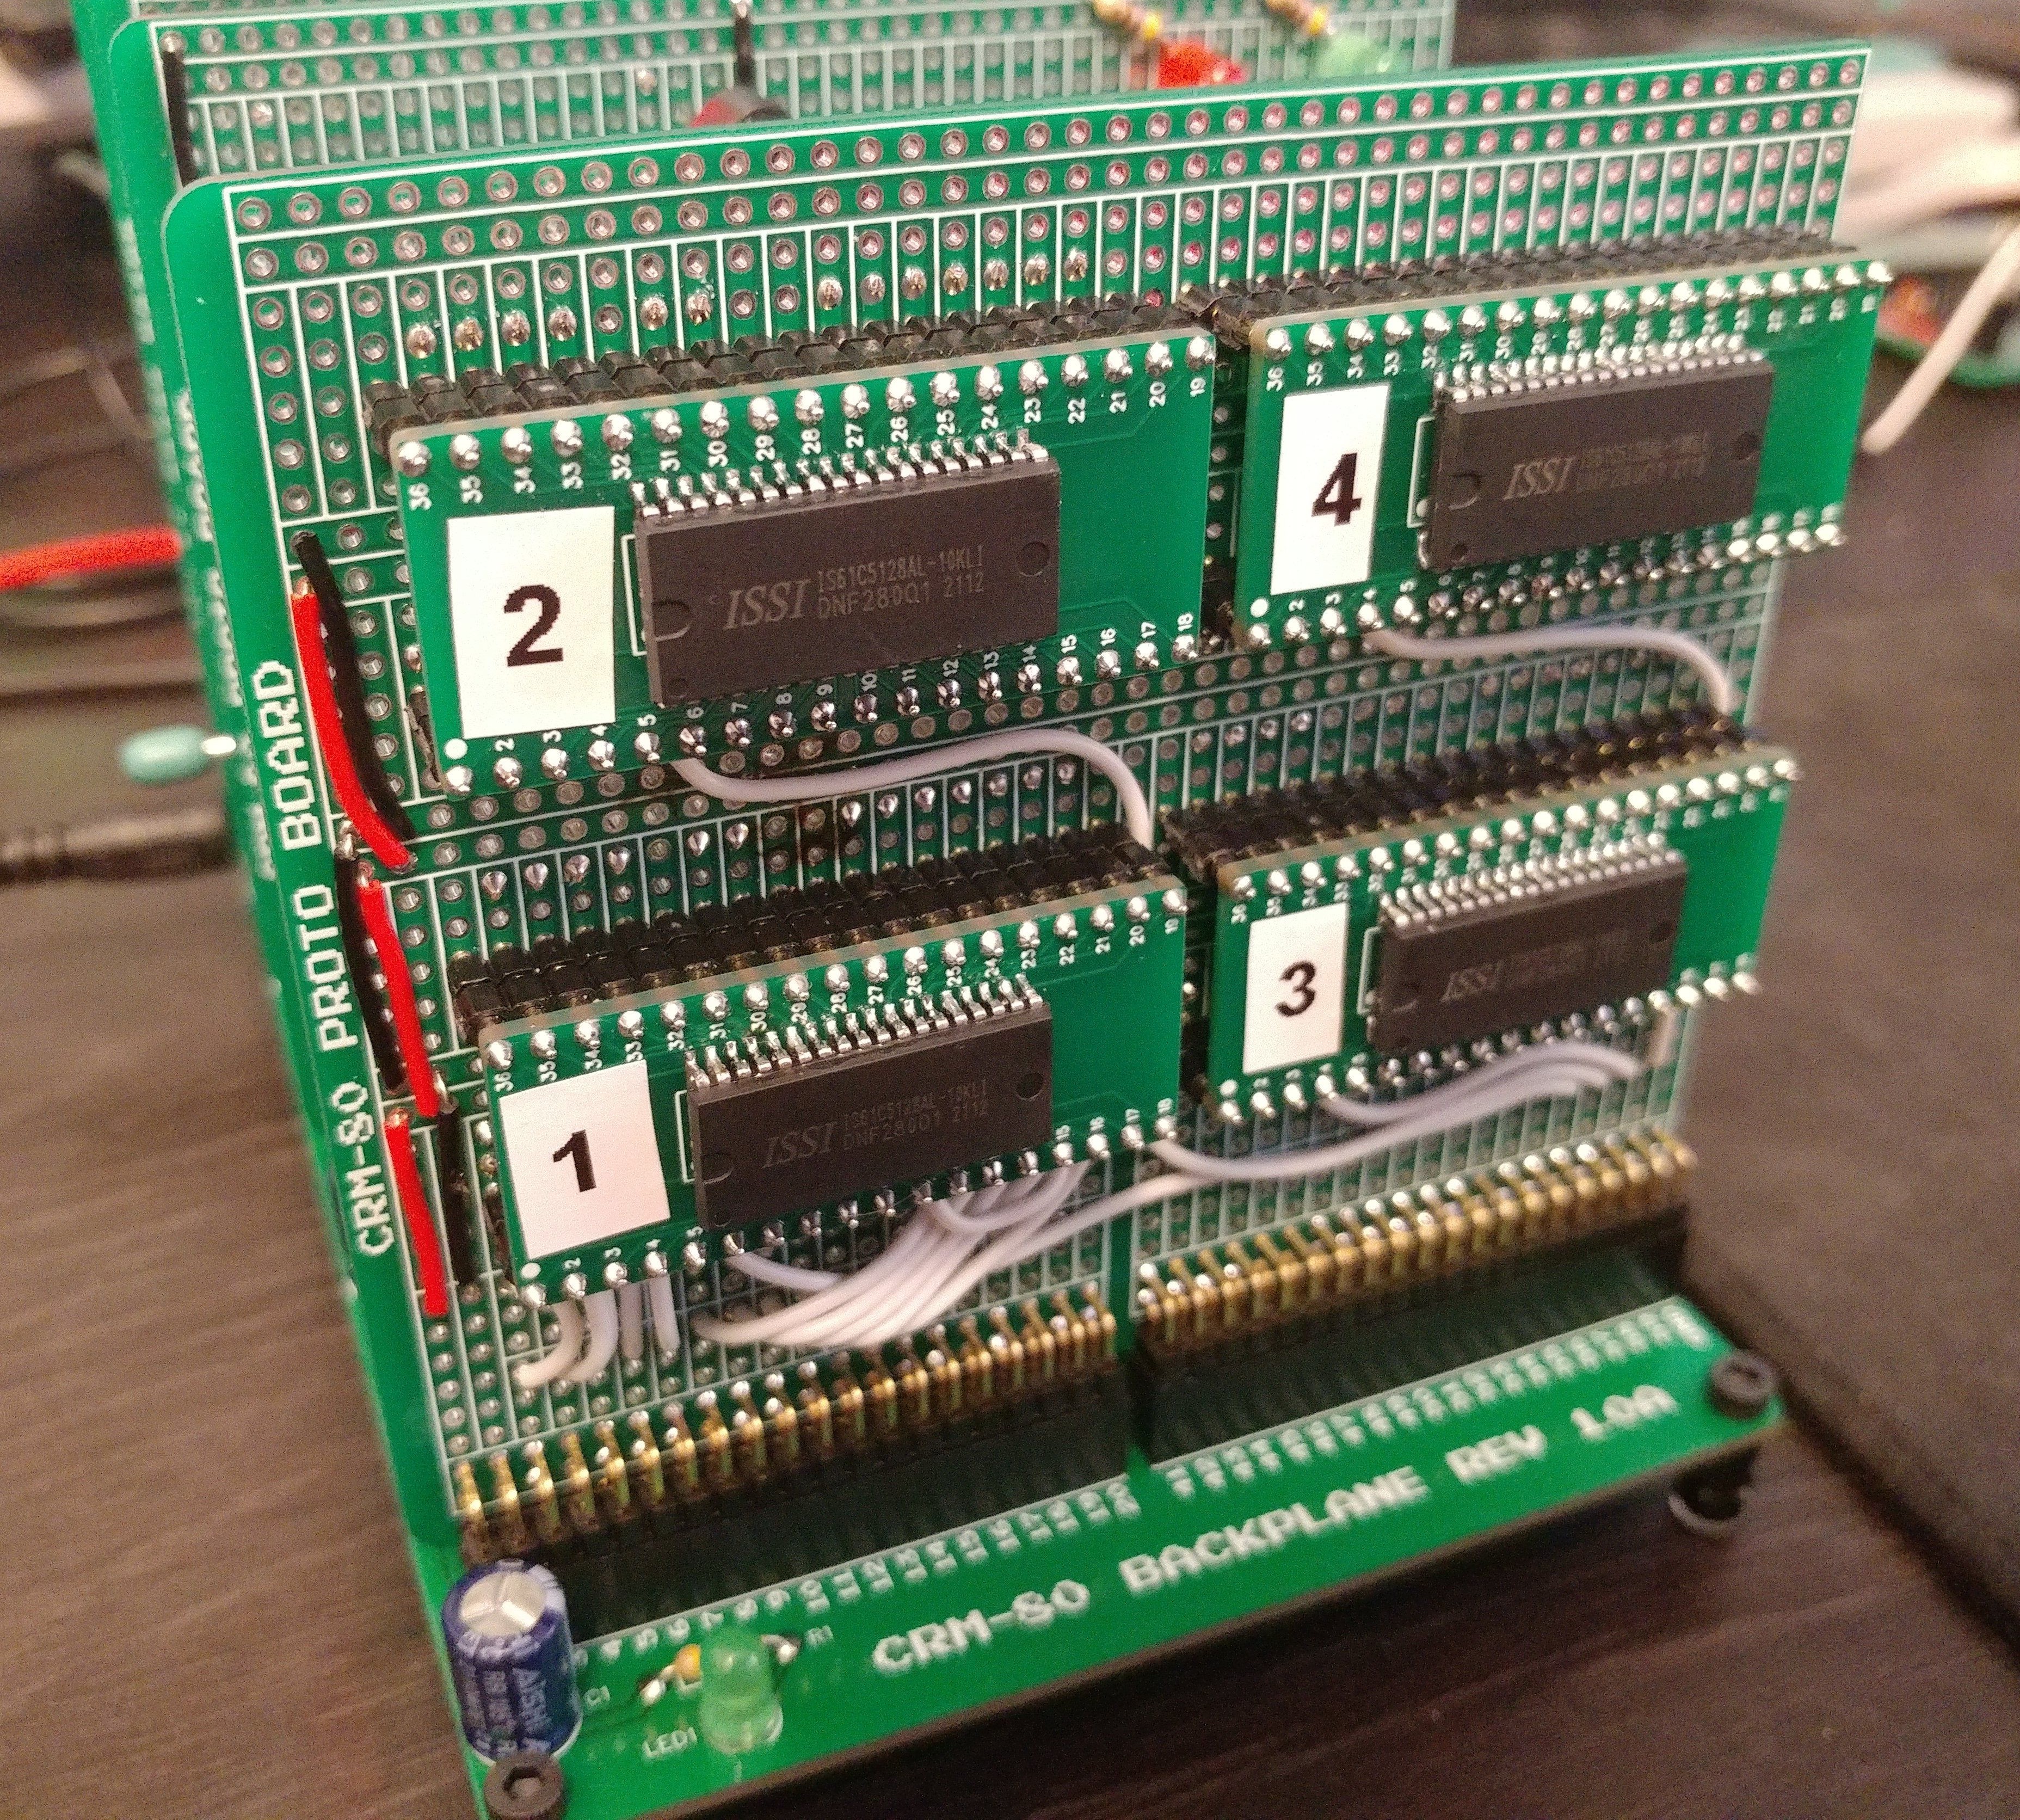
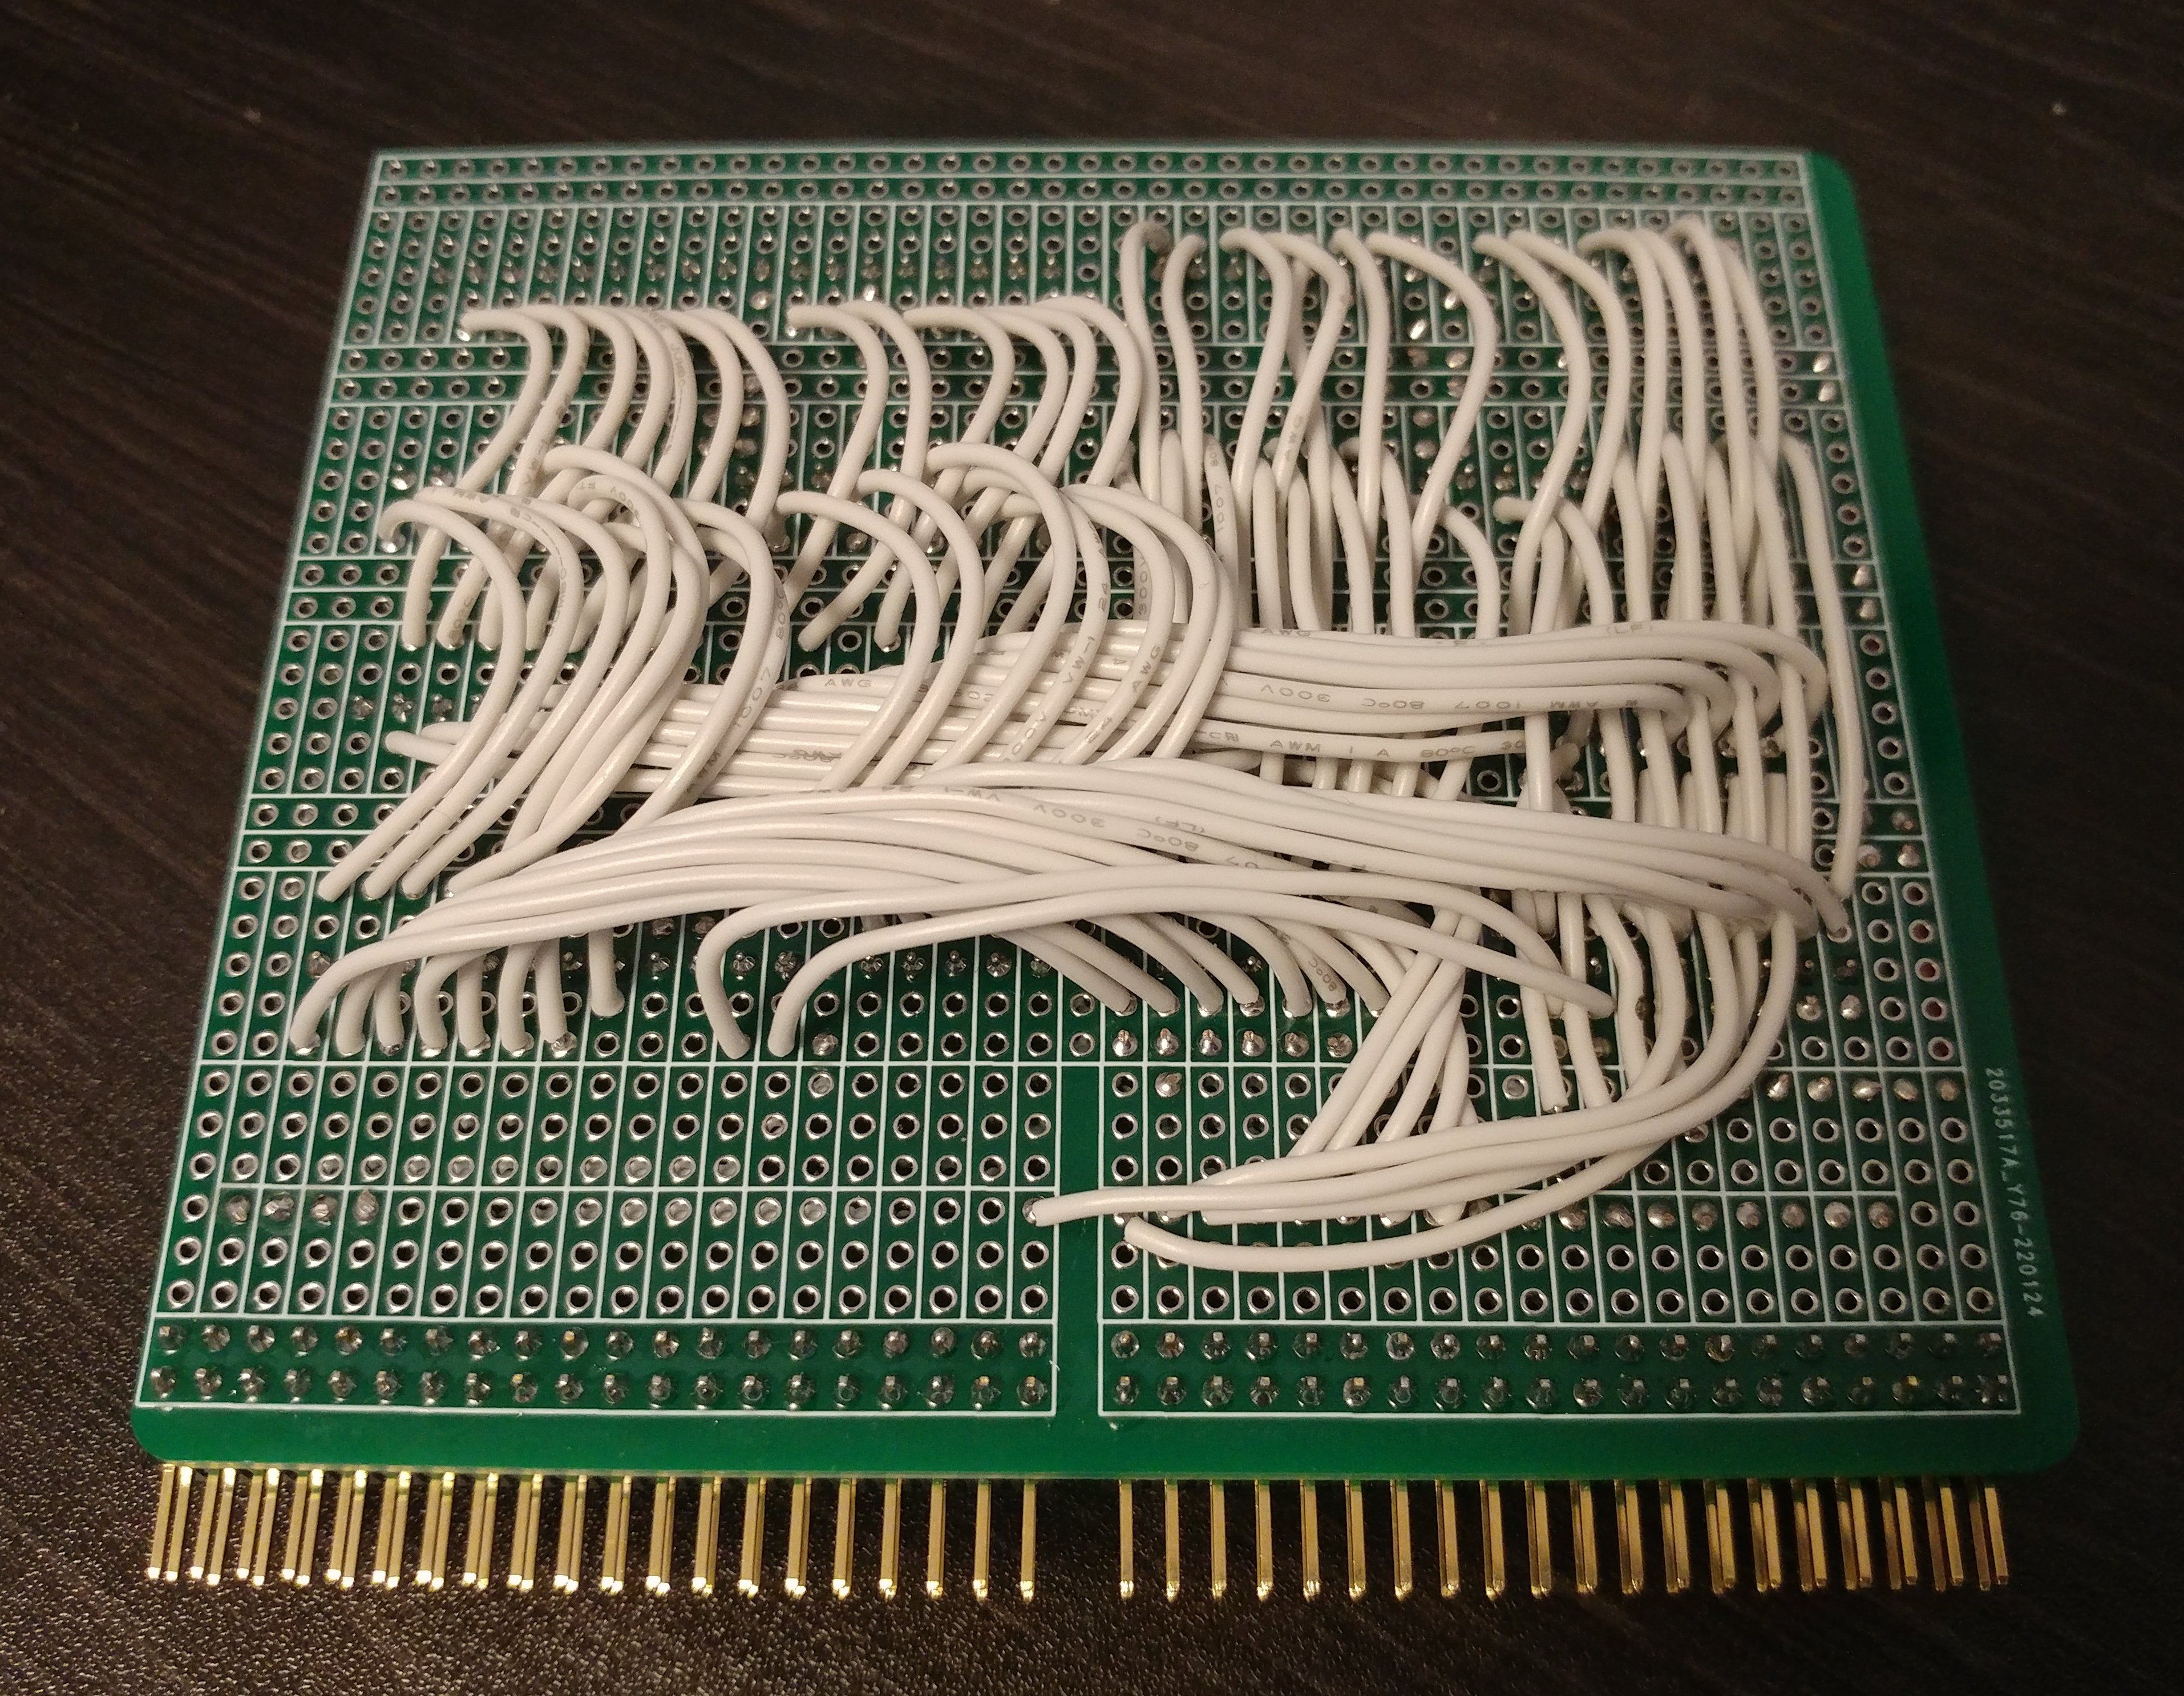
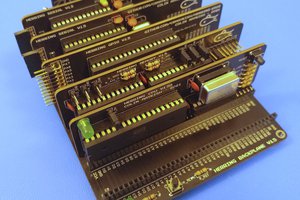
The first build of this computer uses a custom 80-pin backplane and a combination of PCBs and hand-wired component boards. A single-board PCB version is in the works.


 Tobias Rathje
 Matthew Pearce
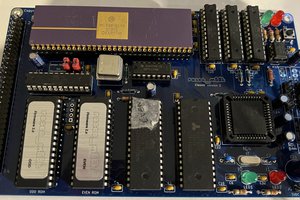
 Ross Bamford
Is possible make a mobile version? for example 24h working time?