 Nik Reitmann
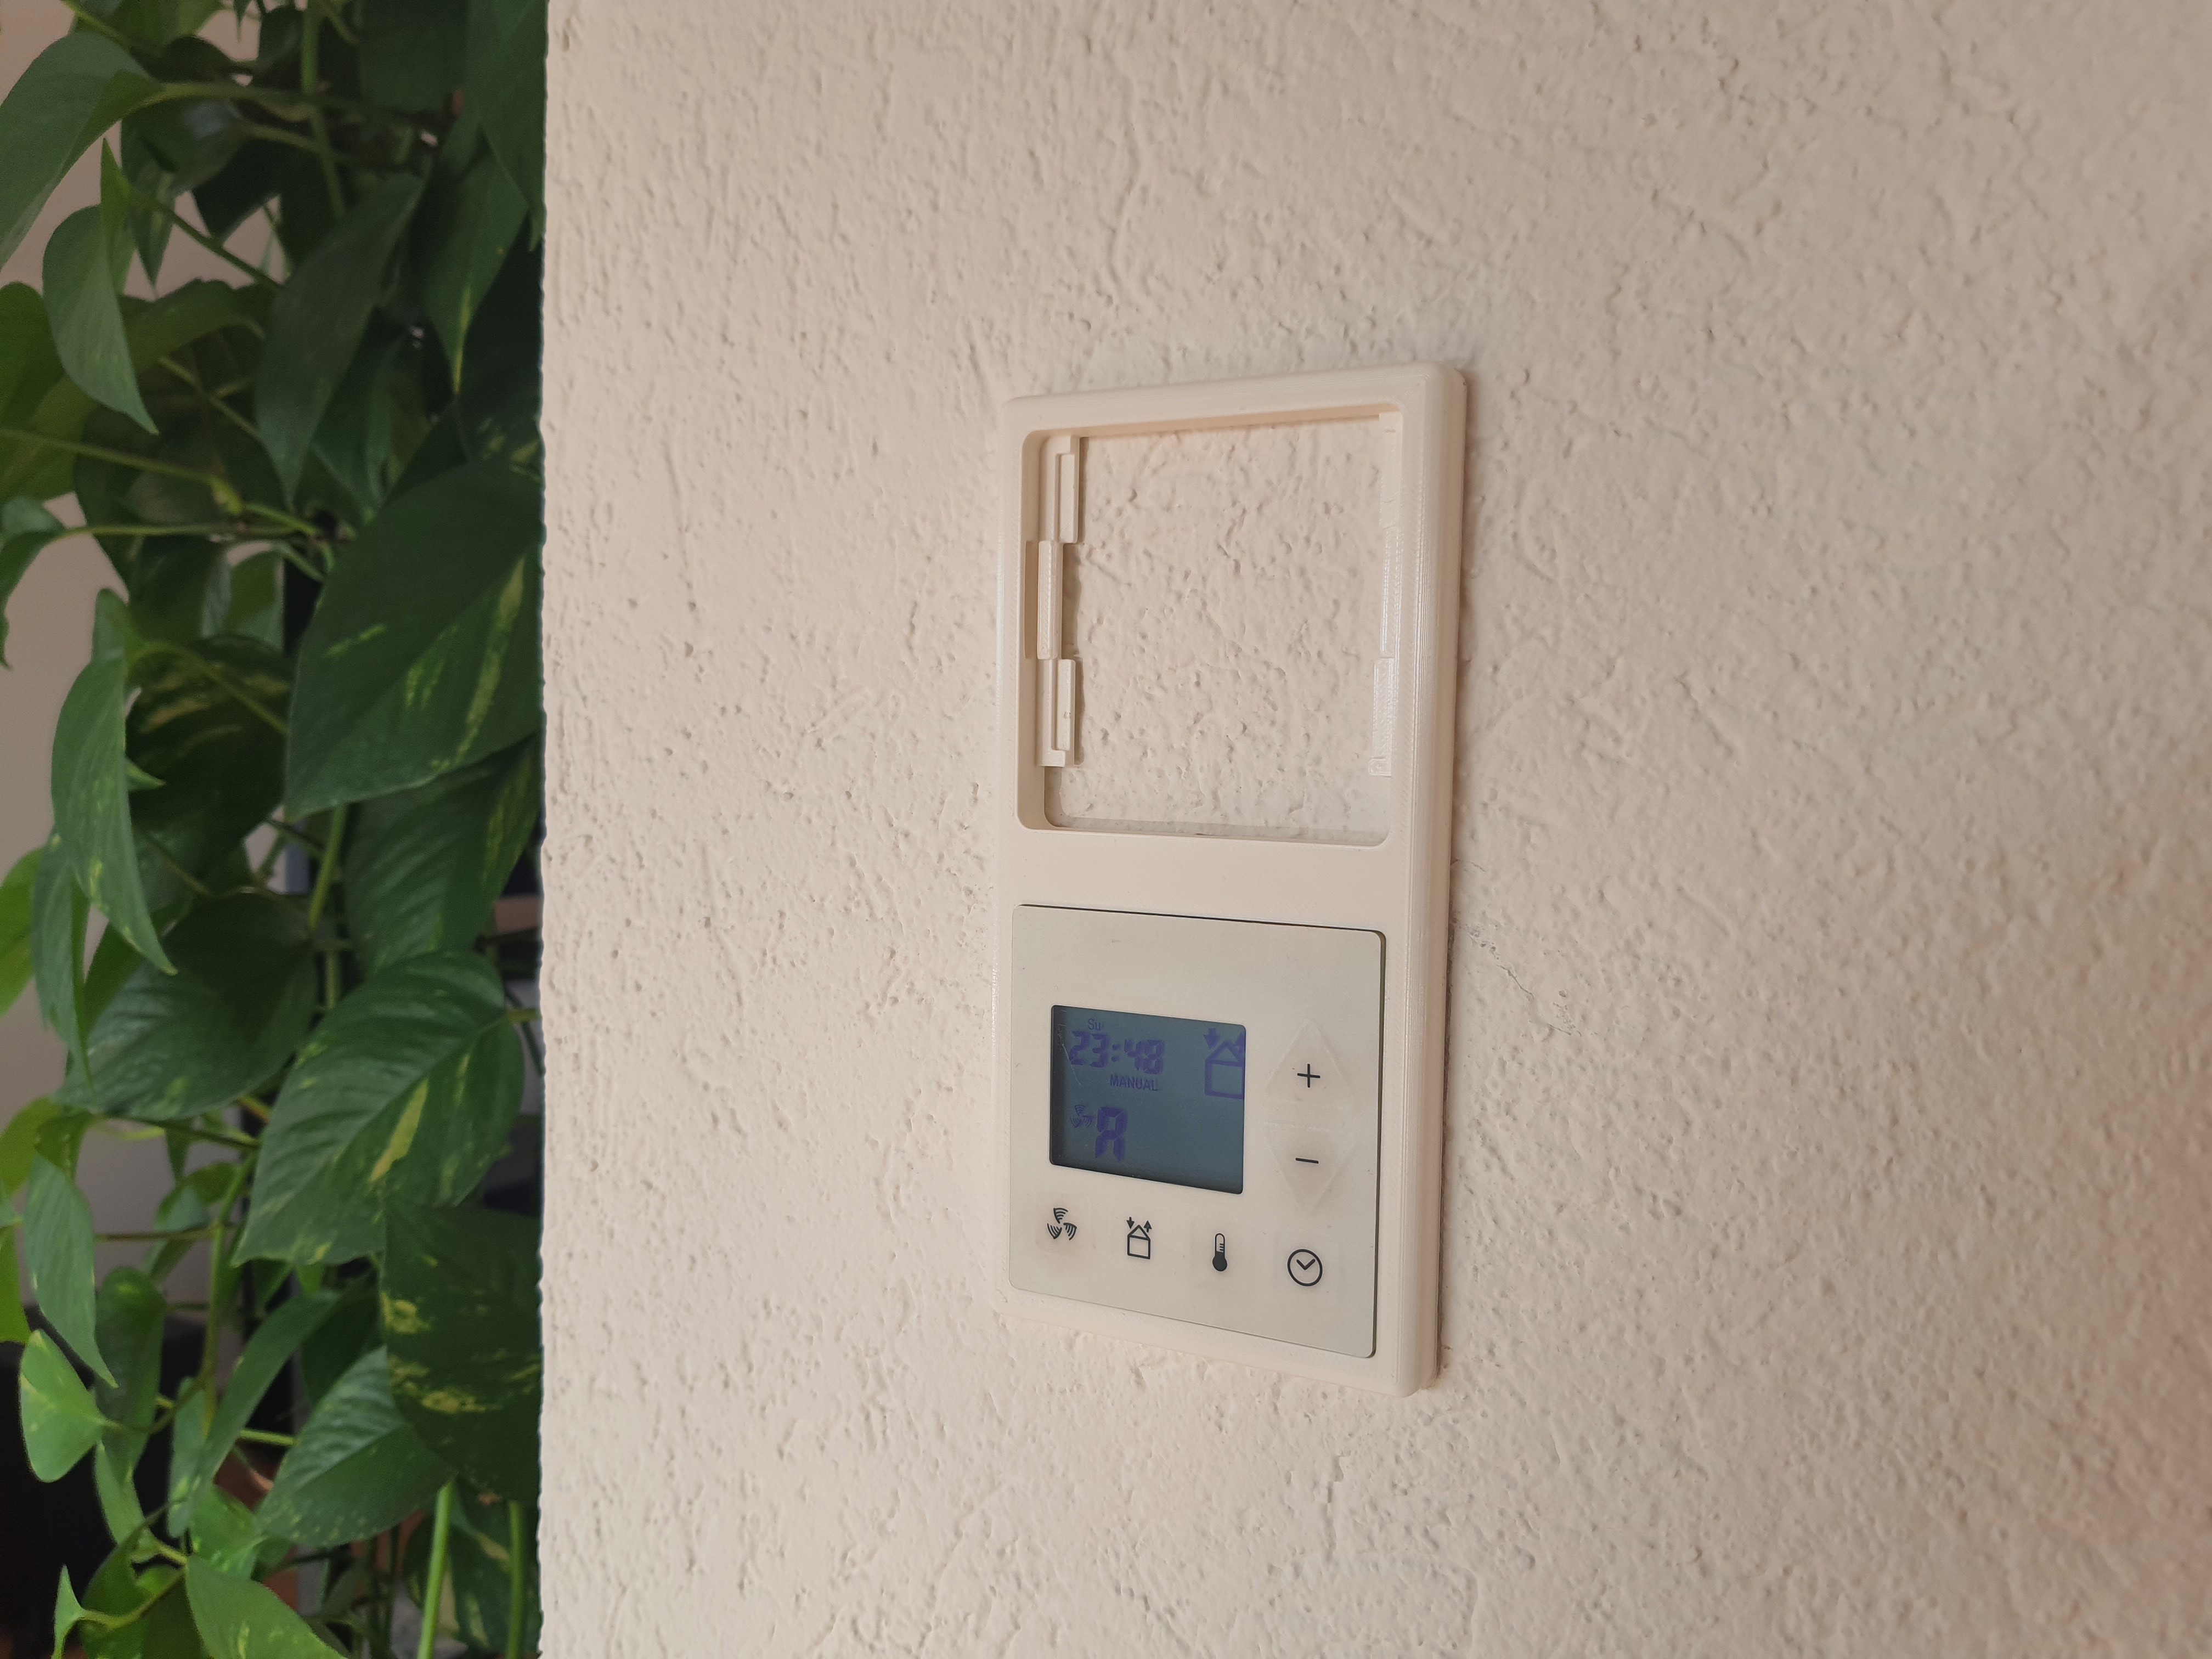
After some thought, it would be best if I had the following control
options:
- set level 1
- set level 2
- set level 3
- ventilate for 30 minutes
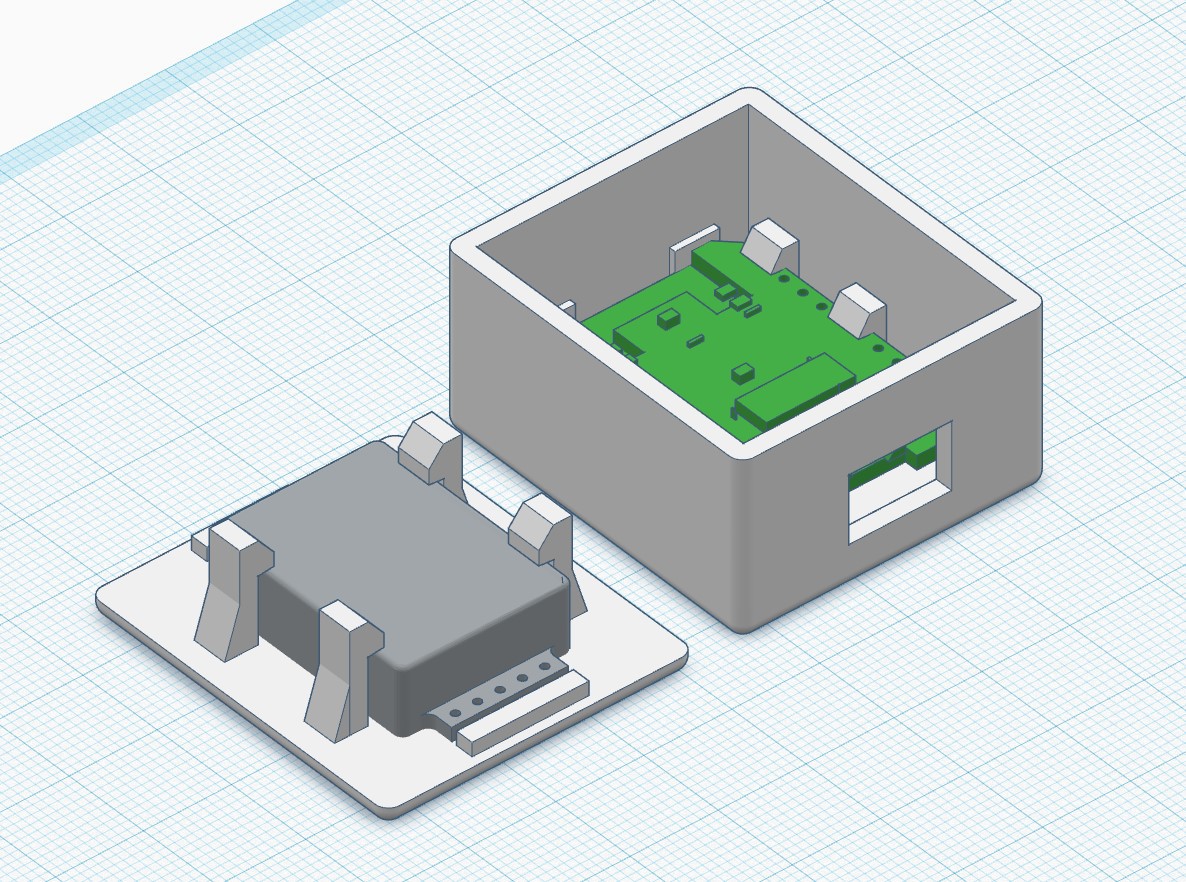
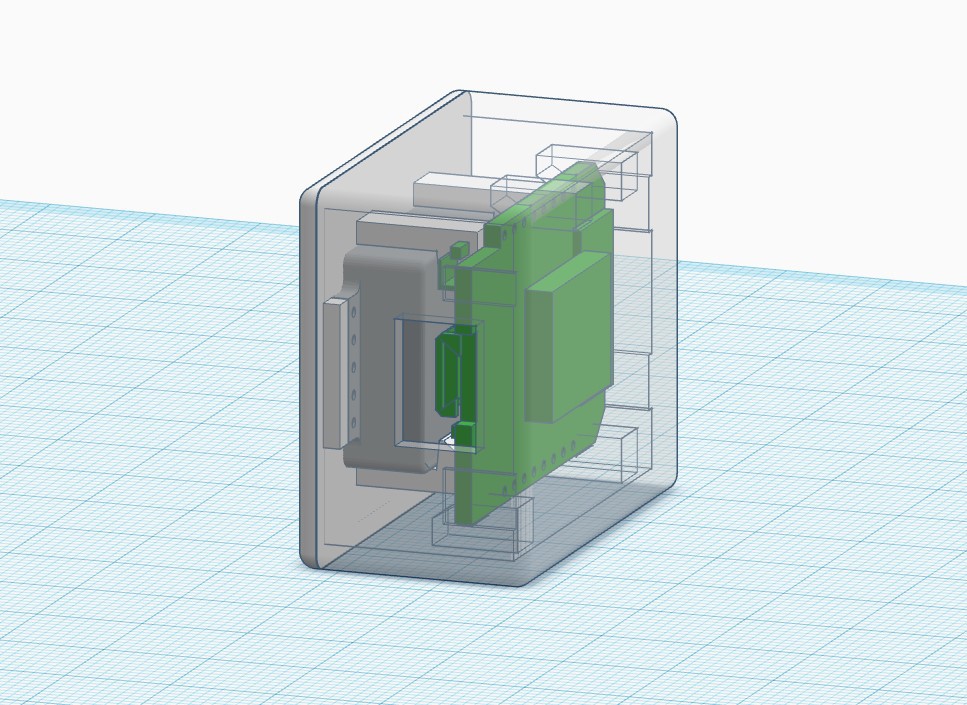
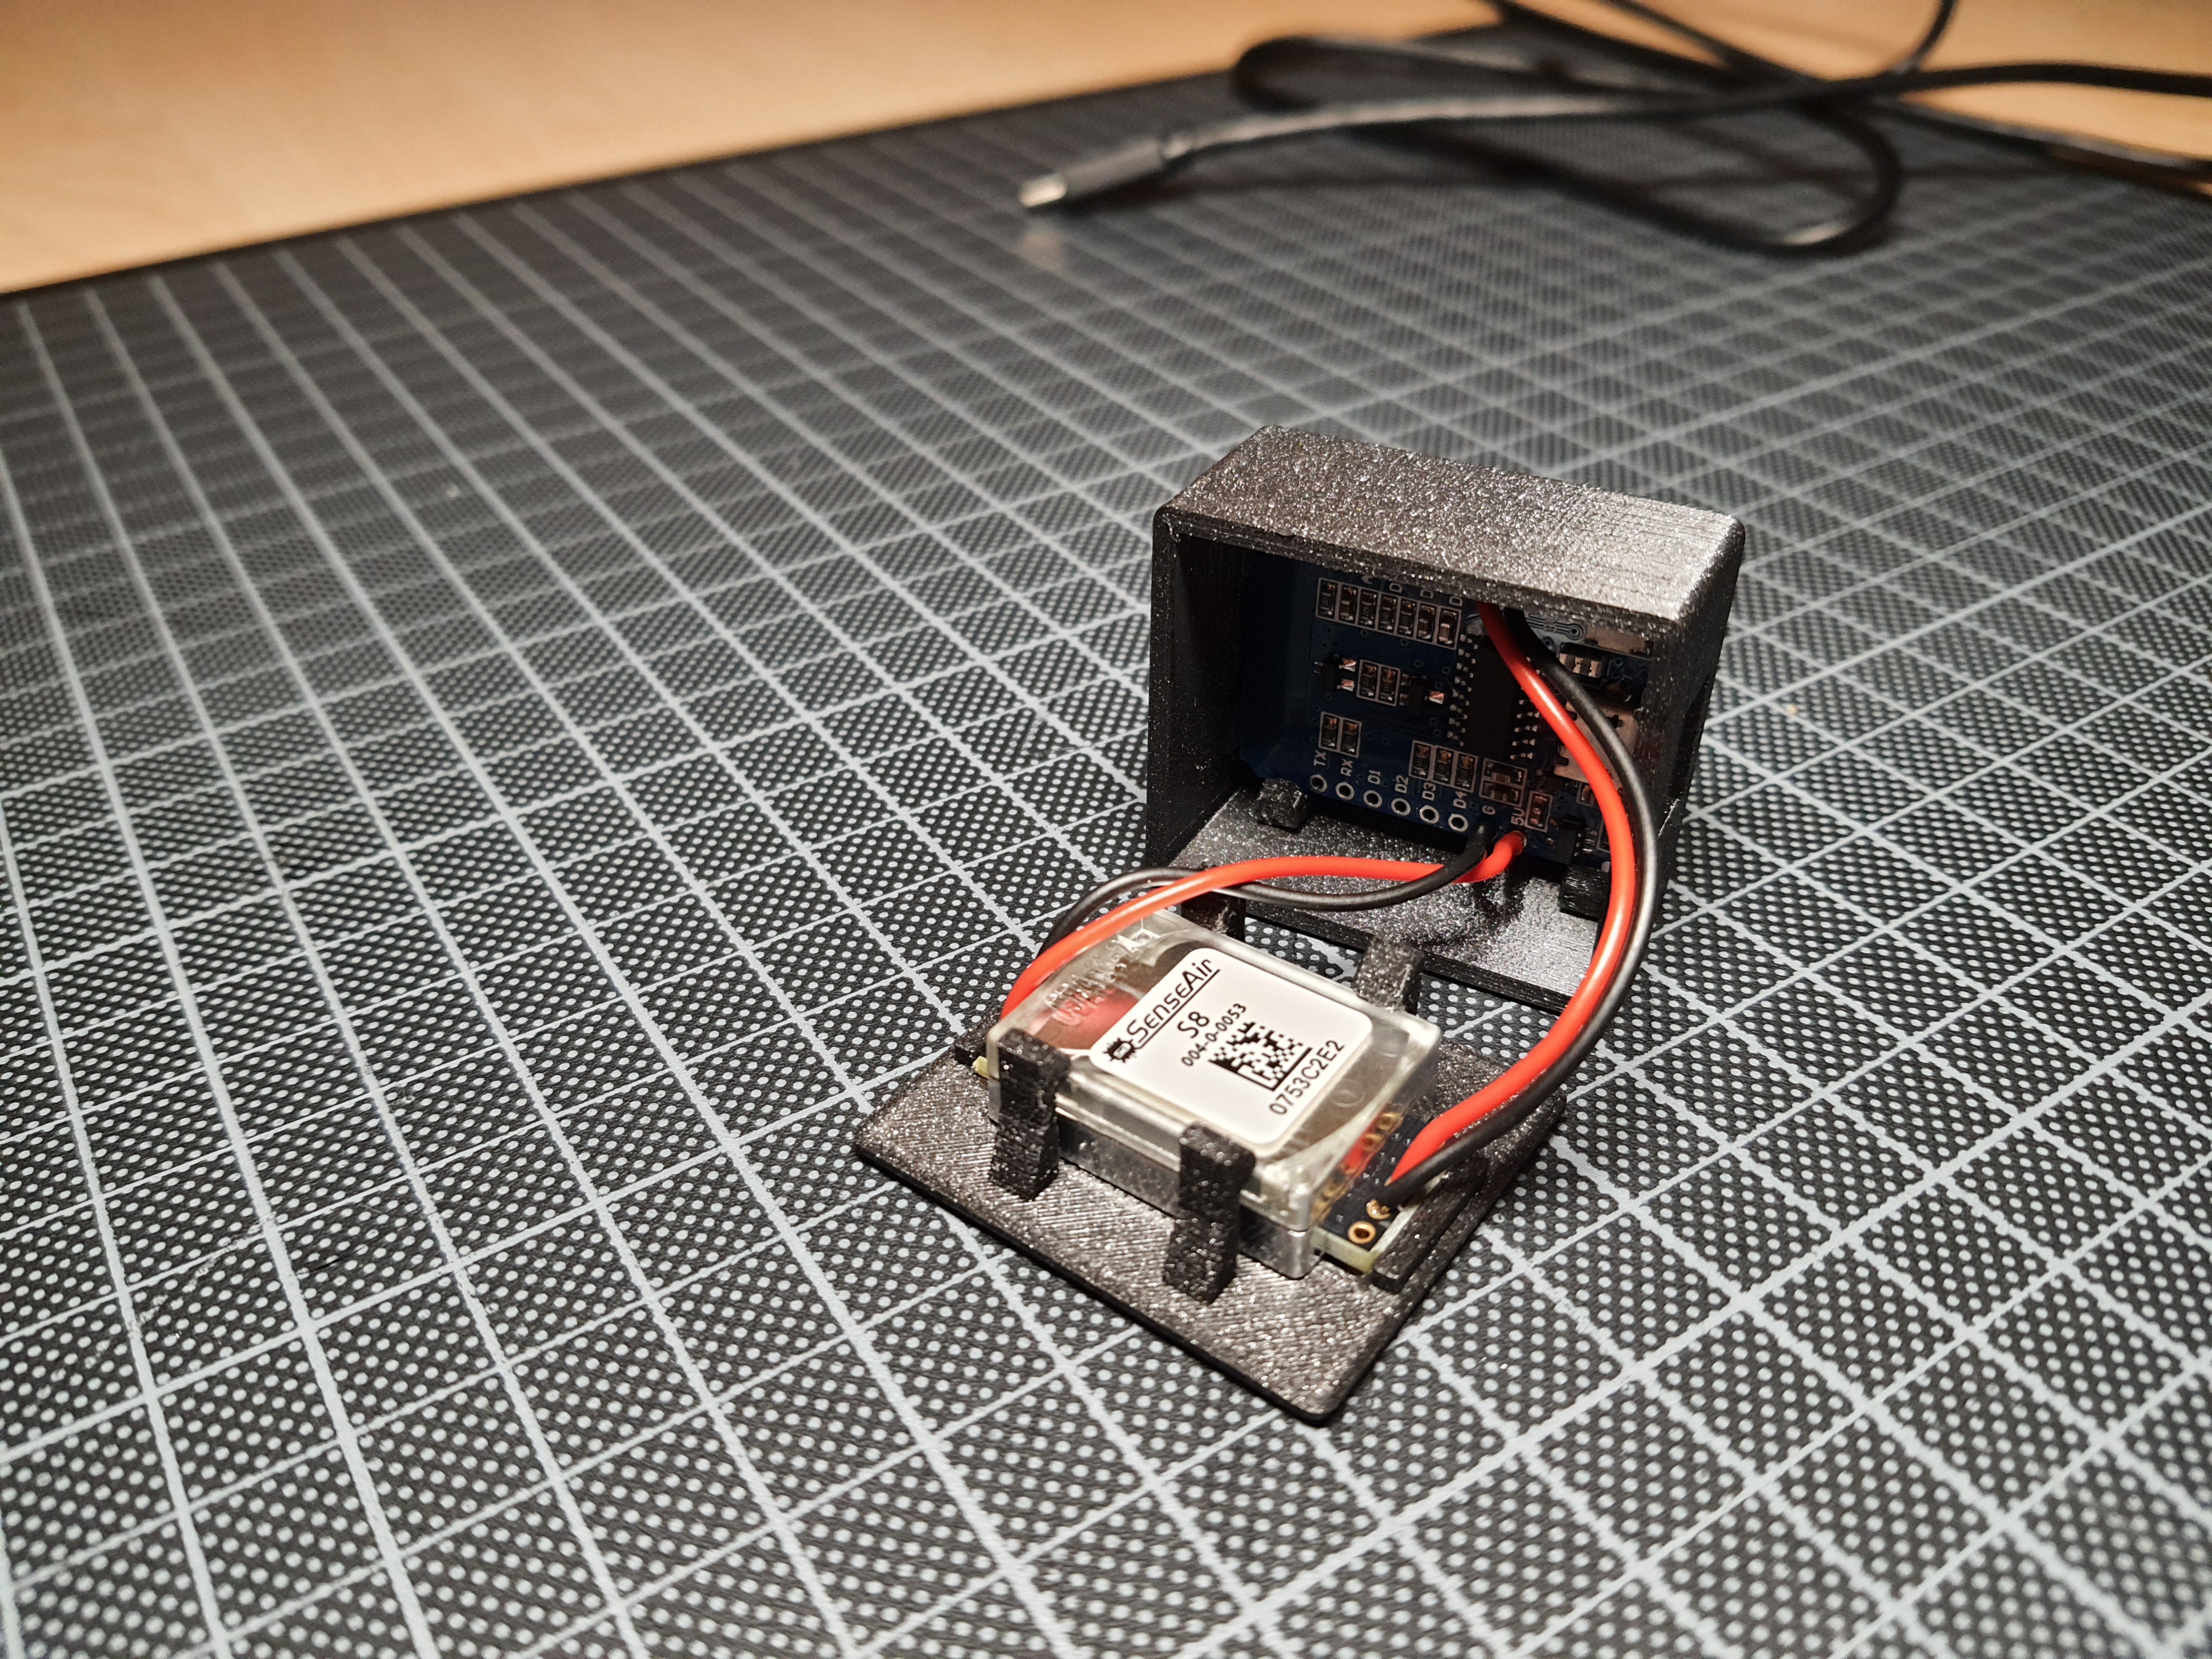
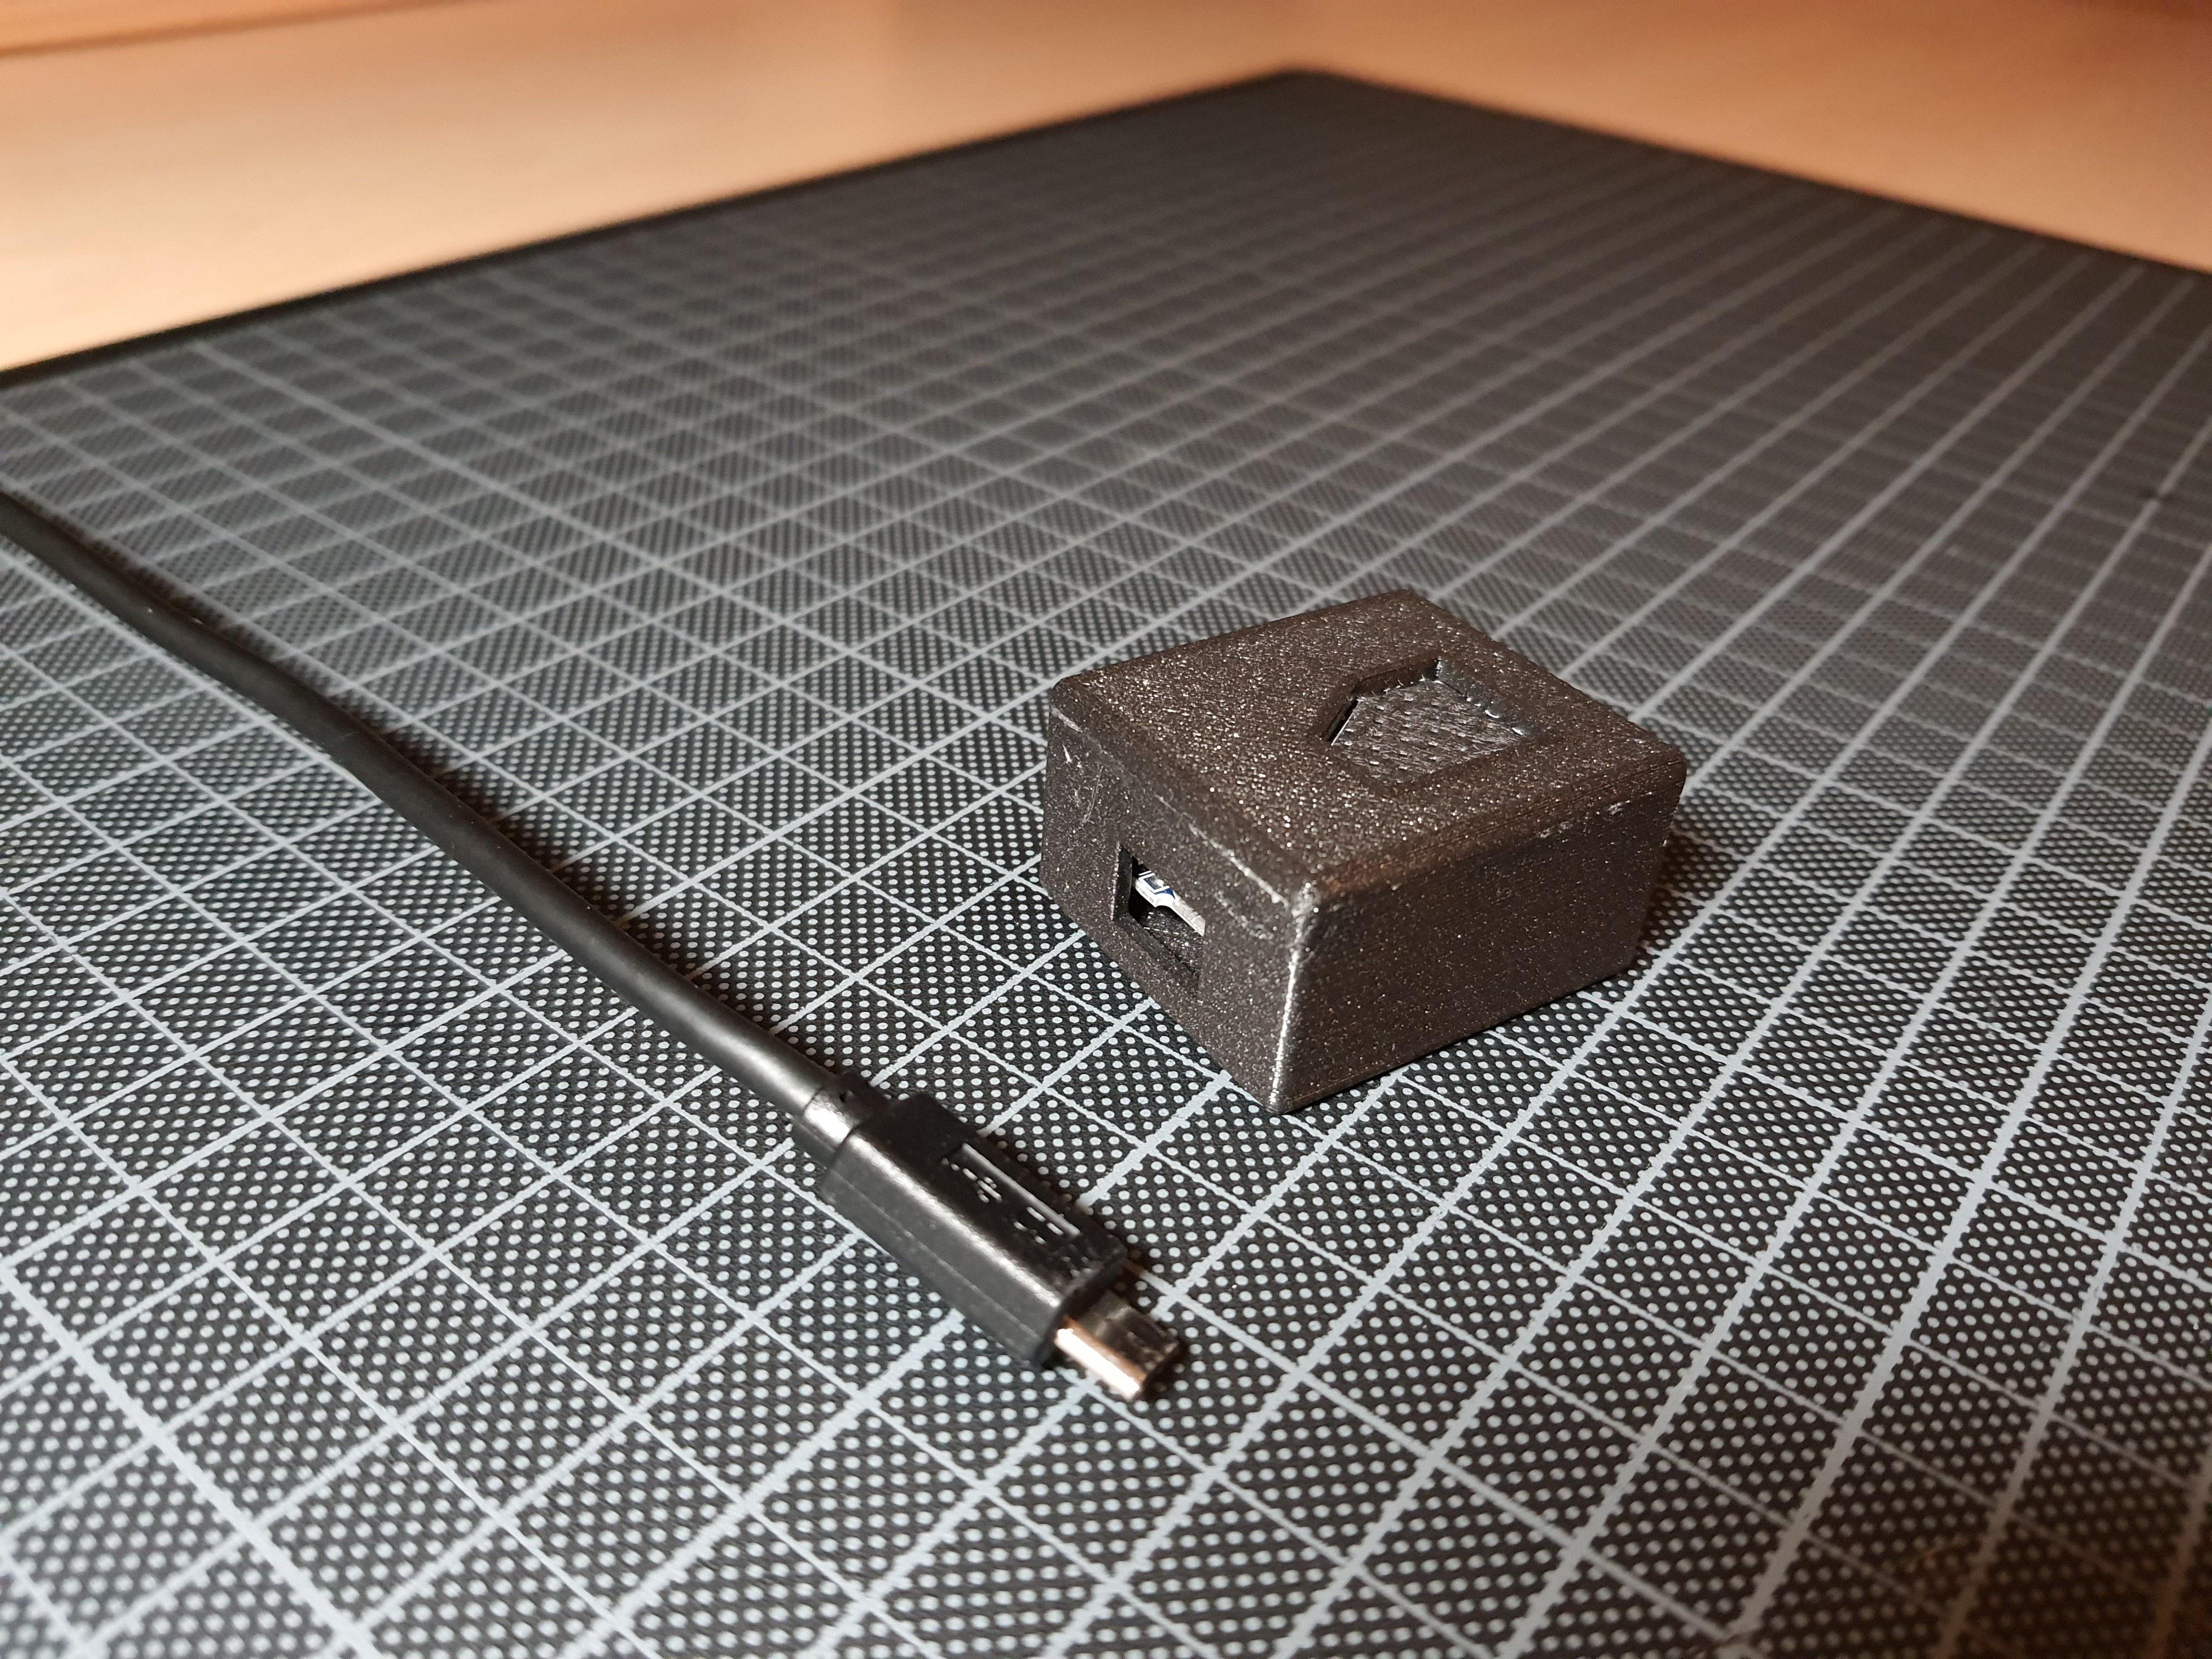
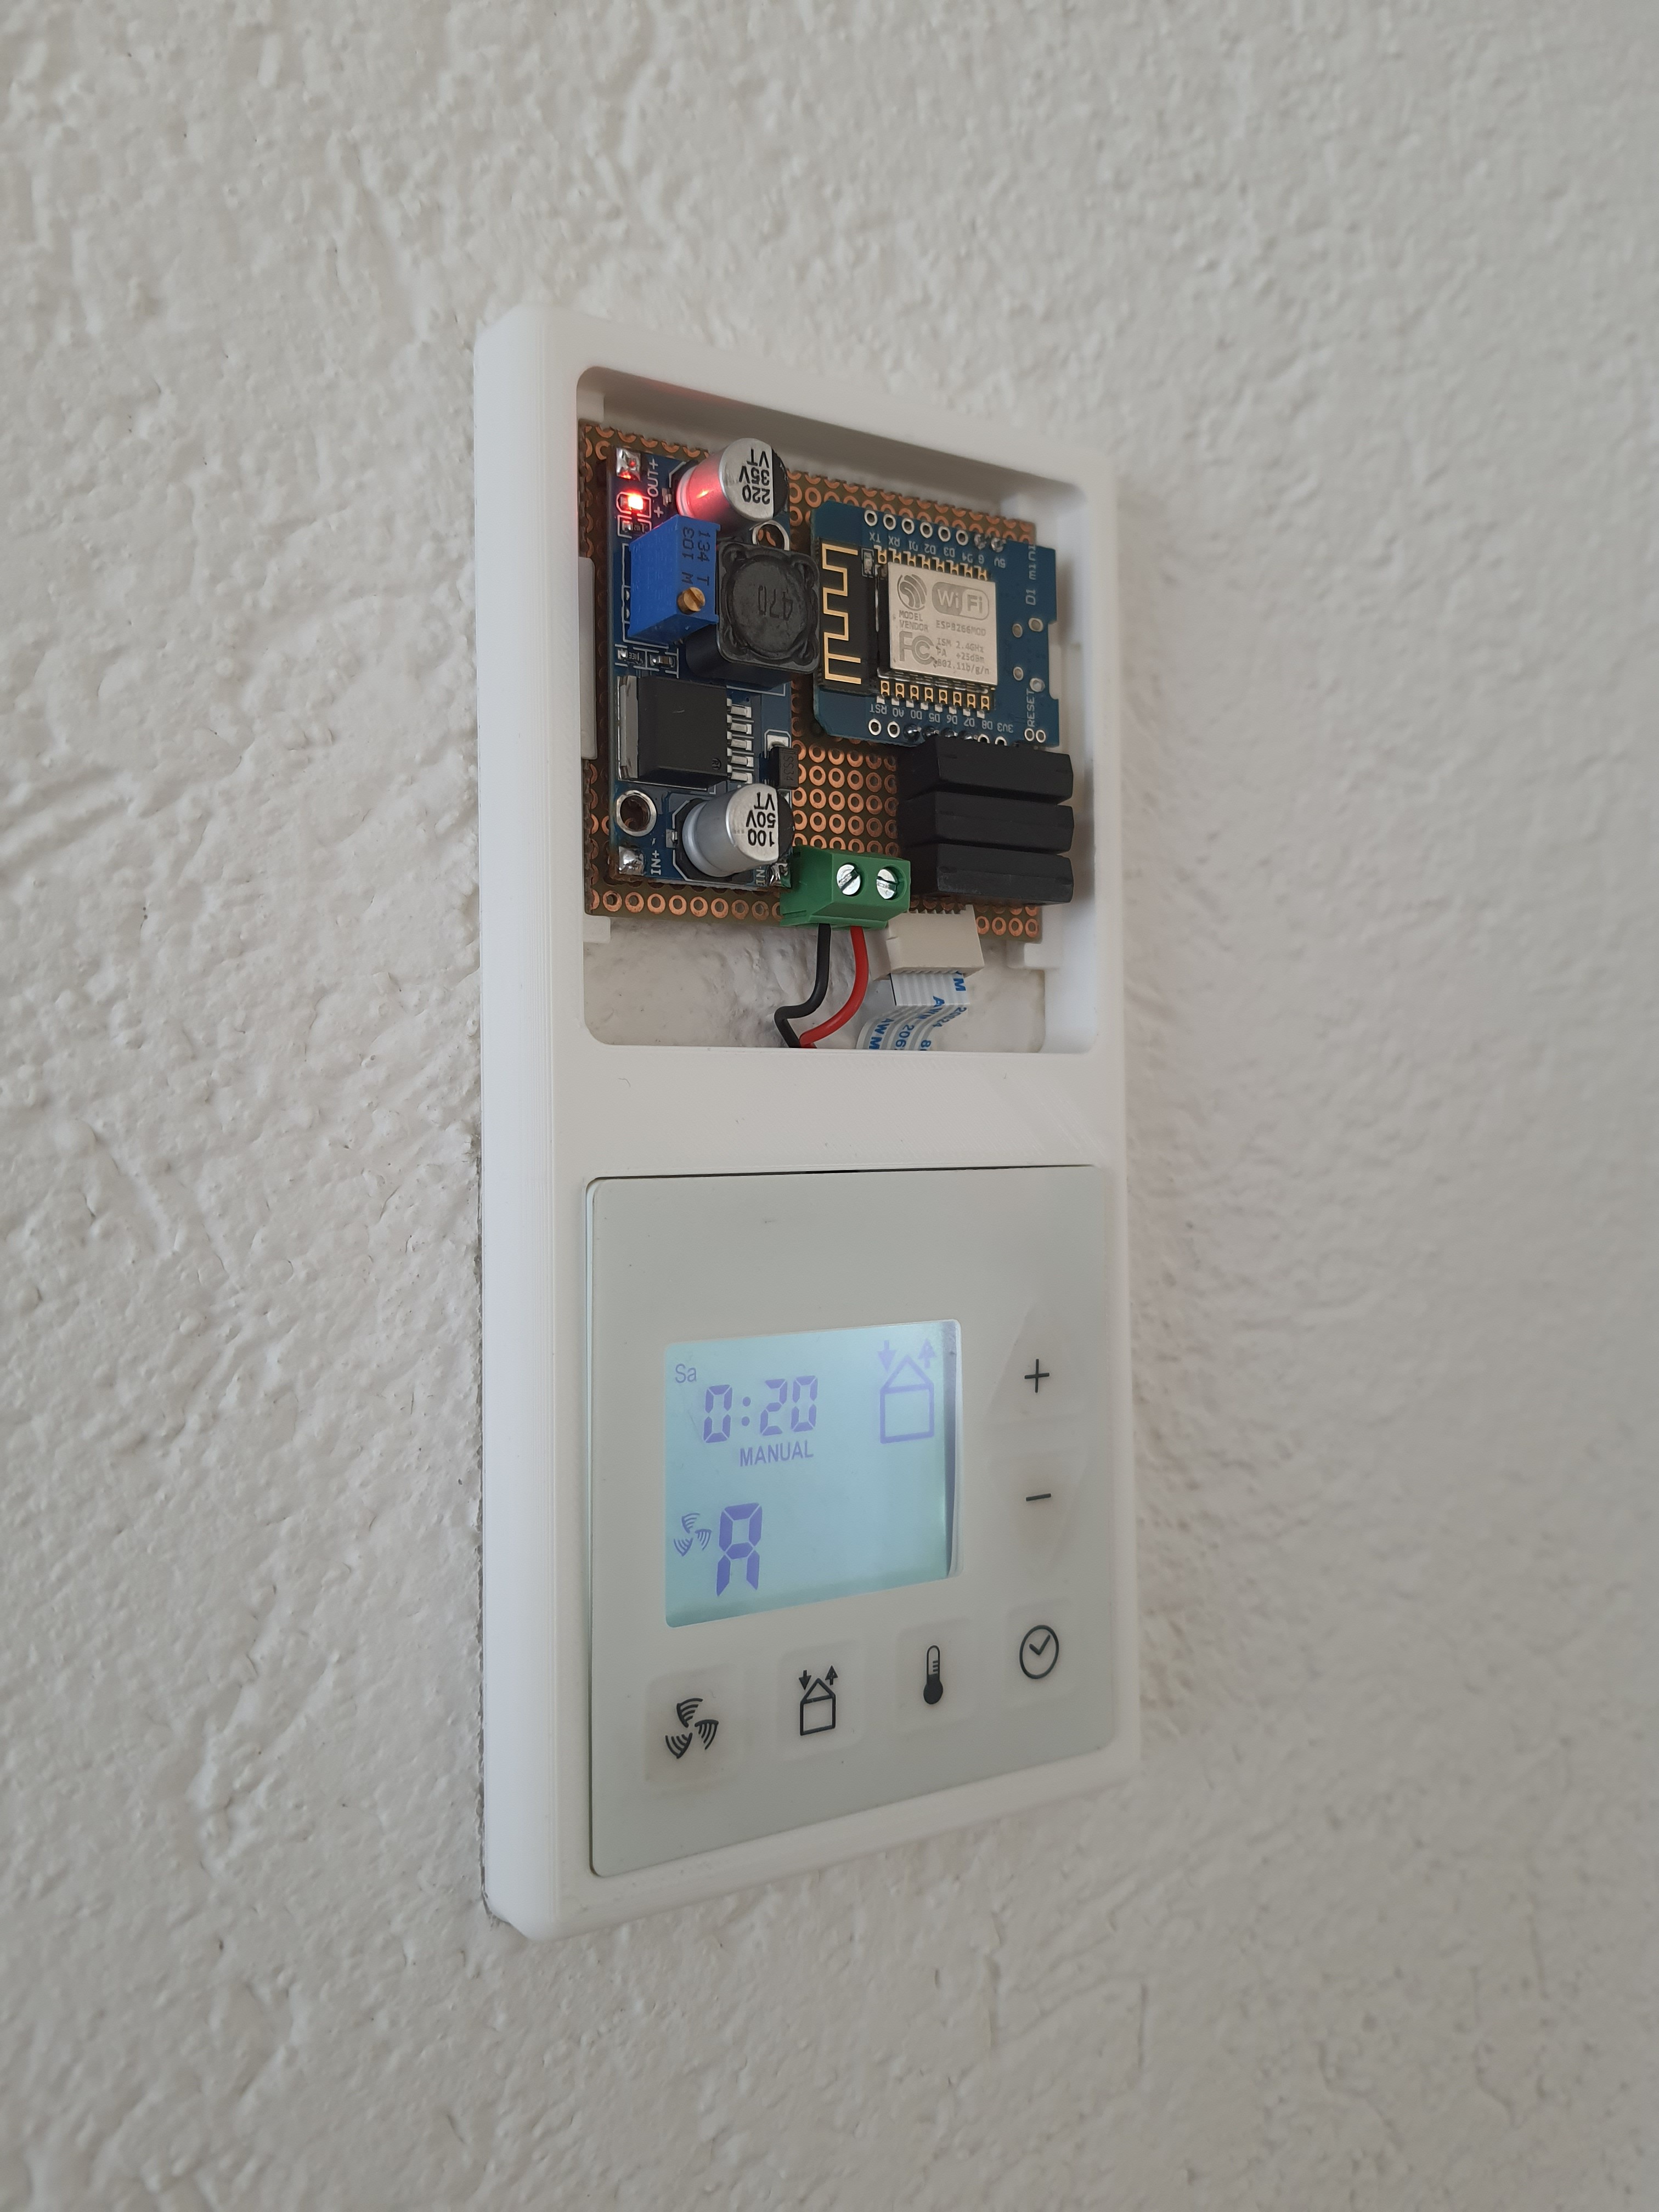
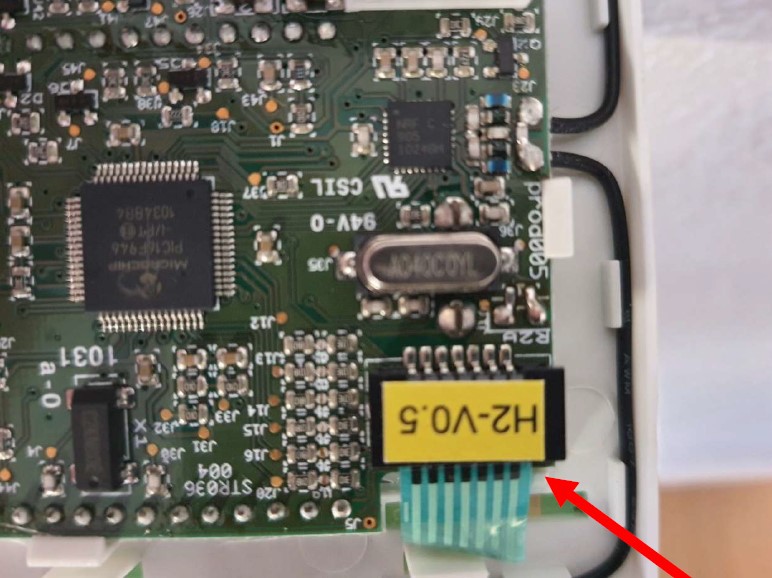
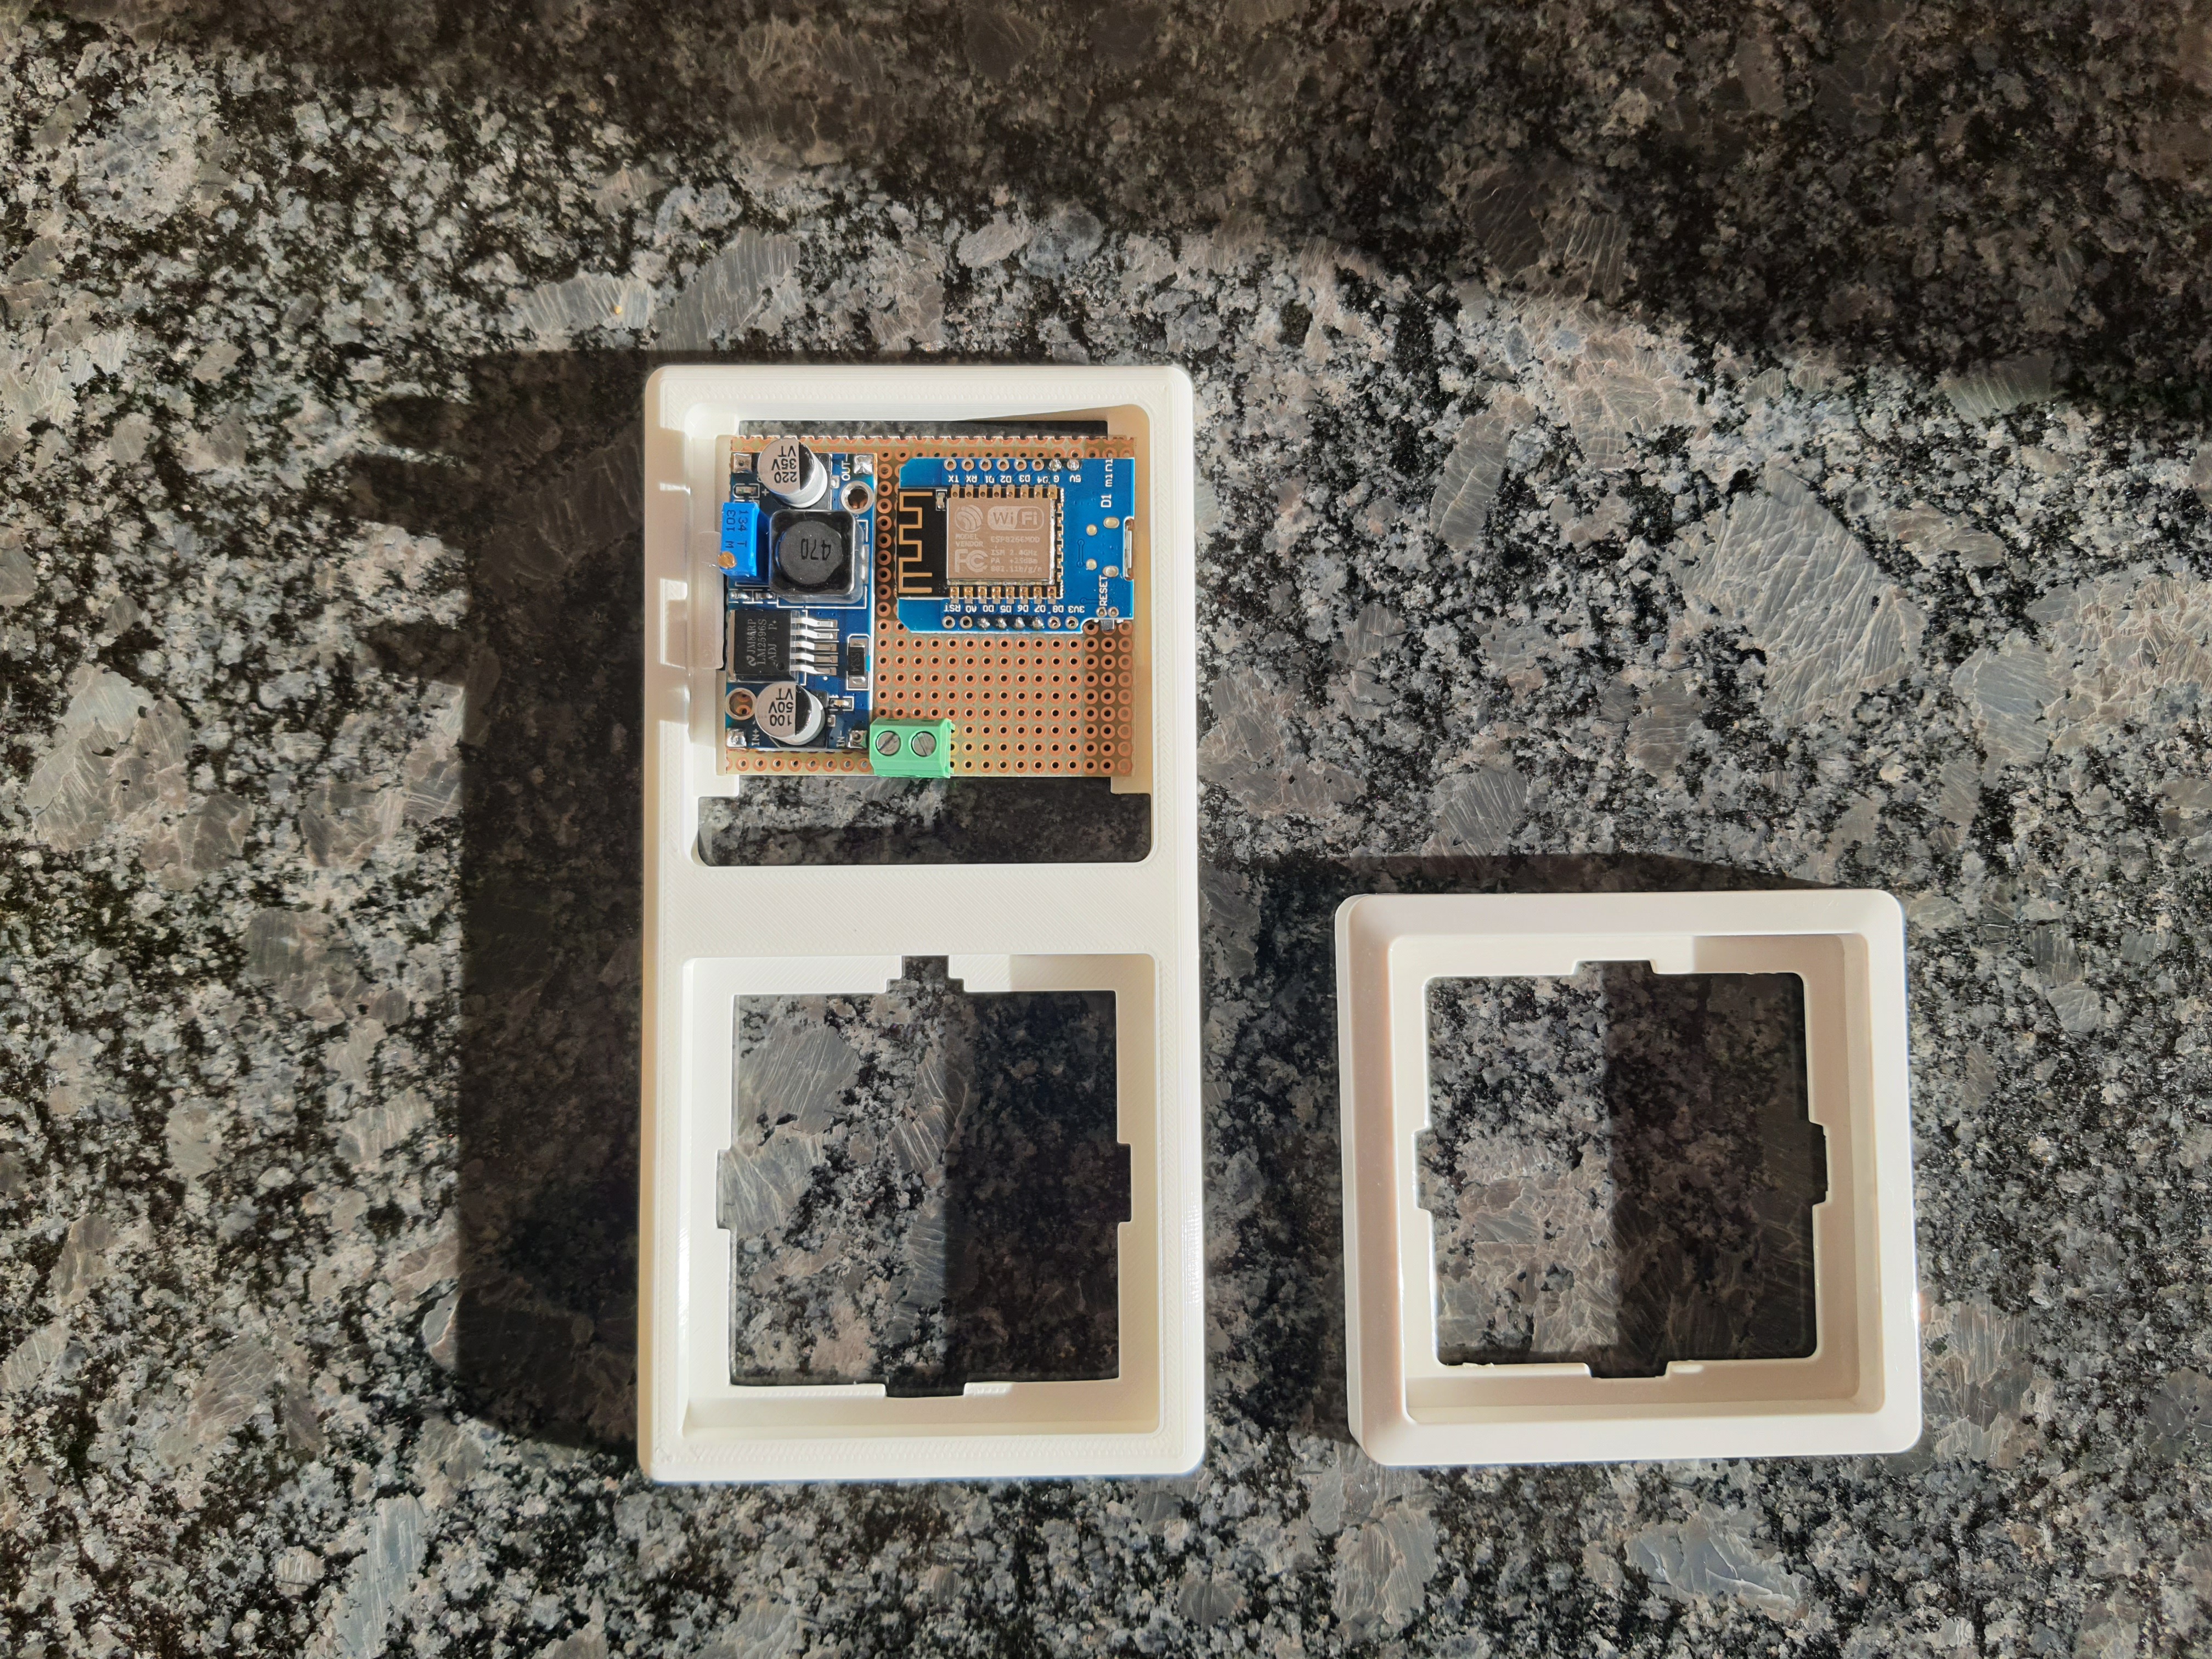
The ESP8266 runs with the ESPEasy firmware. With this, simple rules can be created to control the GPIO pins. You can find the rules for the ESPEasy in the "files" section from this project.
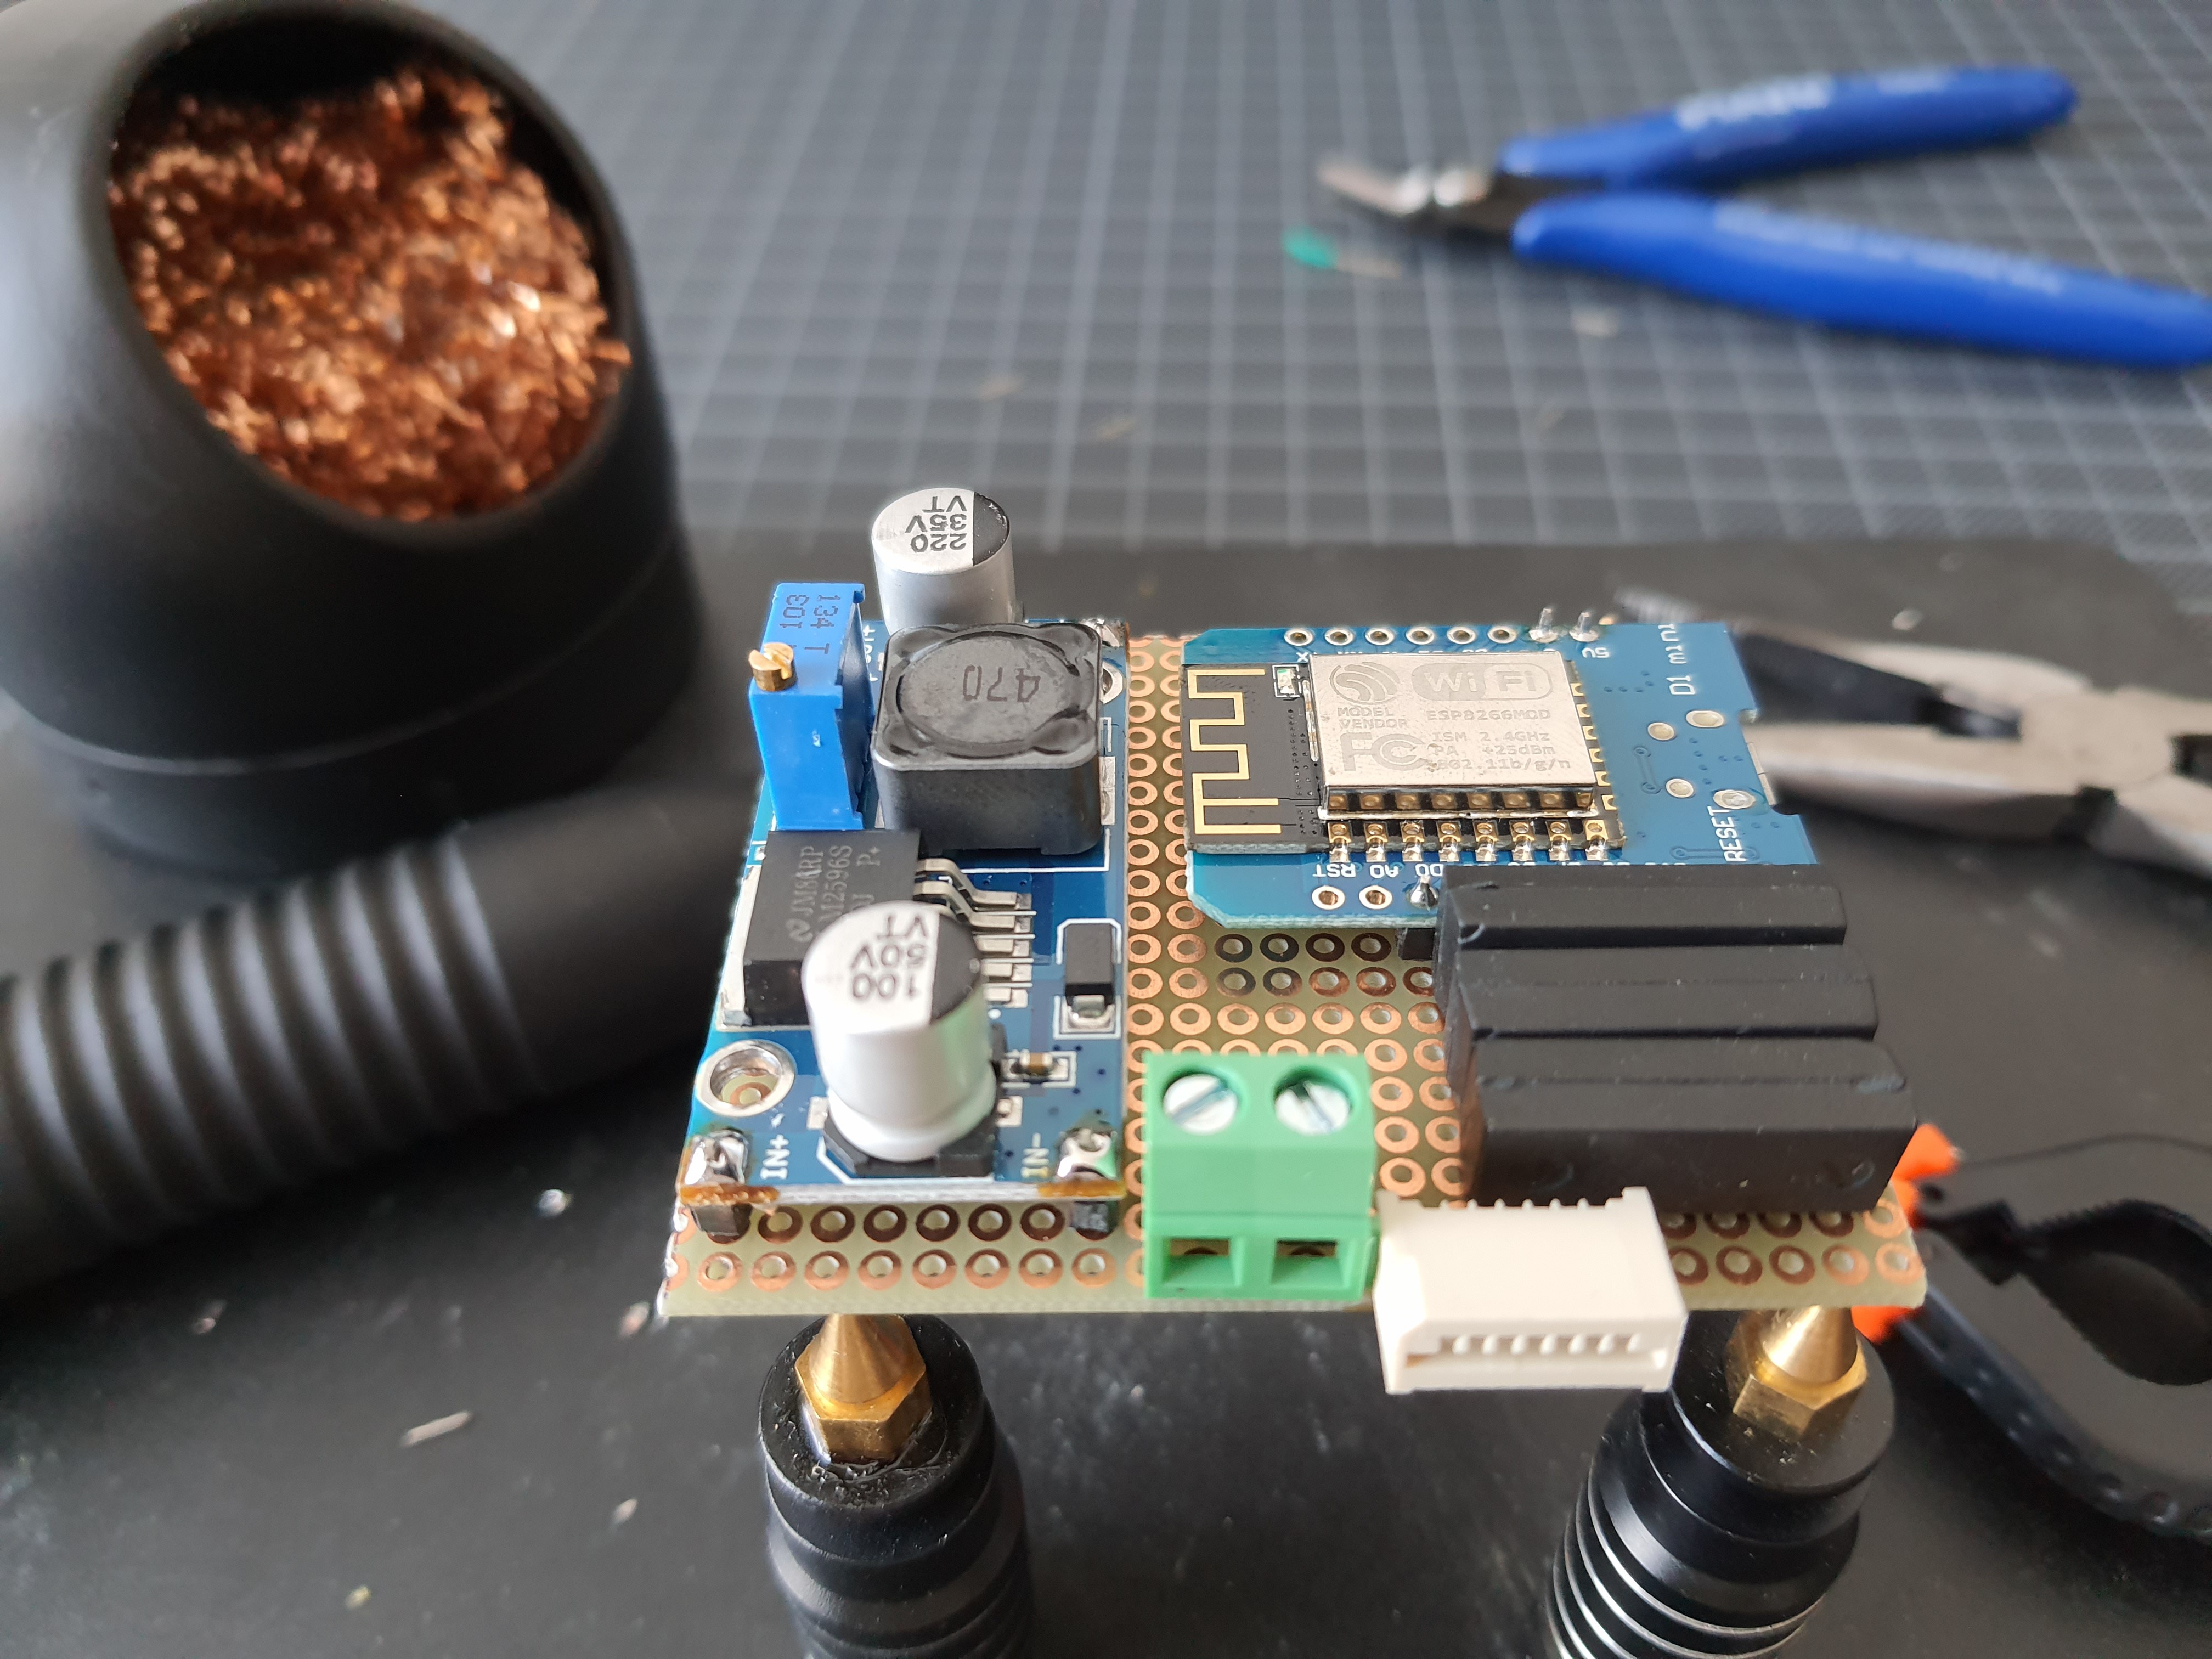
// NOTES
// PINS
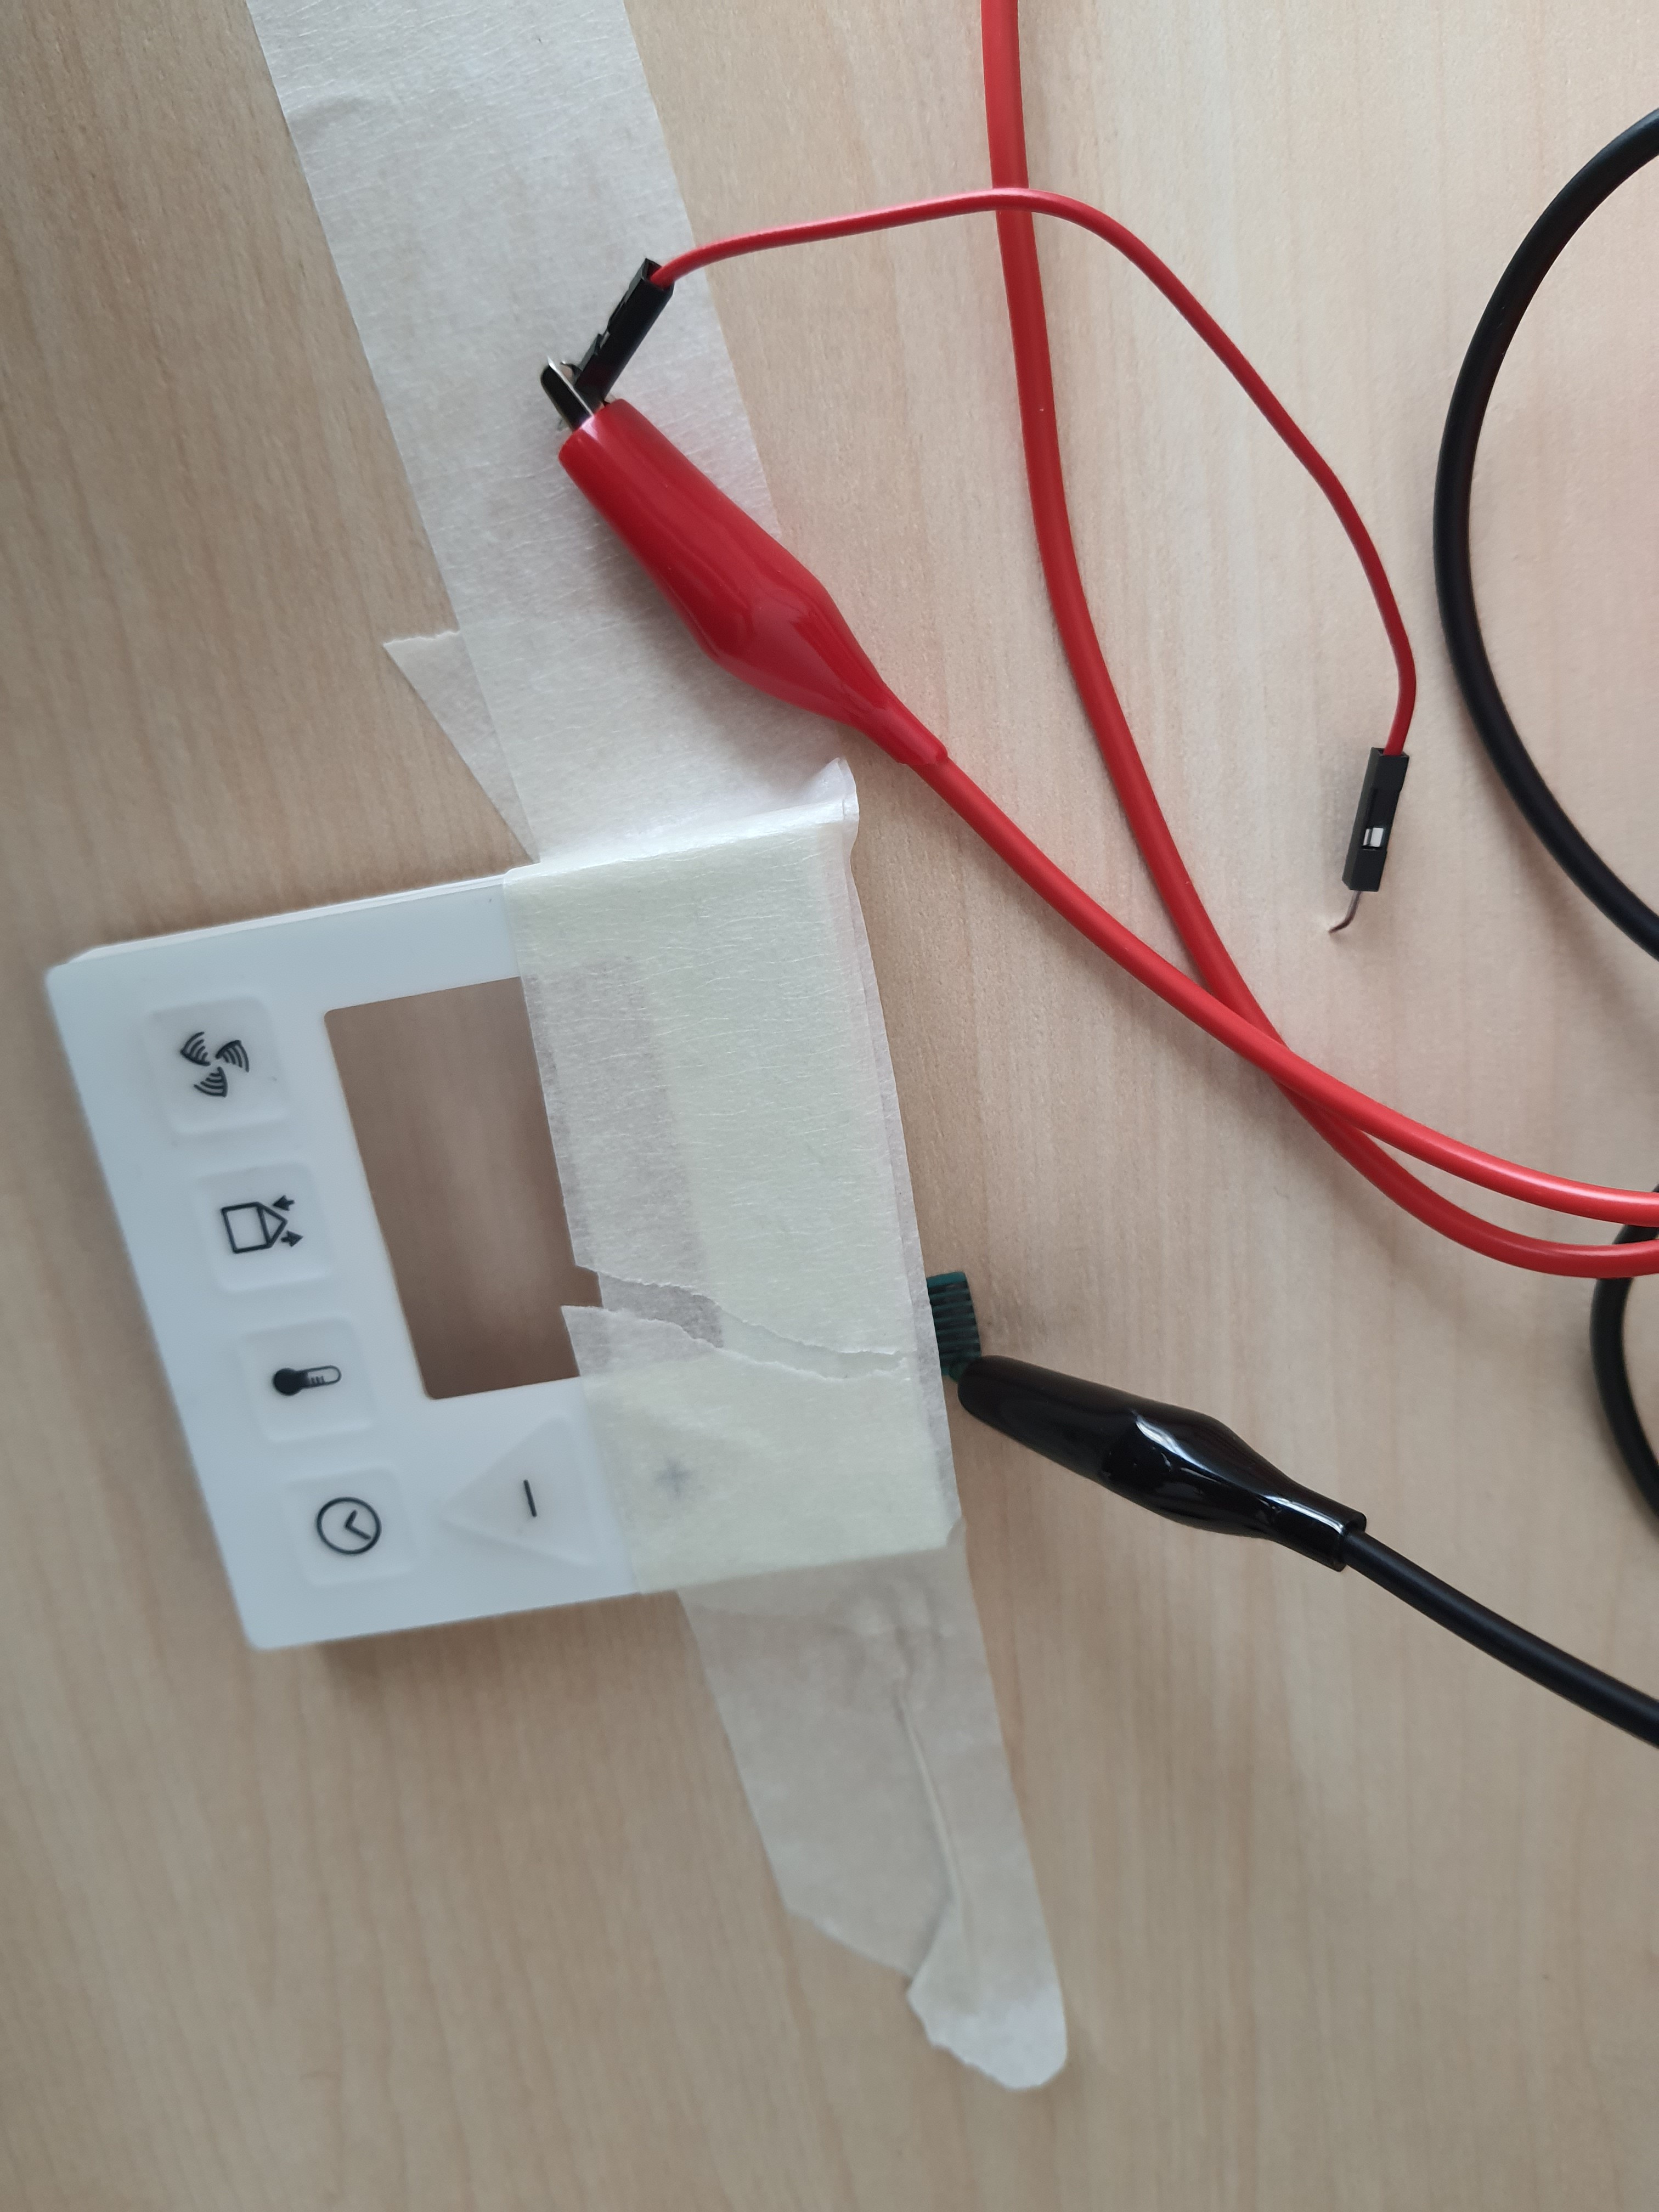
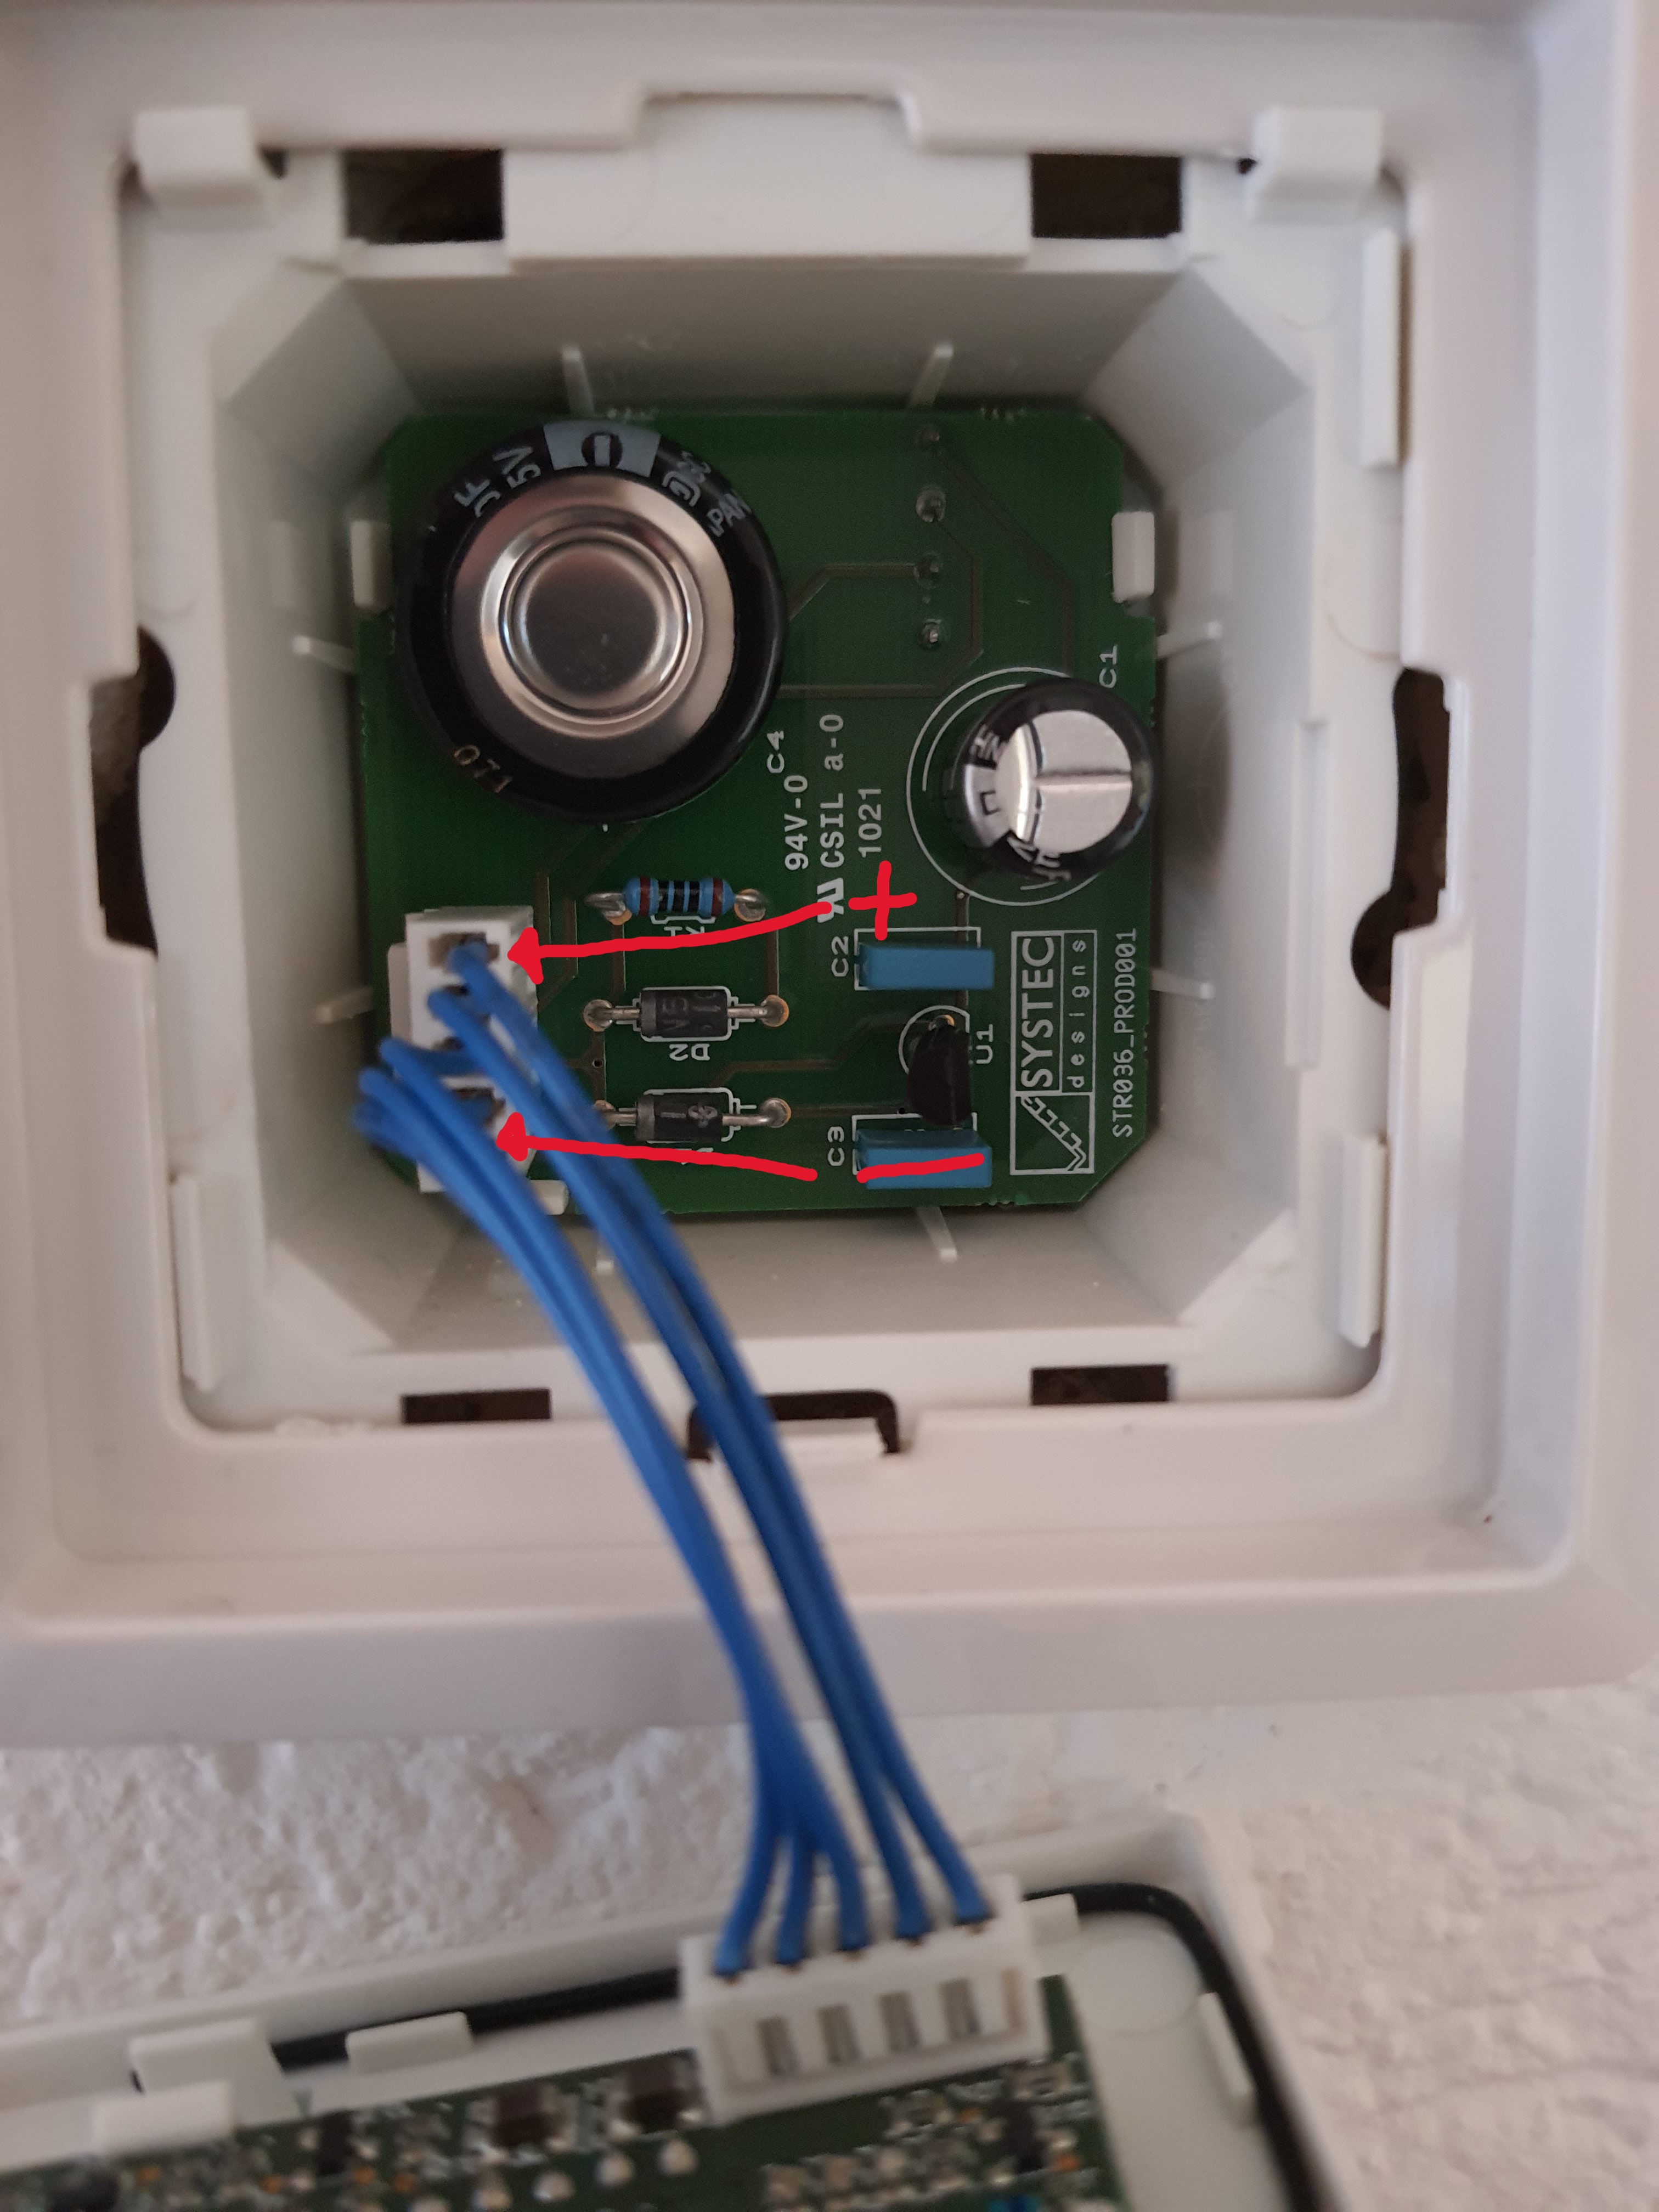
6 gpio12 -> button +
7 gpio14 -> button -
/TEST RELAIS
http://IP-ESP8266/control?cmd=GPIO,13,1
http://IP-ESP8266/control?cmd=GPIO,13,1
http://IP-ESP8266/control?cmd=GPIO,14,0
// COMMANDS
/SET STAGE
http://IP-ESP8266/control?cmd=event,stage0
http://IP-ESP8266/control?cmd=event,stage1
http://IP-ESP8266/control?cmd=event,stage2
http://IP-ESP8266/control?cmd=event,stage3
/VENTILATION FOR 30 min.
http://IP-ESP8266/control?cmd=event,ventilation


 James Harding
 Dominic
 Dave12311
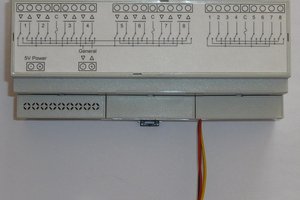
 Florian Cliquet
Gute idee! I am working on something similar at my home, i take idea from https://apknike.com/gbwhatsapp-apk/