 Tomas Starek
<< 23/03/2024 >>
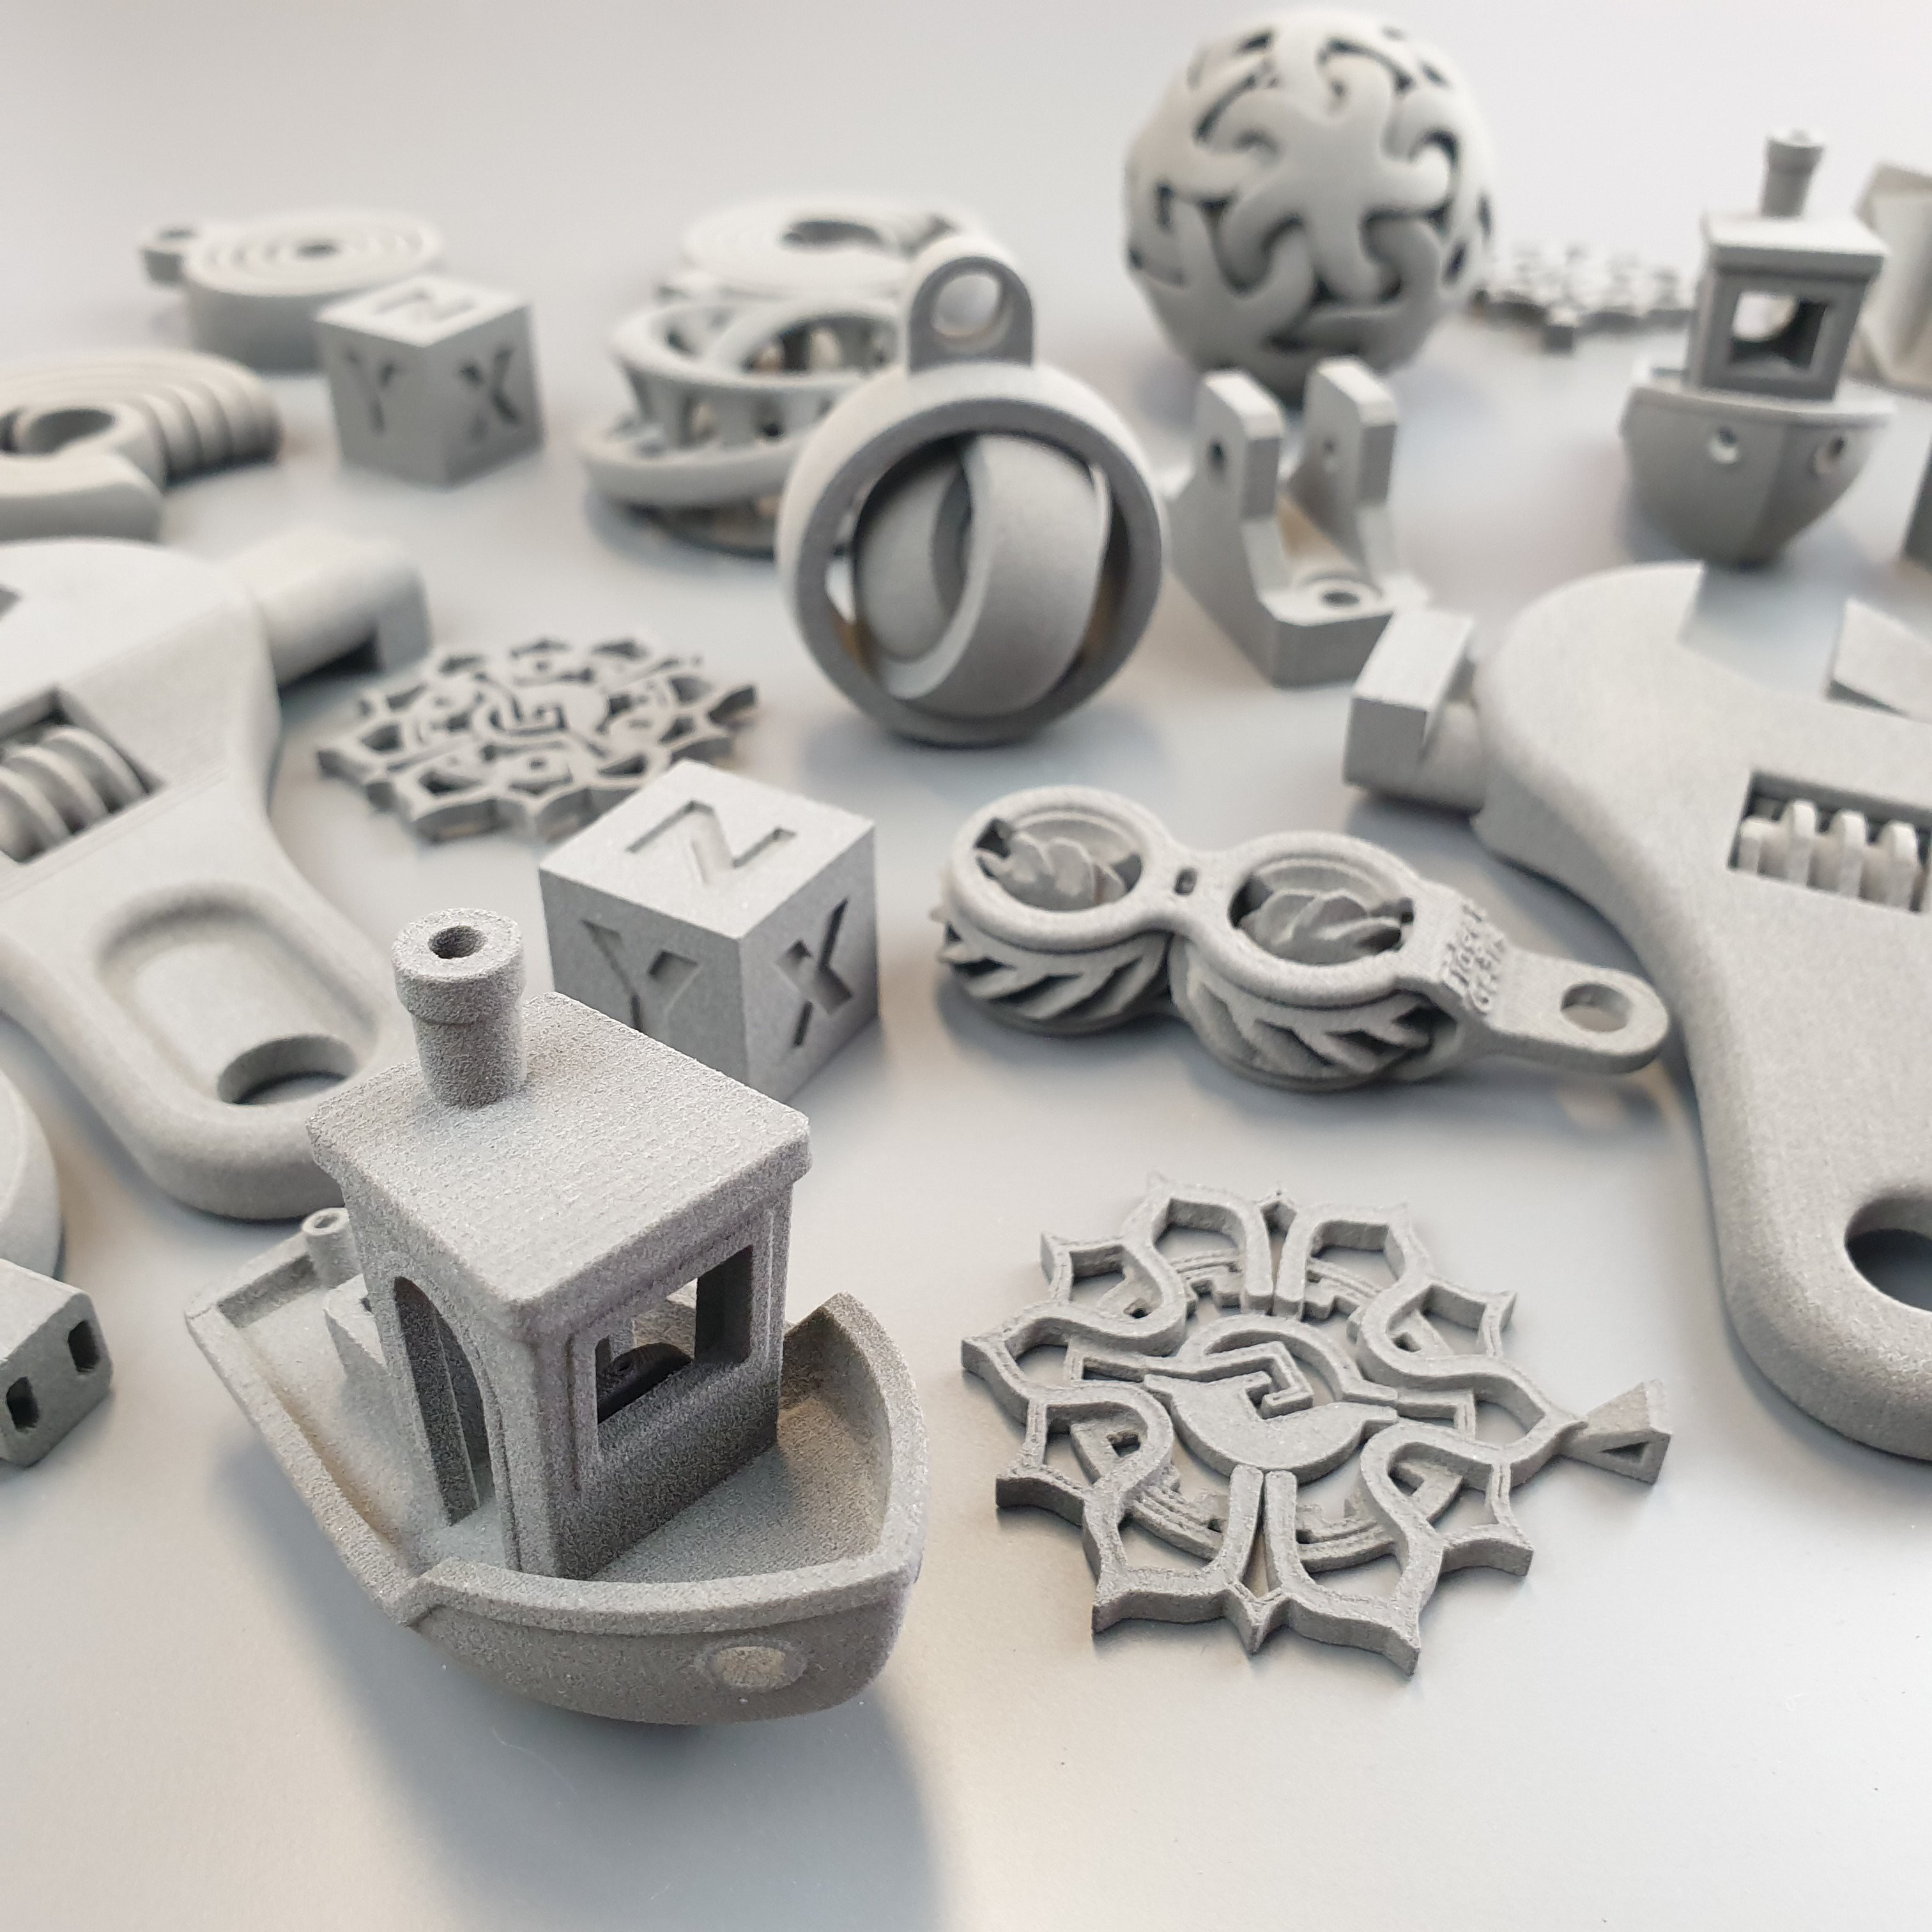
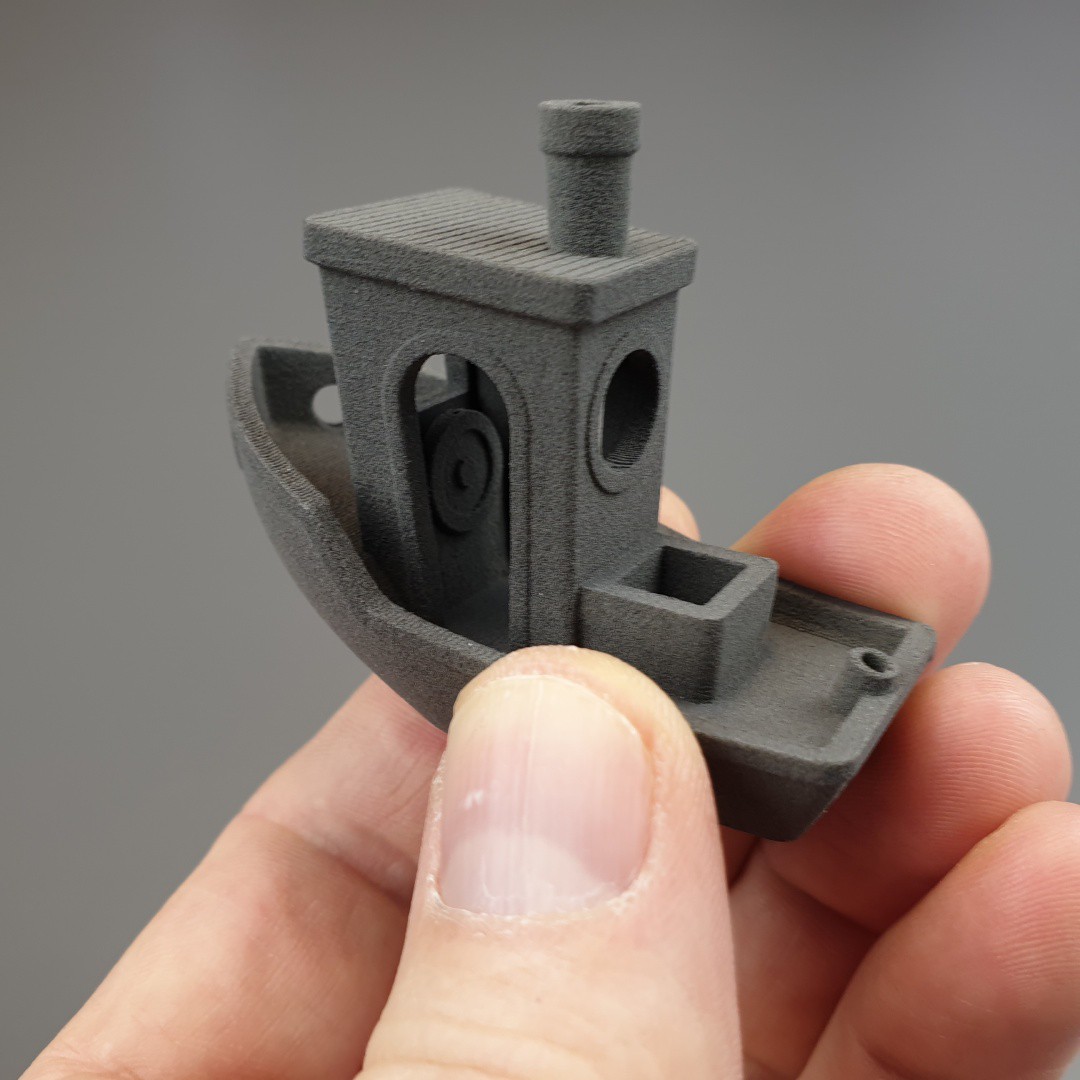
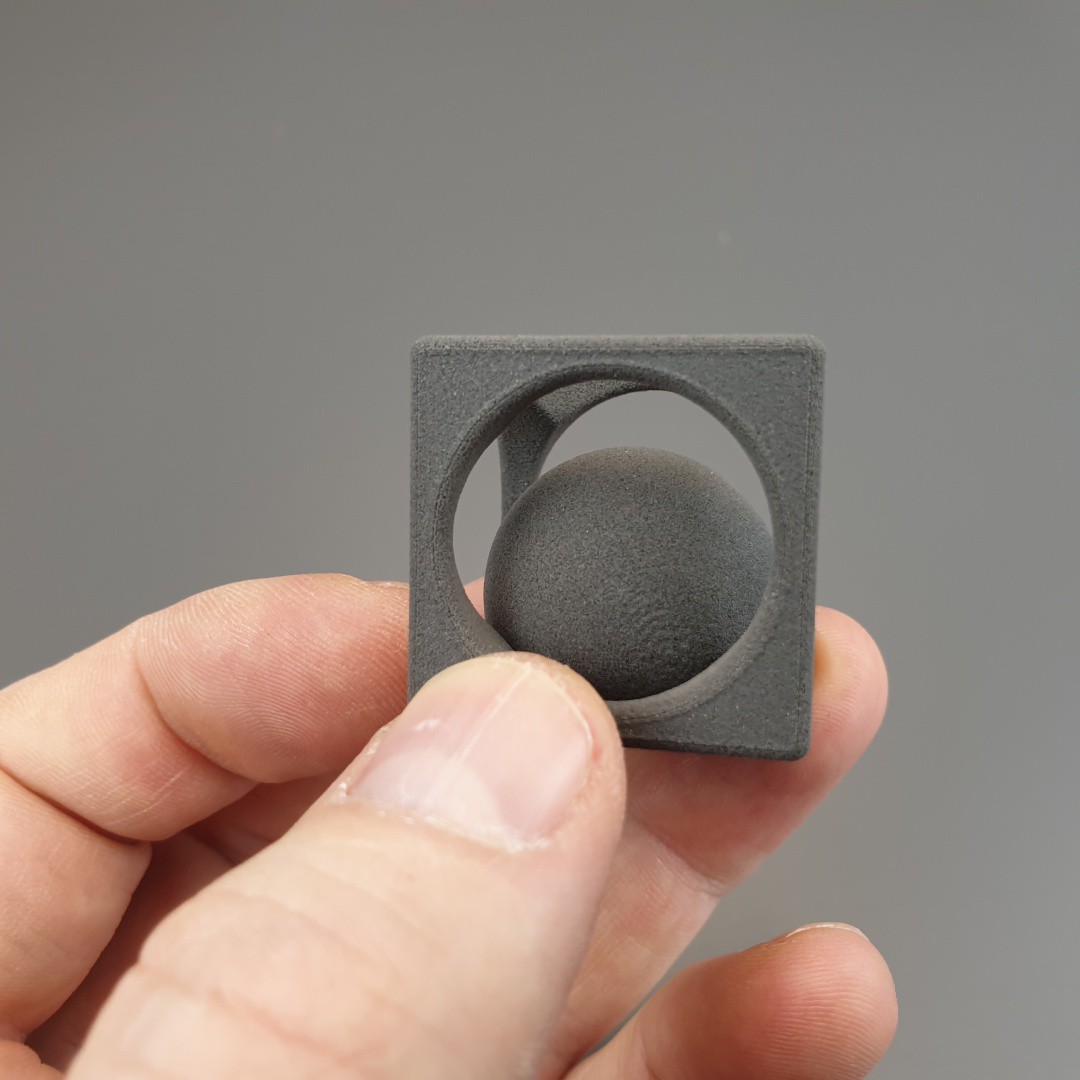
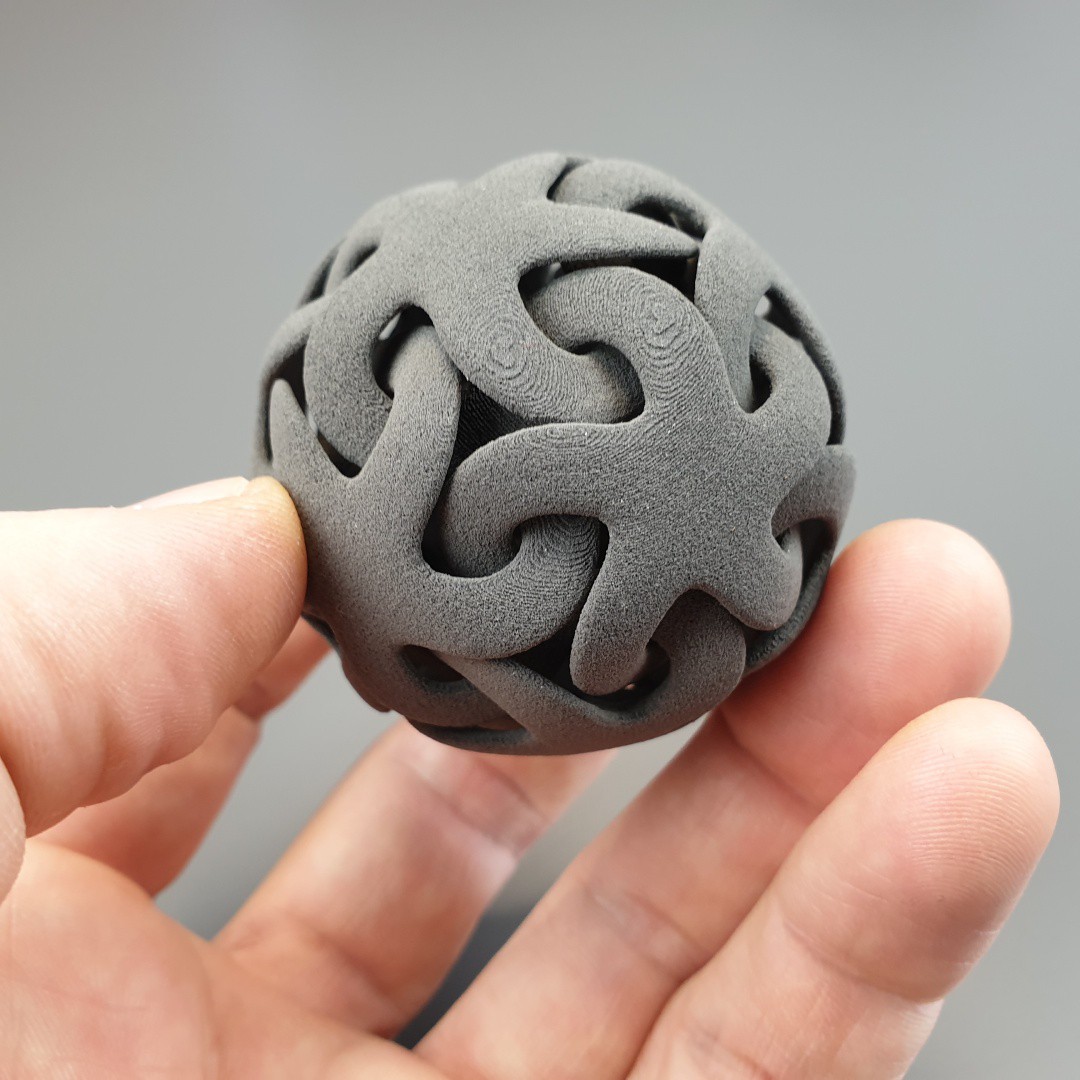
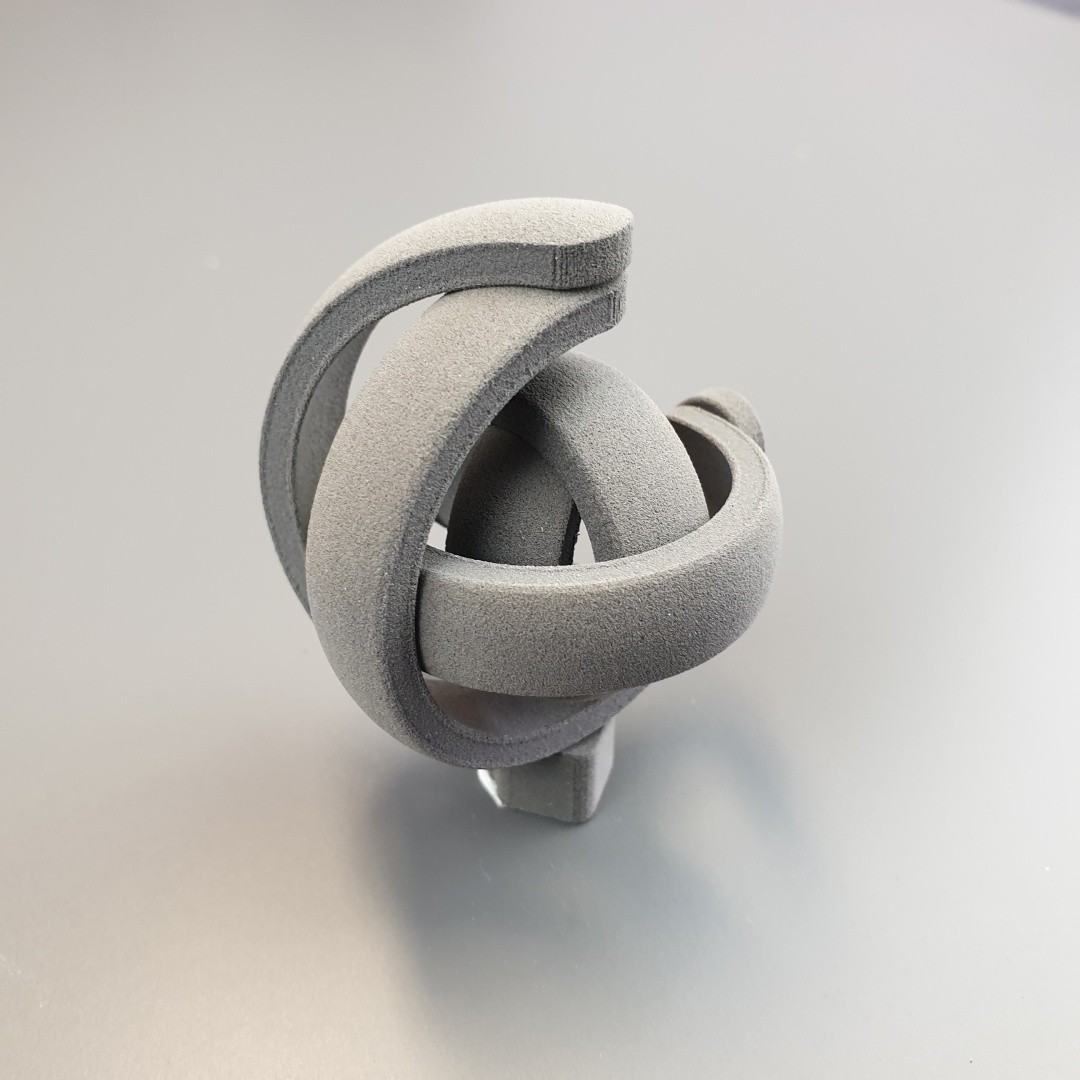
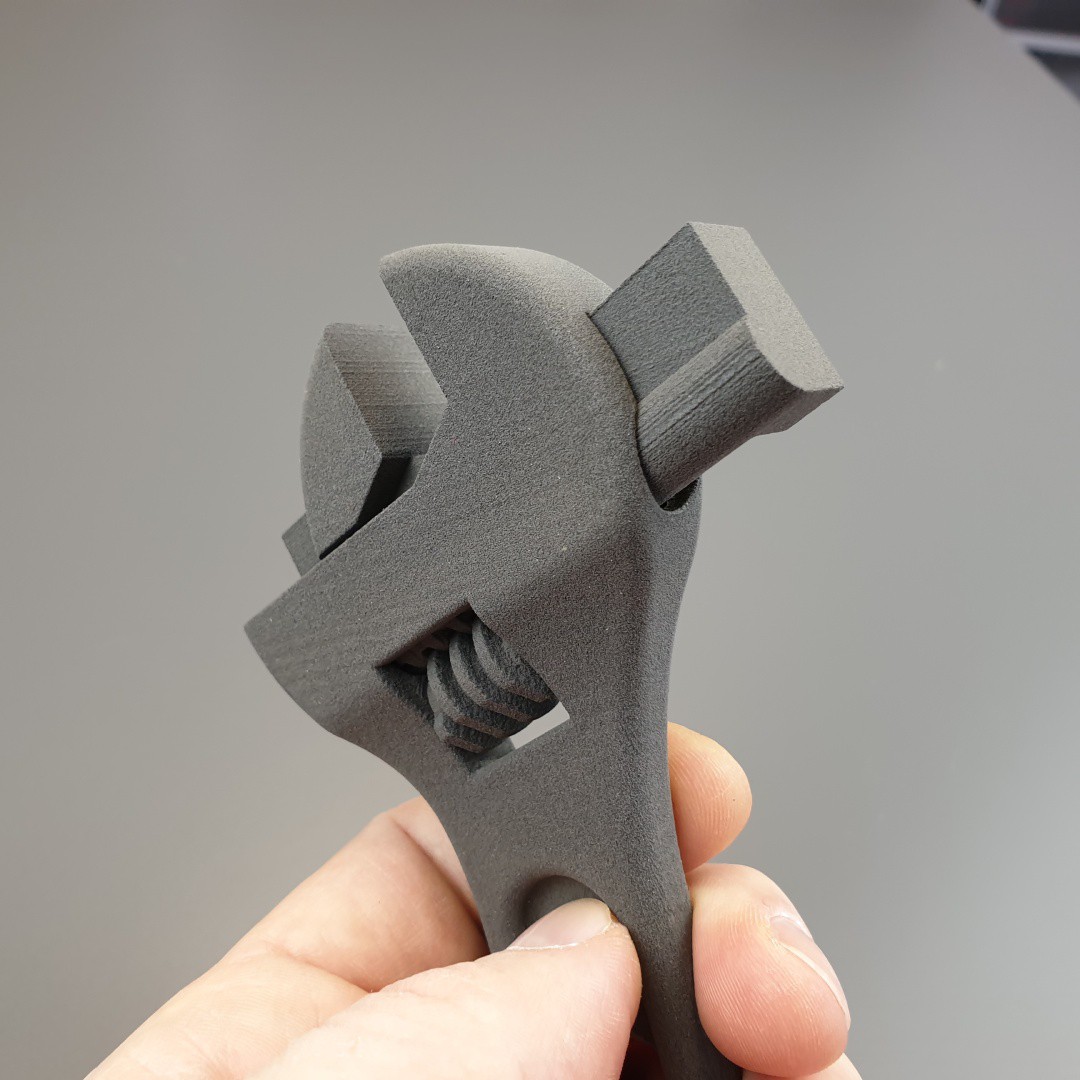
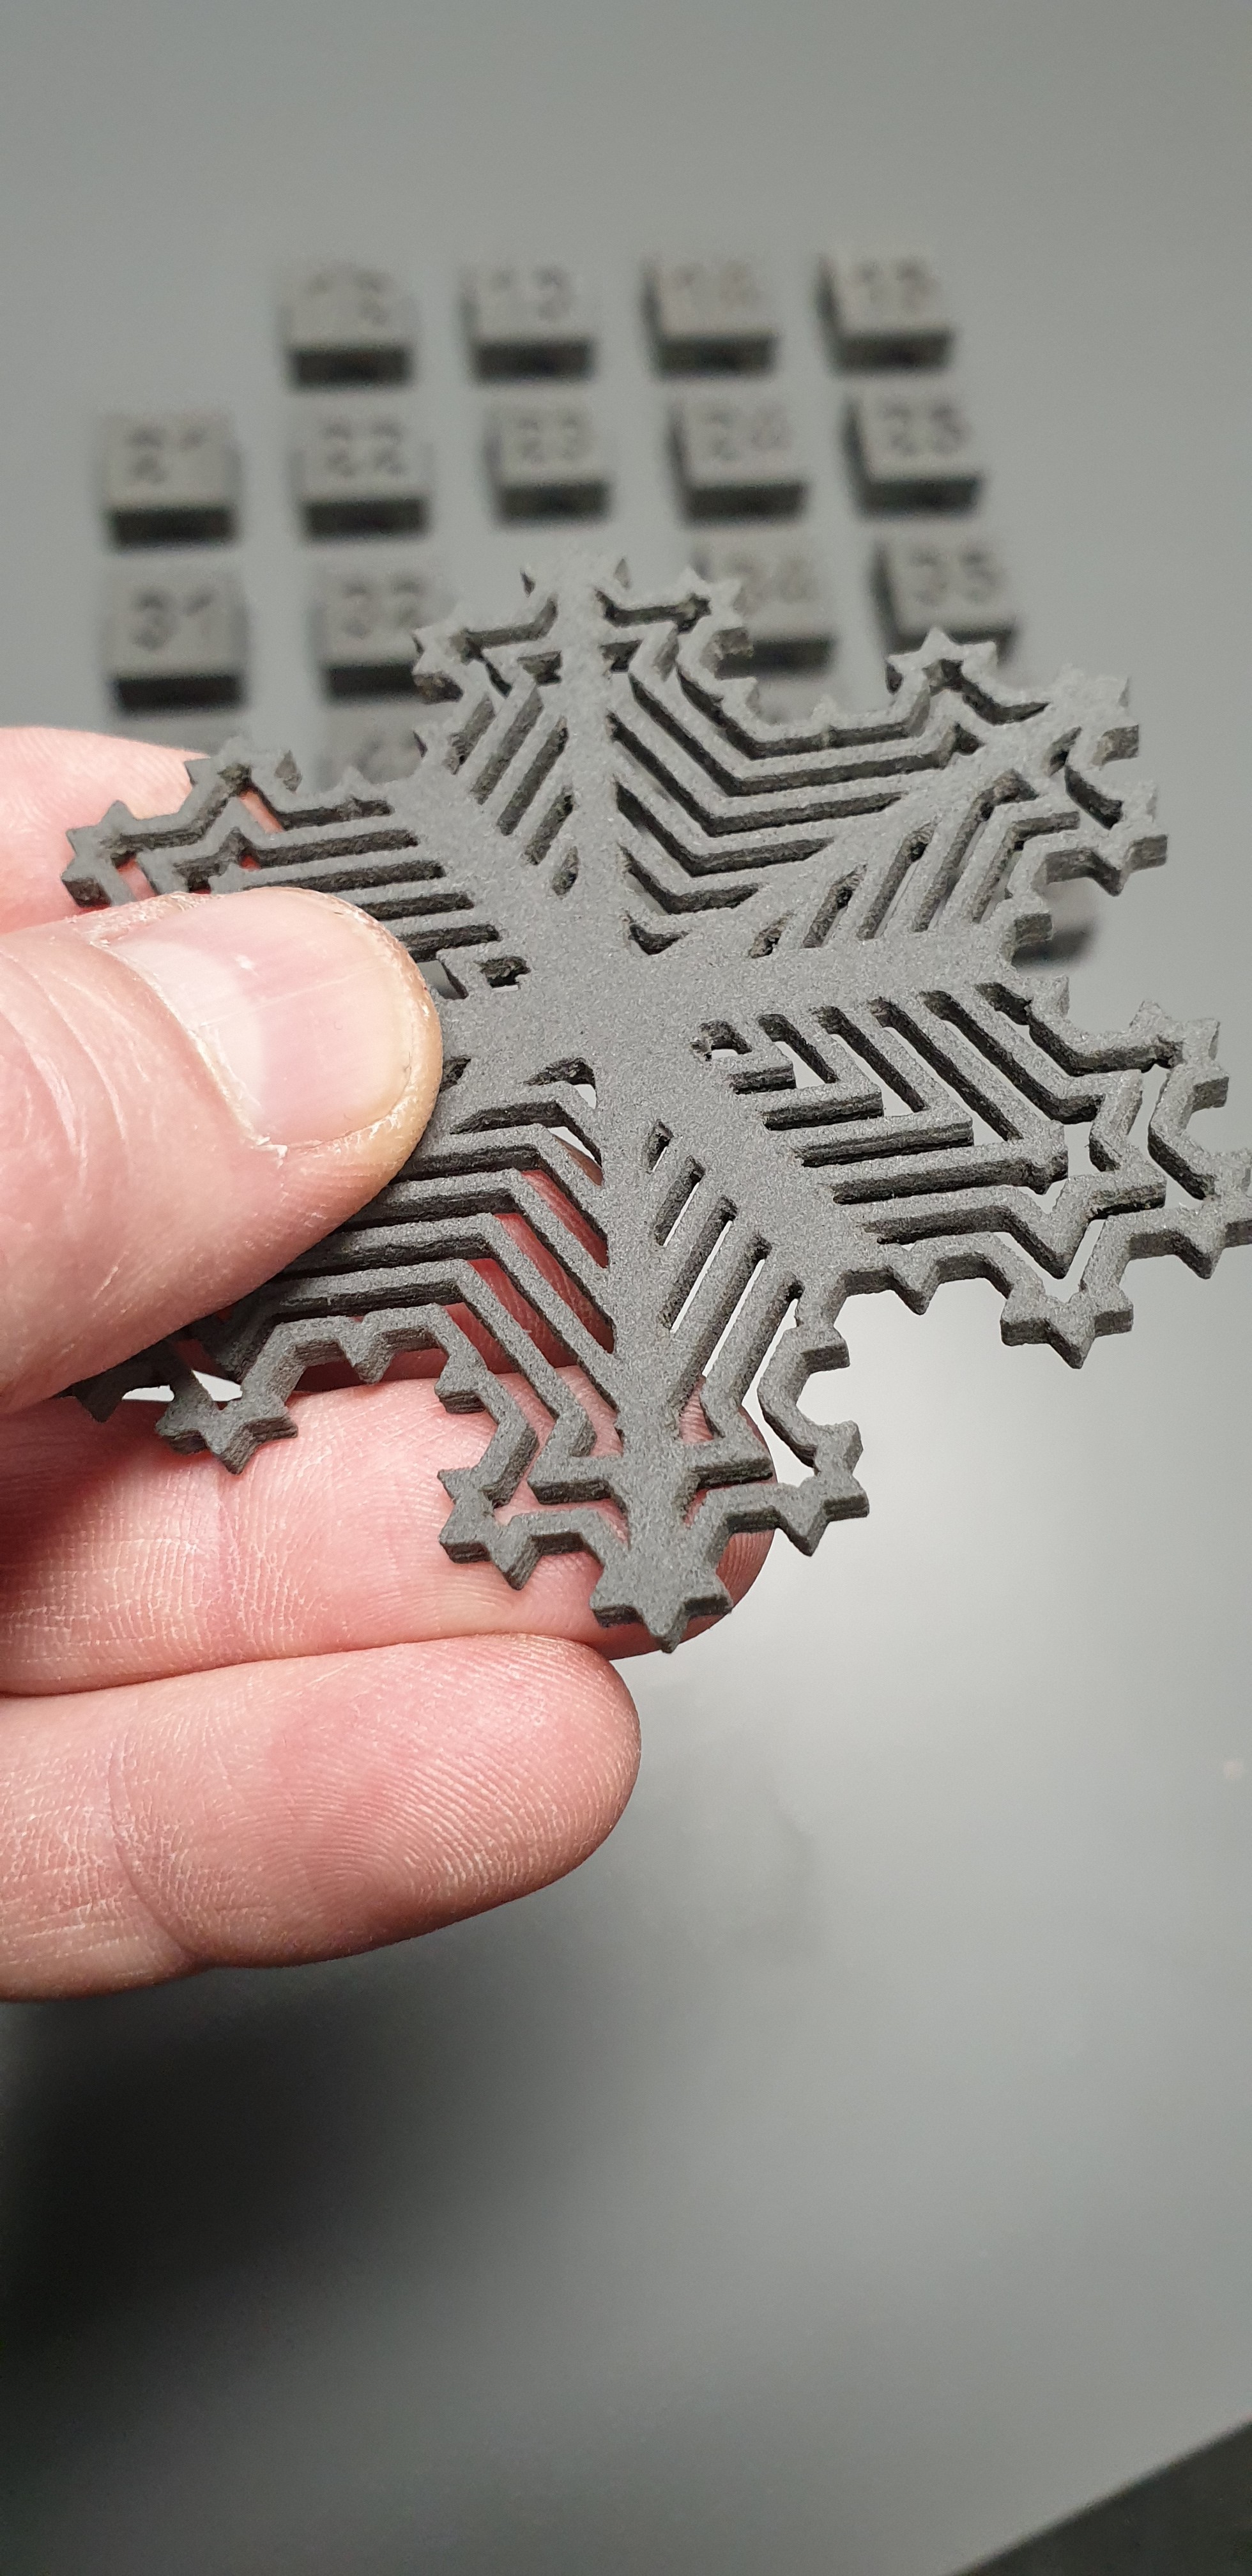
It took me almost 3.5 years, but I finally achieved the print quality I dreamed of when I started this project. I'm really happy that the printer is working reliably and its release time is fast approaching. Below is a small sample of recen print outputs.
<< 28/11/2023 >>
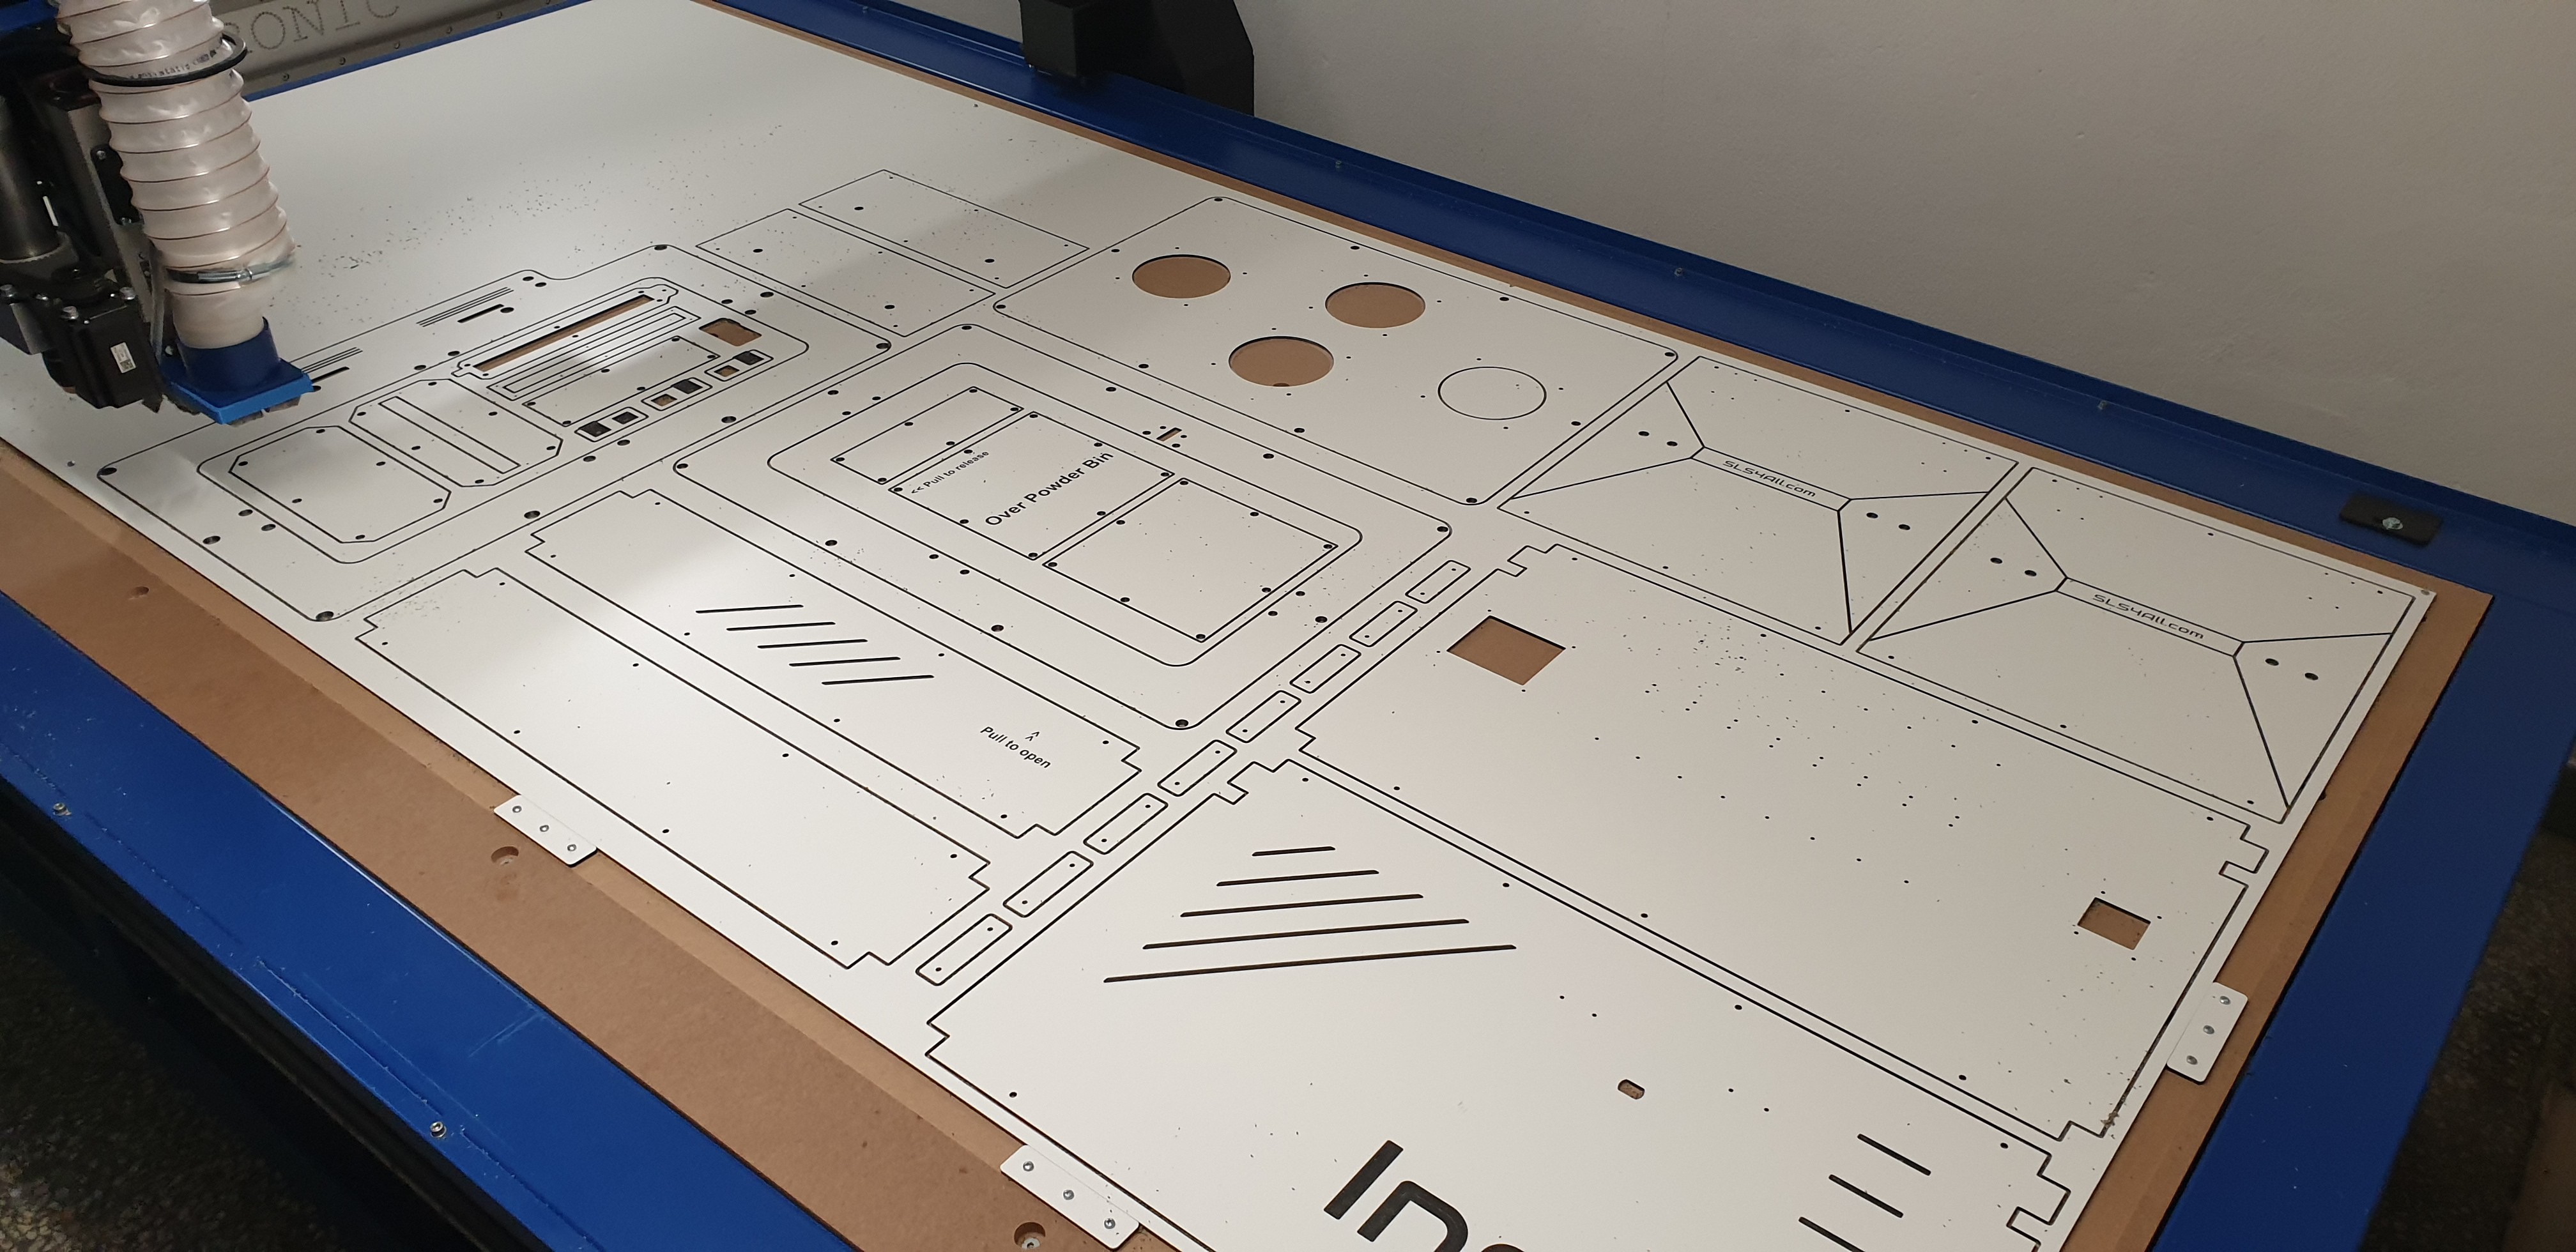
Testing and tuning of the realease candidate version of my DIY SLS 3D printer is in full swing.
Here is one of really early prints:
<< 24/07/2023 >>
If you're wondering what are the differences between the first prototype and the second evolution of my printer, this video is for you.
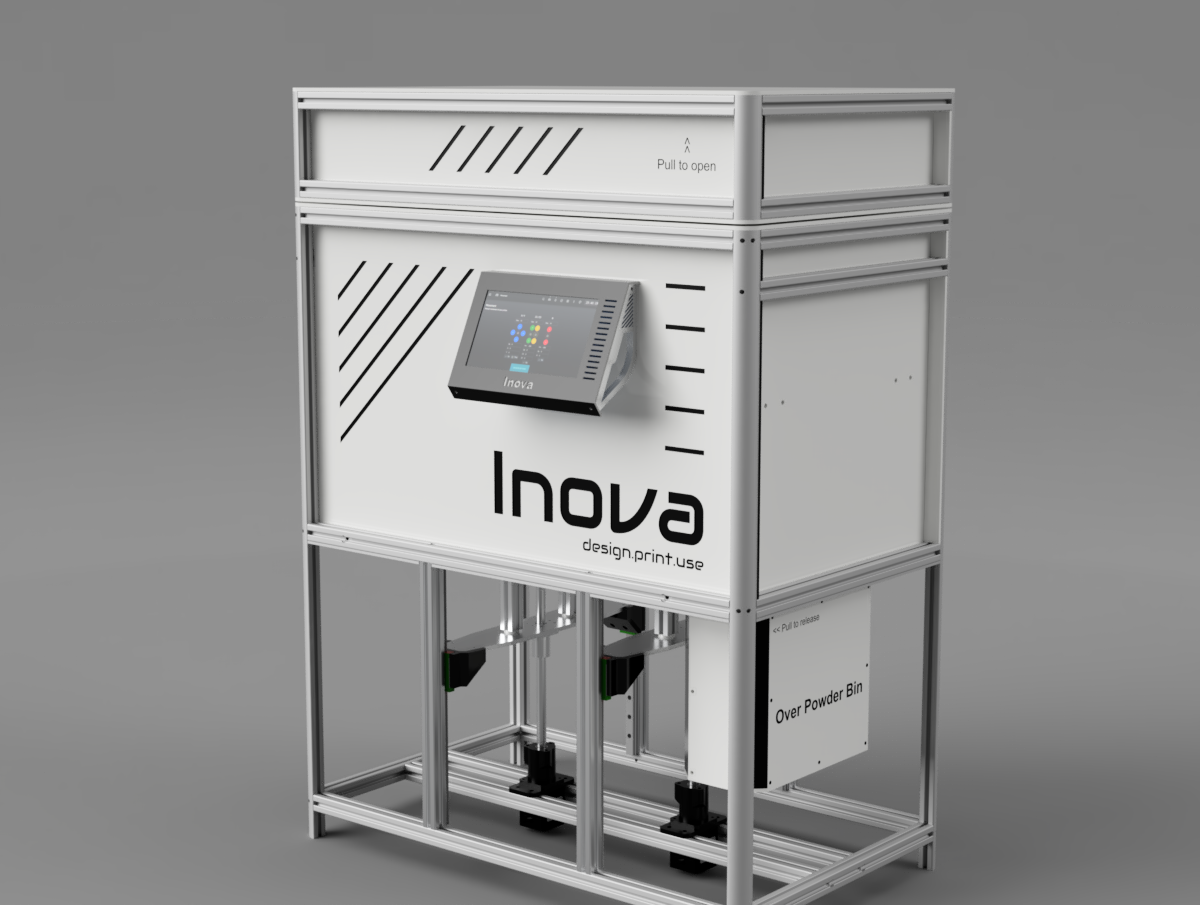
<<Current Build Status Of The Updated Printer Version: 09/03/2023>>
Check out the project homepage or join Discord for more information.

<< First Parts of The Updated Printer Version Are Here: 08/12/2022 >>

<< Design of Updated Version: 15/09/2022 >>
<< Printer Testing: 13/08/2022 >>
<< Recoater after redesign: 05/05/2022 >>
<< Current Status: 04/2022 >>
<< Project Details >>
I decided to use the ordinary arrangement of the SLS printers. It means to have two chambers with the moving beds. One as the powder reservoir (powder chamber) and the second one for the printing outputs (print chamber). The printing material (PA12 powder) will be moved layer by layer from the powder to print chamber using wiping mechanism.
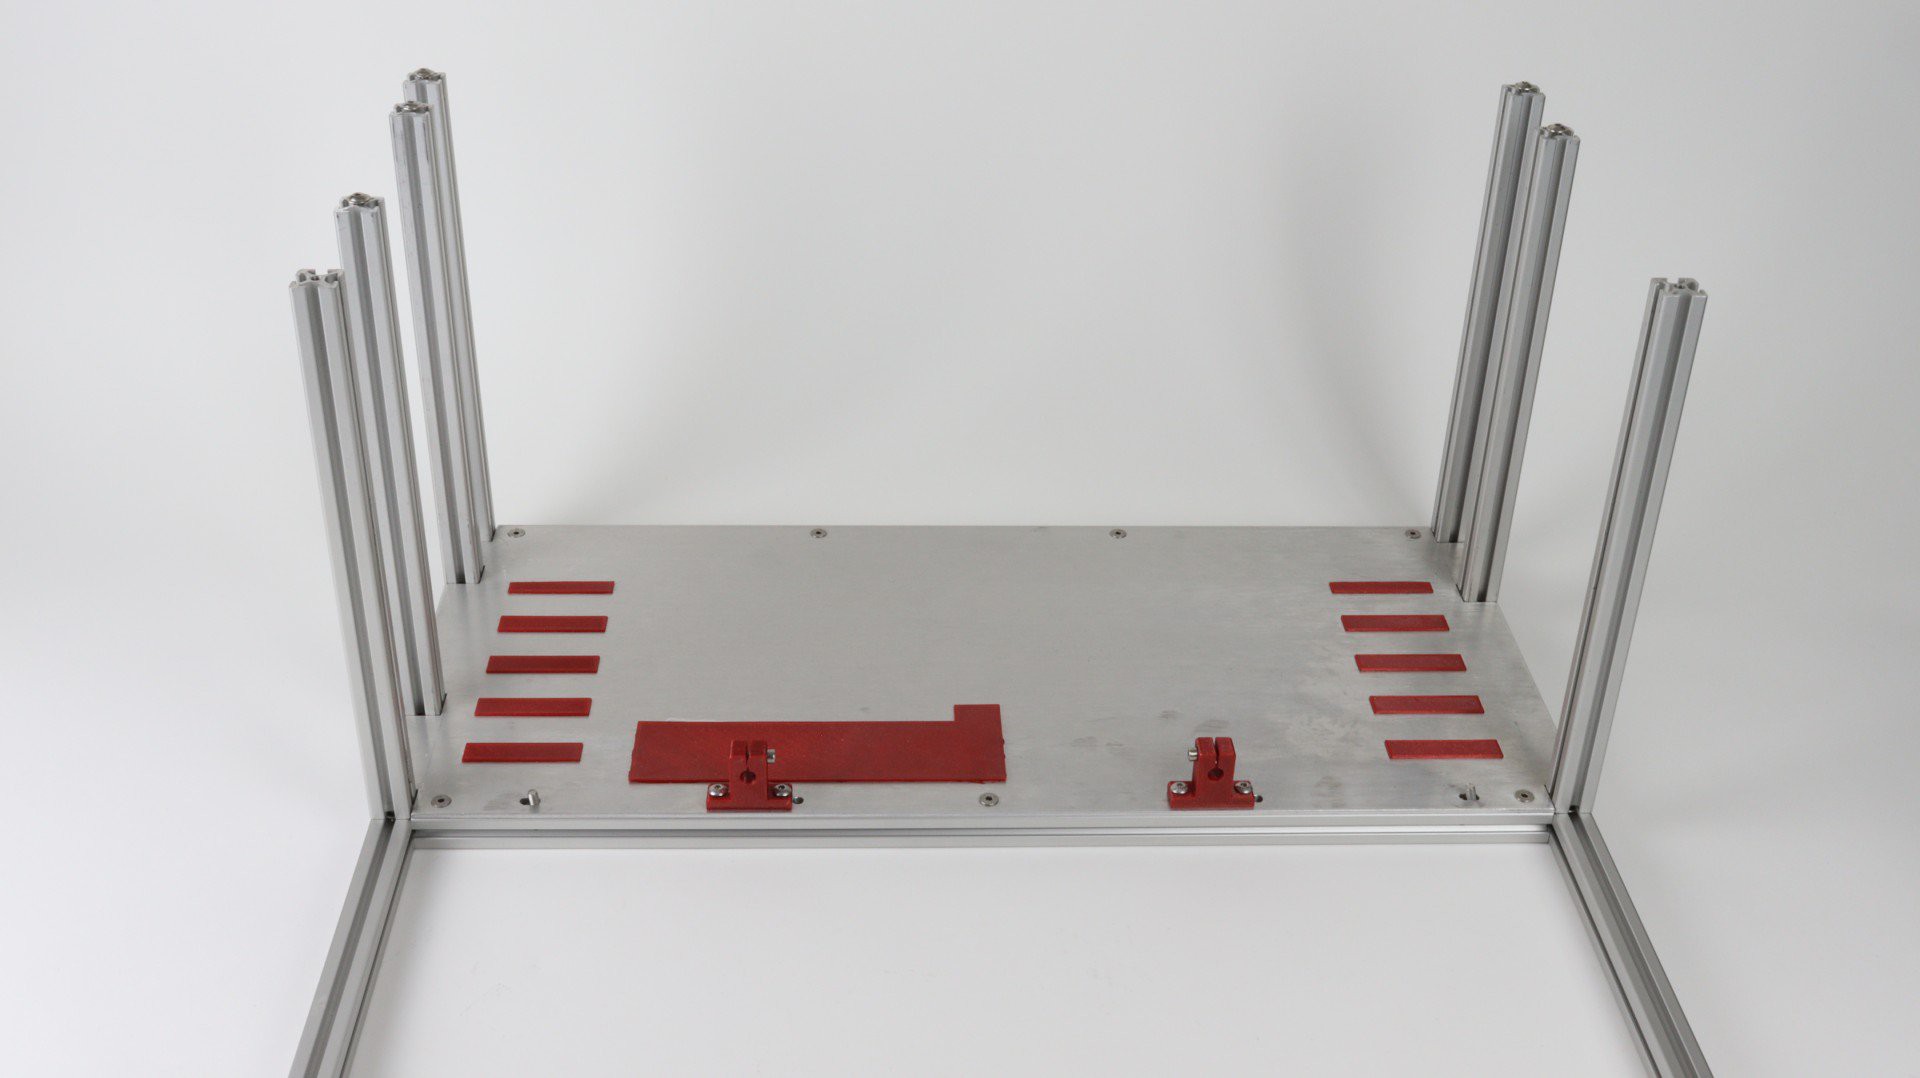
<< Frame >>
Frame construction is made from the so called 2020 extruded aluminum profiles (20x20mm). All the walls are from the 3mm thick aluminum plates.
Even though I designed the frame as two-skin I had some troubles with the heat in early stage. Therefore, Teflon (PTFE) is used at meaningful frame joints and the rock wool insulates the top skin form the inside heat.
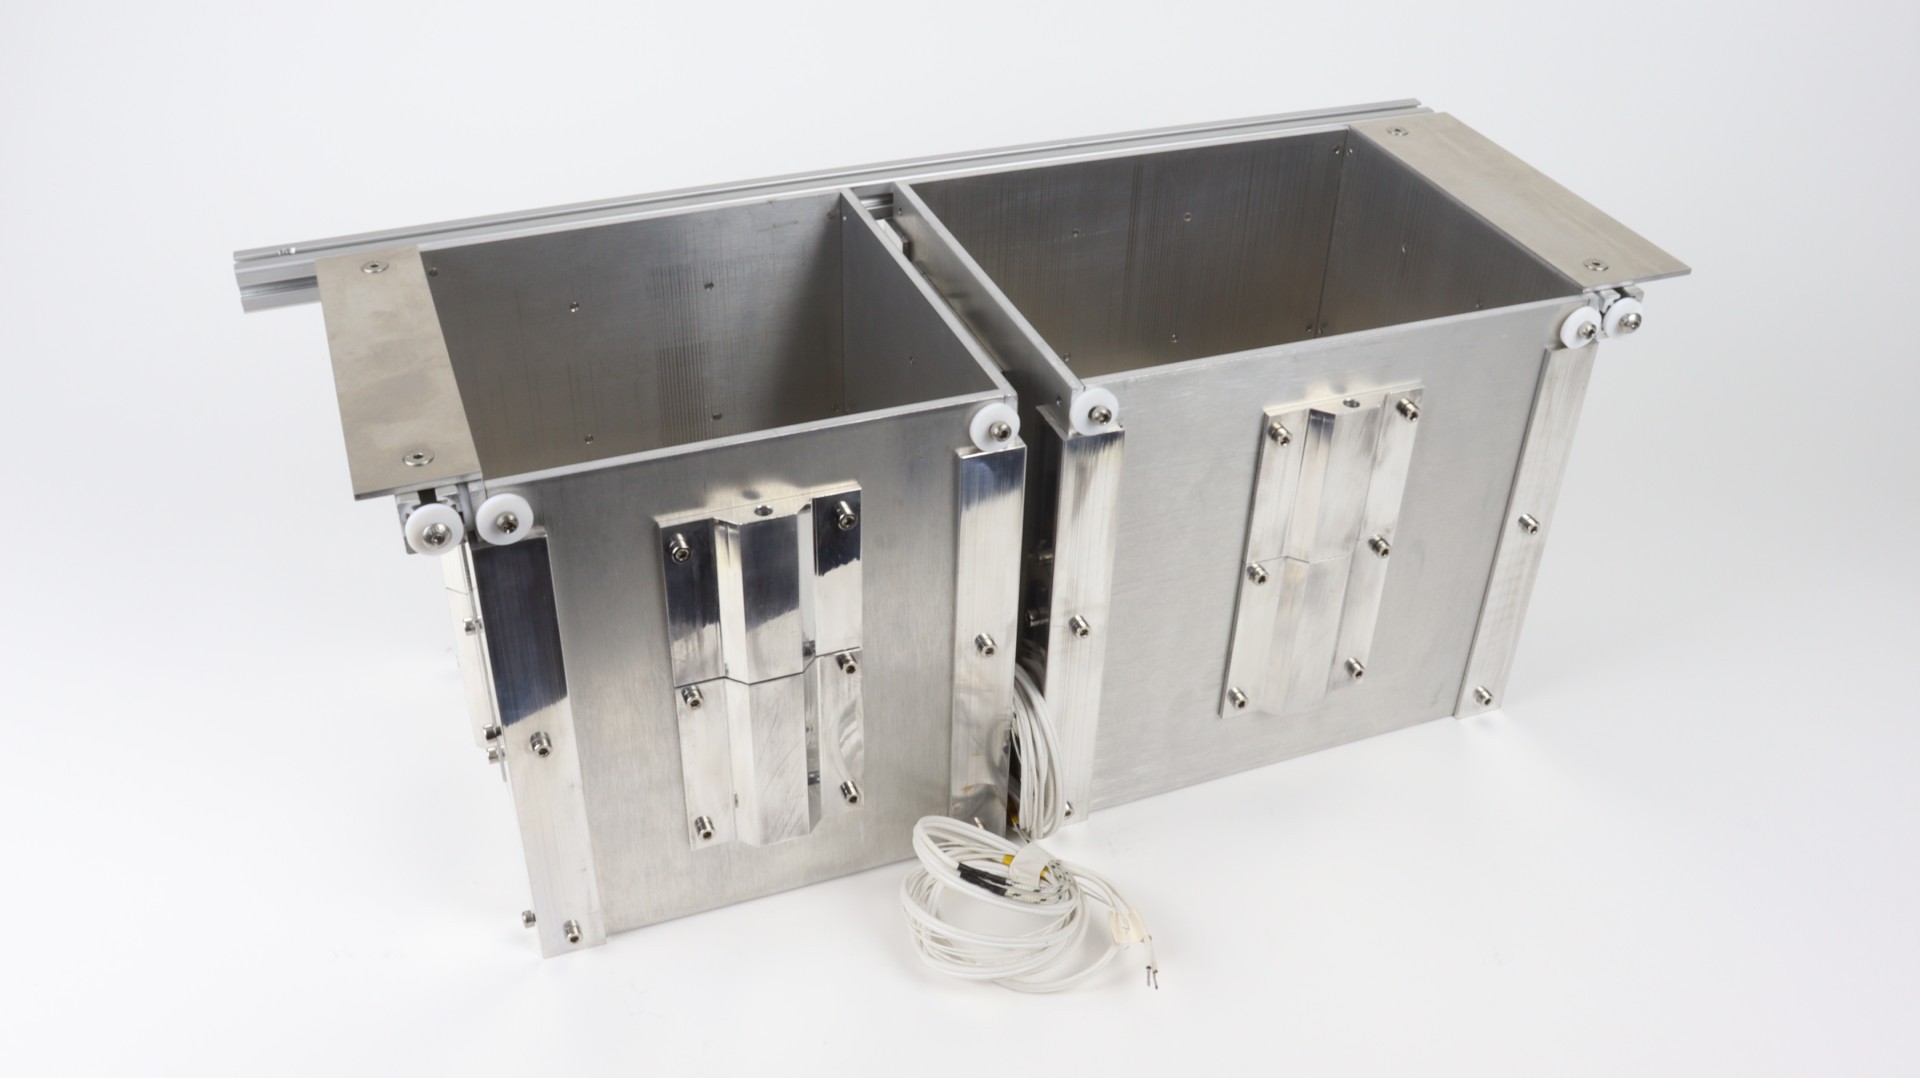
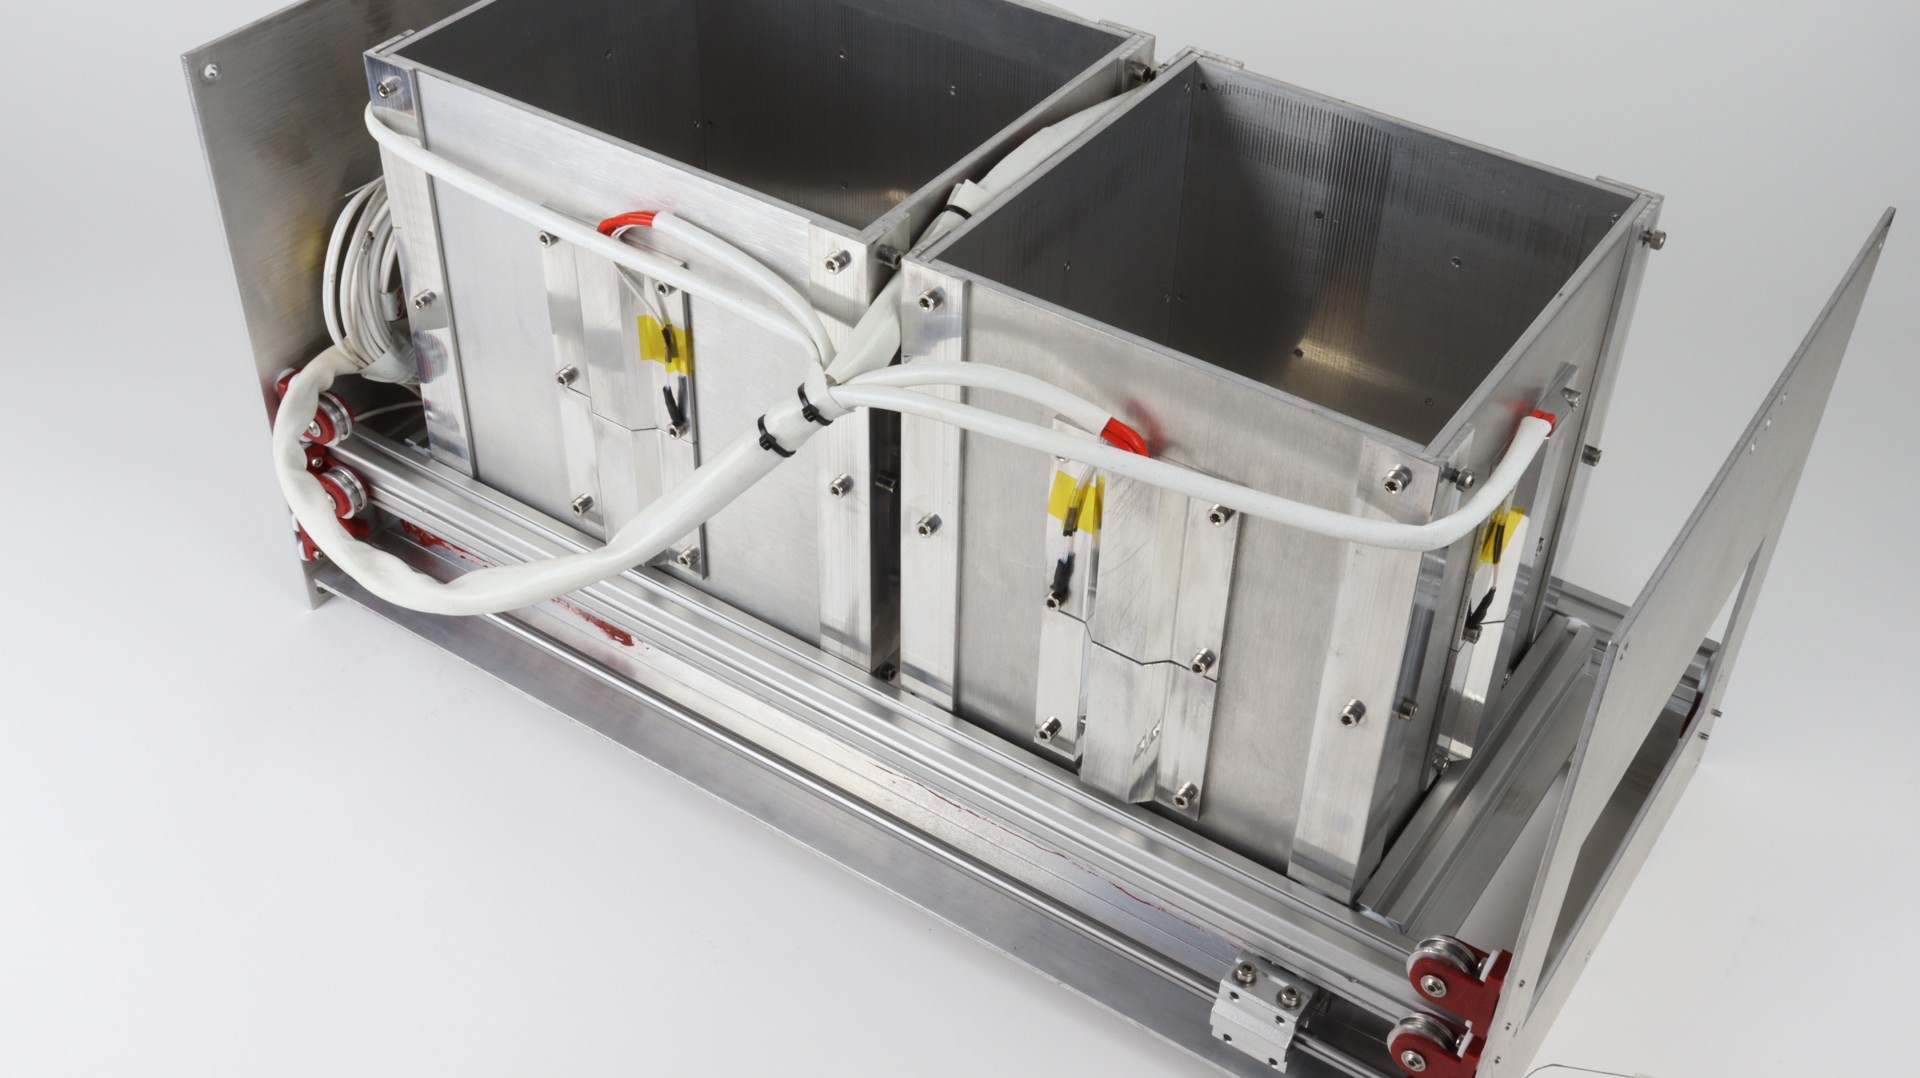
<< Chambers >>
The dimensions of the chambers are 220x175x200 mm for the powder reservoir and 175x175x200 mm for the print chamber. It should allow me to print the range form small to mid-sized parts. I would like to have the effective print volume somewhere around 150x150x180mm.
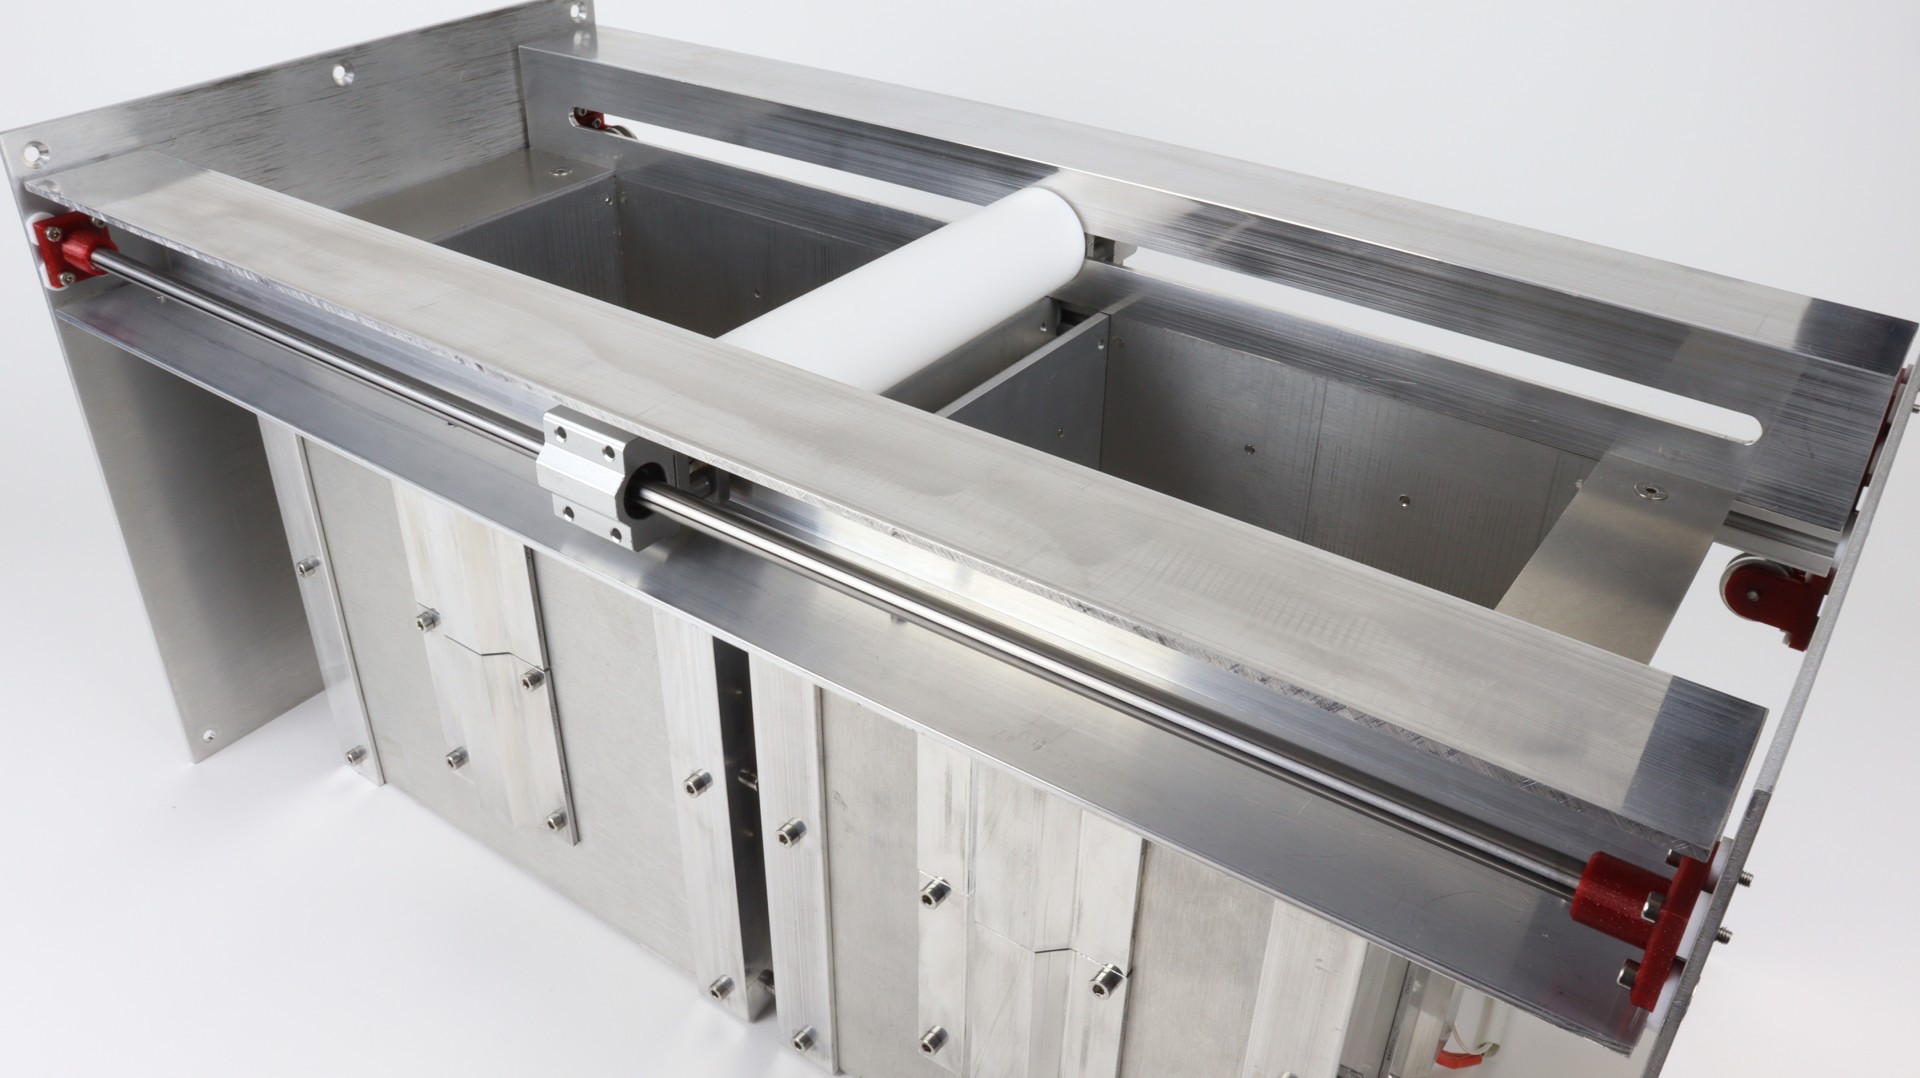
<< Recoater >>
I decided to go in the way of counter rolling mechanism instead of simple piece of aluminum plate. I choose this way because the quality of the layers is one of the parameters directly affecting printing quality.
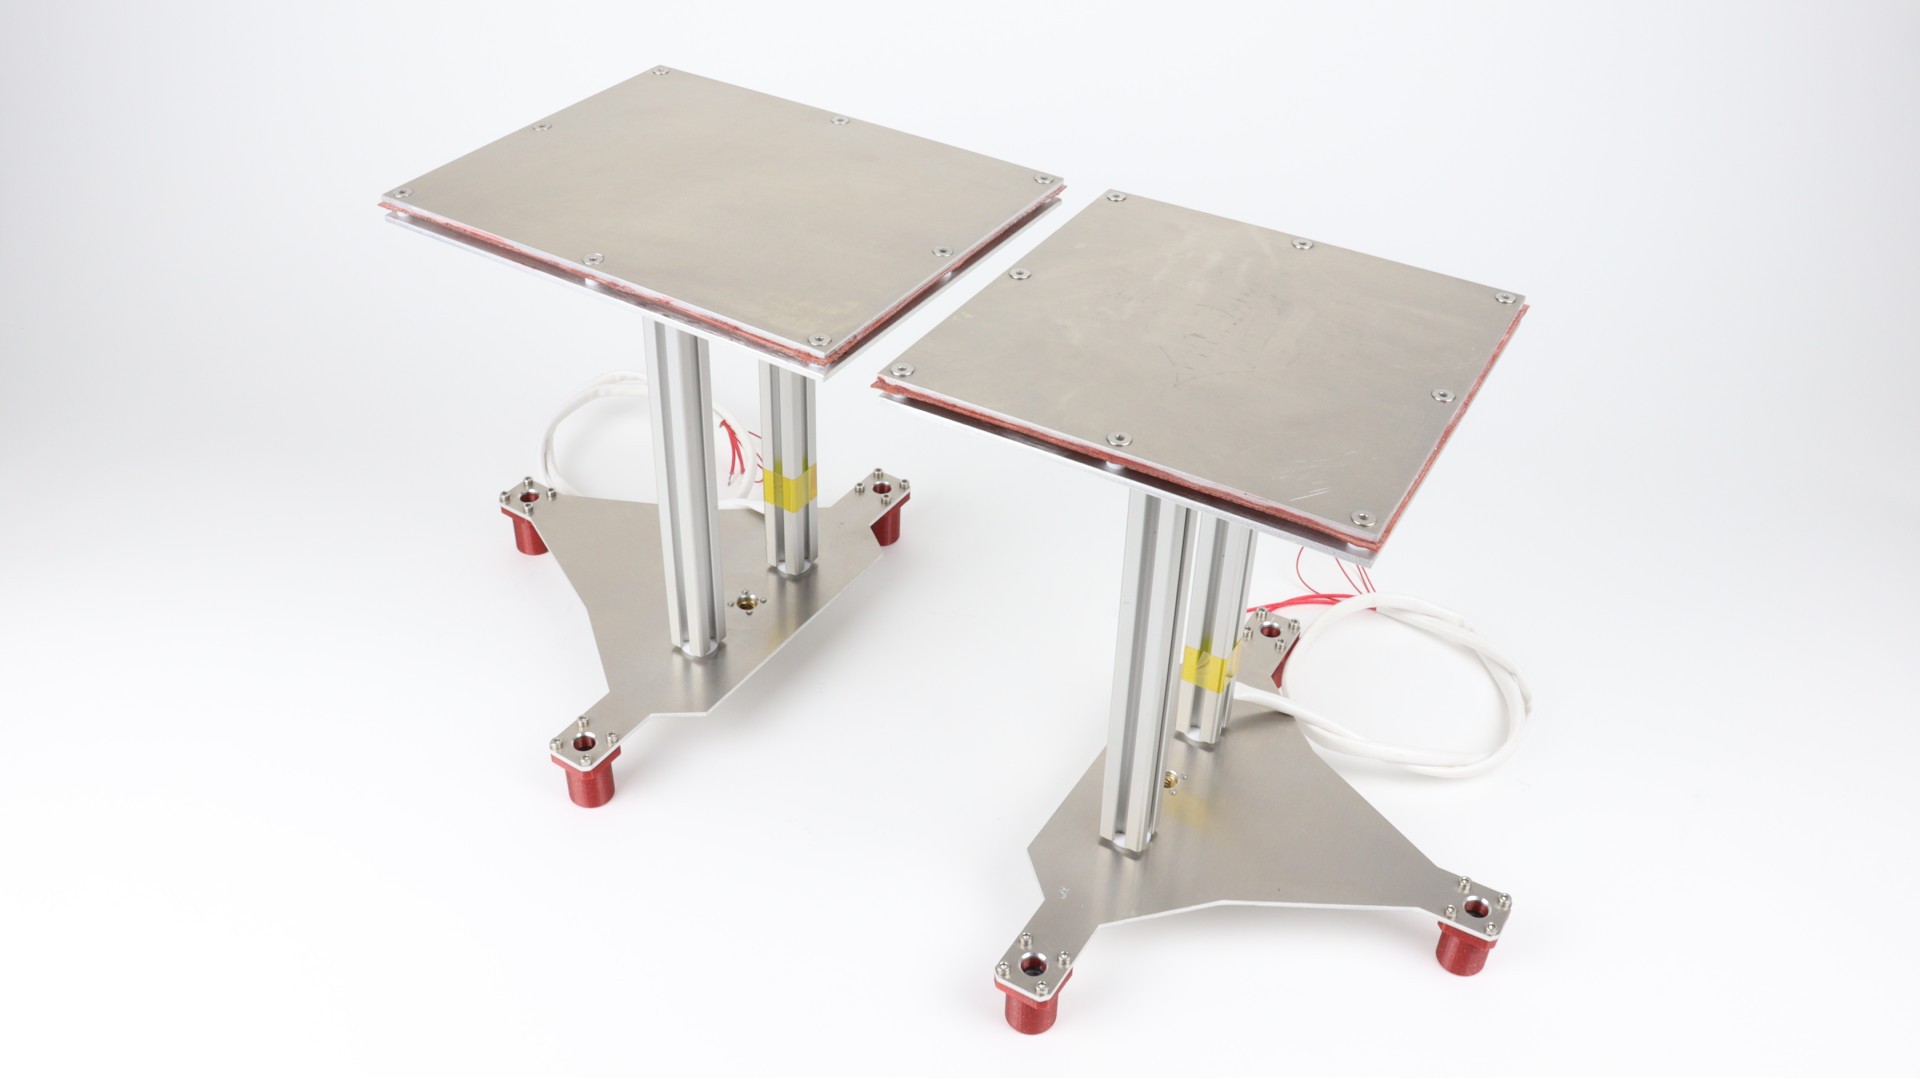
<< Heating >>
I proposed quite comprehensive heating system. It can be seen as an overkill, but hopefully, it will do what it should. I want to achieve maximal temperature uniformity possible across the material in both powder and print chamber. It means I want to have the temperature control on every single side of both chambers, including the beds. Another 4 independent halogen heaters will be used to heat the top layer surface.
<< X & Y axis >>
I want my printer to be quicker that FDM ones. Therefore, I have to avoid common Cartesian X and Y axis layout. Why? Even if the X and Y moves would be at the same decent speeds as the FDM printers do, total print speed will be much slower because of layer preparation time overhead. Therefore, I decided to go in a way of galvanometers (galvos).

<< Laser source >>
Laser source will be the 5W blue laser diode (wavelength of 445 nm). It is the most cost-effective solution but as with anything, you pay for its low price in another way. This mostly relates to the shape of the laser beam source and specifics while focusing it – especially for the relatively long distance.
<< Hardware >>
Summary of requirements placed on the printer’s control hardware interfaces:
- 3 step motors and their drivers for Z1, Z2 and R axis. I decided to use the latest TMC 2209 drivers because of their quietness and power. I also intend to use the sensor-less homing functions
- interfaces for driving X and Z axis by galvanometers
- number GPIO interfaces for the heating system and for fans. It means 10 GPIO pins for chamber heaters, 4 pins for print area surface heaters, 2 pins for fan groups (air in/air out), pins for IR thermo-camera
- PWM regulation possibility. I need at least one hardware PWM pin for the laser power regulation and software PWM abilities for the heater’s power output regulation
- interface for the on-board camera
- interface for the touch screen LCD
- I2C and SPI bus interfaces for internal communication
- BigTree Tech SKR 1.4 Turbo to control laser, steppers and galvos
- Raspberry Pi 4b 2GB, to control heaters, video camera and thermo camera
- Solid State Relays for AC heaters switching (sides of chambers, halogen heaters)
- 30A MOSFETS for DC heaters switching (print and powder bed)
- Own PCB, called Inova Driver Board, for thermistors reading and the galvo signal processing
- 3x stepper motor NEMA17 for Z1, Z2 and roceater
Basic electronics arrangement is as follows:
- BigTree Tech SKR 1.4 Turbo to control laser, steppers and galvos
- Raspberry Pi 4b 2GB, to control heaters, video camera and thermo camera
- Solid State Relays for AC heaters switching (sides of chambers, halogen heaters)
- 30A MOSFETS for DC heaters switching (print and powder bed)
- Own PCB, called Inova Driver Board, for thermistors reading and the galvo signal processing 3x stepper motor NEMA17 for Z1, Z2 and roceater

<< Firmware and Software >>
I use the Klipper firmware to control the print proceses. It is, of course, modified version deployed in the multi MCU setup. Klipper runs on BTB and RPi.
Software development is really tricky part of this project. It started from scratch as the simple interface for basic testing like stepper moves, galvos moves, etc. Now it is quite comprehensive piece of SW allowing precise galvo moves geometry calibration, nesting, slicing, power management etc. Now is it the test purpose development SW. Later on, we will change it into the nice printer user-interface.
<< Printer’s parameters sum-up >>
- print chamber volume: 175 x 175 x 200 mm
- effective print volume: 150 x 150 x 180mm
- powder reservoir volume: 220 x 175 x 200 mm
- laser source: 5W blue laser diode (wavelength 445 nm)
- layer application mechanism: counter rolling roller
- temperature control: powder chamber with 4 independent elements, powder bed, print chamber with 4 independent elements, print bed, print area surface using 4 heating elements
- main construction material: extruded aluminum profiles (2020) with aluminum plates – double skin
<< Current project status >>
As for the current project status I guess, I am in approx. last 15% of the project. It means that I have already:
- designed all parts in Fusion 360
- build and put together all mechanical elements
- completed electronics arrangement
- found functional optical setup
- made initial modification of the Klipper FW and prepared printer's control SW for testing purposes
- done partial tests like stepper moves, galvo moves, laser functionality incl. PWM regulation, recoater moves, etc.
- started to prepare the project documentation – STL files, part lists, etc.
I am just before finding the right print profile setup for PA12 and first real prints into the powder.