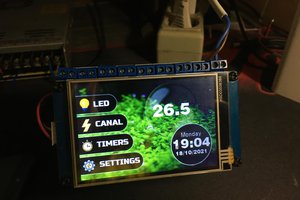
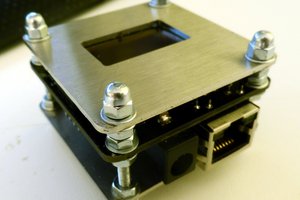
My home is a small Victorian house with hot water radiators. When we first moved in, the house would swing up to 10 degrees as the boiler turned on and off. This spurred me on to the solution which this project is the 2nd edition. I then put sensors around the house and on the one radiator and outside and left on vacation for Christmas. During that vacation, I noticed my wife (who has a house in northern Poland) set the boiler to a fixed temperature. I didn't realize that her radiators each had thermostatic valves on them, but her setting the boiler temp got me thinking.
Long story short, by the time I got home I had lots of data thanks to the temps dopping below 0 degrees while we were away and the great idea of controlling the radiator temperature and not the house temperature. By doing this the radiators will swing 5 - 15 degrees but the room under with the inside temperature sensor only swings 1 degree (+/- .5) most of the time.
With this latest design, I can have any number of sensors in any room talking over WIFI. I also have a single sensor on the thermostat itself just in case it cannot receive temperatures from the remote sensors.
Currently, I have a sensor in my living room, while the thermostat is in my dining room. In addition to these, I have a sensor on one of the my radiator pipes and a sensor outdoors.
I can monitor the thermostat over the message bus, every 30 seconds it send a messages such as this
{
  "alarm": 0,
  "current_cycle_temp": 134.71,
  "current_room_temp": 72.05,
  "cycle_time": 2372,
  "device": "dining_room",
  "heat_state": true,
  "message_type": "status",
  "outside_temp": 38.188,
  "pid_enabled": true,
  "target_cycle_temp": 136.26,
  "target_room_temp": 72,
  "timestamp": 1649069095
}
With this I can call pretty much everything see that the thermostat is still functioning of not. The alarm value allows me to see if it is still seeing the sensors.

 Vadim Teselkin
 Ben Brooks

After much ado, I finally got my changes for the latest version moved from my local perforce repository out to github.com. Someday I'll beccome good at this git stuff. Work will insist on it!