 [zit] Olivier Gade
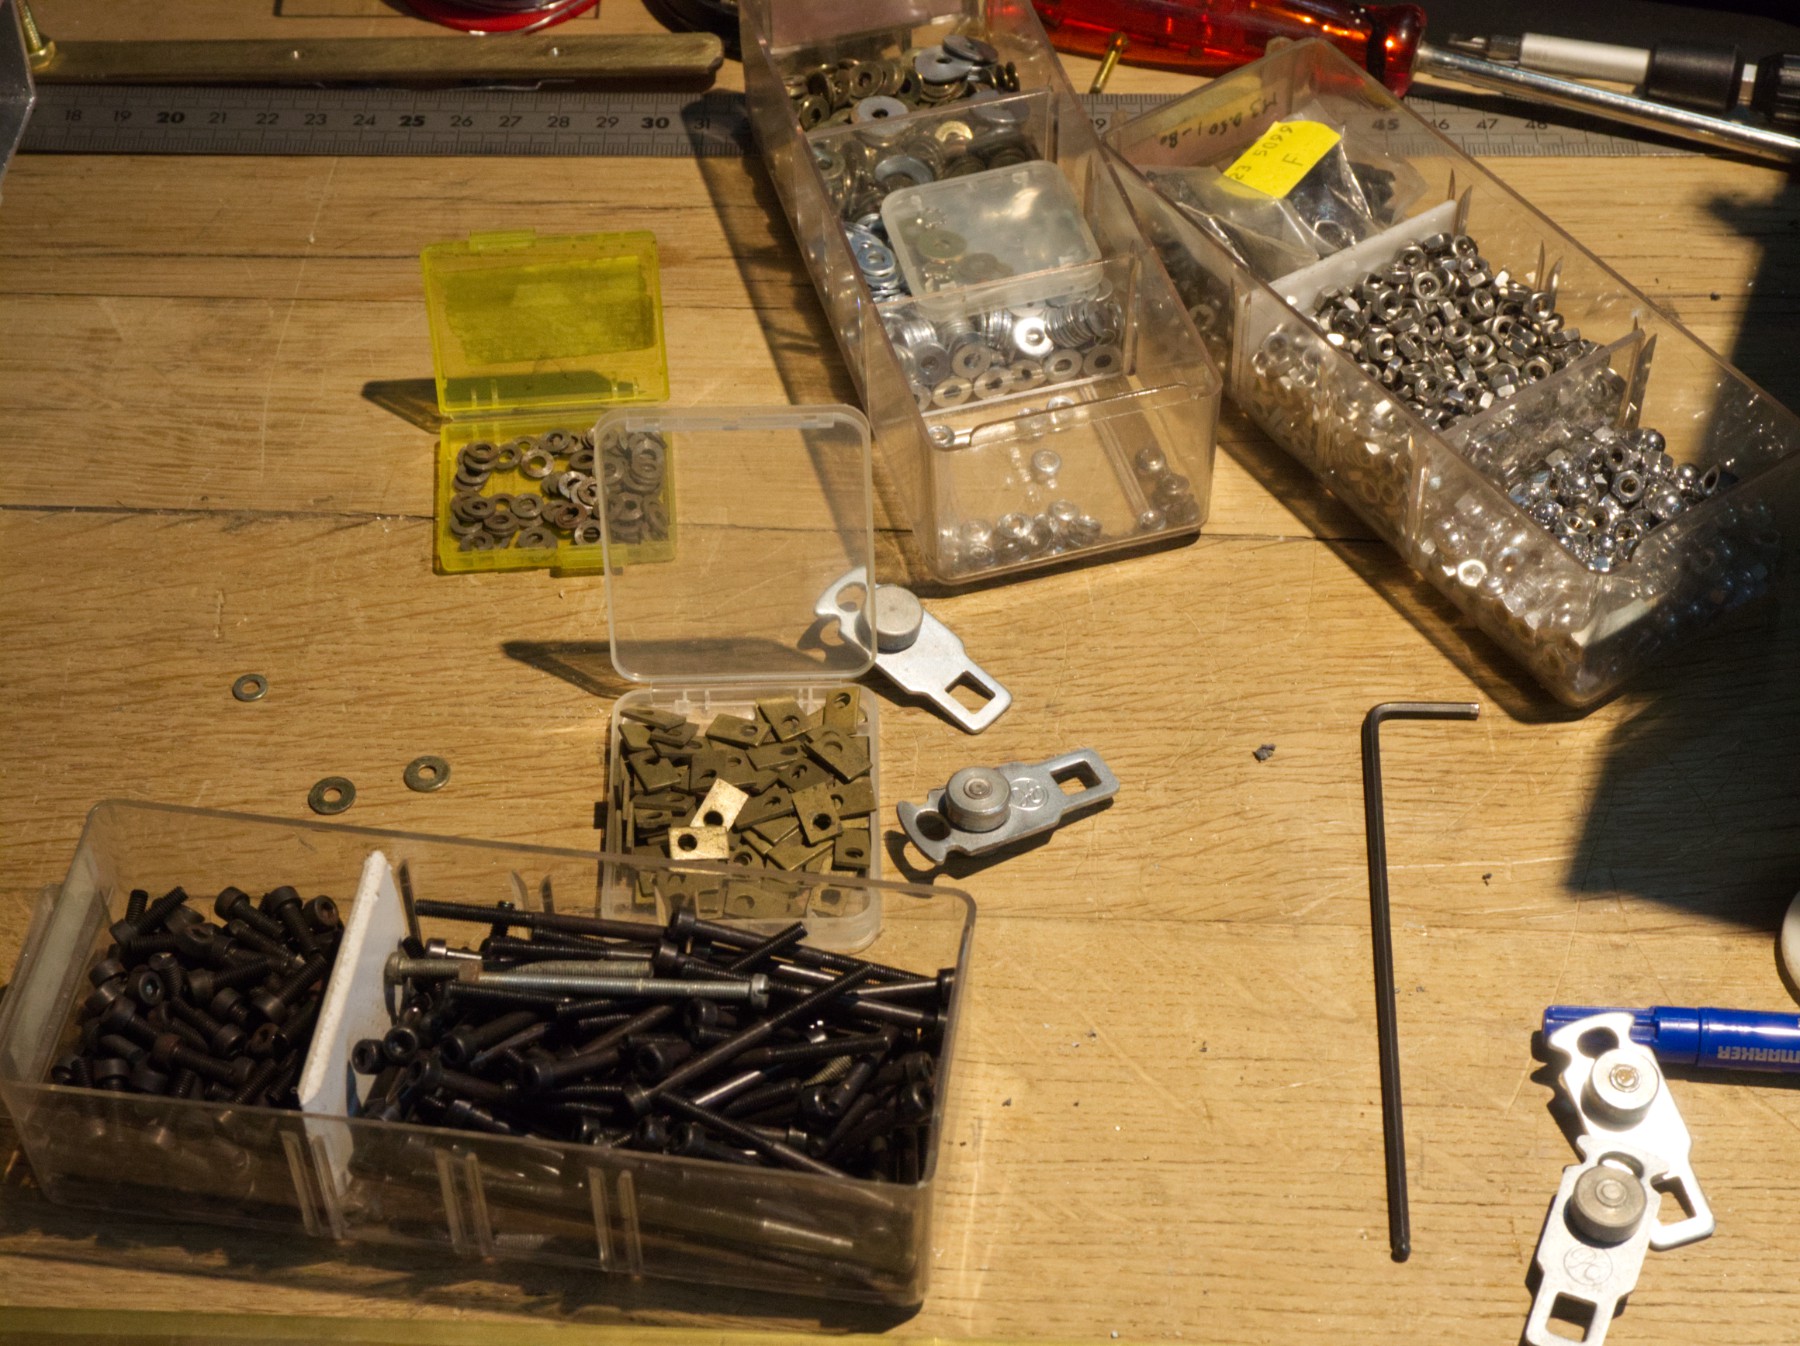 Those 40 mm long M 3 screw , and a few of these 1,5 mm thick small brass things just behind are going to be involved in the next step.
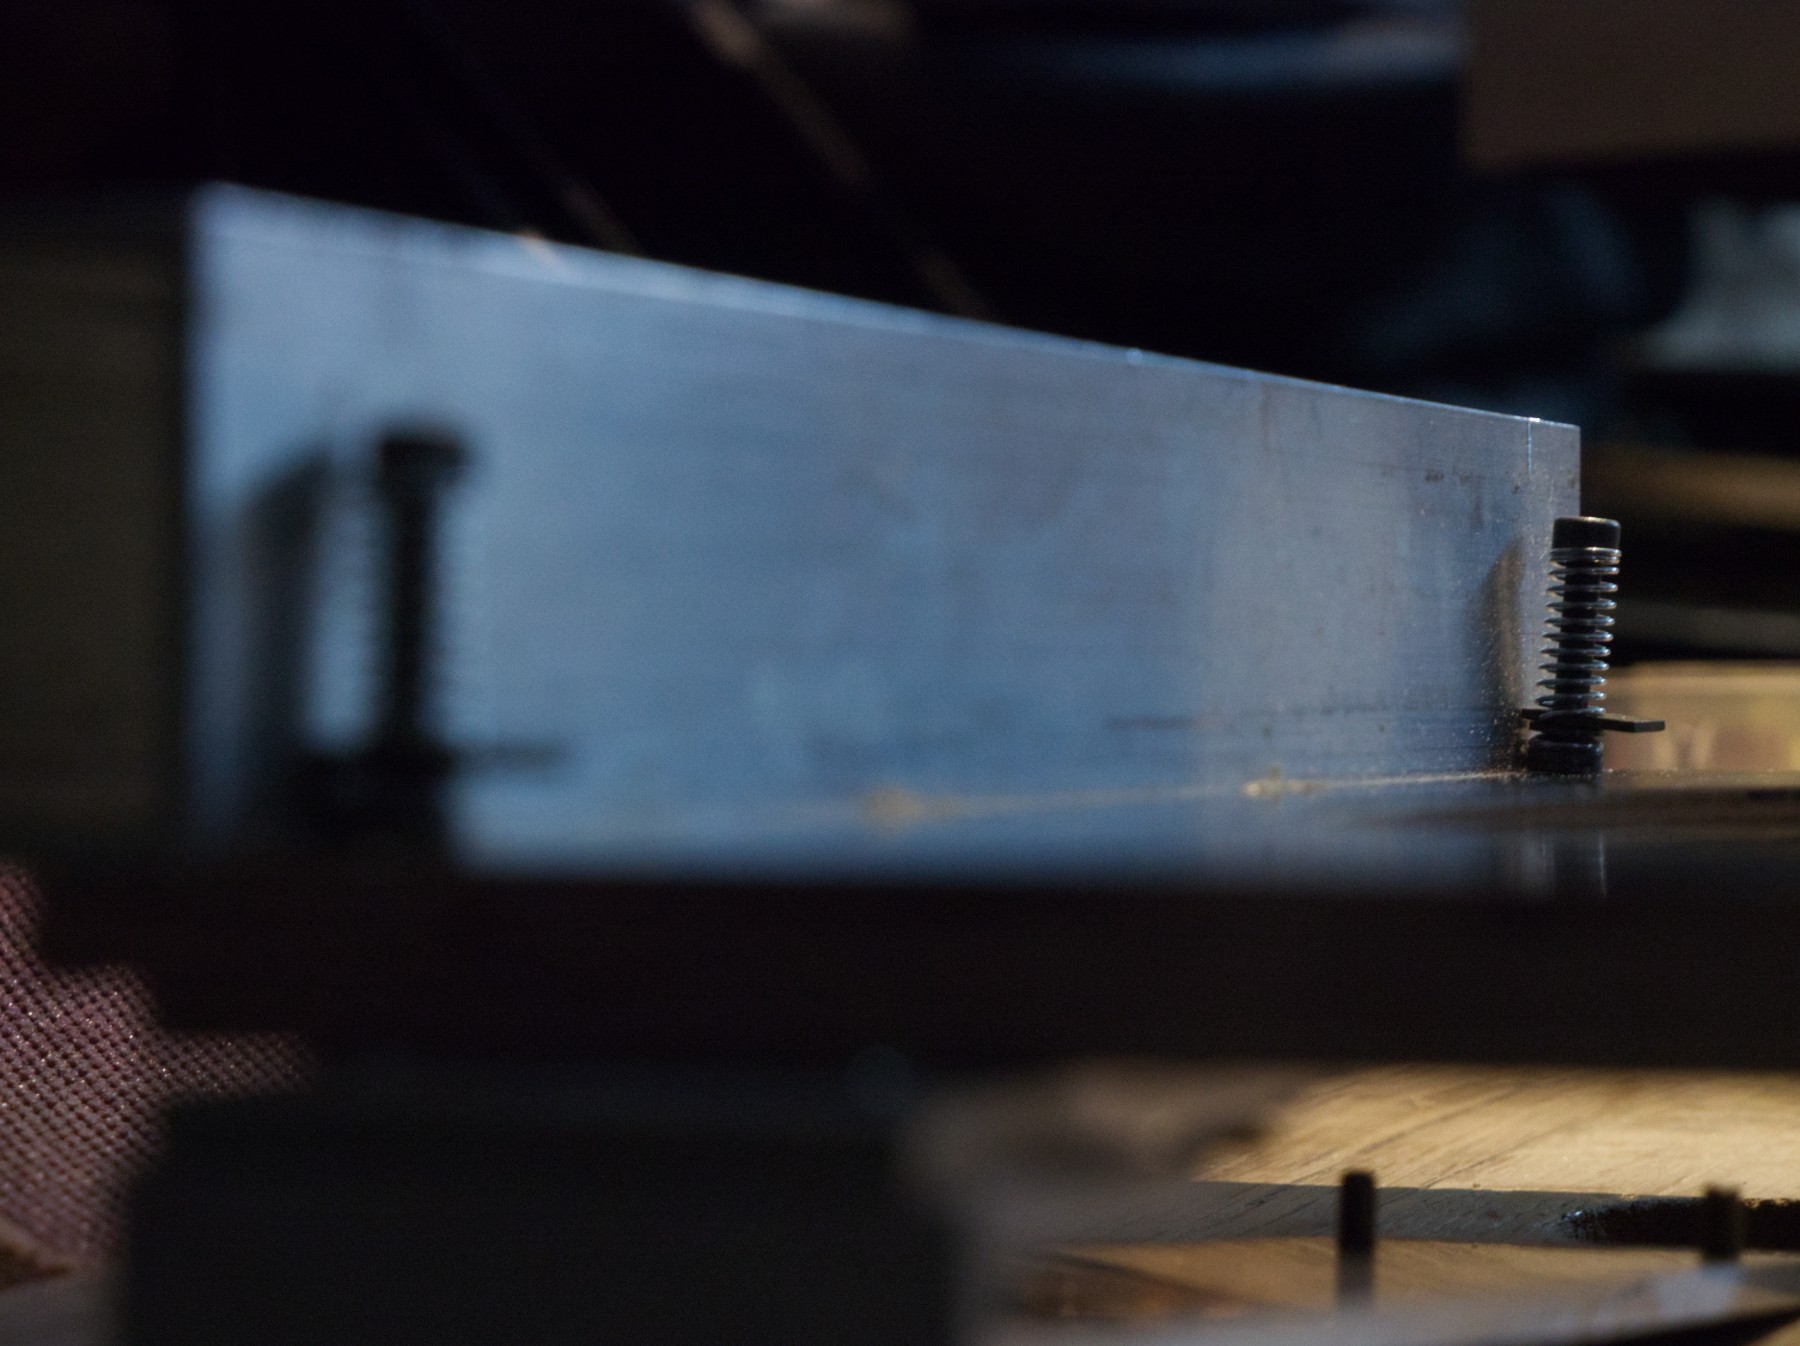
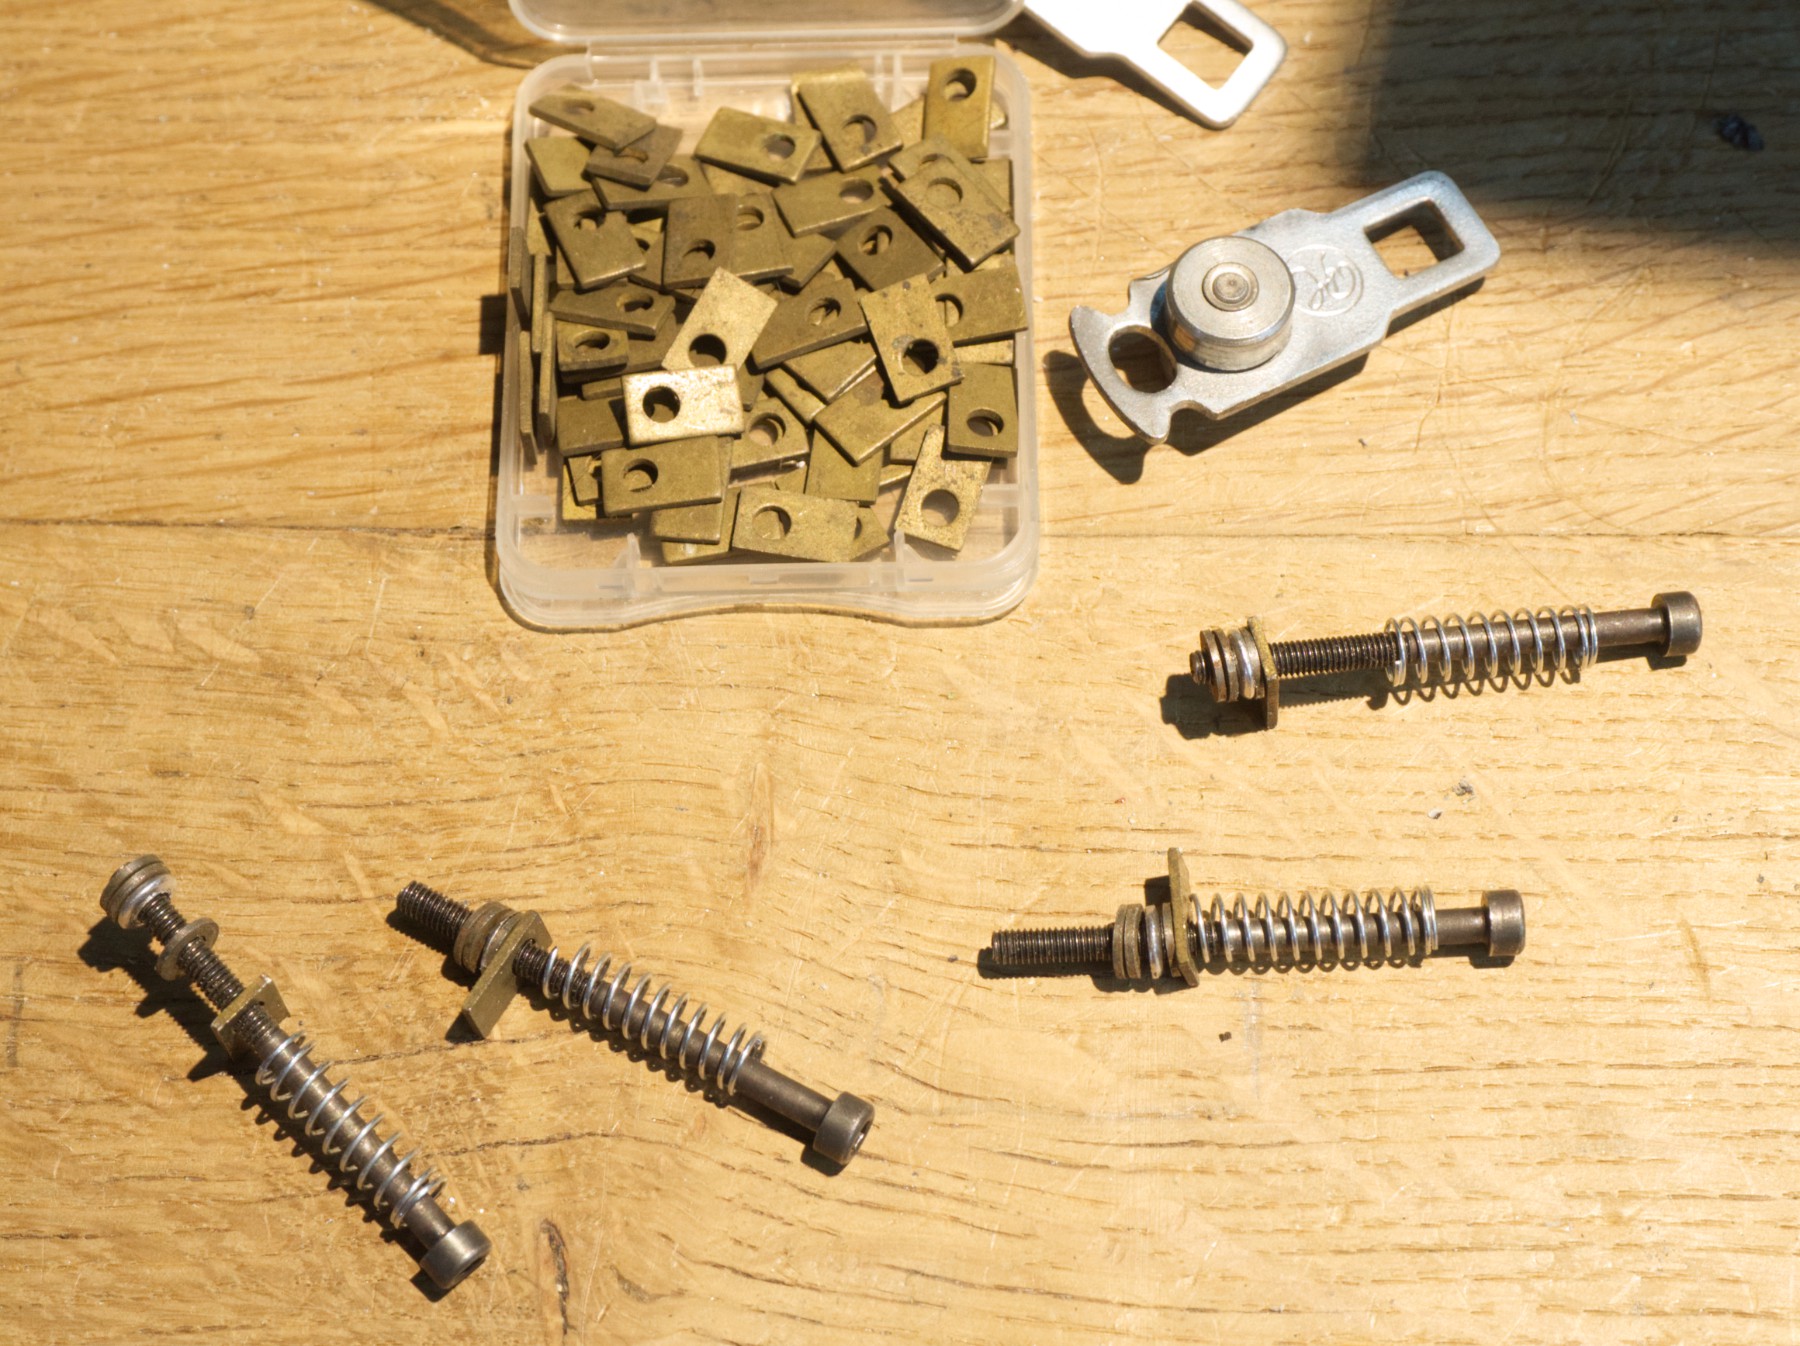
Some washers, to adjust the height and springs to hold the little brass part in place.
The small brass plates are held down with the springs, the brass is an auto lubricant material so I'm hopeful for a good glide.
These little brass parts could have been some electrical parts, the thing on the top right, a curtain slider ,is finally not going to be used this time.
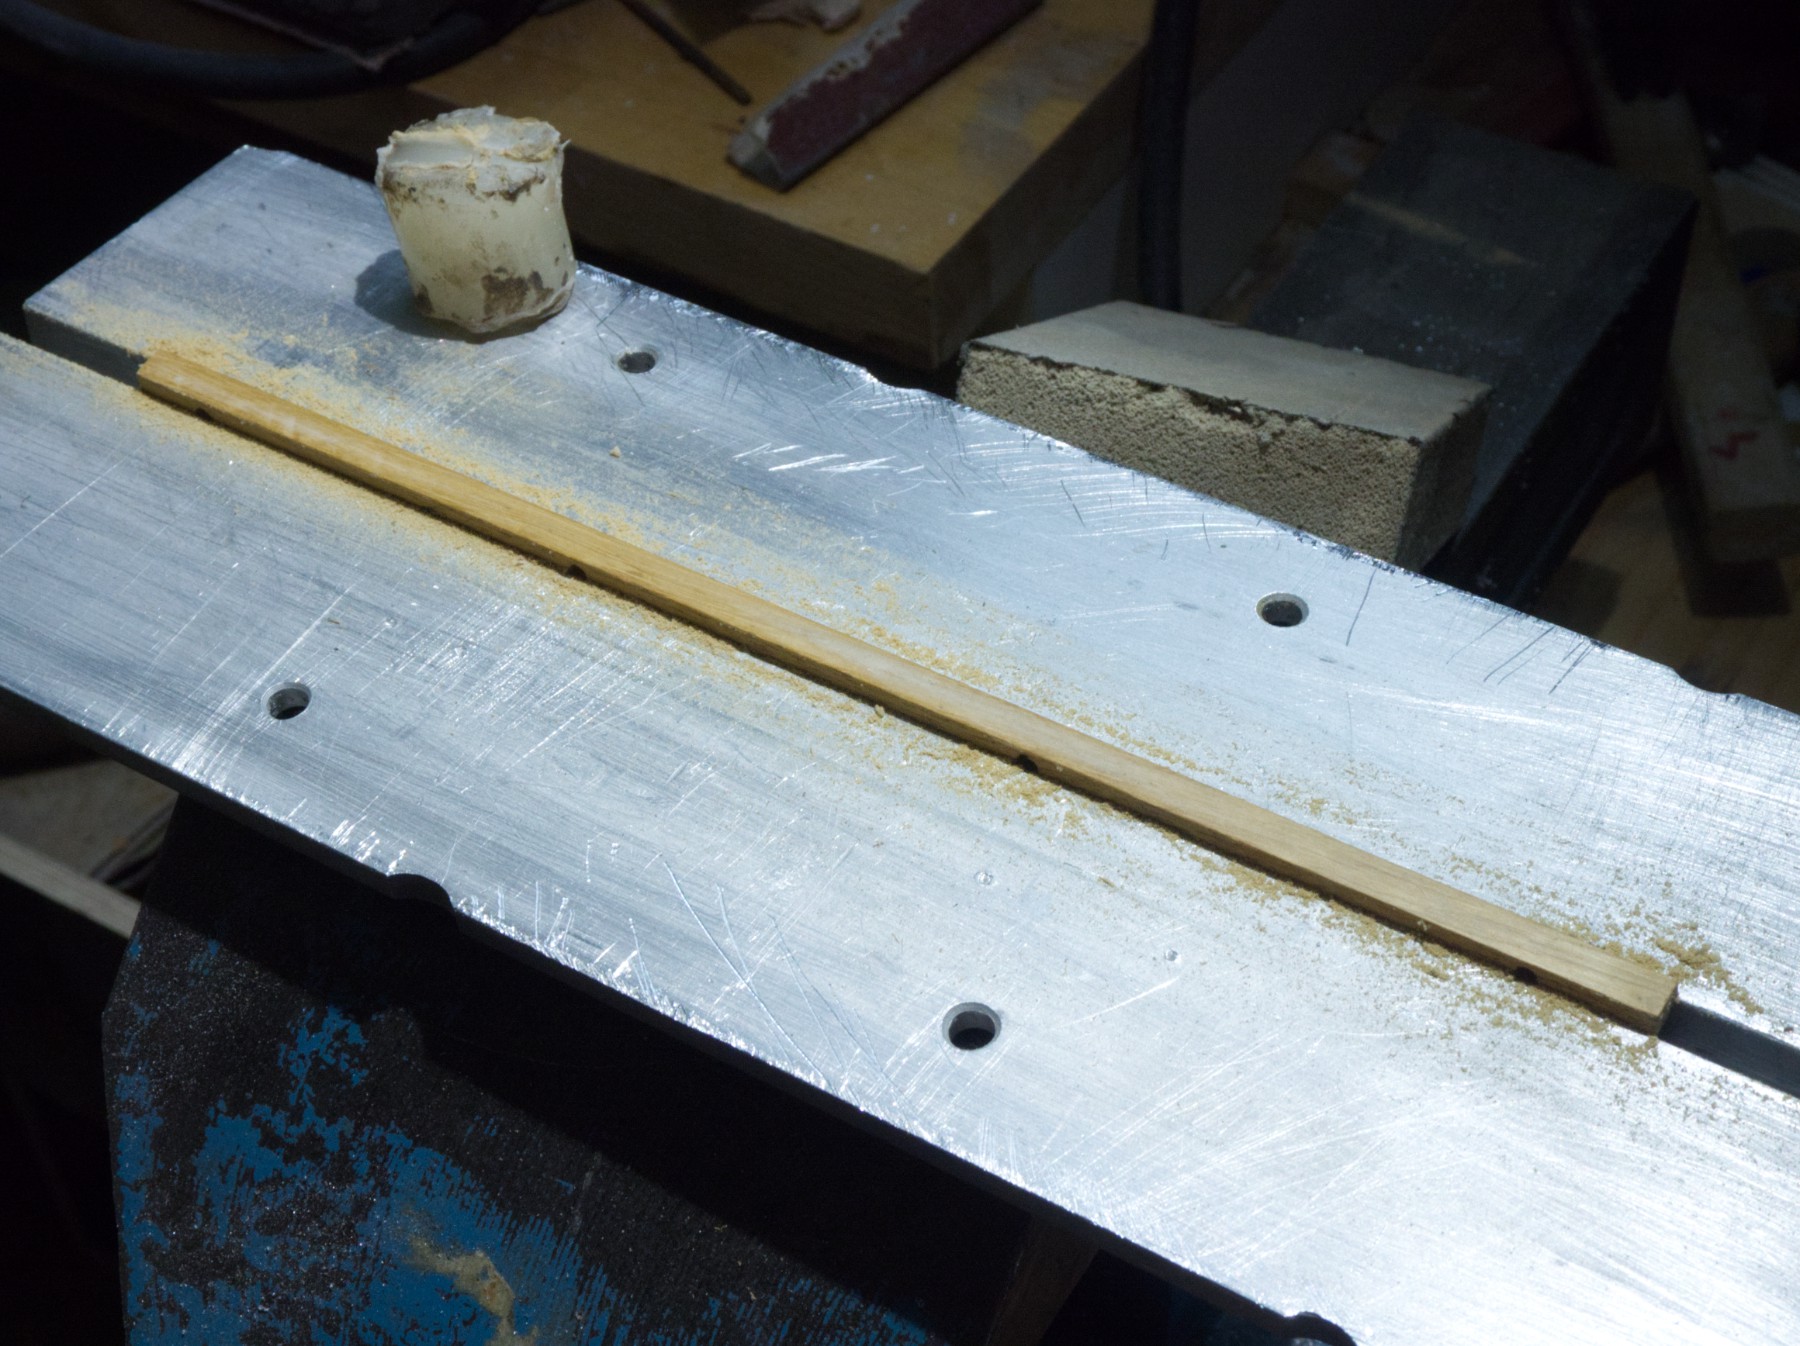
The washers where only for testing the height, now I know I need a 6 mm square shape. A first try with PMMA gave a very good idea of the brittleness of that material in such a small size, a drop from woodfloor oak has exactly the right size and is going to be stronger and durable.
Very good !
The hole on these small brass part is at the exact place to prevent it from turning around the screws.
A little fine grain sanding, and some paraffin will help the sliding.
Fantastic glide, you can't see it on a still picture, but it slips quite well.
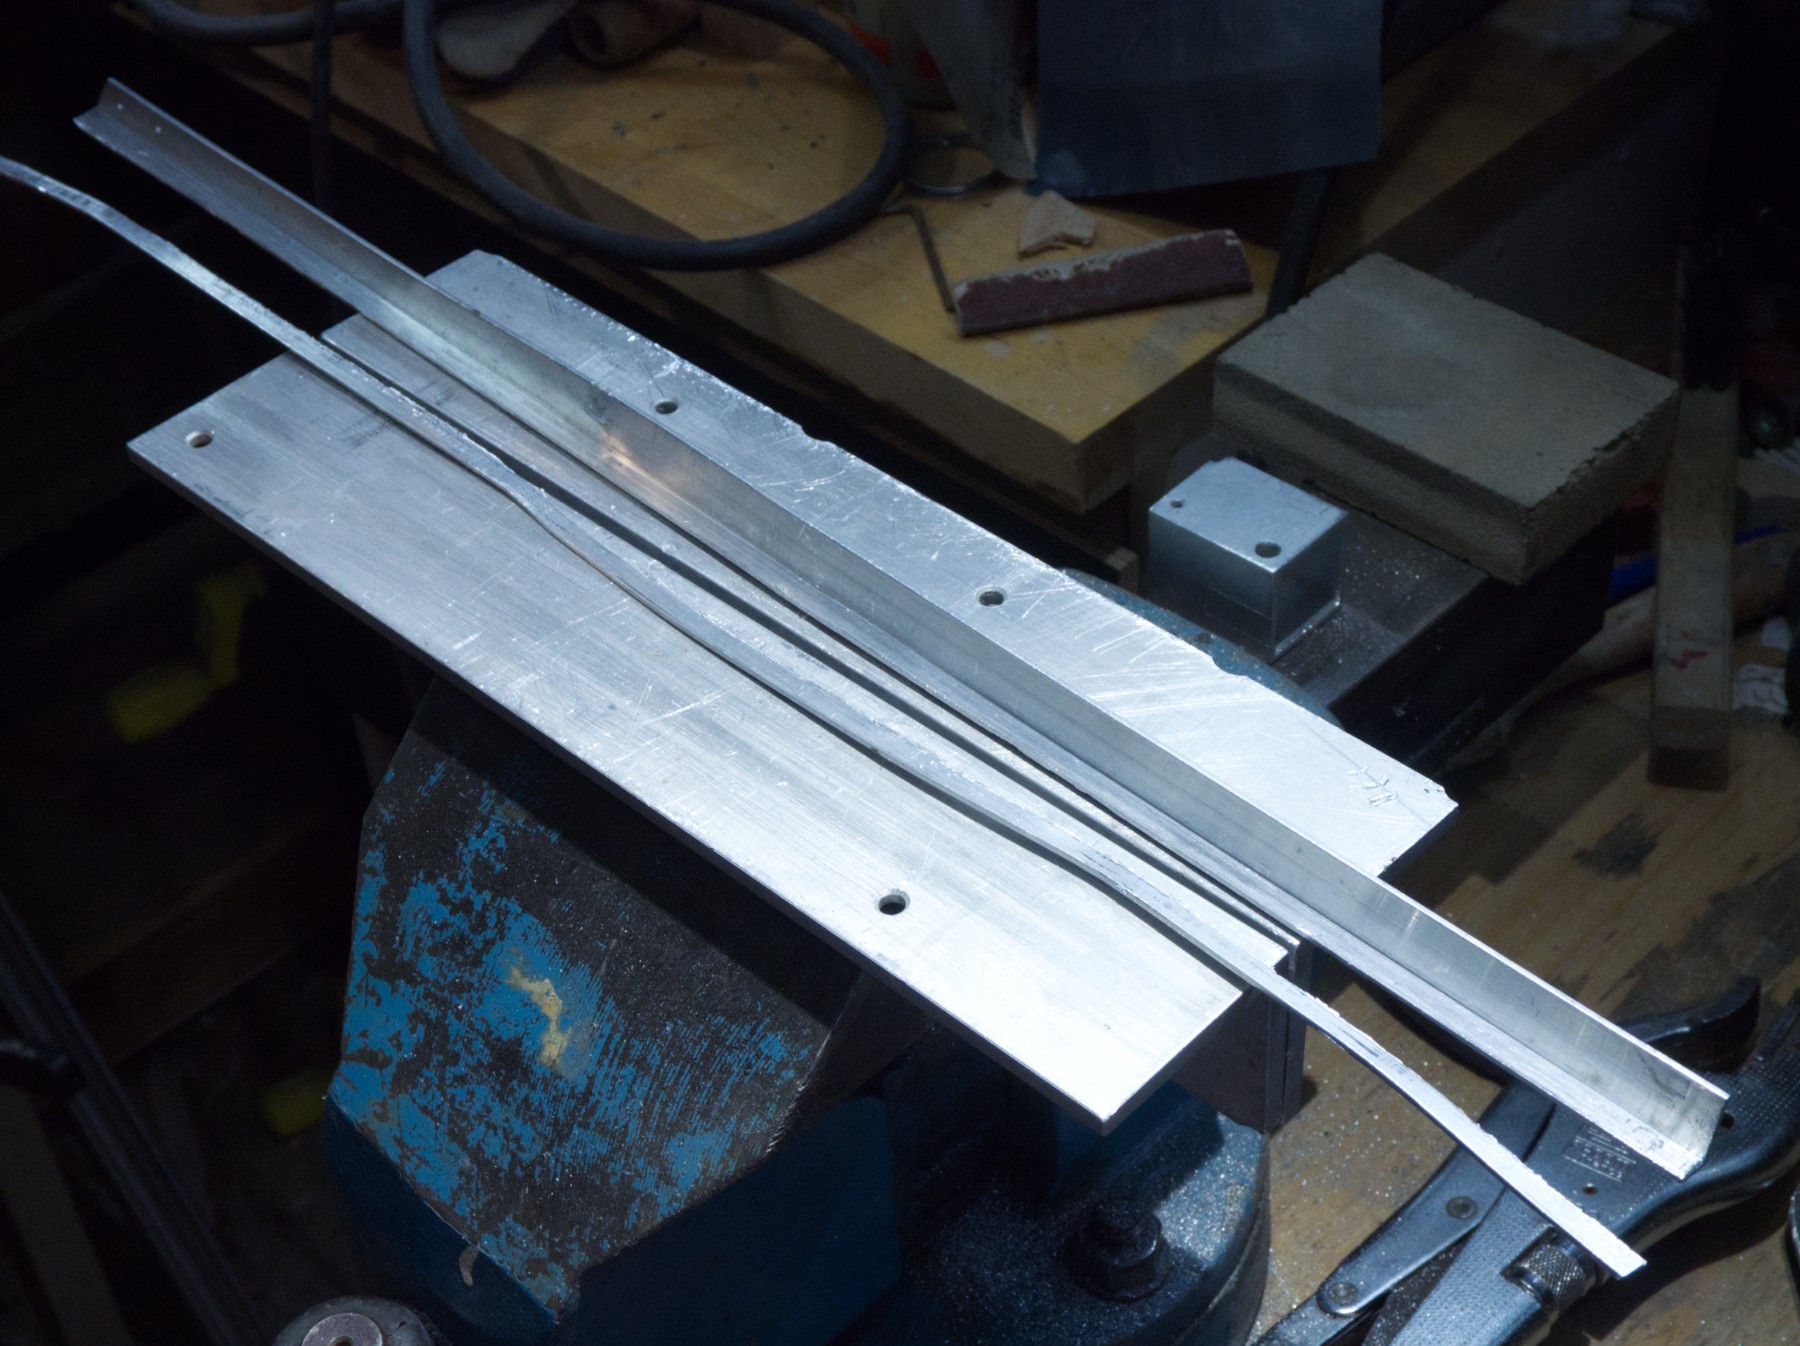
I really didn't need to cut that side all the length, but I've liked the way of doing it for the previous cut and that aluminium is less thick and very easy to work with.
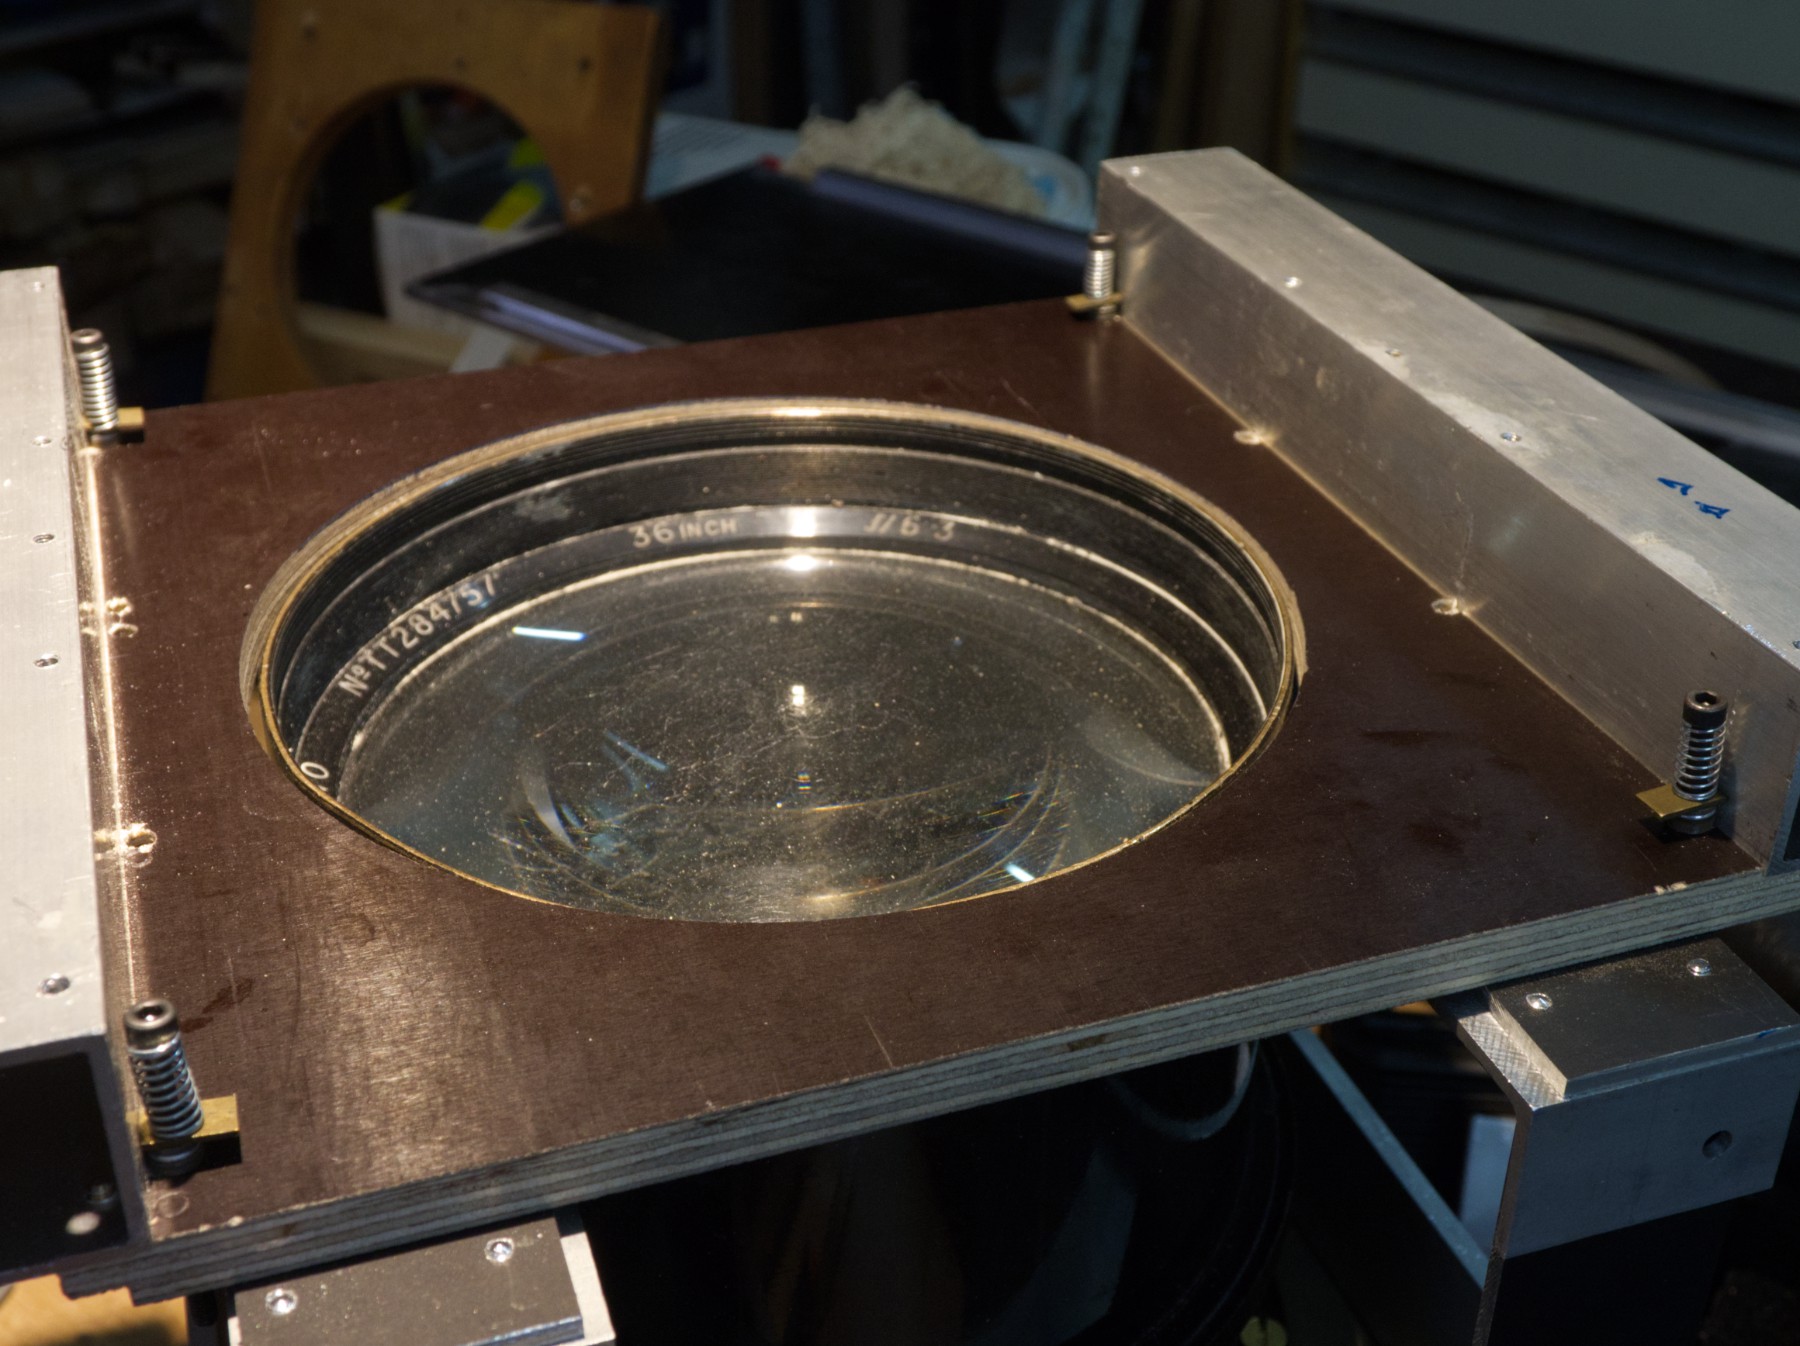
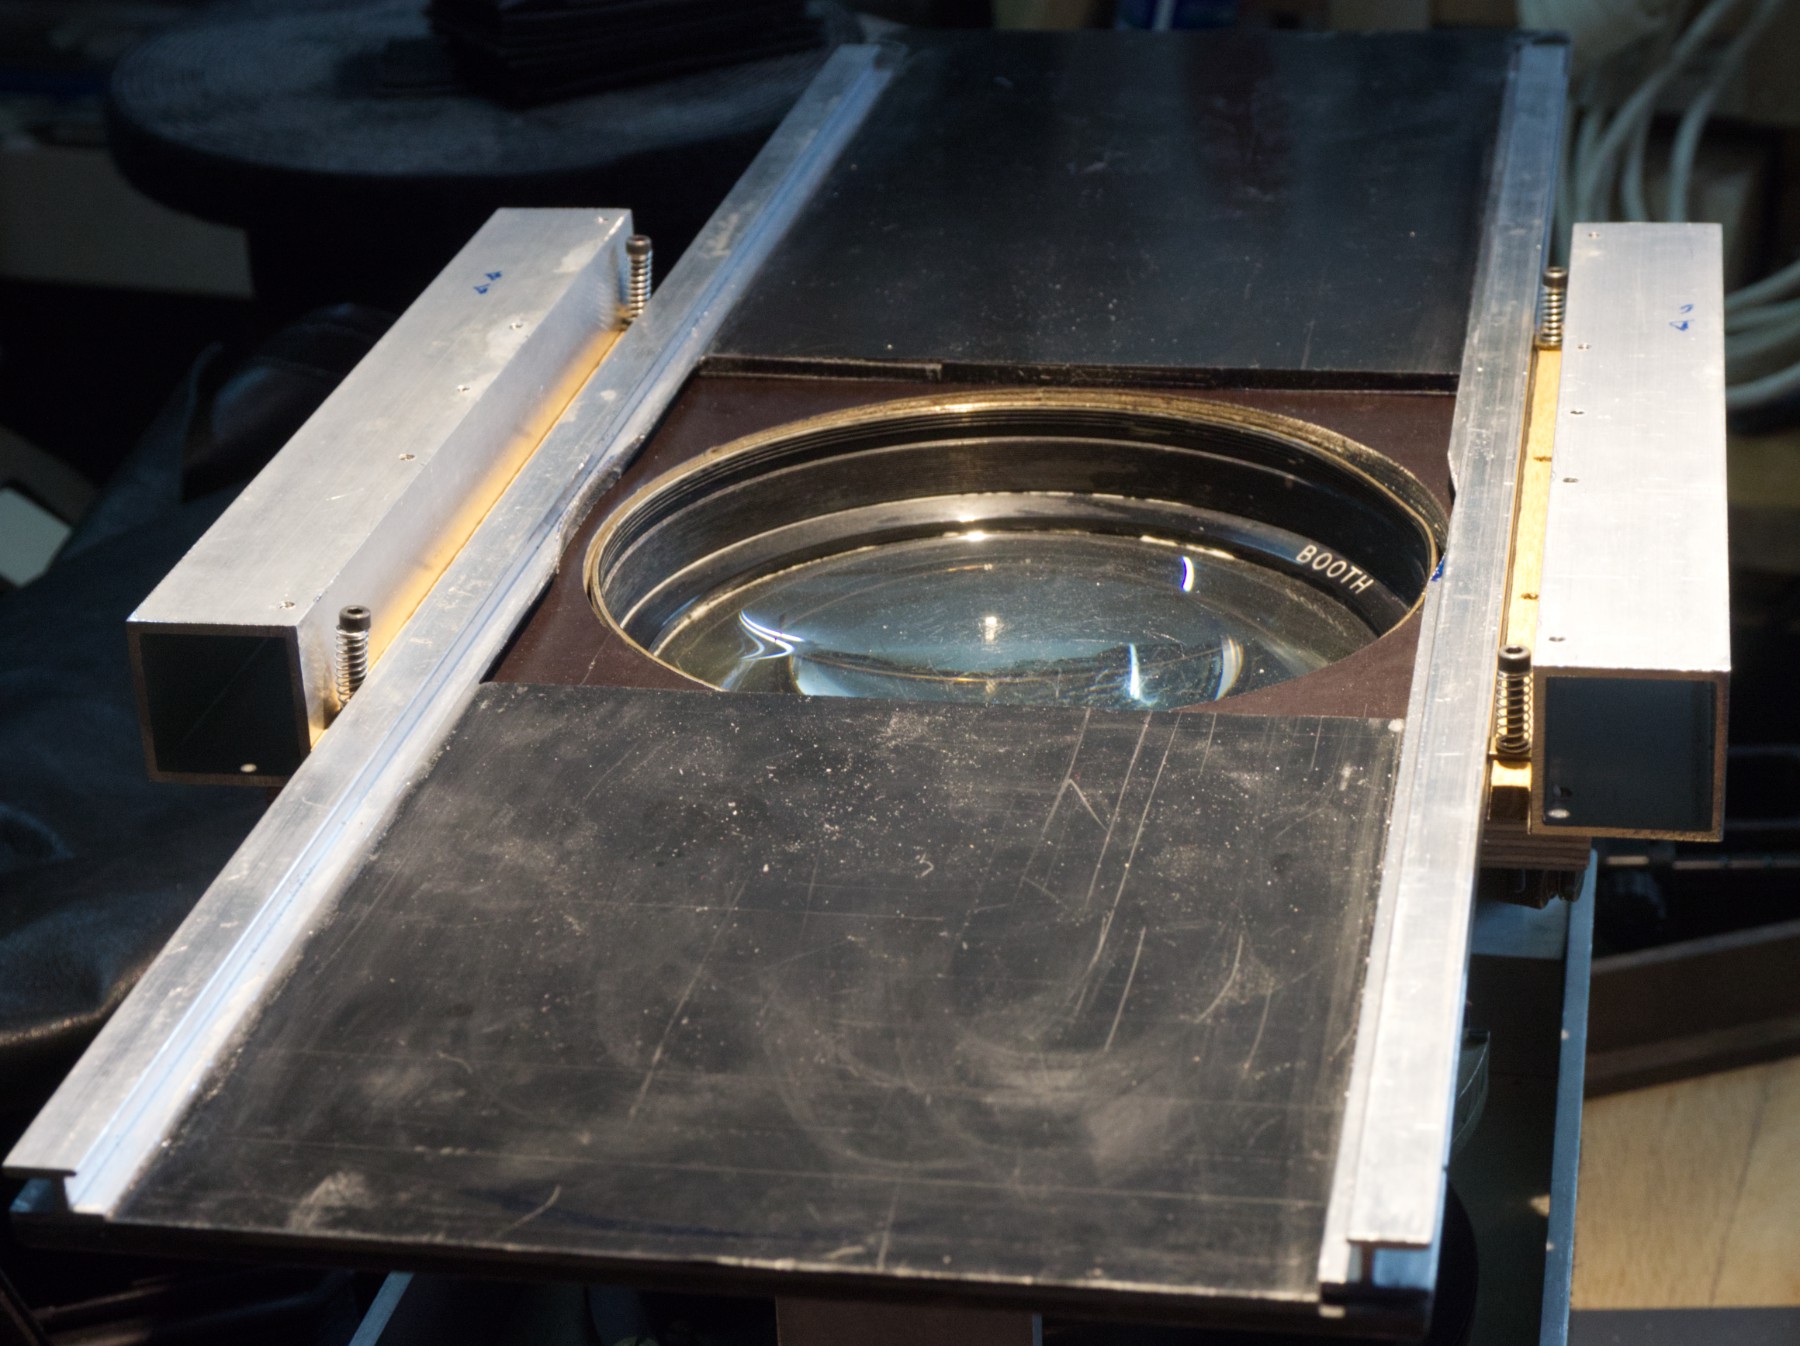
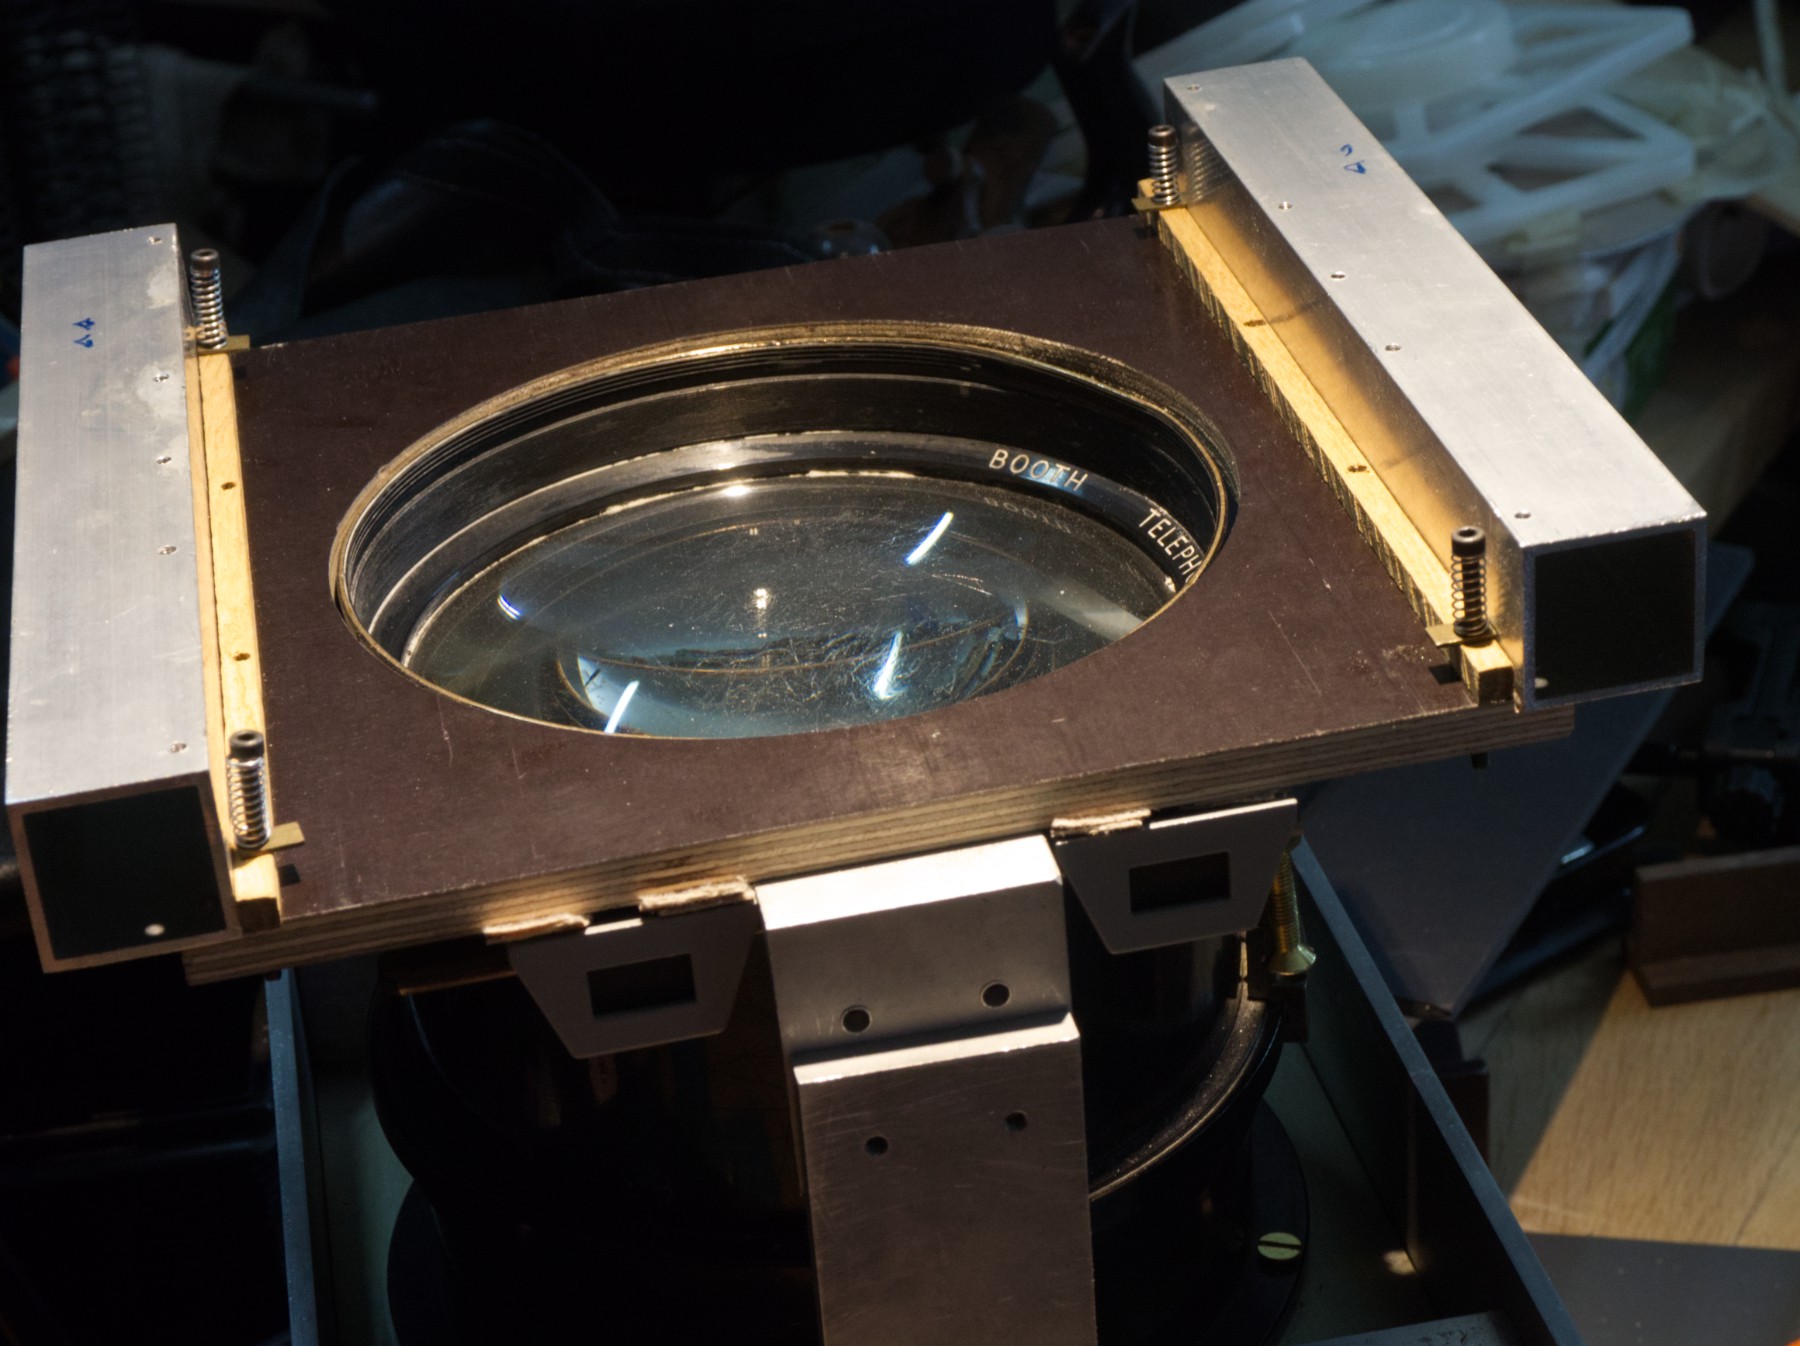
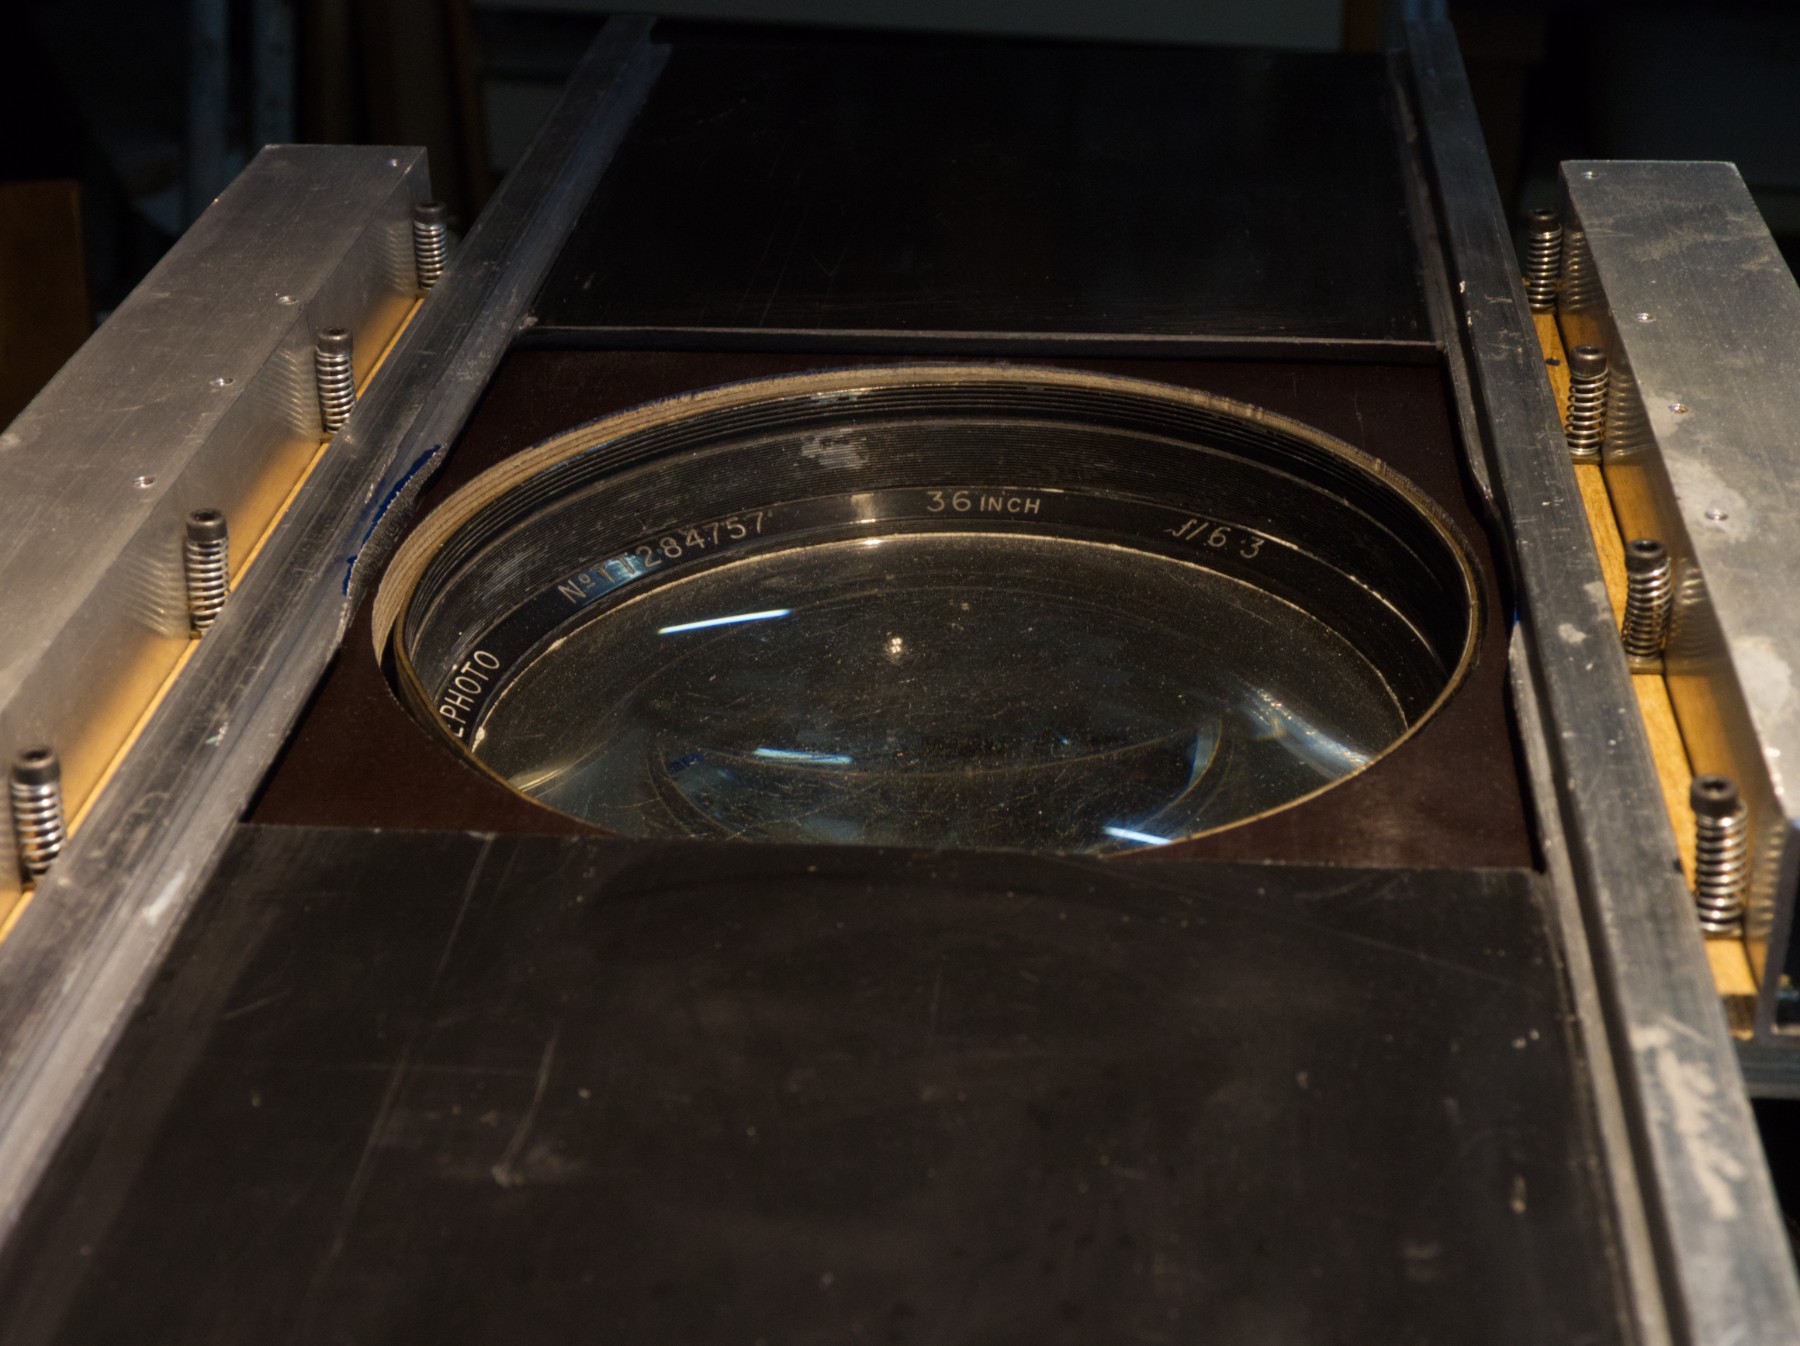
 Only 4 parts to hold the rolling mechanism that will (I hope so) guide the blade in a smooth and regular motion in front of the lens.
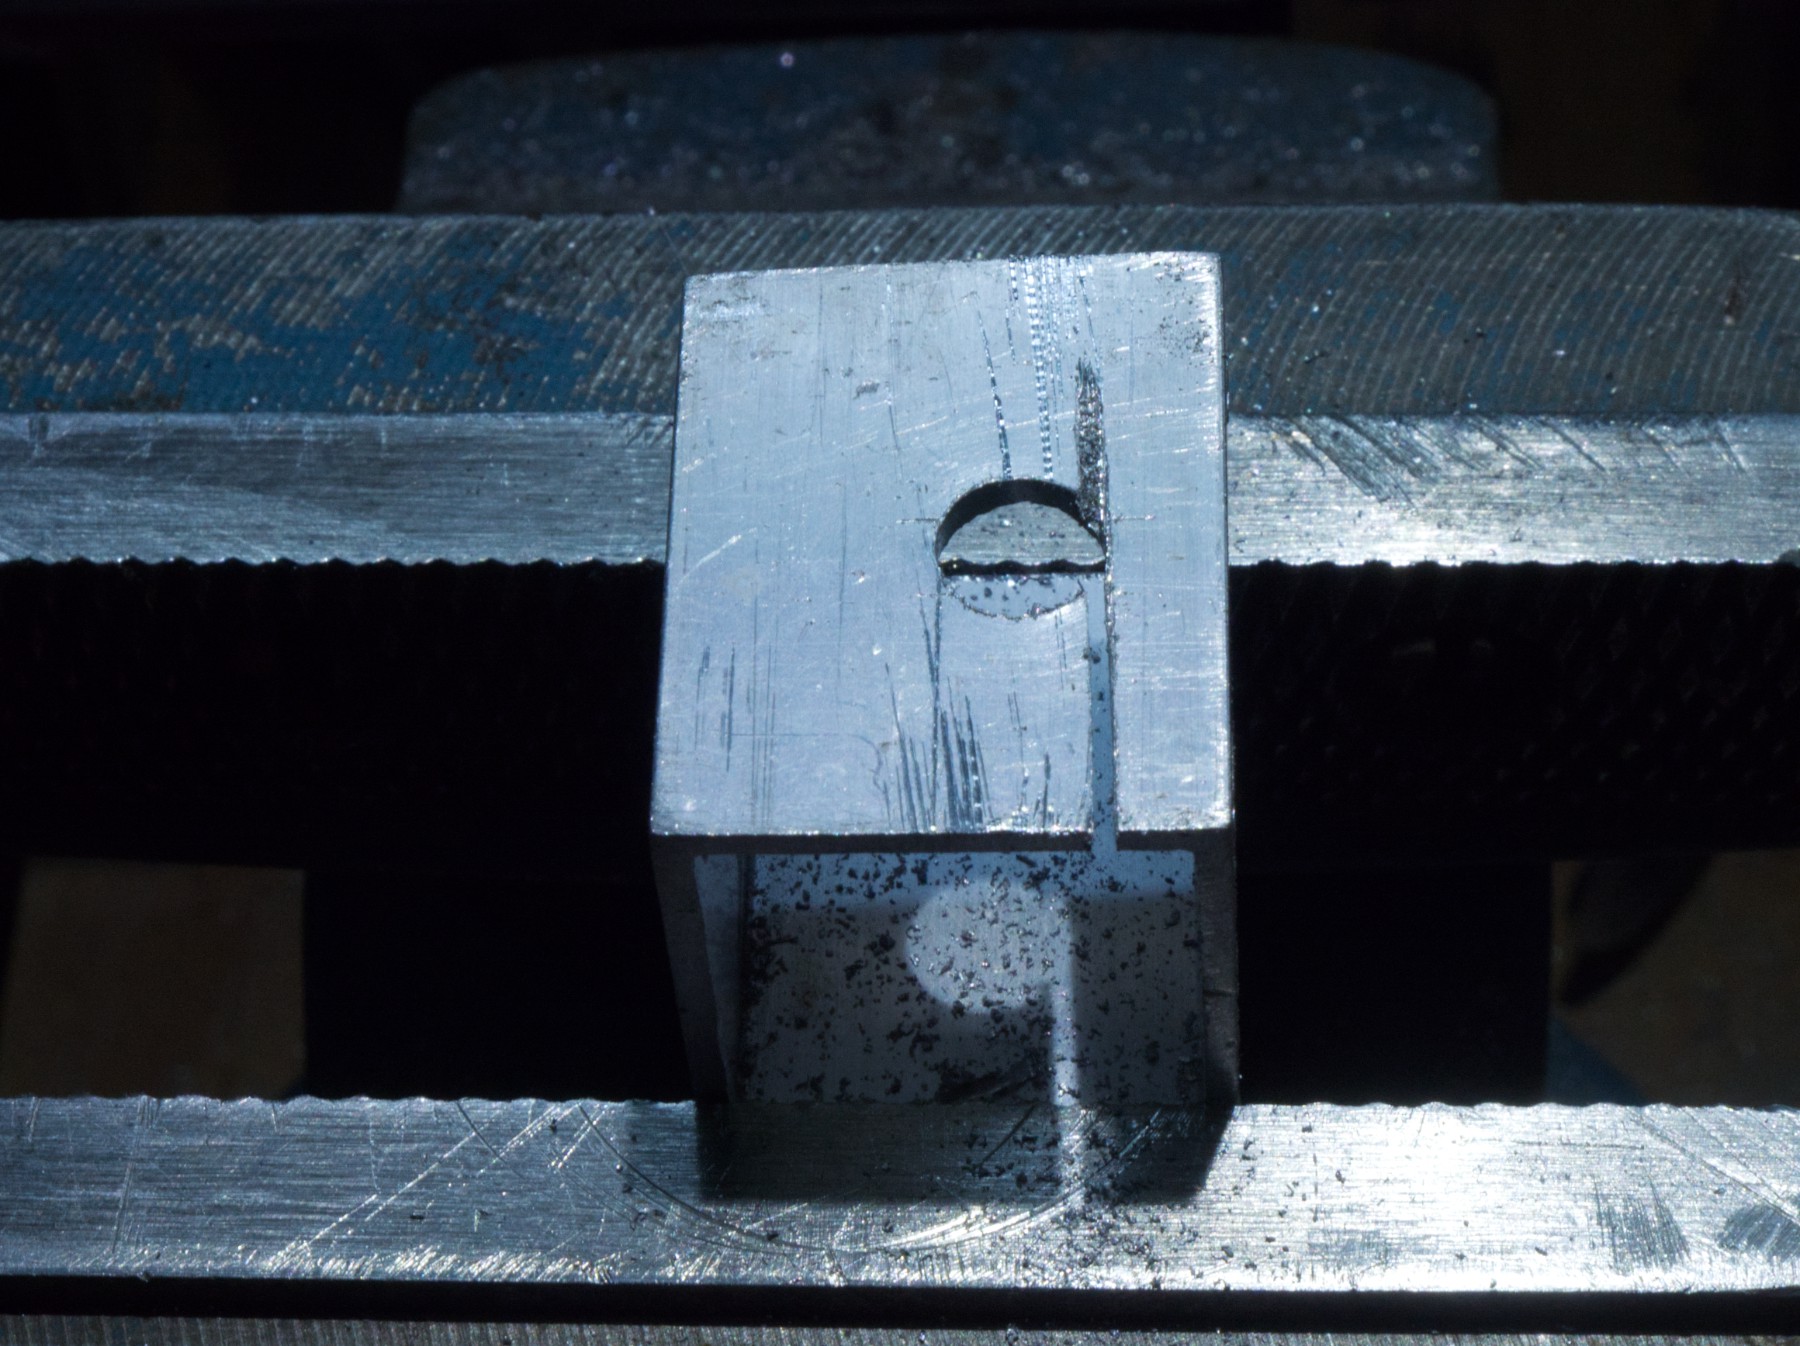
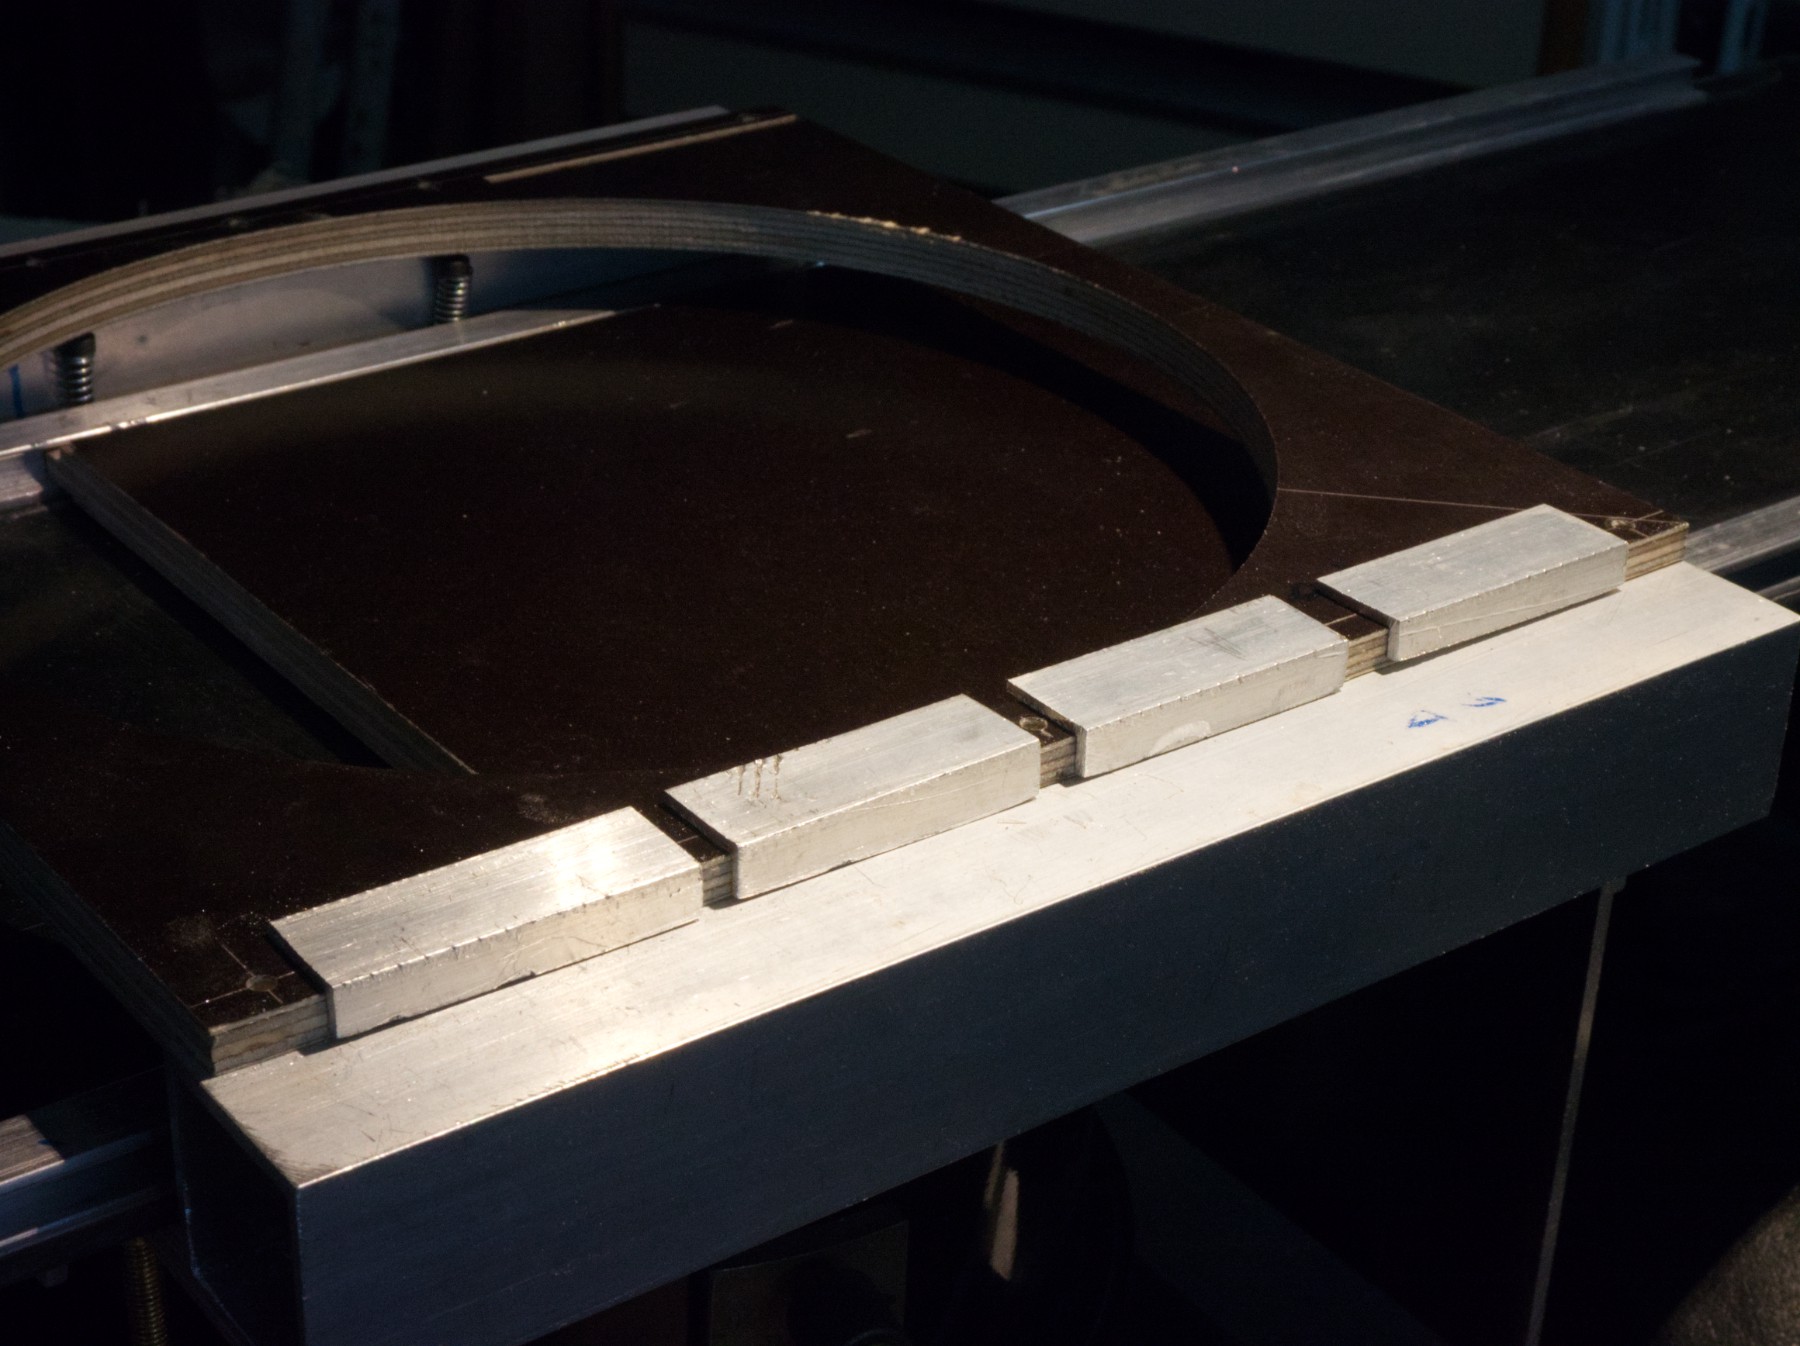
Some more of the 2 mm thick 3 cm square tube are cut.
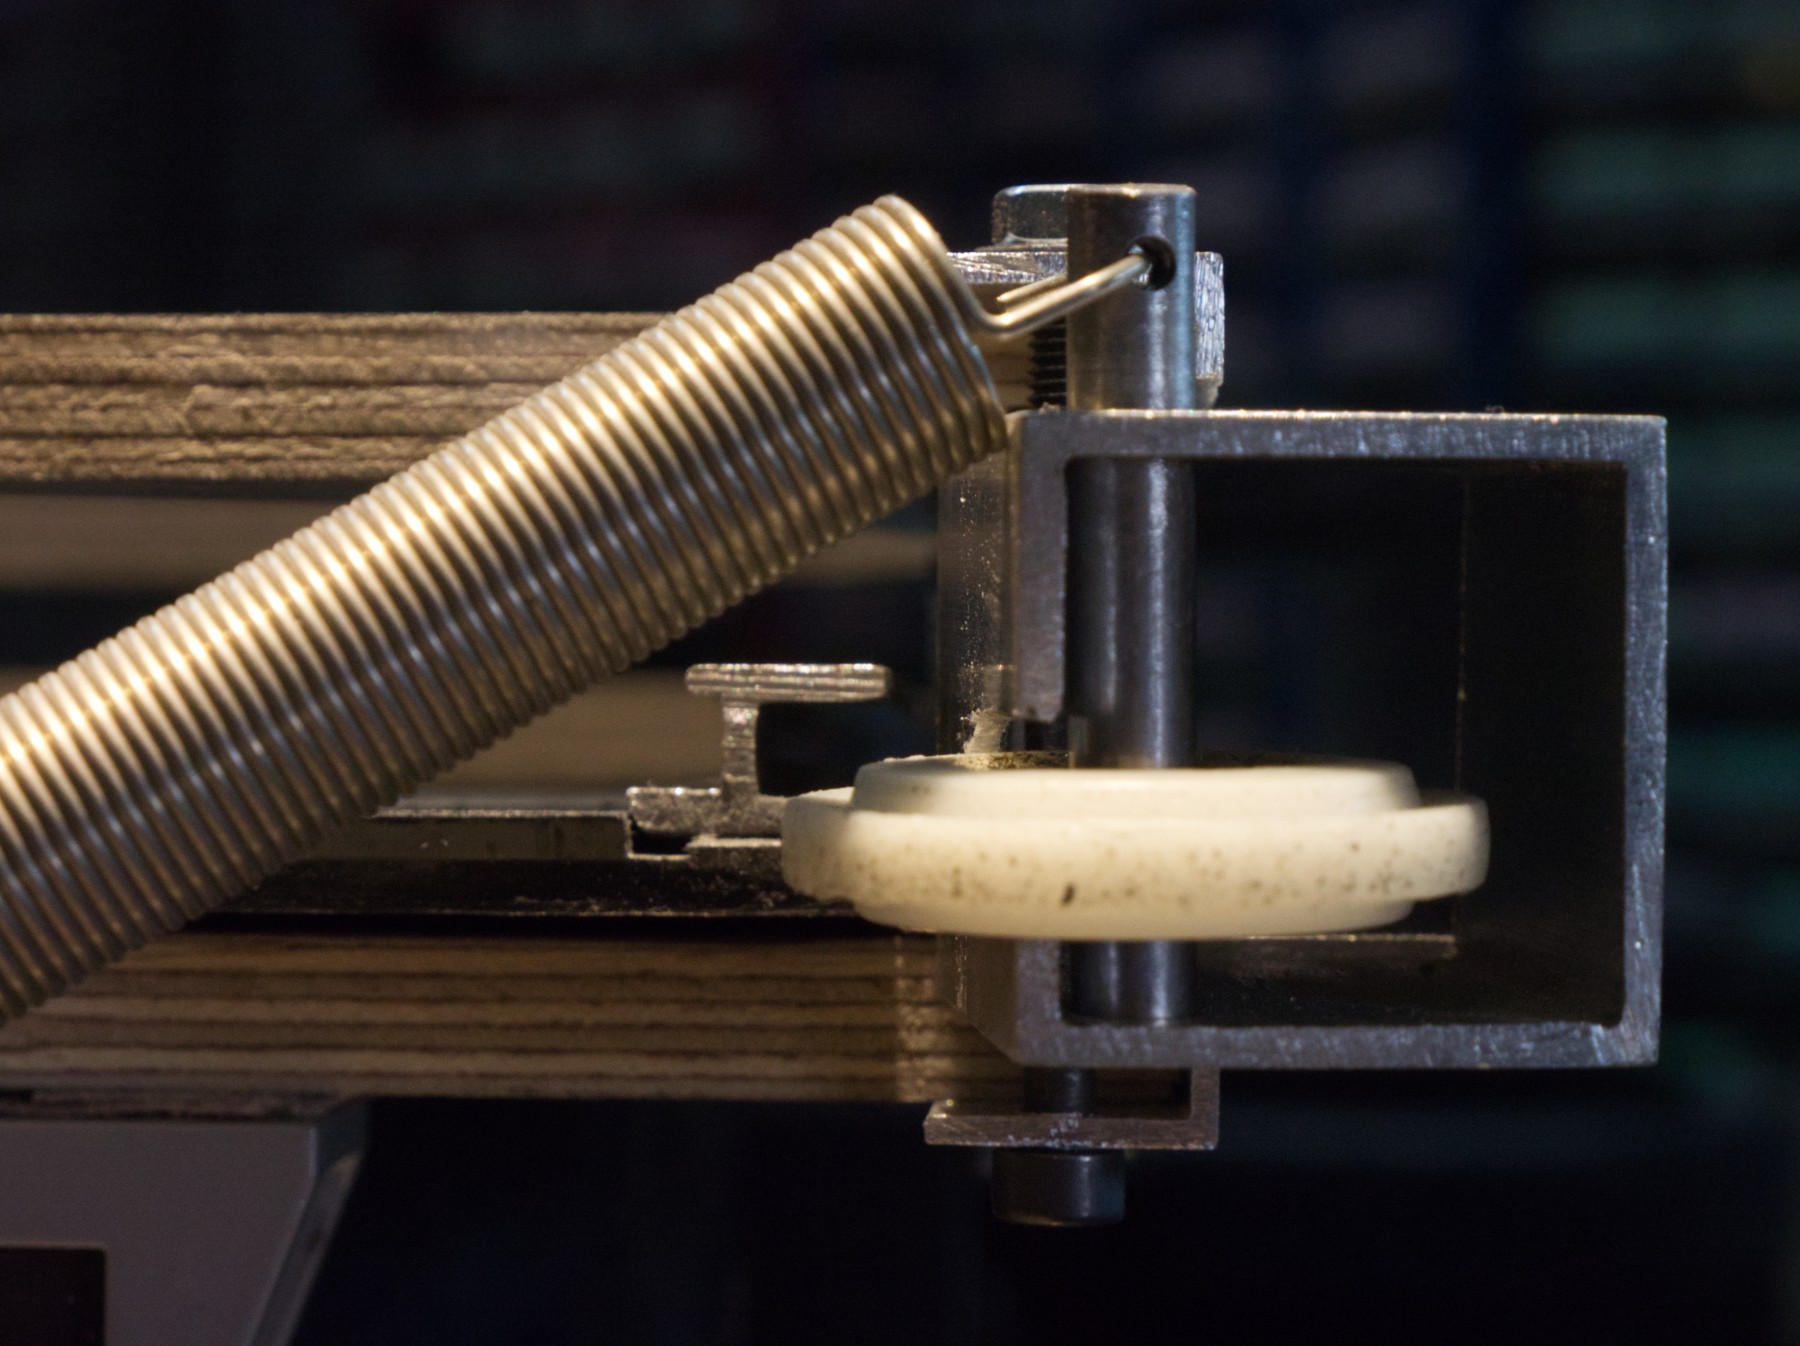
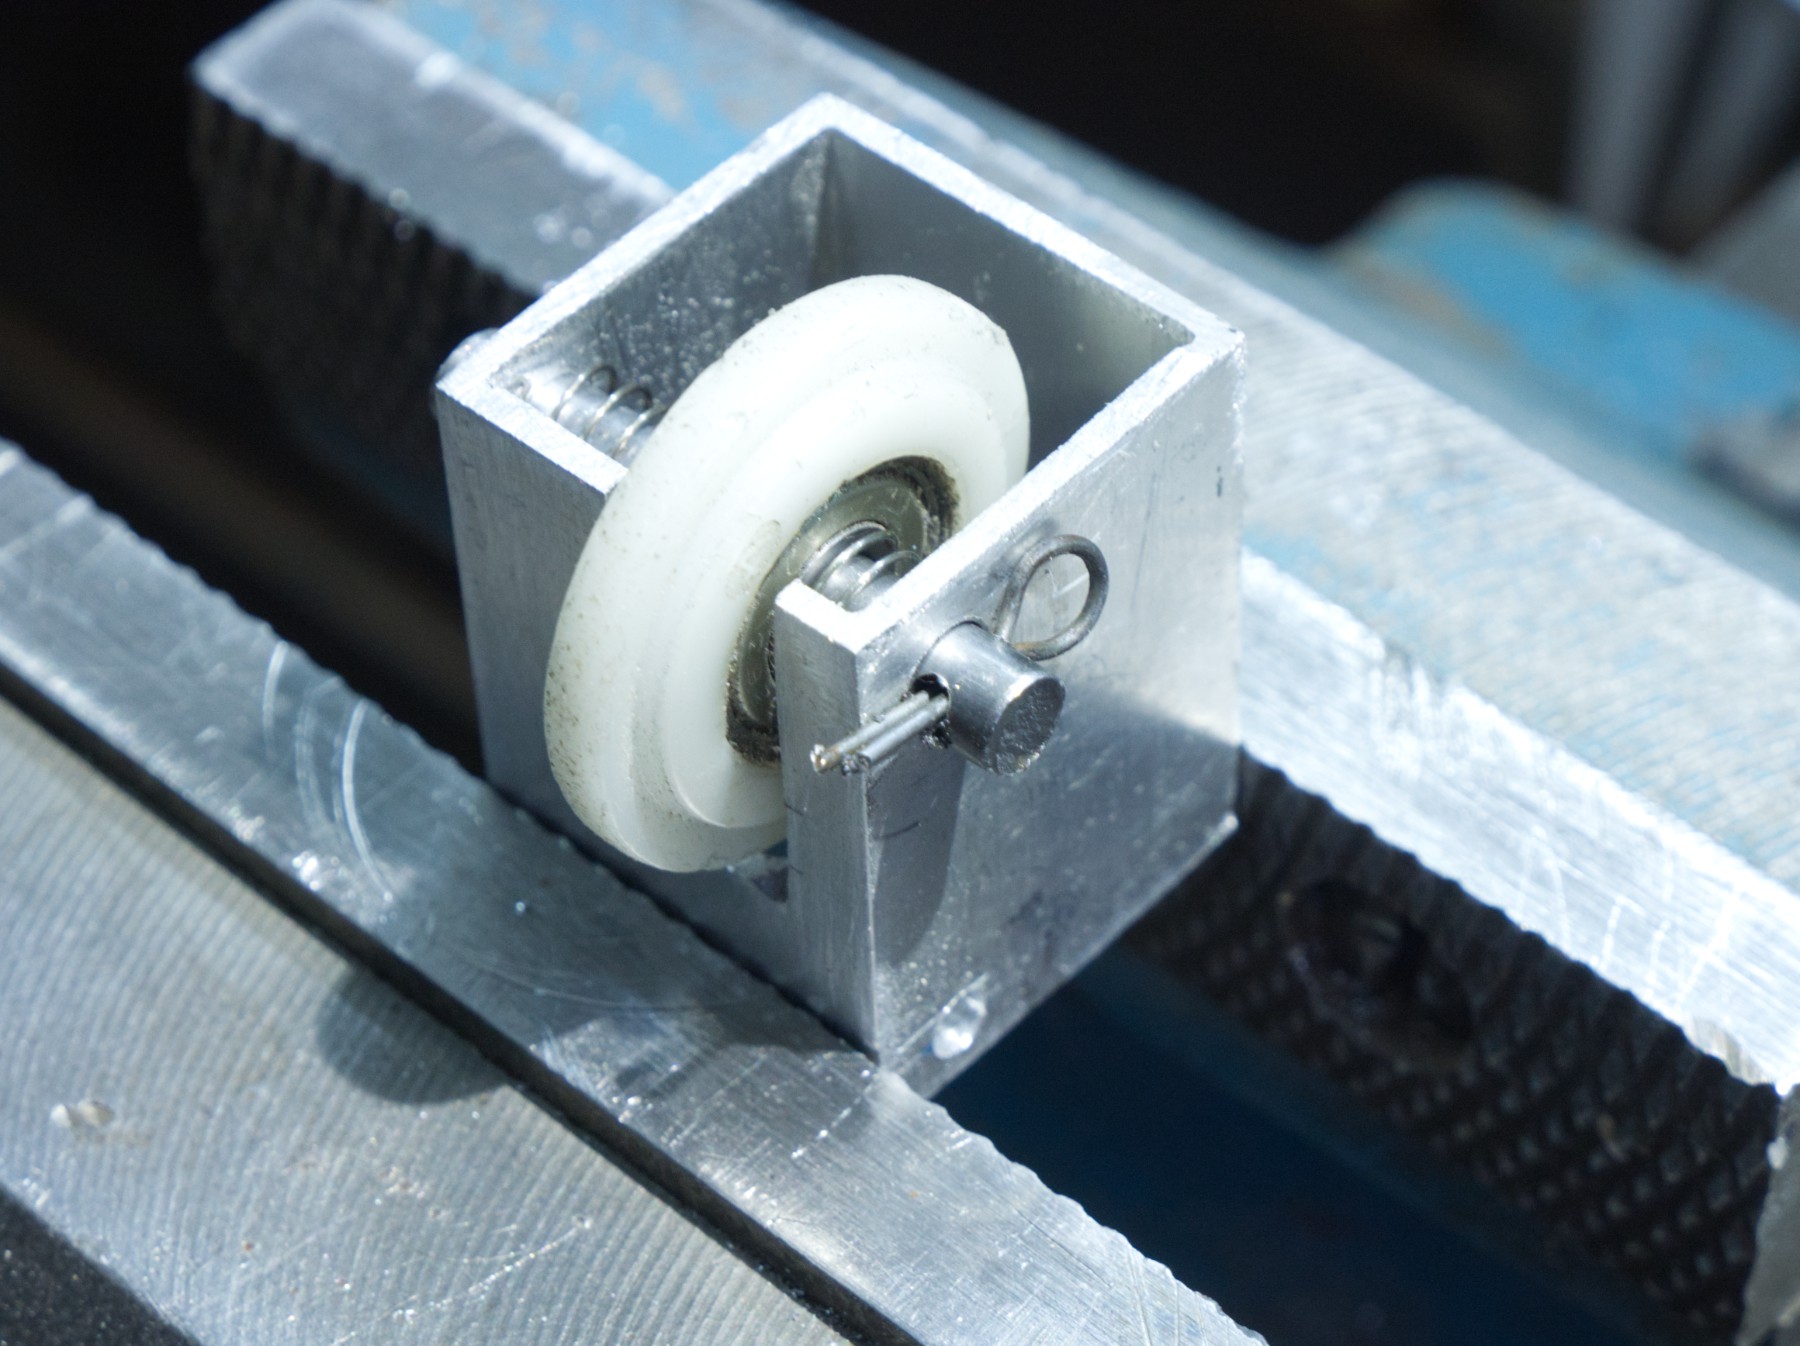
The roller must be exactly at the right place to be able to guide the H profile.

Adjustment was first though to be made with some washers. But the 6 mm diameter are too big for the place where I'd like to put them.
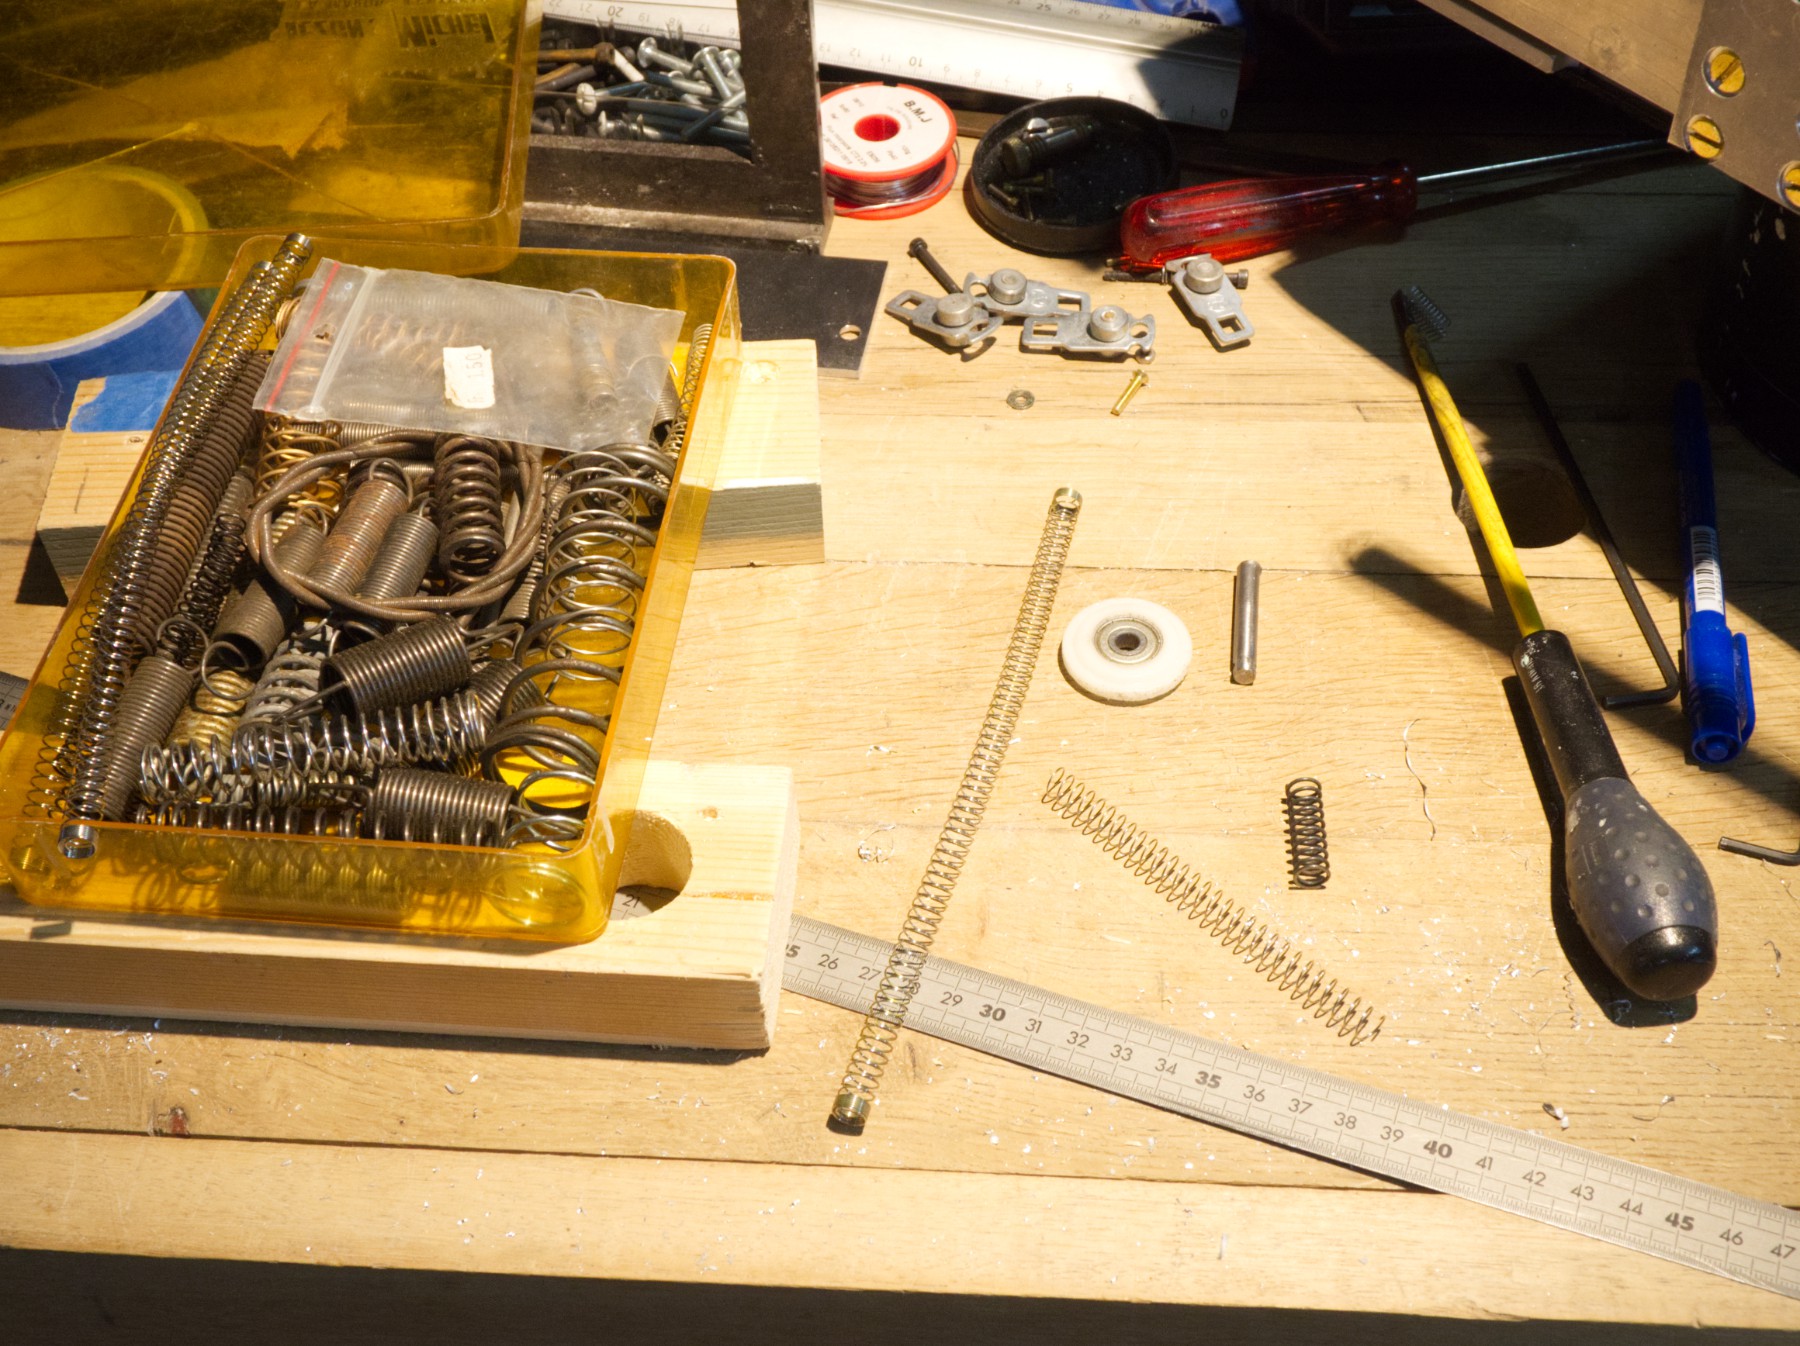
And in one of the spring boxes I found those very nice long springs, recovered from Epson yellow ink cartridges (when the printer, a big one, says it's empty, you can still hear the liquid remaining so I decided to recover all the ink I could from "finished" cartridges so the students could use them as paint, or whatever), and they have some kind of a problem with the yellow because only that cartridge has that very long spring inside.
They're very good quality springs as Epson belongs to Seiko that have a long story with springs.
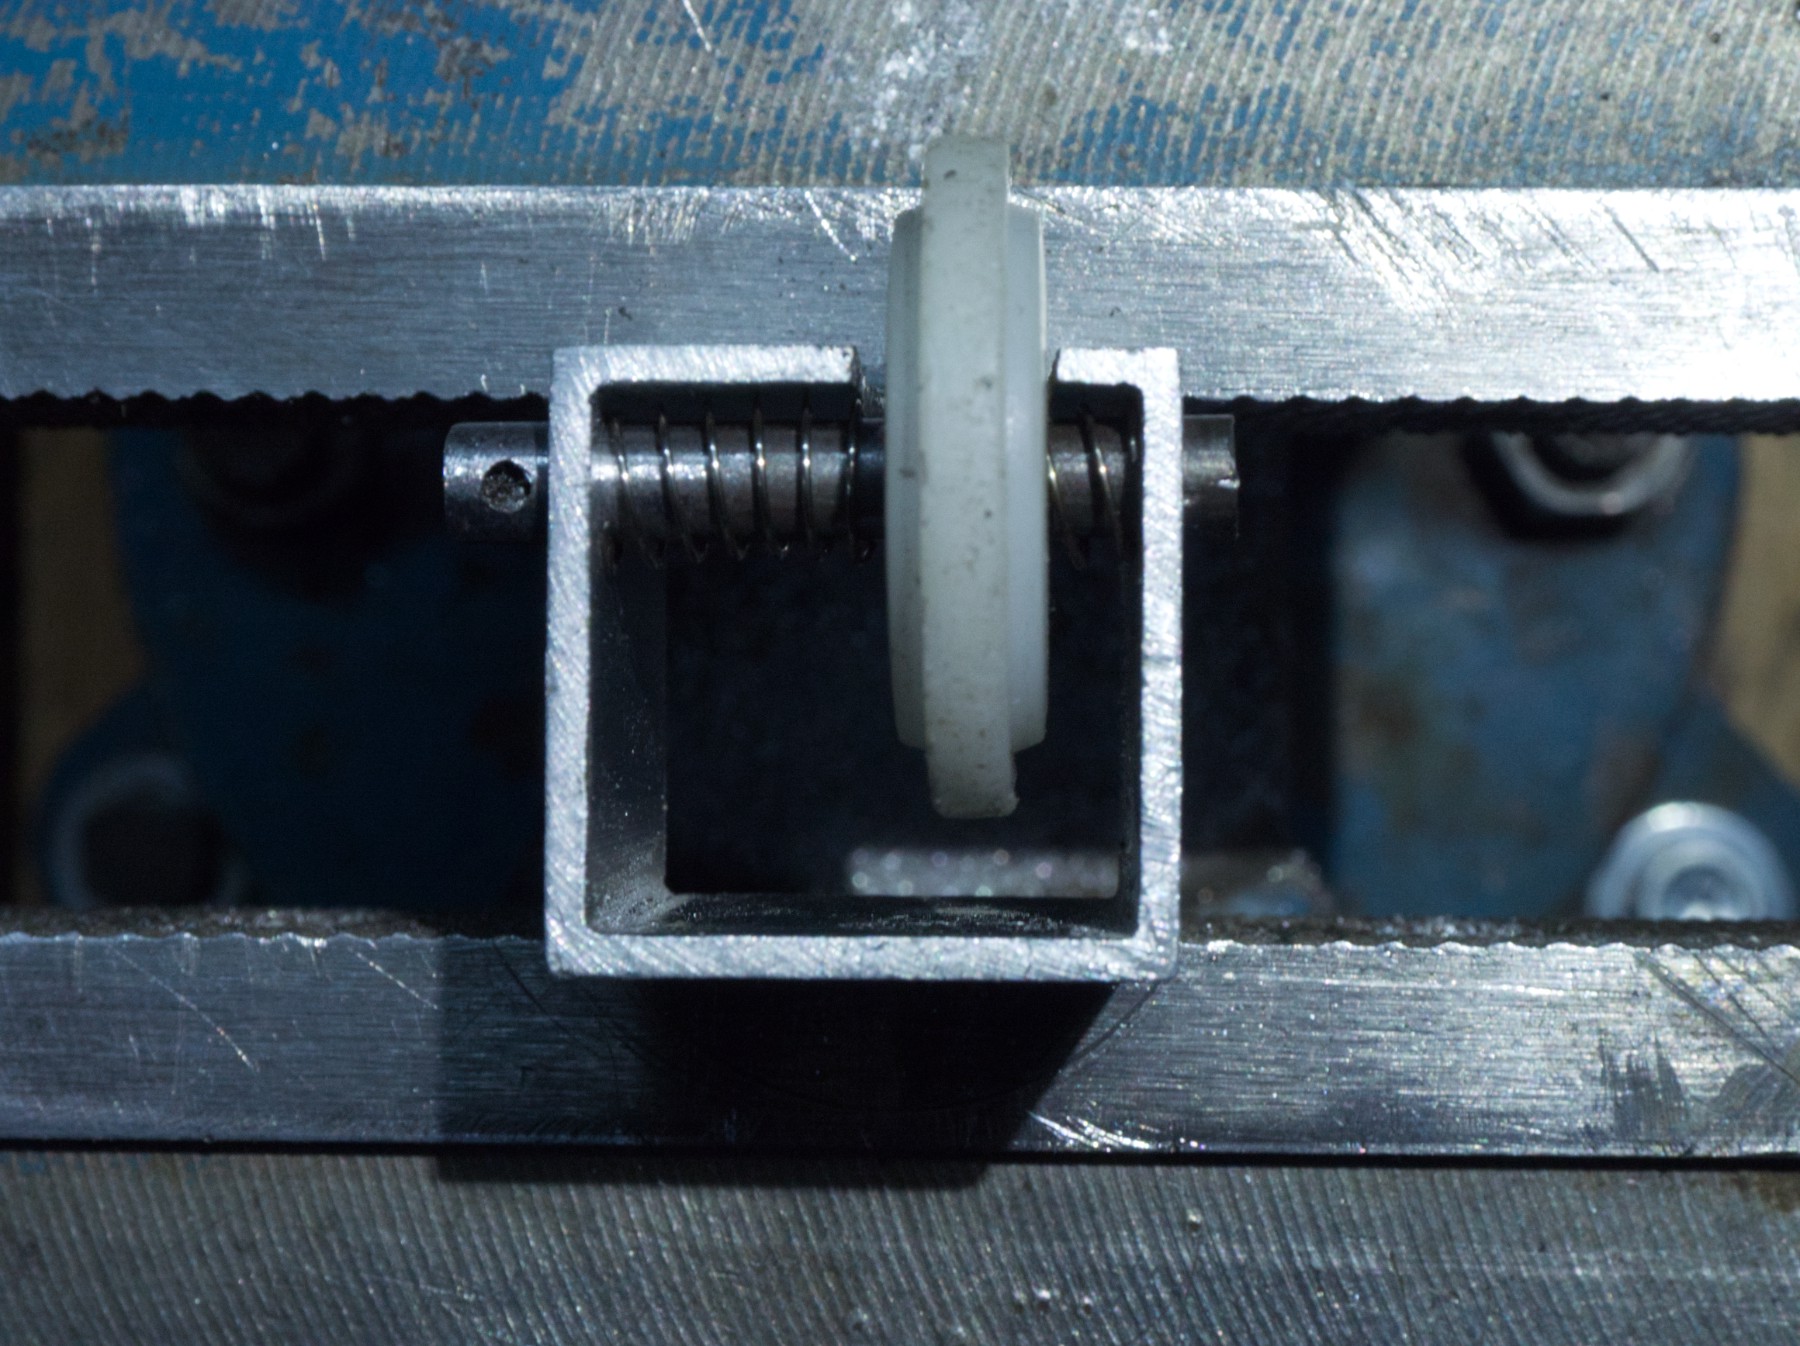
Easy to cut, they fit perfectly on both sides of the roller to keep it straight in line (even if the hole isn't perfectly aligned on both sides, it works all right.
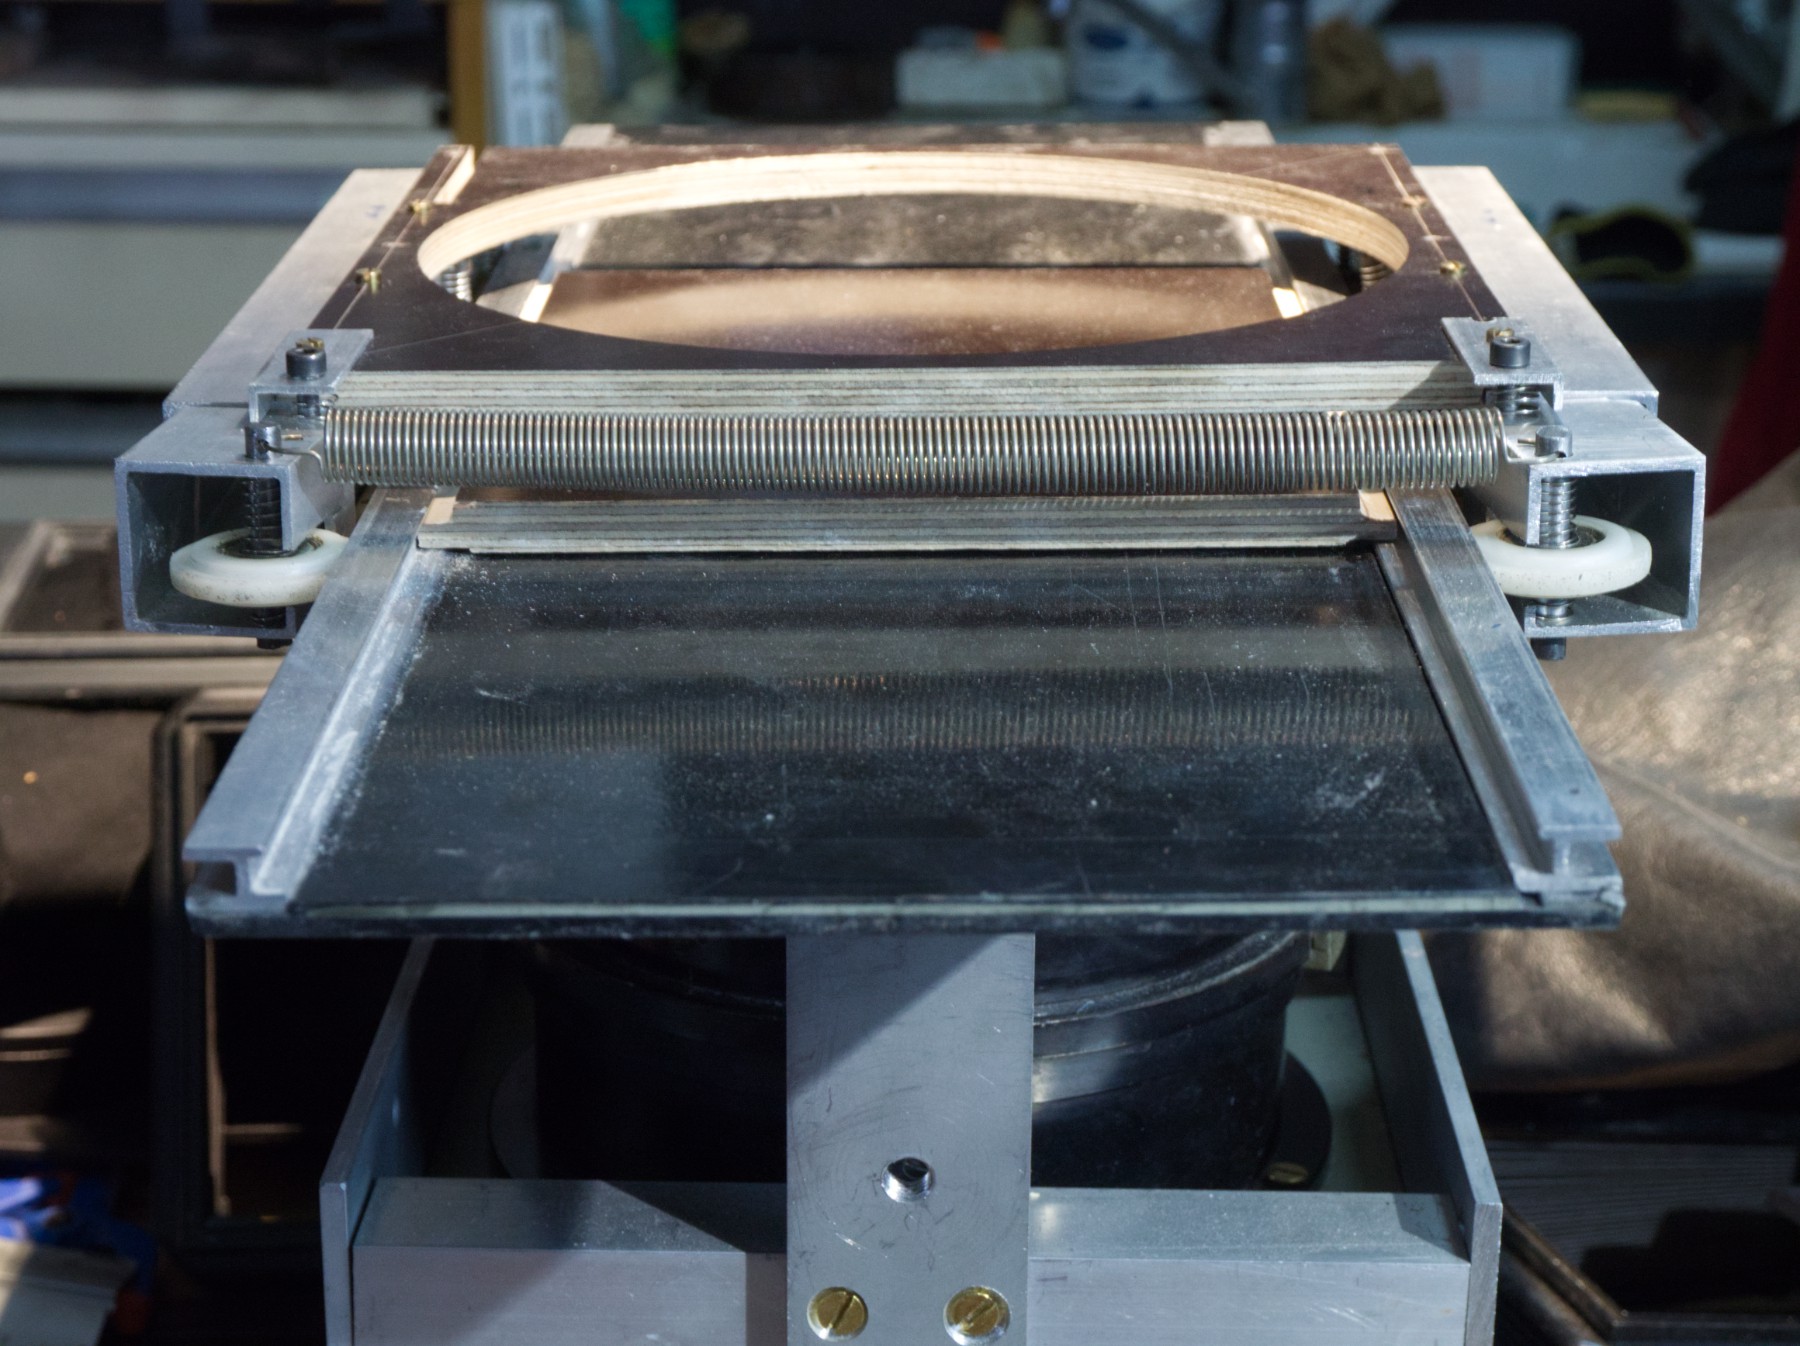
It looks like that from the low side of the system, the big spring gives just the good tension to have a smooth and regular glide of the blade.
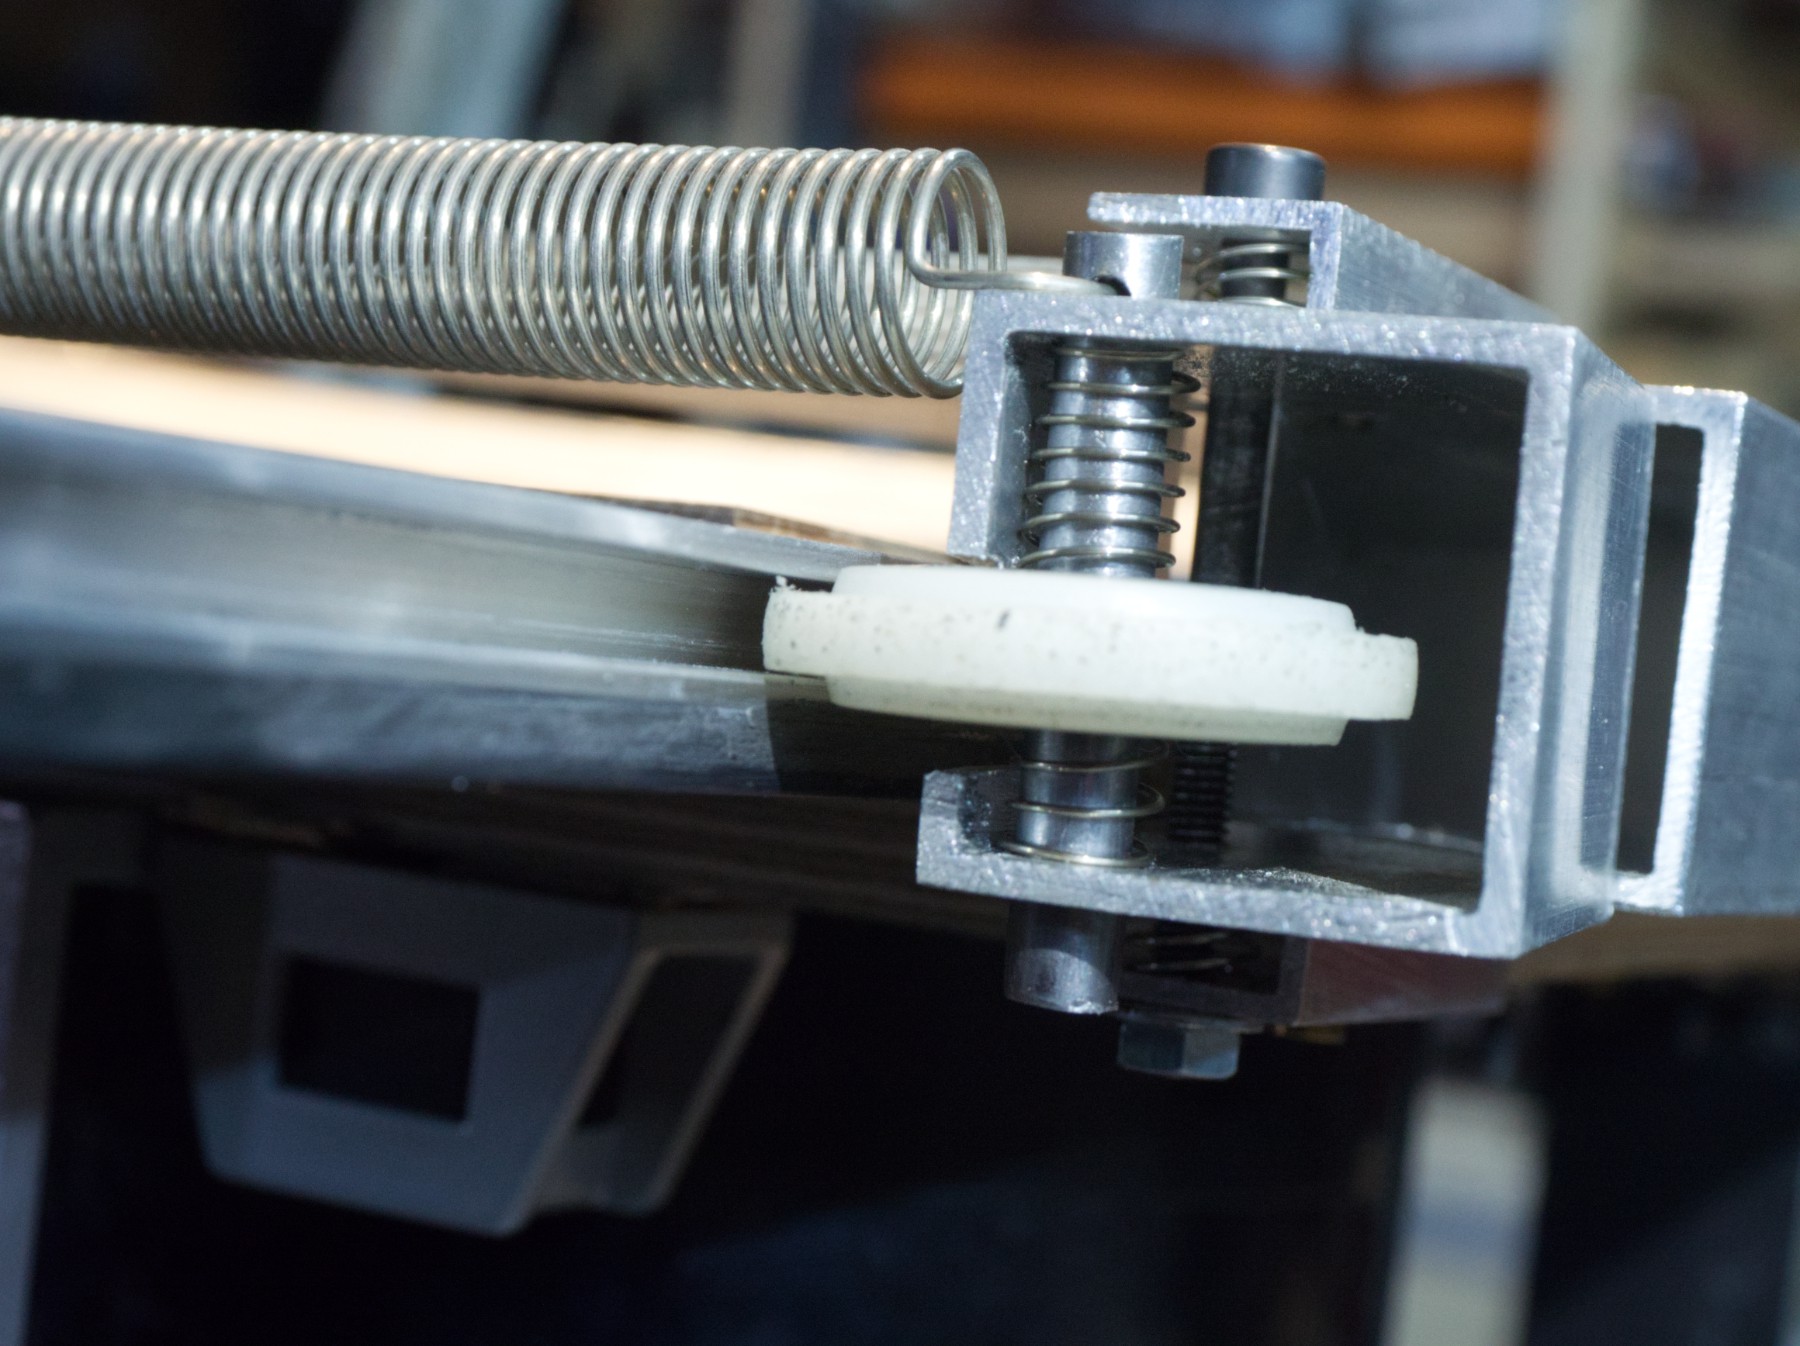
Closer view, some more springs have been used, up and down the black screw, to finalize the alignment.
The final touch : a homemade goupille (pin ?), it's been very hard to make with 1 mm (I don't want to try to know what gauge it is) piano string, but it won't fail.
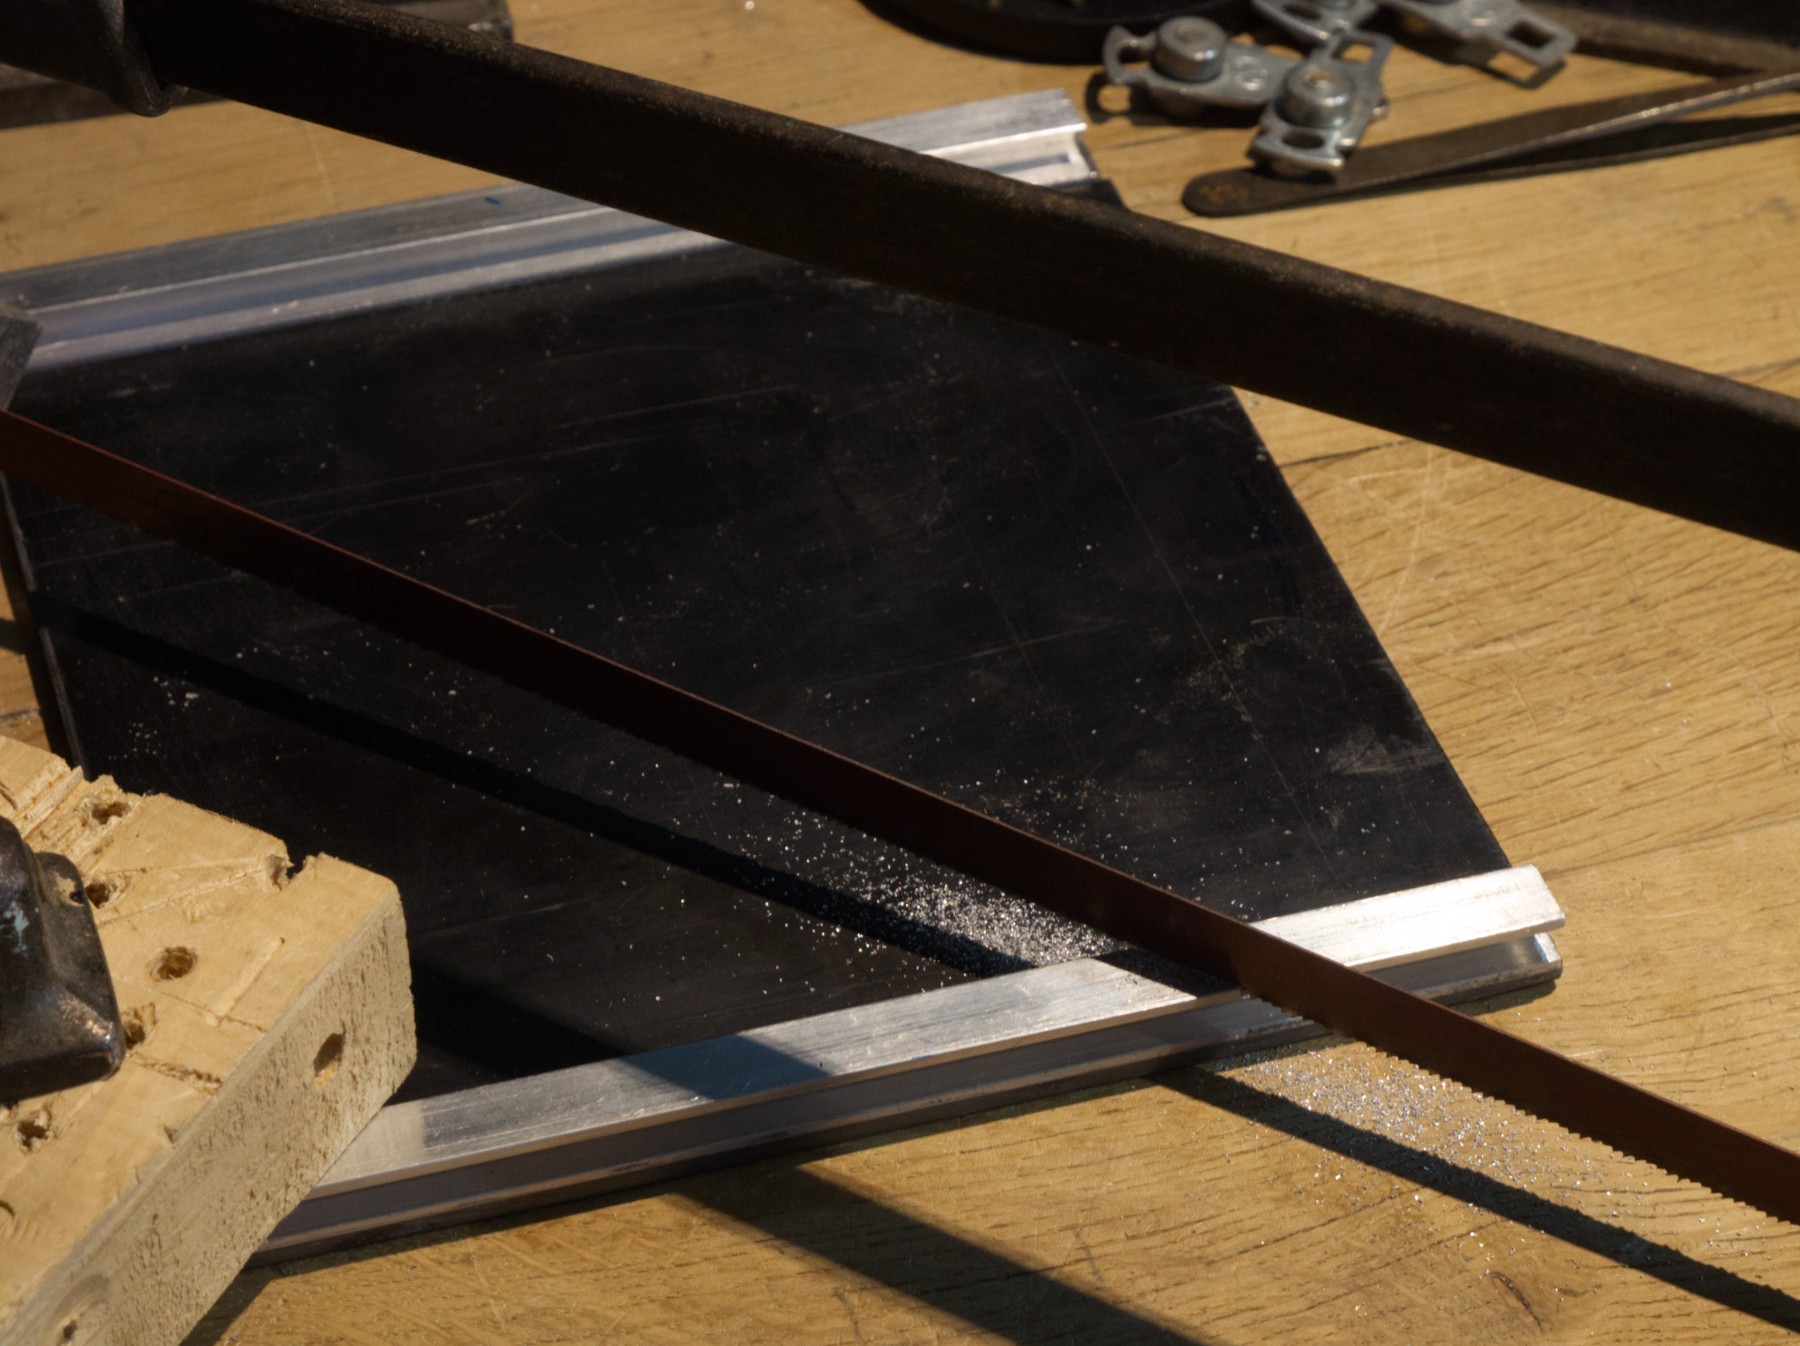
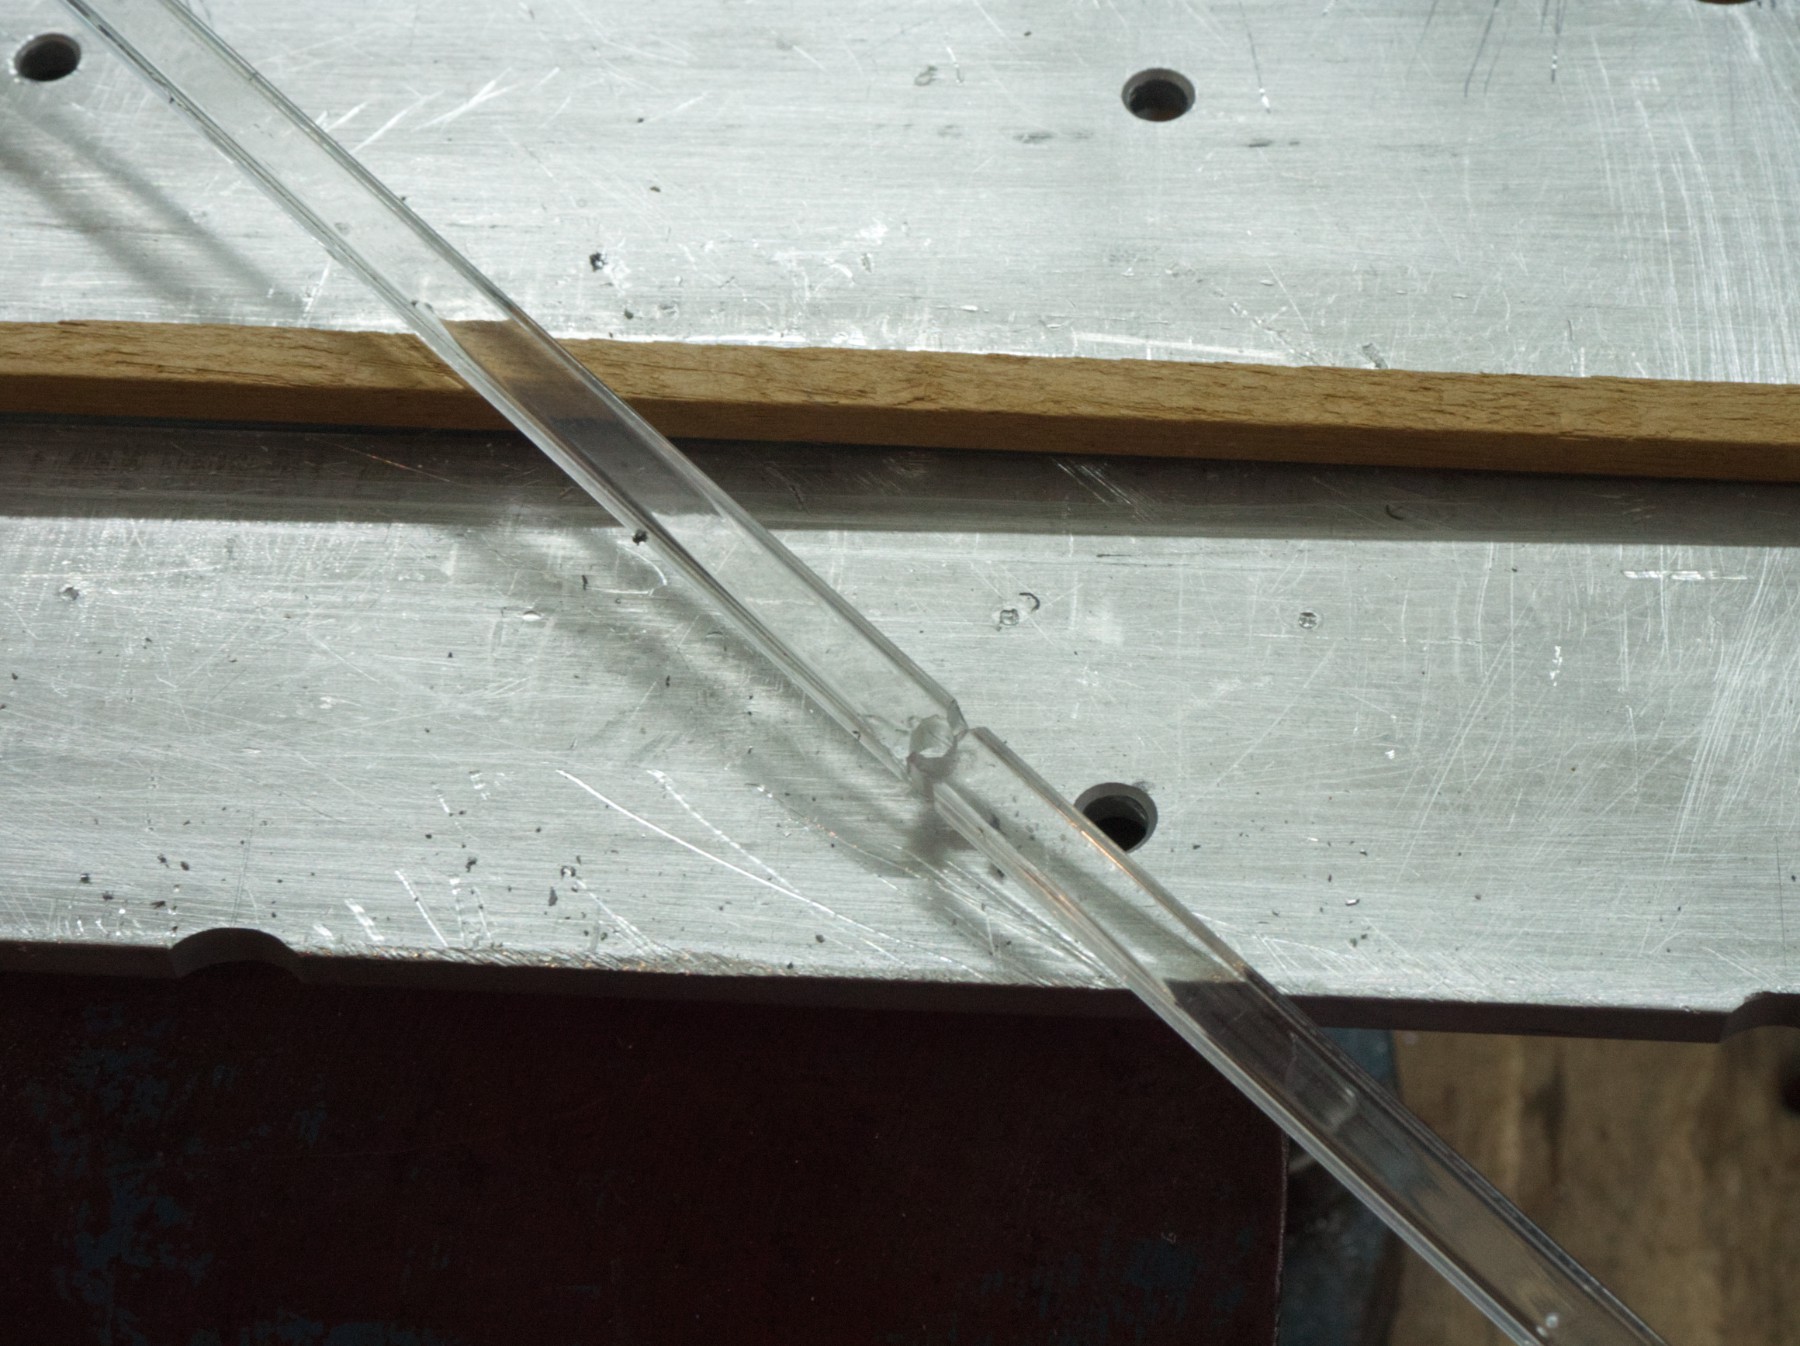
Now the blade must be cut, with a 90 ° angle from that first cut.
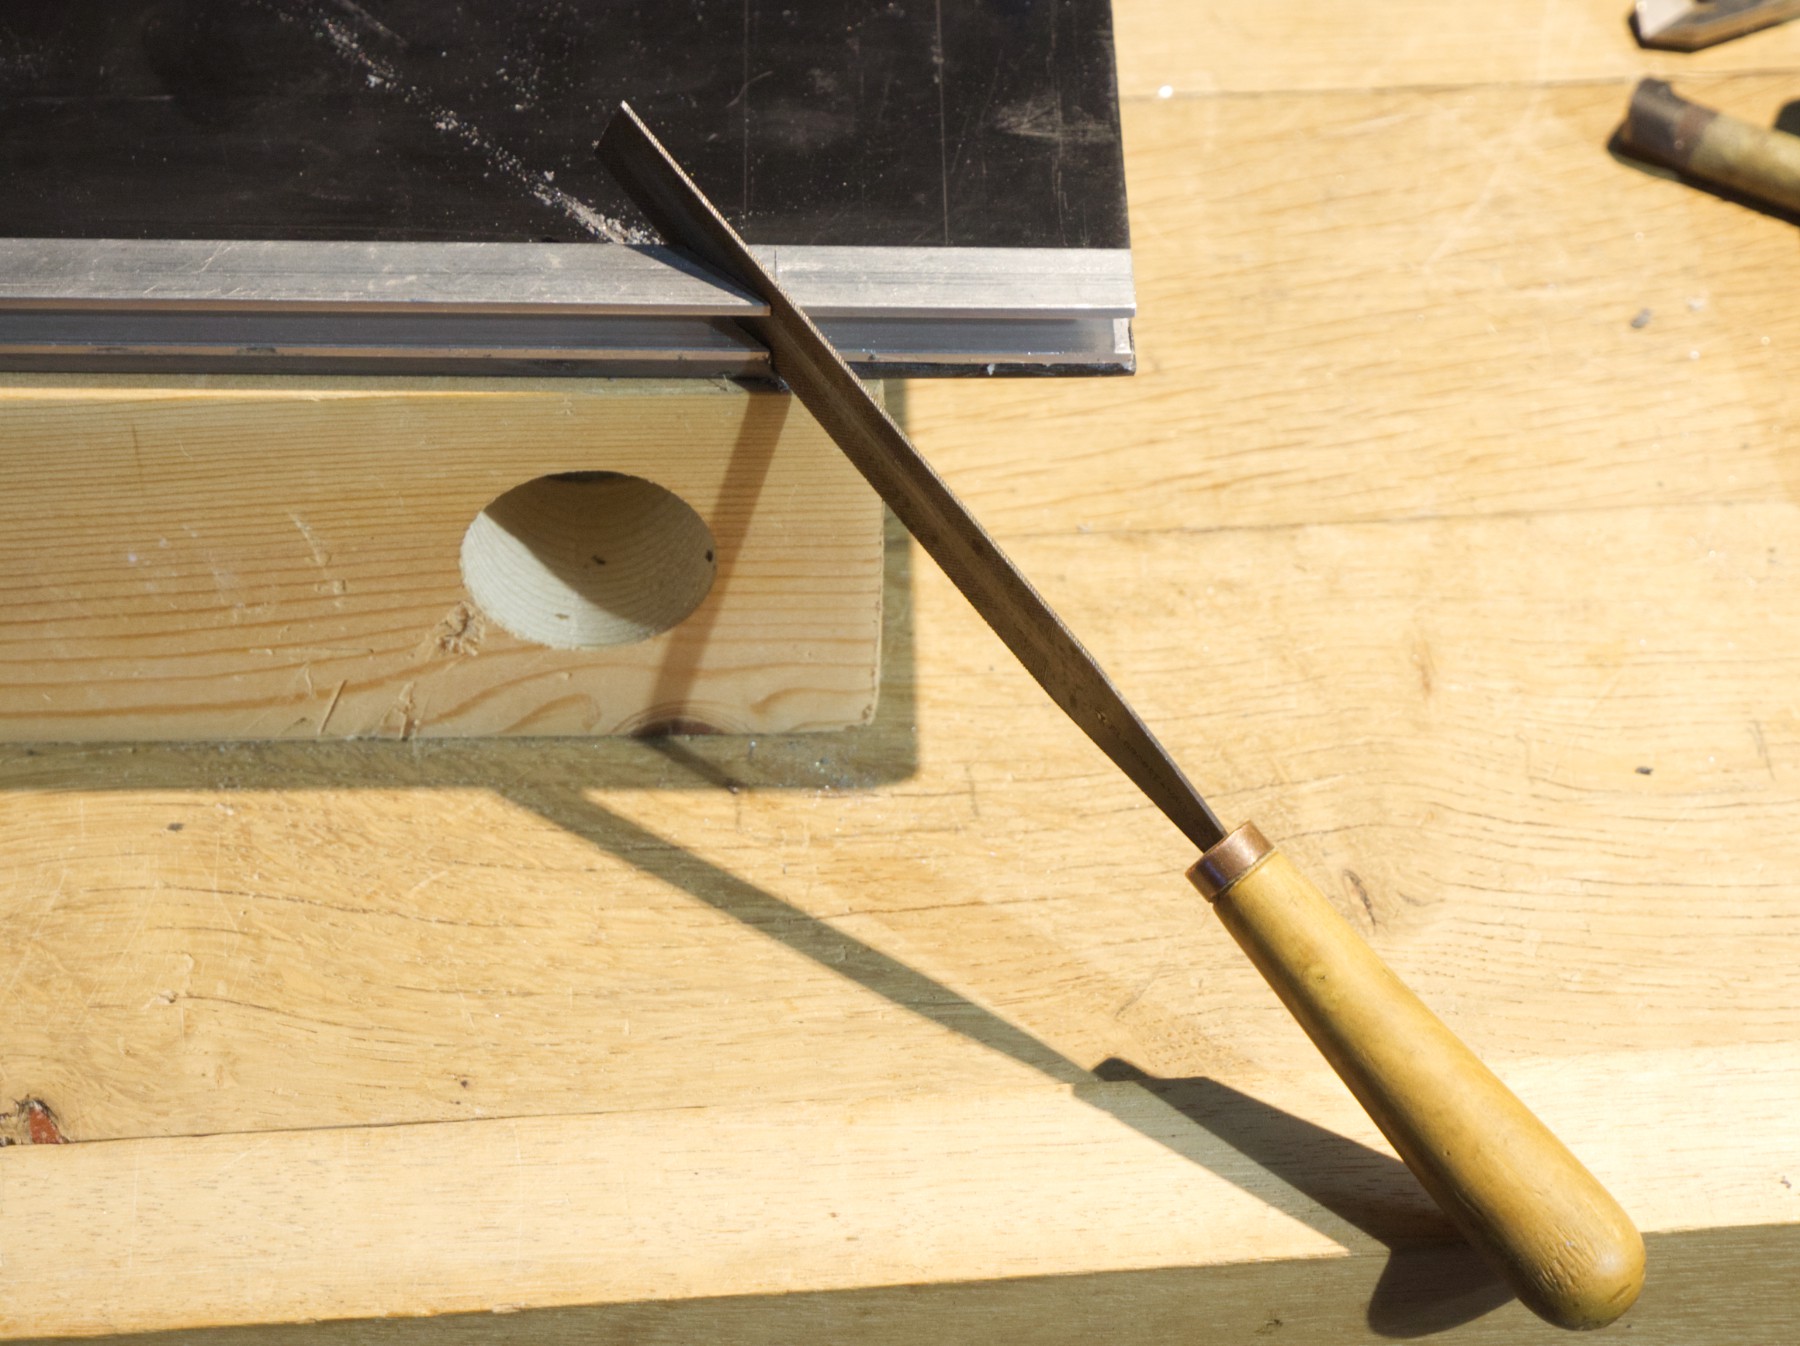
Continuing with a small file. I wanted to cut all the aluminium on the right, but only the top part of the left.
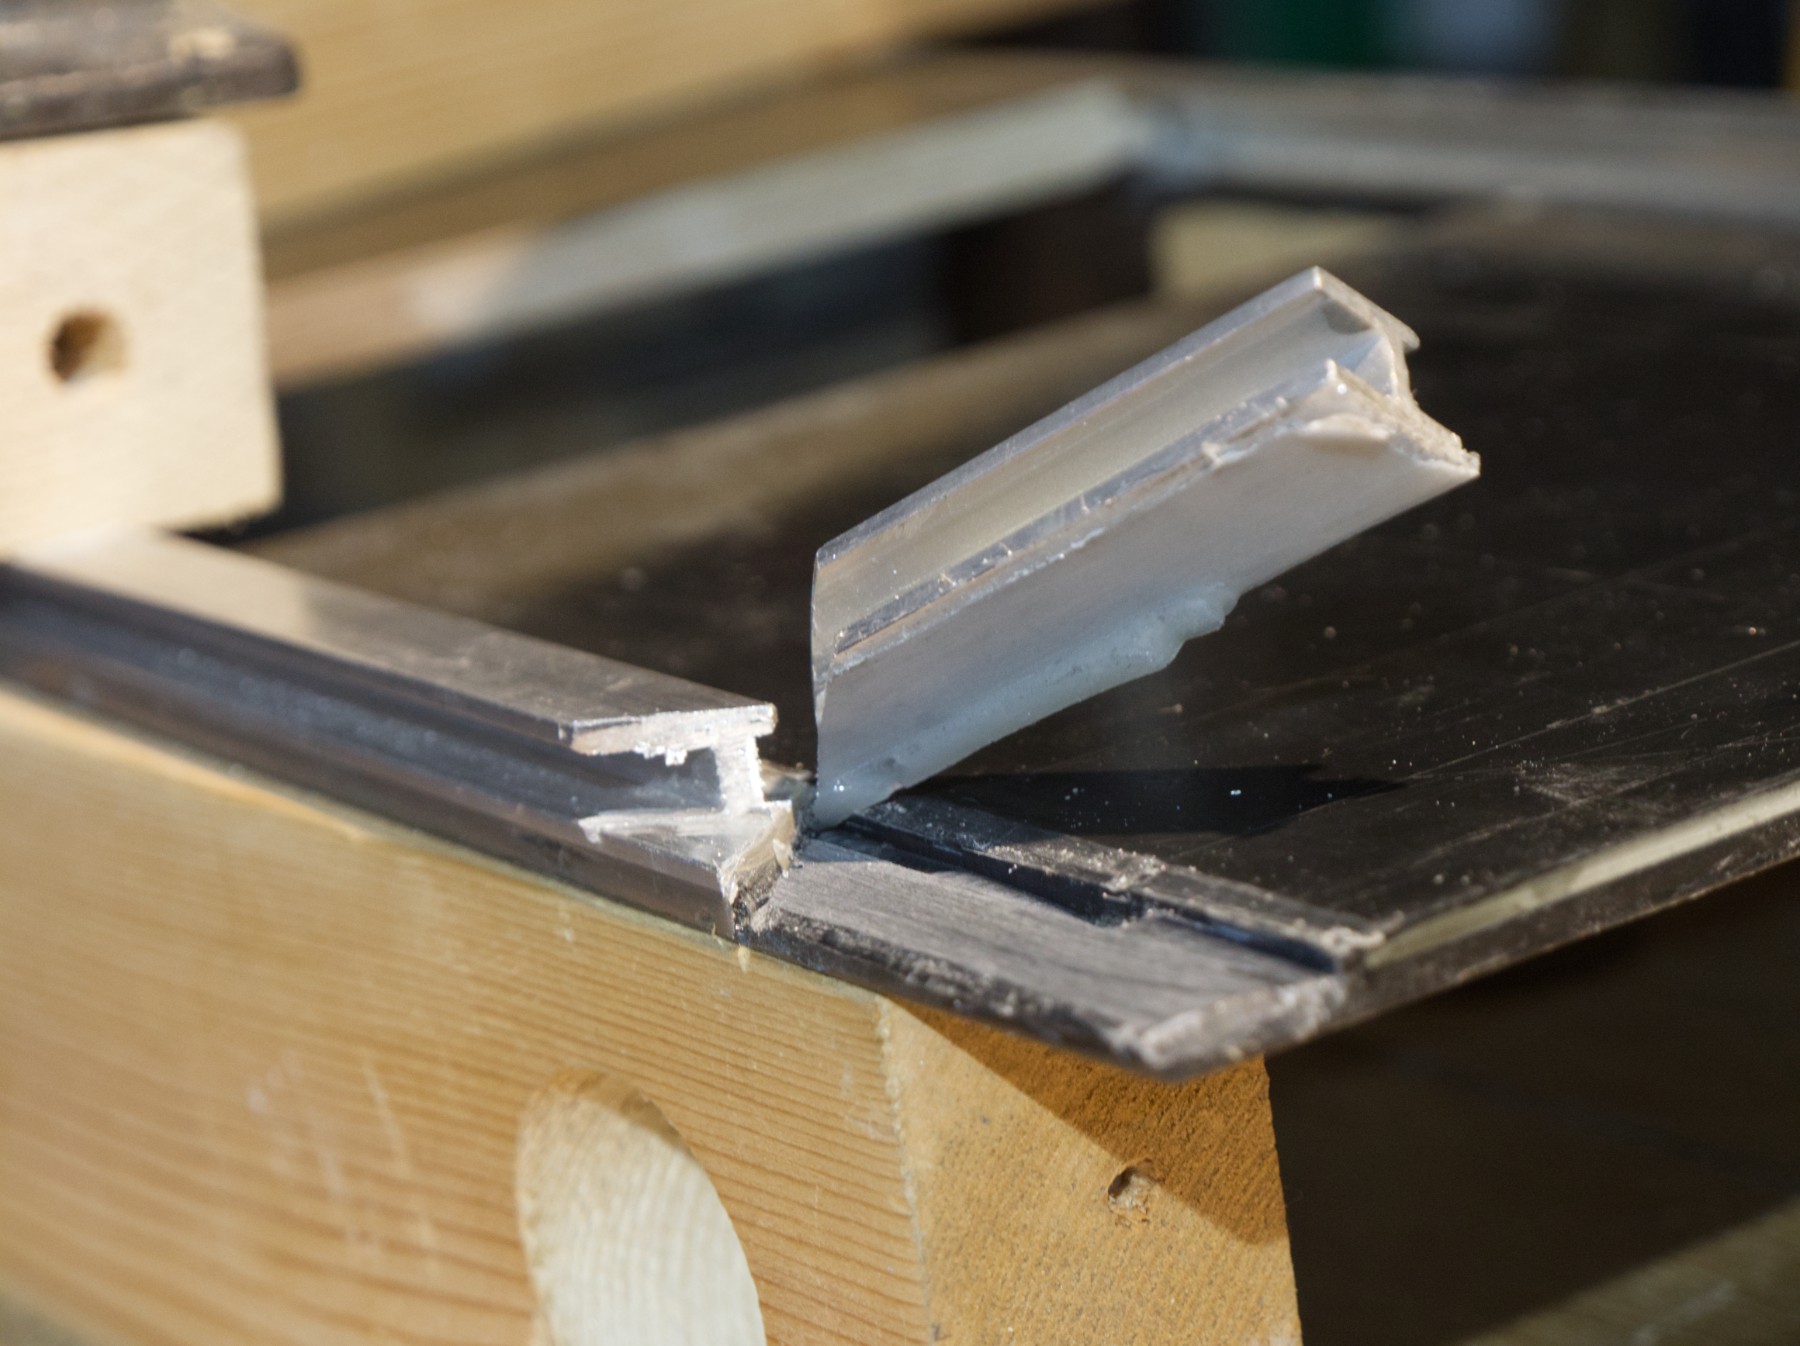
The Araldite epoxy didn't adhere at all on the PVC, it was quite easy to take away.
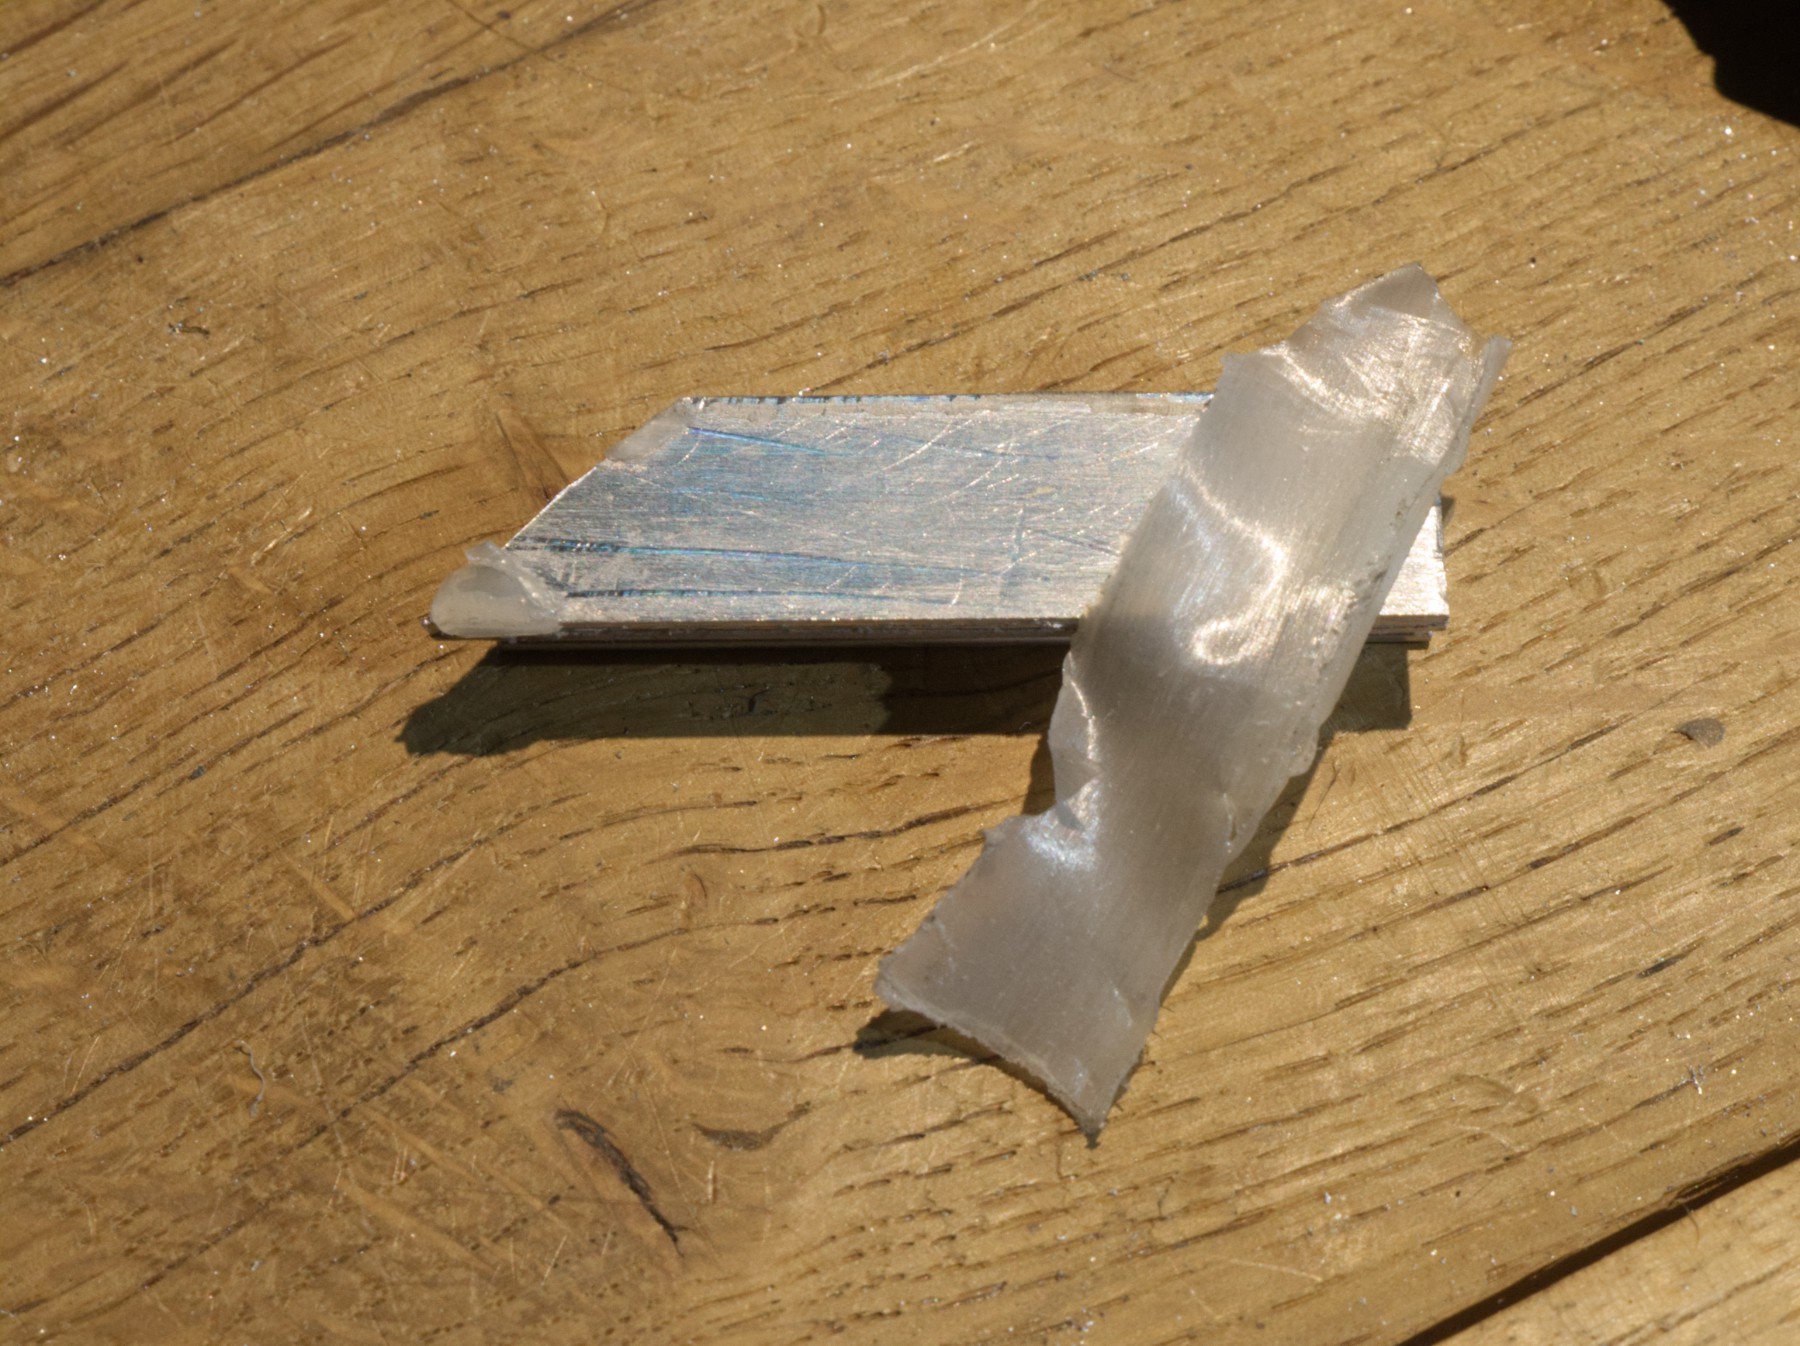
It was also not too hard to rip it off the metal, but the bond was here.
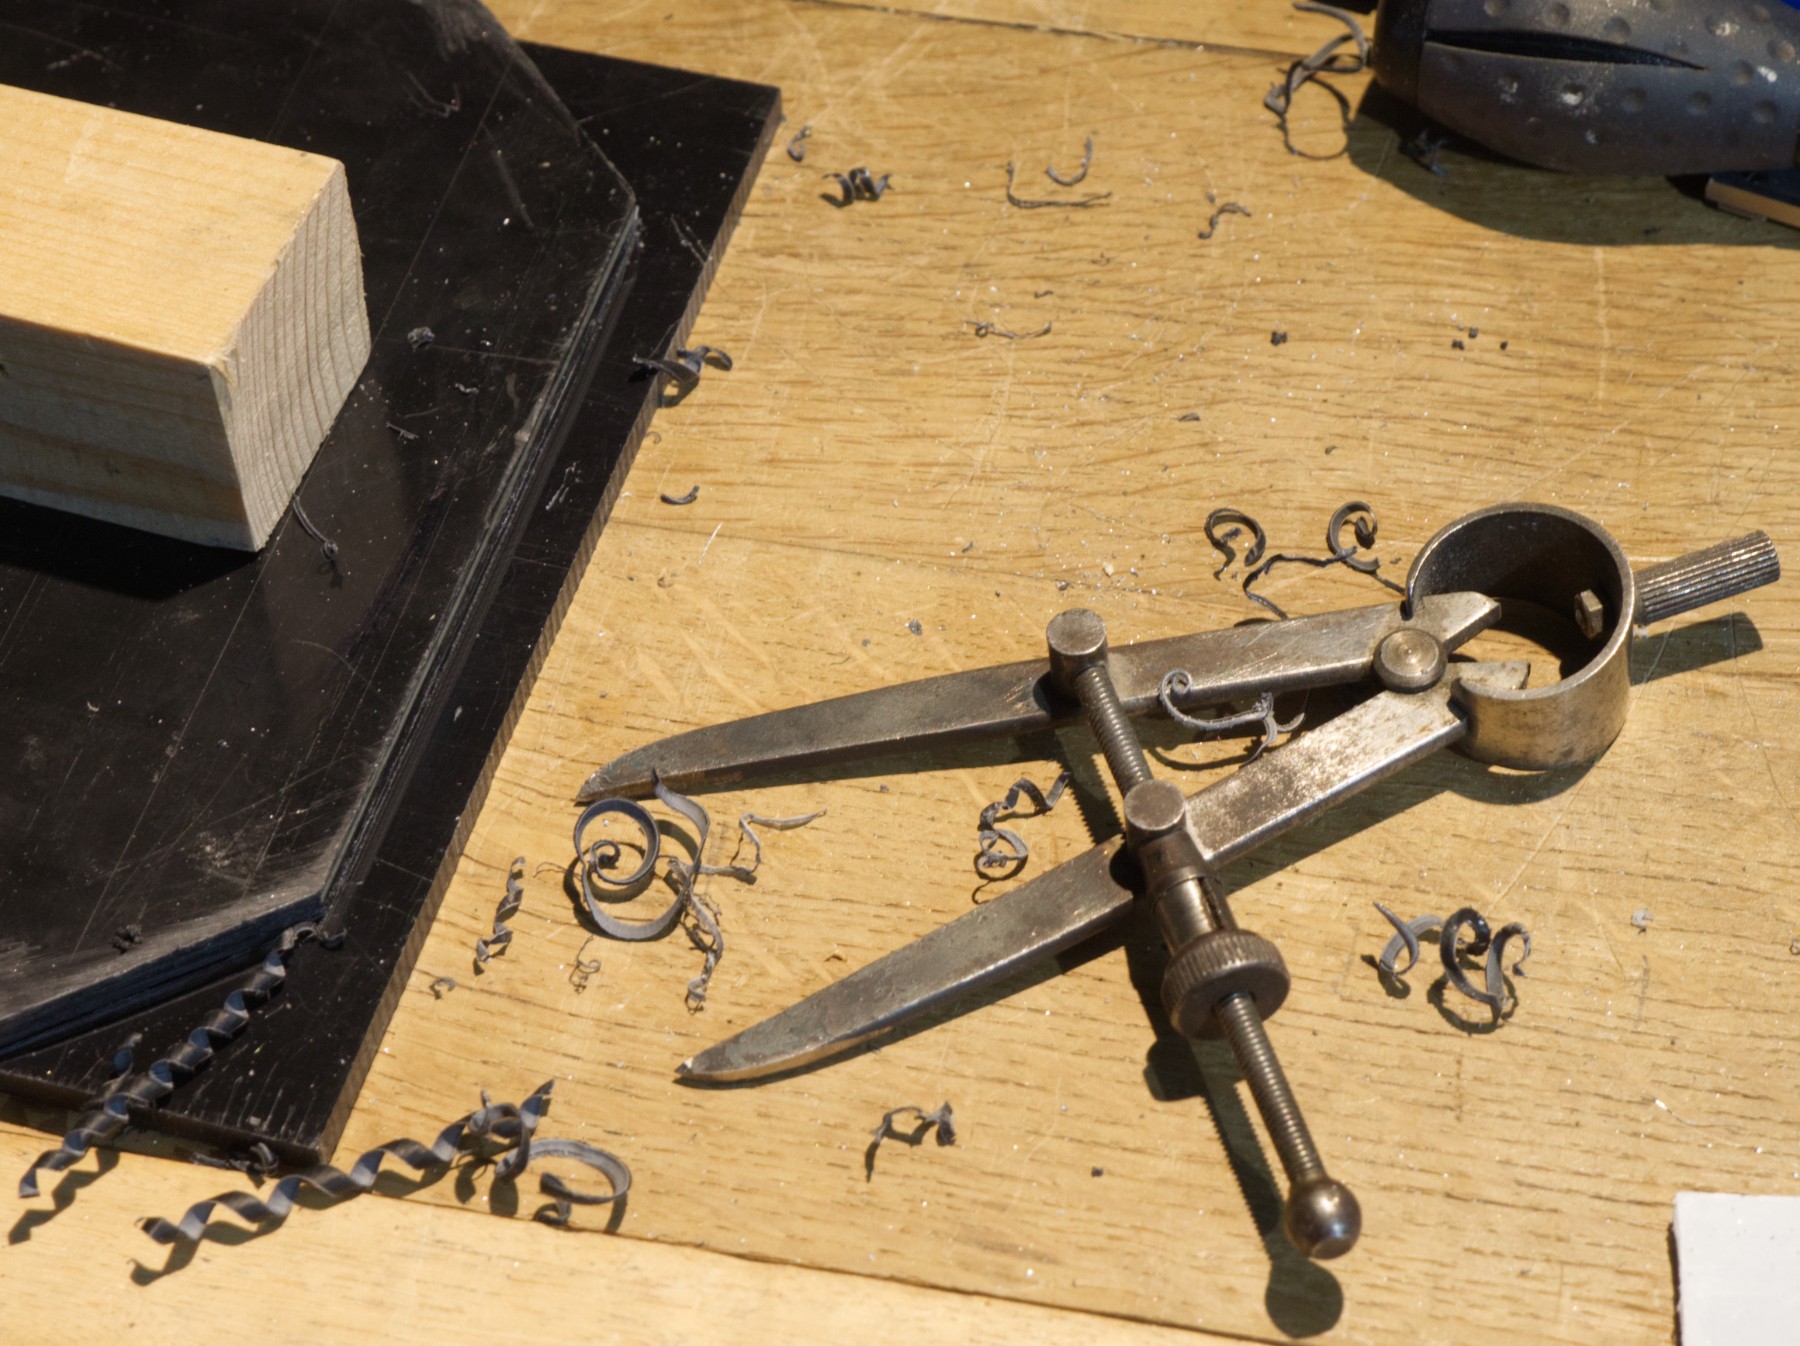
Here is the beginning of the building of a flap that will prevent light leaks from under the blade. I discovered very recently on HAD (https://hackaday.com/2022/03/11/making-a-locket-from-a-coin/) that these compas are made to not only trace a circle, but could help you do a lot of other markings, the metal is very hard and it's super sharpened : the tips are very pointy.
Discussions
Become a Hackaday.io Member
Create an account to leave a comment. Already have an account? Log In.