 [zit] Olivier Gade
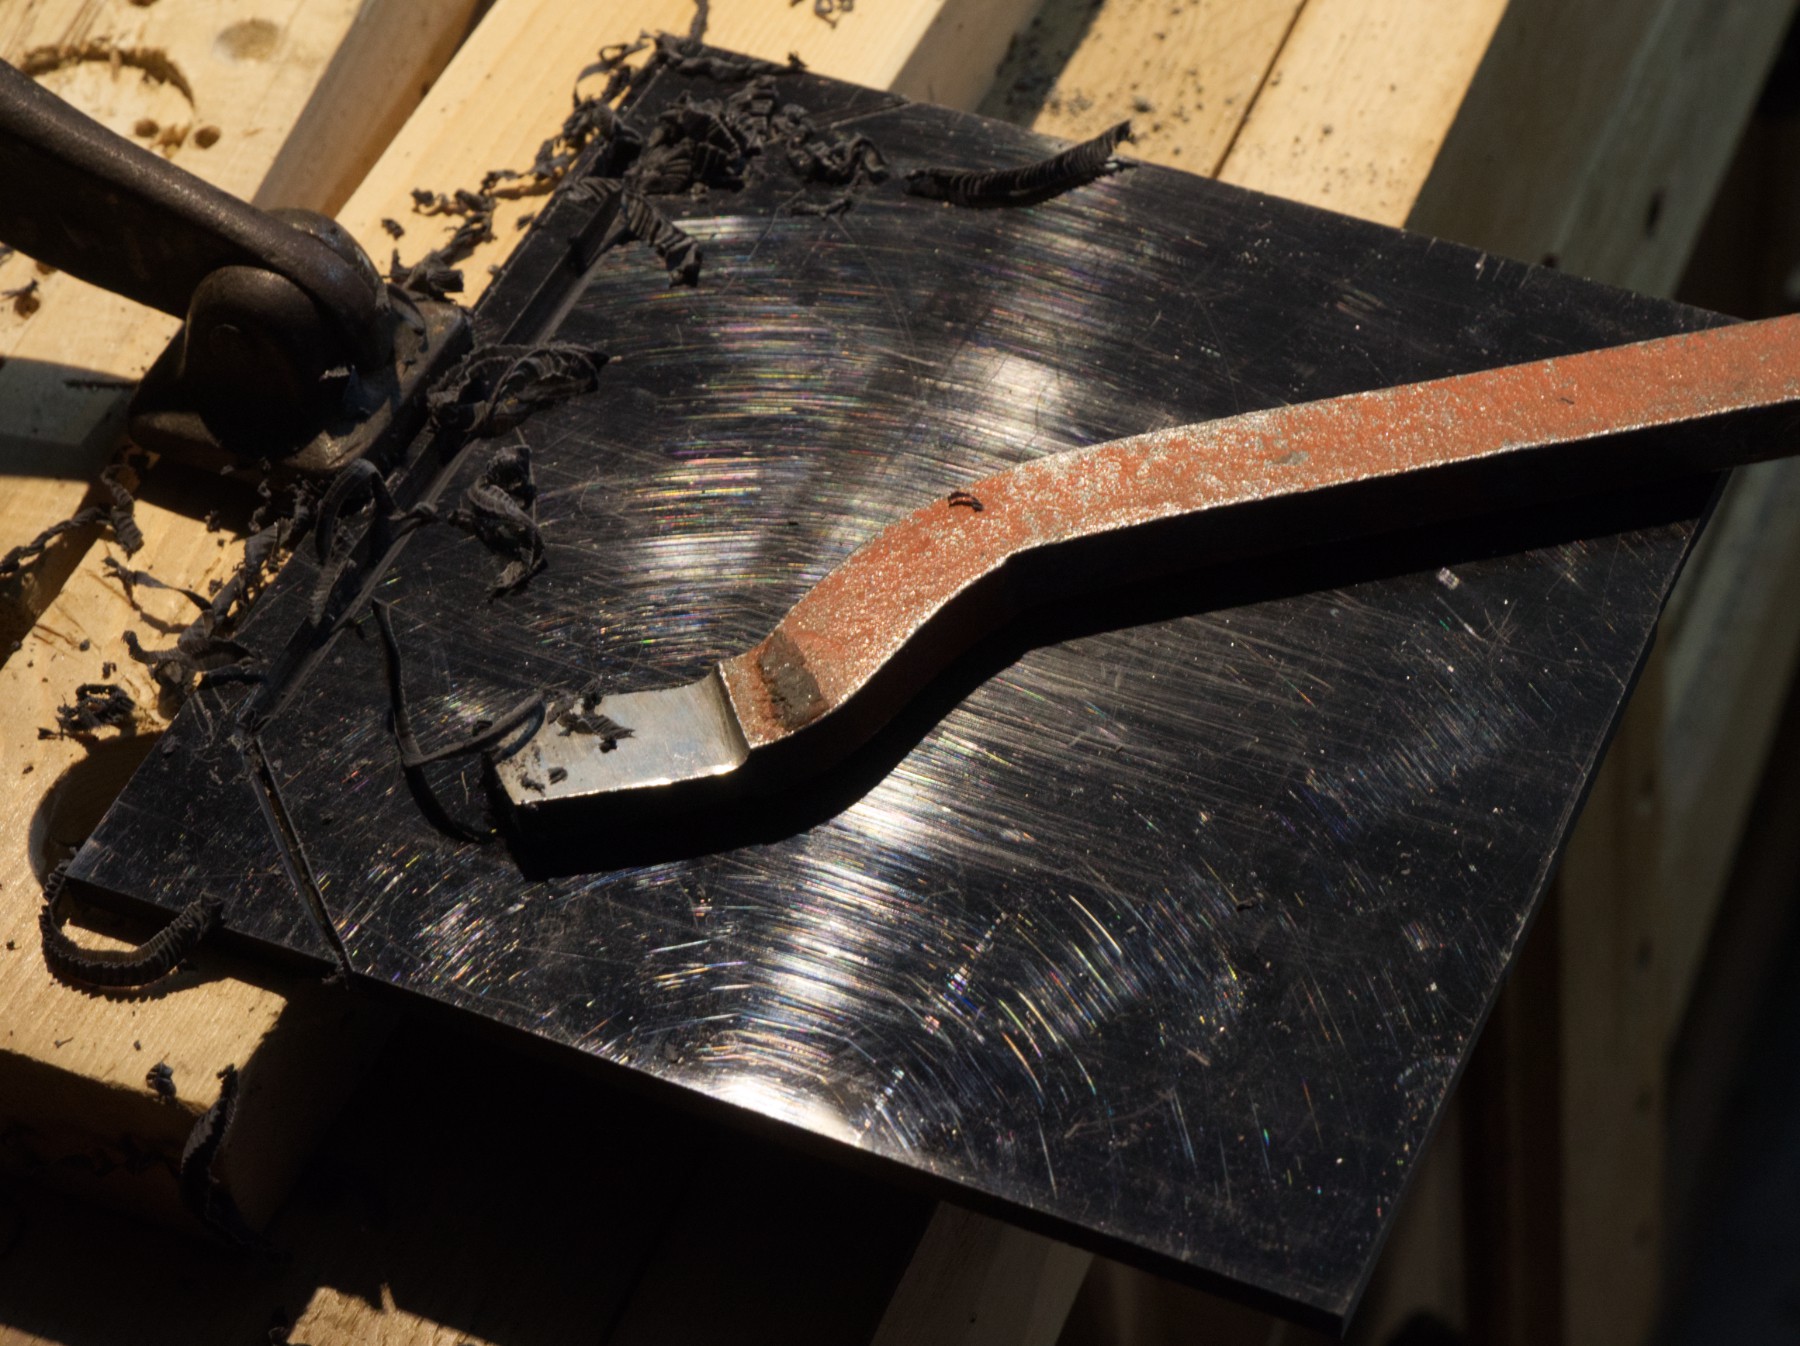
Using 5 mm thick Dibond, the same material as the blade, it's going to be the same thickness and that what's needed.
Here's the second cutting cession with a metal lathe tool with sharp flat edge.
Searching for a thin strong metal around the shop, this is a very good material, a 35 mm film canister is very smooth, super easy to shape and does not wear, and it's mat black painted on the opposite side, which'll be perfect for the task.
I need it flat, so bending on an edge makes it easier to flatten with the proper soft and light hammer.
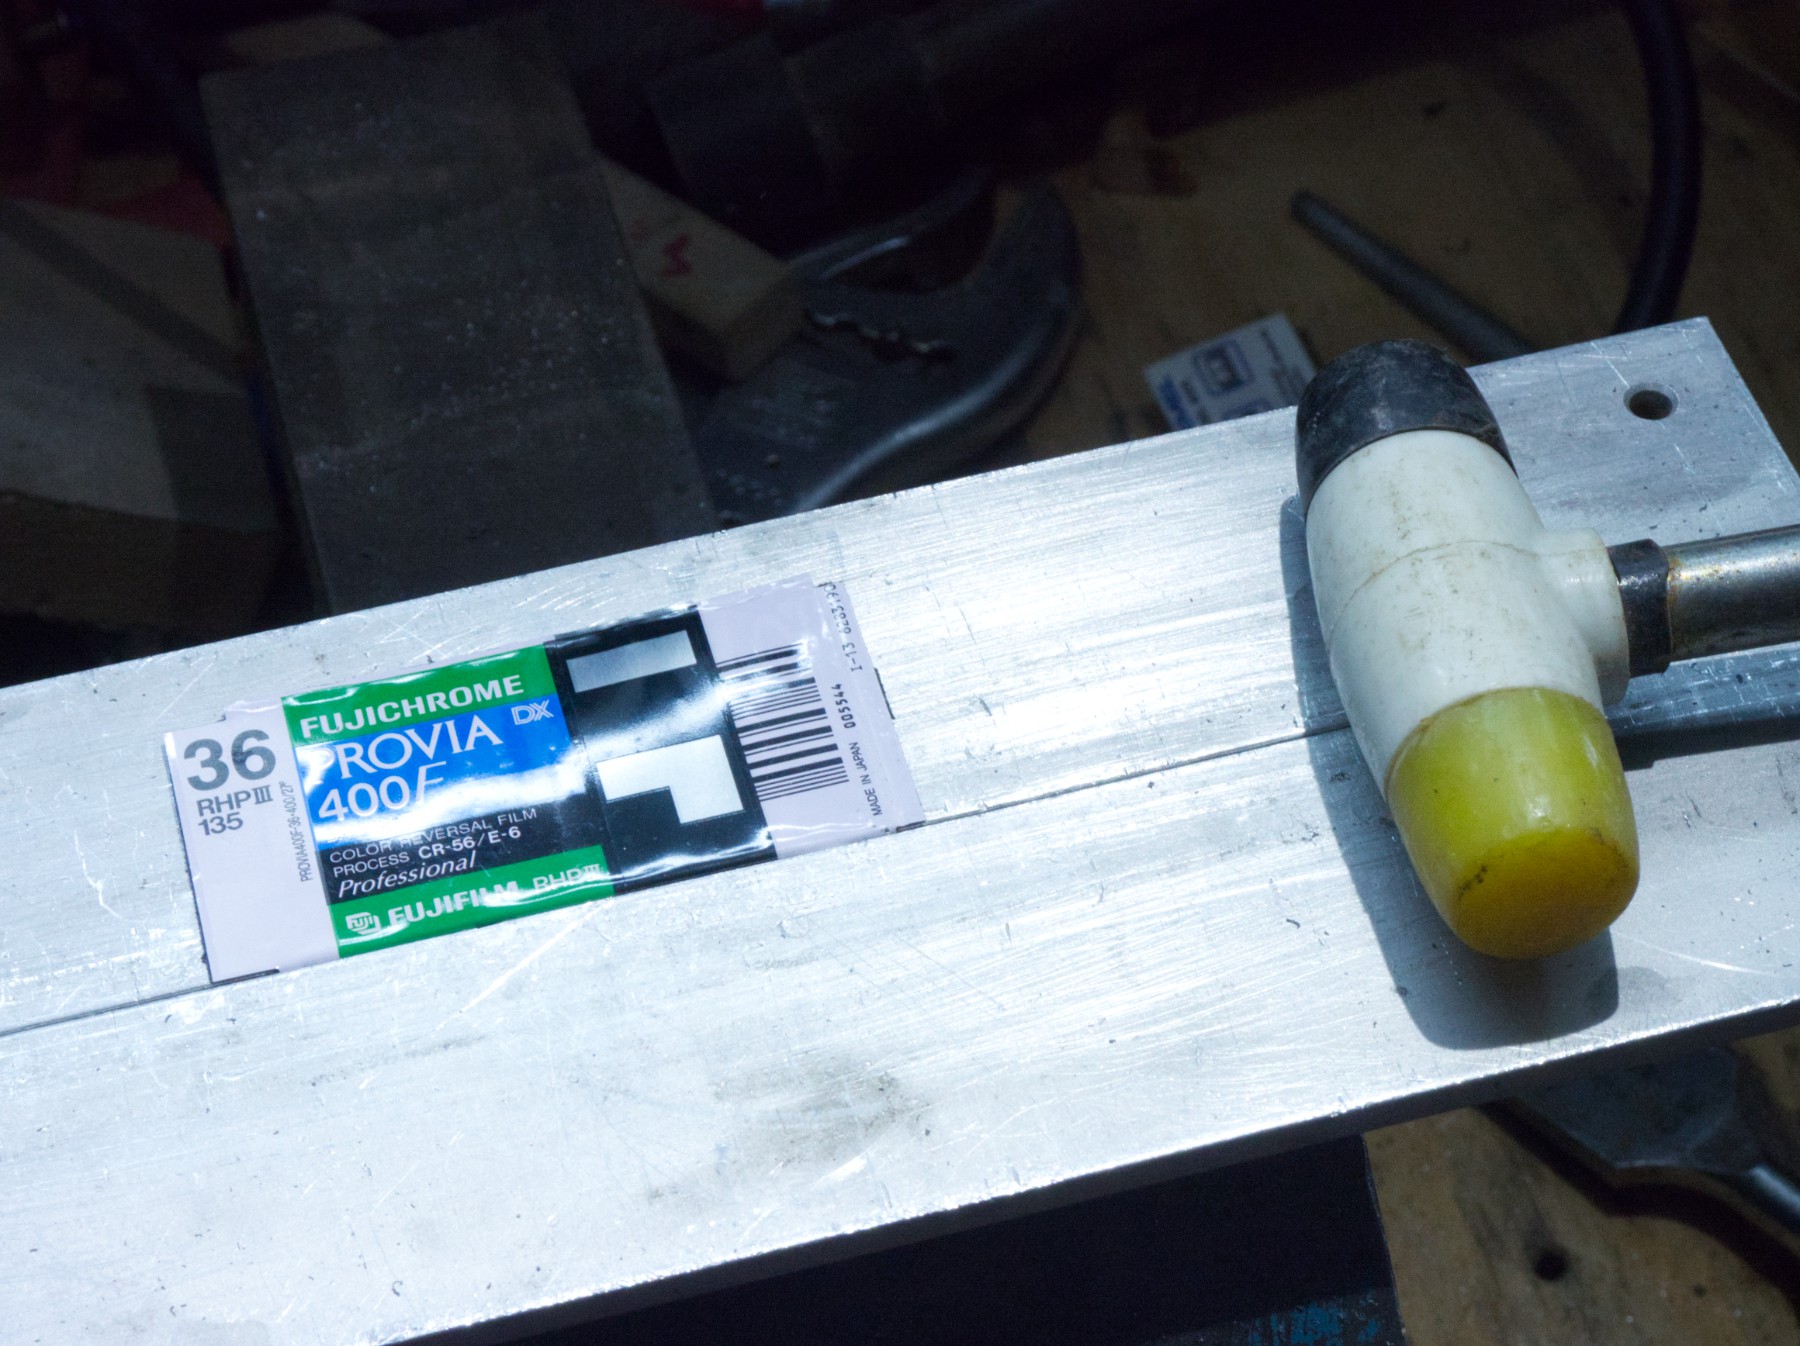
The back of the flap is mat black and to avoid light leaks, it's much better than anything.
I needed two film canisters to have the good length.

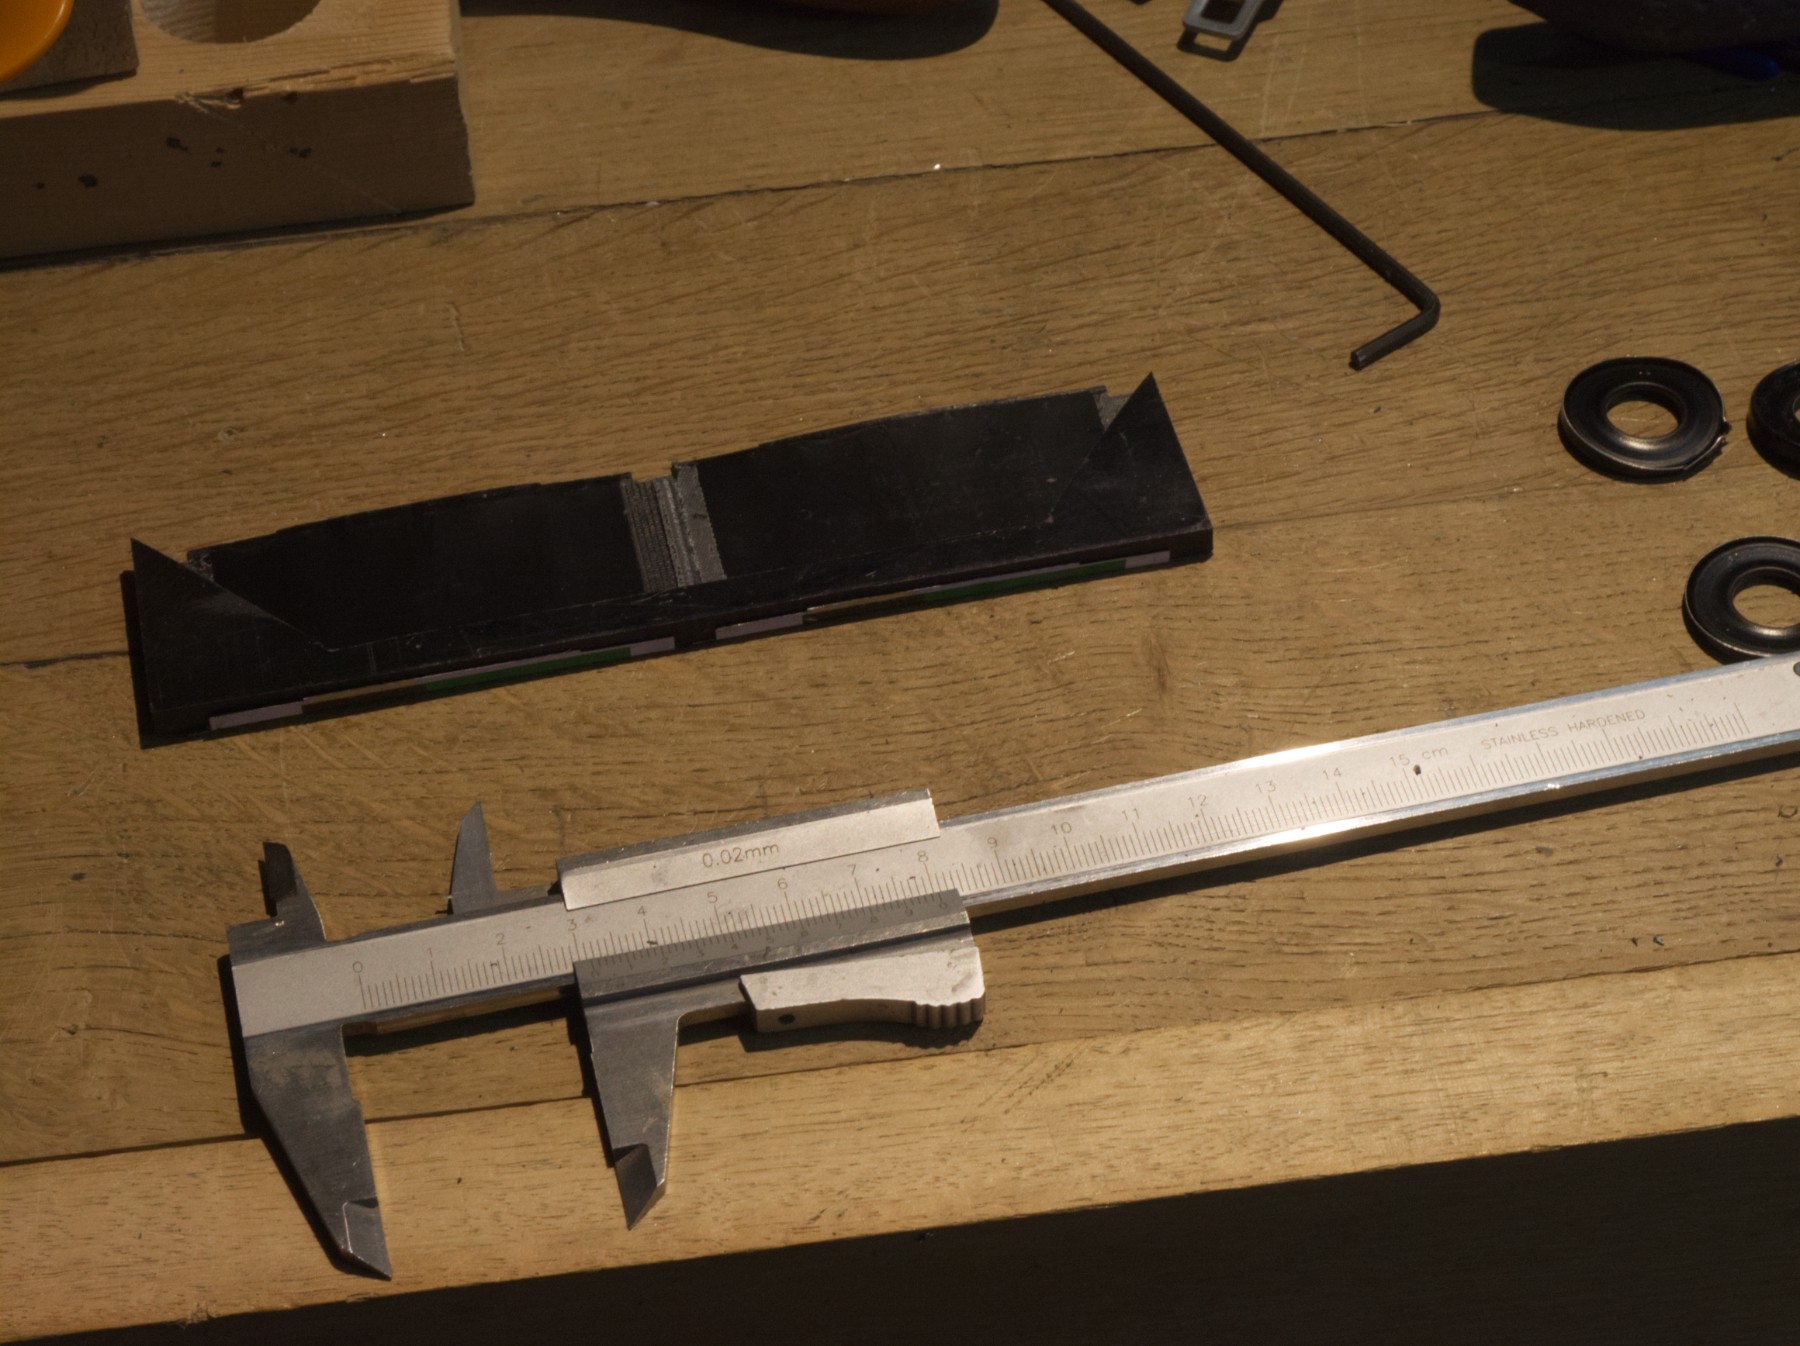
It's bonded with strong double sided tape.
And a small piece of mat black aluminium tape that's used for lightening to seal the two film cans in the middle.
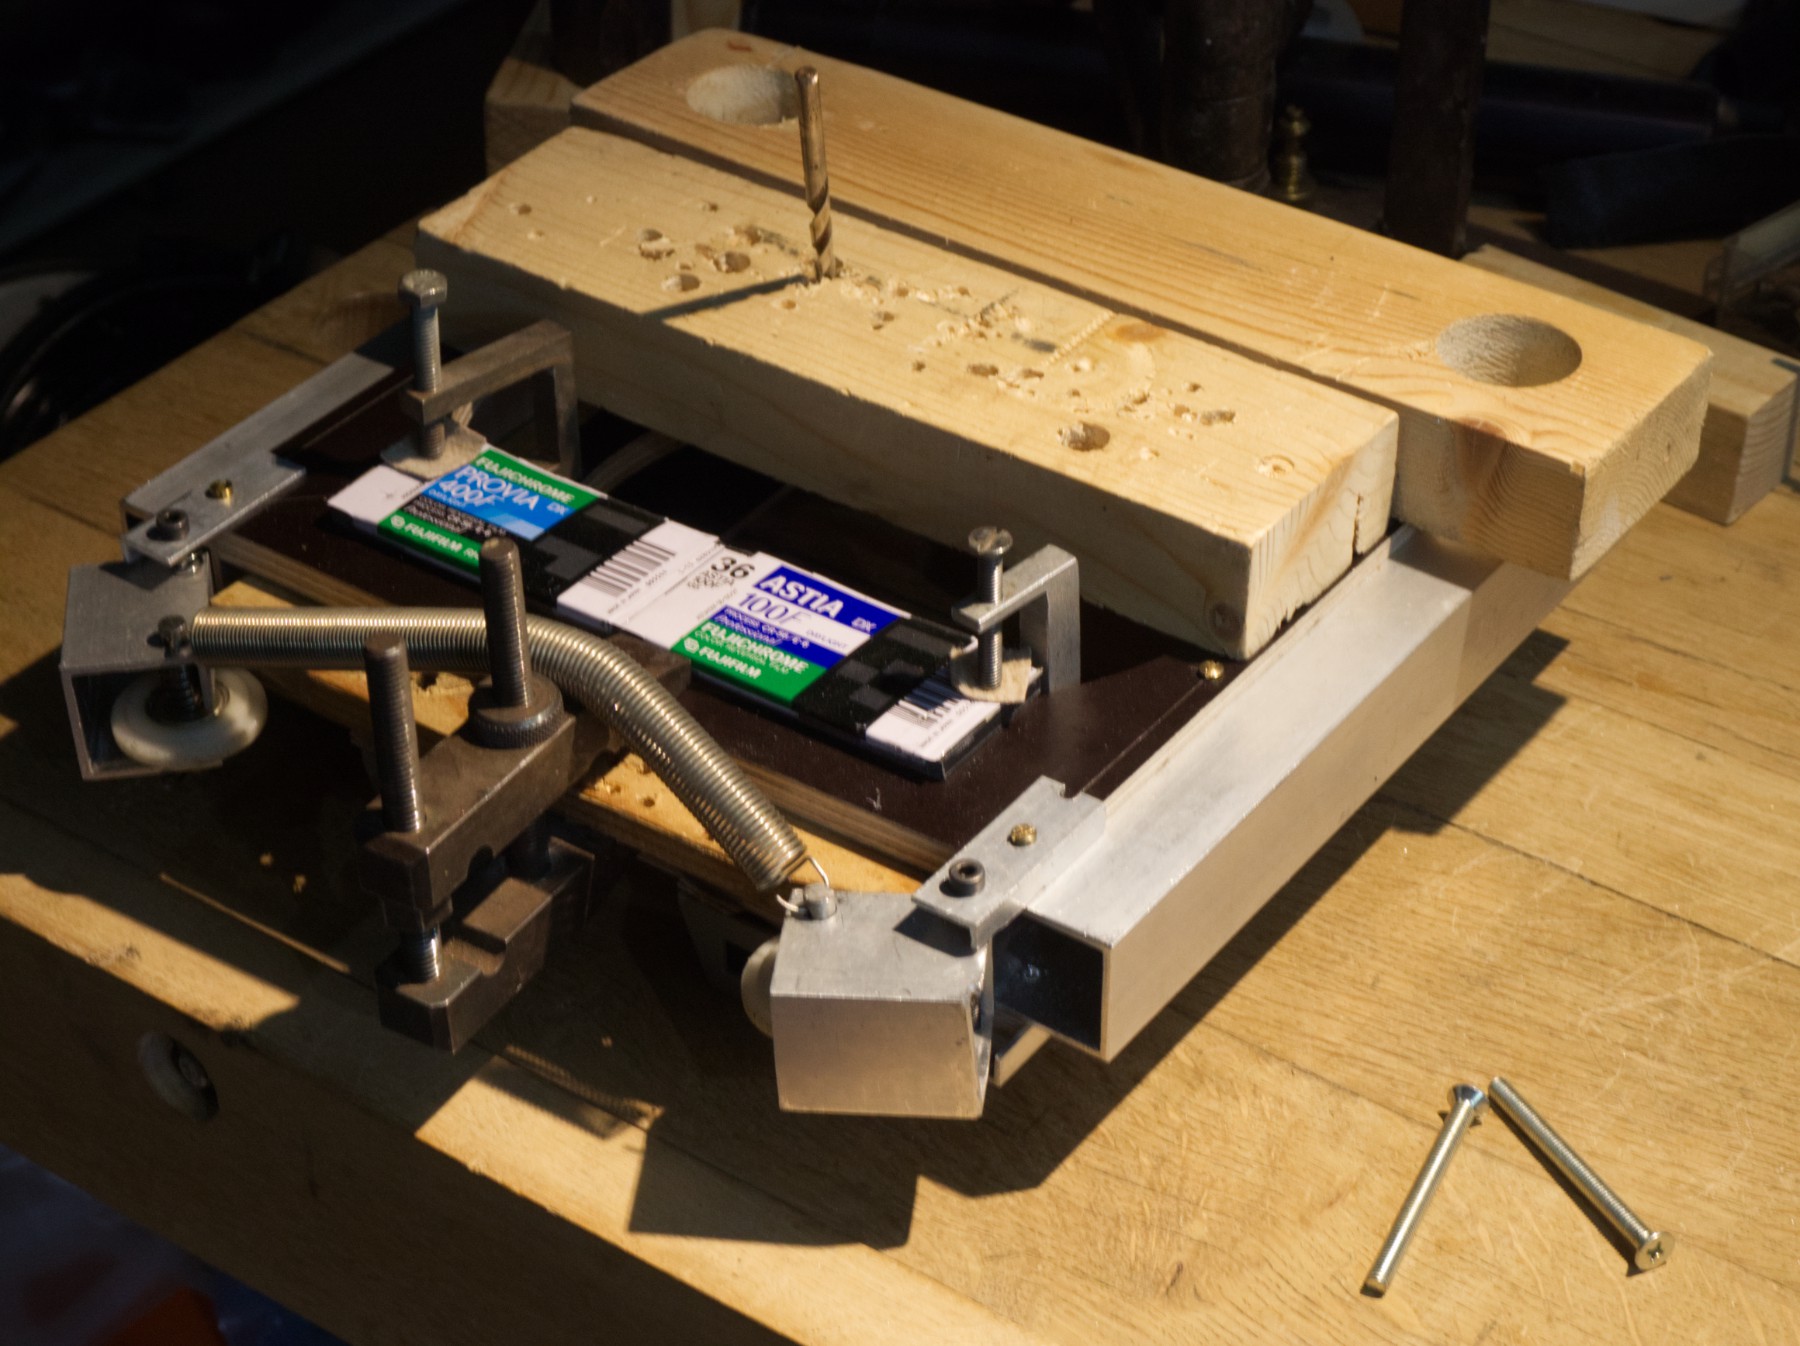
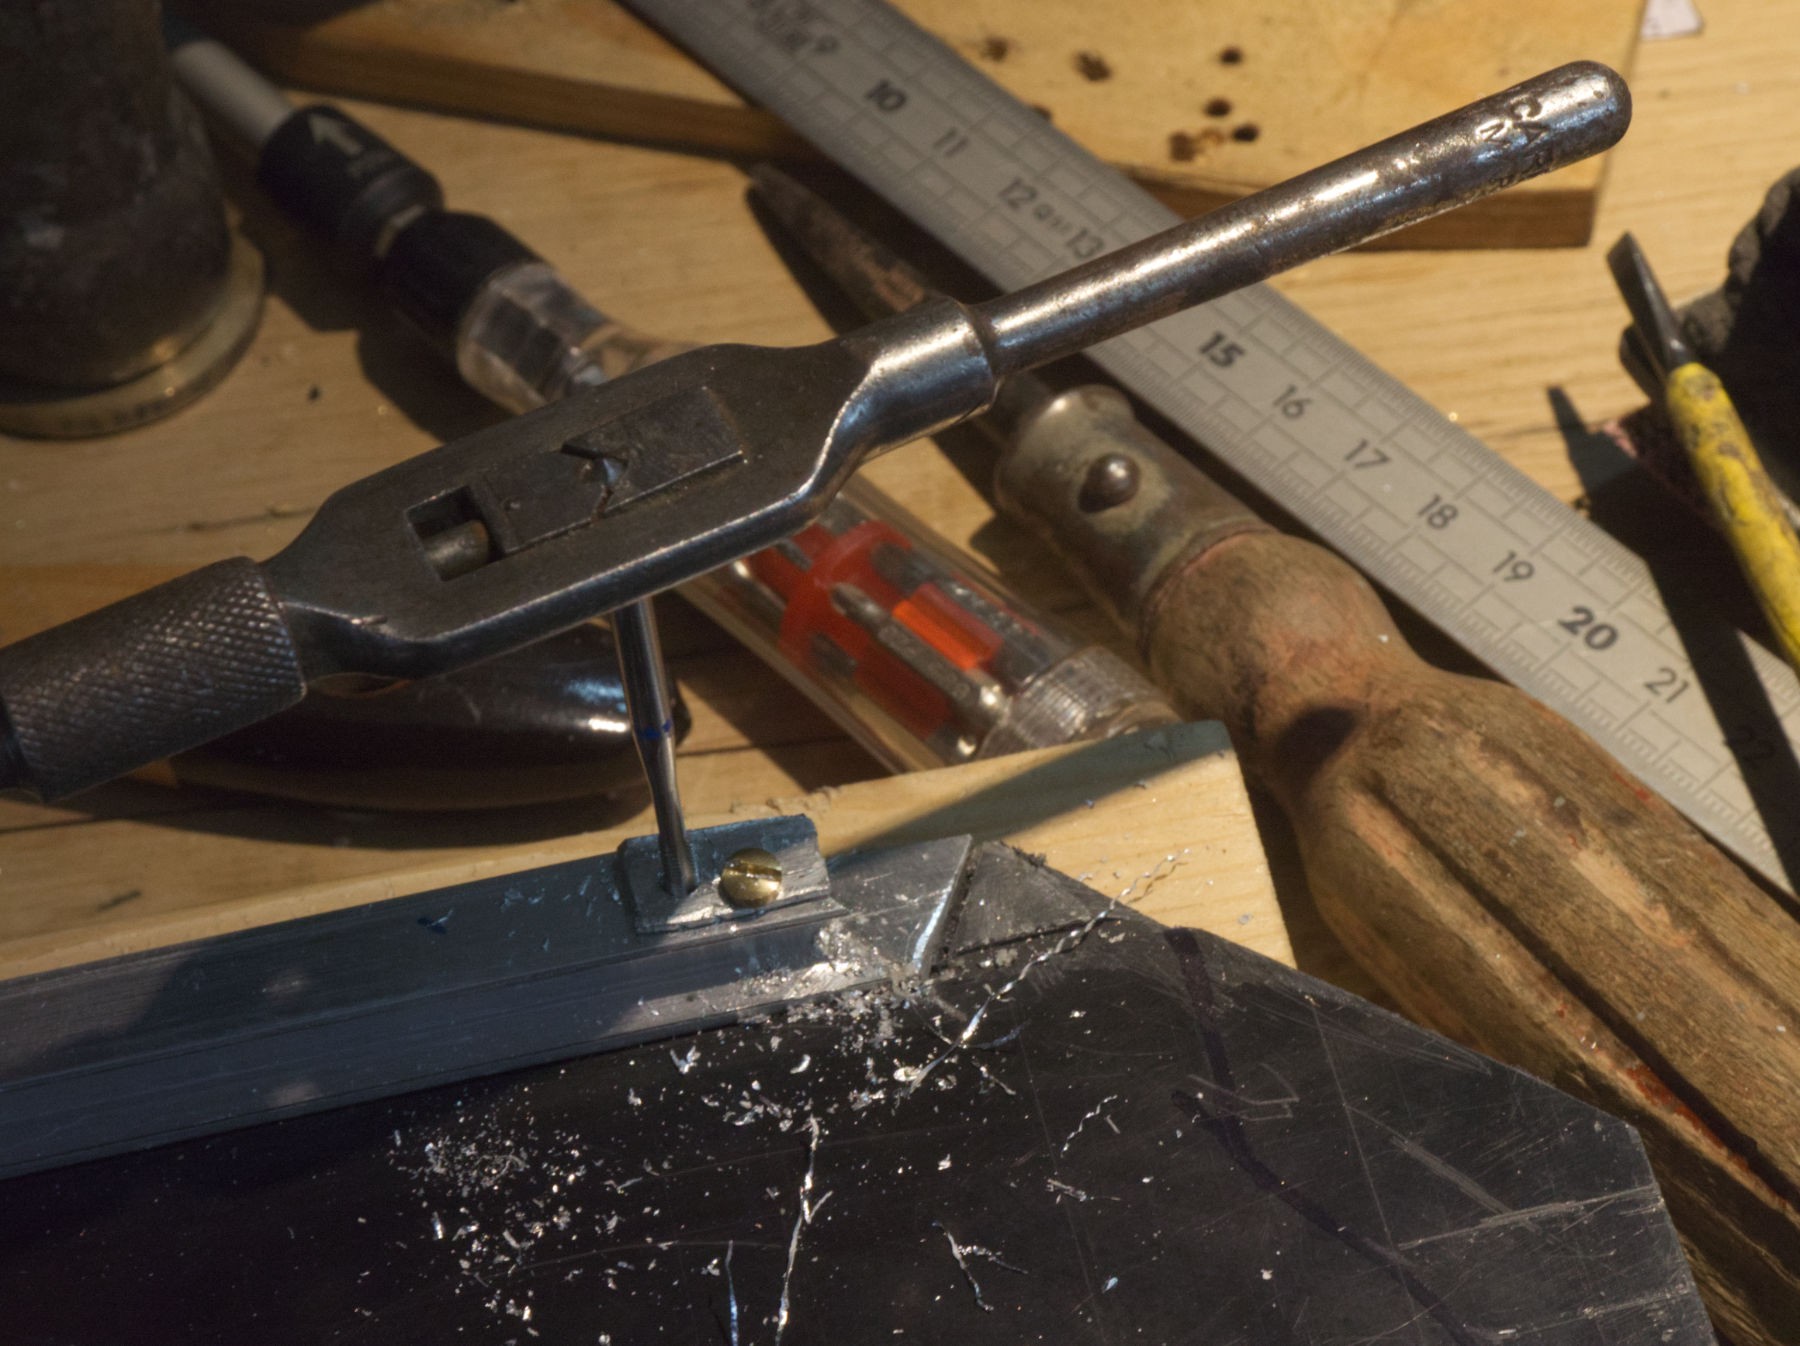
Getting ready to drill the 2 holes. The film can's so soft that it's imperative to have a good mark, otherwise, the drill bit slips on the surface, scratching all around without drilling.
Been very careful to have perfect alignment without any movement of the parts by clamping.

And it's good, but not perfect at all for the alignment, and the nut takes too much space.
Now the nut will no more bother, as it will have enough place to hide.
Much better.

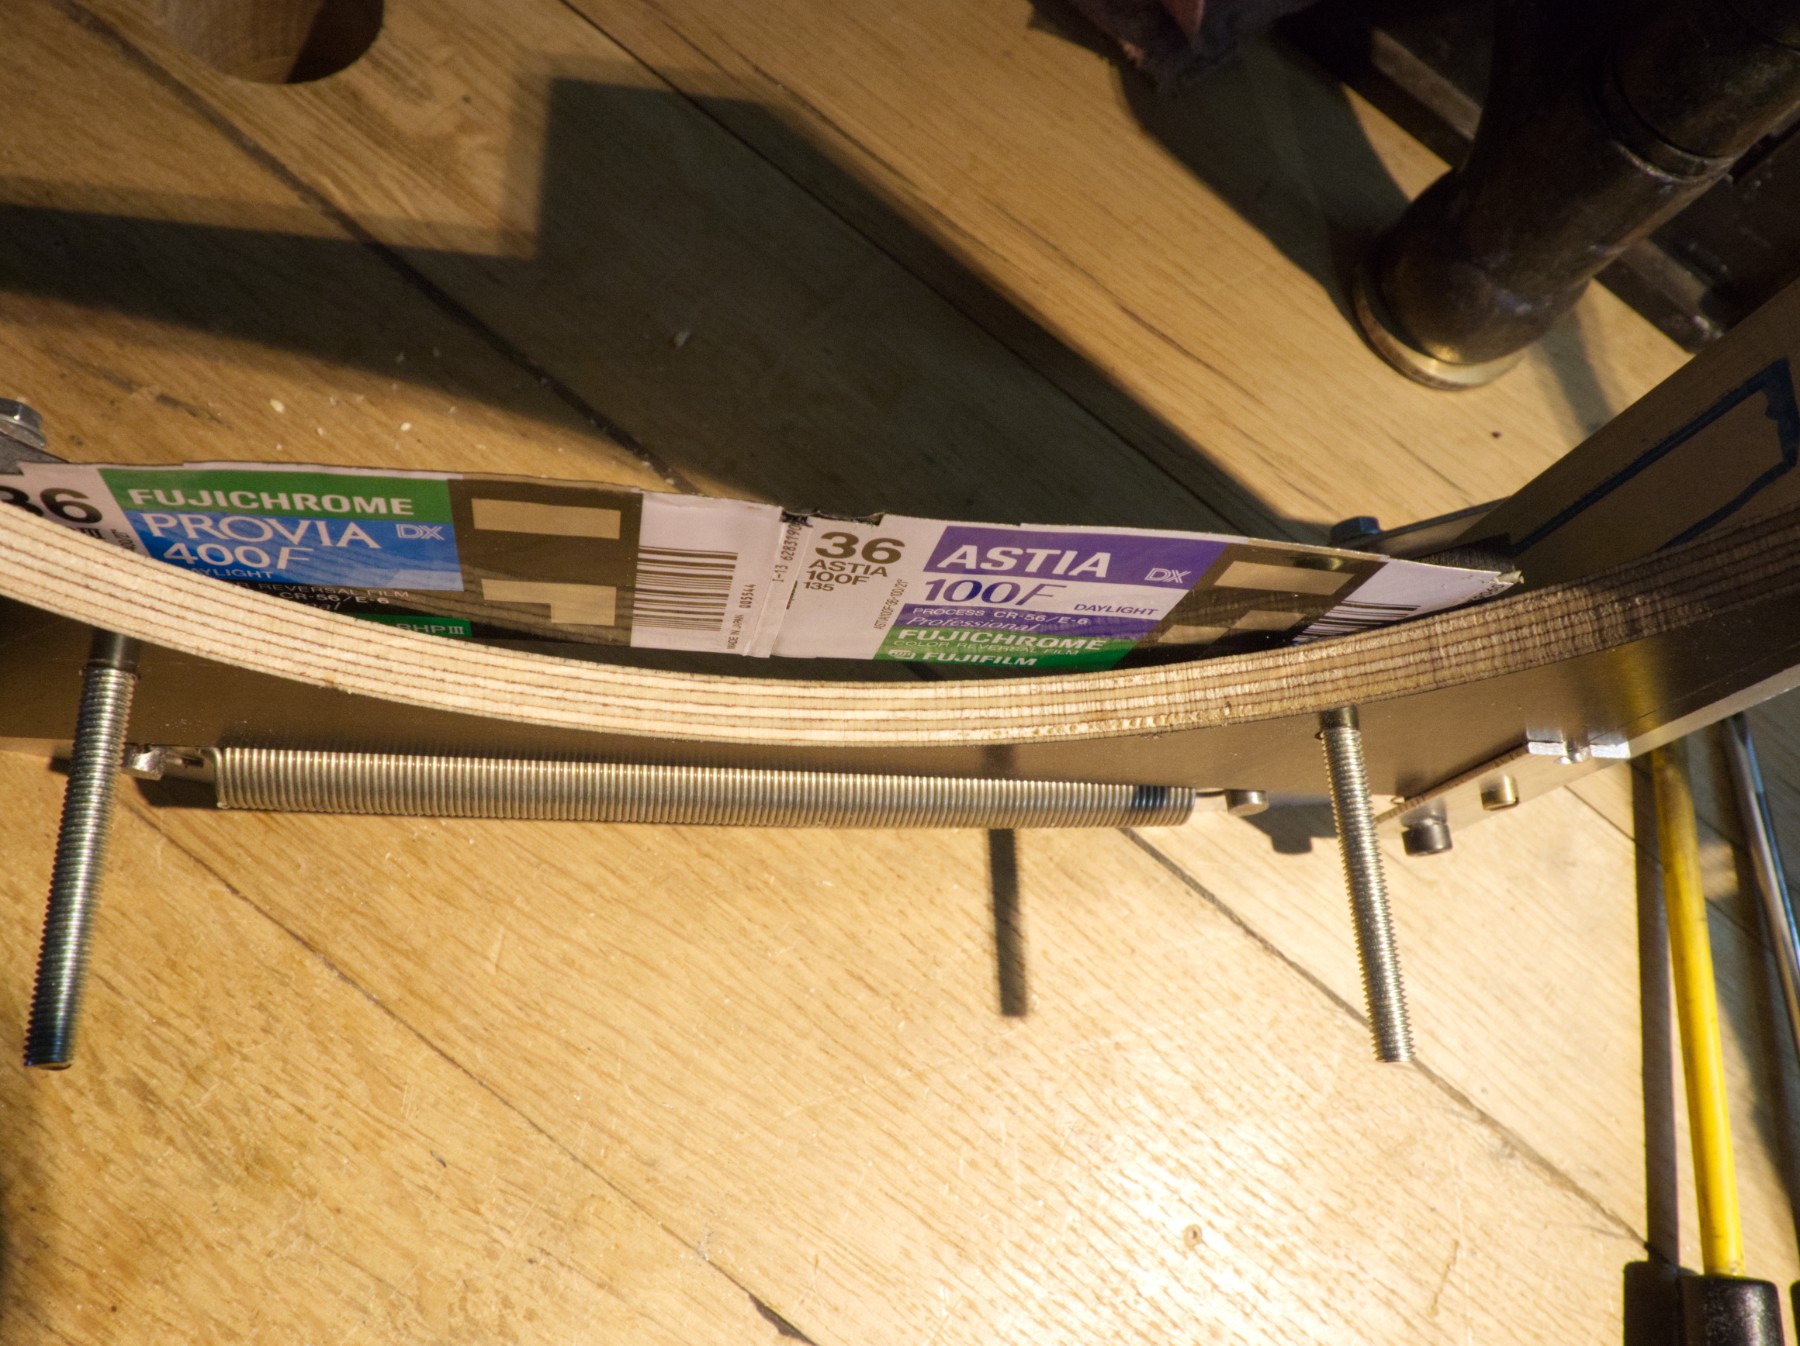
Some other pieces of that fantastic Epson yellow (T6364) cartridge spring are cut.
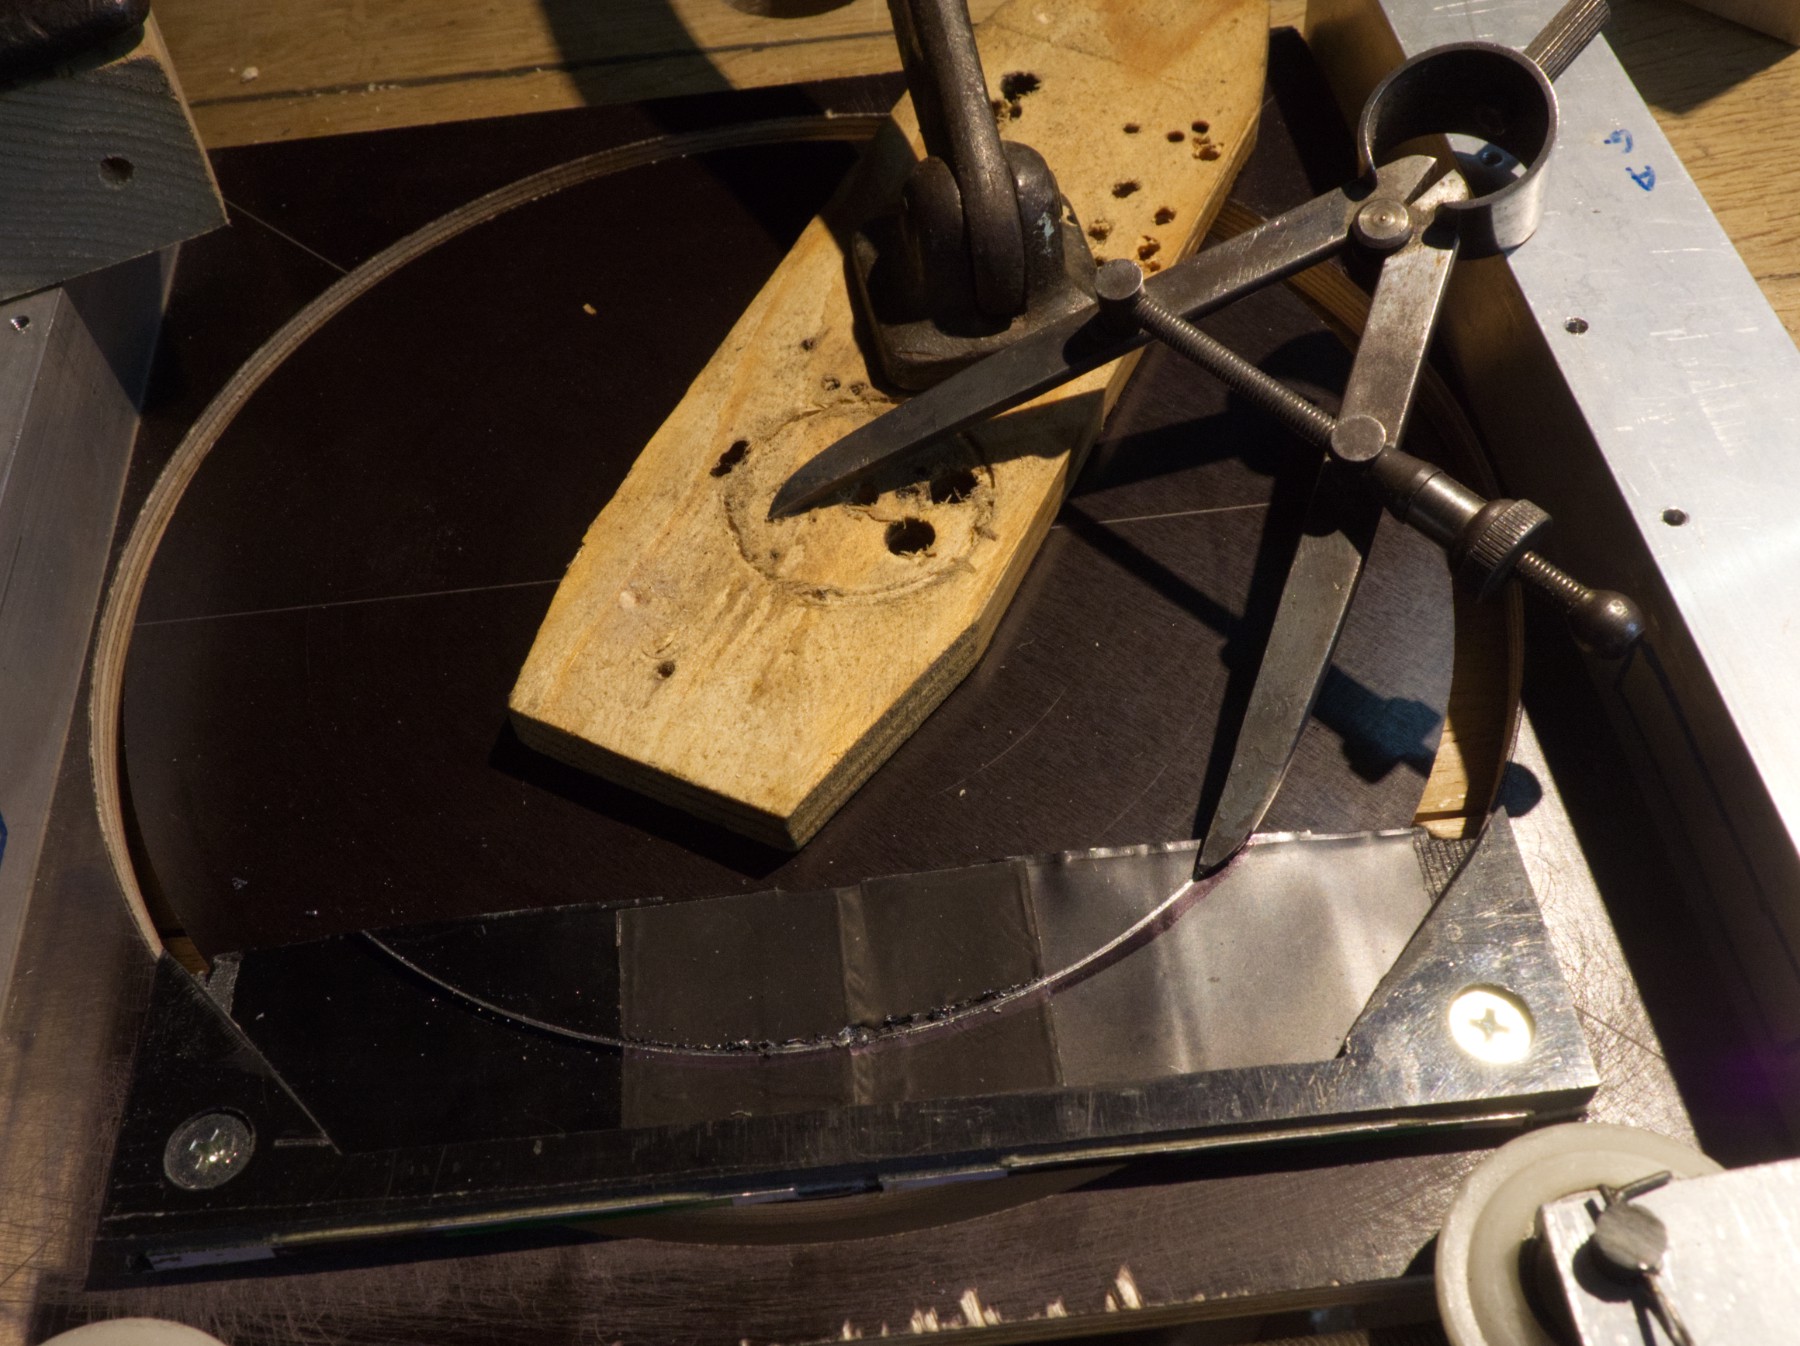
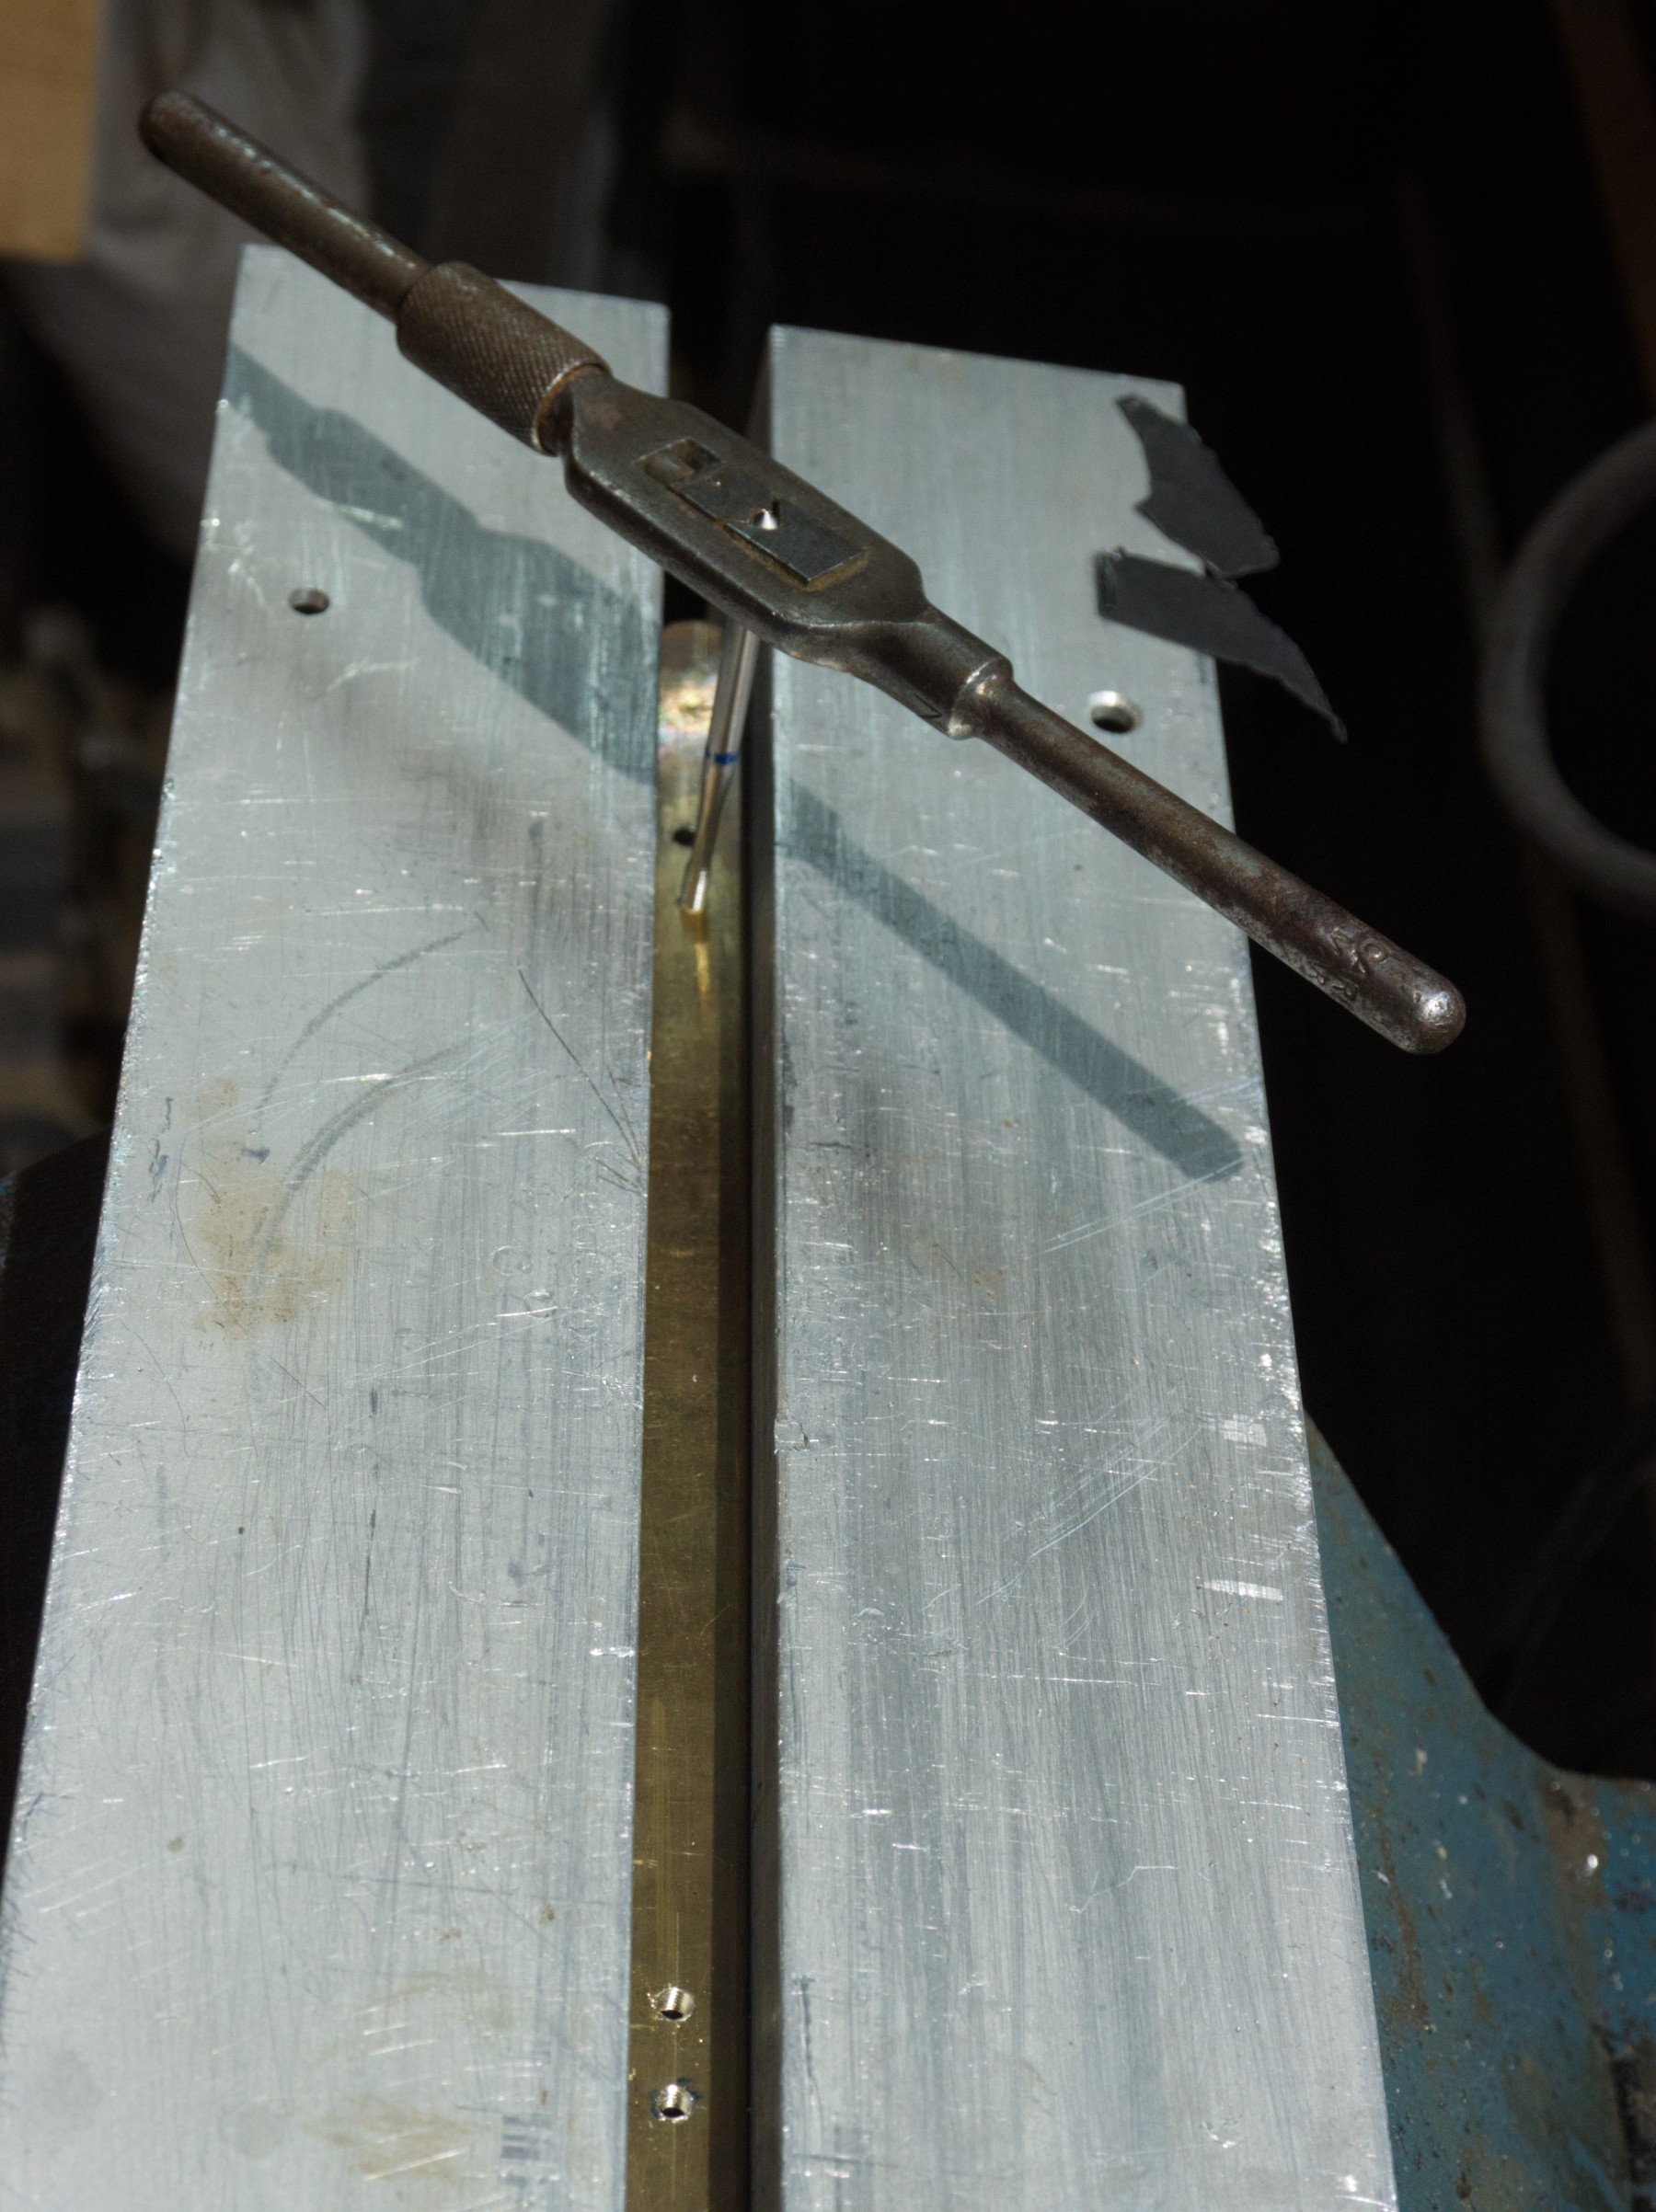
Now the flap must be adjusted not to obstruct the path of light in front of the lens. Tracing with the compas and cut with scissors.

That 15 mm more or less square PMMA will be easier to drill than the 6 mm one, it slips well on the polished sides and has the thickness needed.

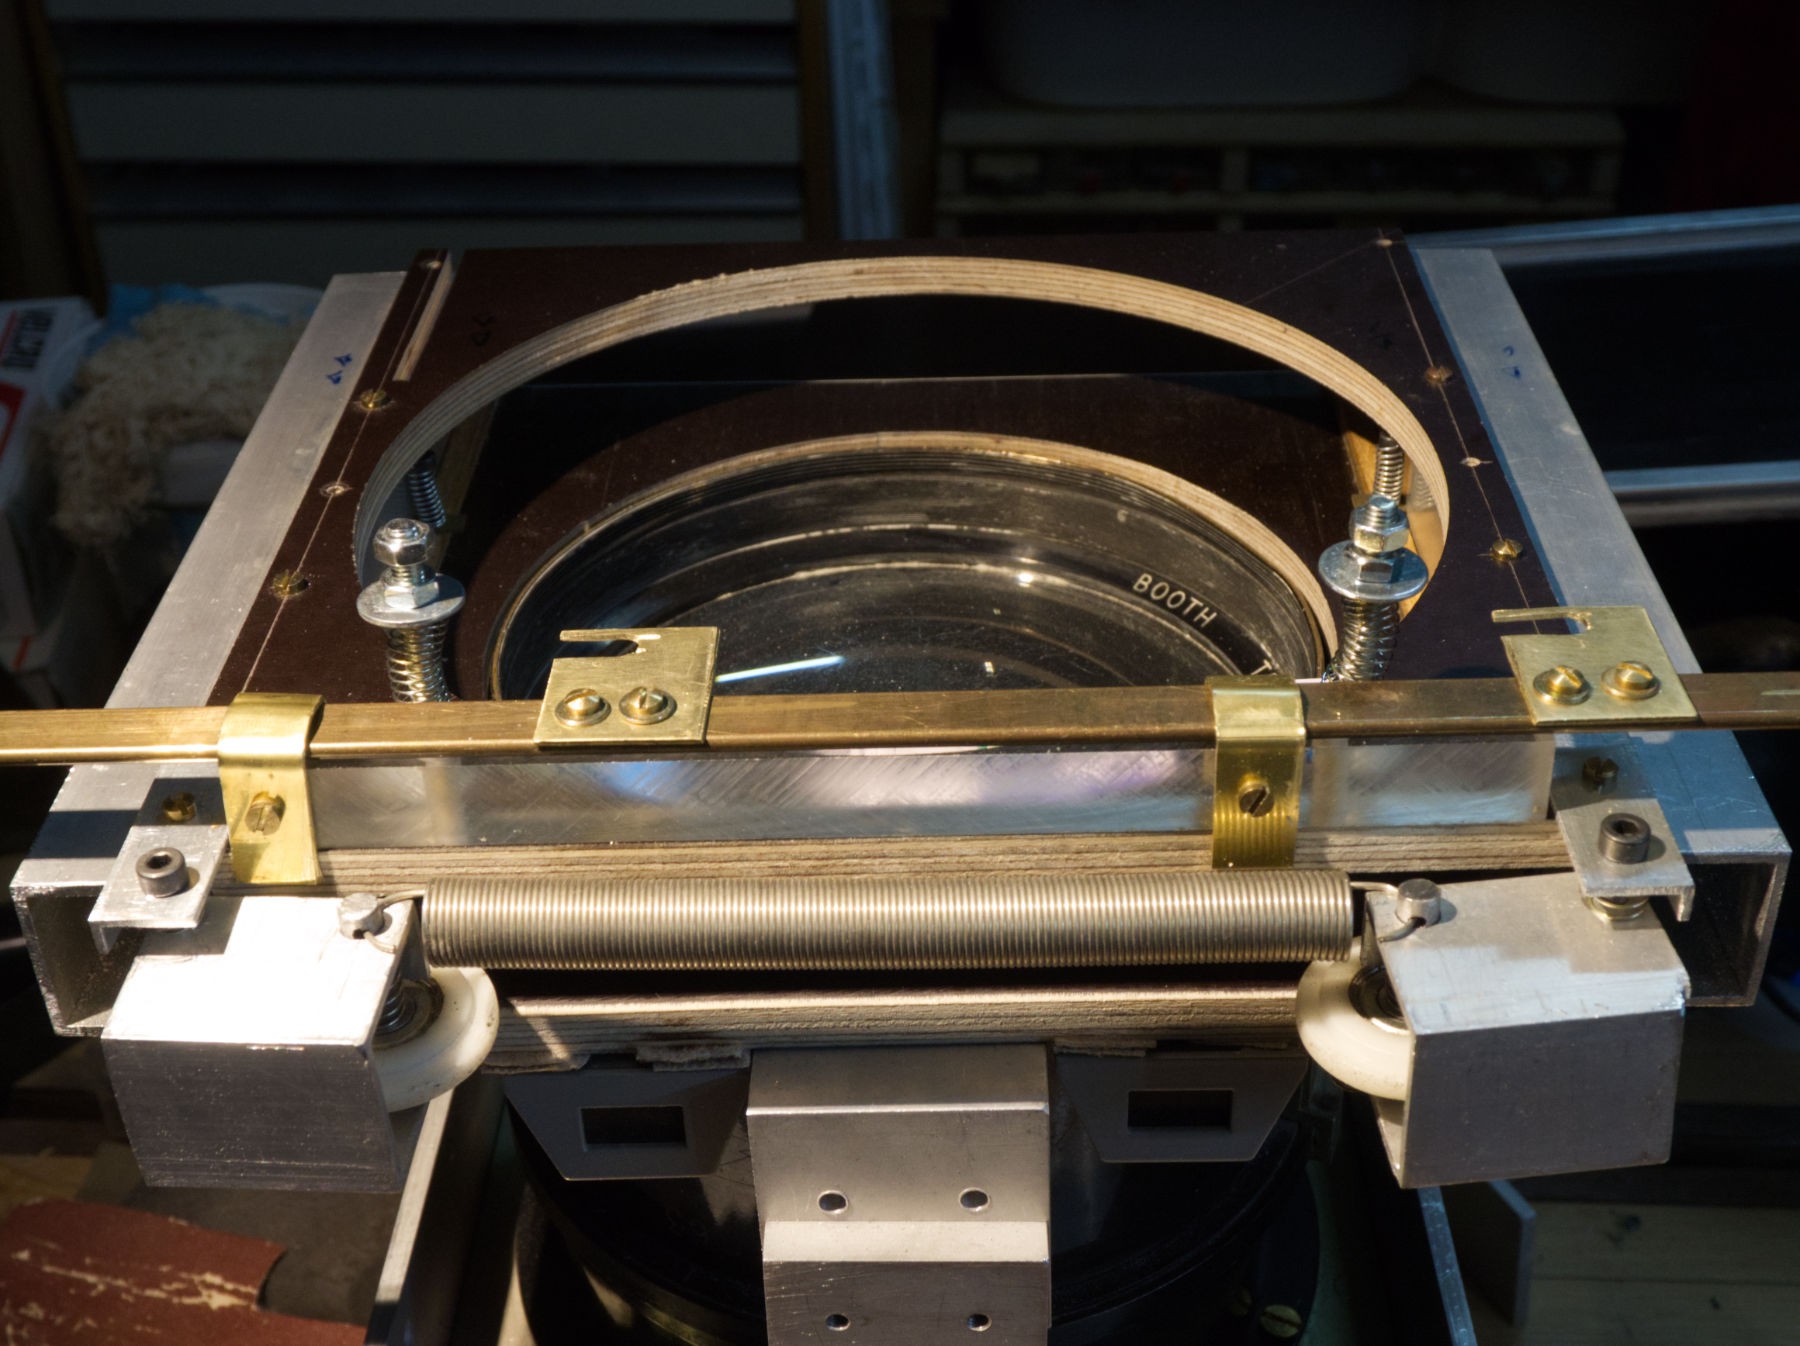
One more horrible lace curtain 3 x 12 x 600 mm brass rod and a piece of 1,5 mm thick brass plate are the next materials.
It's easy to cut if the thing you want to cut is strongly held in position, the valet and a piece of worn sandpaper to prevent slipping, a soft wood martyr to have enough angle and avoid to cut the edge of the bench.
Filling in the small vise... Hey, I know that guy !
Tapping the rod.

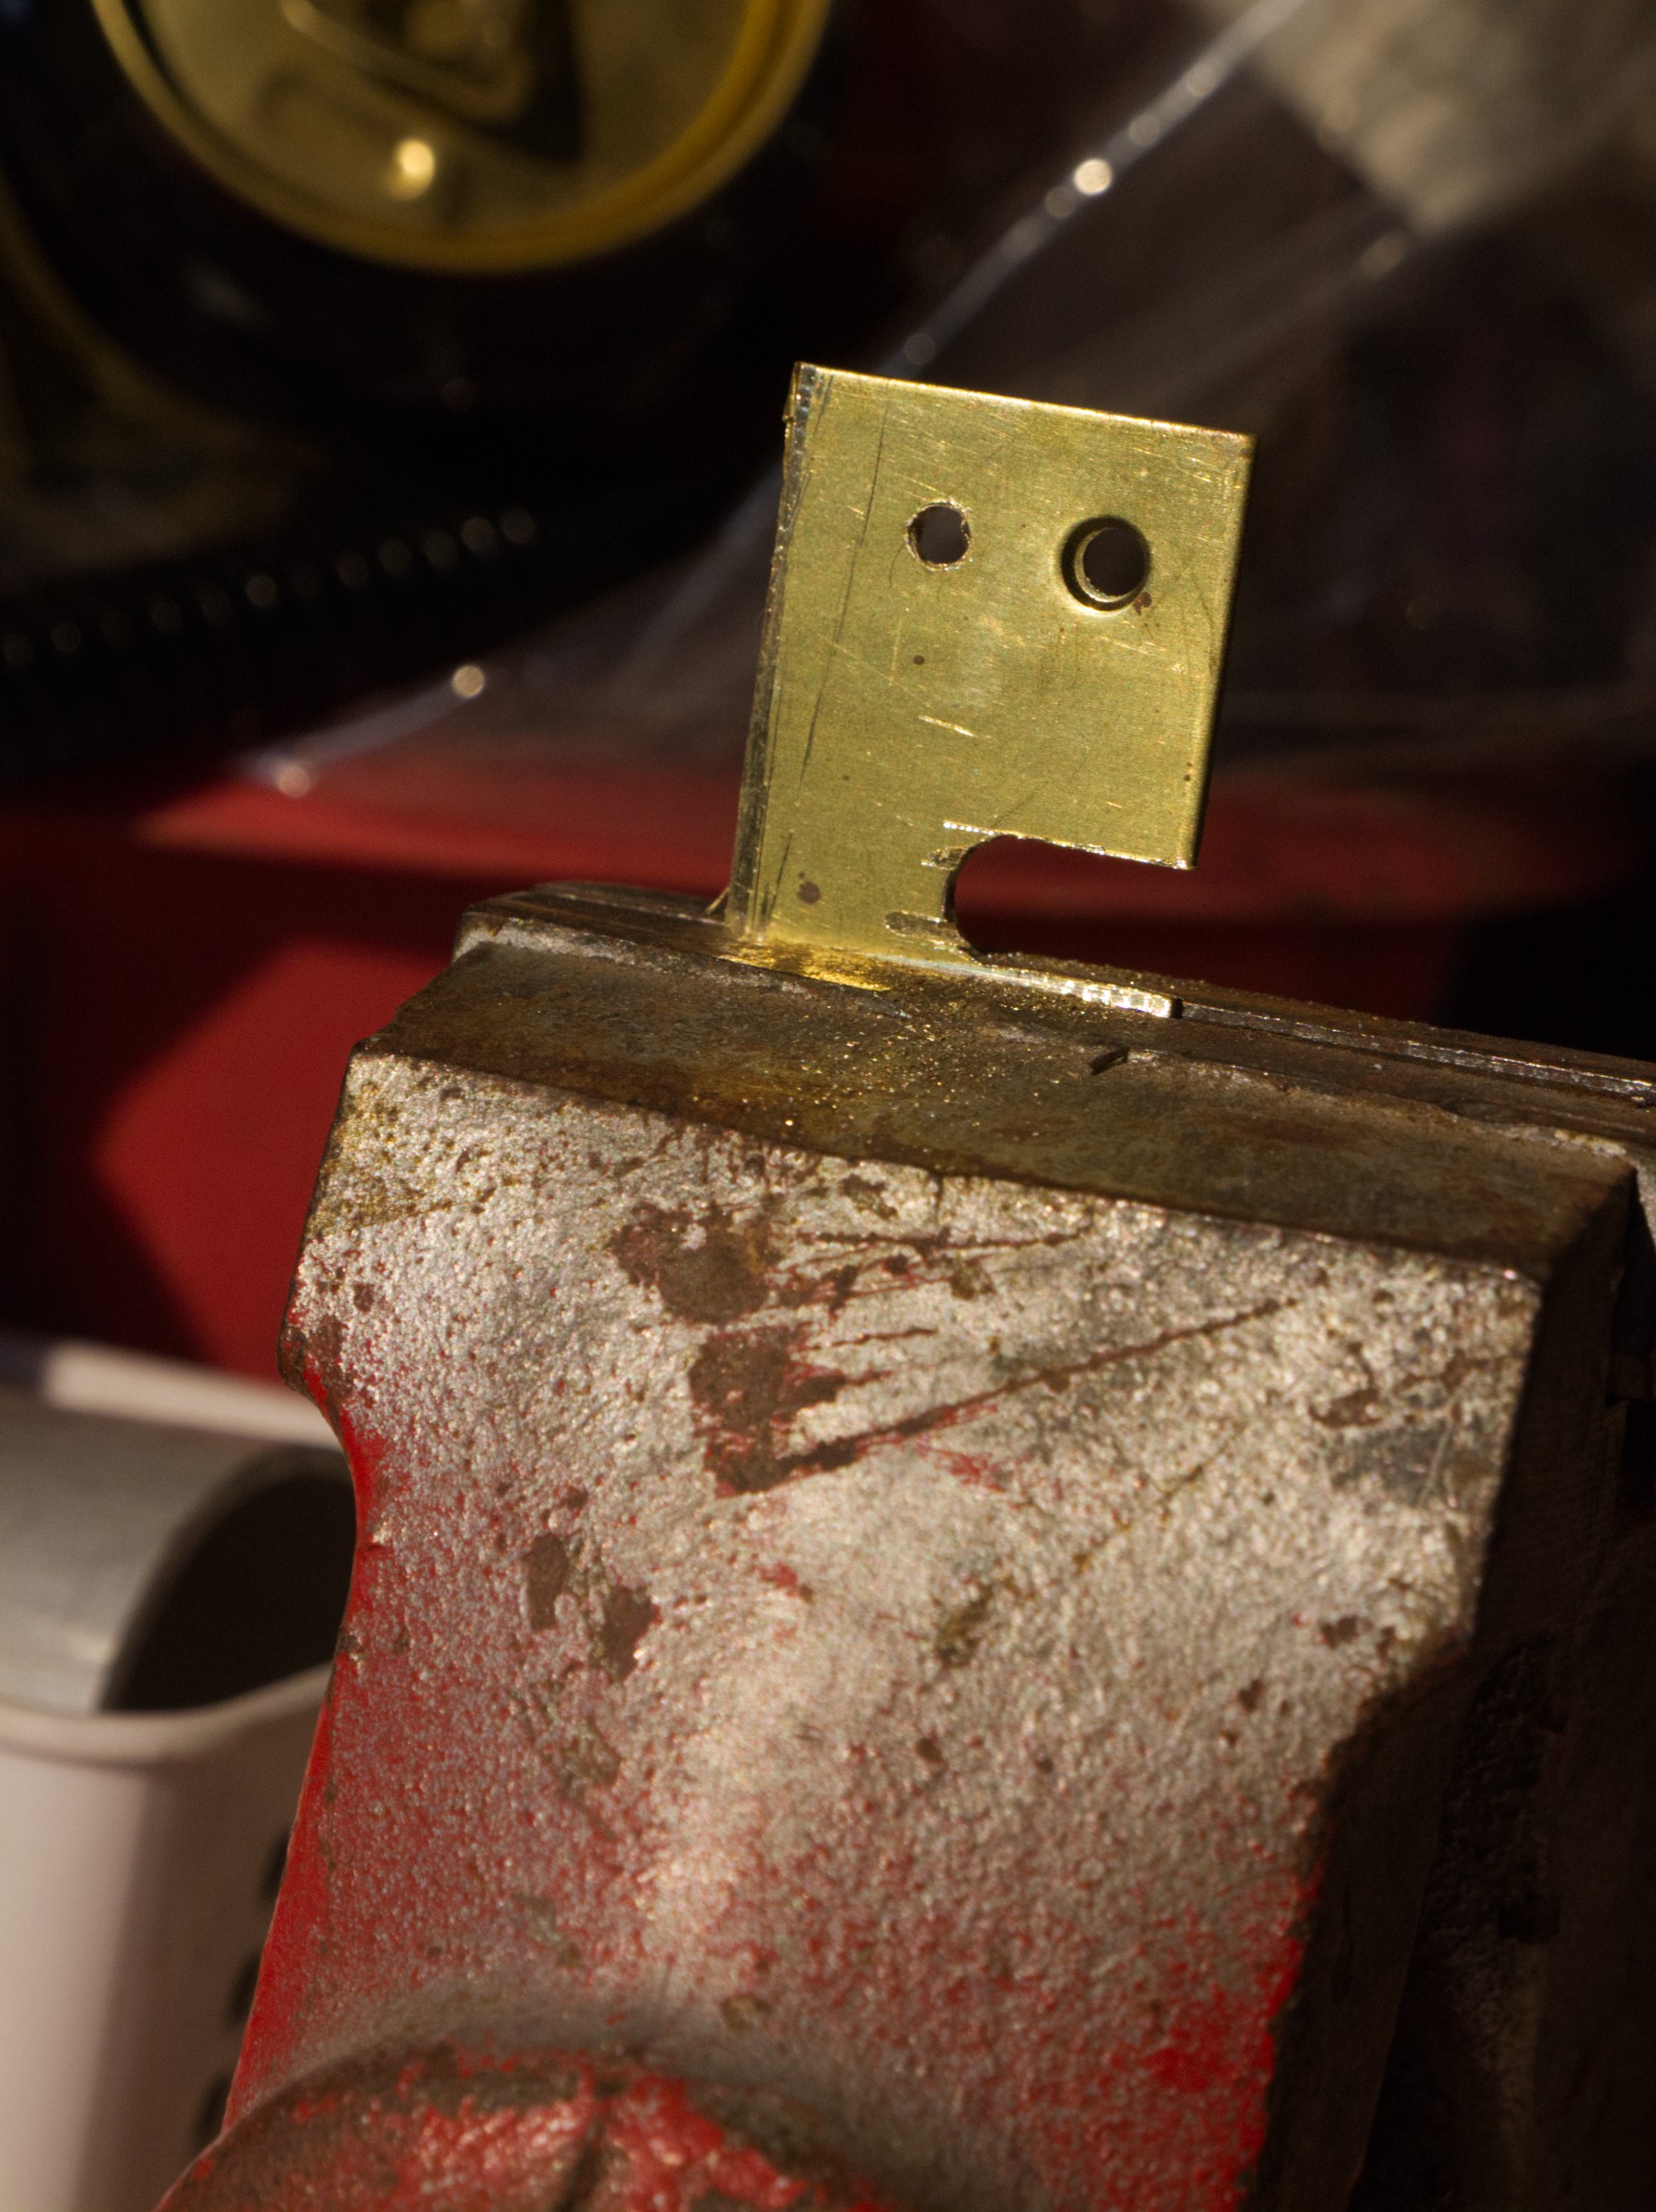
Cutting some other brass plate, fond a small box full of those at a vide grenier (garage sale), some with a central hole : some door ornament.
I was tired, it was the end of the day, and the screw that goes thru the the brass support and the PMMA, on the right, wouldn't pass thru the rear part of the brass.
It had been drilled en place, to avoid that exact trouble, the first one on the left got through easily but le left one didn't wanted.
After maybe ten minutes of unsuccessful tries, I finally decided to drill again, and... holding firmly the part in place with the left hand and drilling with the right one, I successfully managed to insert the drill bit, a 3 mm metal kind, under a nail of my left hand, I have good reflexes as I stopped drilling immediately, hopefully, it wasn't a 3 points wood drill, but a "softer" metal one.
So when tired, a good option is to stop, have a drink, and relax.
Drilling en place to be sure the holes will be at the same position up and down.
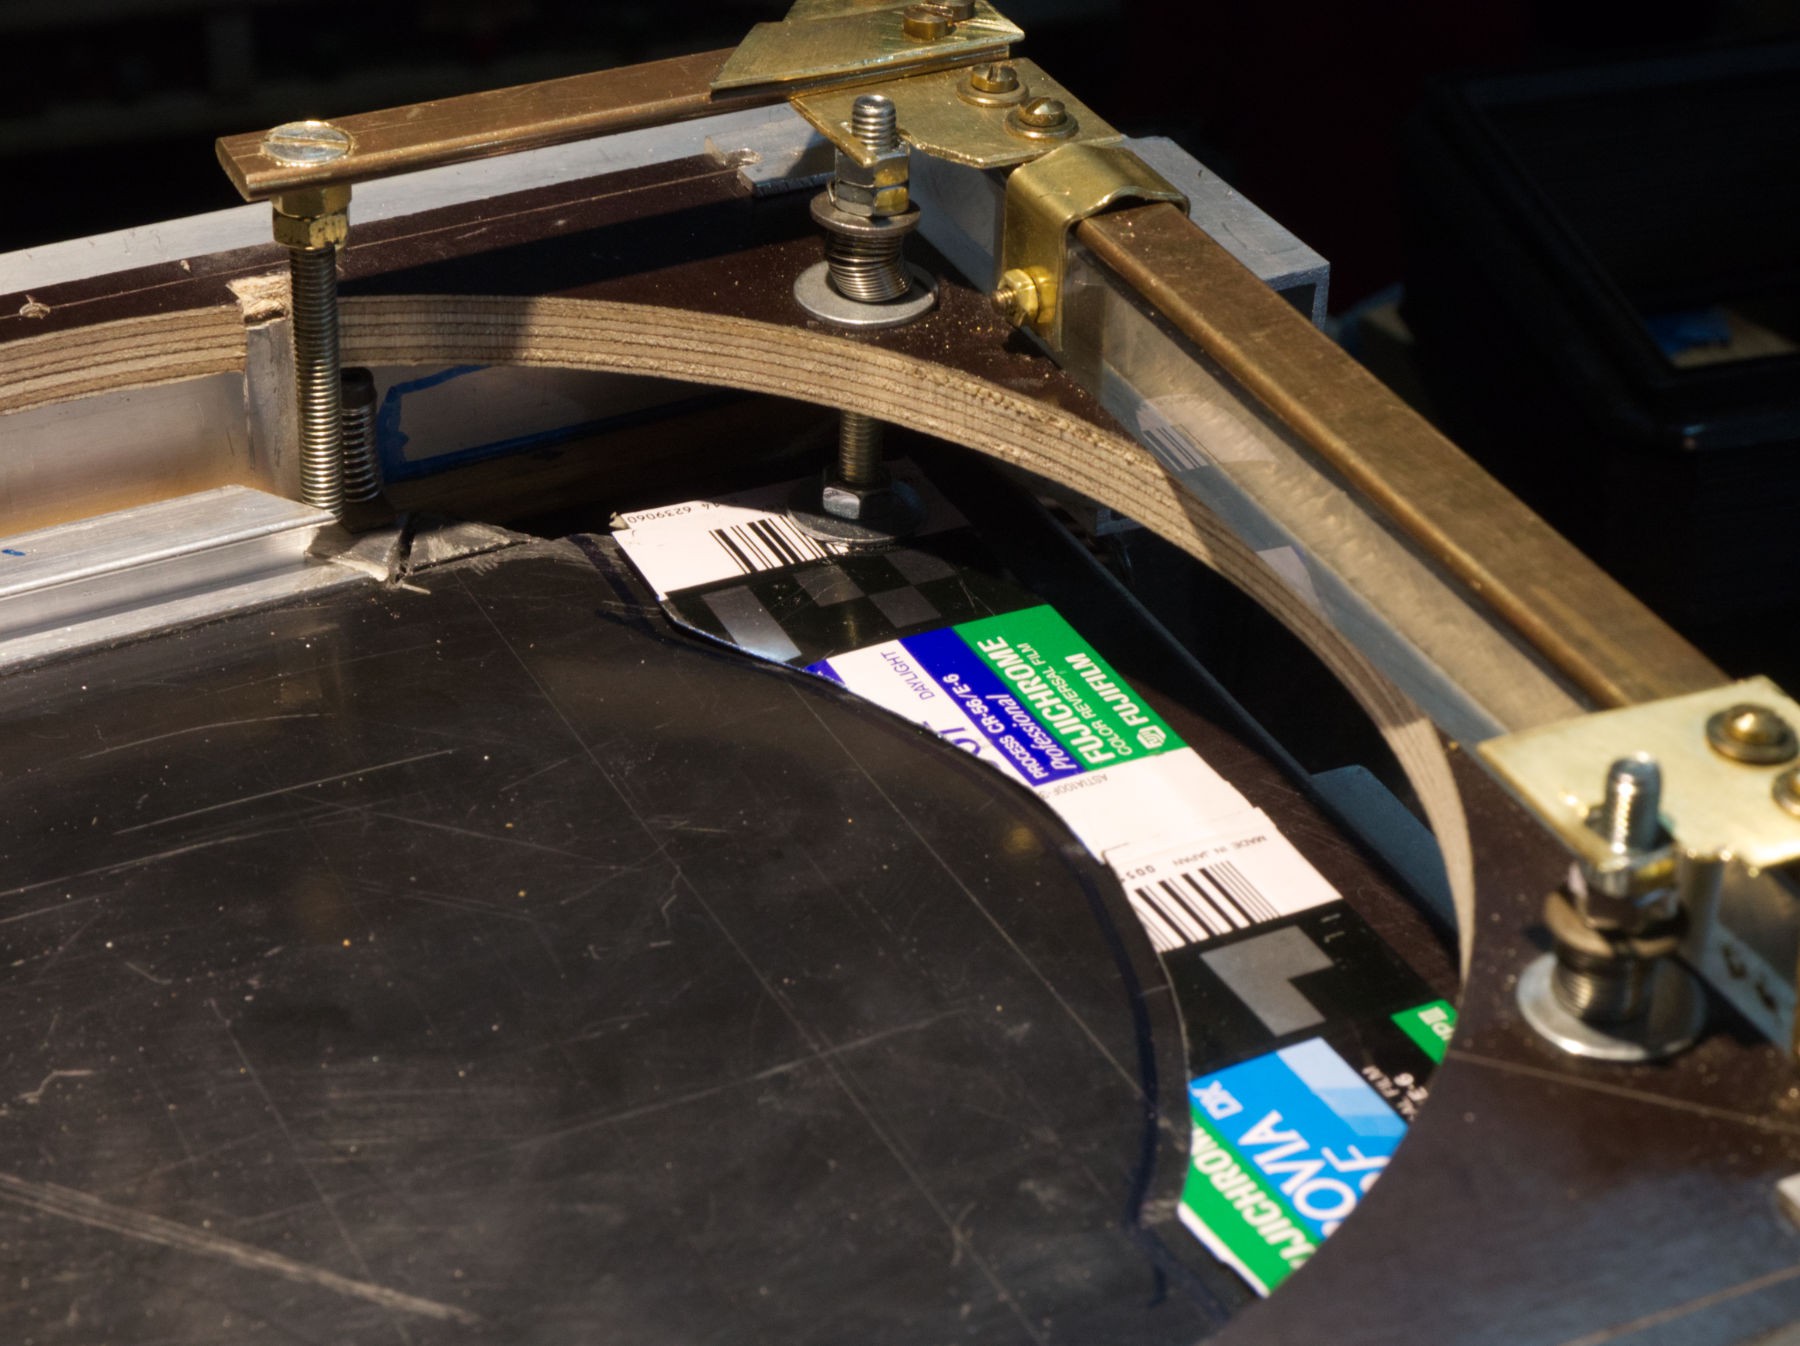
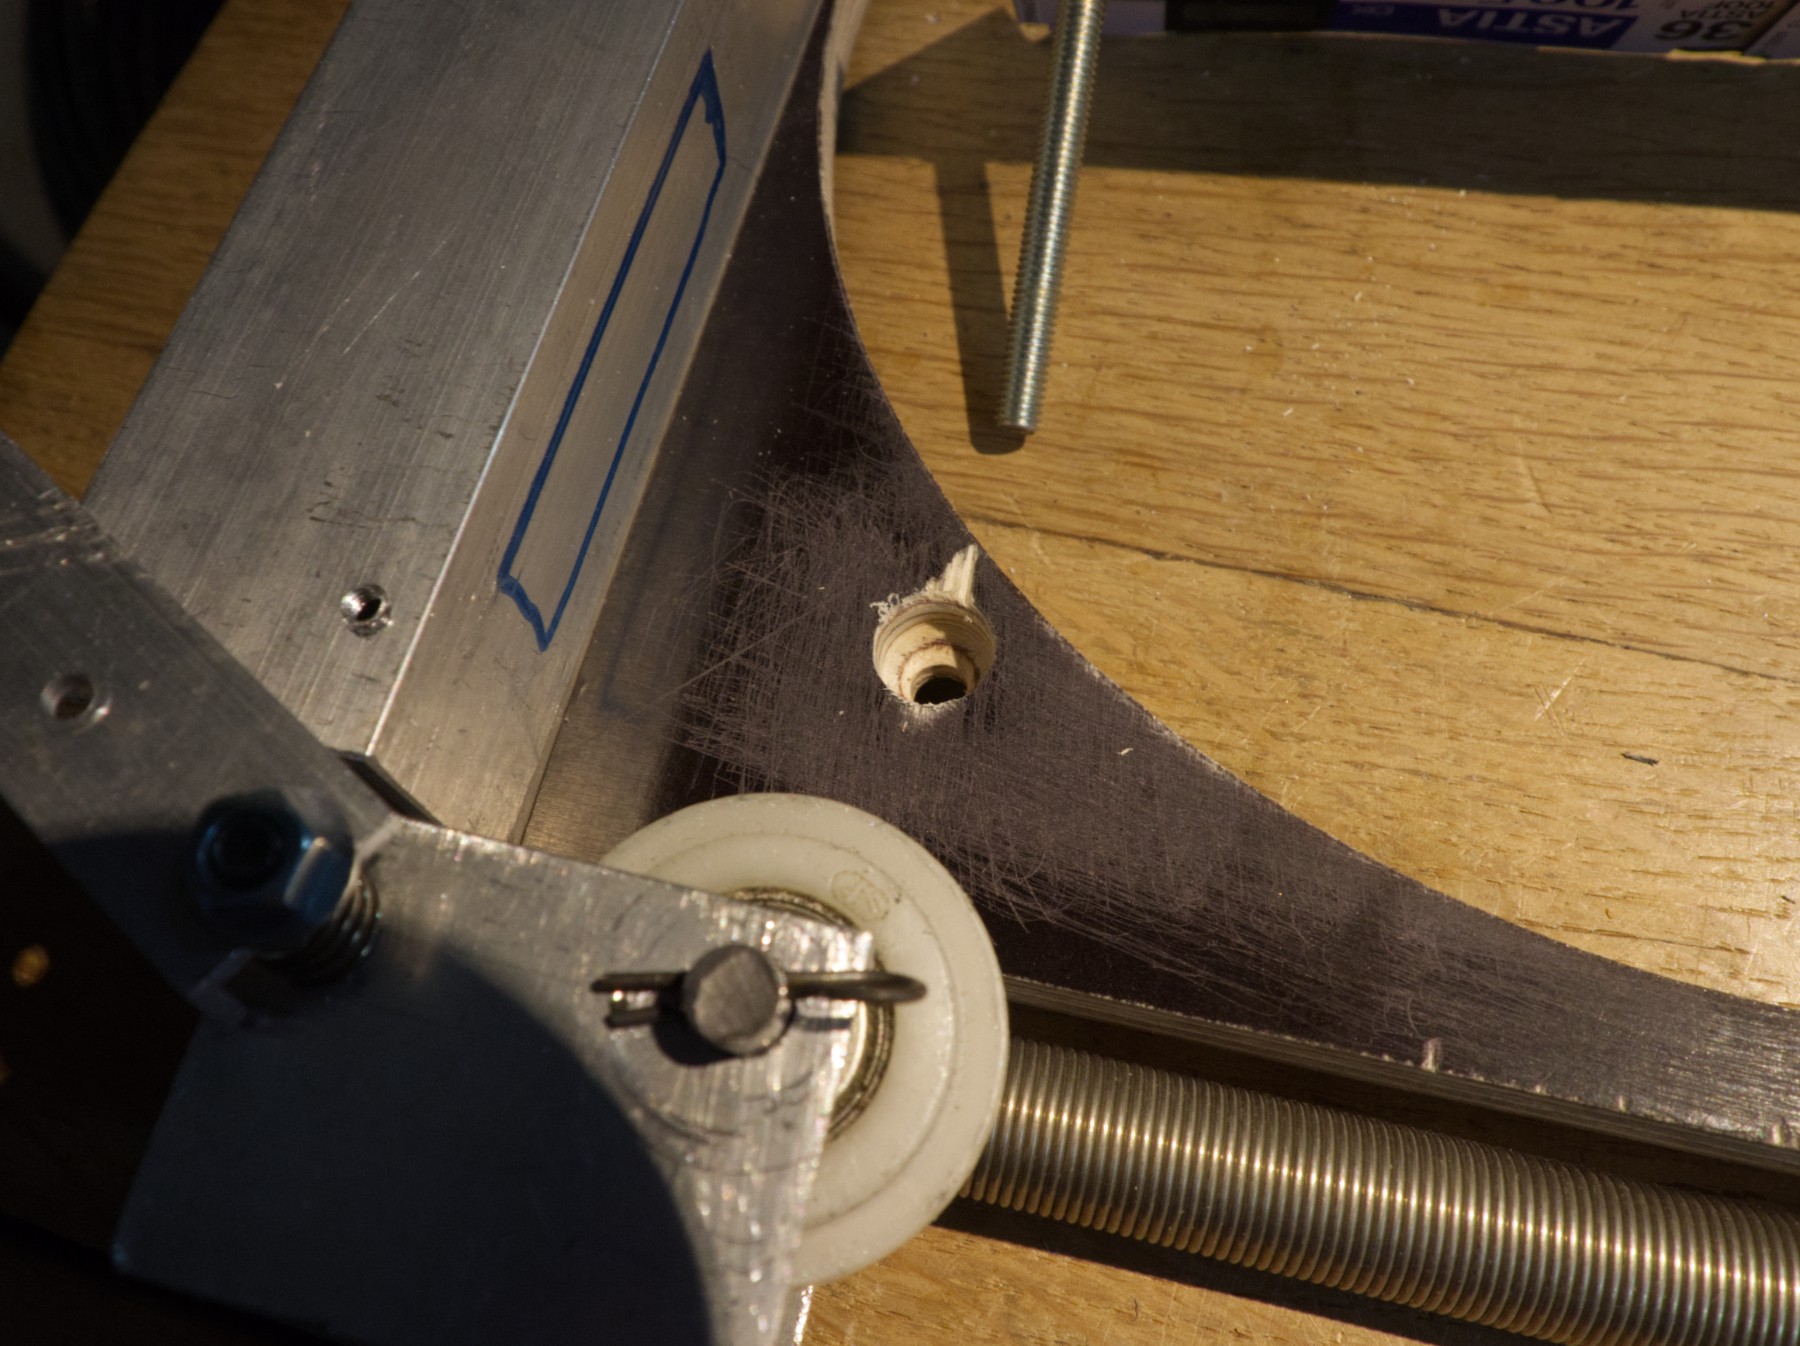
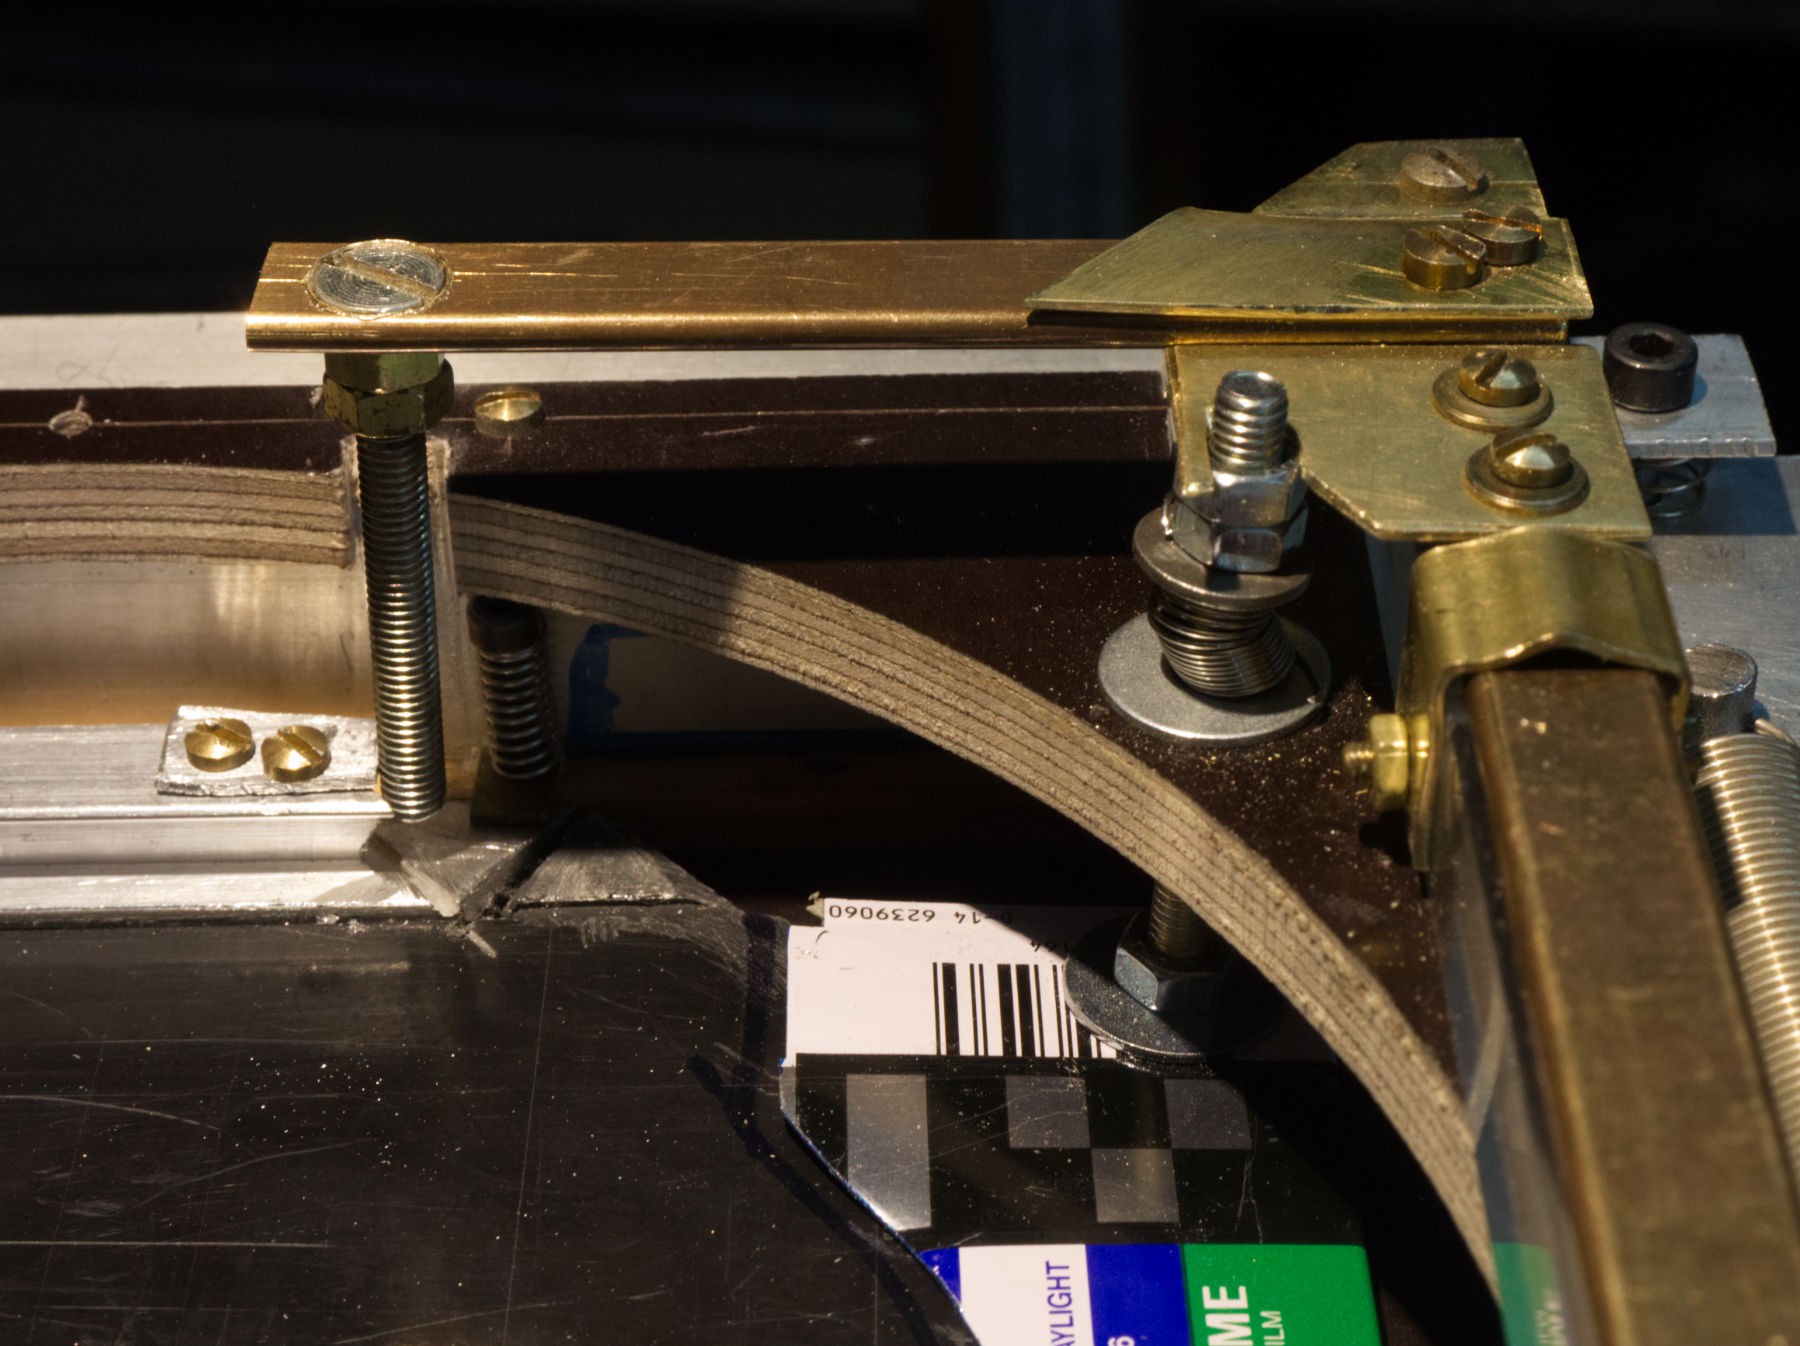
The screw on top left holds the blade, but it's a little too much down, too close from the flap.
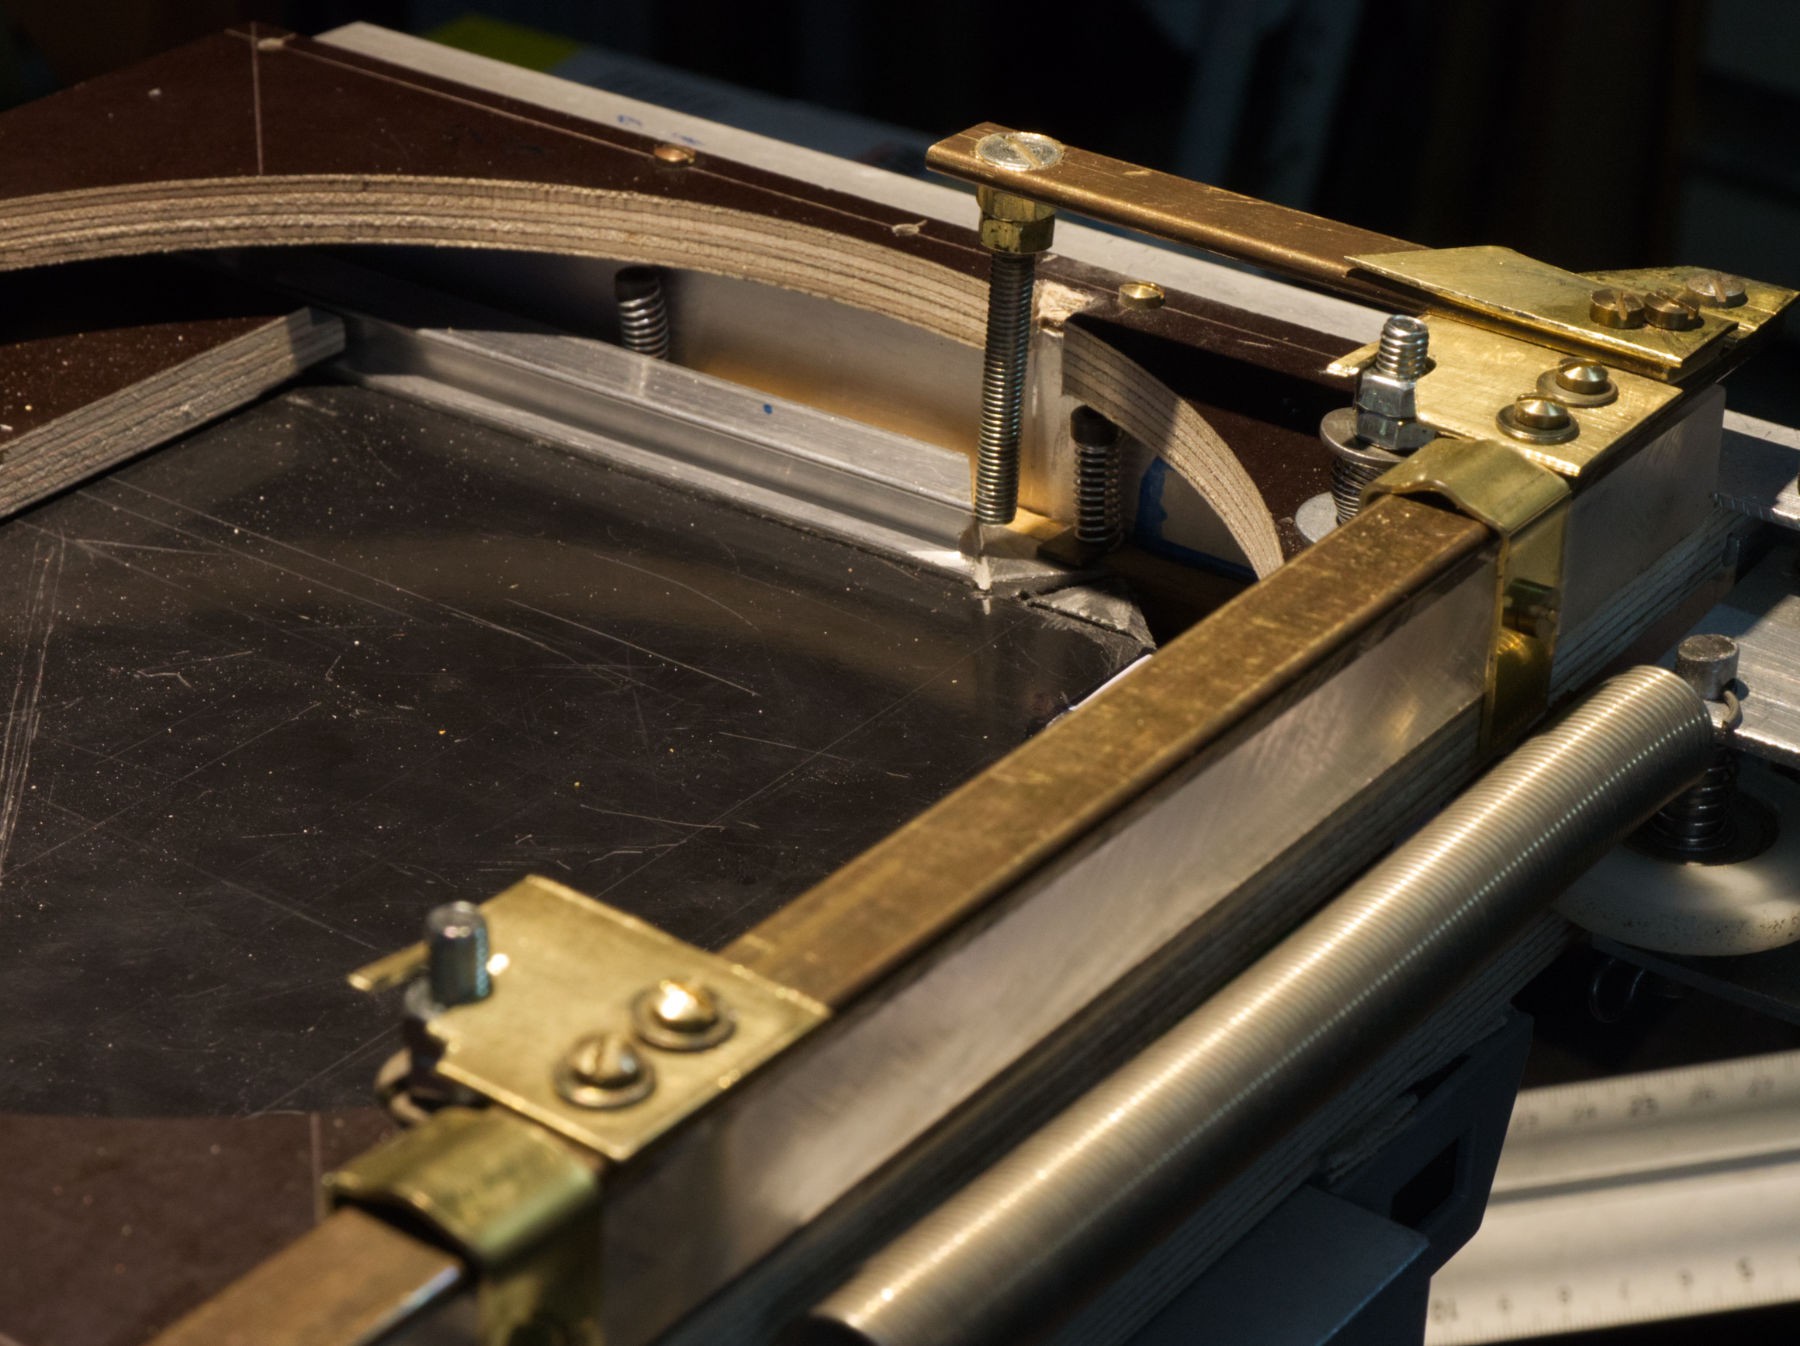
Same thing from another viewing angle.
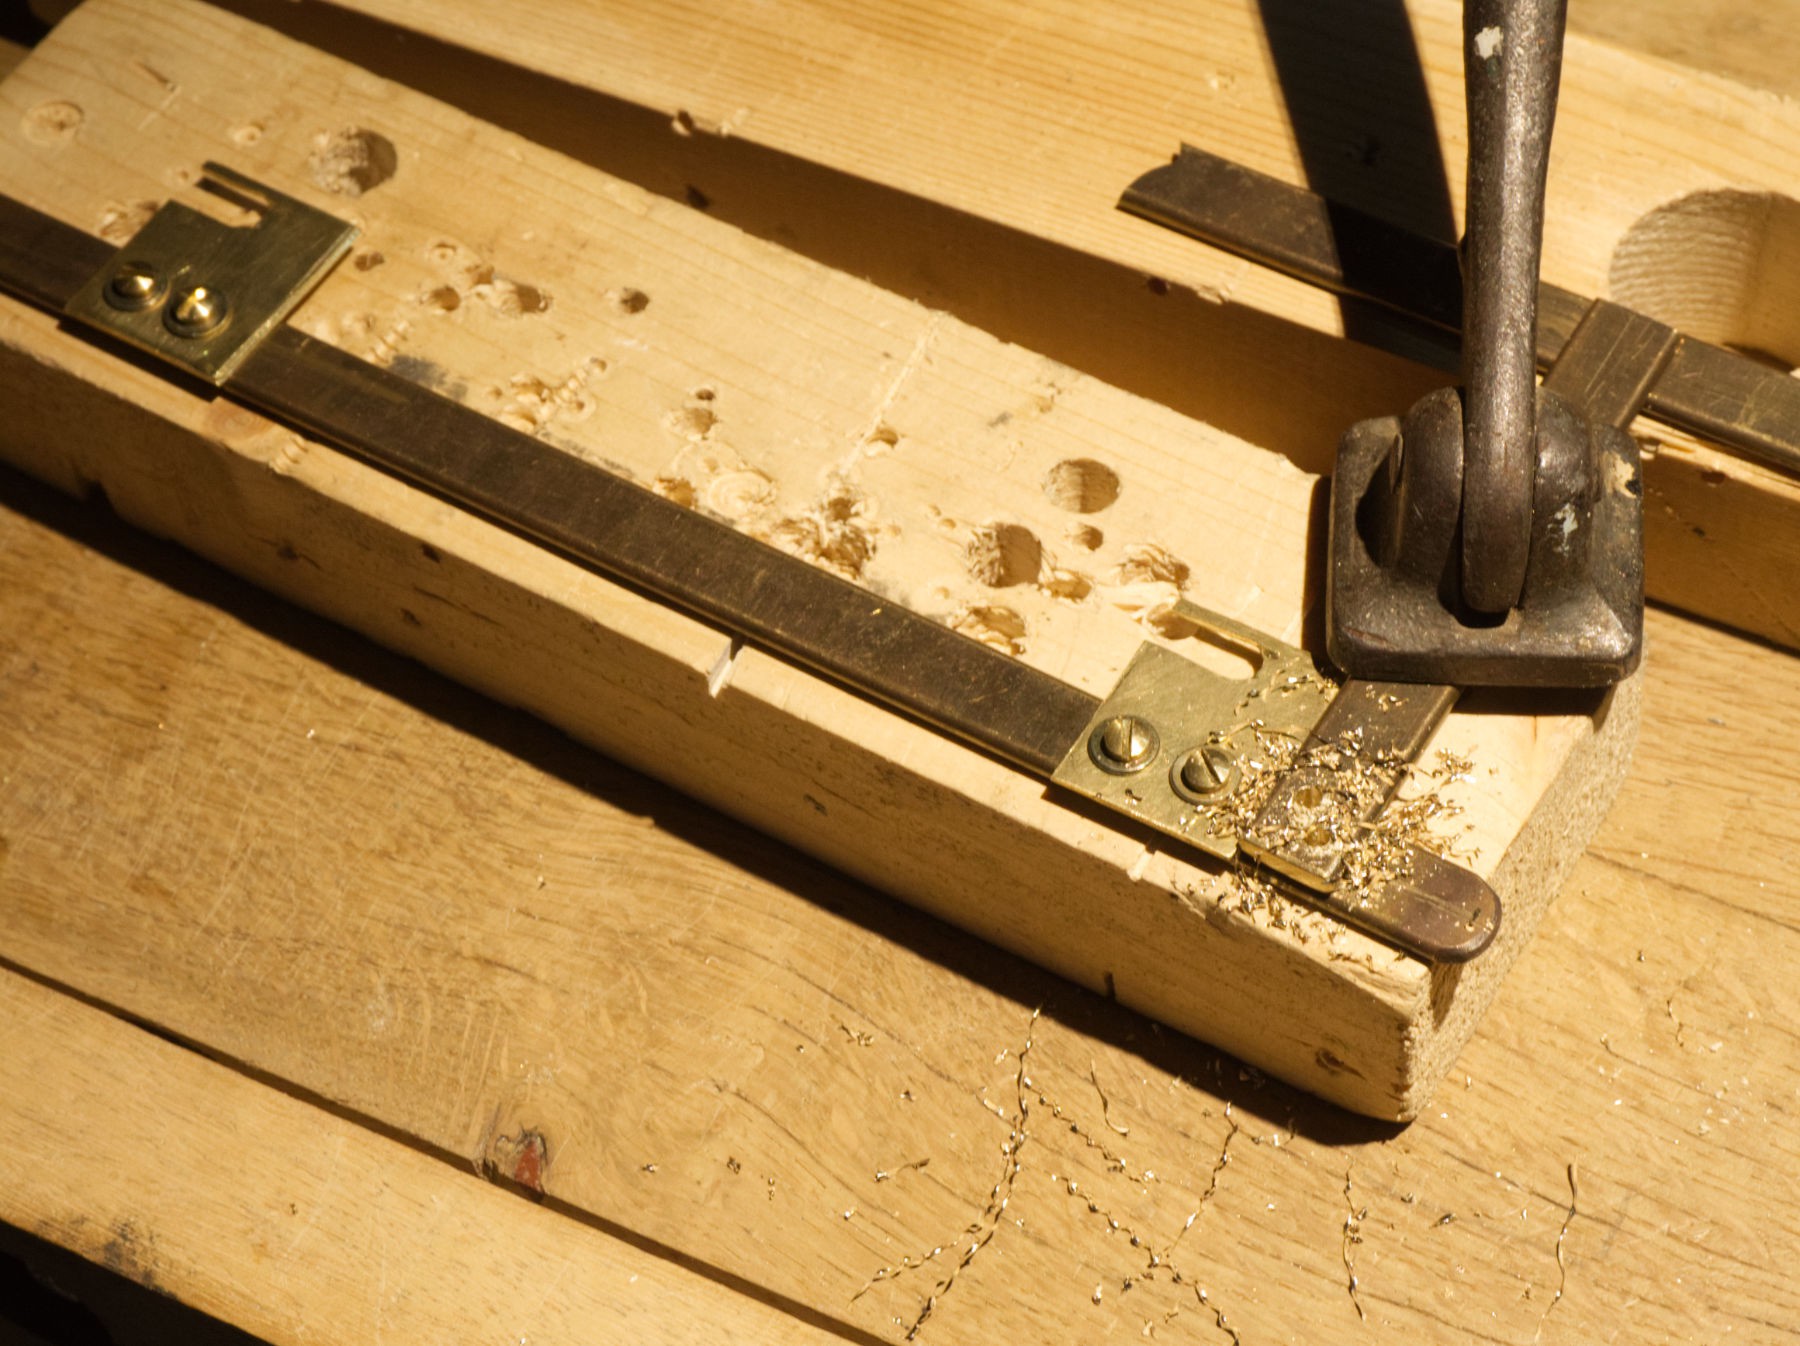
Drilling and taping to ad a little piece of aluminium to have the right length, just a few millimeters.
Those two holes are the worst accurate job until now, the piece of aluminium isn't strait at all, never mind, it's ugly, but it should work.
Ugly, but it works.
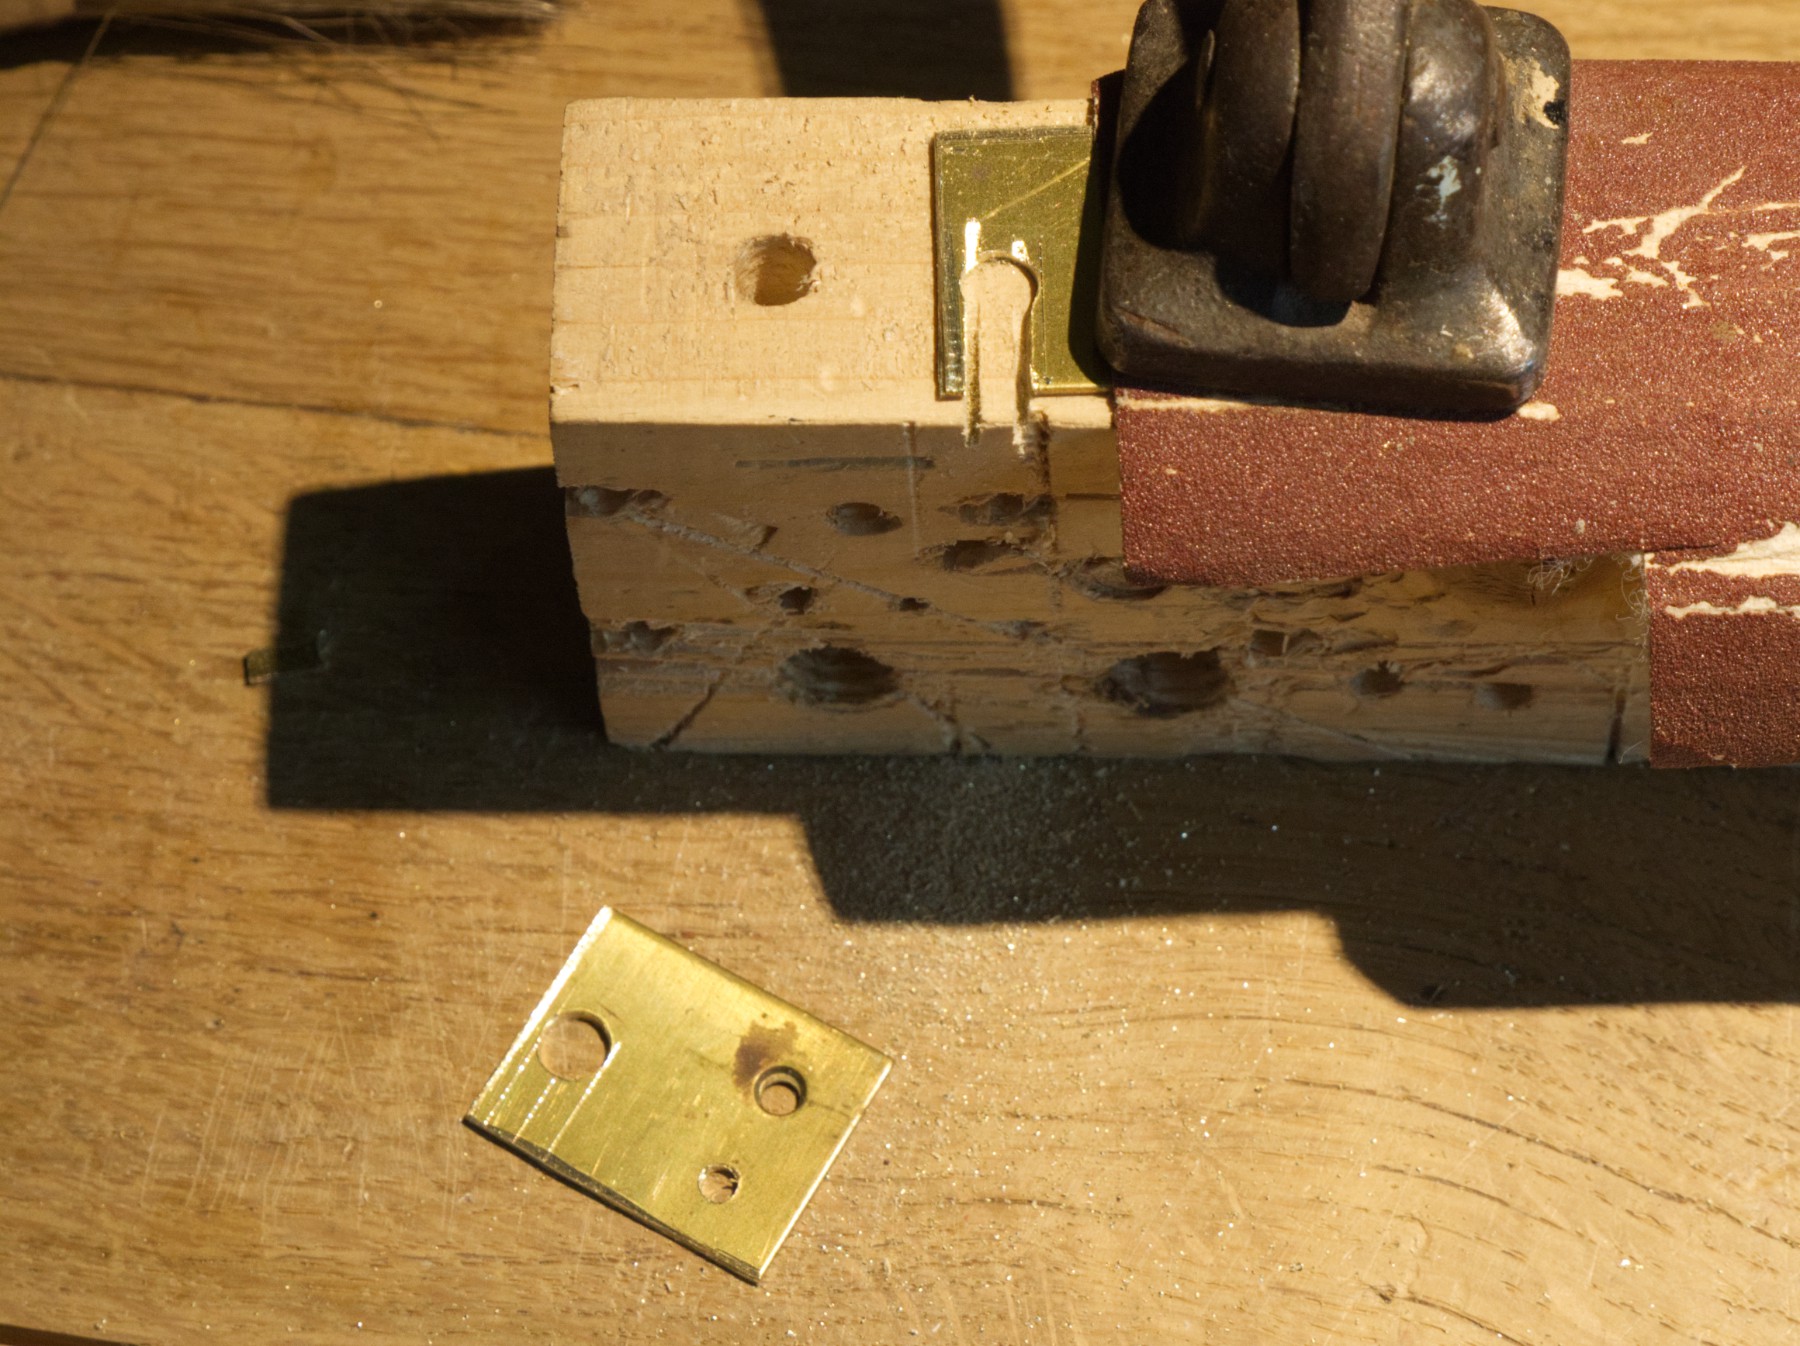
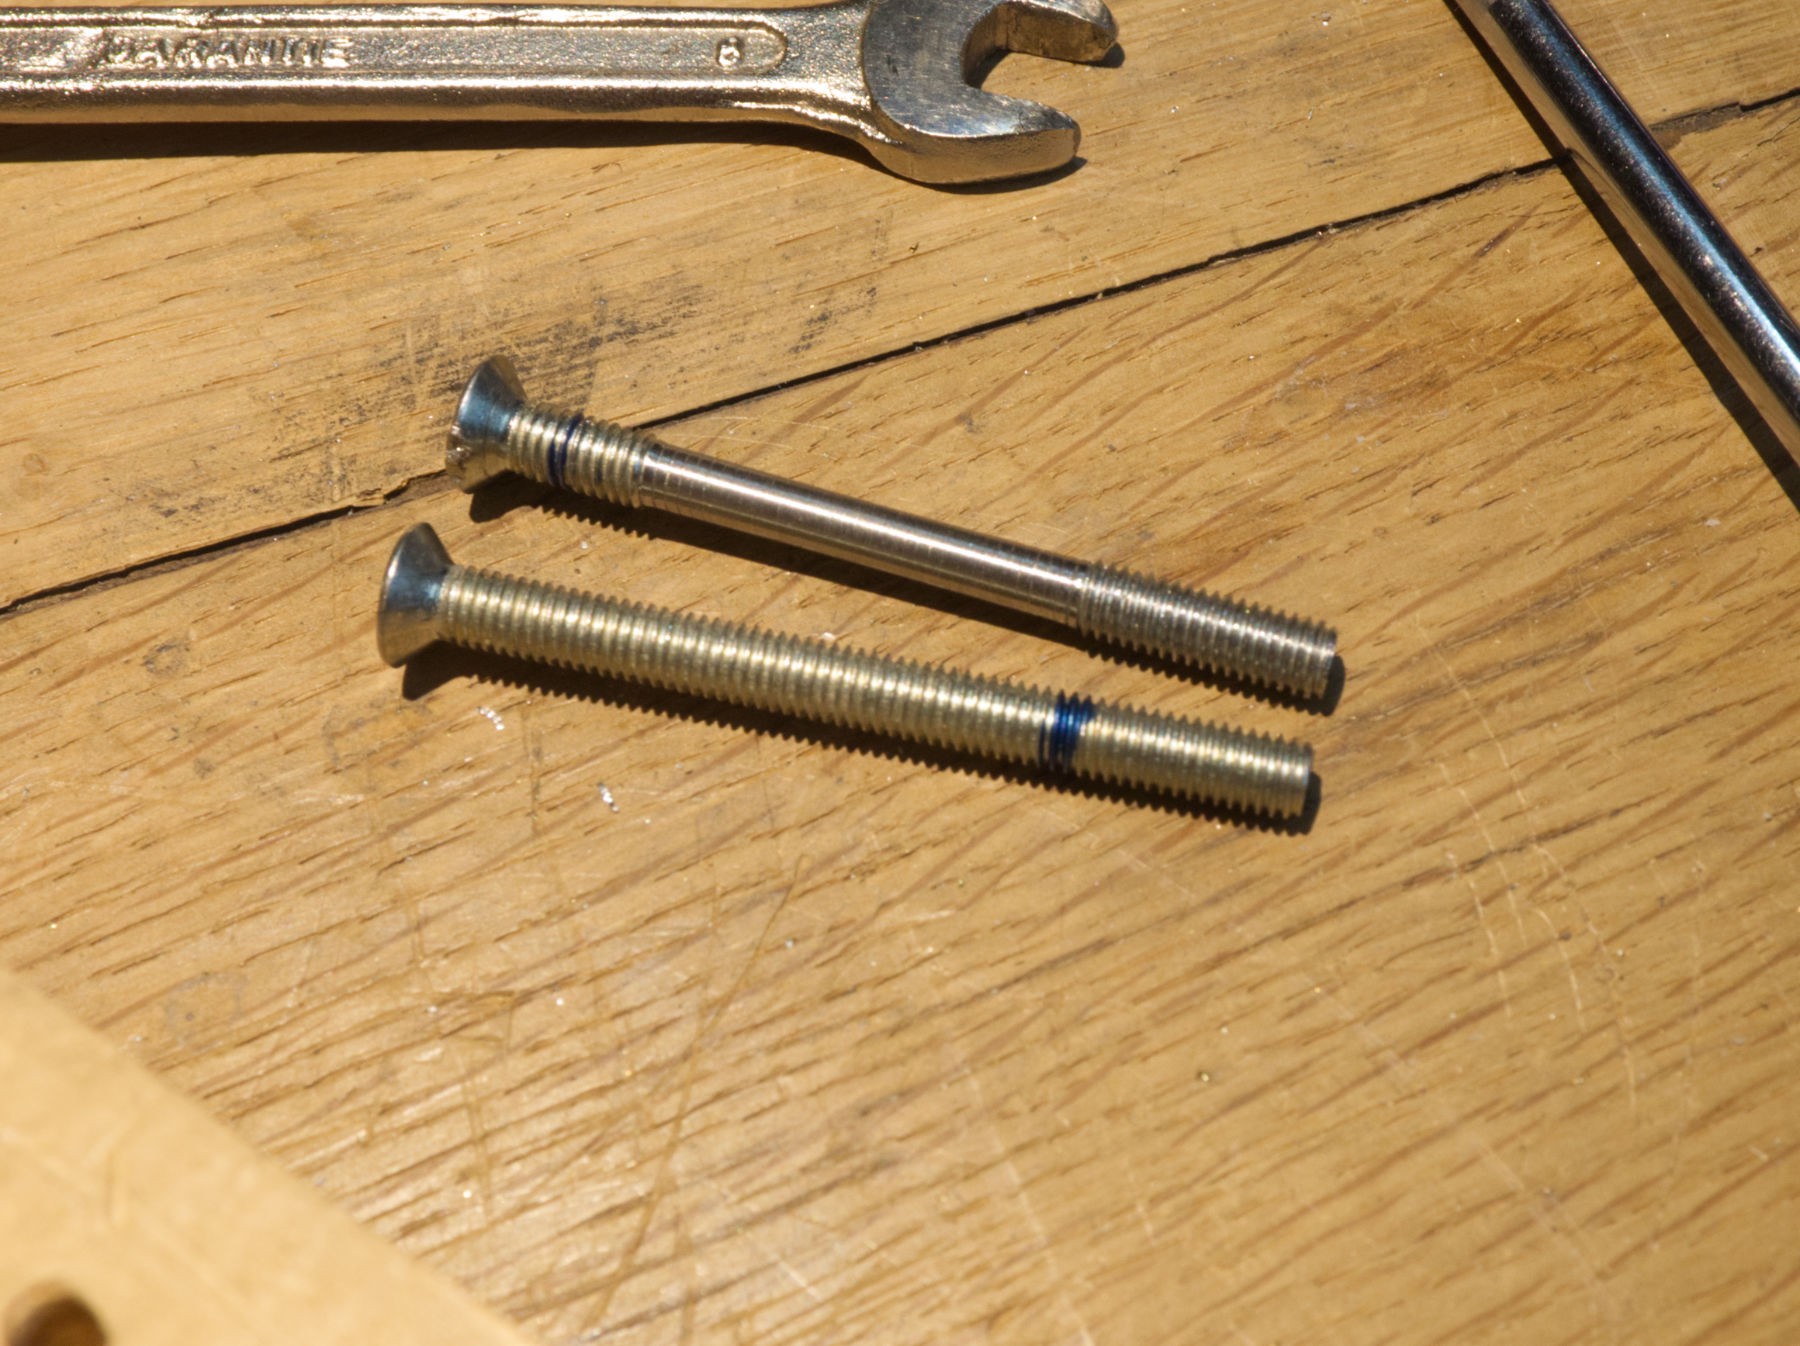
Now I have to do something with the flap holding screws, the threads are acting like a file when moving thru the holes, it's noisy and not very even, it doesn't slip well and I want a good glide.
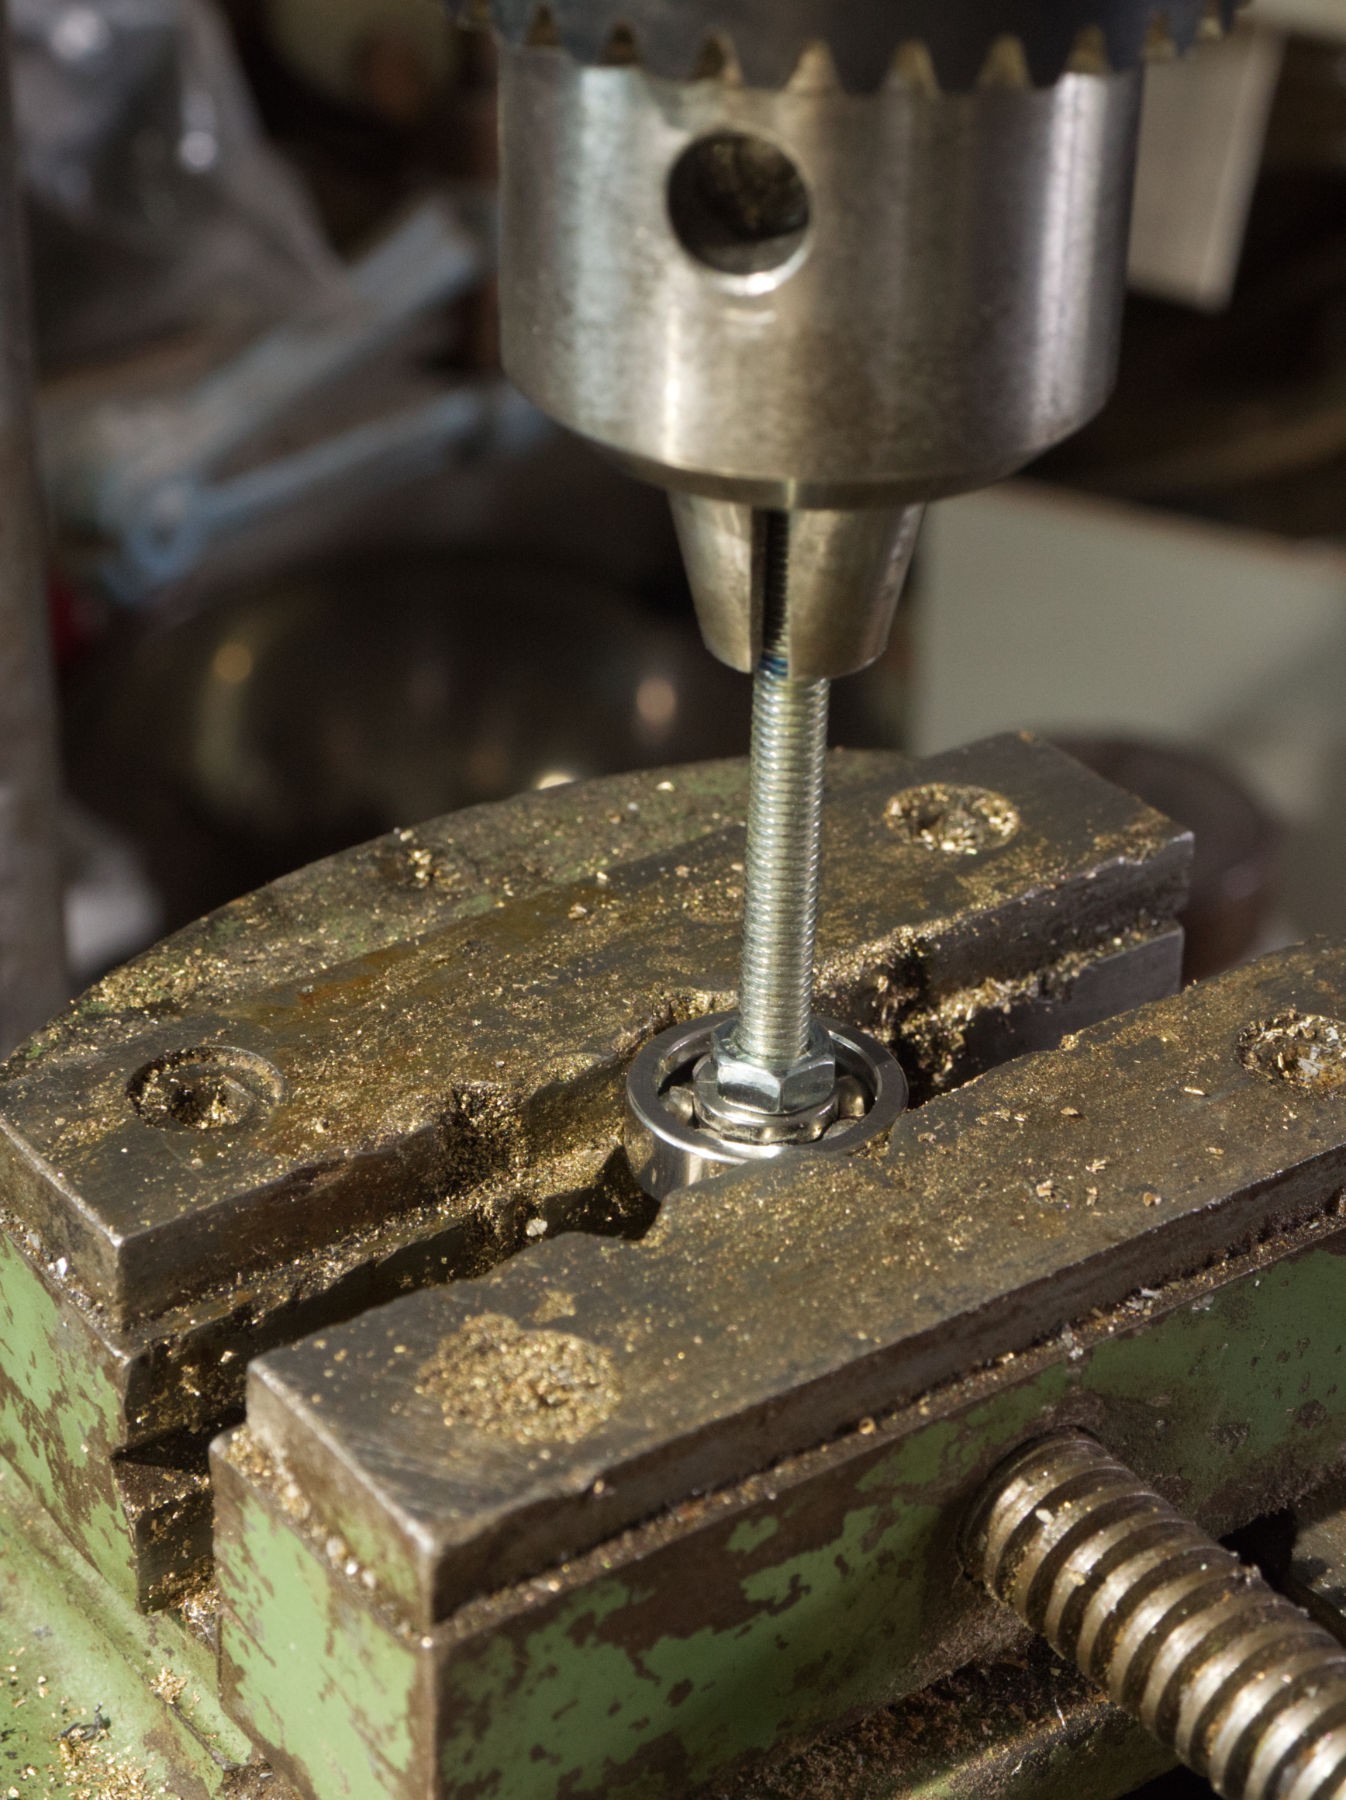
So the drill press is going to be used as a metal lathe : the screw is held in the mandrel and the head is maintained down in the vise in a rotating position with the help of a small bearing with the nut tightly screwed.
With the help of a lathe tool, a file and sand paper, the screw is no more threaded between both ends, it takes time and its tiering to hold the tool by hand, vibrations are important.
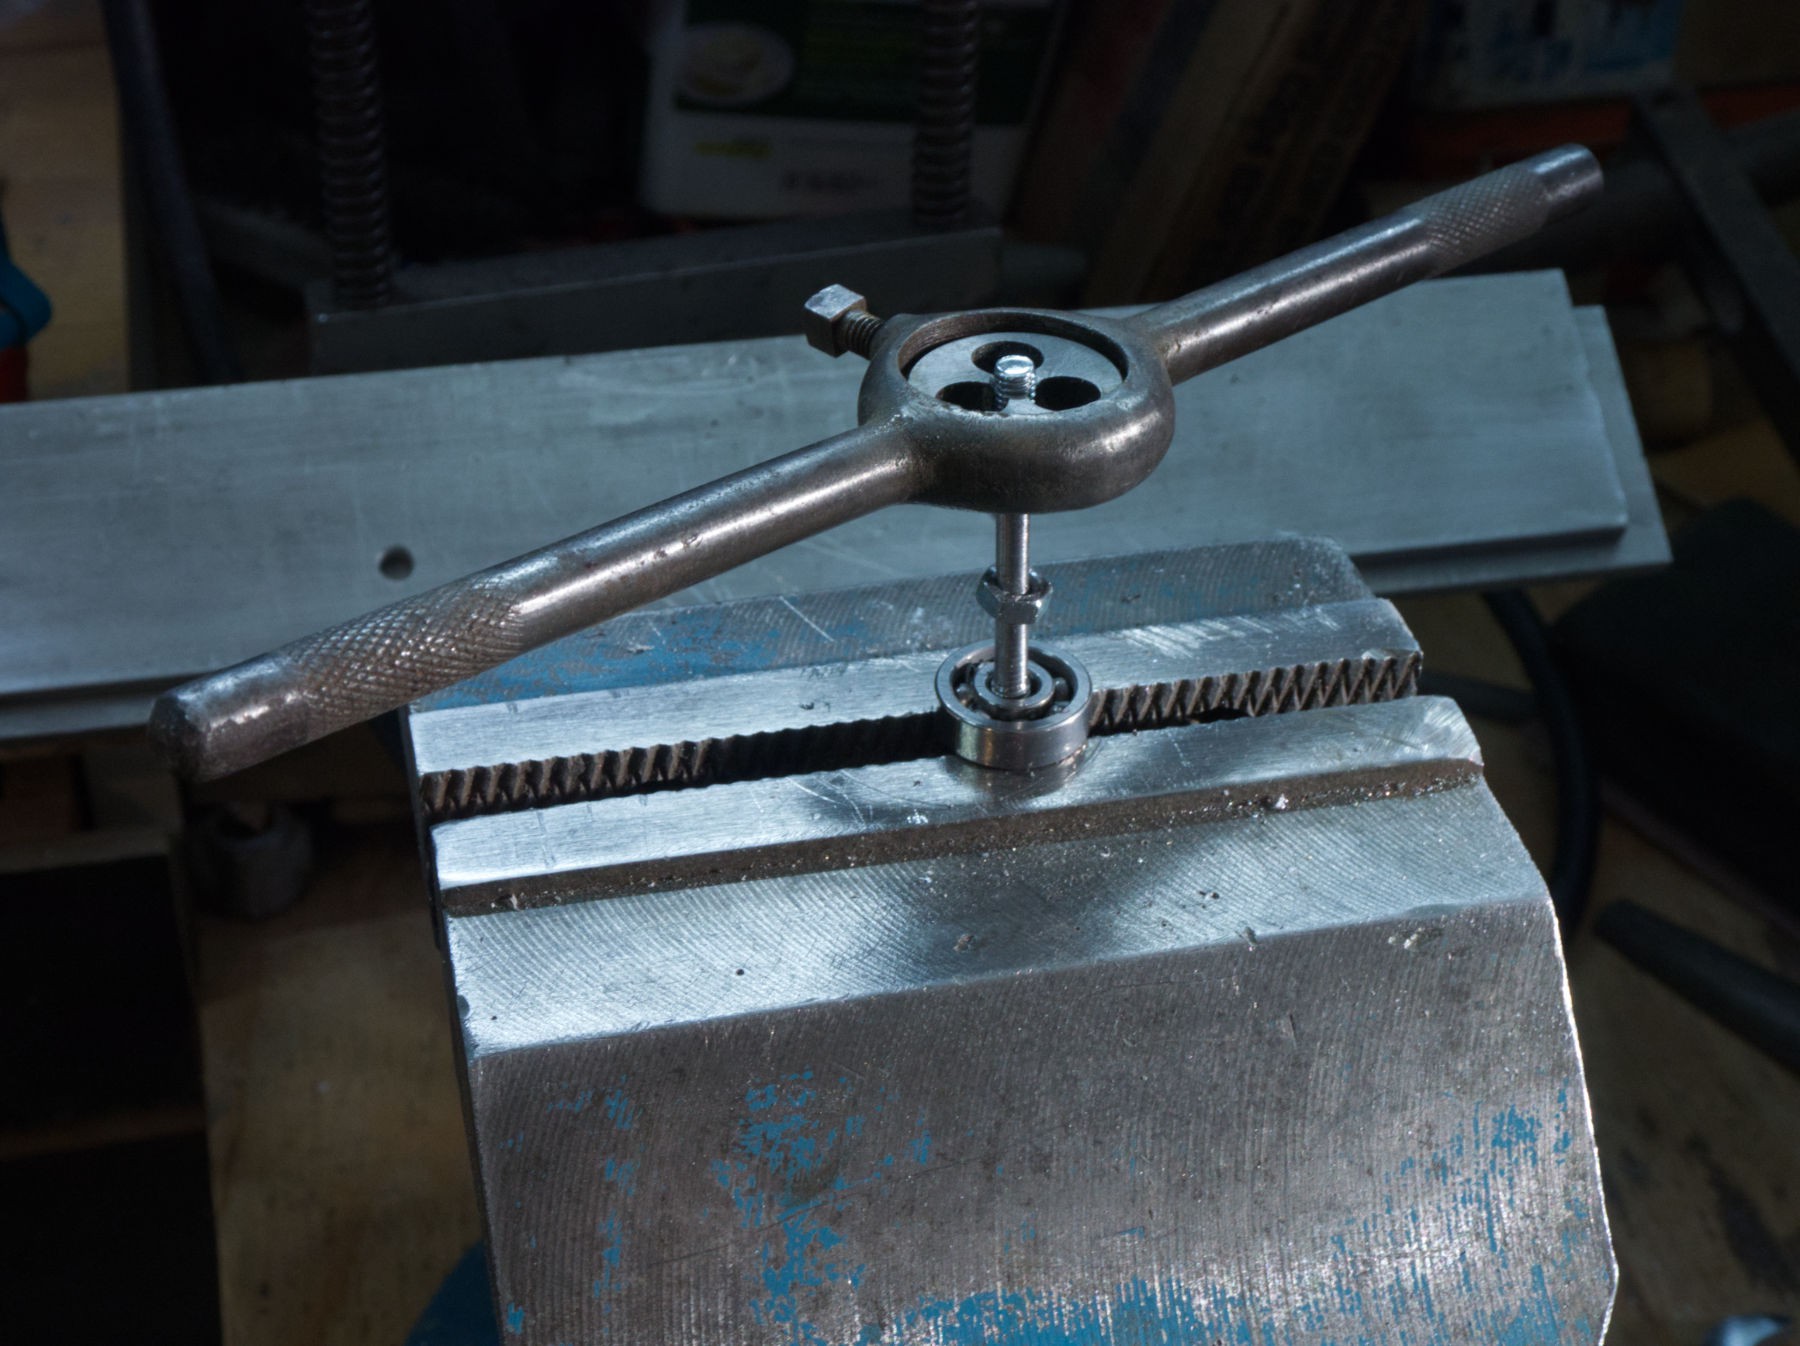
Of course, the top threads must be passed thru the appropriate fillière (die) to repair the little damages made by the tight closing of the mandrel.
Perfect !
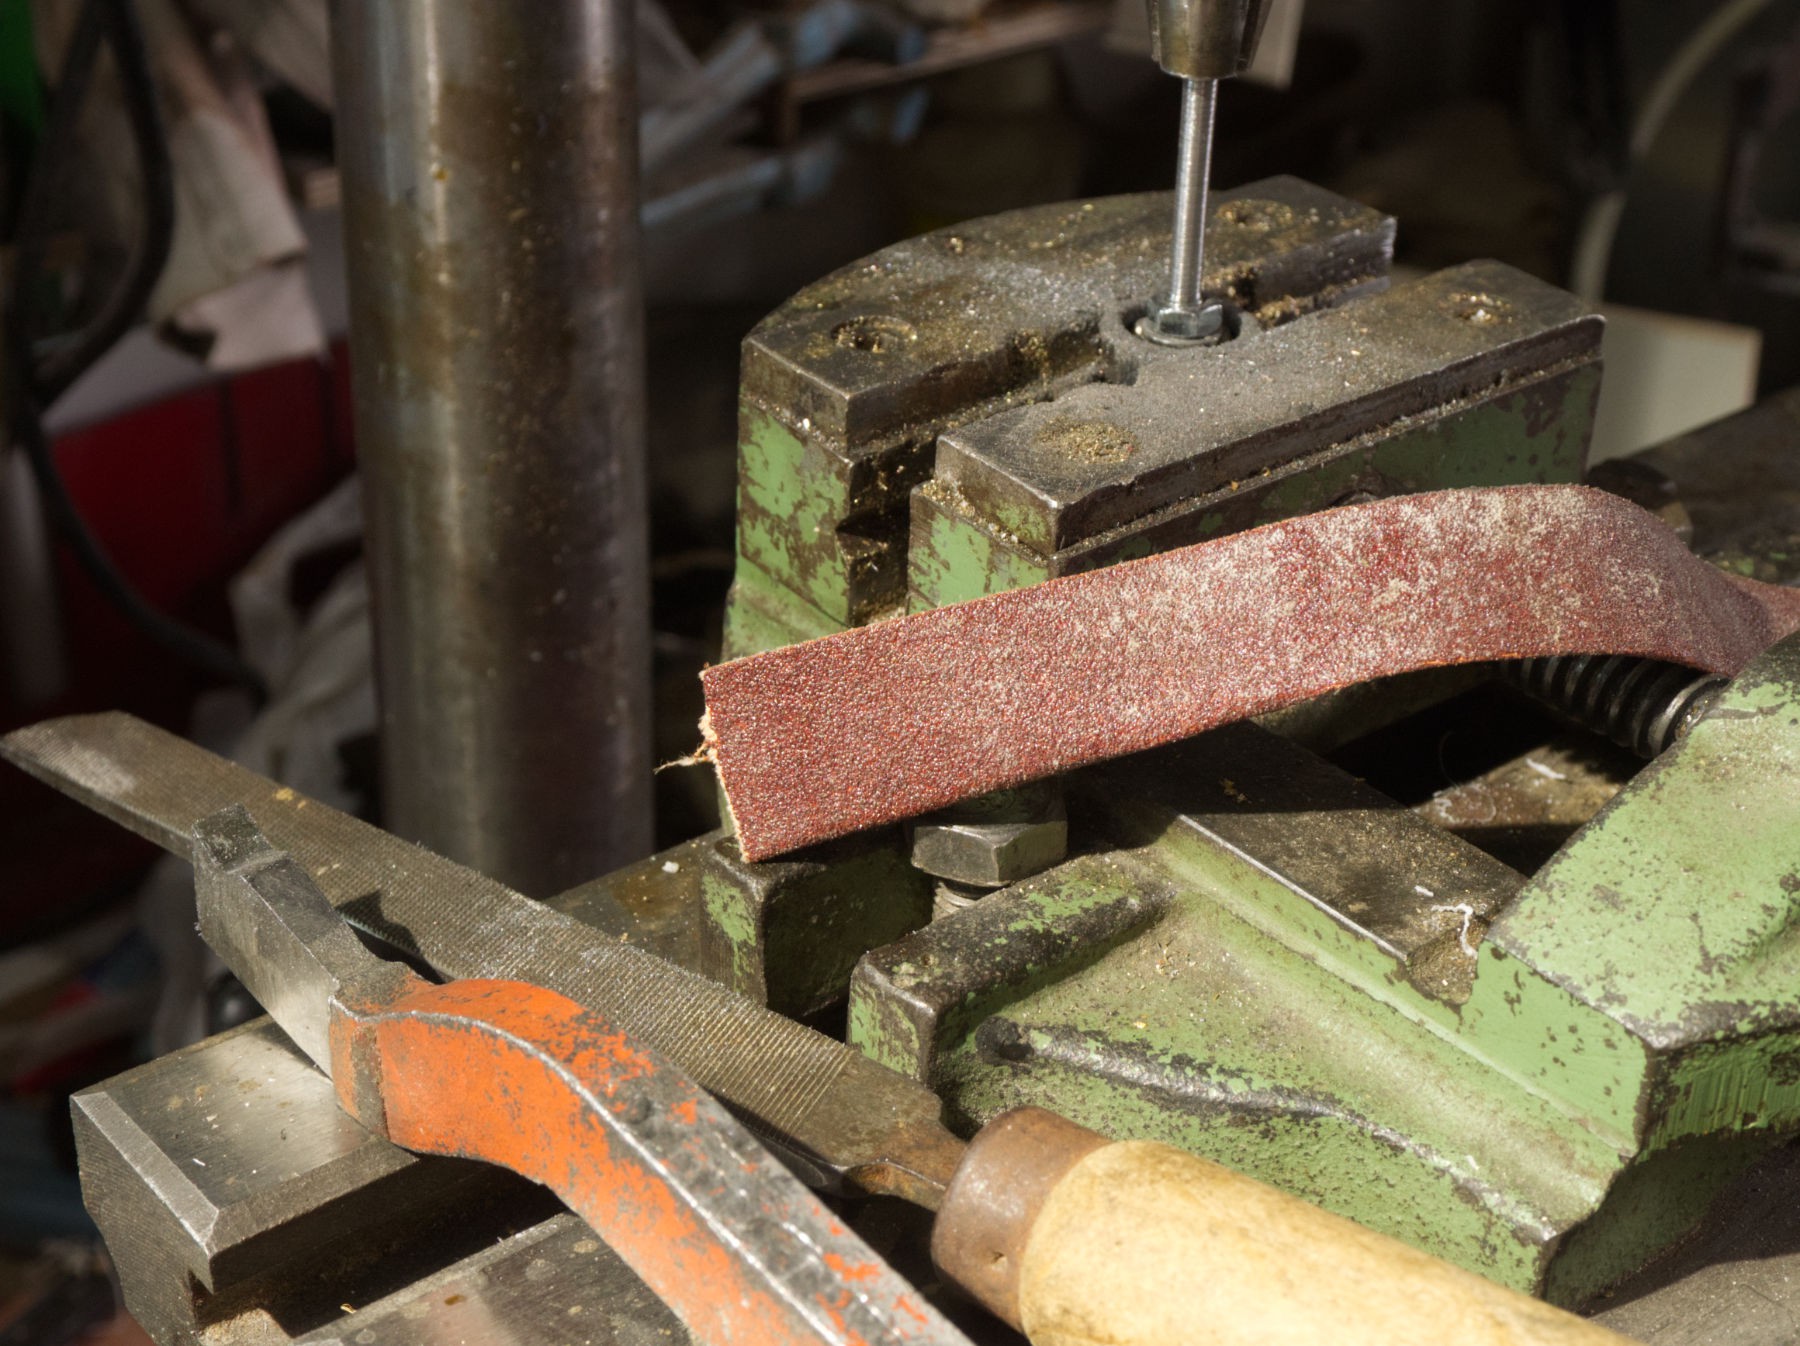
It'll slip easily, fast and even after giving the second screw the same treatment.
Discussions
Become a Hackaday.io Member
Create an account to leave a comment. Already have an account? Log In.