 kelvinA
Now having 16... 18... 20 materials is great for the few prints that could use them, but what about prints that need more? More importantly, how many cartridges would be needed on stock? It seems that most print jobs won't share most colours between them, meaning that a user would likely have to stock on resins similar to paints for a a mini figure painter and swapping them out for each new job. Next, it's likely that an entire cartridge would have 5% of custom colour material in it simply because a part needs the colour in a few voxels here and there, which is a waste of storage space afterwards. When it comes to printing, it takes additional time to expose a layer of each required colour. Lastly, I was watching the Mimaki informational video of their new printer and saw how multiple drops went into each other, which was not what I had in mind for VLM.
All this made me question if the minimum amount of resins for full colour prints for VLM would actually be CMYKW+Clear+Support or something else, and how good the colour reproduction could be.
Dithering
I've heard of dithering and was planning to use it for gradients, and that's why I was leaning more on the 35um 6.6" screen over the 47um 8.9" screen (but more to do with price). Today I was wondering if it was possible to use this for full colour prints.
It didn't take long to find this Wikipedia page on it, and the notable mentions are 2-bit greyscale and 3-bit RGB.
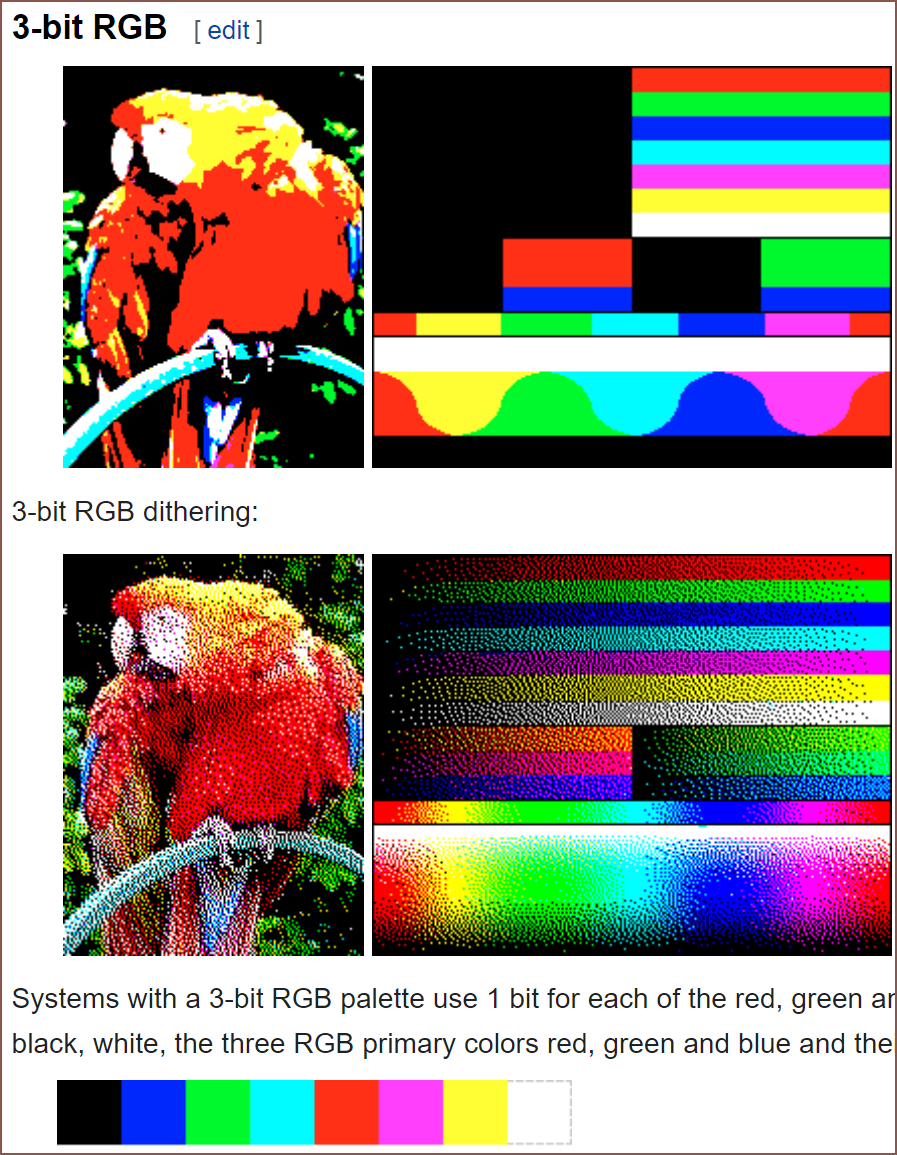
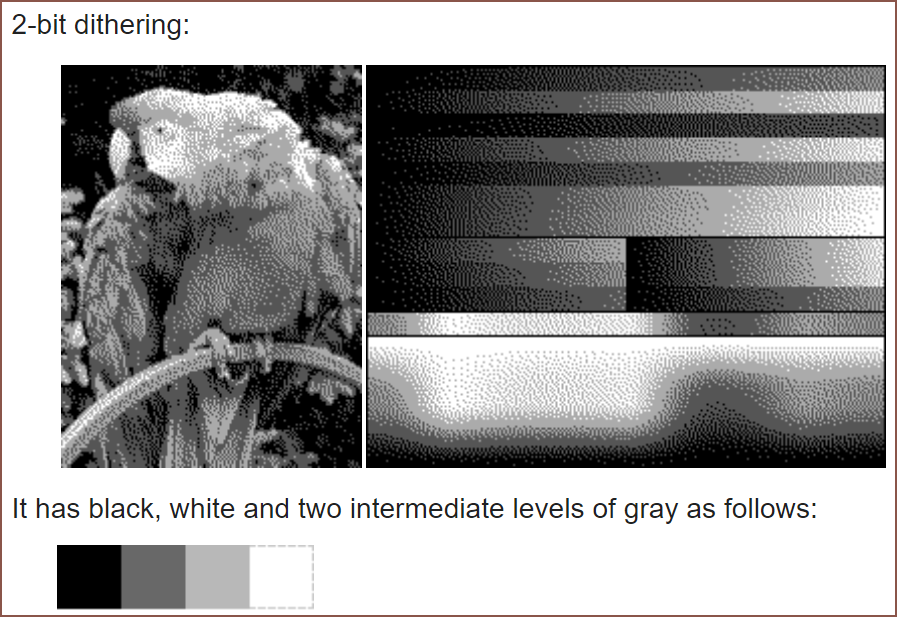
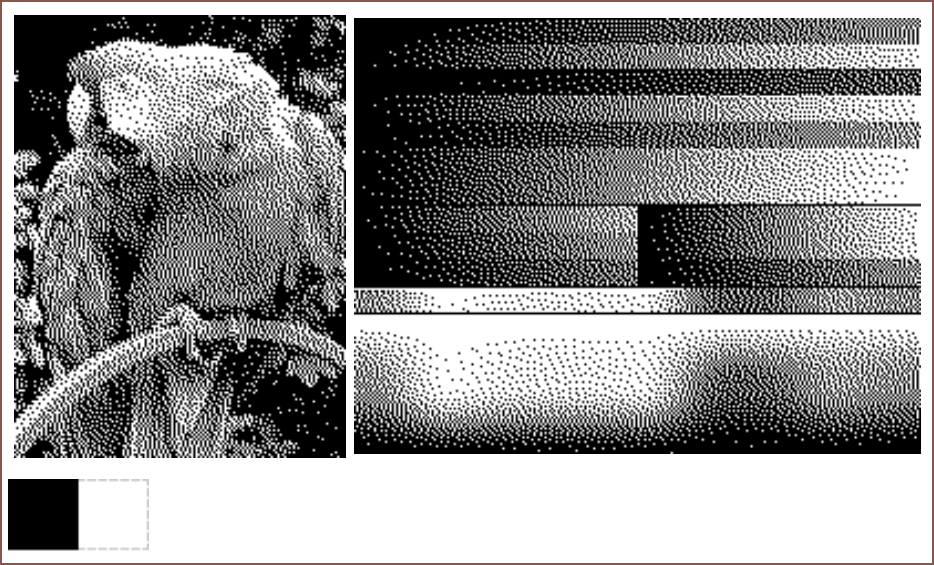
The pixels are very large, but the two images are already convincingly full colour and greyscale. There are many things I can think of that are in the range of grey, so I think it would be better to have the extra greys for 2 bit greyscale than rely on only white and black from RGB.
 I found this article and I think that the dithered image (made small to improve dithering effect) looks passable compared to the original image.
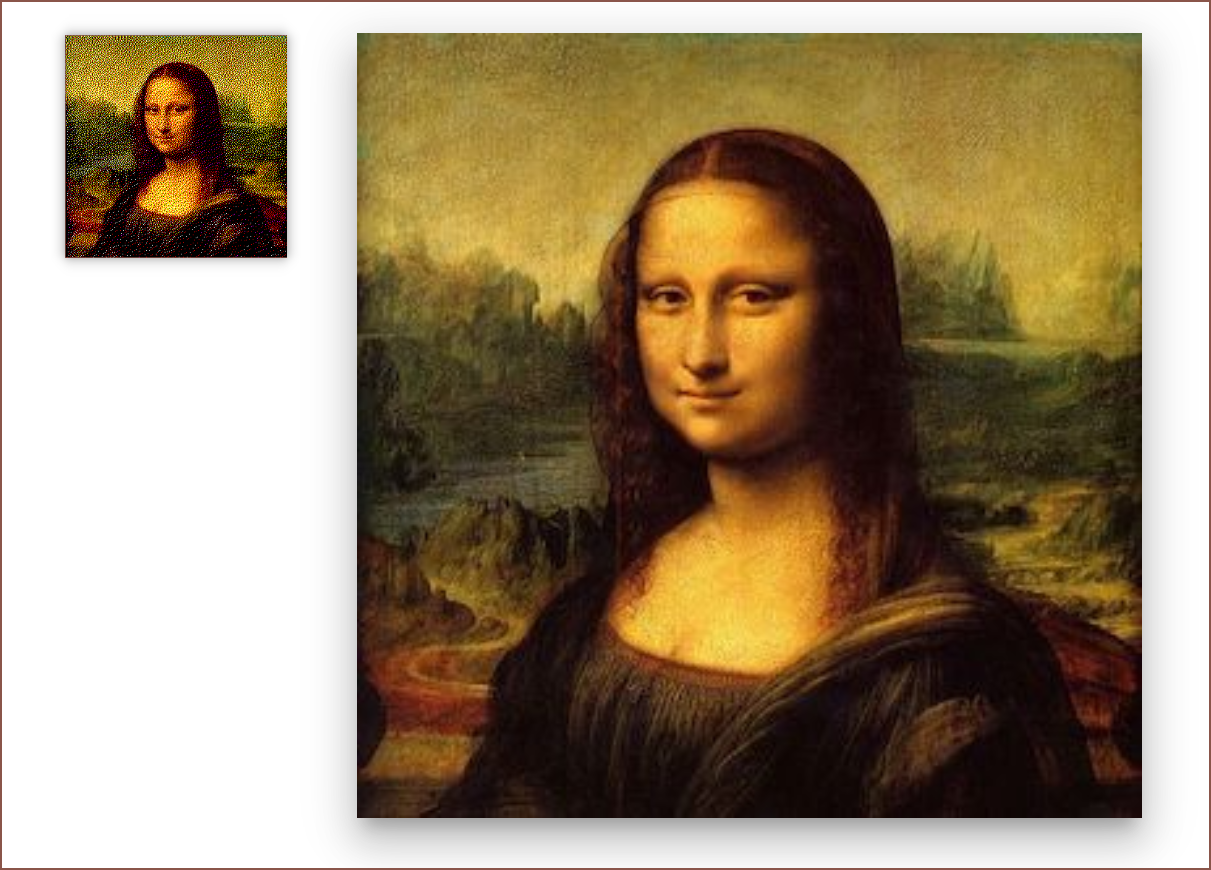 Will the resin actually fill a 35x35 micrometer void if needed? I have no idea, but I'm going to assume yes until proven otherwise.
 Colour choice
I assume that, as the pixel size approaches a small value, the dithering pattern will look closer to a gradient.
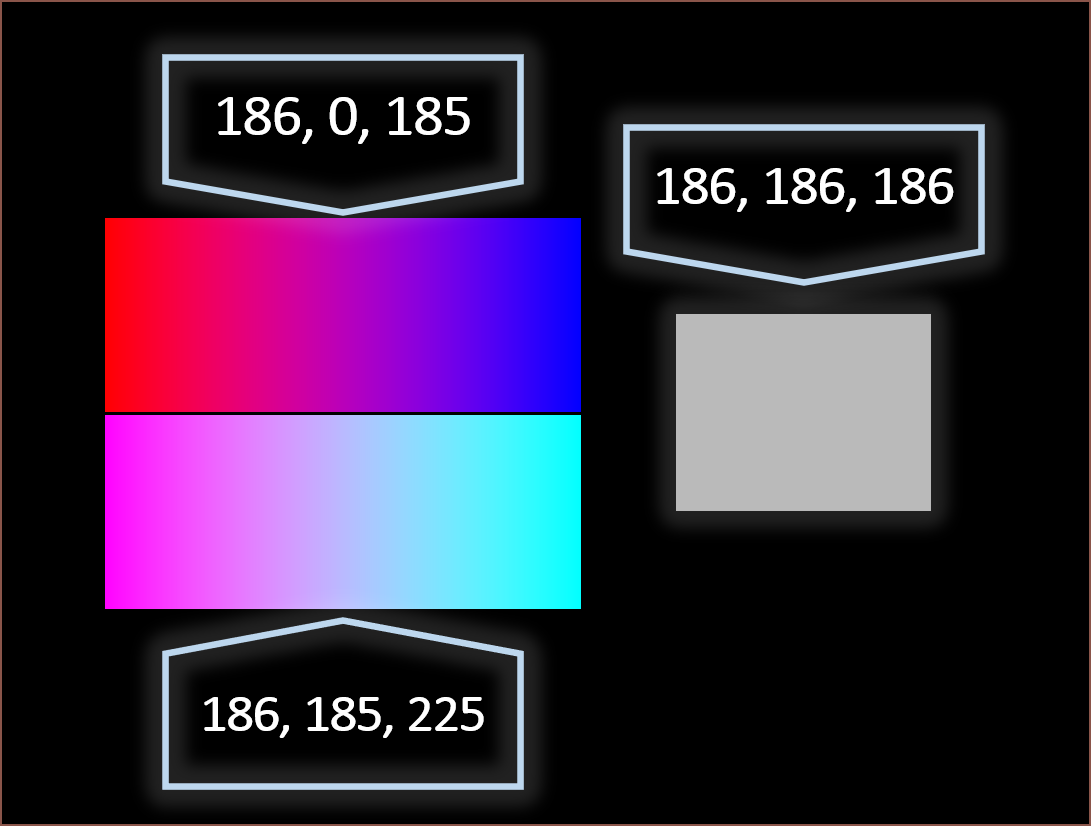 Looking at this, it becomes apparent that CMYK or RGB alone isn't going to obtain the desired outcome. RGB is probably closer, obtaining a dim magenta, but dithered magenta and cyan doesn't make blue. I'd assume that the absolute lowest for full colour would therefore be RGBKW, though the colour depth would probably be lacking.
Hey wait. The internet exists. Surely there's a tool or tutorial on how to try this stuff out.
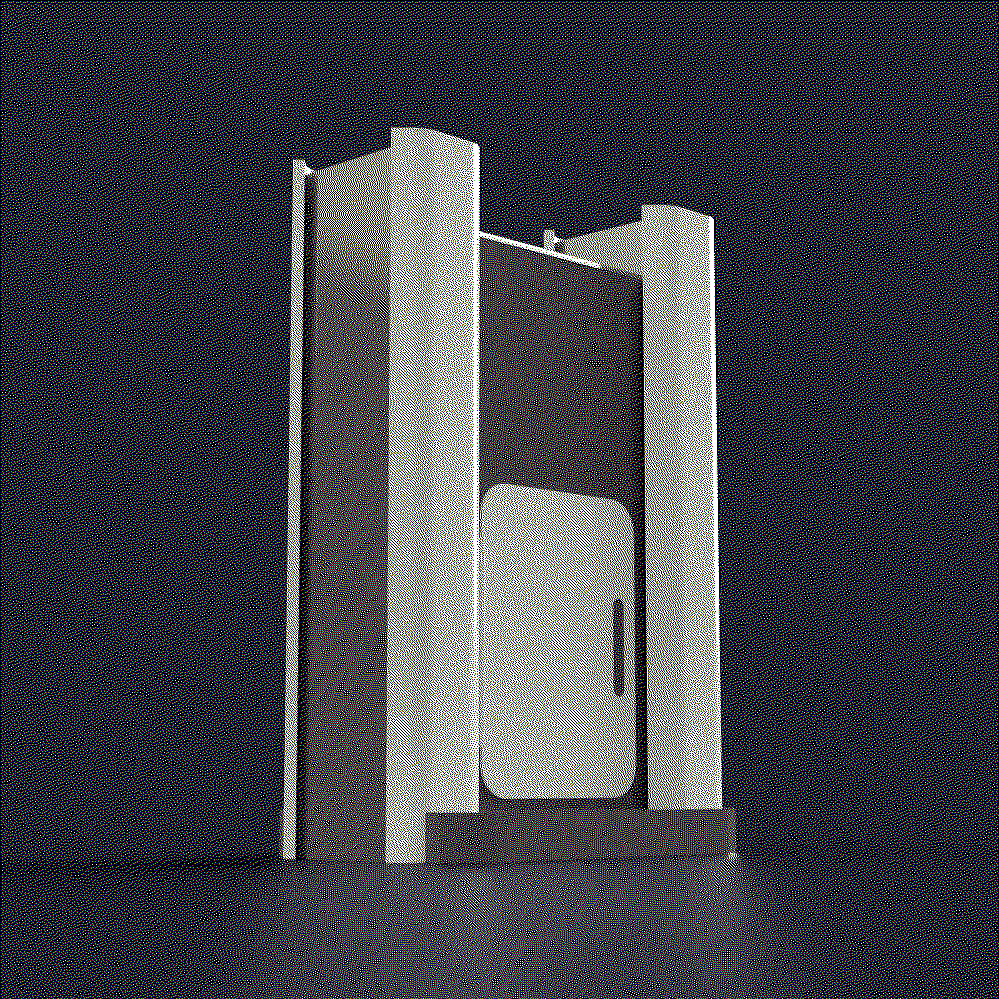
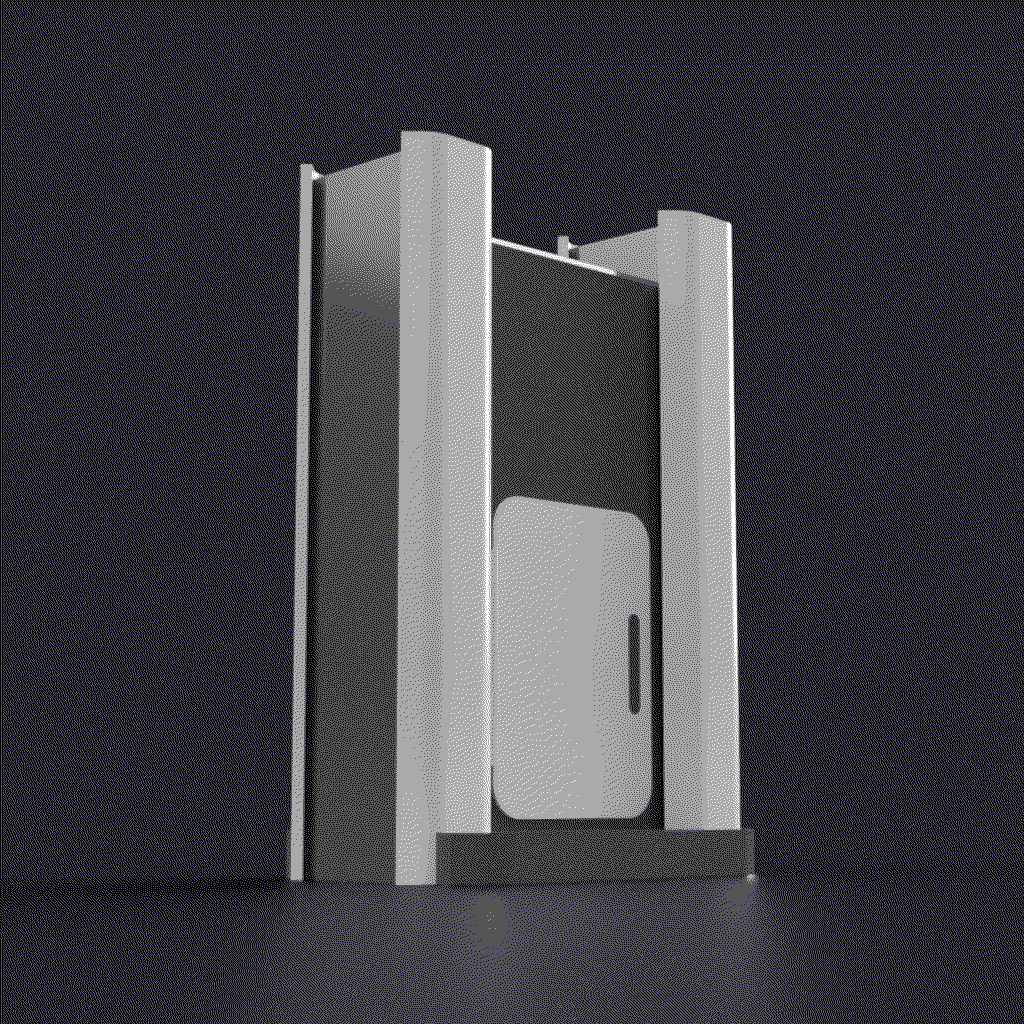
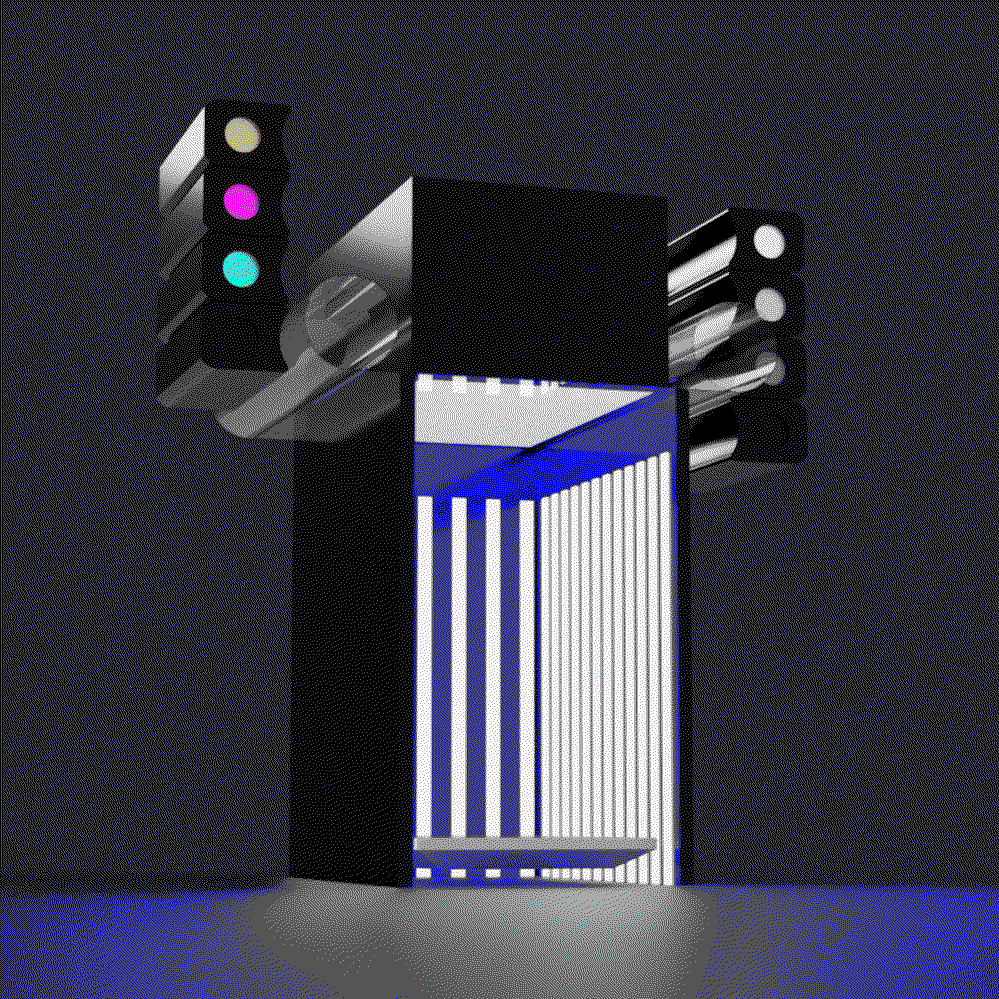
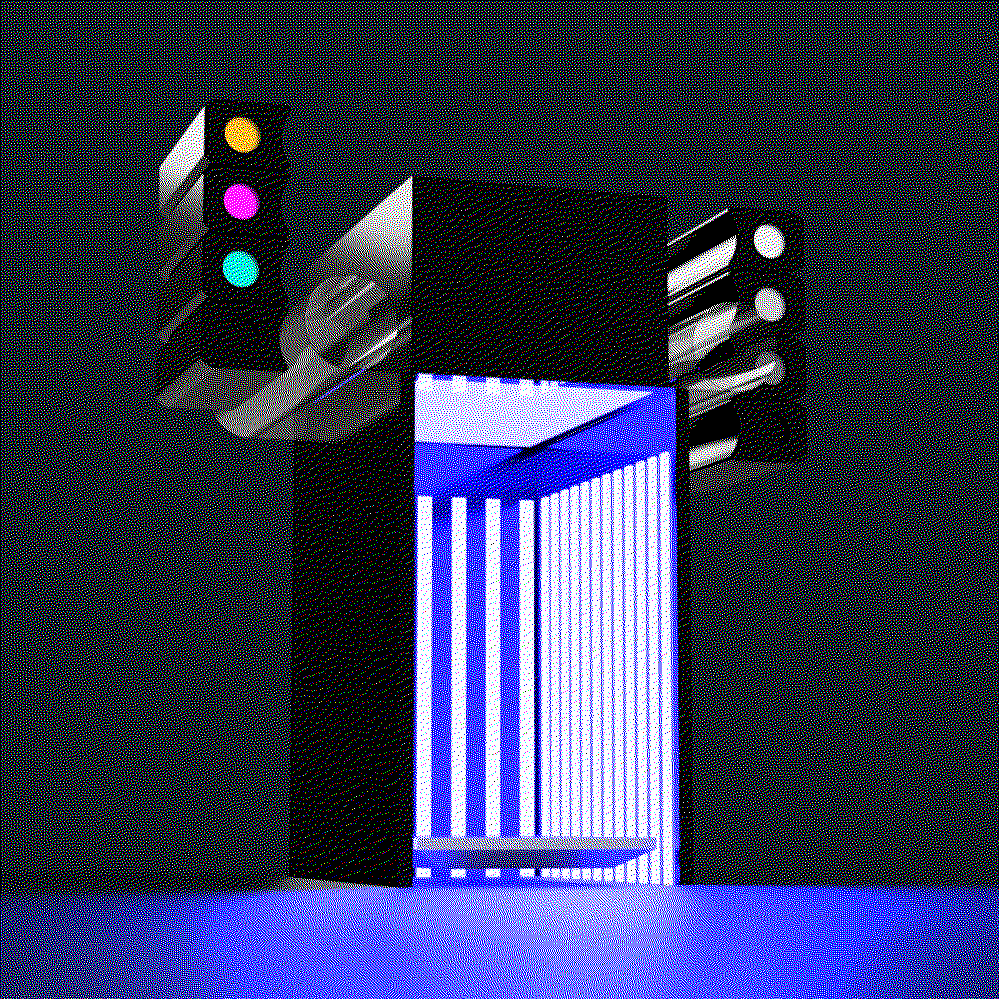
The darks and greys look much better on the first image of the first concept, but the LED's look brighter on the second. Oh and RGB colour didn't go so well:
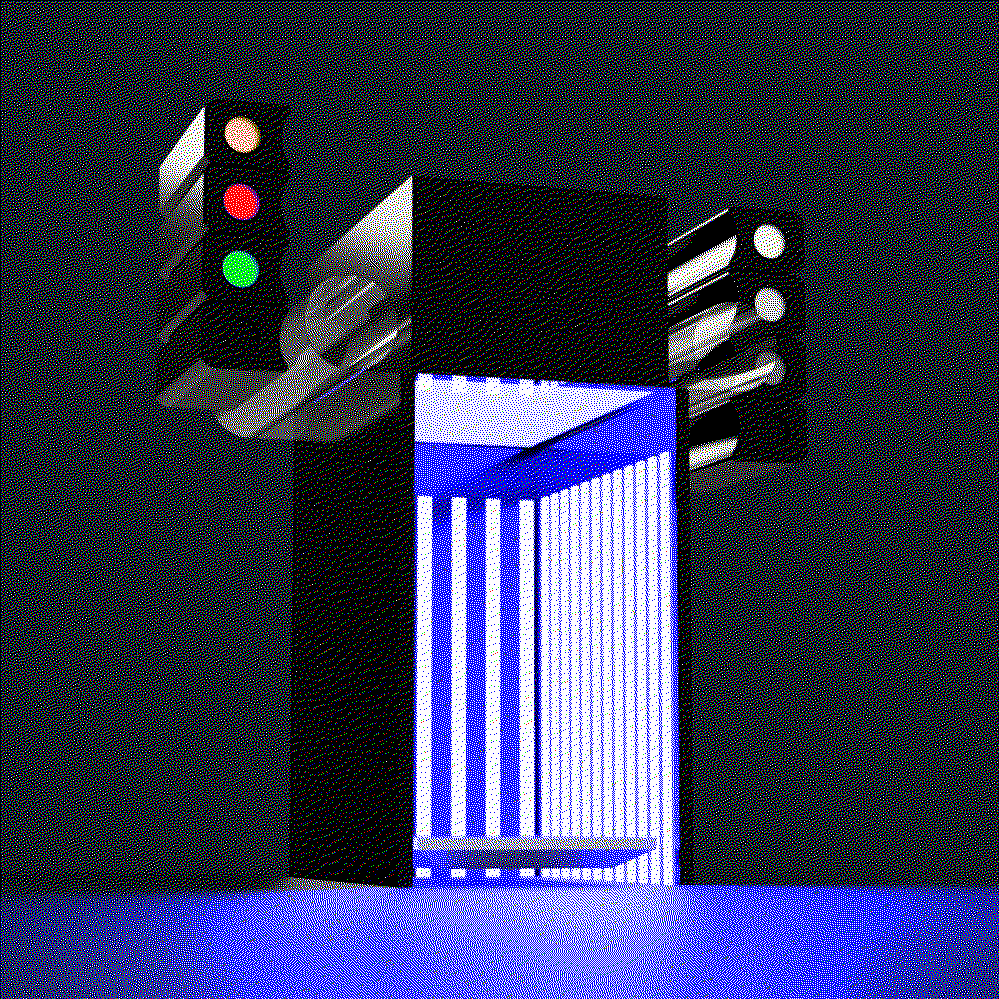

CMY doesn't look too far off either, but not as vibrant.
Additional materials
Other than colours, there should be support (optional), clear, metallic/glitter and flexible, where metallic is a shiny material for colours like gold and silver, and flexible is for a custom part rigidity.
Finishing Notes
Perhaps it's the current algorithms for dithering not being ideal, but it looks like RGBKW + Clear would be the minimum amount needed for a general use, full colour printer and there's not a grand improvement going to 8 bit colour, however more greys would have a noticable improvement. I see that most dithering noise seems to be due to a lack of luminance instead of saturation.
Greyscale-only would be even lower, only needing 3 materials stocked: KW + Clear, but adding grey (a 50/50 mix of black and white) would greatly increase perceived colour depth.
[E1] Adding Yellow
A bit more research today and I found a paywalled research paper called "Color dithering methods for LEGO-like 3D printing", which sounds like something I'm looking for. They said that, with opaque bricks, RYGBKW gave the best image.
It turns out that there is something called a "multi-primary display" and the popular 4th colour is yellow. Considering that RGB LED's don't quite make the best yellows, I can further understand this decision.
Thus I recreated the colour card used and dithered them in RGB, RGBY and RGBCMY:
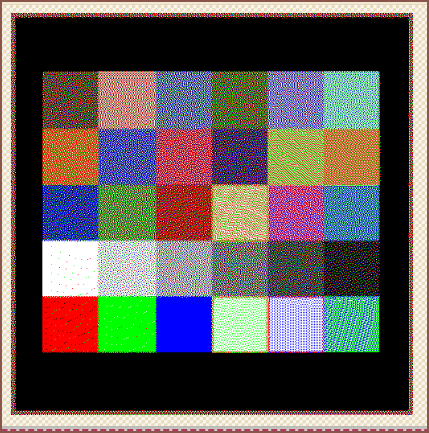
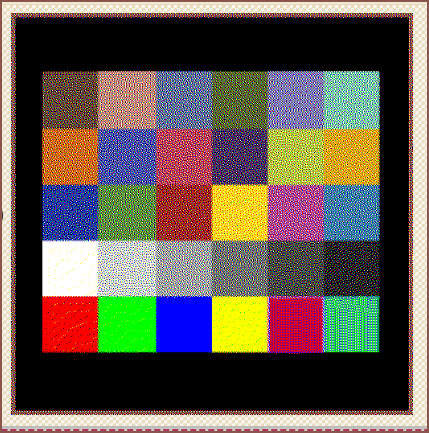
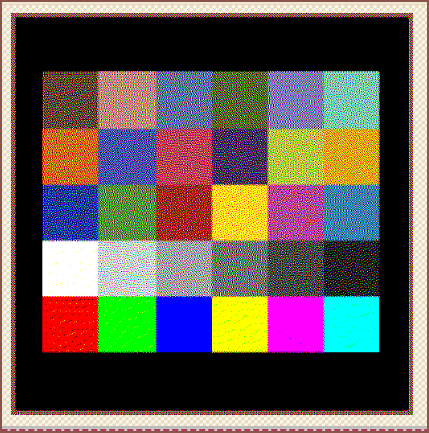 Primary colours aside, the colour palette has a noticable improvement from RGB -> RGBY and a negligible one.
[E2] Darker grey
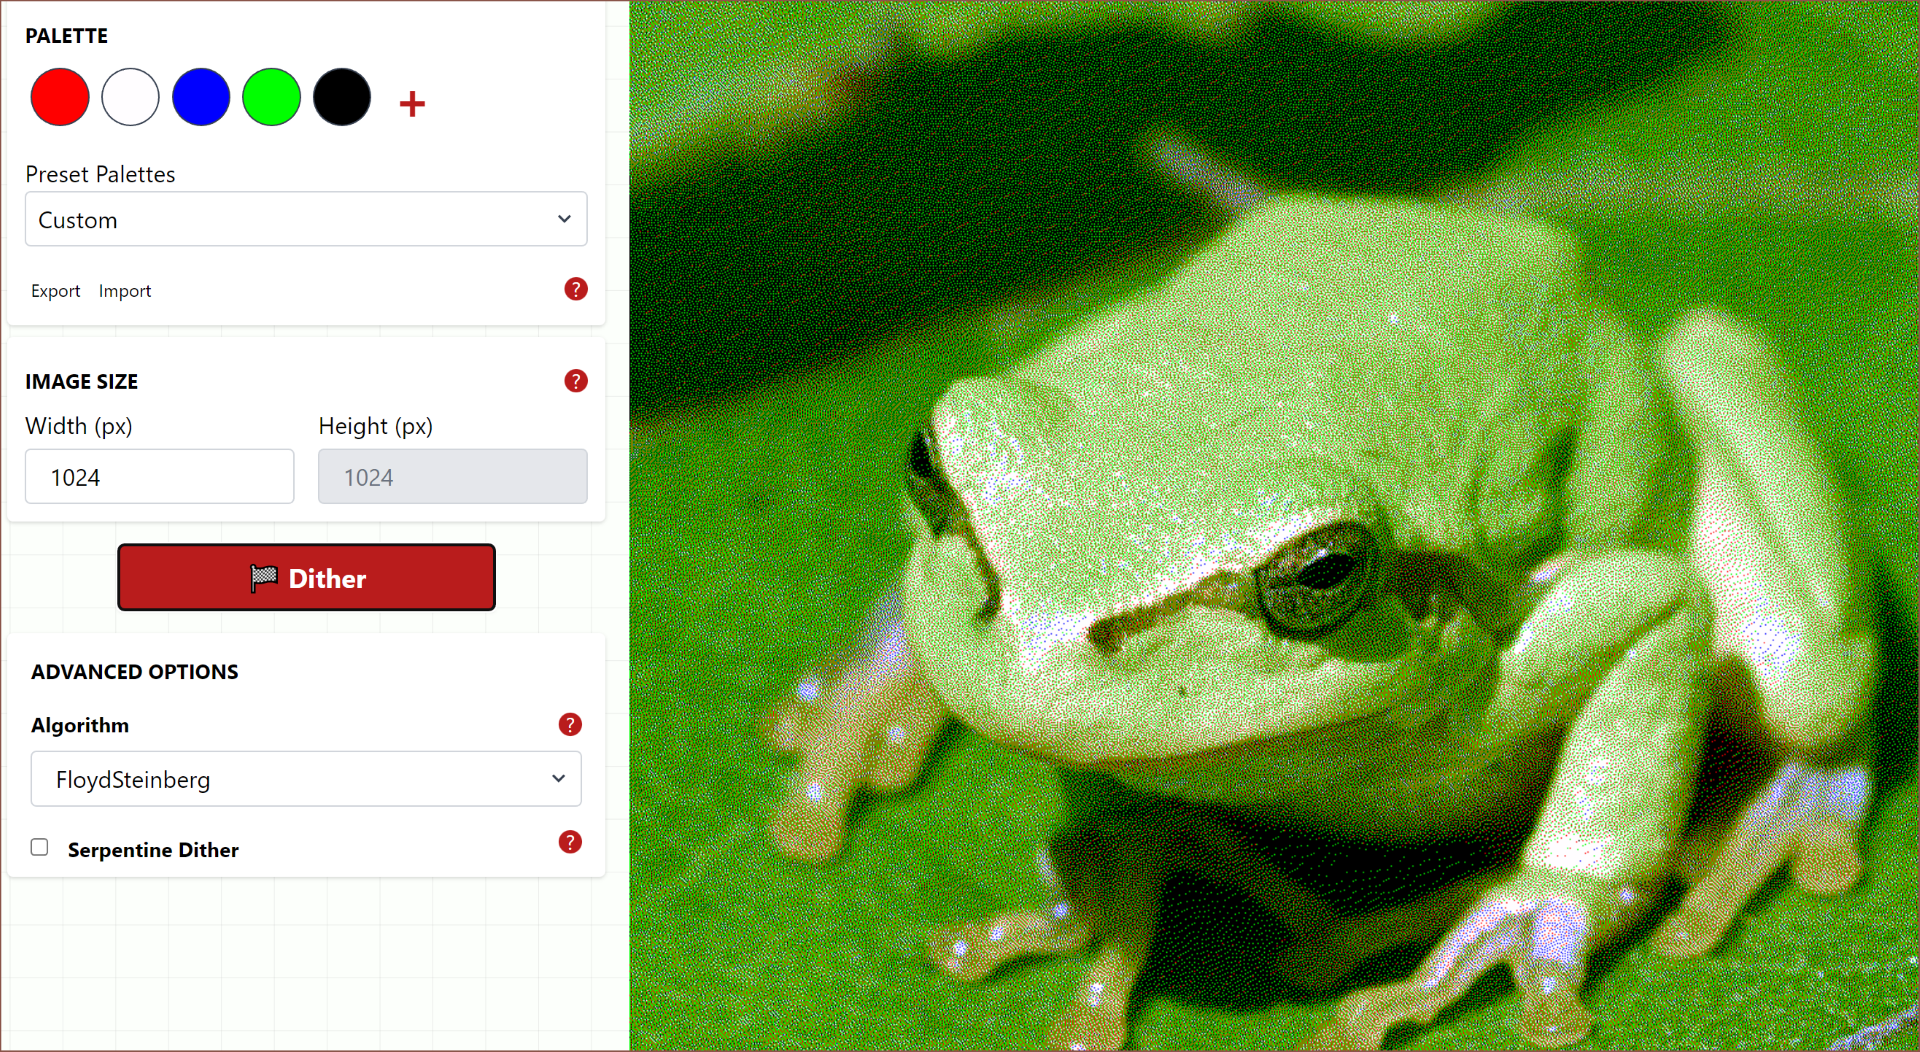
I'm thinking that, since the images usually look somewhat pastel, a 2:1 mix of black and white would look better than a 1:1 mix. Using https://doodad.dev/dither-me-this/, I was able to confirm this.
I do wonder if it is just a limitation of the dithering algorithm. I have found out that these algorithms are actually faily old: https://tannerhelland.com/2012/12/28/dithering-eleven-algorithms-source-code.html
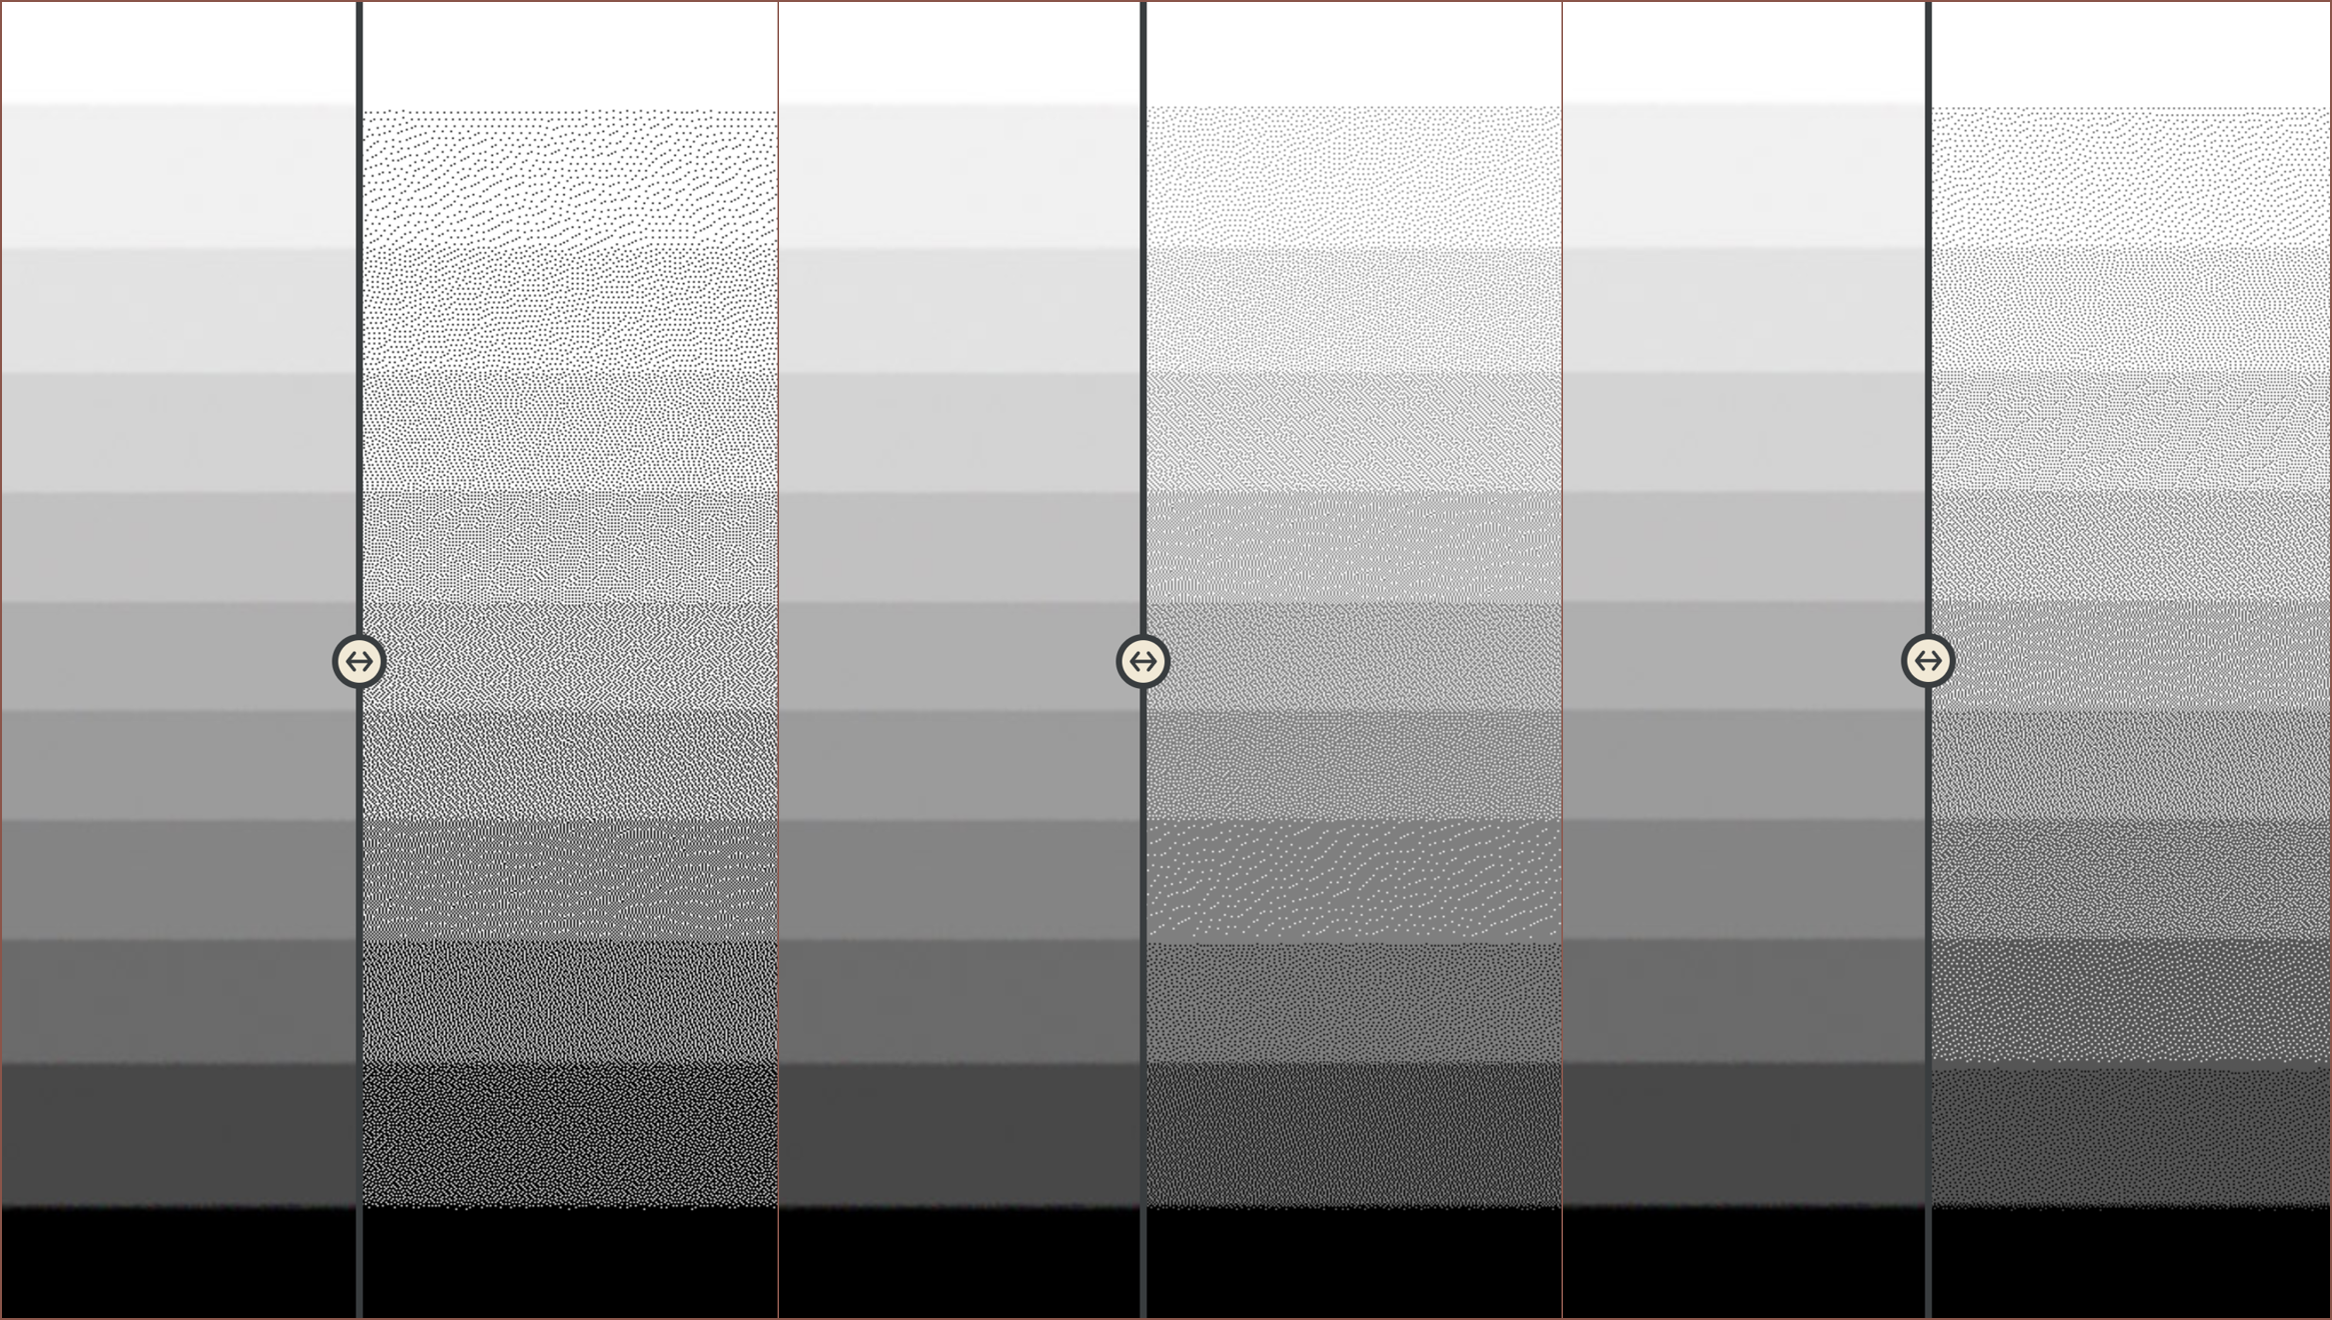
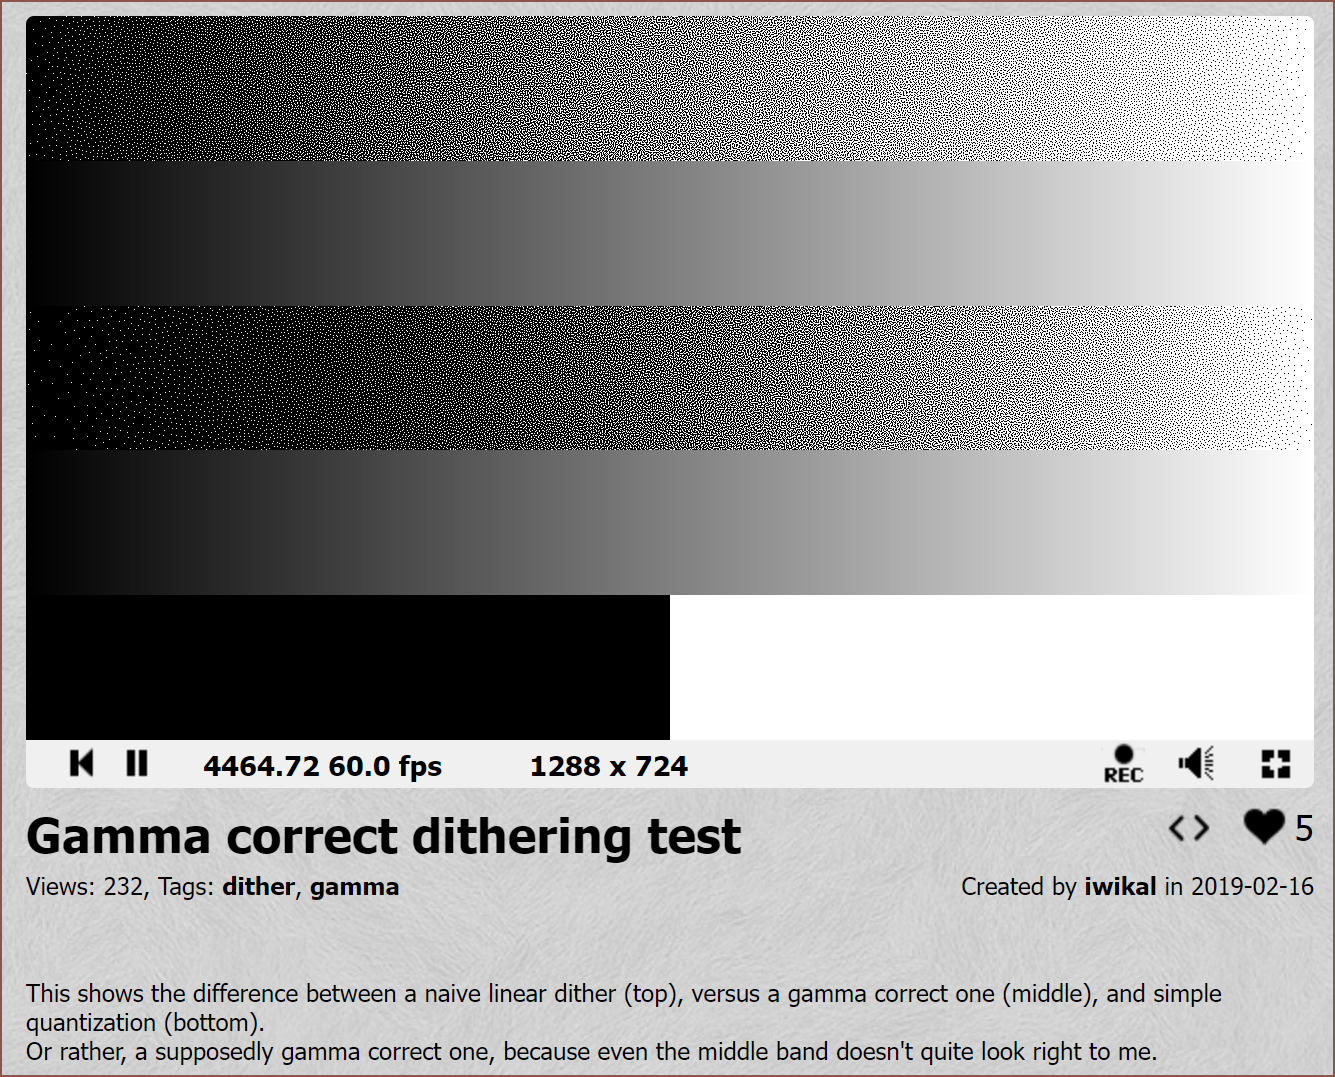
[E3] Gamma
Apparently, it's a gamma issue.
- https://www.shadertoy.com/view/tdjGDt
- https://drj11.wordpress.com/2009/04/03/dither-and-gamma/
- https://bisqwit.iki.fi/story/howto/dither/jy/
That gives me hope that I can get by with just RGBYKW+Clear+Supports. I can't find any silver resins, and I doubt a bit of glitter is going to conveniently slot itself into every voxel. Also, some voxels may be disconnected from any main features, so a support material would be needed there. I'll probably go for 10+ cartridge bays to allow for full 1-bit colour, up to the one gives me a usable Z height and outer build height under 84.5cm (a quick search for the height of an under-cabinet fridge). I might also target under 74cm and install it into the SecSavr SleepCinema instead of a second #SecSavr Sublime [gd0036].
[E4] RGB Only
I wanted to see what colour a checkerboard pattern of RG/GB/BR would get, as like I mentioned at the start of the log, the less changes per layer, the faster the part prints (thus the LCD lasts for more prints).

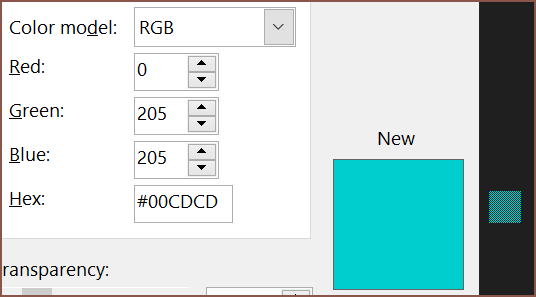

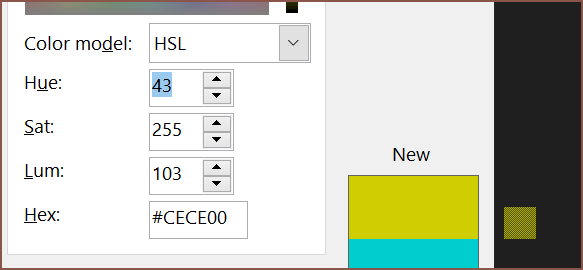
Thus it looked like 206 was the brightness similar to the checkerboard patten. Putting those values into a colour palette:
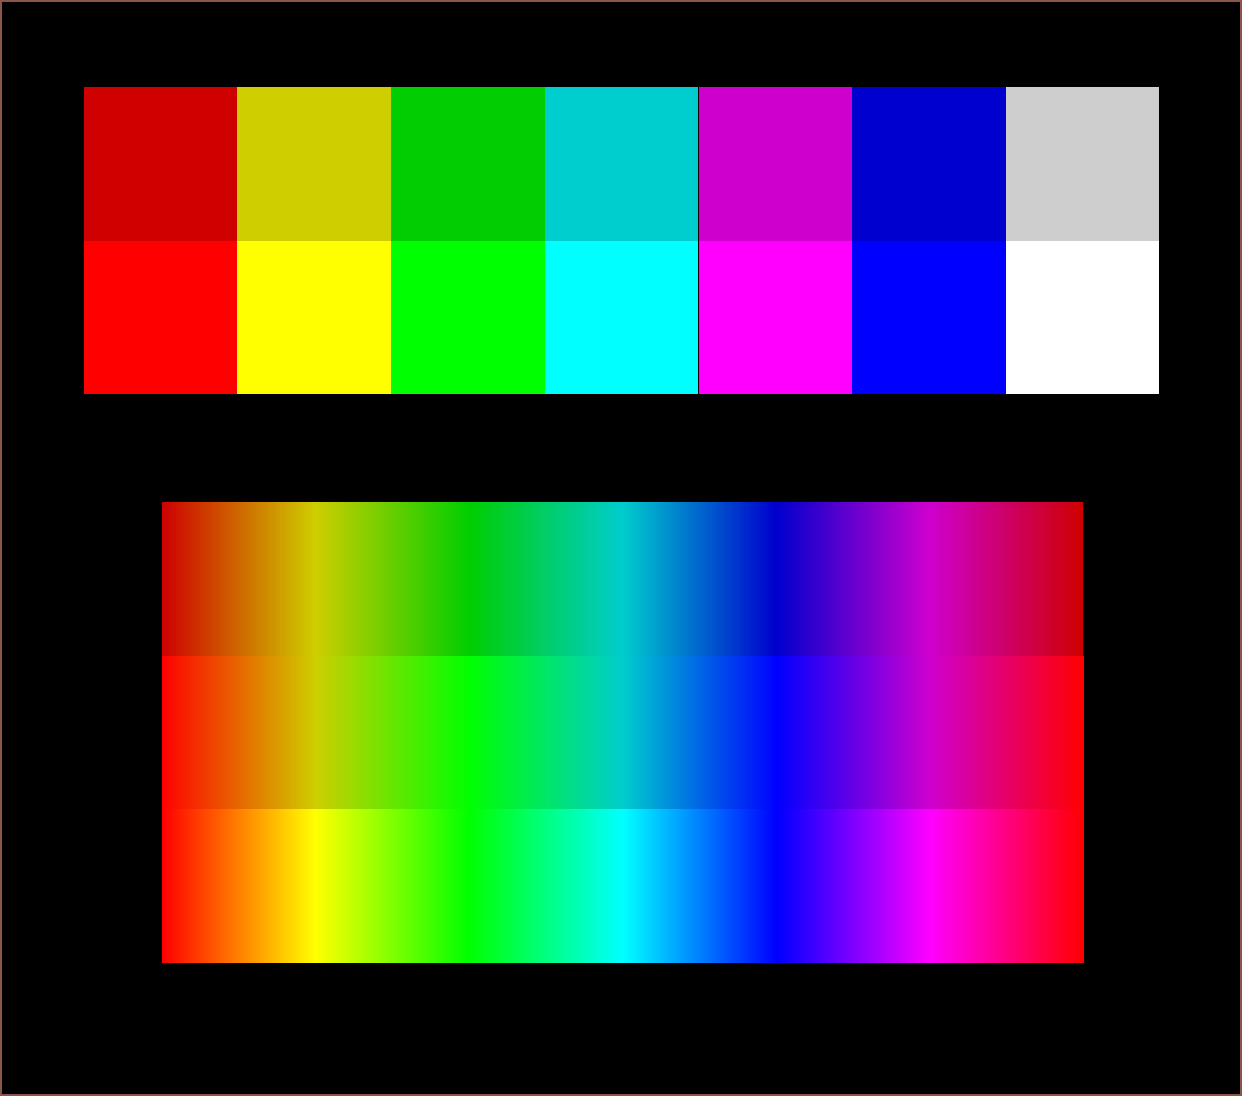 The top blocks are all values maxed to 206. The blocks under it are 255. For the continuous spectrums, the top is 206 max, the middle is 206 for CMY and 255 for RGB and the bottom is 255 max.
I can see how yellows could be an issue, both because the high brightness of yellow and because materials like leather, wood and copper fall into that colour space, but colors made from RGB are probably fine for prints that don't need extreme vibrancy across all hues.
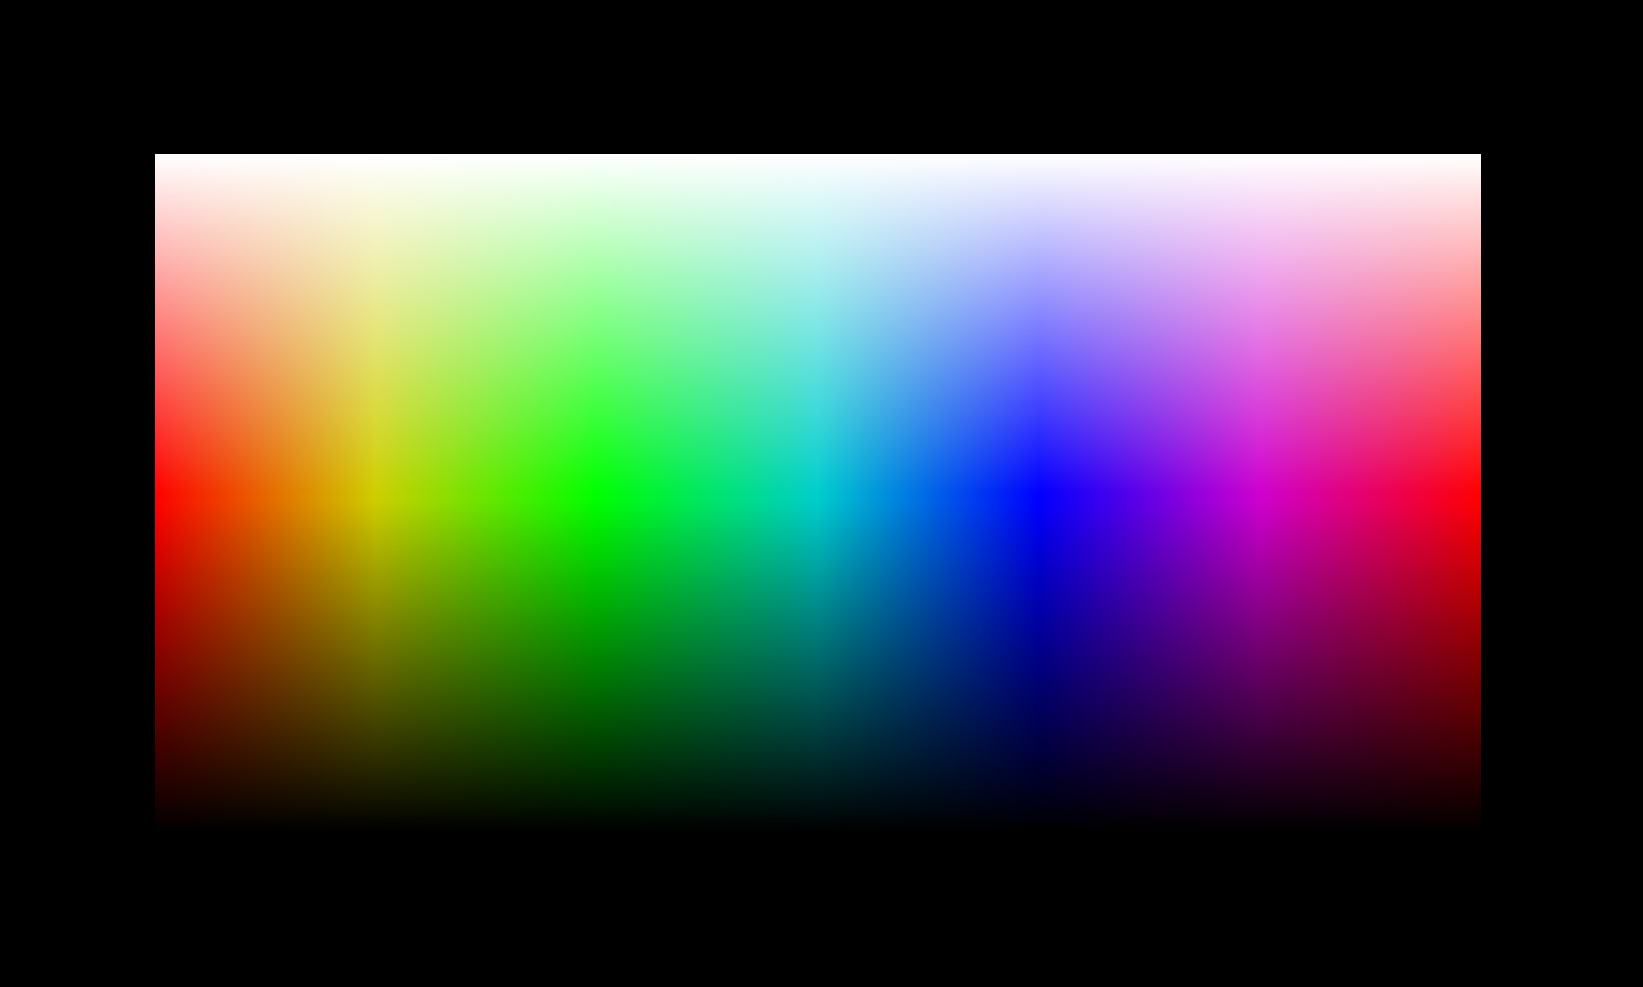 That looks spectrum enough for my science. Below is RGBY to compare:
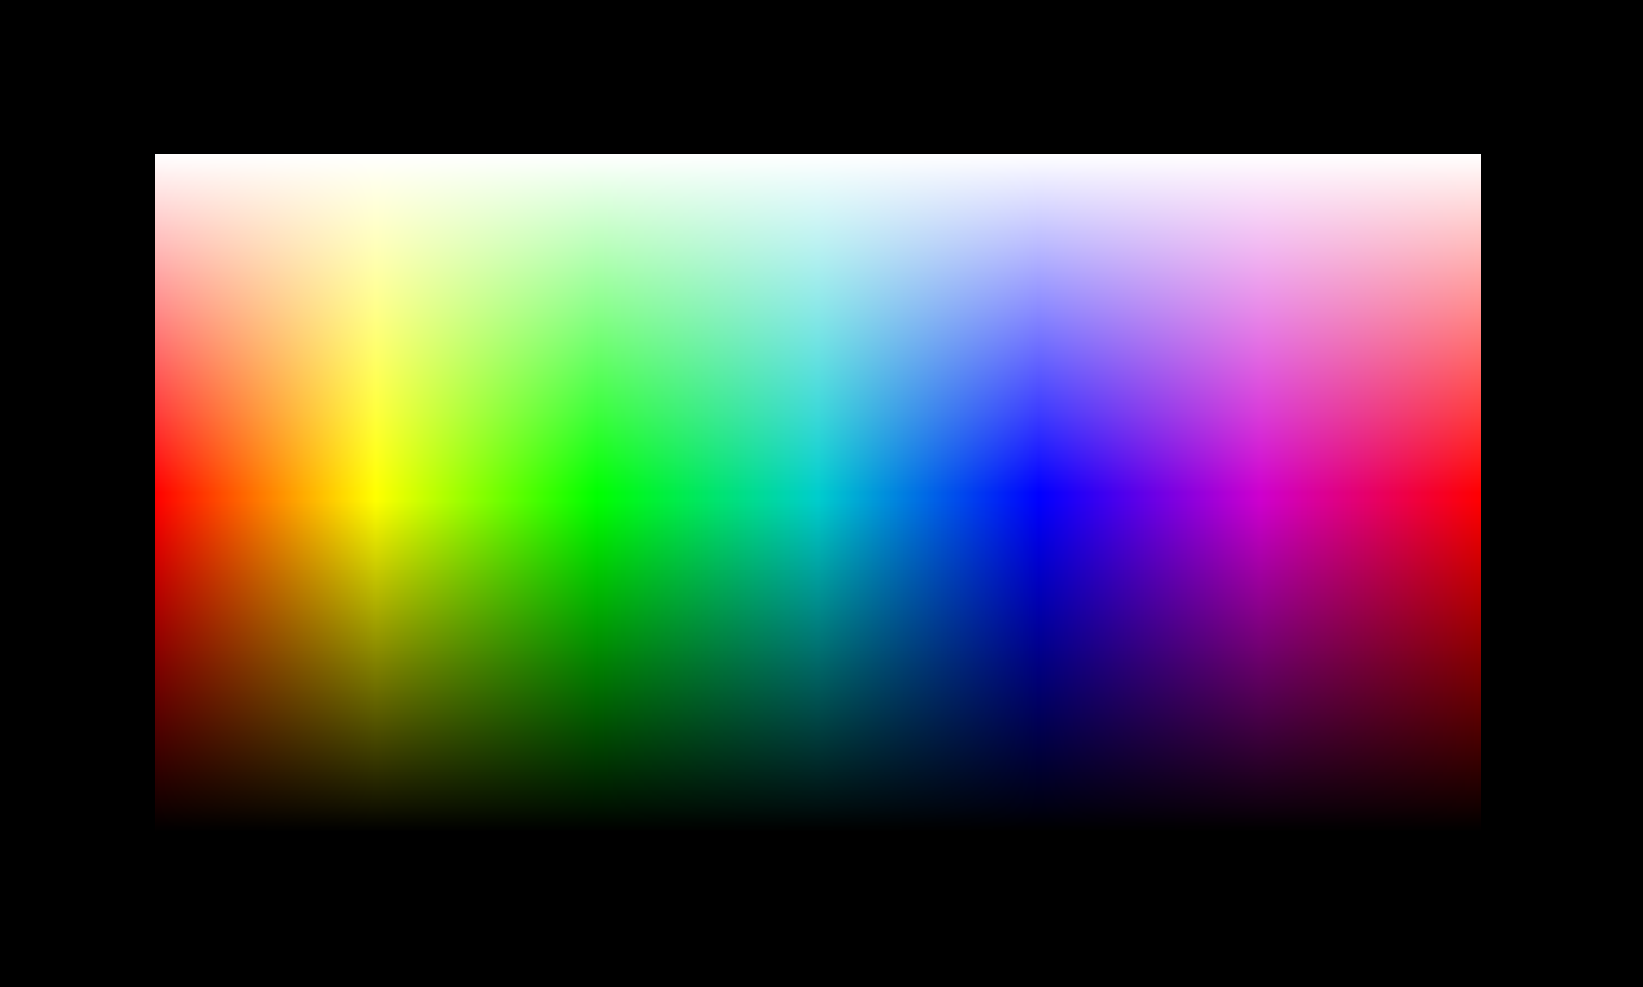 I can see improved oranges and limes. Not sure if it's enough of an improvement to keep yellow stocked and increase the already long print times (I assume) by about 20% on average (fully opaque prints where support material is only used as an interface layer).
Discussions
Become a Hackaday.io Member
Create an account to leave a comment. Already have an account? Log In.