 Nait Malek Youssef
Introduction
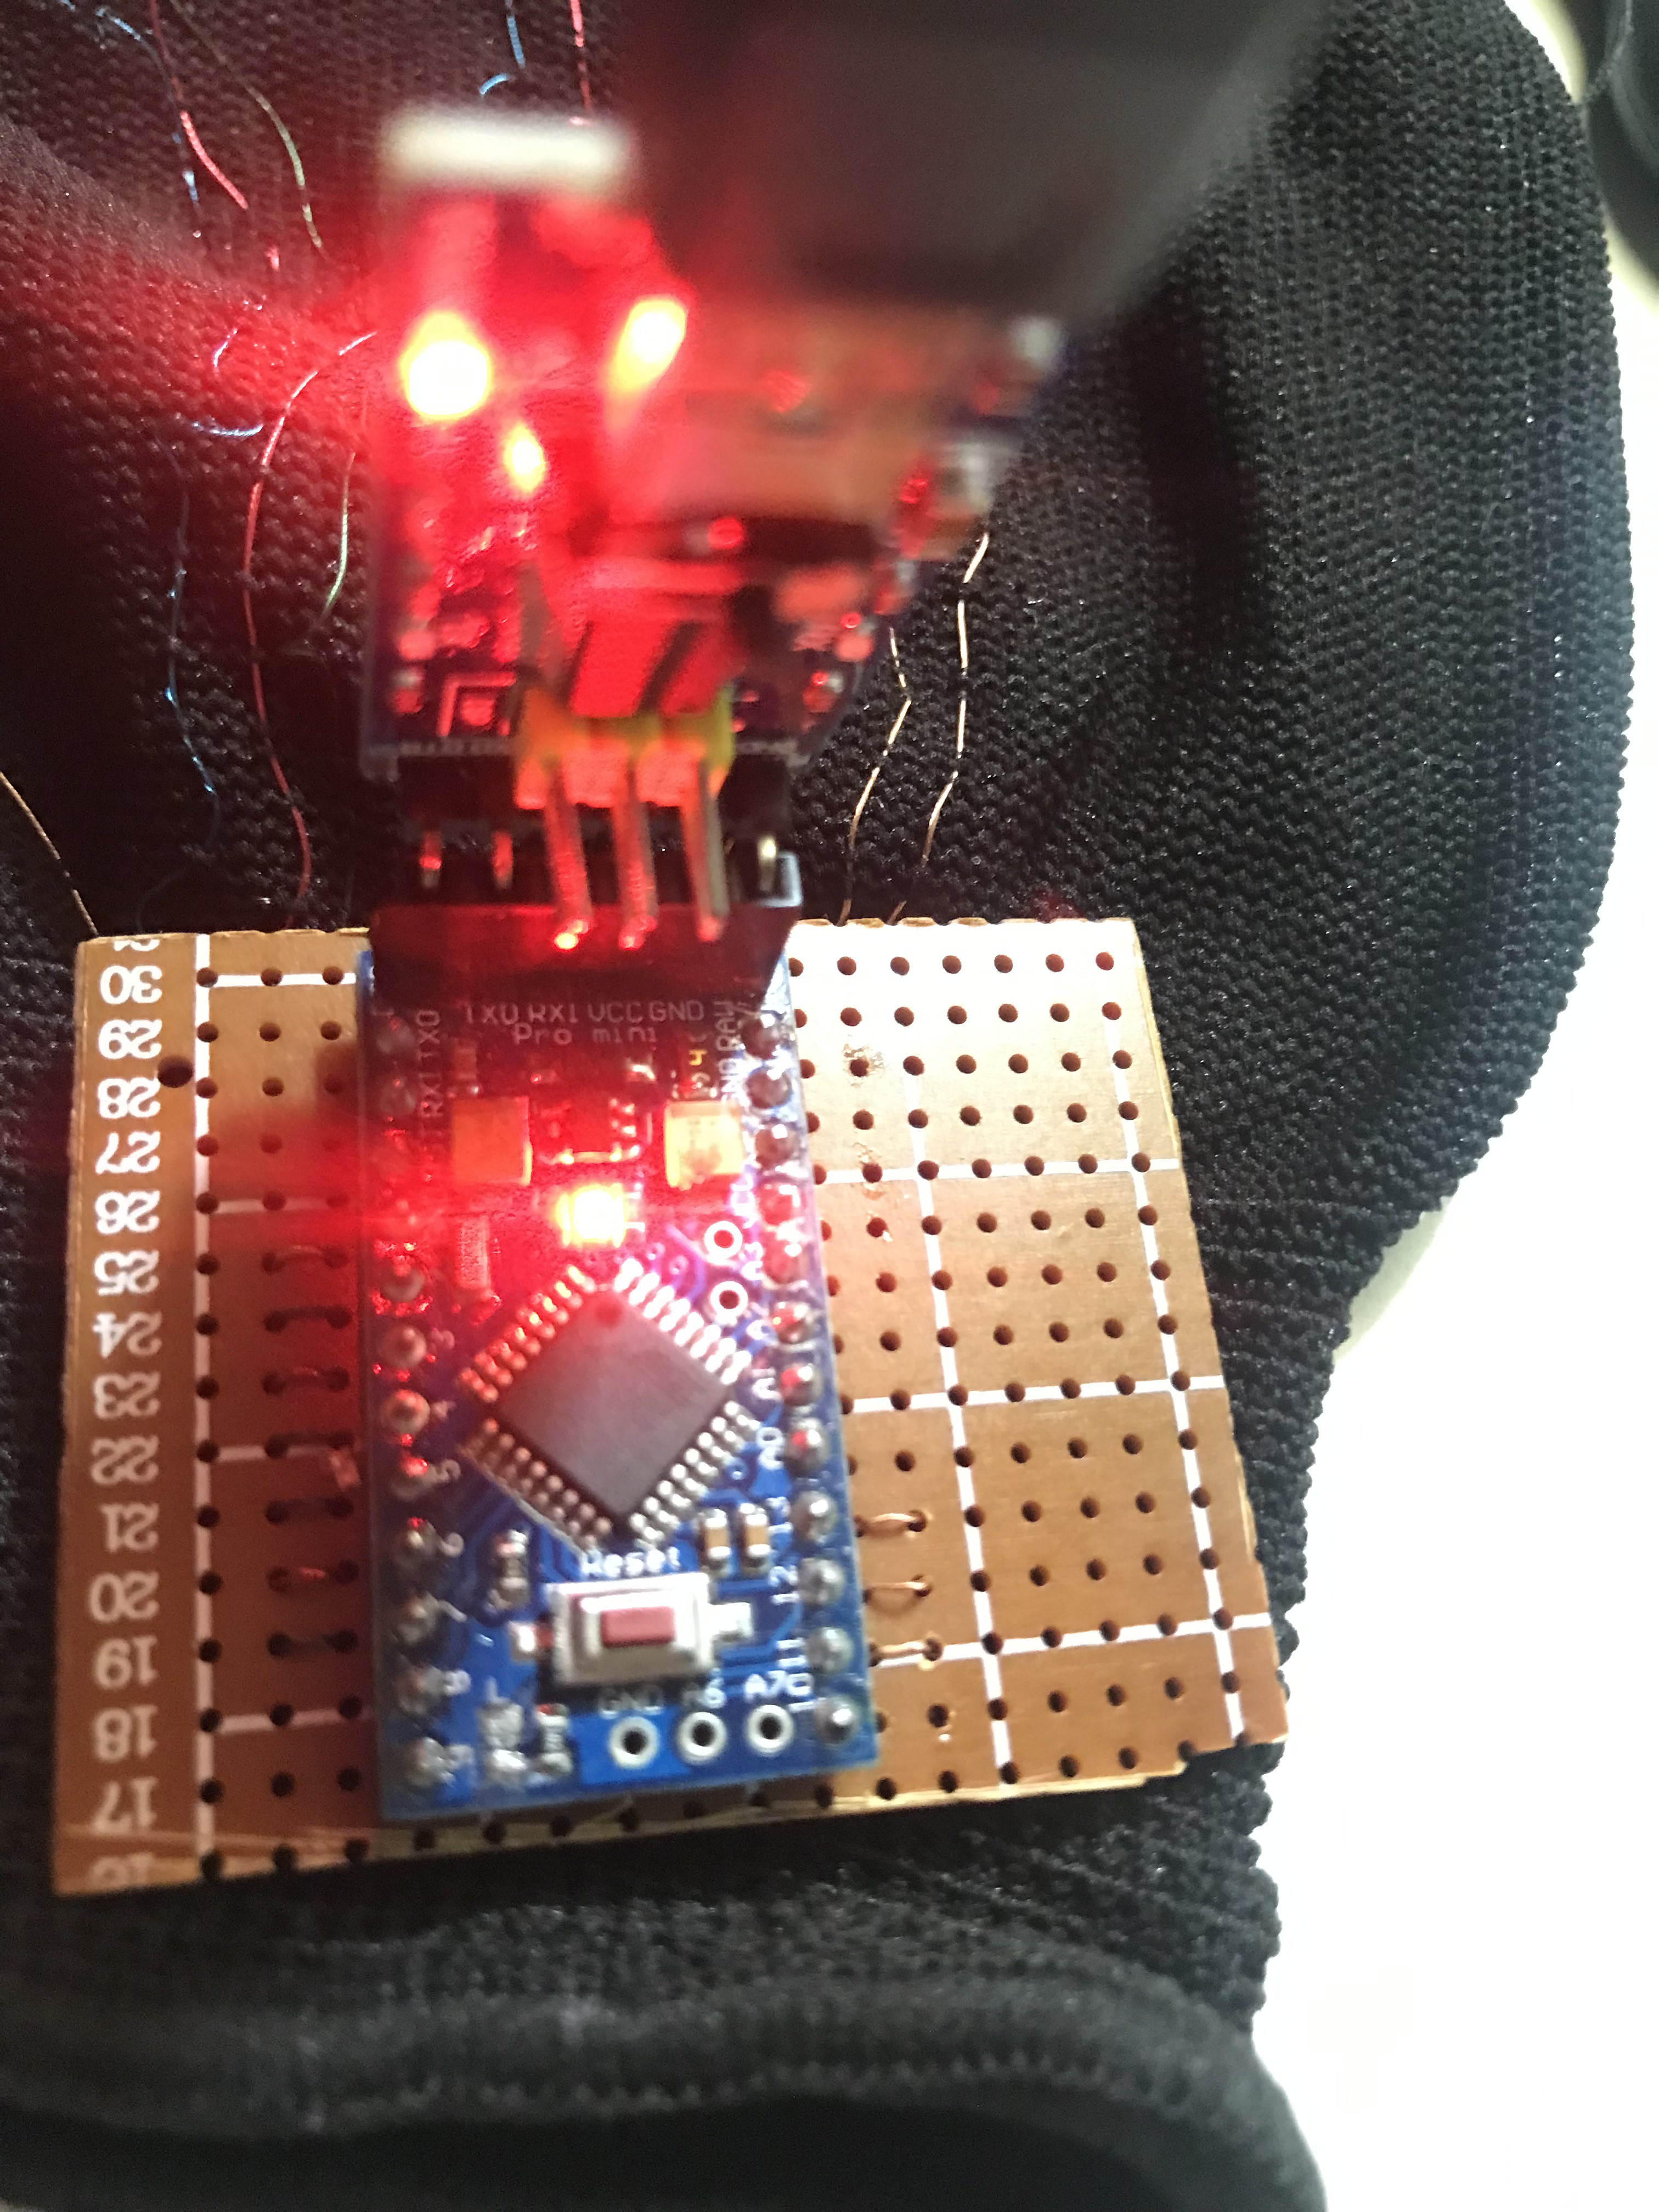
Glovraille is a braille keyboard in form of a glove, the user can wear the glove a start to type in braille with ease. This first prototype outputs the results in the serial monitor, the next version I will integrate a bluetooth module in order to connect it wirelessly with computer or phone.
Concept
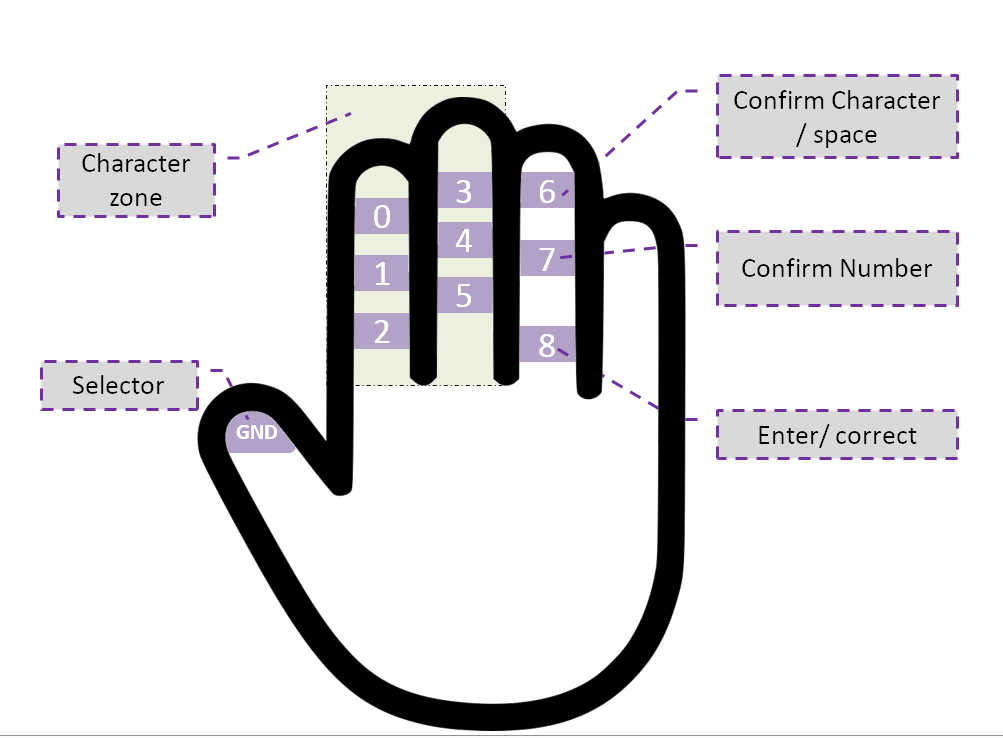
The concept is very simple, as shown in the figure below, the user will type a character using the selector and the character zone, when the user finish typing the character, he can confirm whether it is a number or character using one of the options in the fourth finger, the character is then sent to the connected device (computer, phone or other compatible device) after confirmation. The user can also send space, delete, enter or correct.
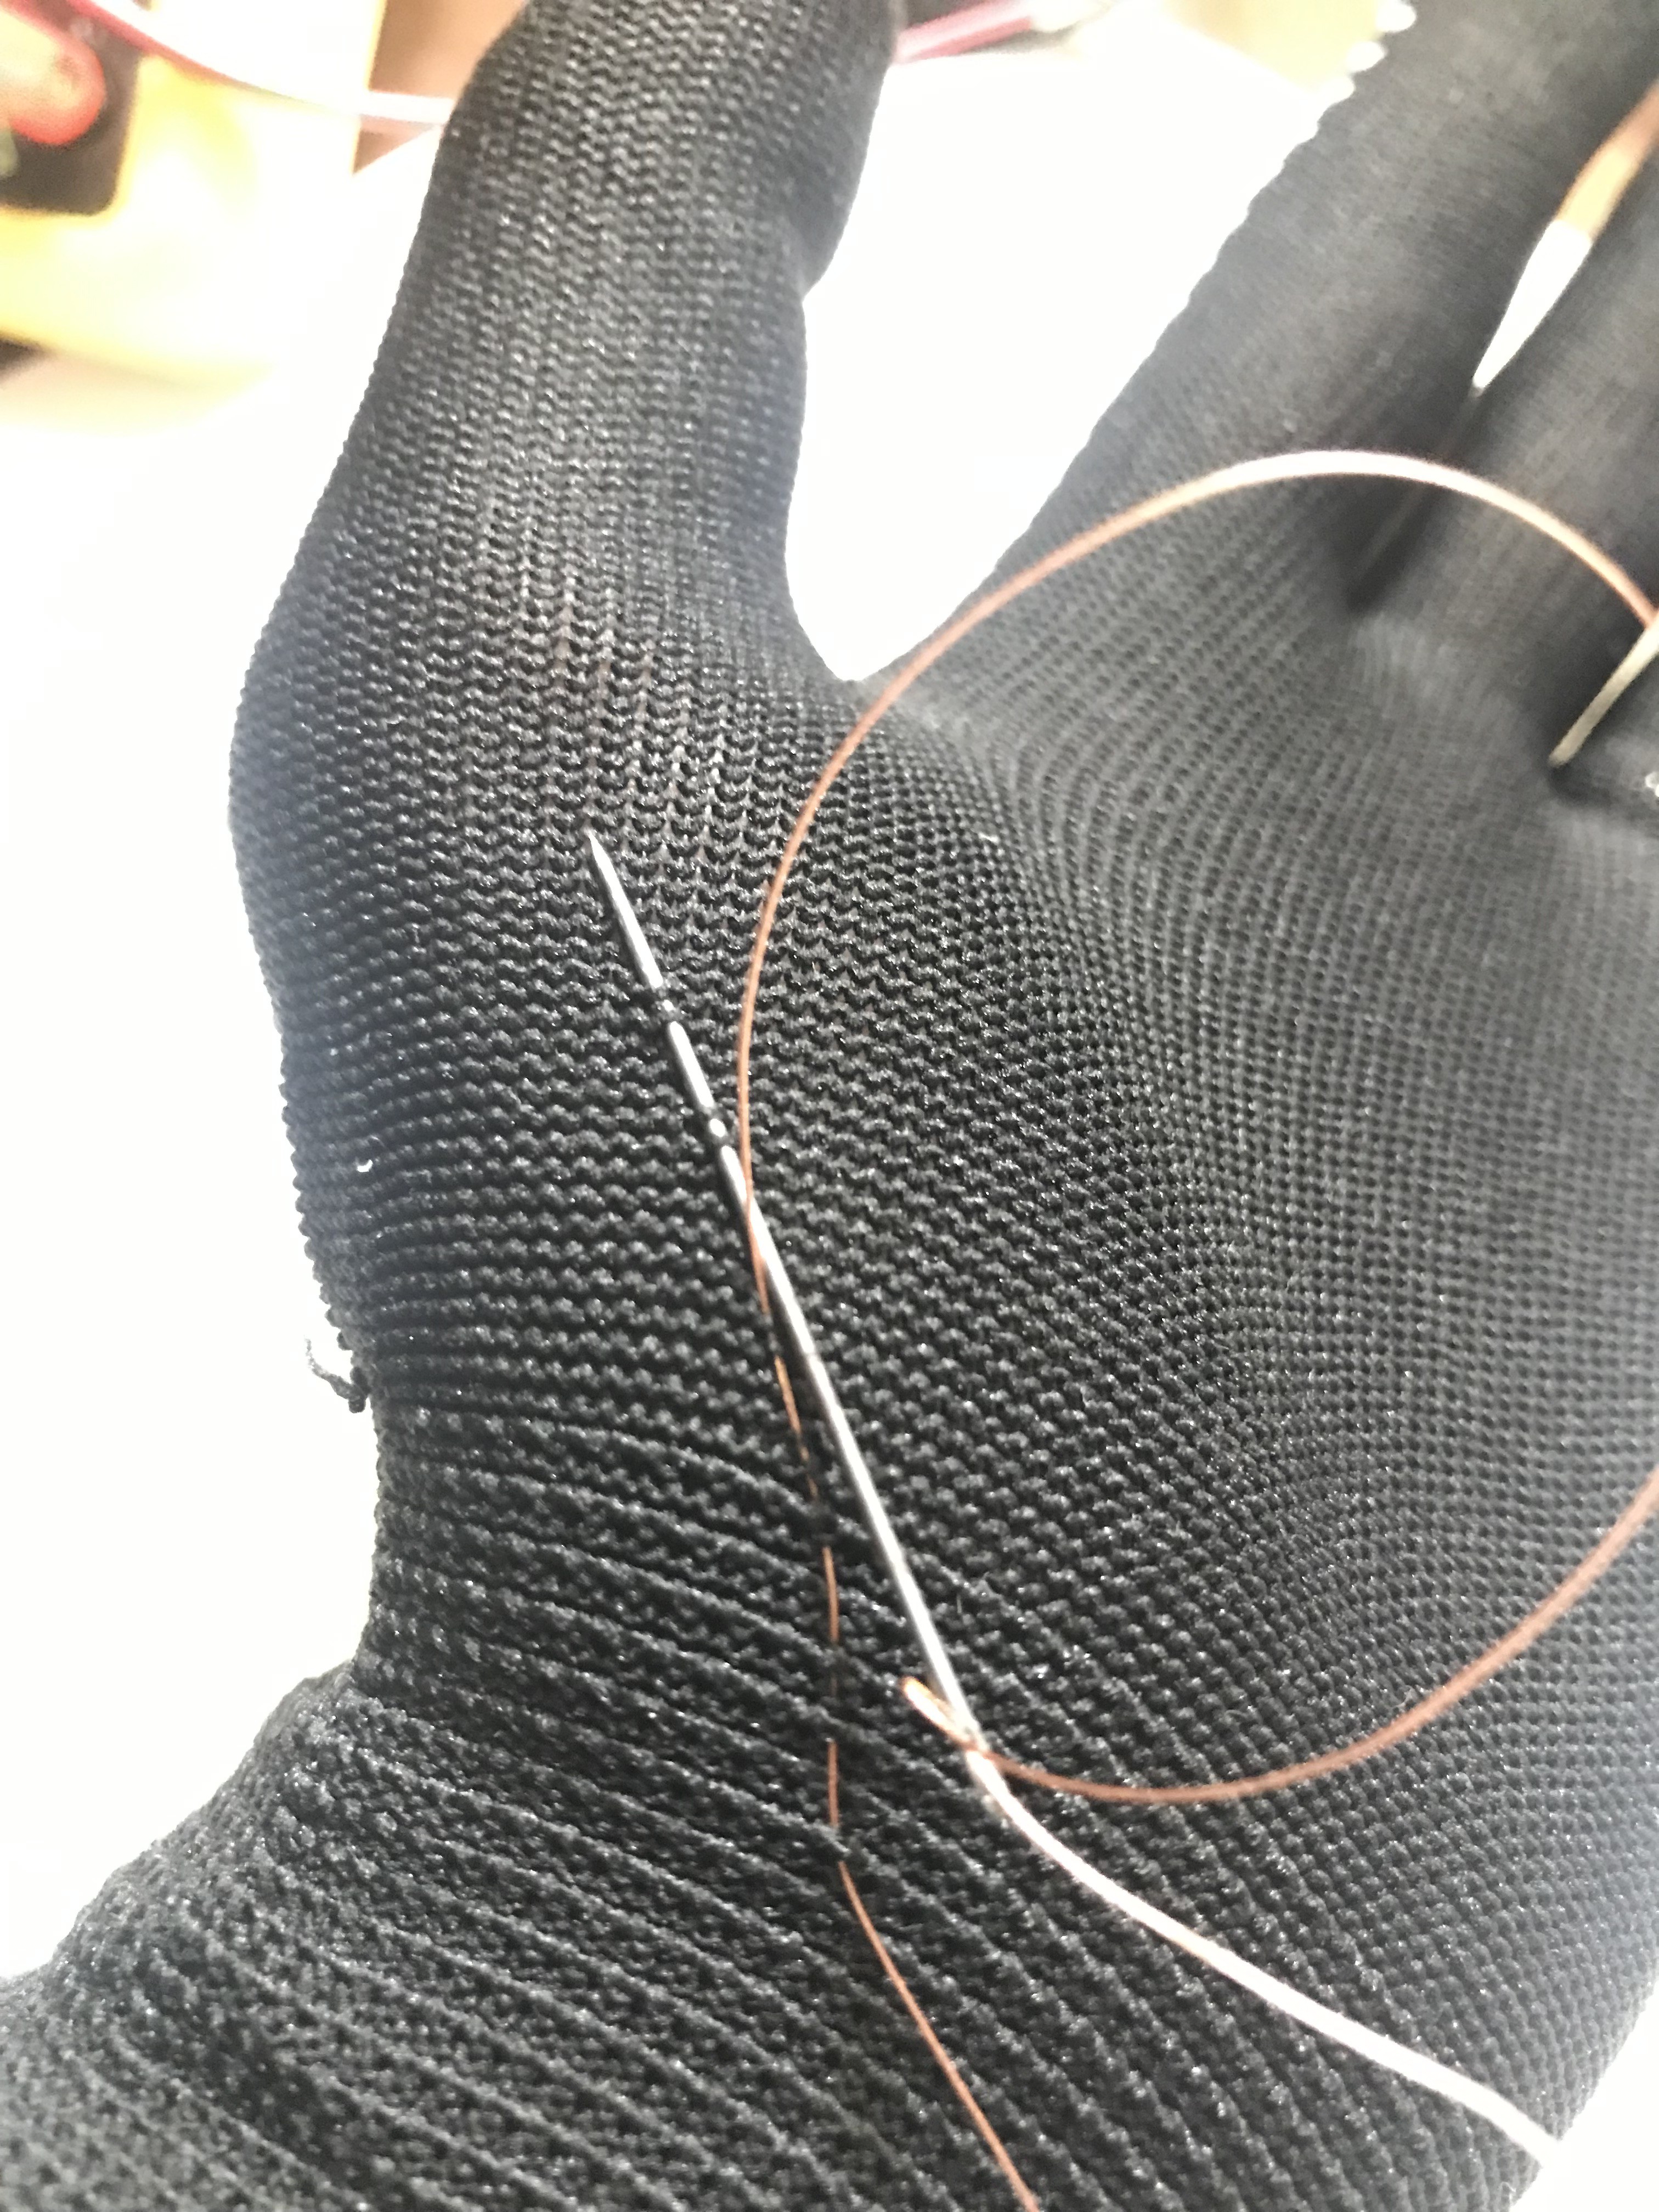
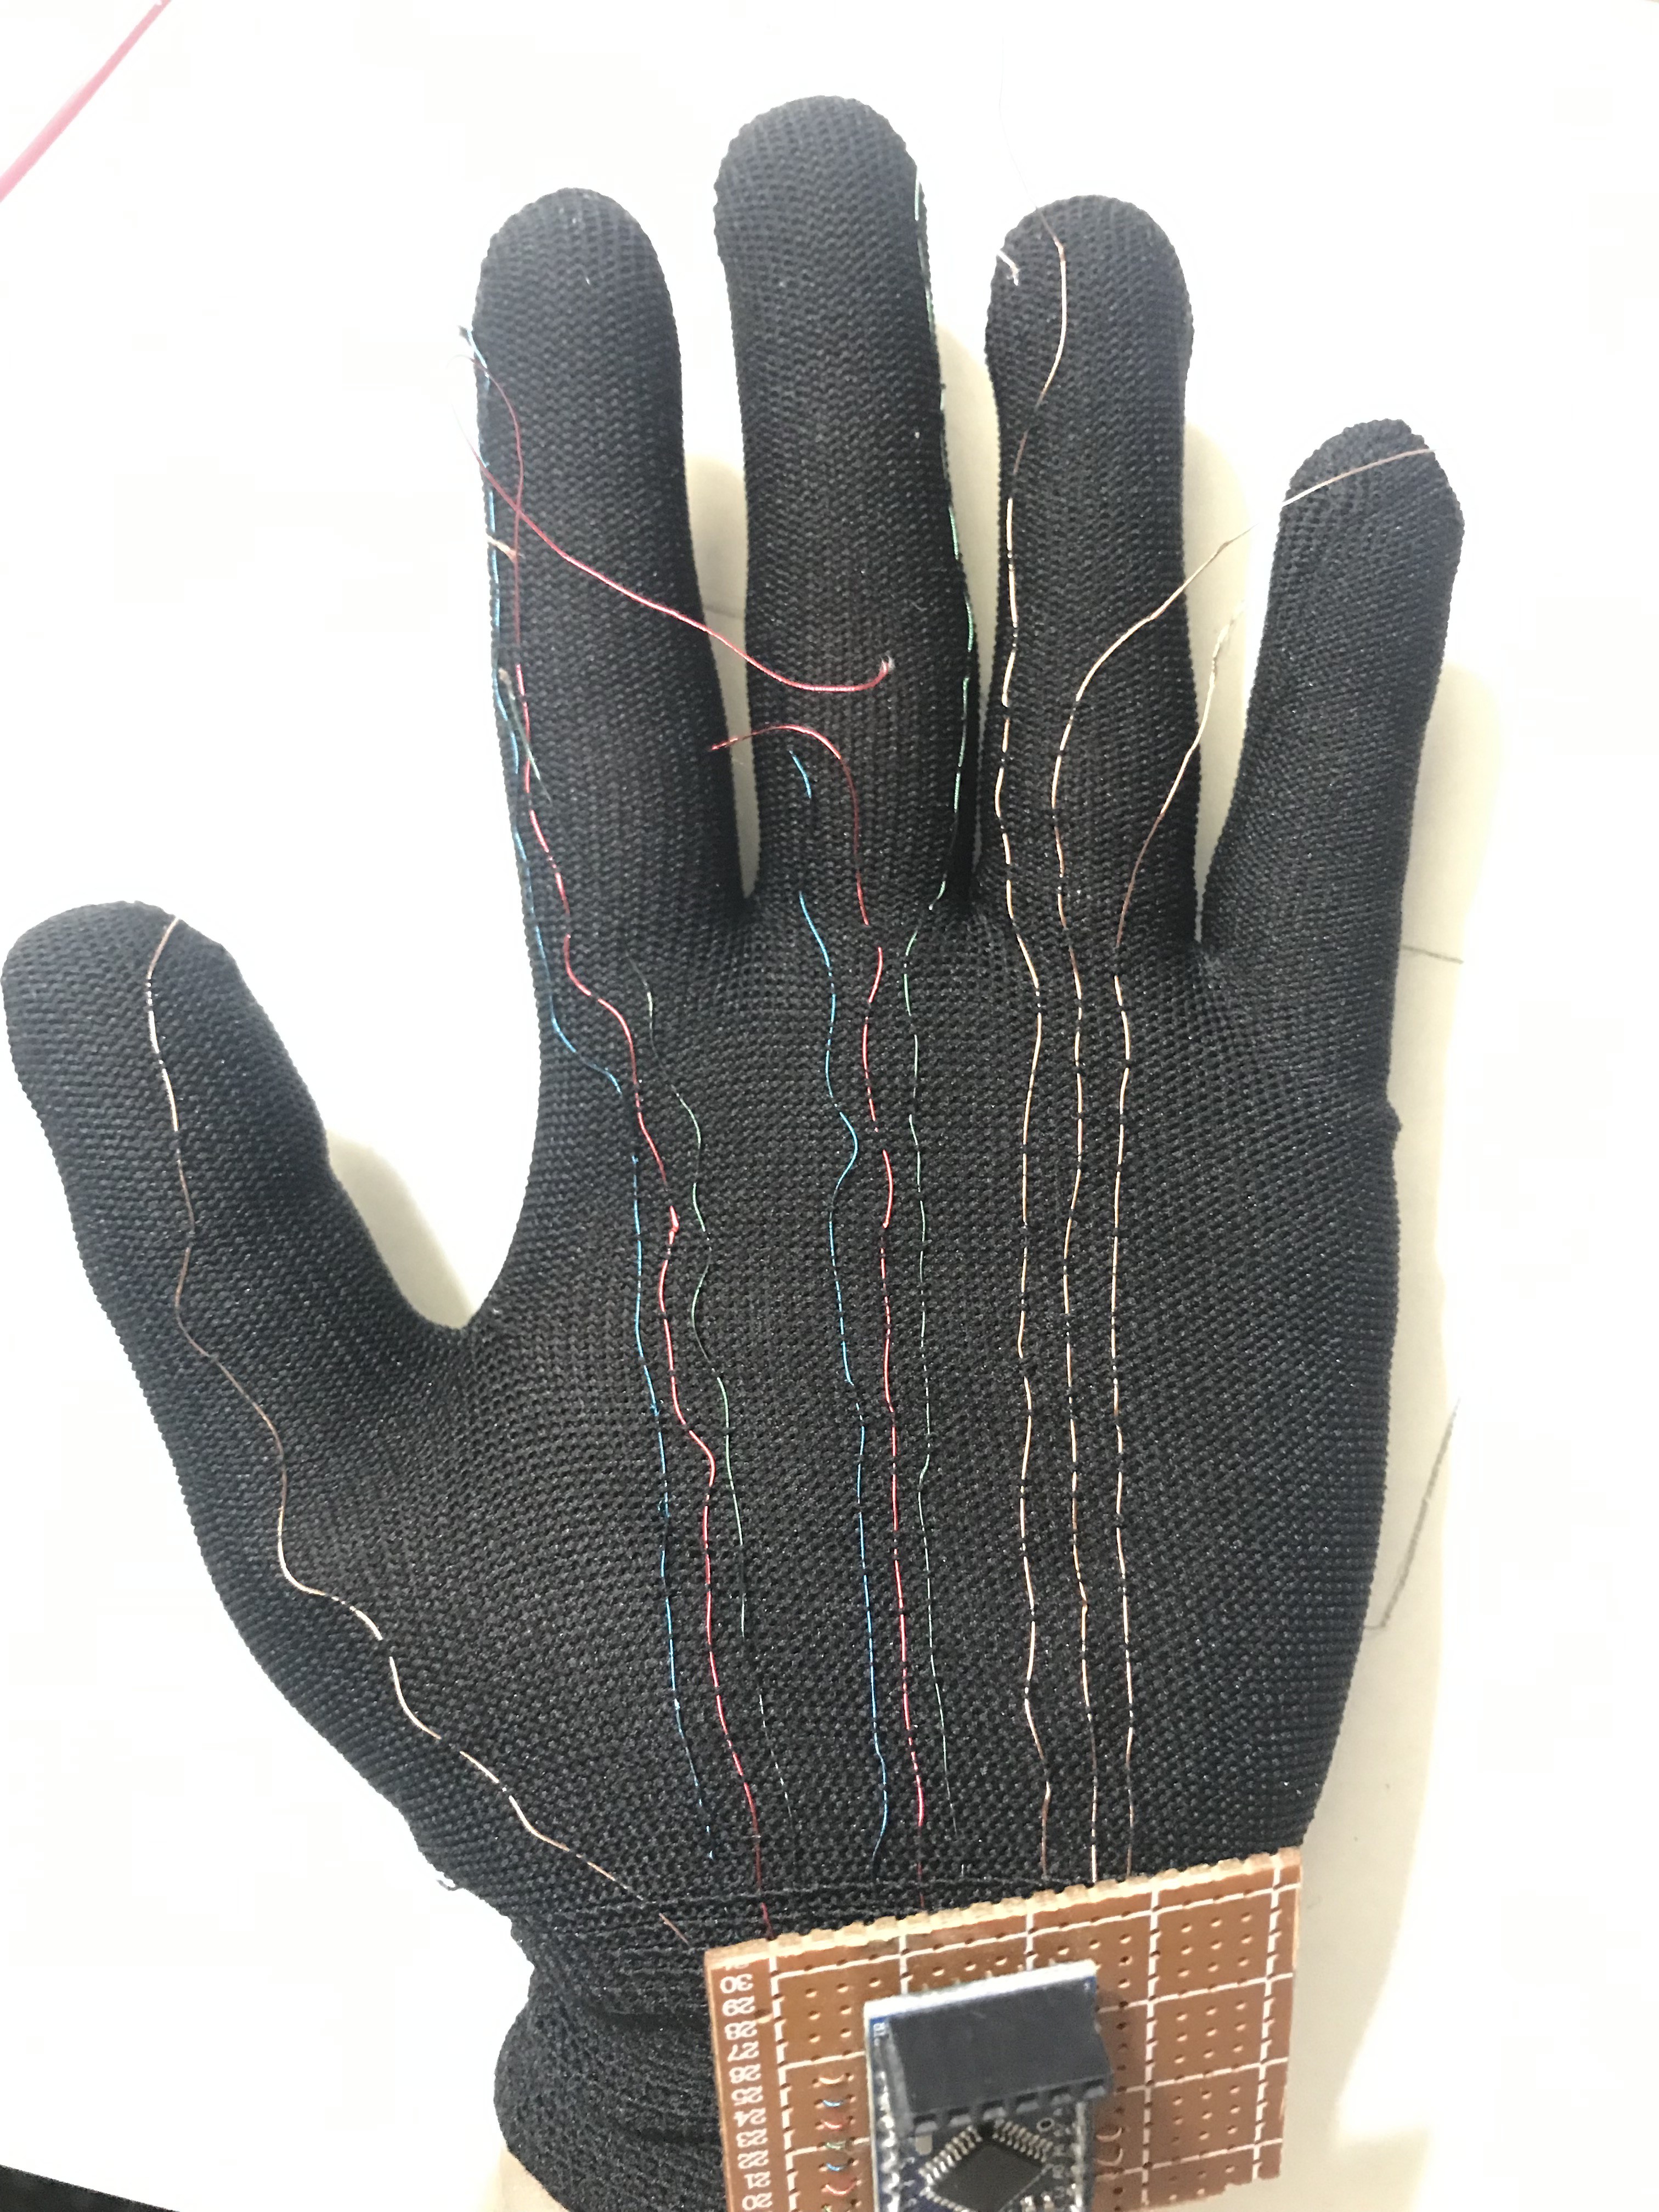
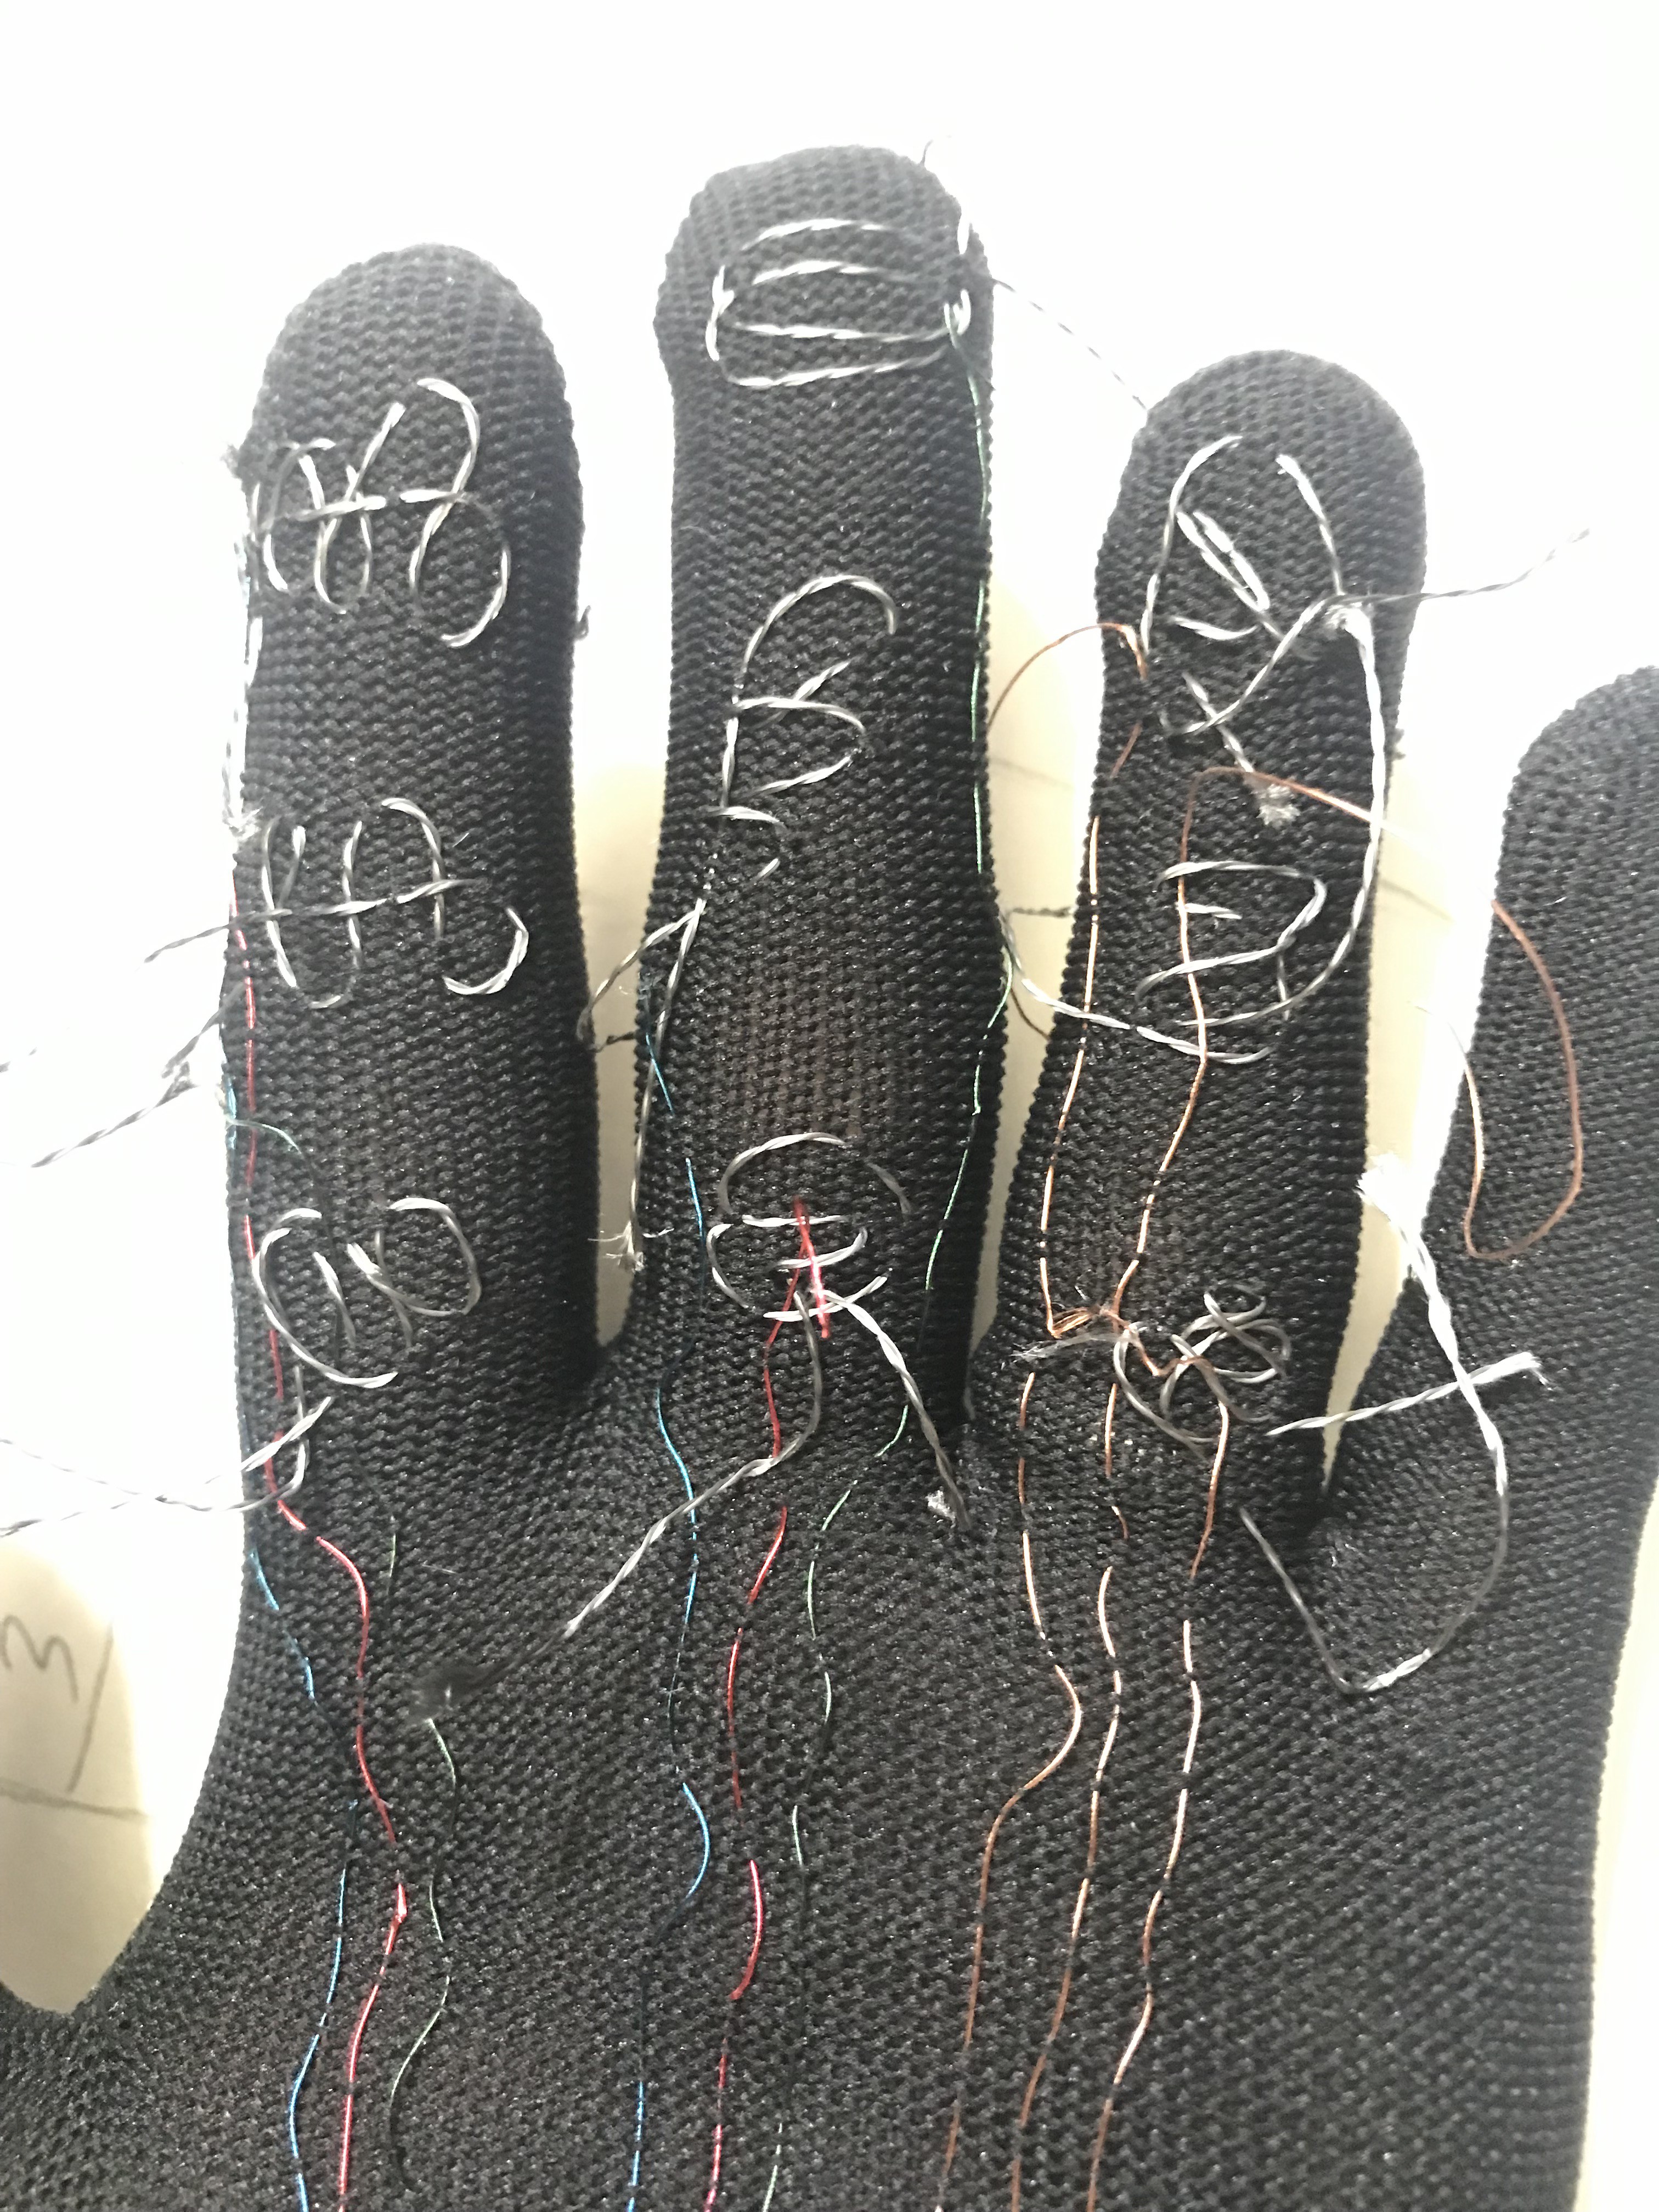
The glovraille consists of 10 pads, 6 for character input, 3 for different options and one pad as a selector. The role of each pad is as follow:
- pad GND : the selector ( connected to GND pin of the Arduino)
- pads from 0 to 5 : character zone, this pads will construct the character (Arduino pins; 2,3,4,5,6 and 7)
- pad 6: When this pad is selected using the selector, if the user already taped a character, it will confirm the character and sent it to the connected device. Otherwise, if the user did not enter any character, this will send a space to the device. (pin 11 in the Arduino).
- pad 7: When this pad is selected using the selector, if the user already taped a character, it will confirm the number and sent it to the connected device. (pin 12 in the Arduino).
- pad 8: When this pad is selected using the selector, if the user already taped a character, it will correct the character, in other words, this action will clear the character buffer and does not send anything to the connected device. Otherwise, if the user did not enter any character, this will send a return character to the device. (pin 13 of the Arduino).
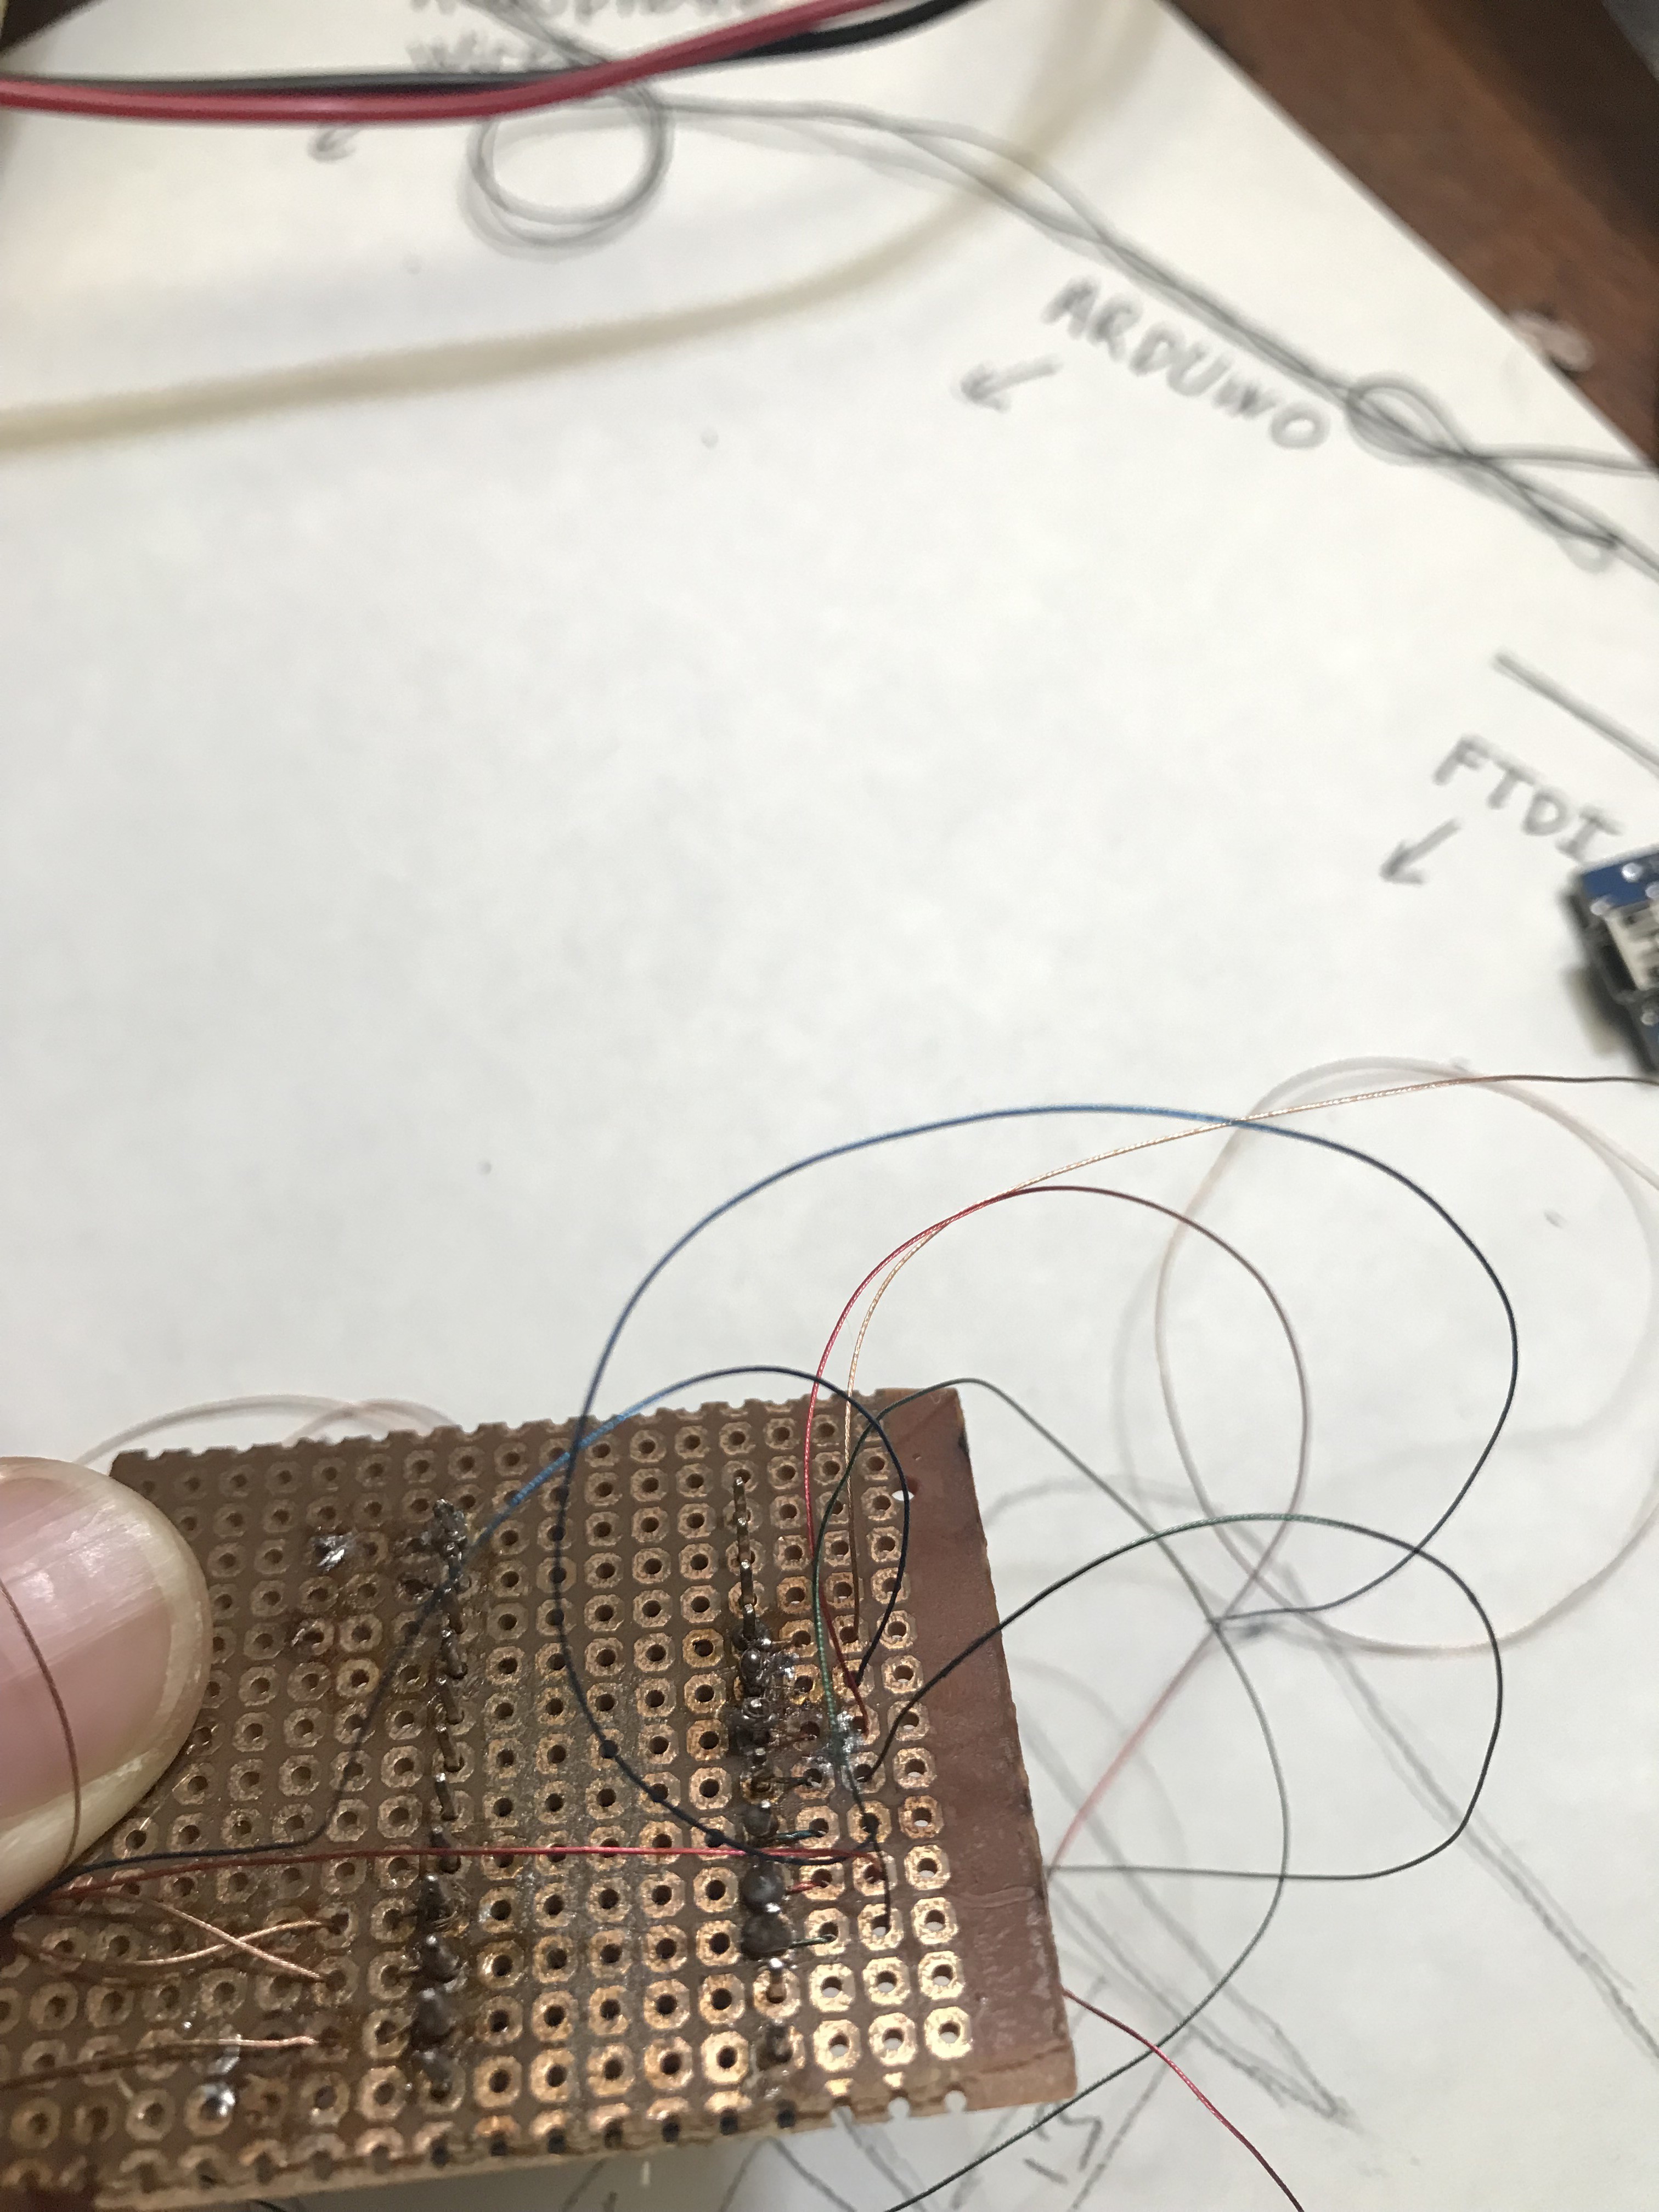
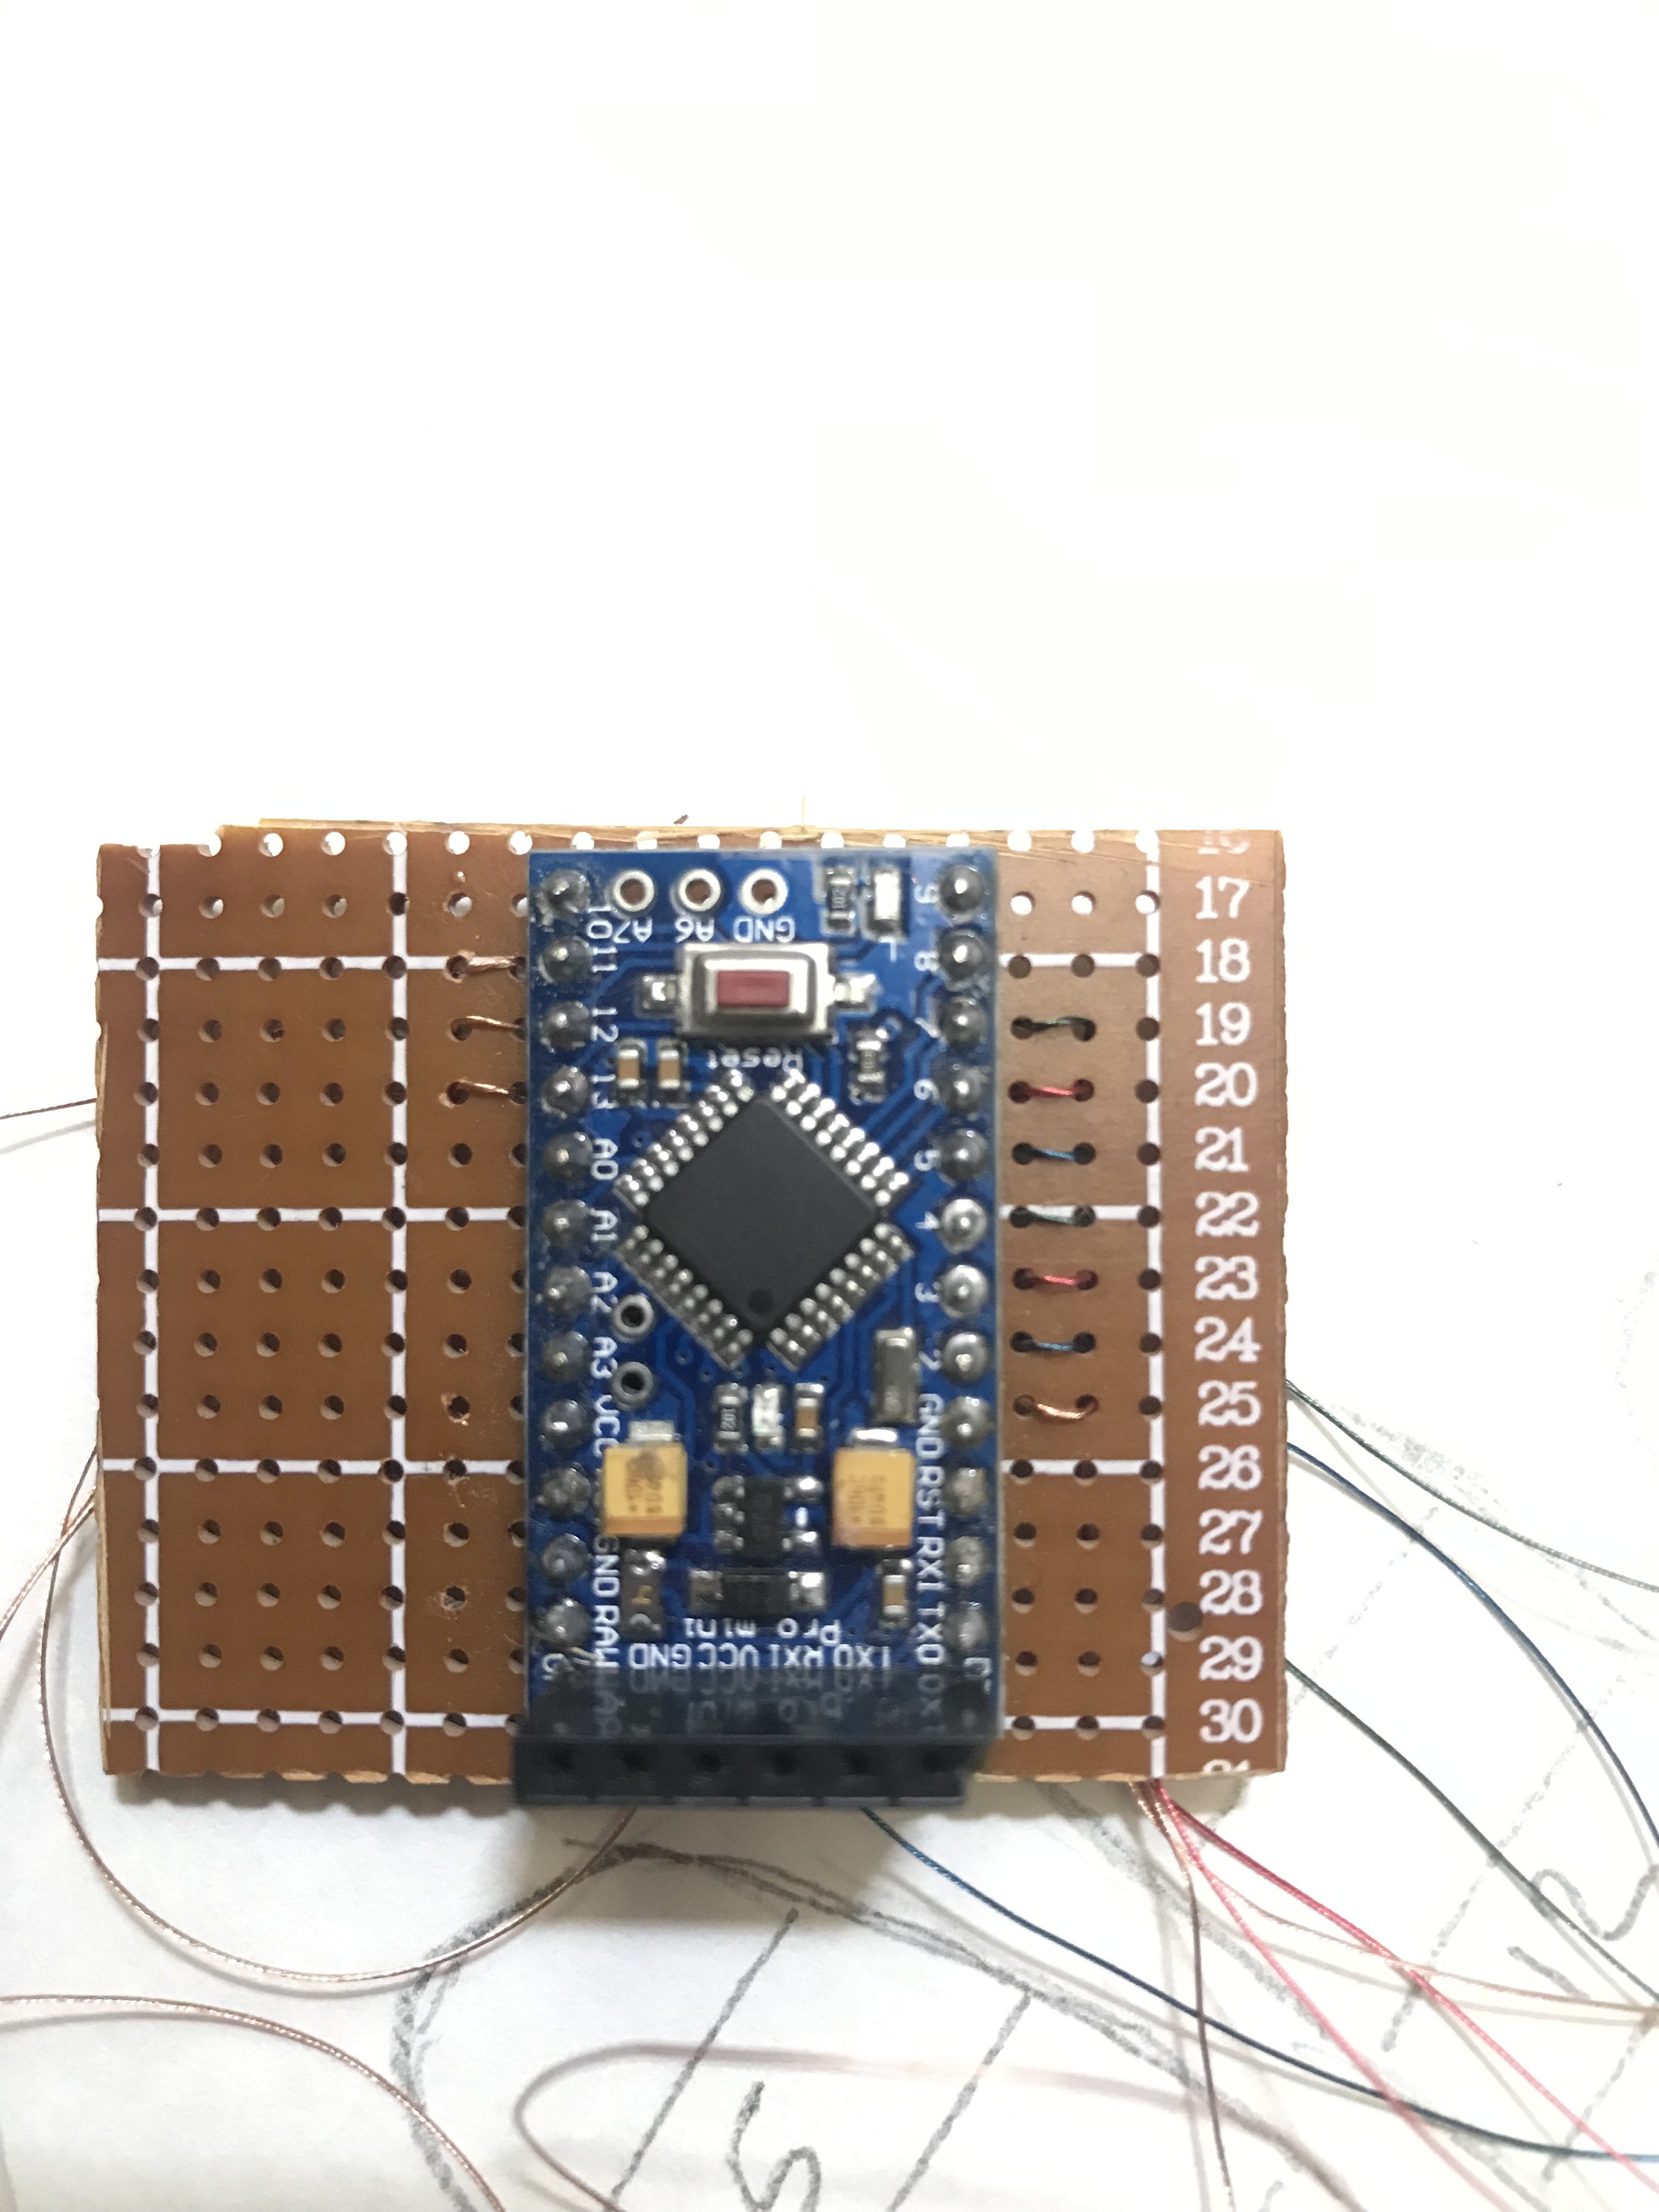
I will update the project with the needed instructions and file in order to build such a device (The code is now kinda messy, it's a midnight project). Also I will add more details on how it works and the alphabet that functionality of each glove finger. The video below is a proof of concept of the project idea.


 Chris
Chris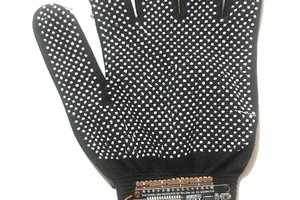
 mircemk
Love the project! I've been curious about using aluminum to sense touch for a glove interface as well. Please share more about how you got it to work when you have time!