 Jamie Matthews
To replicate this restoration project you will need the following:
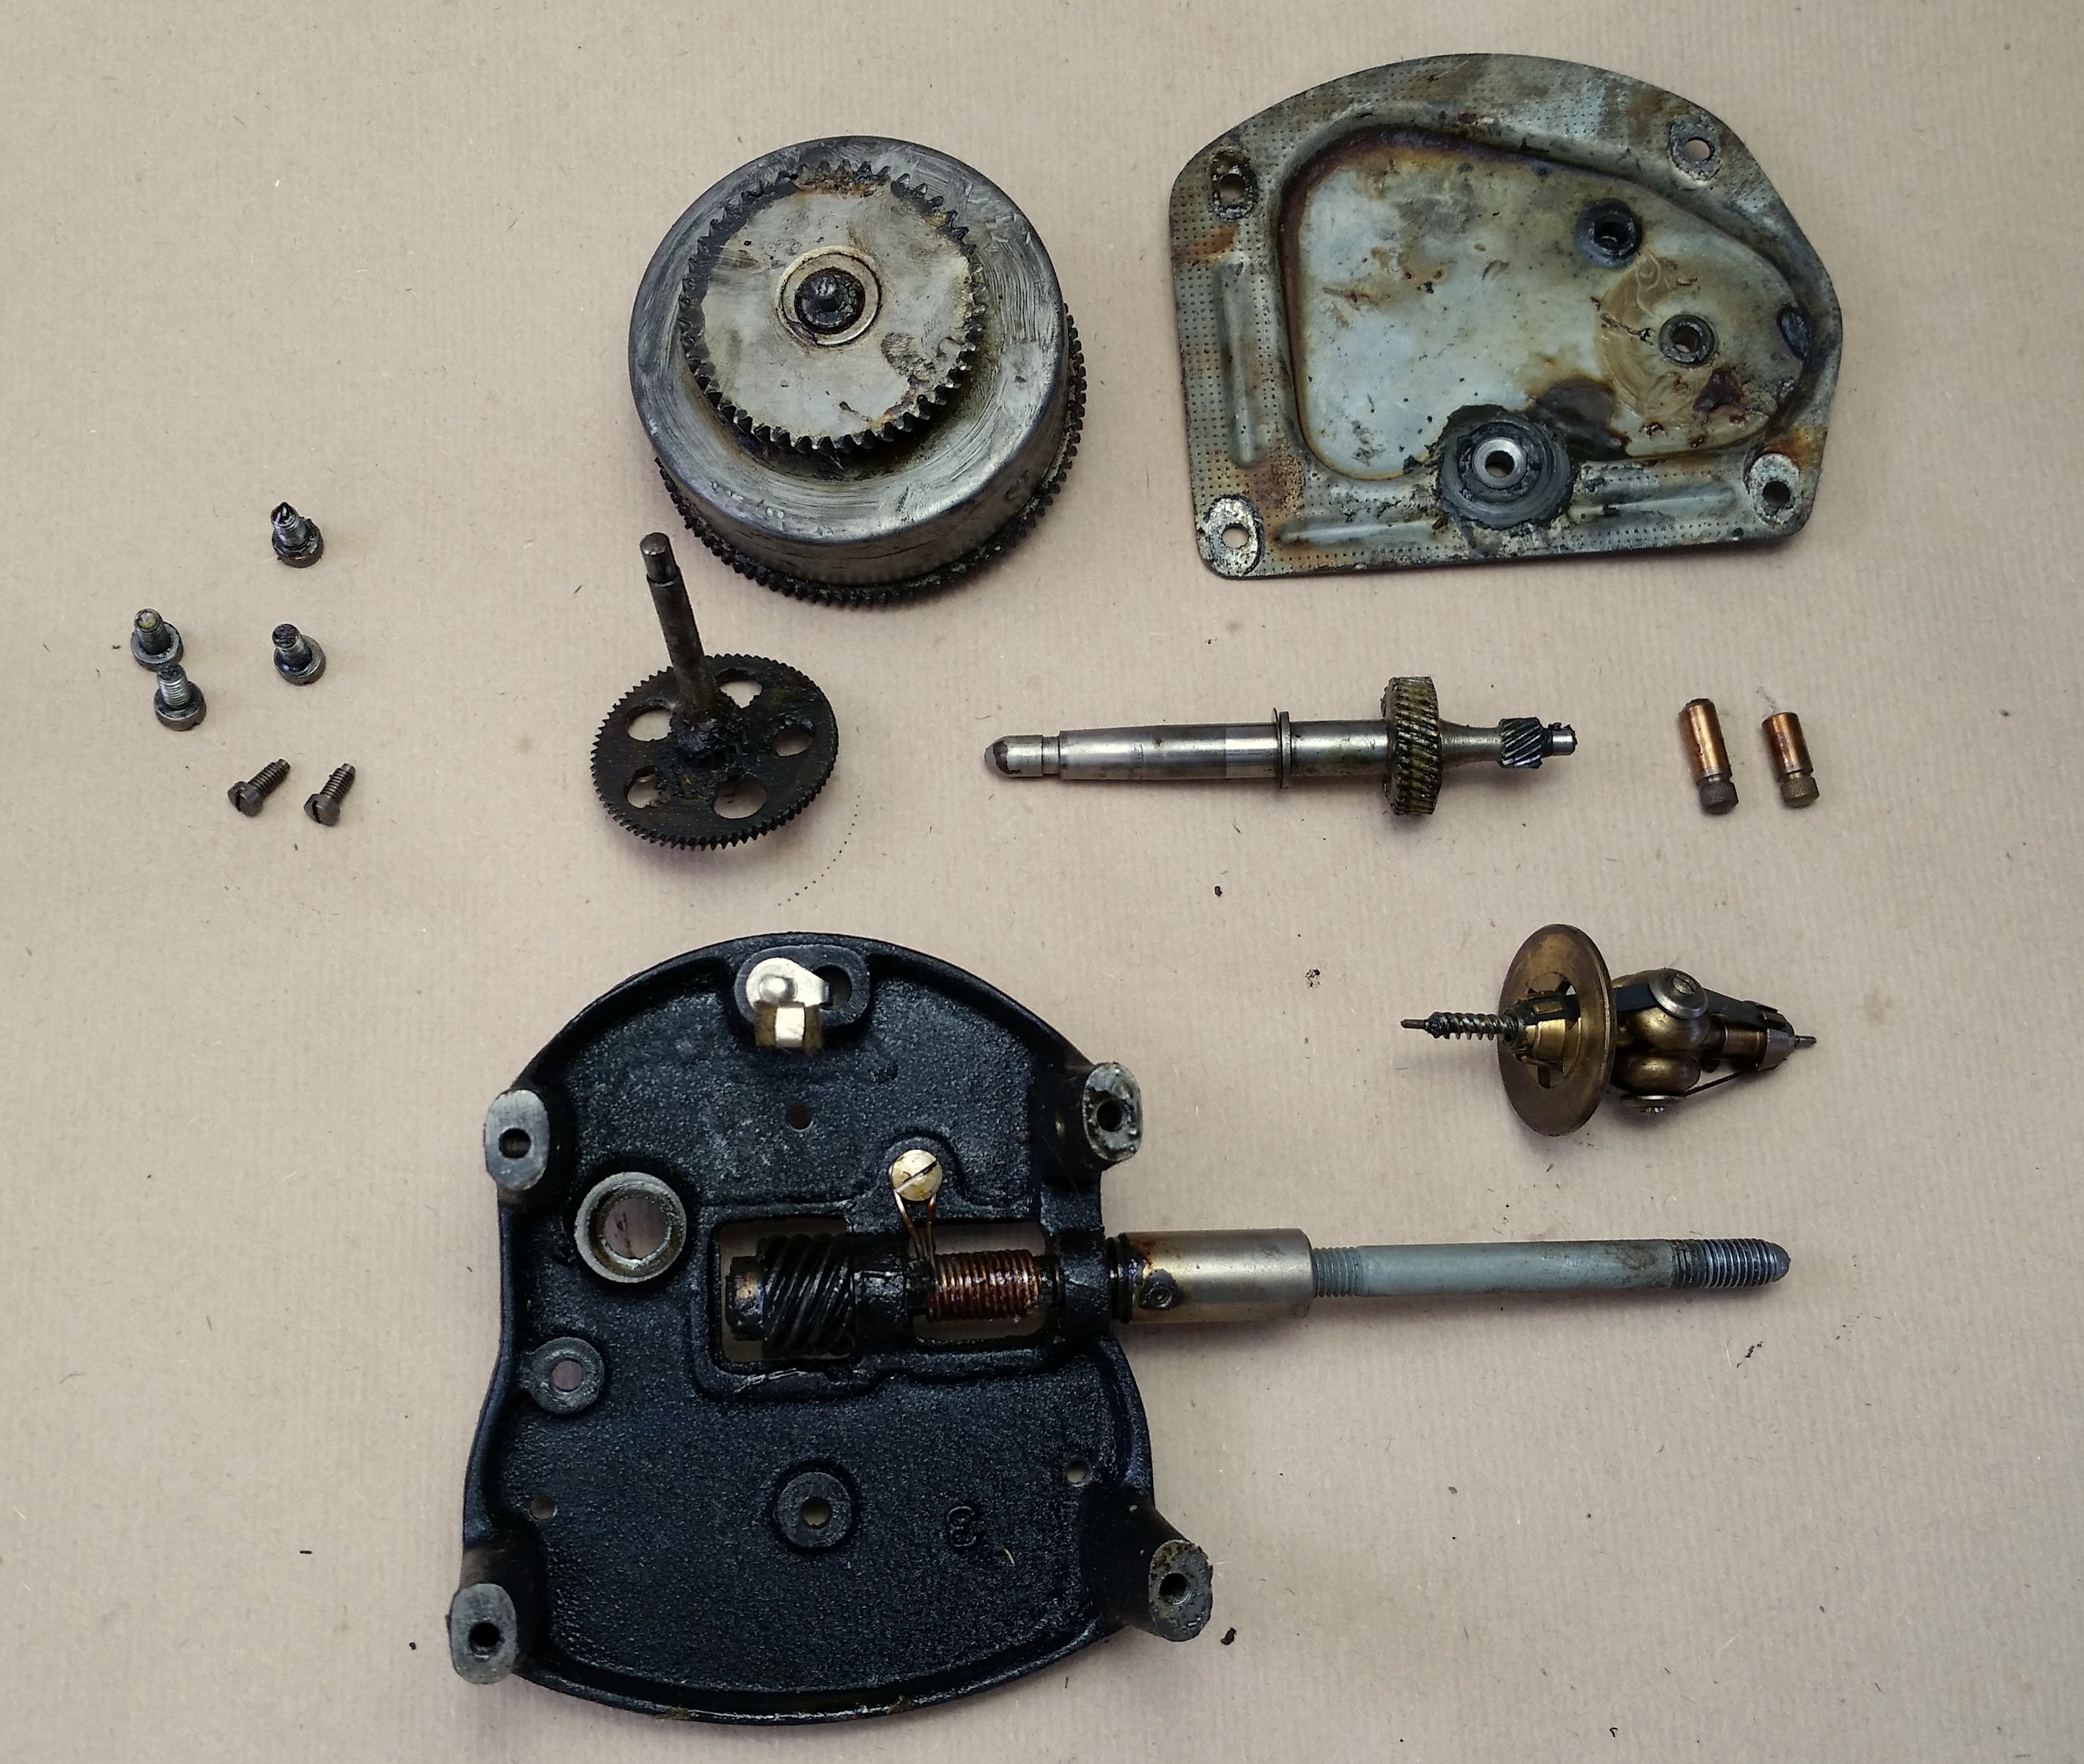
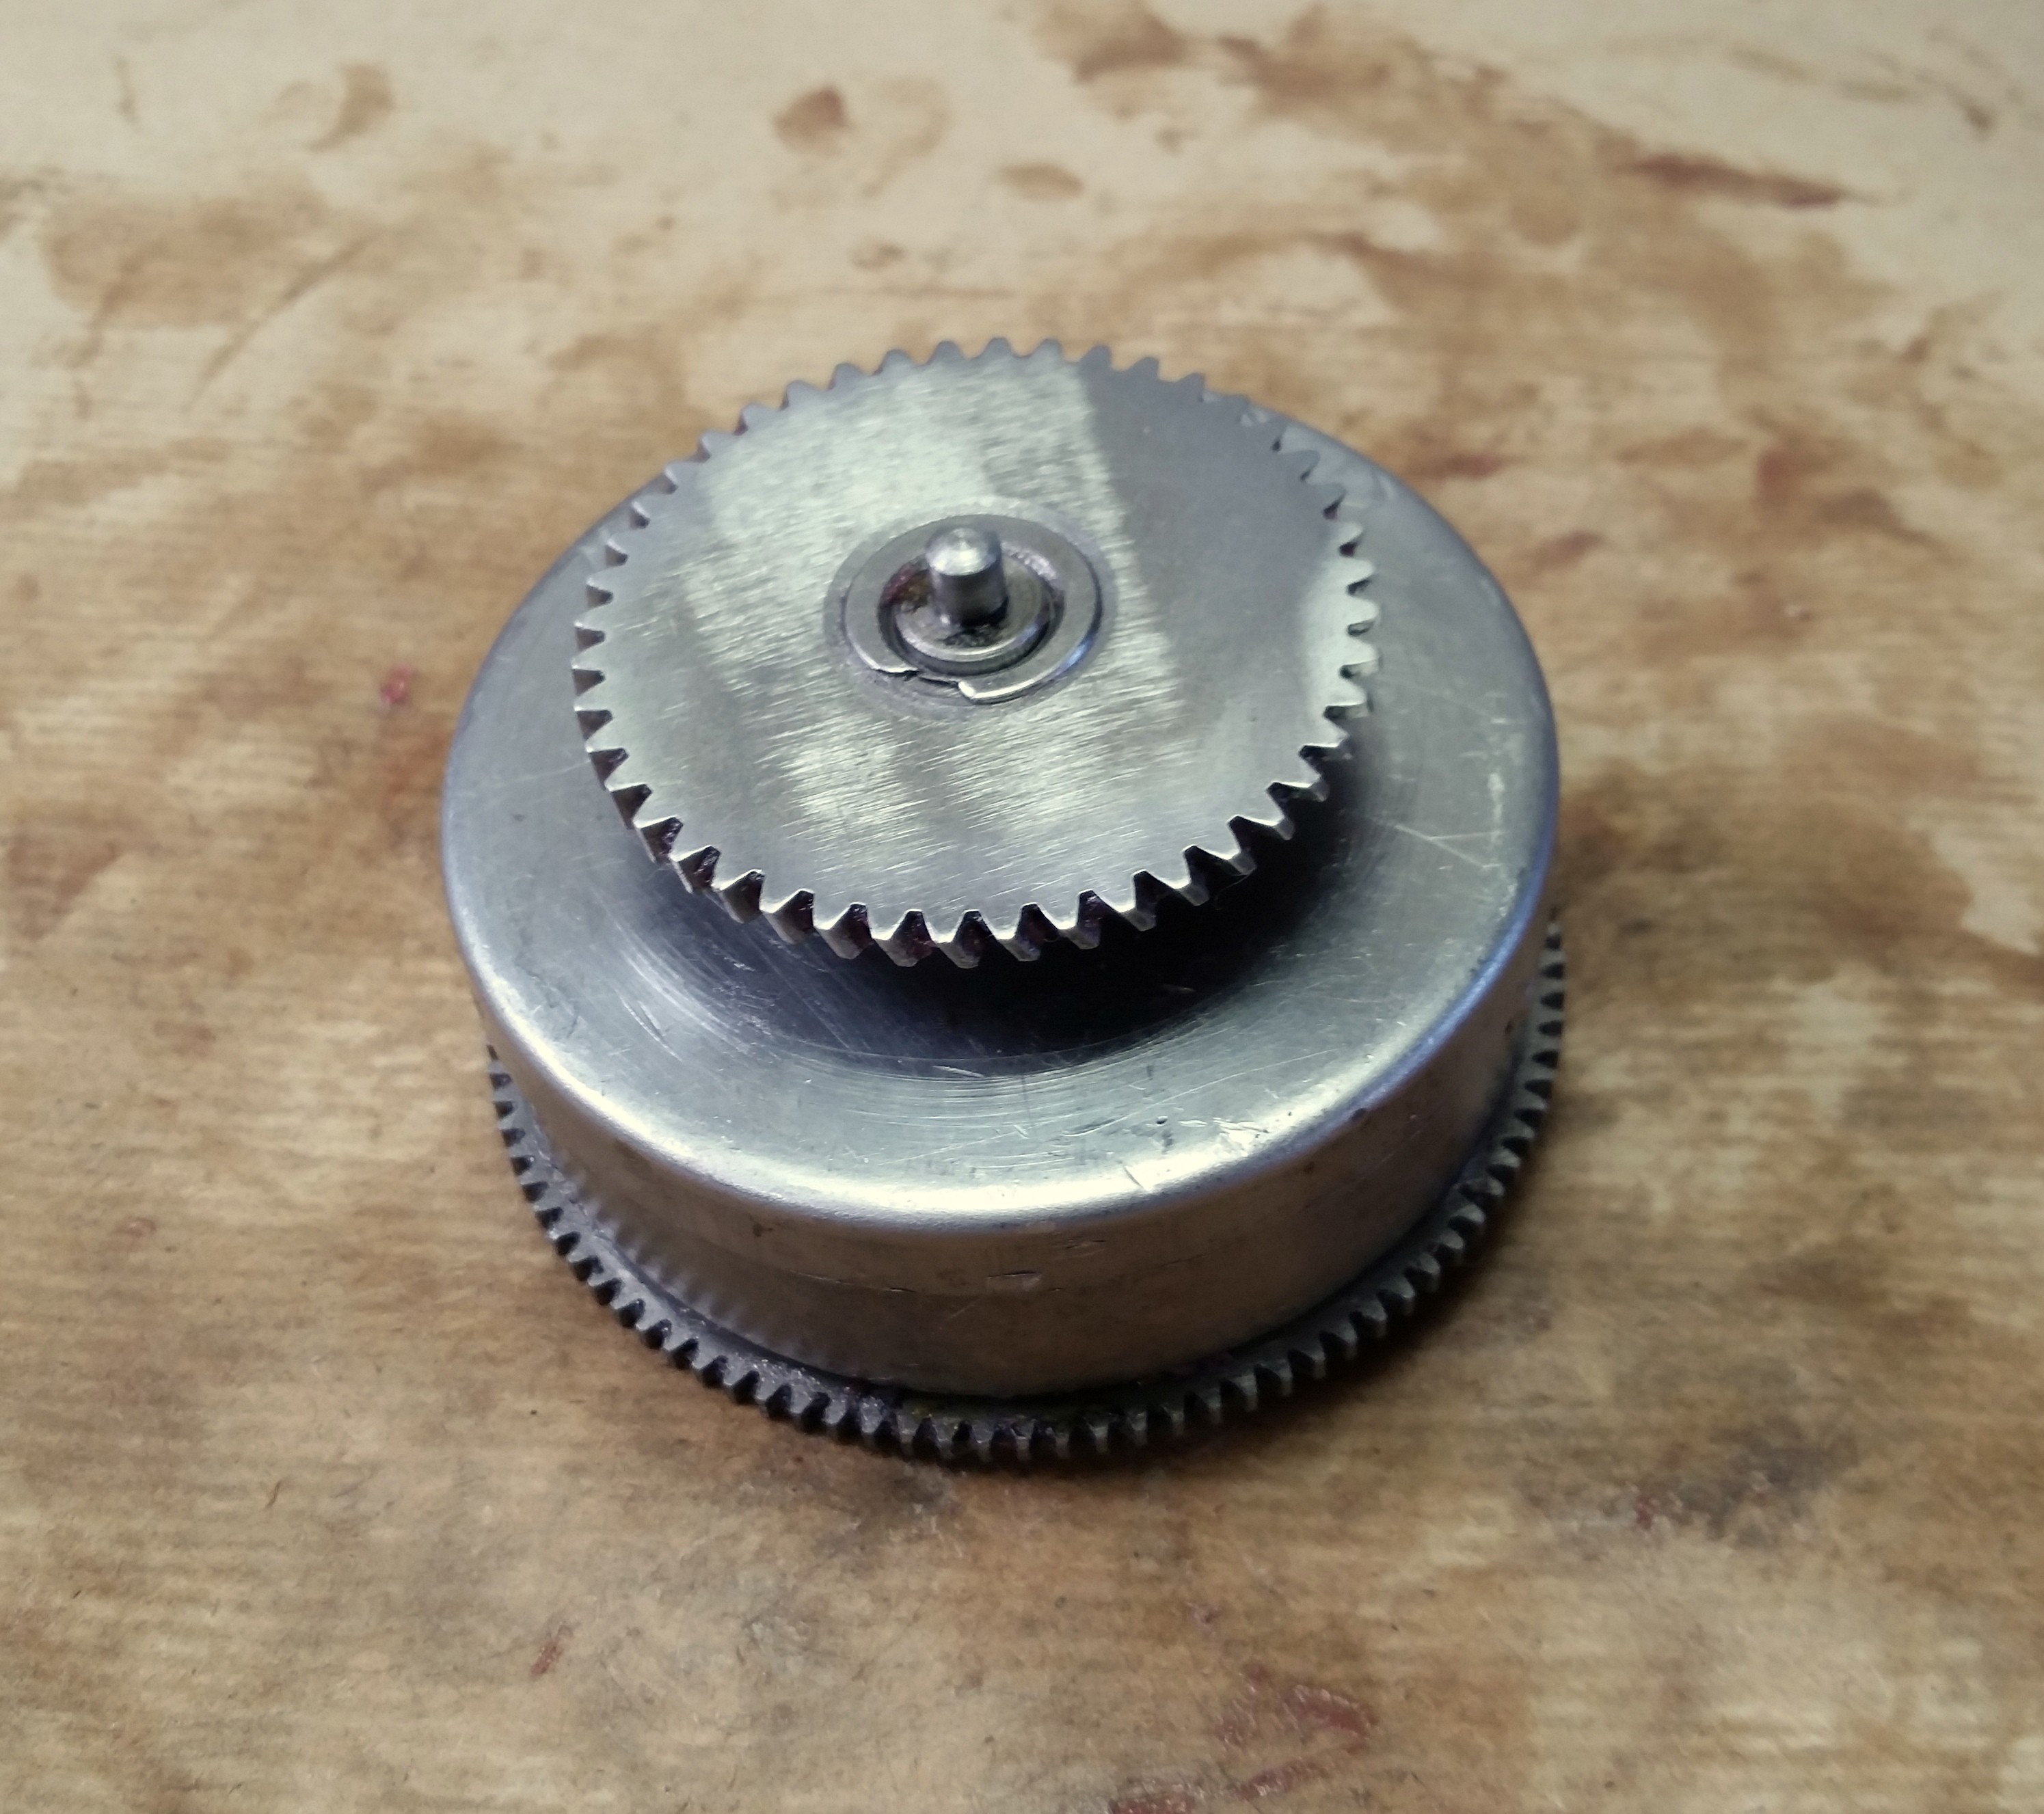
- a Gramophone in need of some love
- Paint
- Scraper
- Sanding paper
- Contact Adhesive
- Lubricants
I used a Moly lithium blend grease and Full Synthetic gearbox oil.
- Degreaser
- Rust remover
- Wood filler
- Polishing compound
- Leather (from off cuts)
- Felt
- Brass Rod
- Dremel
- Tools (eg. screwdrivers, pliers)
Optional:
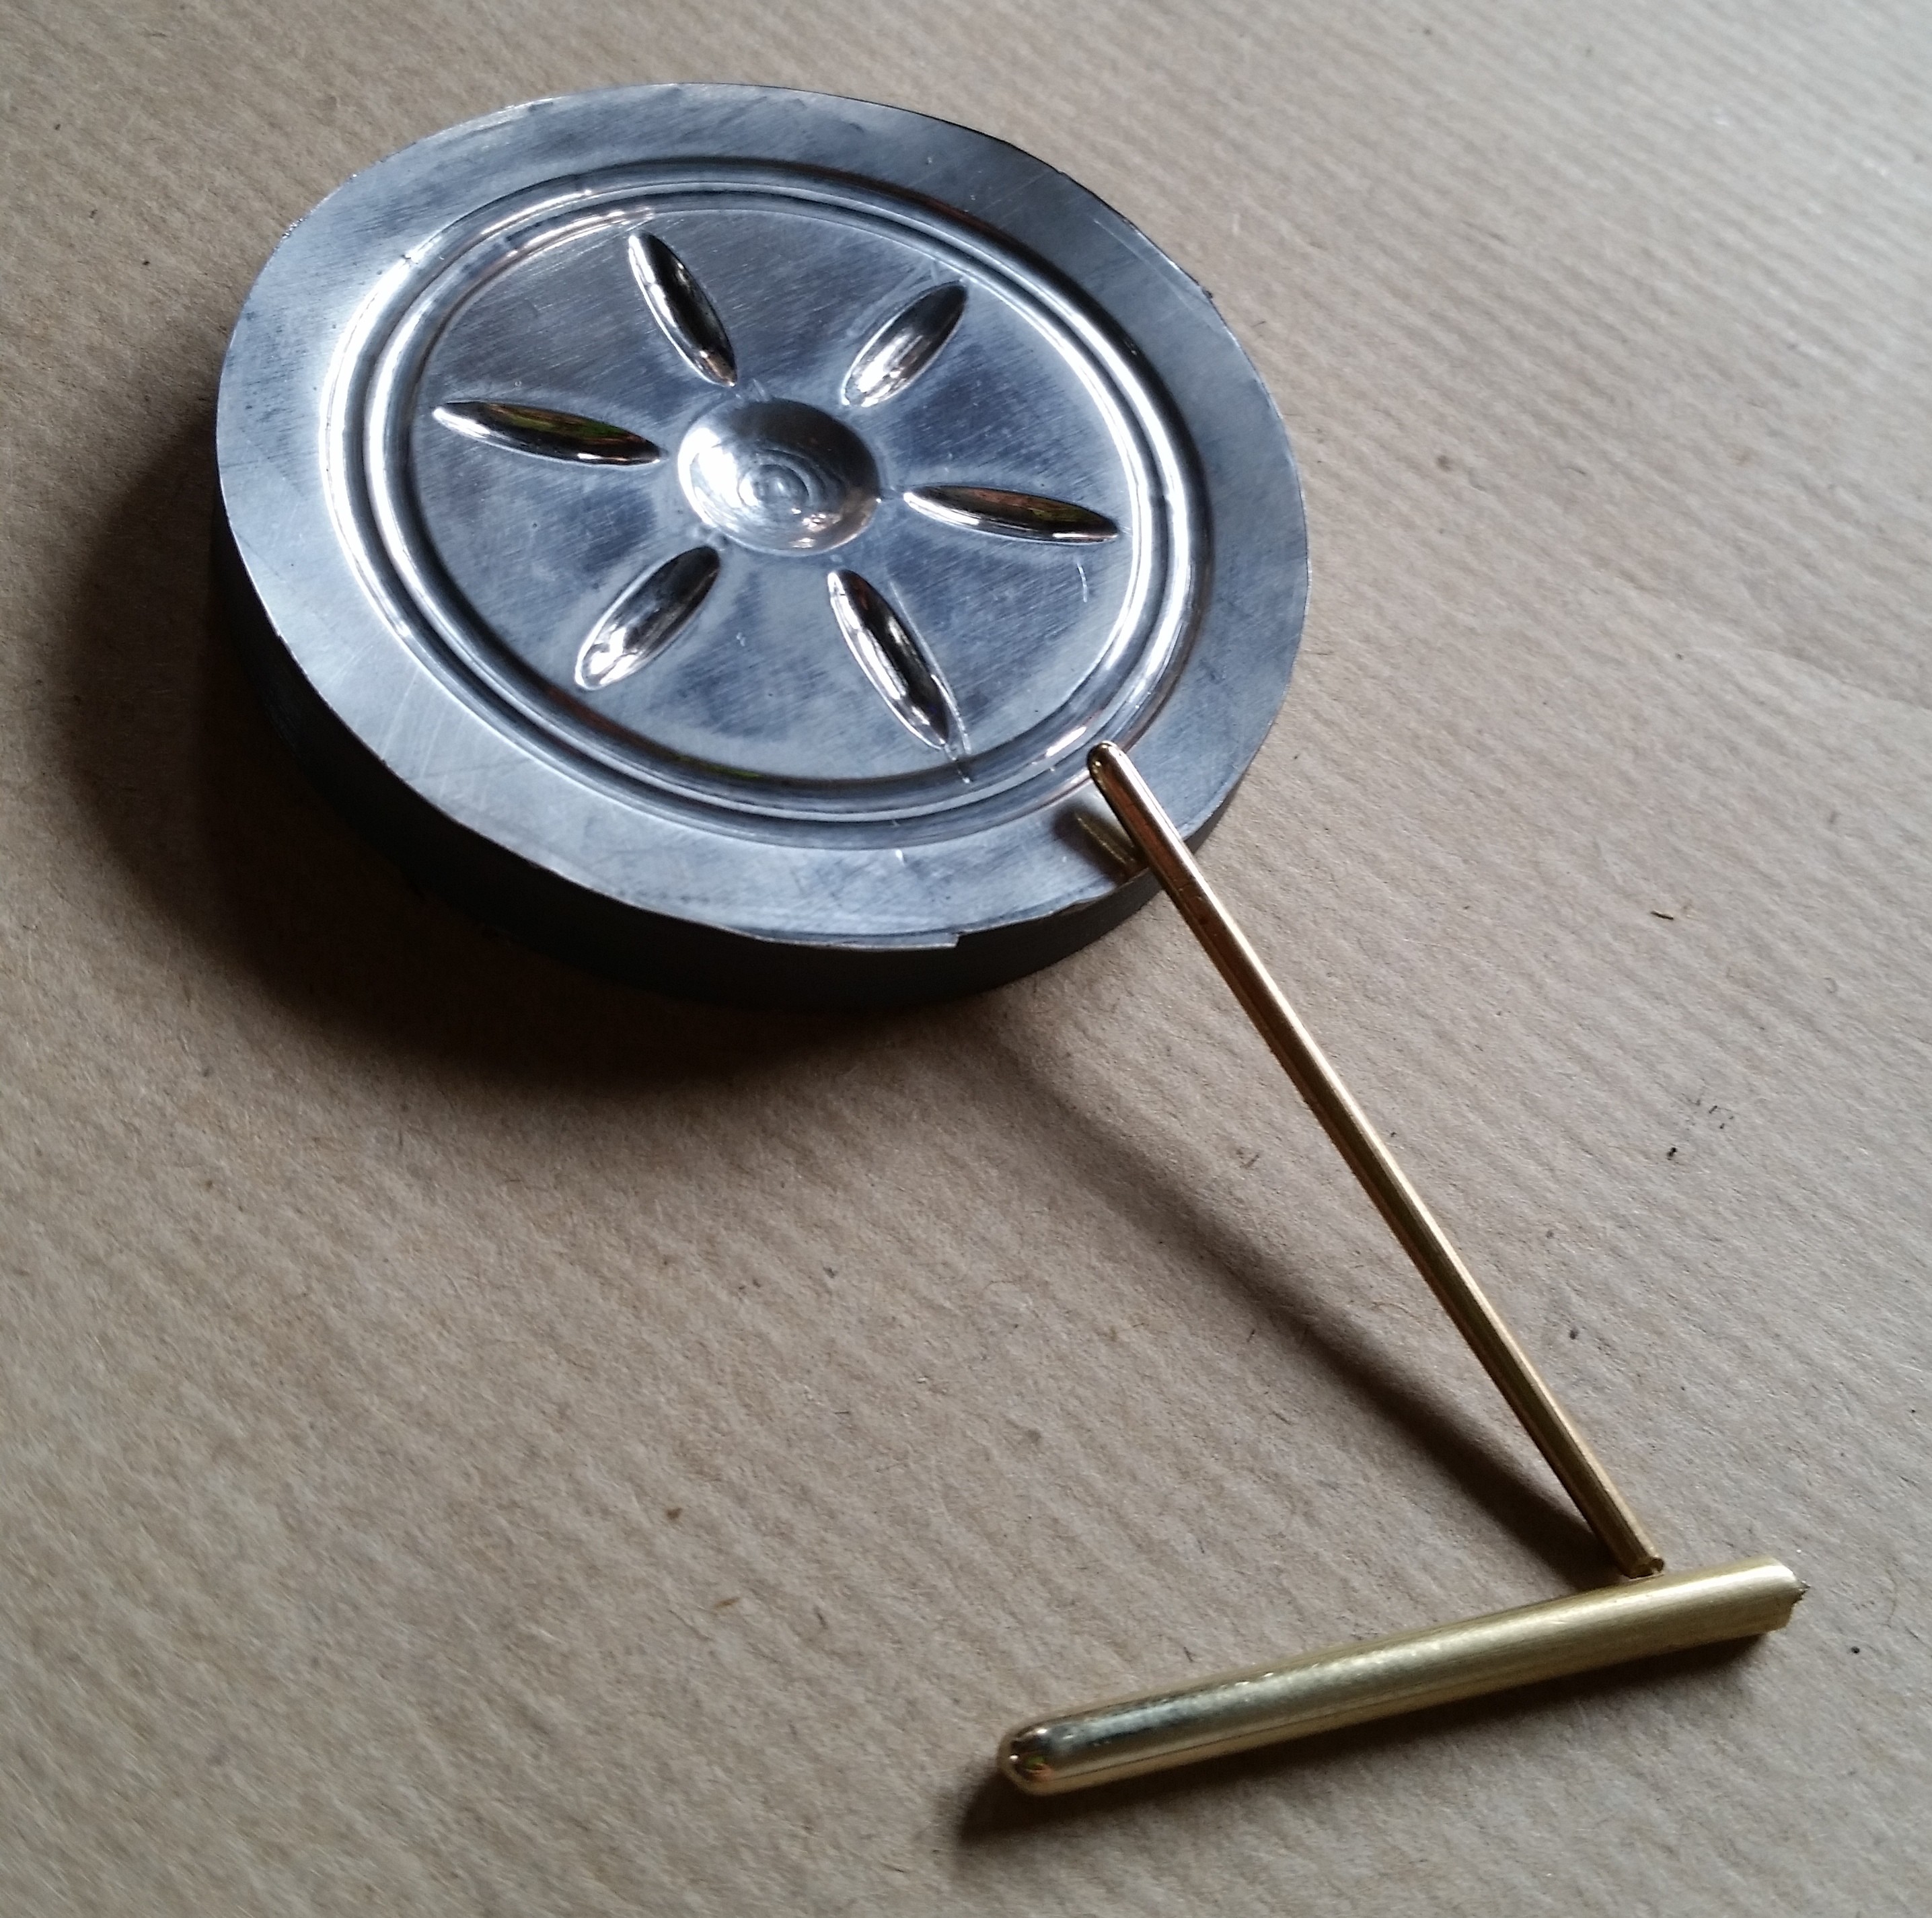
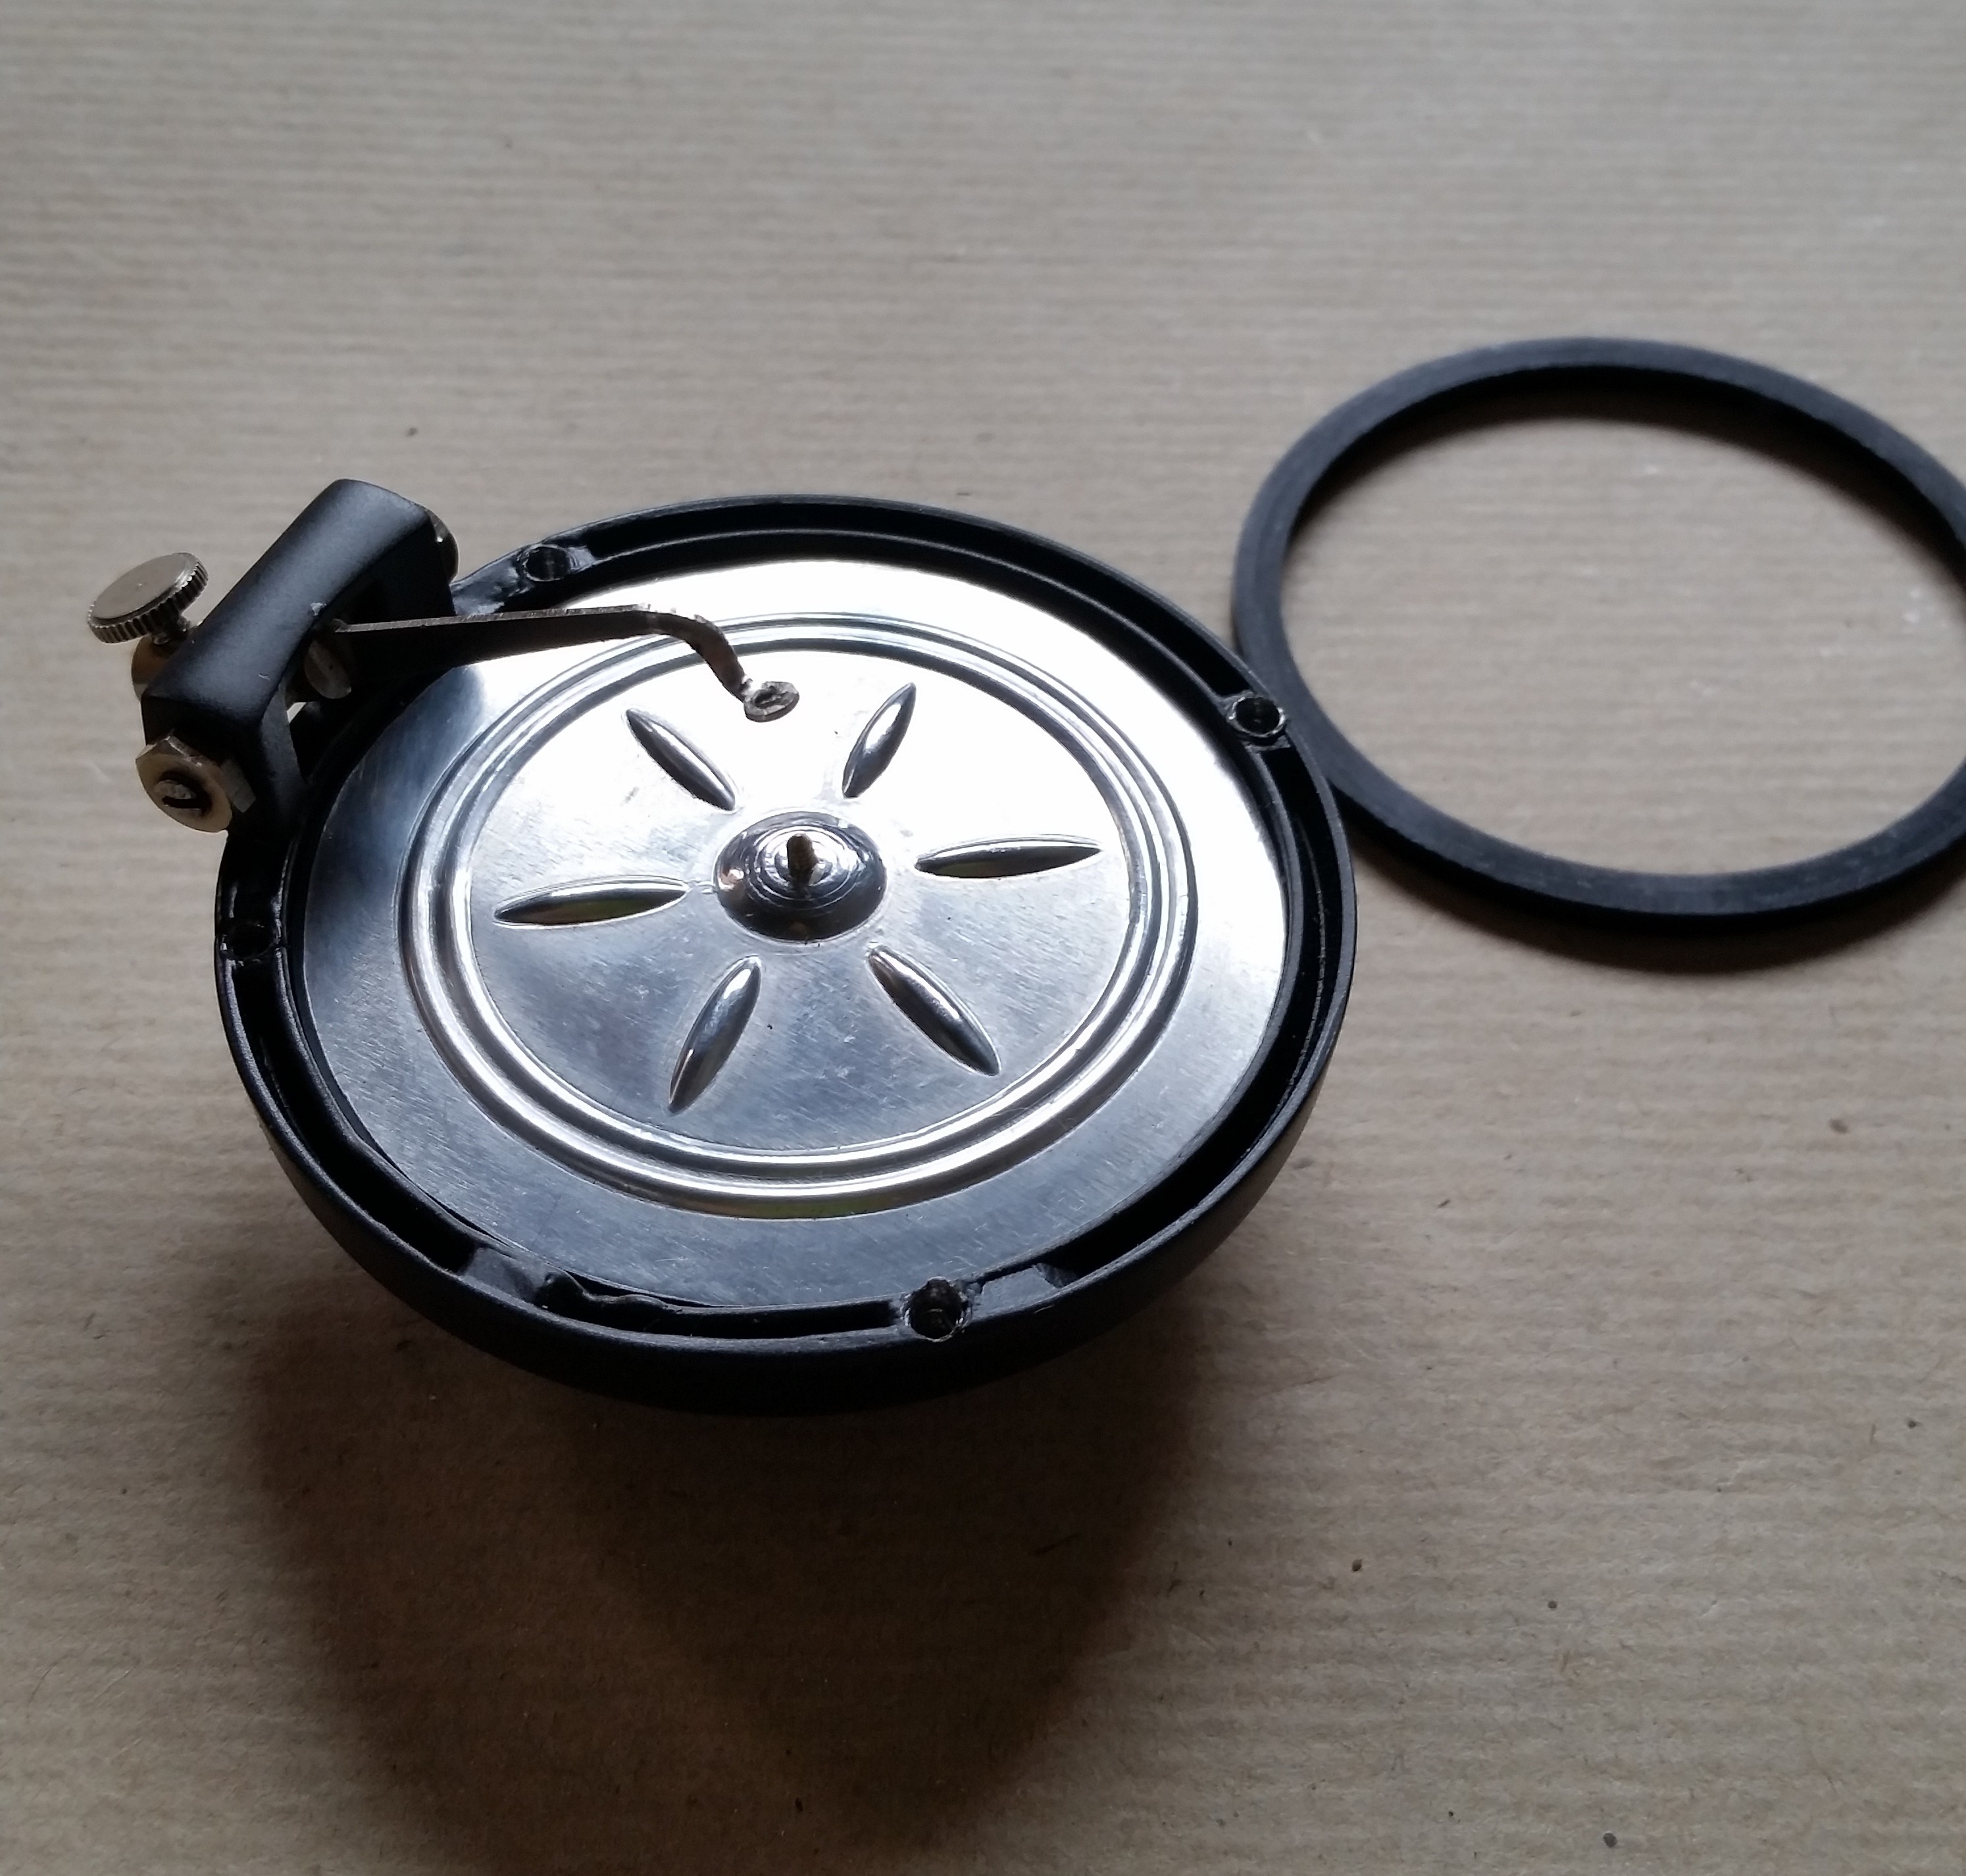
Soundbox repair:
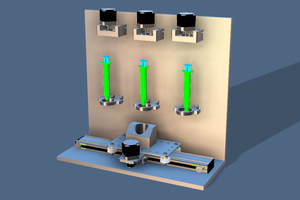
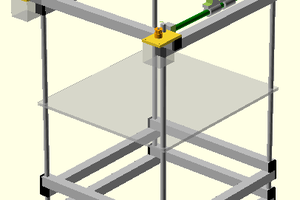
- Access to a 3D Printer
- TPU and PLA filament
- Thin aluminium sheet
Horn repair:
- Solder
- Flux
- Butane Torch
Decals:
- Vinyl Sticker
- Laser 3D printer kit or access to a laser engraver
Sound reflector:
- Heatgun
- 1mm thick Poly-carbonate sheet
*As an Amazon Associate I receive a small percentage from sales made through provided links at no cost to you, this helps fund future projects.


 Philip Ashmore
 Elliot
 T. B. Trzepacz