 John Forsyth
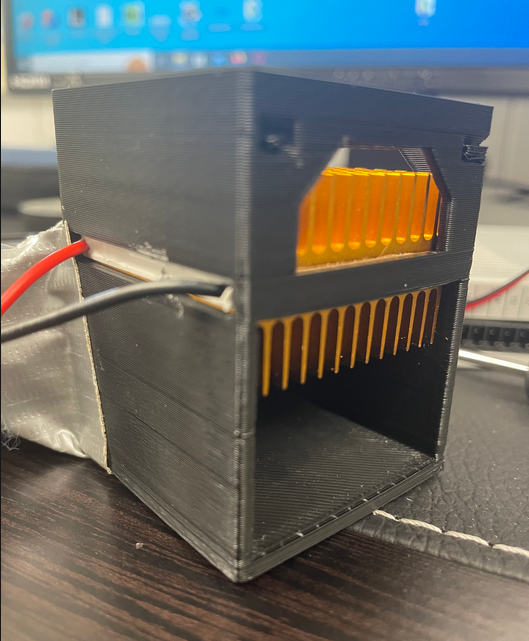
The basic concept of this project is to blow air across a heatsink which is being cooled by a Peltier cooler that is then fed up ones shirt. The heat produced on the other side of the Peltier cooler is blown away from the individual by a second fan.
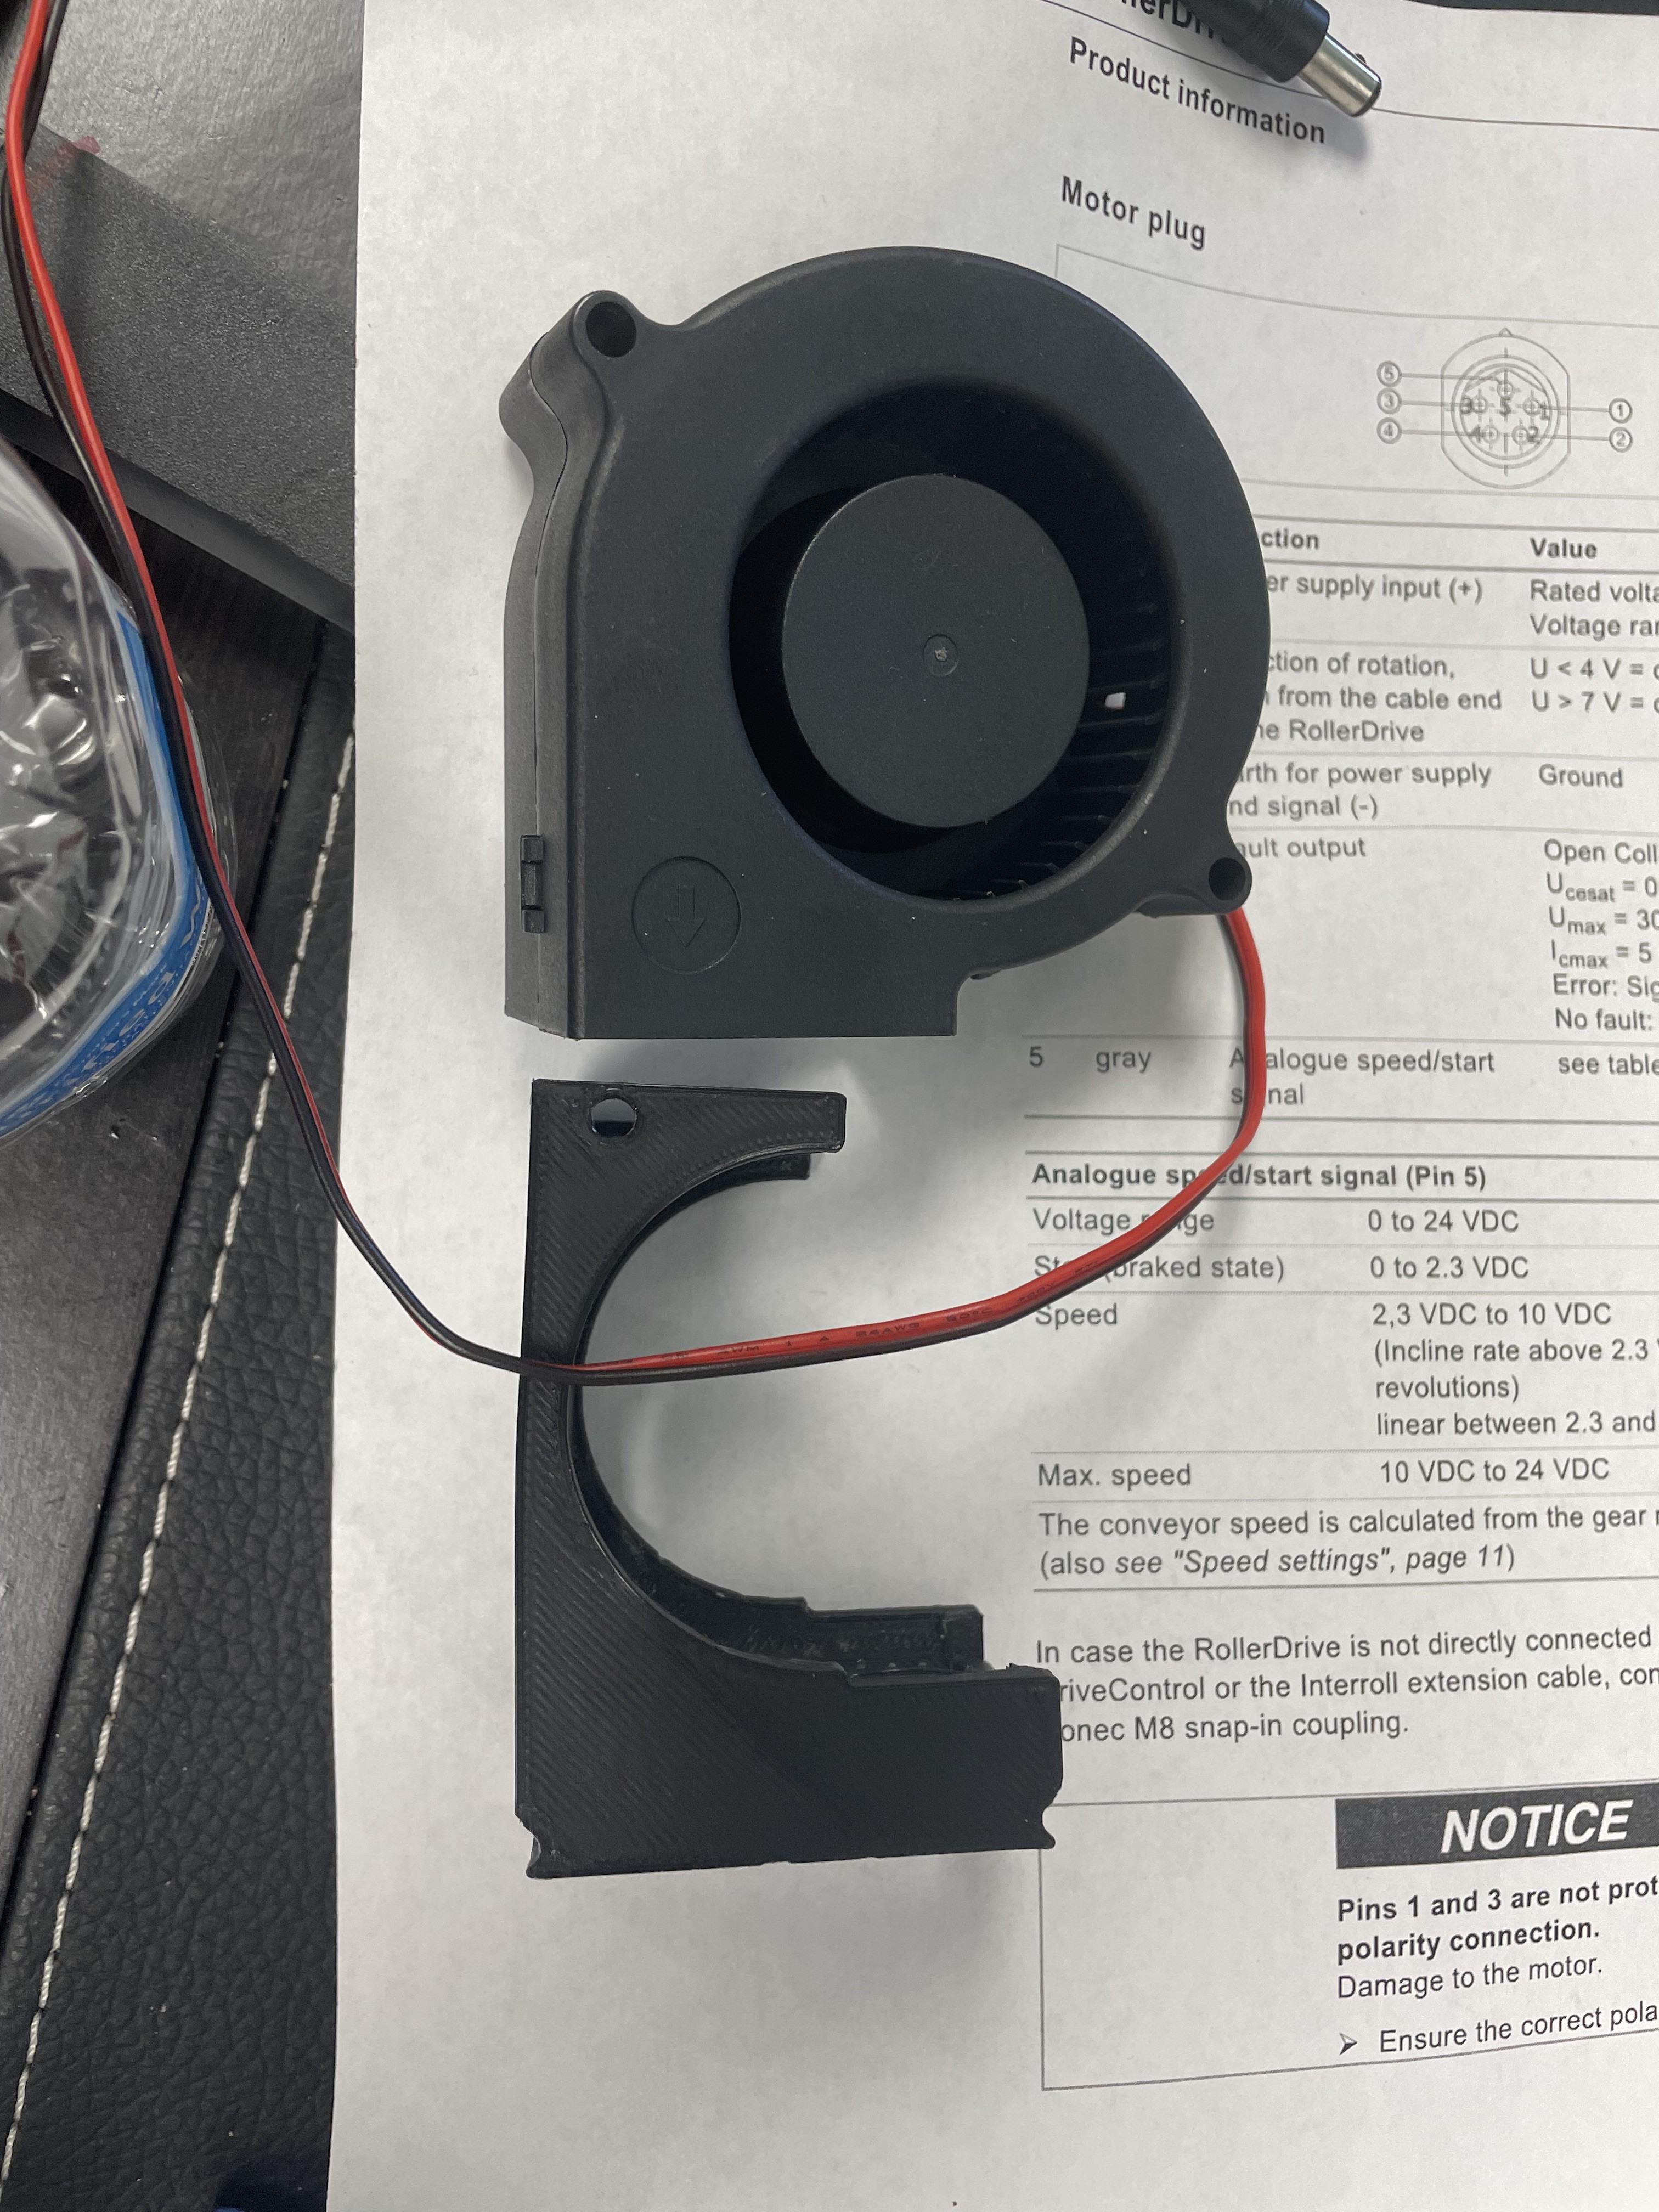
Using this device as an air conditioner for a tent may be more beneficial for disaster relief. Toward this end, I have also included a version of the frame that uses 2 large fans instead of one small and one large fan. This is also the reasoning behind the fan being slotted into the frame as opposed to fixed. This is so that if the AC is worn then the fan can face away from the person, however if it is being used to cycle air inside of a tent/enclosed area. Then the fan can be turned around and slotted to the frame in the opposite direction. Thus making the intake for the fan facing inside the enclosure thus progressively cooling the air over and over.
One of the issues when creating a portable air conditioner in this way is the power requirements of the Peltier cooler. In the footprint that I am using it, it runs 12VDC at 6A. Which is far too large to be run for a meaningful amount of time off of a commercially available battery. Unless you were to say attach one to a car battery in a disaster situation, in which case you would be good to go. However, for the purpose of being able to carry the battery pack, the best answer I've got so far is to use a controller. For this project, I will be using an arduino to control the intervals at which time the Peltier is turned on. The fans however will likely stay on constantly. However, I have not yet integrated the controller as I can not seem to find a way to cool the hot side of the peltier enough to bother with attaching the controller. Once this problem is overcome it is likely that I will use an Arduino nano with a transistor and temperature sensors to control the peltier in order to achieve the proper ratio of cooling to power consumption.


 Robert Hart
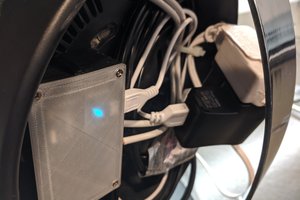
 Ben Brooks
 Ovidiu
It would add weight, but you could have an insulated container of water to dump the heat into.