The circuit of this project is very simple which contains Arduino, keypad module, buzzer, Servo Motor, and LCD. Arduino controls the complete processes like taking a password from the keypad module, comparing passwords, driving buzzer, rotating servo motor, and sending status to the LCD display. The keypad is used for taking the password. The buzzer is used for indications. Servo motor is used for opening the gate while rotating and LCD is used for displaying status or messages on it.
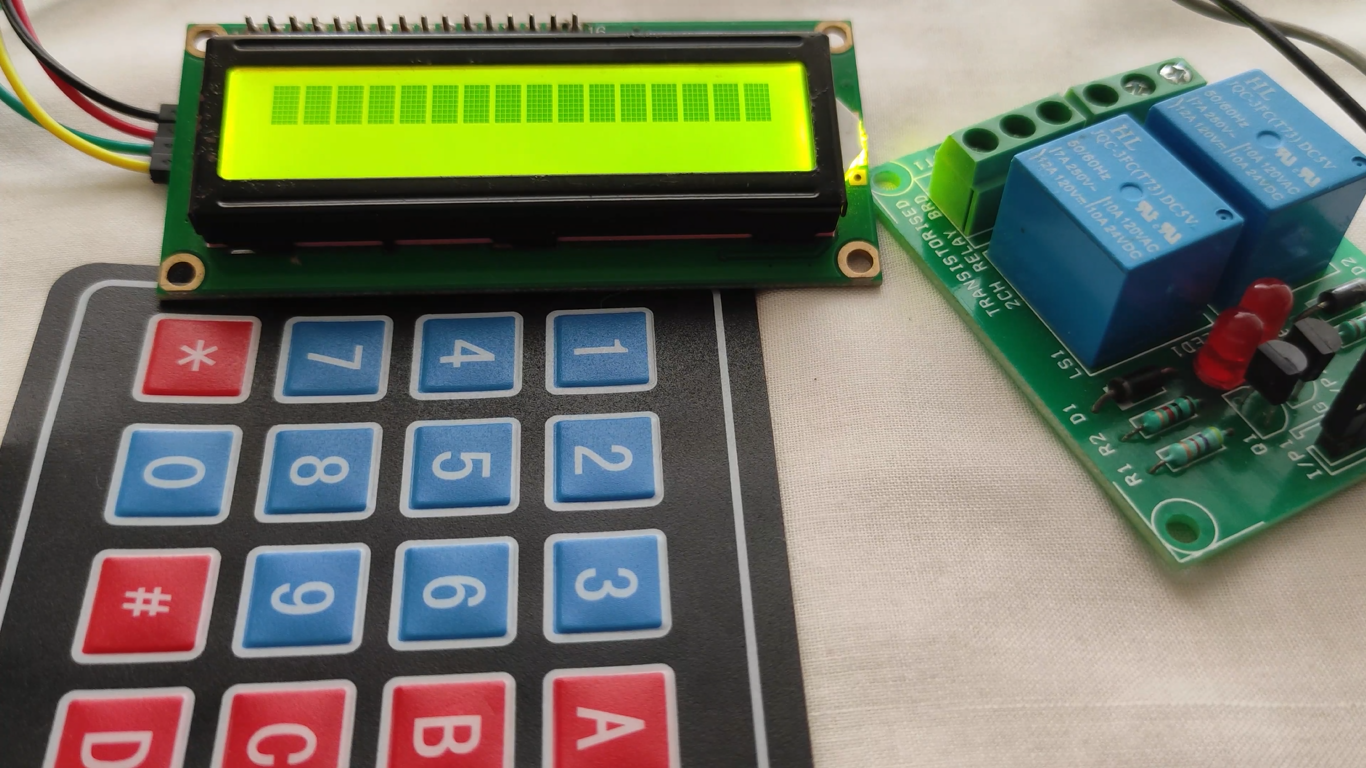
First of all, we start from the brain of this project which is the Arduino UNO board. The Arduino board is connected to an LCD and a servo motor. The servo motor is used to push (lock) or pull (unlock) the latch on the door. A 16 x 2 LCD is required to display the message by Arduino, 16 x 2 means it has 16 number of columns and 2 number of rows.
The complete Arduino Door Lock Code can be found at the bottom of this page. You can directly upload the code, but it is recommended to read the below paragraphs to understand how the code works. Also, it is important to make sure you have added the following keypad library to your Arduino IDE to compile the code successfully. To do that just open the link below and download the ZIP file. Then on your Arduino IDE navigate to Sketch

After inserting all the header and library files, assign all the pin for LCD and define the password length and set the initial position of the servo to 0. After that, take a “char” datatype for declaring the number that can hold it including the null character.
//#include <Keypad.h>#include <LiquidCrystal.h>#include <Servo.h>Servo myservo;LiquidCrystal lcd(A0, A1, A2, A3, A4, A5);#define Password_Lenght 7 // Give enough room for six chars + NULL charint pos = 0; // variable to store the servo positionchar Data[Password_Lenght]; // 6 is the number of chars it can hold + the null char = 7char Master[Password_Lenght] = "123456";
With this piece of code (char Master[Password_Lenght] = "123456";) -- under the Char Master, I declare the password of the door lock, then assign the number of rows and columns in the keyboard and also declare keyMaps and connect with rows and columns. Under the void setup, initialize the servo signal pin D9, servo status closed and print the name of the project/device/company with 3 seconds of delay on LCD time of starting the device.
void setup(){ myservo.attach(9); ServoClose(); lcd.begin(16, 2); lcd.print(" Arduino Door"); lcd.setCursor(0, 1); lcd.print("--Look project--"); delay(3000); lcd.clear();}
Under the loop function, the simple if-else condition is there. According to status (it’s locked automatically), print “Door is close” with 3 seconds of delay and servo rotate to close position, door data count as 1 otherwise door locker remains open and data count 0, servo open rotate to the position goes 0 degrees to 180 degrees and to close it goes from 180 to 0. The servo open and servo close functions are shown below.
void ServoOpen(){ for (pos = 180; pos >= 0; pos -= 5) { // goes from 0 degrees to 180 degrees // in steps of 1 degree myservo.write(pos); // tell servo to go to position in variable 'pos' delay(15); // waits 15ms for the servo to reach the position }}void ServoClose(){ for (pos = 0; pos <= 180; pos += 5) { // goes from 180 degrees to 0 degrees myservo.write(pos); // tell servo to go to position in variable 'pos' delay(15); // waits 15ms for the servo to reach the position }}
Write the position of the servo with 15 seconds of delay to reach the servo position. Under the void open function, print on LCD “Enter Password” then the condition specifies that the entered password should be same with custom key, within this body data counted and stores char into the data array, incremented and input password printed on LCD if the data length (number of key) and input password matches with Data Master (where the pre-defined keys are present). Then as an action LCD clear,...
Read more »
 eGuidezhan
 Mike Szczys
 Dante
Dante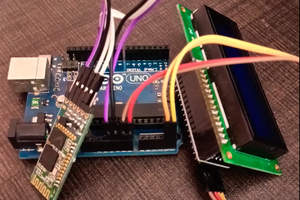
 Circuit Tickle