Filip Mulier
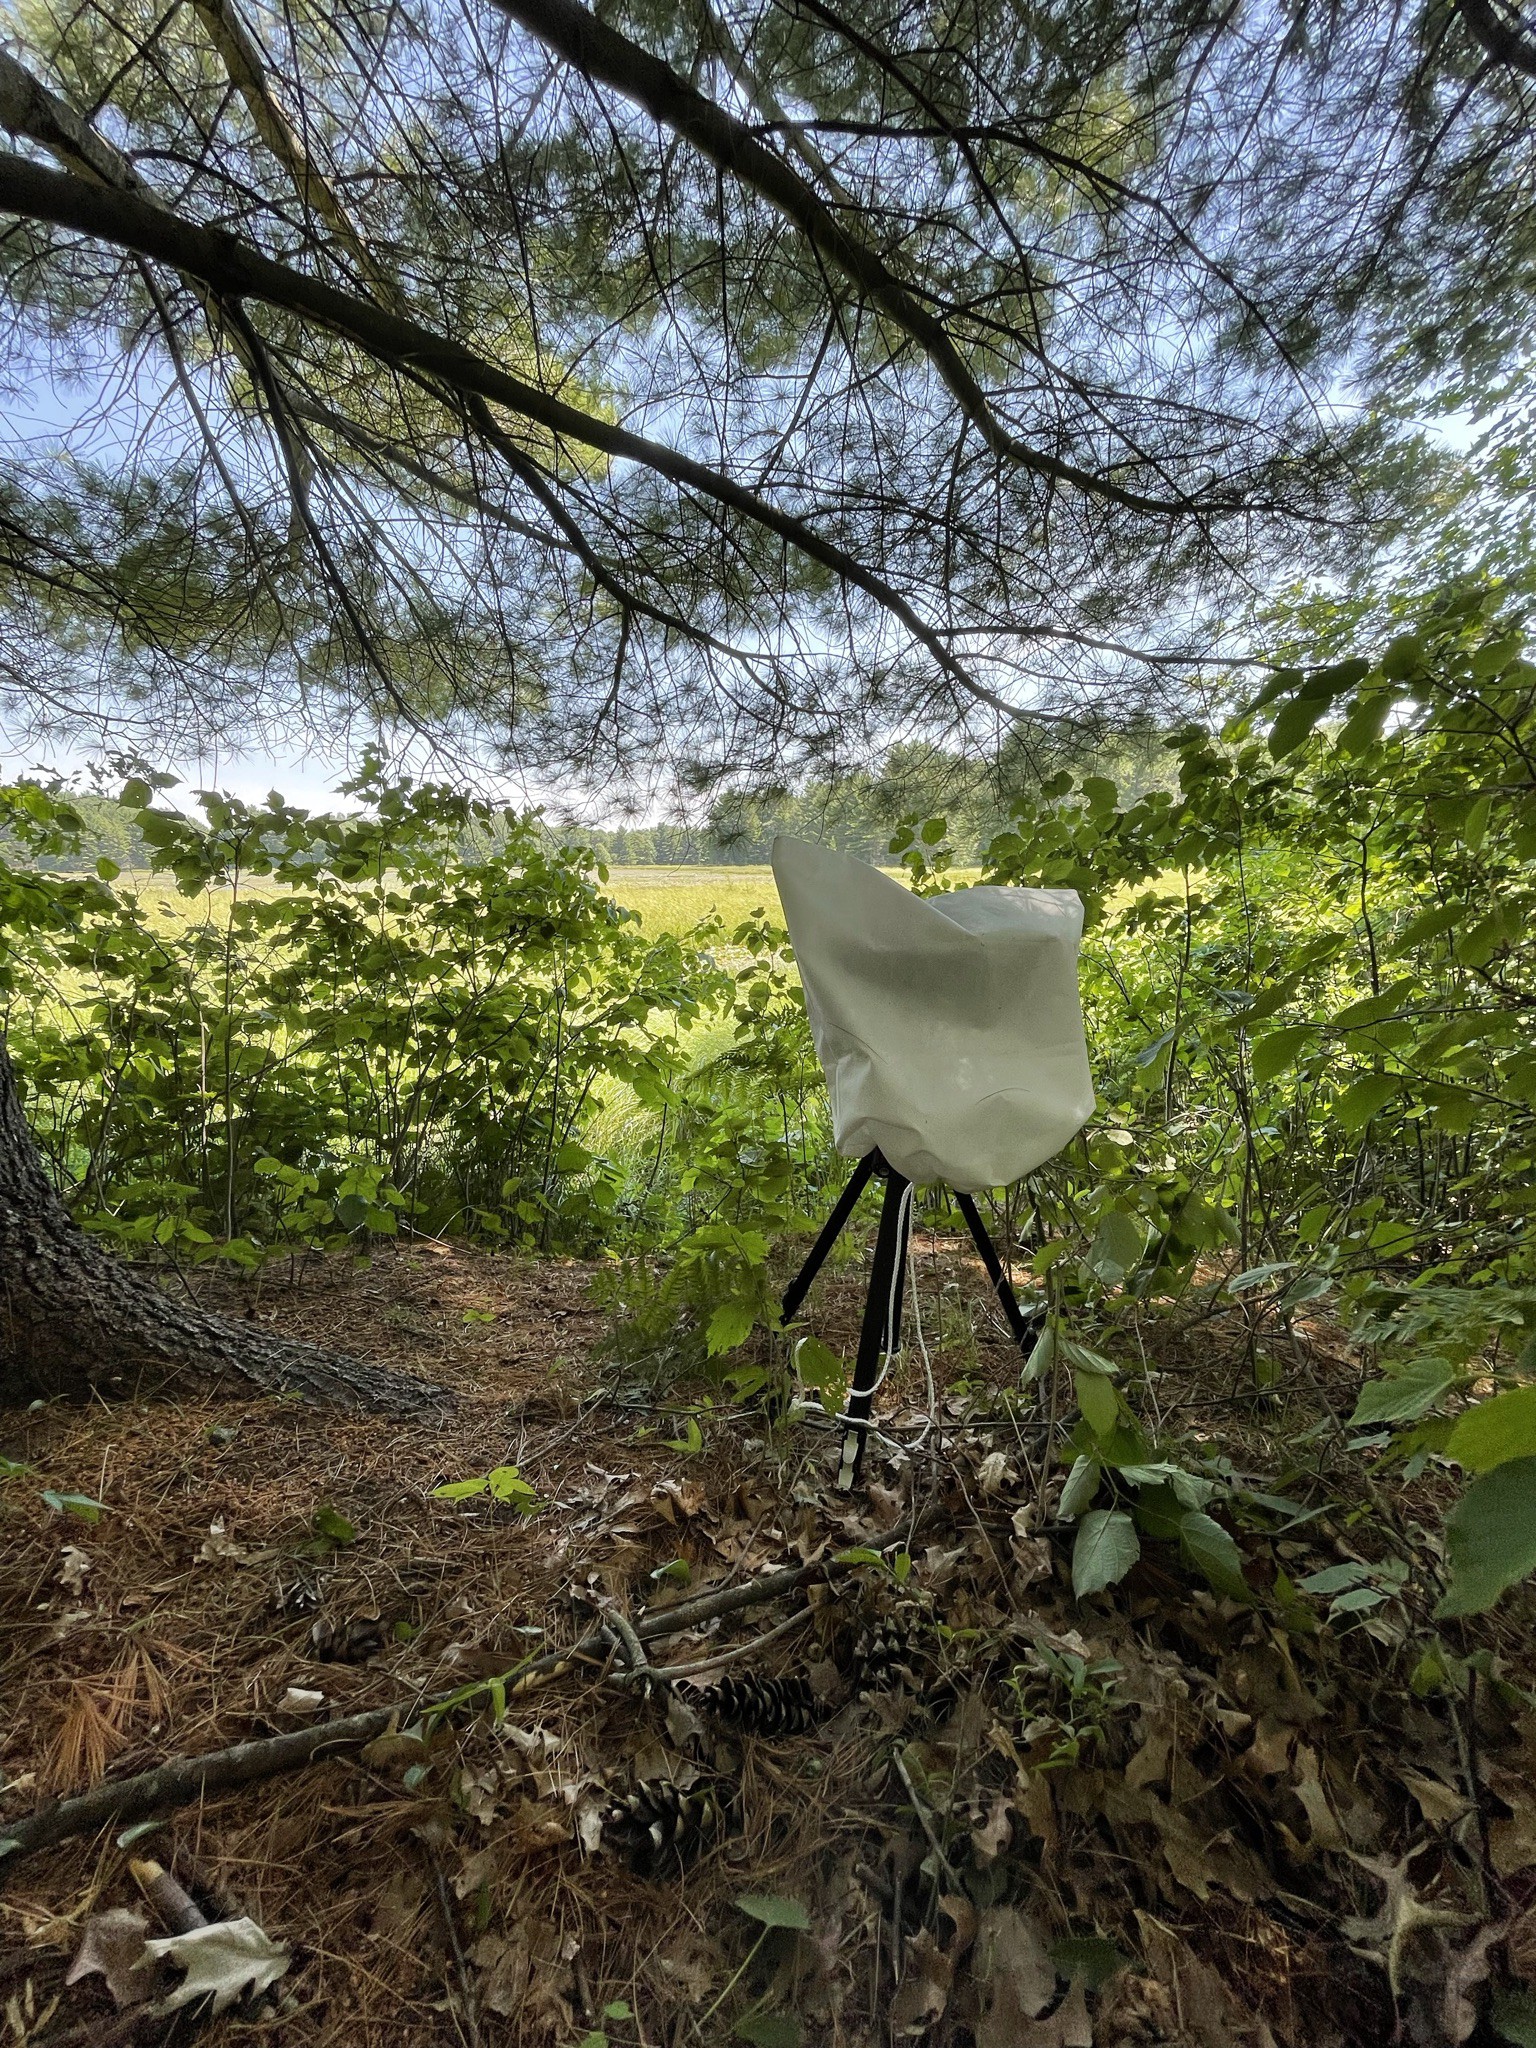
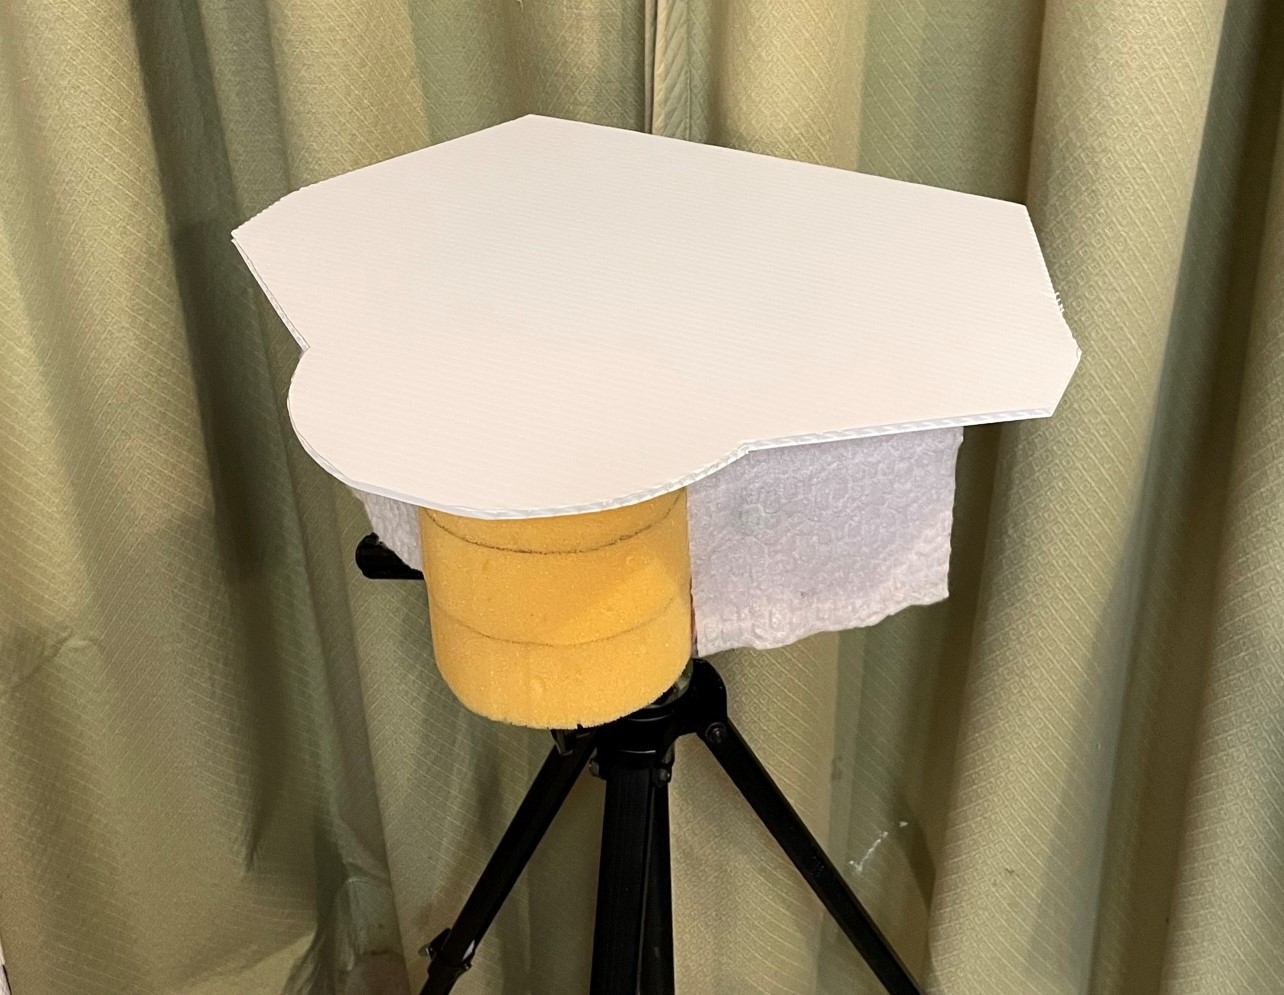
SASS microphones are a great choice for outside continuous recording because they make great sounding recordings and they can be made to handle the elements because of their relatively large enclosure. Here is an example of the setup near a marshy pond.
I left this microphone here for 24 hours to make a recording. You can hear the hour before the 'dawn chorus' 4:04AM here. Notice the owls and the loons. Compare to the next hour, where dawn has broken, and start hearing the daytime birds. Needless to say I was happily sleeping while this was recording.
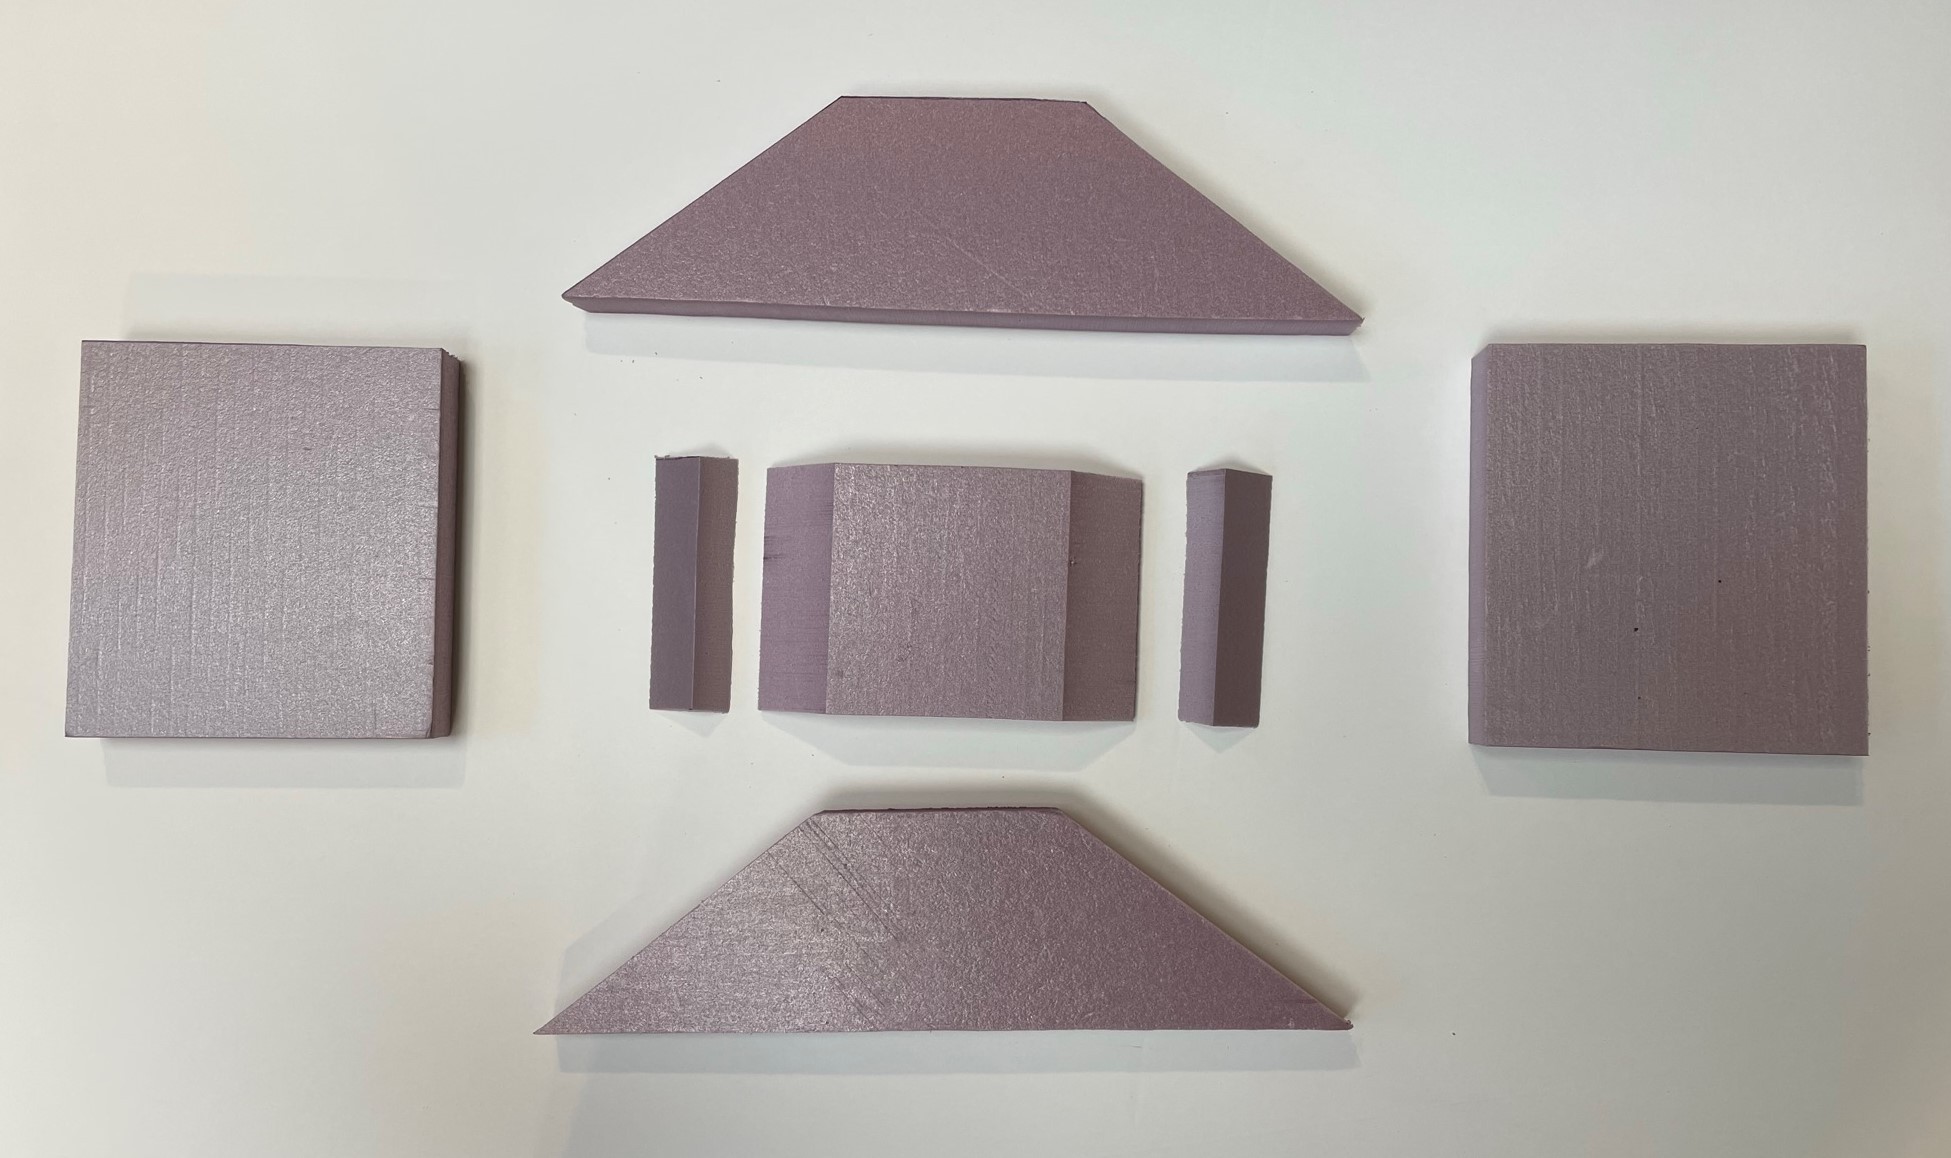
The design of this project is similar to the SASS Lite DIY design by Vicki Powys. I modified the dimensions a bit to make it easier to construct. The foam 'nose' is a little bit smaller. Also the design uses different capsules (PUI-5024 vs EM-172) and only one capsule per channel because they have increased sensitivity.
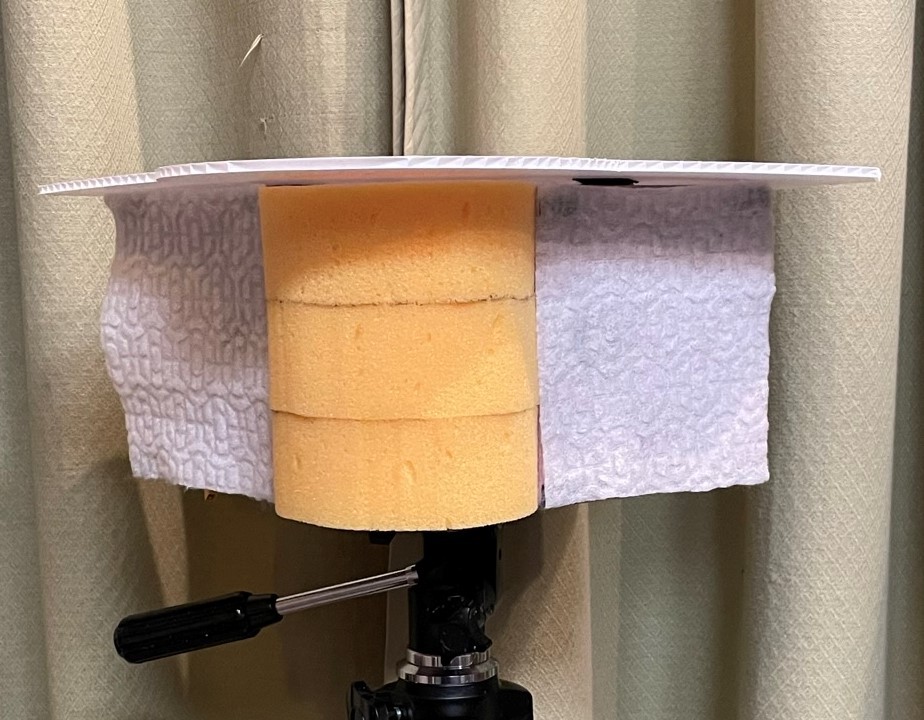
A good microphone design ensures ambient sound is accurately captured while avoiding pickup of vibration, wind noise, noise from falling sticks or rain hitting the microphone. This design uses exterior styrofoam insulation to form the enclosure of the microphone. Its completely filled with dense carpet padding and each edge is glued with white polyurethane glue and clamped so that the bonds cover the full mating surfaces. This results in a dampened low resonating enclosure.
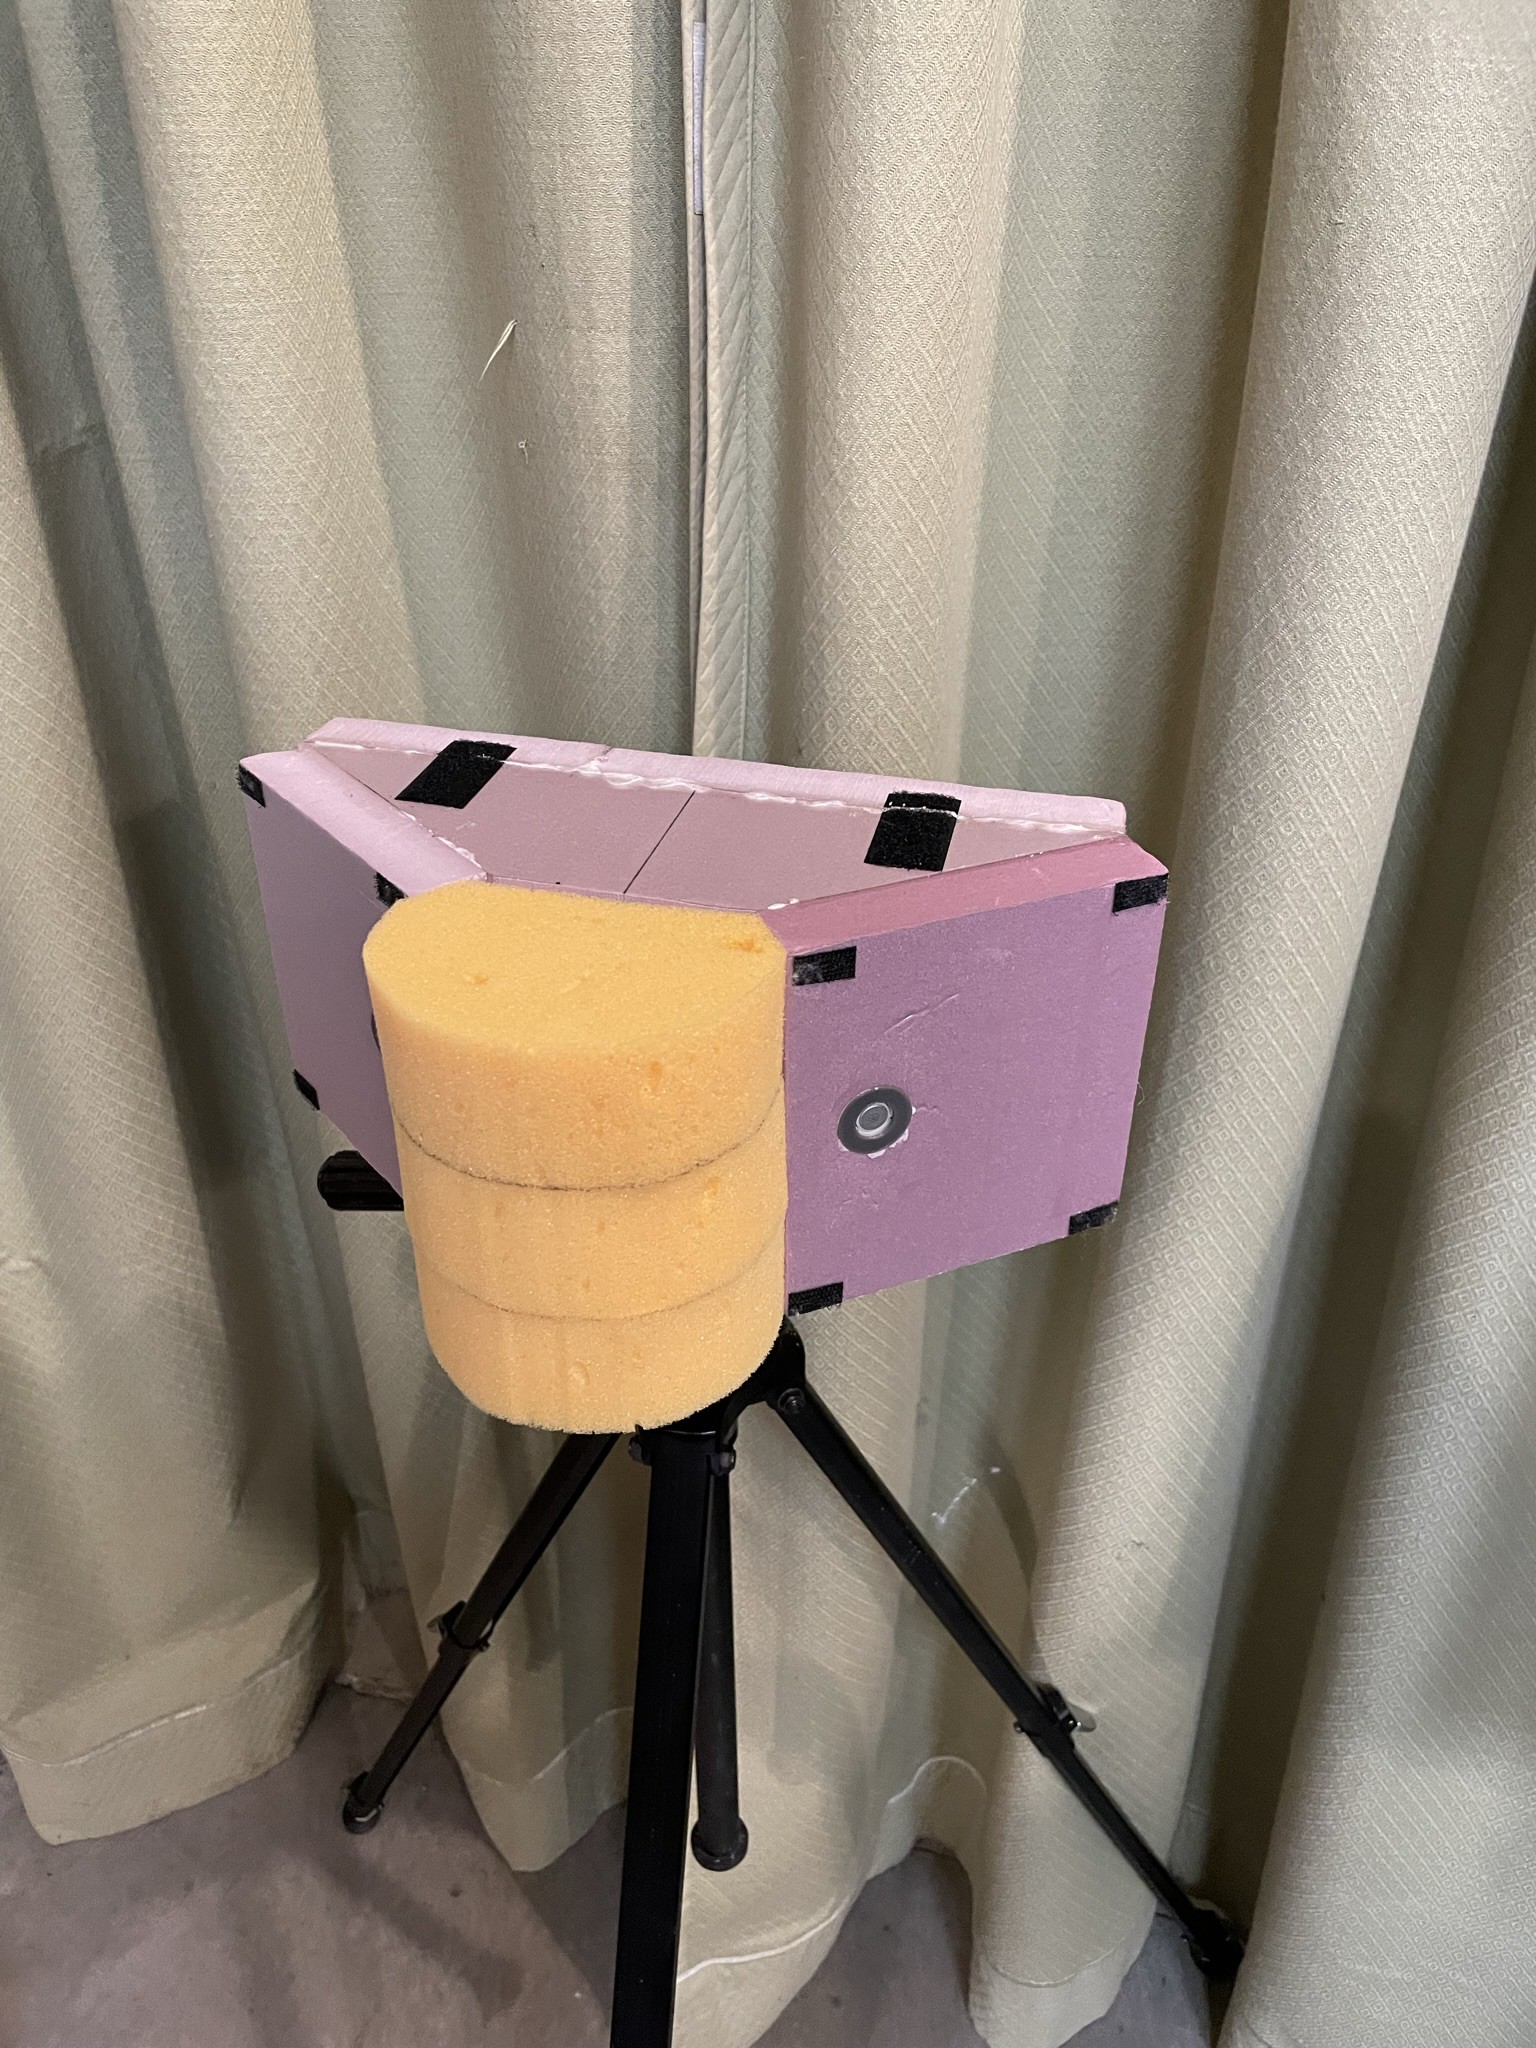
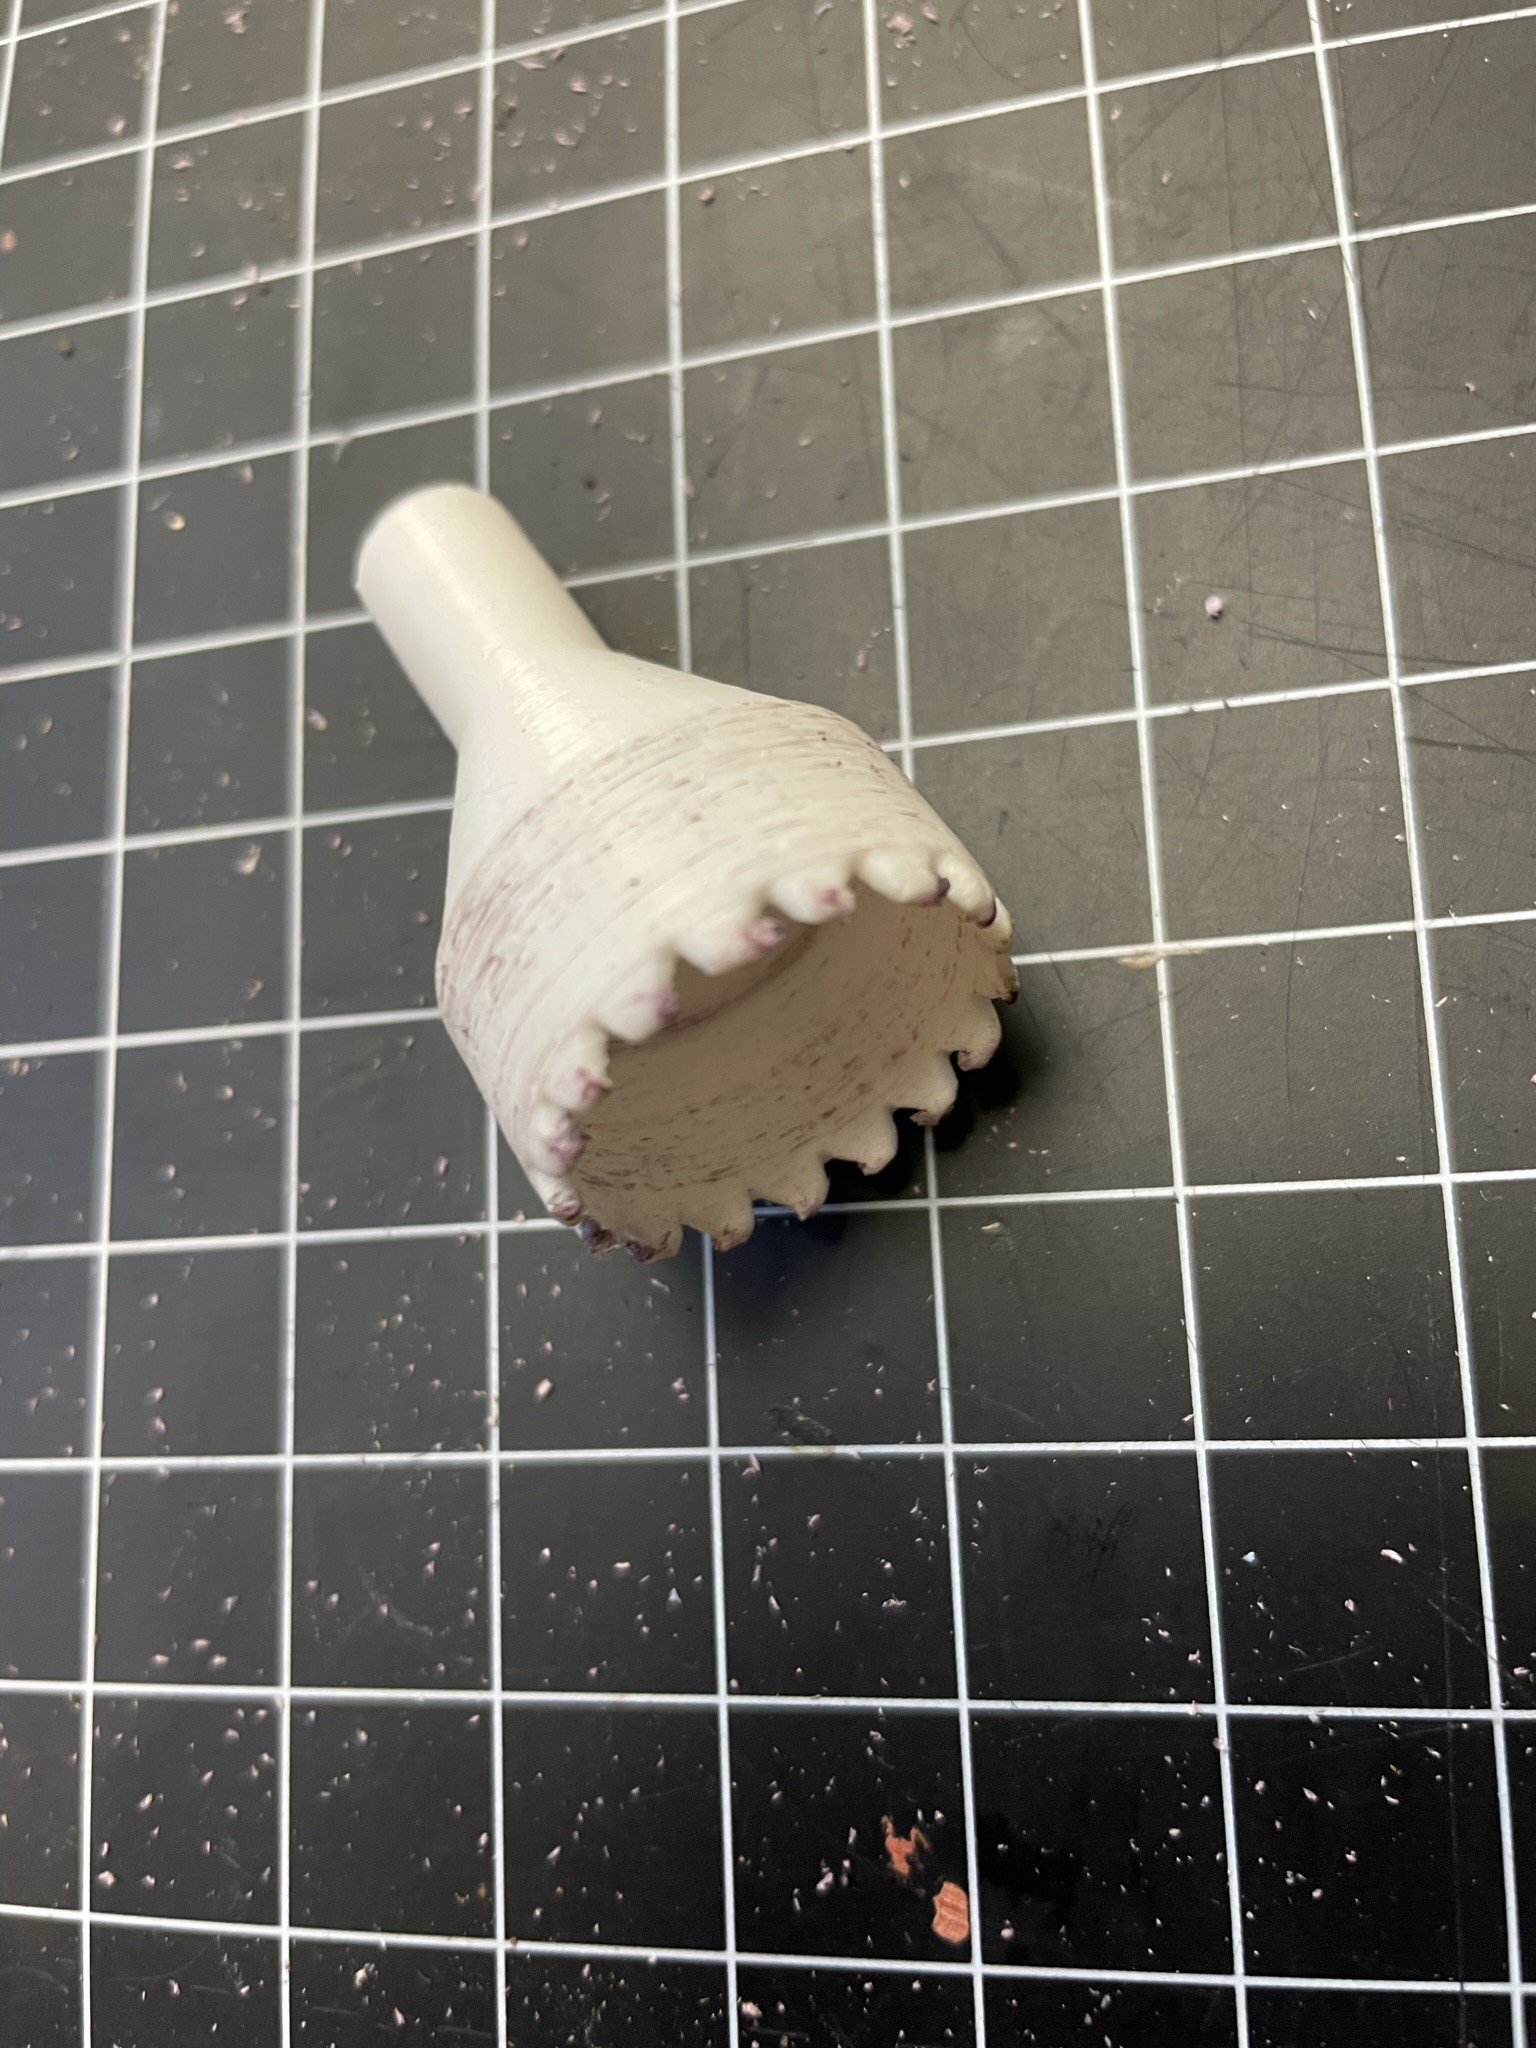
The microphone capsules are held in a 3d printed suspension so that vibration does not transfer as readily to the capsules.
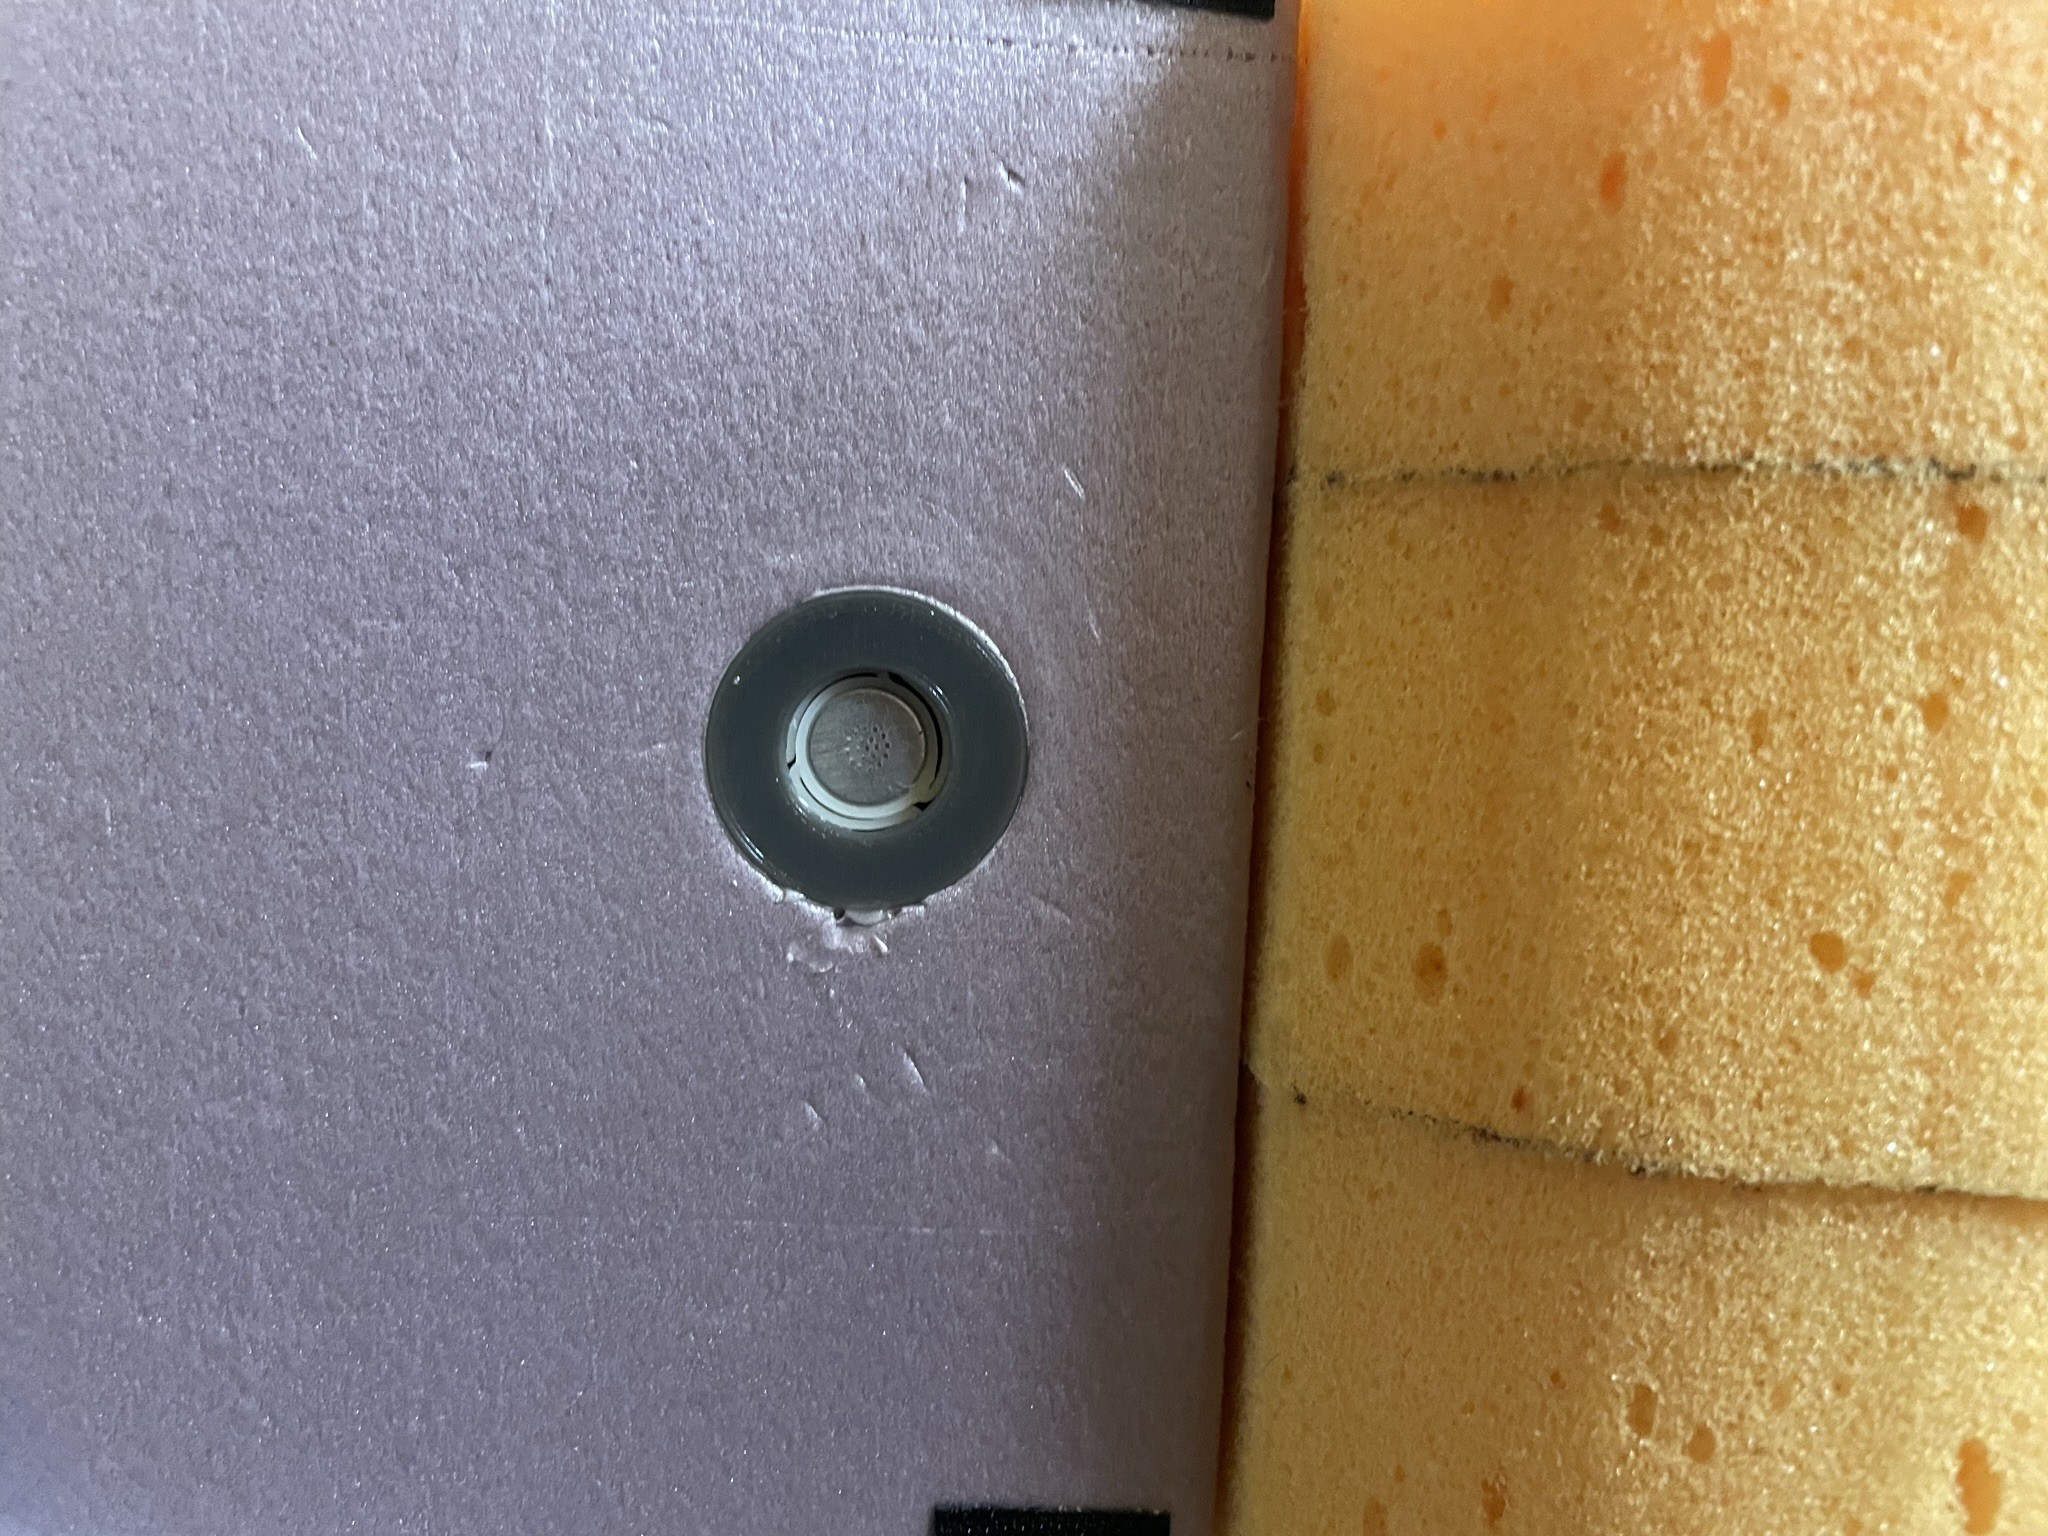
The capsules are biased in a way that allows a differential output for each channel, to reduce noise pickup on cabling and to interface with differential input ADCs. Note that the capsule's aluminum case is no longer grounded in this circuit, but it remains completely insulated in the physical design.
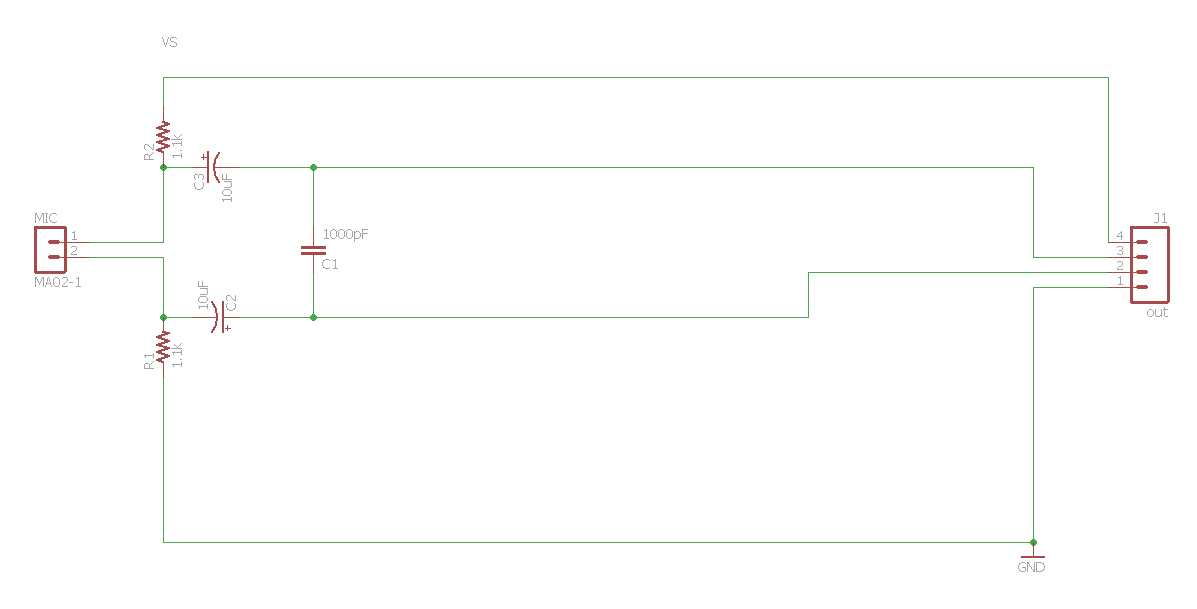
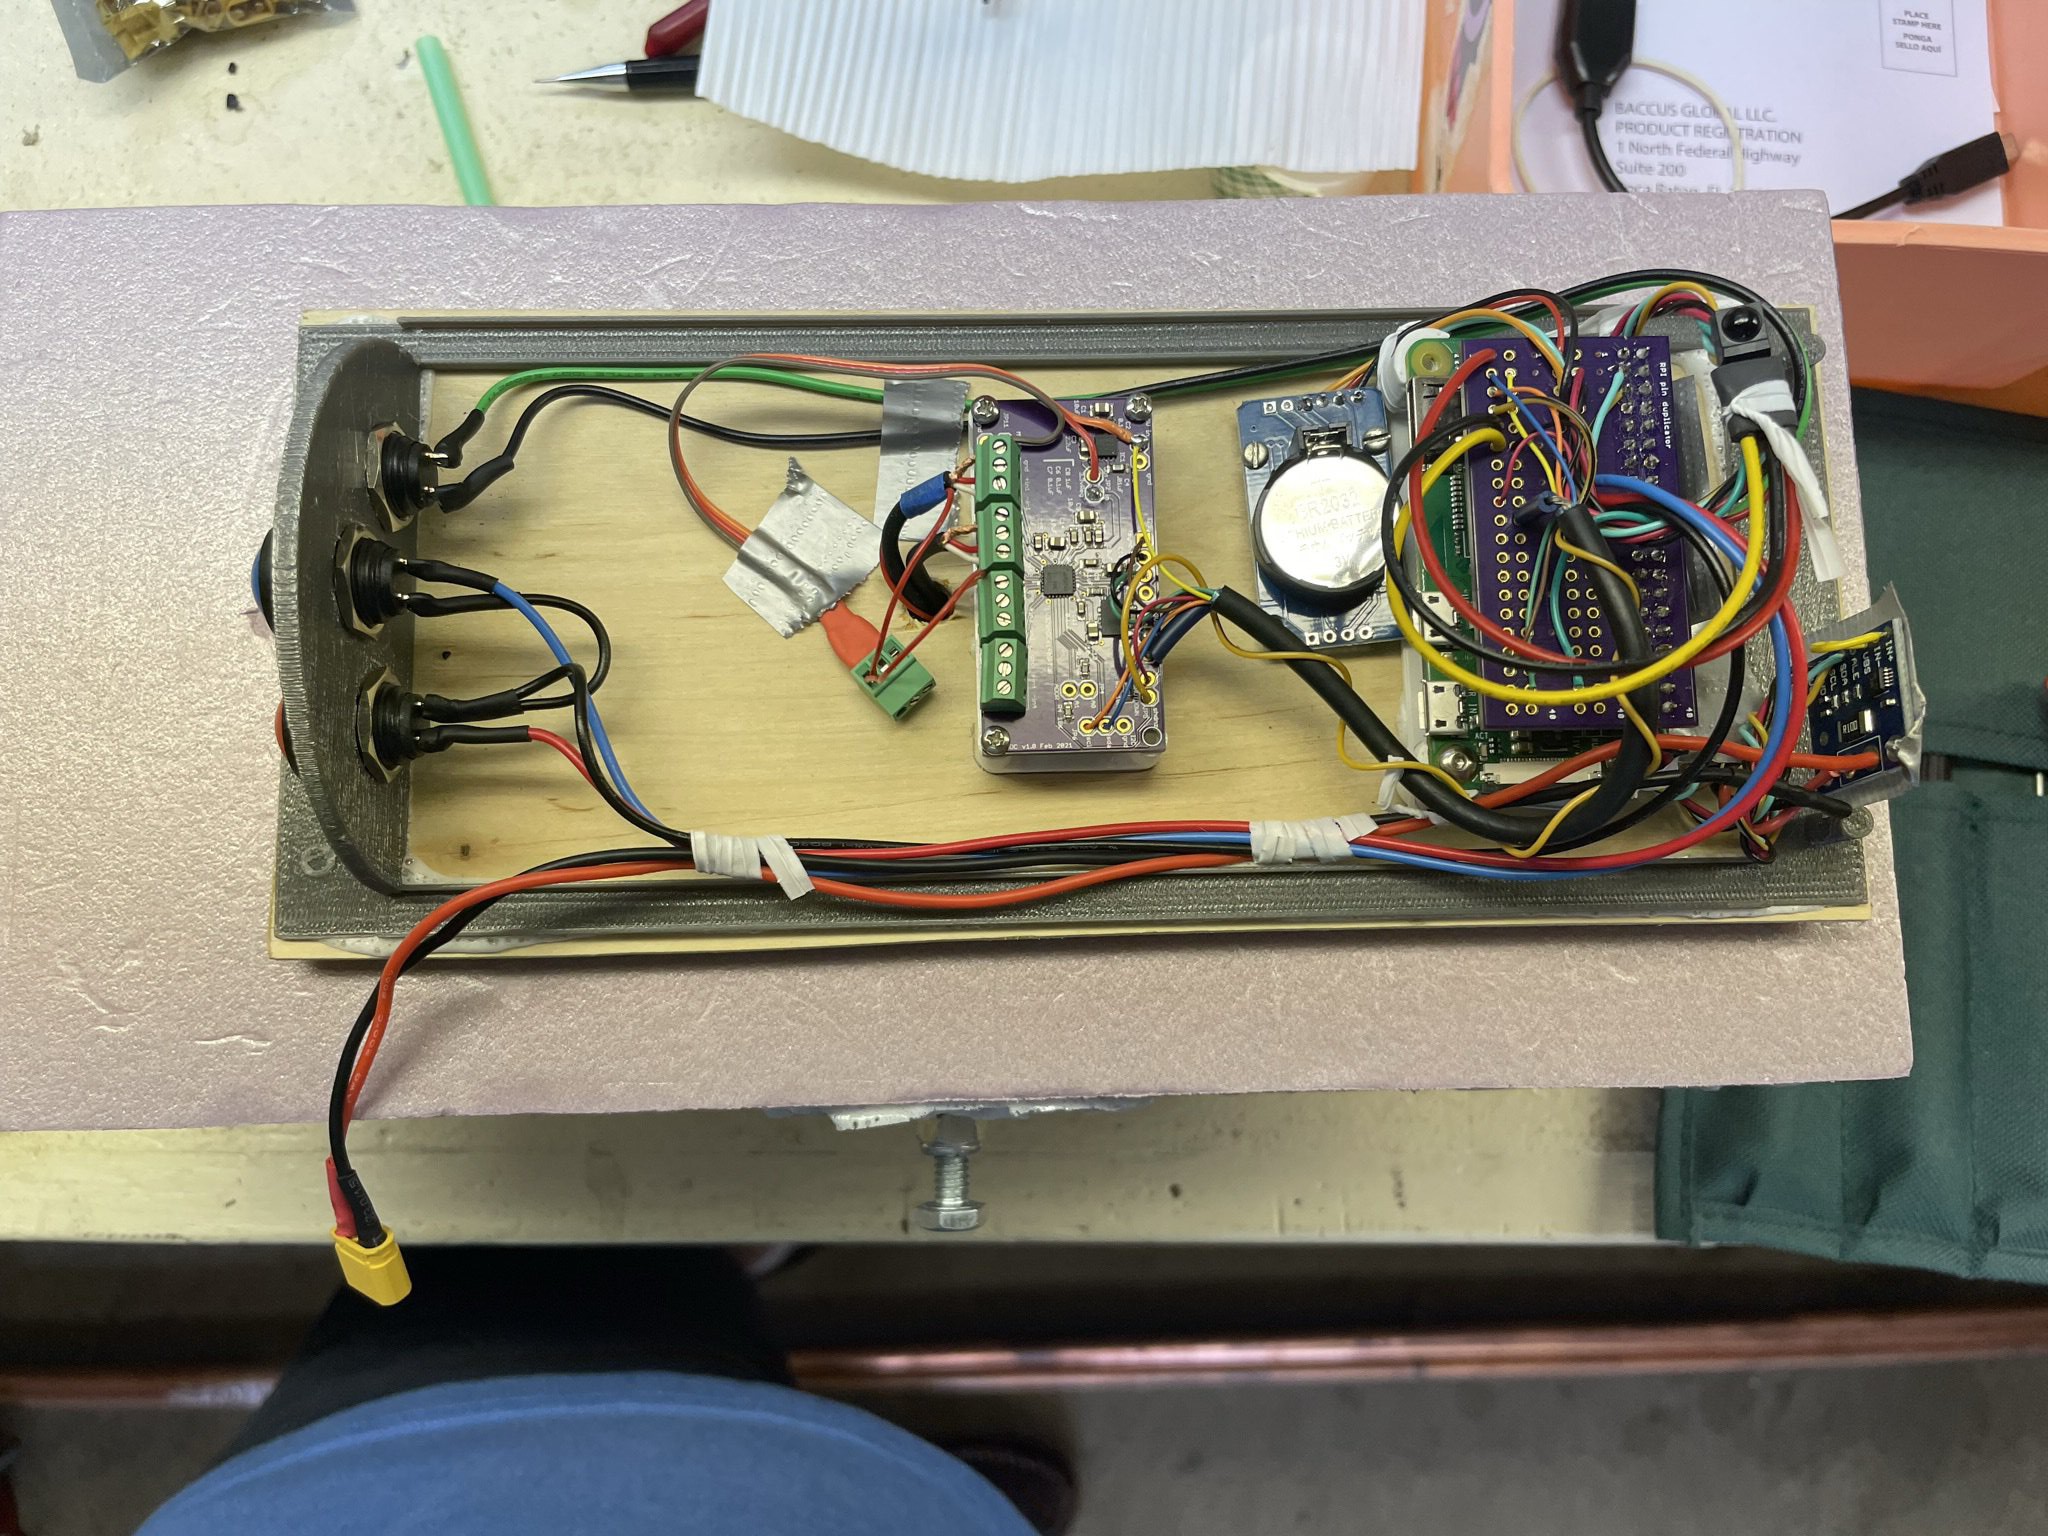
In this design the microphone cables exit the back of the enclosure and are connected to the ADC screw terminals.
The seams of the microphone enclosure are sealed so that no moisture or insects can make their way in. Some corrugated plastic (sign material) is used as an attached roof to ensure rain stays away from the capsules and any electronics attached to the back of the microphone.
Two stages of wind screens are used. The first is a sheet of nonwoven fabric (a Swiffer dry sweeping cloth) over each capsule.
The second is a 'bag' made of light nonwoven landscape fabric that holds the whole enclosure and the opening is sealed for insects.
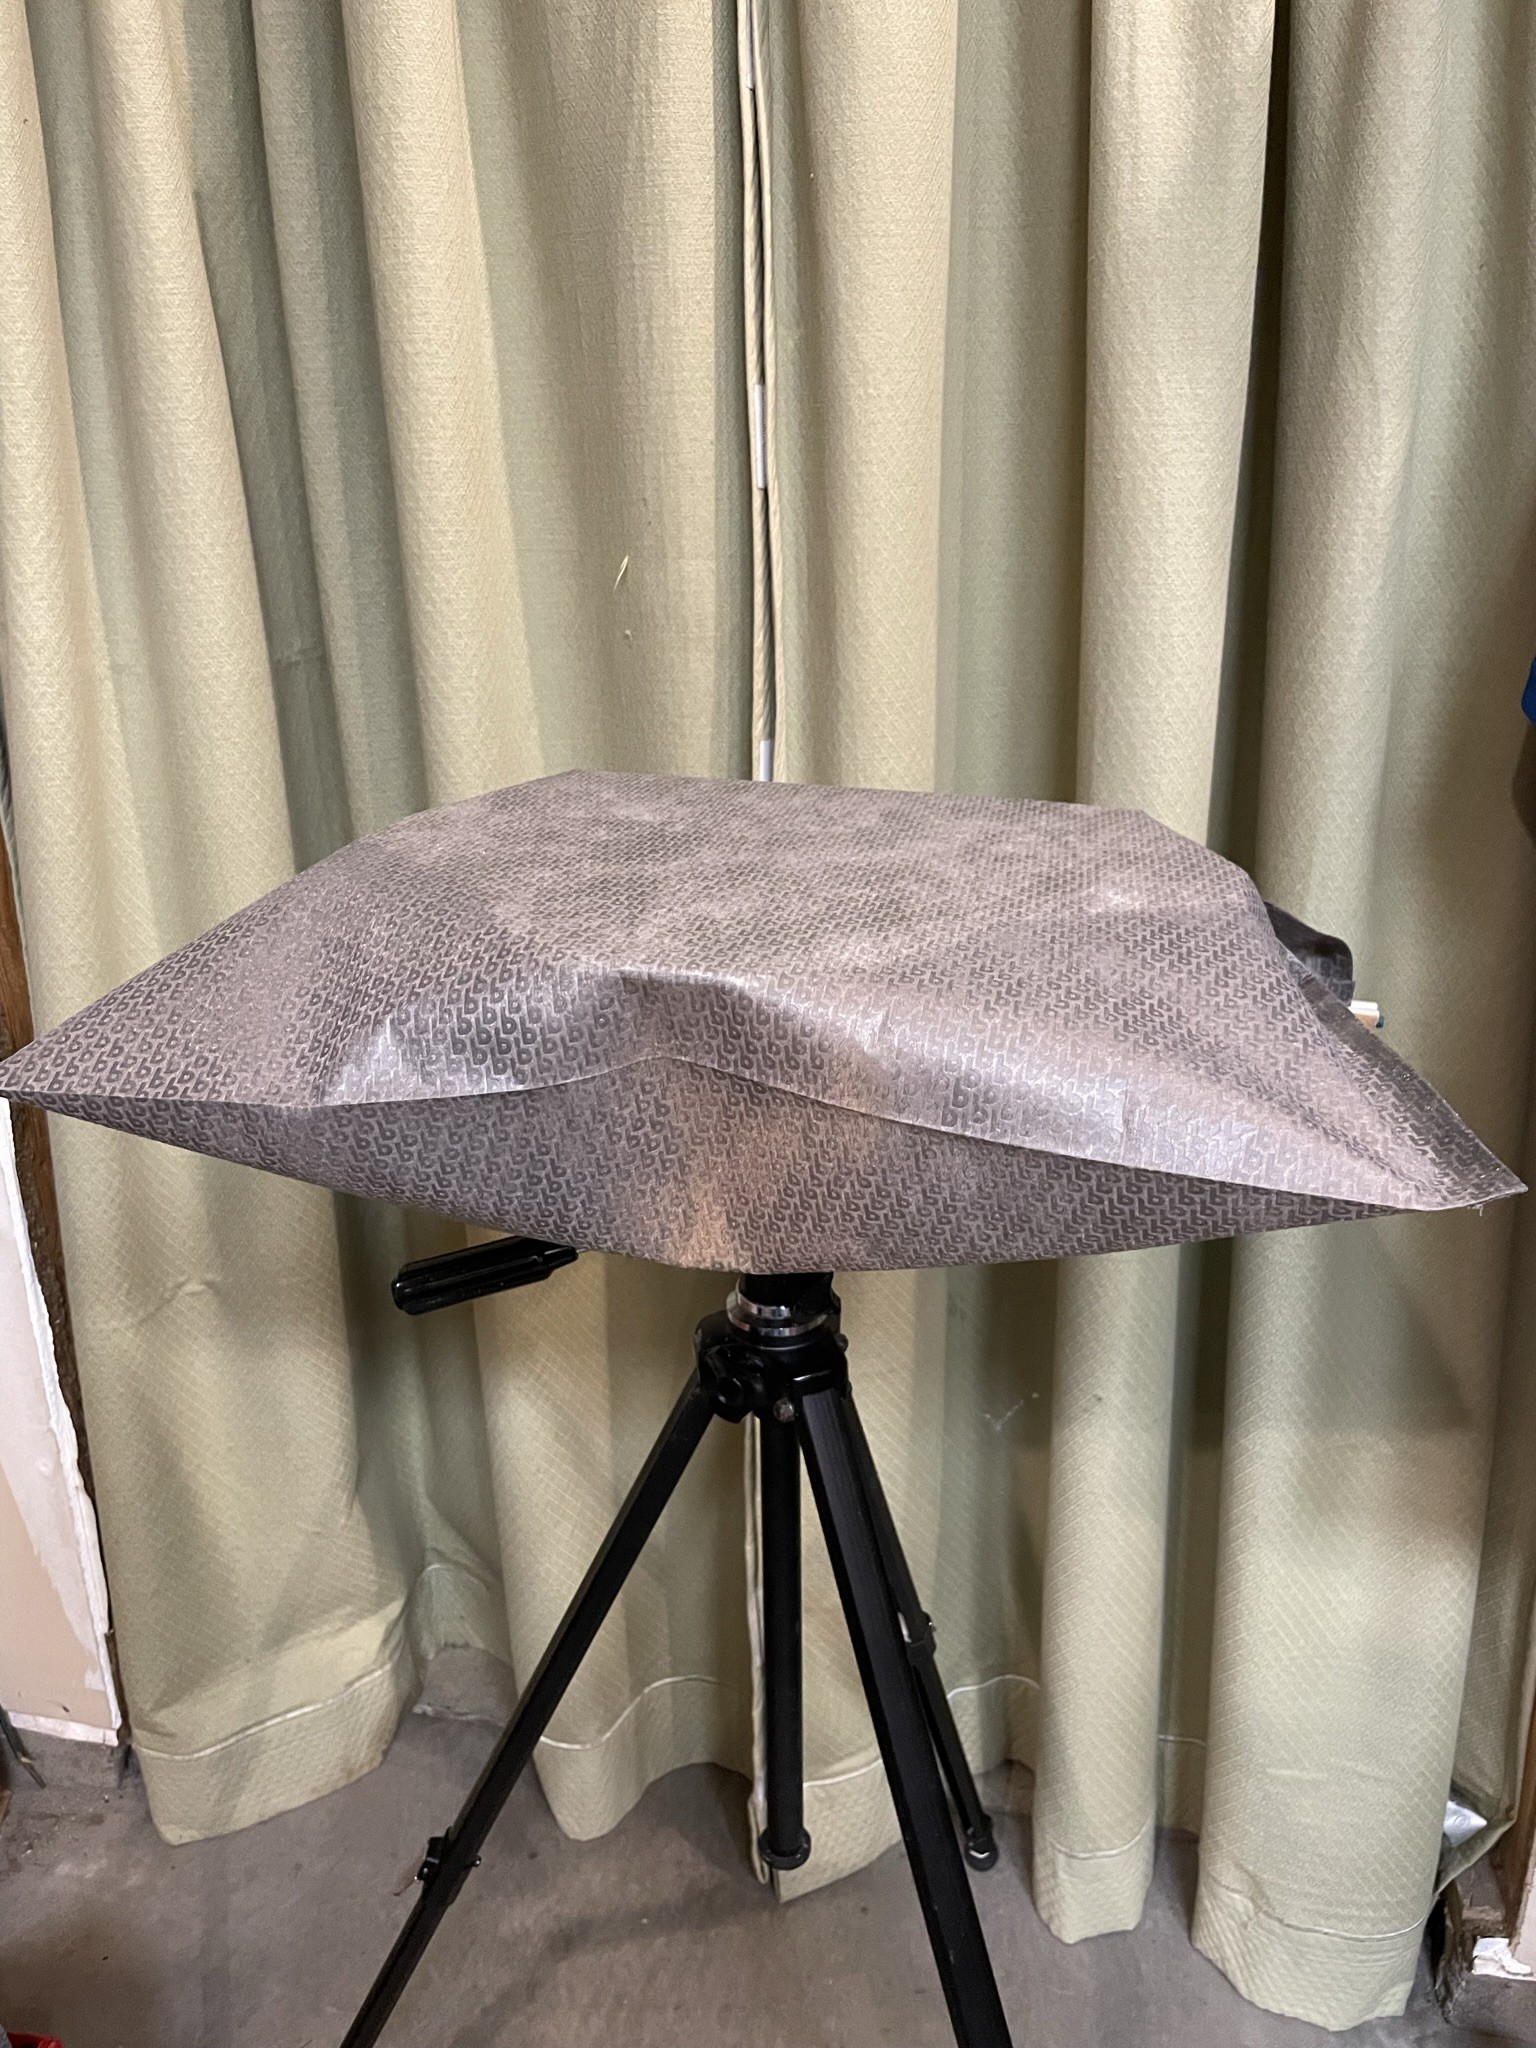
I selected these materials because they only minimally block sound passage while ensuring moving air stays away from the capsules. A simple test is to hold them over one of your ears and compare with and without for various materials.
Here are some other resources on these types of microphones: