mircemk
This time I will show you how to make a device that monitors the quality of fine dust particles in the atmosphere. It measured both PM10 and PM2.5 particles uses the Nova PM SDS011 Laser Sensor. This sensor has a built-in fan which greatly simplifies construction and it has built-in logic-level serial communication providing direct readings of the PM2.5 and PM10 values without having to use maths to manipulate PWM values to obtain the results.
The sensor itself is delivered together with a USB to Serial converter, so we can connect it directly to the USB port of the PC. In that case, we need to use appropriate software that we can download from the sensor manufacturer's website (http://inovafitness.com/en/a/chanpinzhongxin/95.html).

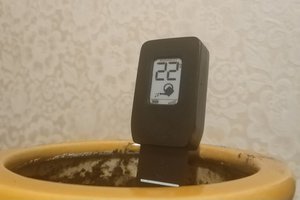
The device that is presented this time works independently, so it is completely flexible in terms of installation location, size, as well as the cost of the entire device. The results are displayed on the 2.8 Inch TFT LCD Display, but also thanks to the use of the ESP8266 Wi-Fi module, is sent to a Windows PC running a small server application to log the data on a chart to be viewed on the application itself or in a web browser either on the PC or over the internet. So, the PC needs to have a static IP address set up in its Network Properties settings. One thing to note is that the sensor has a certain lifespan, and the datasheet claims “up to” 8,000 hours. If you run the sensor continuously that’s not quite a year, so you might want to think about how often you will power up the device. According to the code, the sensor is active for 30 seconds, while taking a reading, then shuts down completely for 4 minutes 30 seconds. The active period of the sensor is indicated by this Red LED. Instead to put the sensor into low power mode, here it is chosen to simple switch off the sensor's main power through a small Mosfet transistor. The code is taken from John Owen's blog (http://www.vwlowen.co.uk/arduino/Air-Quality/air-quality-monitor.htm) where you can find more detailed information. I just want to mention that in order to compile the code without errors, you need to install 2.7.4 ESP8266 arduino core version. This time we will not dwell on the way to install the ESP8266 Board definitions into the Arduino IDE, because it is explained in the previous videos.
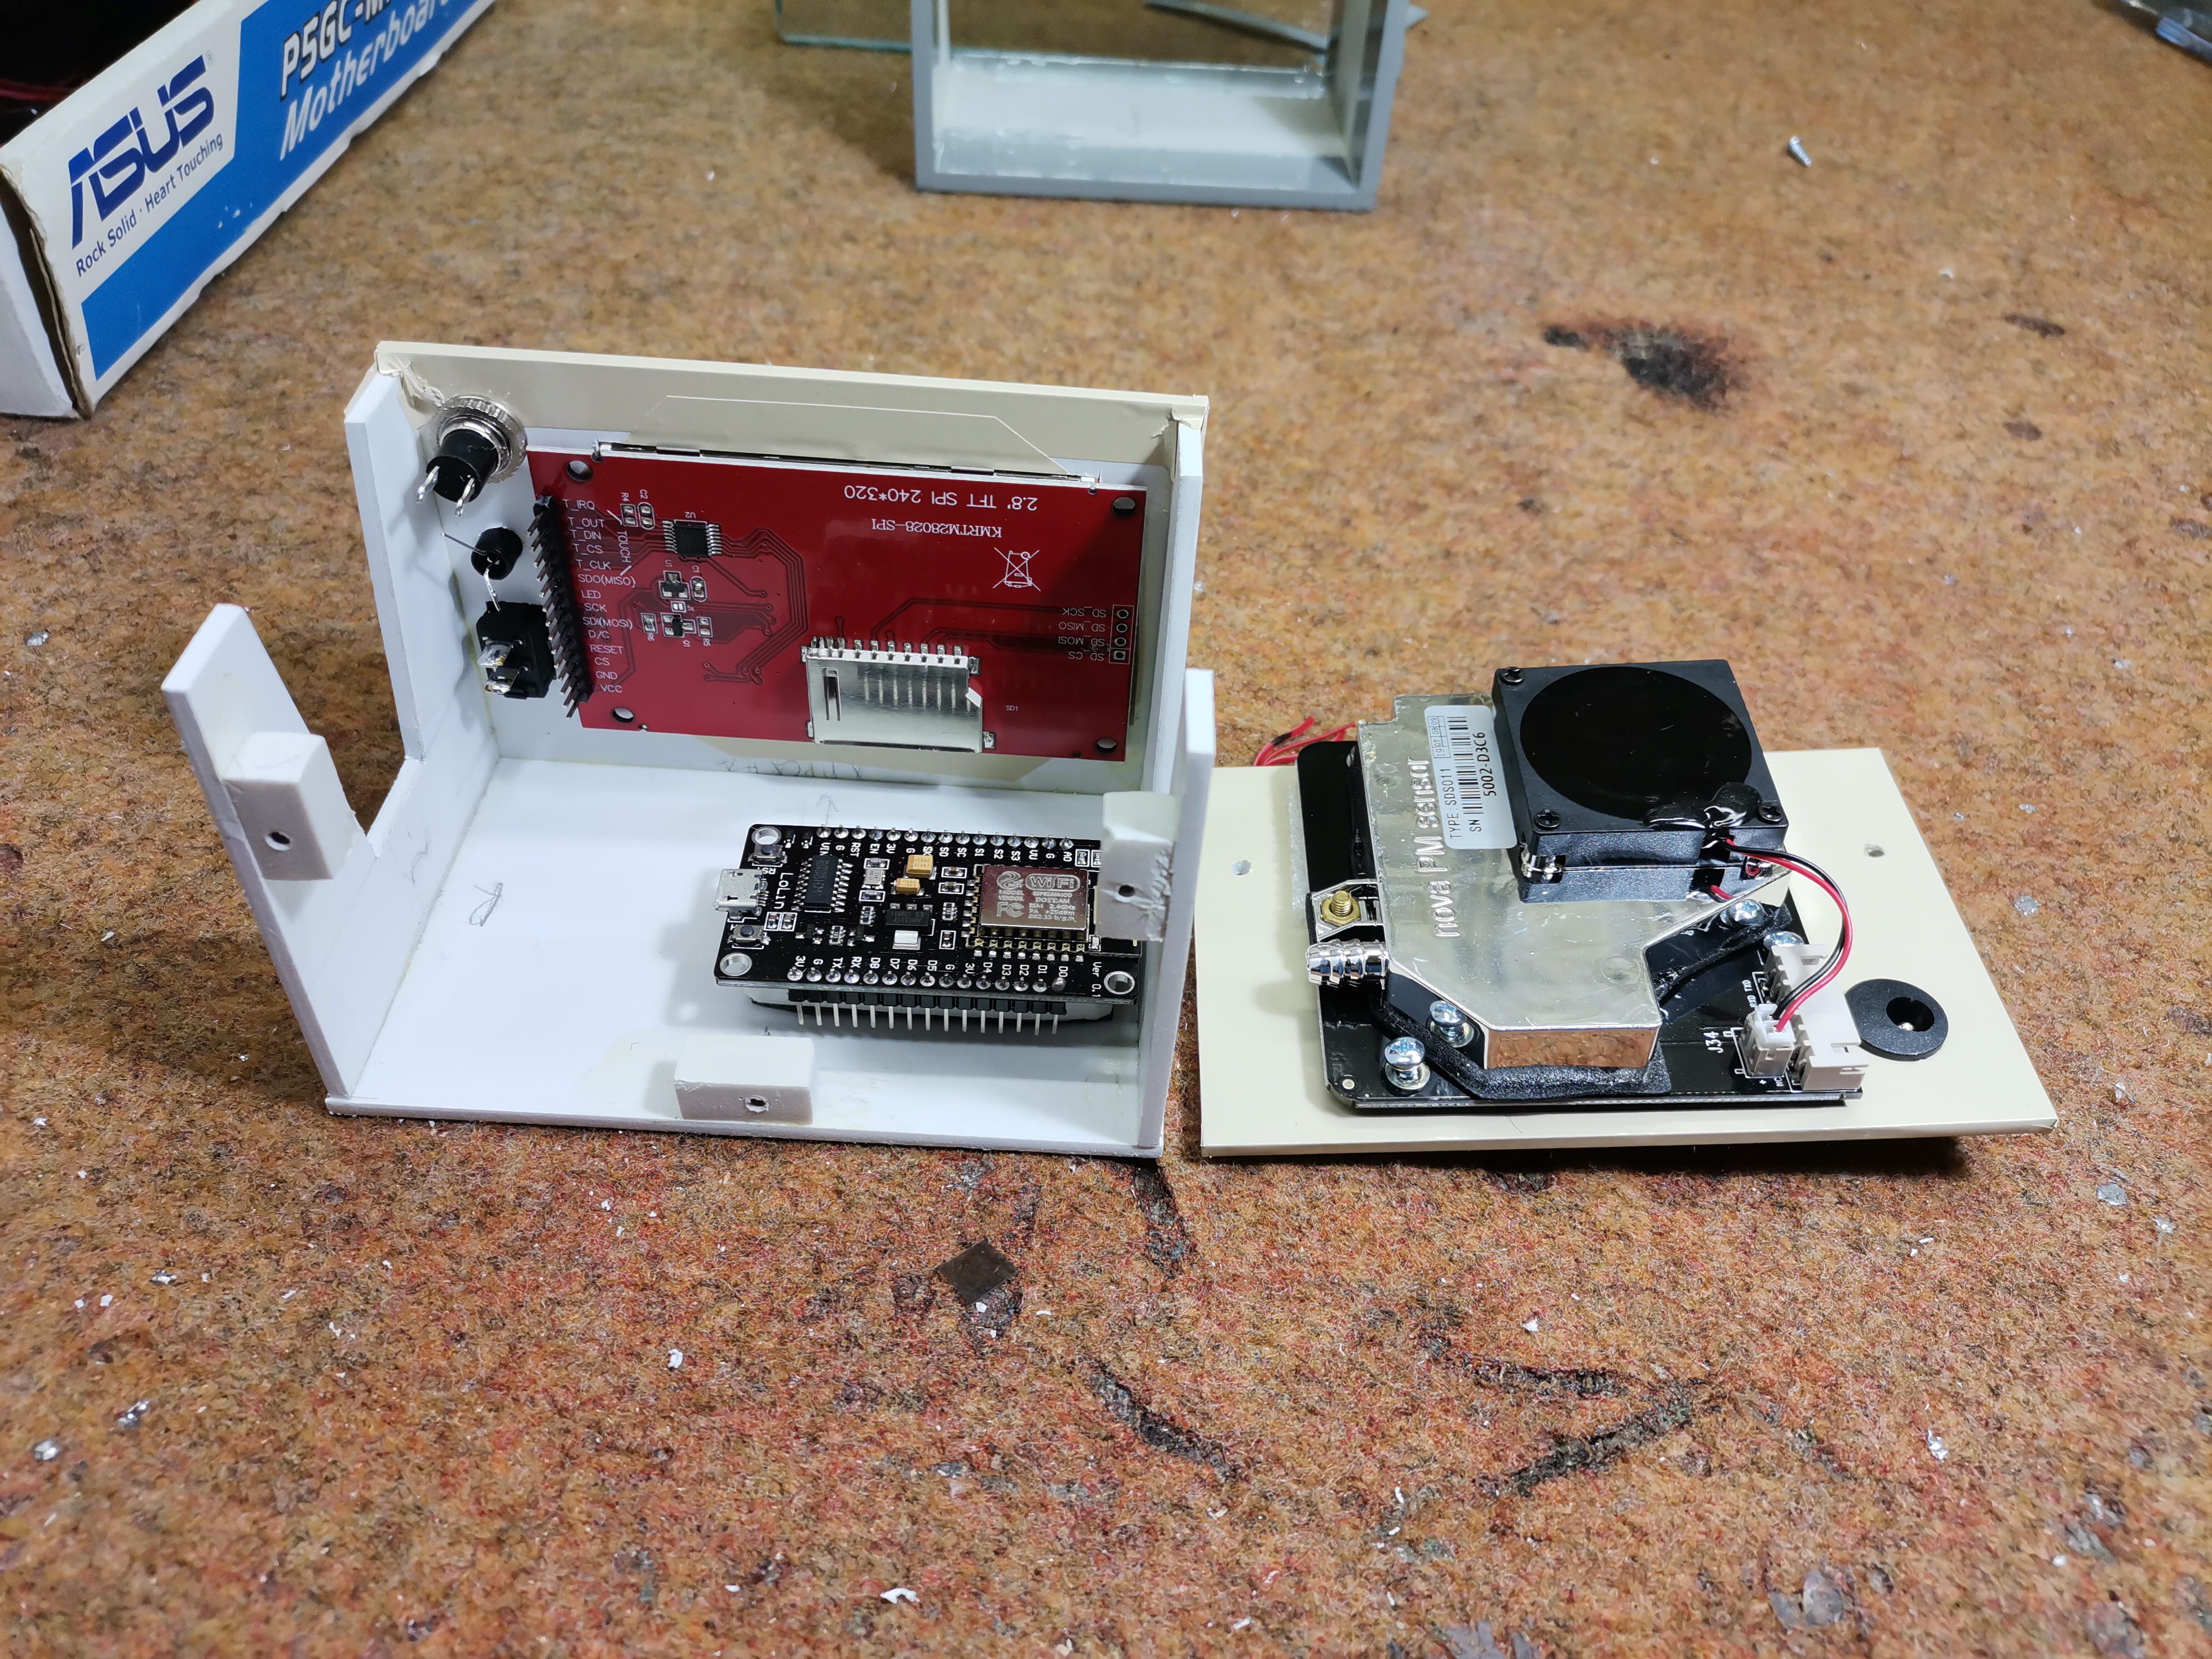
The hardware part of the device is relatively simple to make and consists of several components:
- ESP8266 based microcontroller board, in my case NodeMCU 1.0
- Nova PM SDS011 Laser based sensor
- 2.8 Inch TFT LCD Display with 240x320 dots resolution
- 2N7000 or similar Mosfet transistor
- Save data button
- and couple of resistors
If you want to make a PCB for this project, or for any other electronic project, PCBway is a great choice for you. PCBway is one of the most experienced PCB manufacturing company in China in field of PCB prototype and fabrication. They have a large online community where you can find a Open Source projects, and you can also share your project there. From my personal experience I can tell you that on this community you can find many useful projects with alredy designed PCBs, from where you can place an order directly.

The sensor is placed on the outer back of the case so that it can be maintained more easily, and also the results obtained are more accurate. When the device has to measure pollution outside, a suitable tube is placed leading to the external environment, so that the whole device is protected from negative influences.
When turning on the device, it first connects to the local Wi-Fi network with the appropriate username and password that we previously entered in the code. Data is sampled every 5 minutes so, as there are approximately 300 points across the display, the "histogram plot" represents...
 Andrew Lamchenko
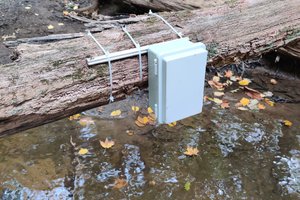
 Rohan Menon
 jflaschberger