-
Monday June 12
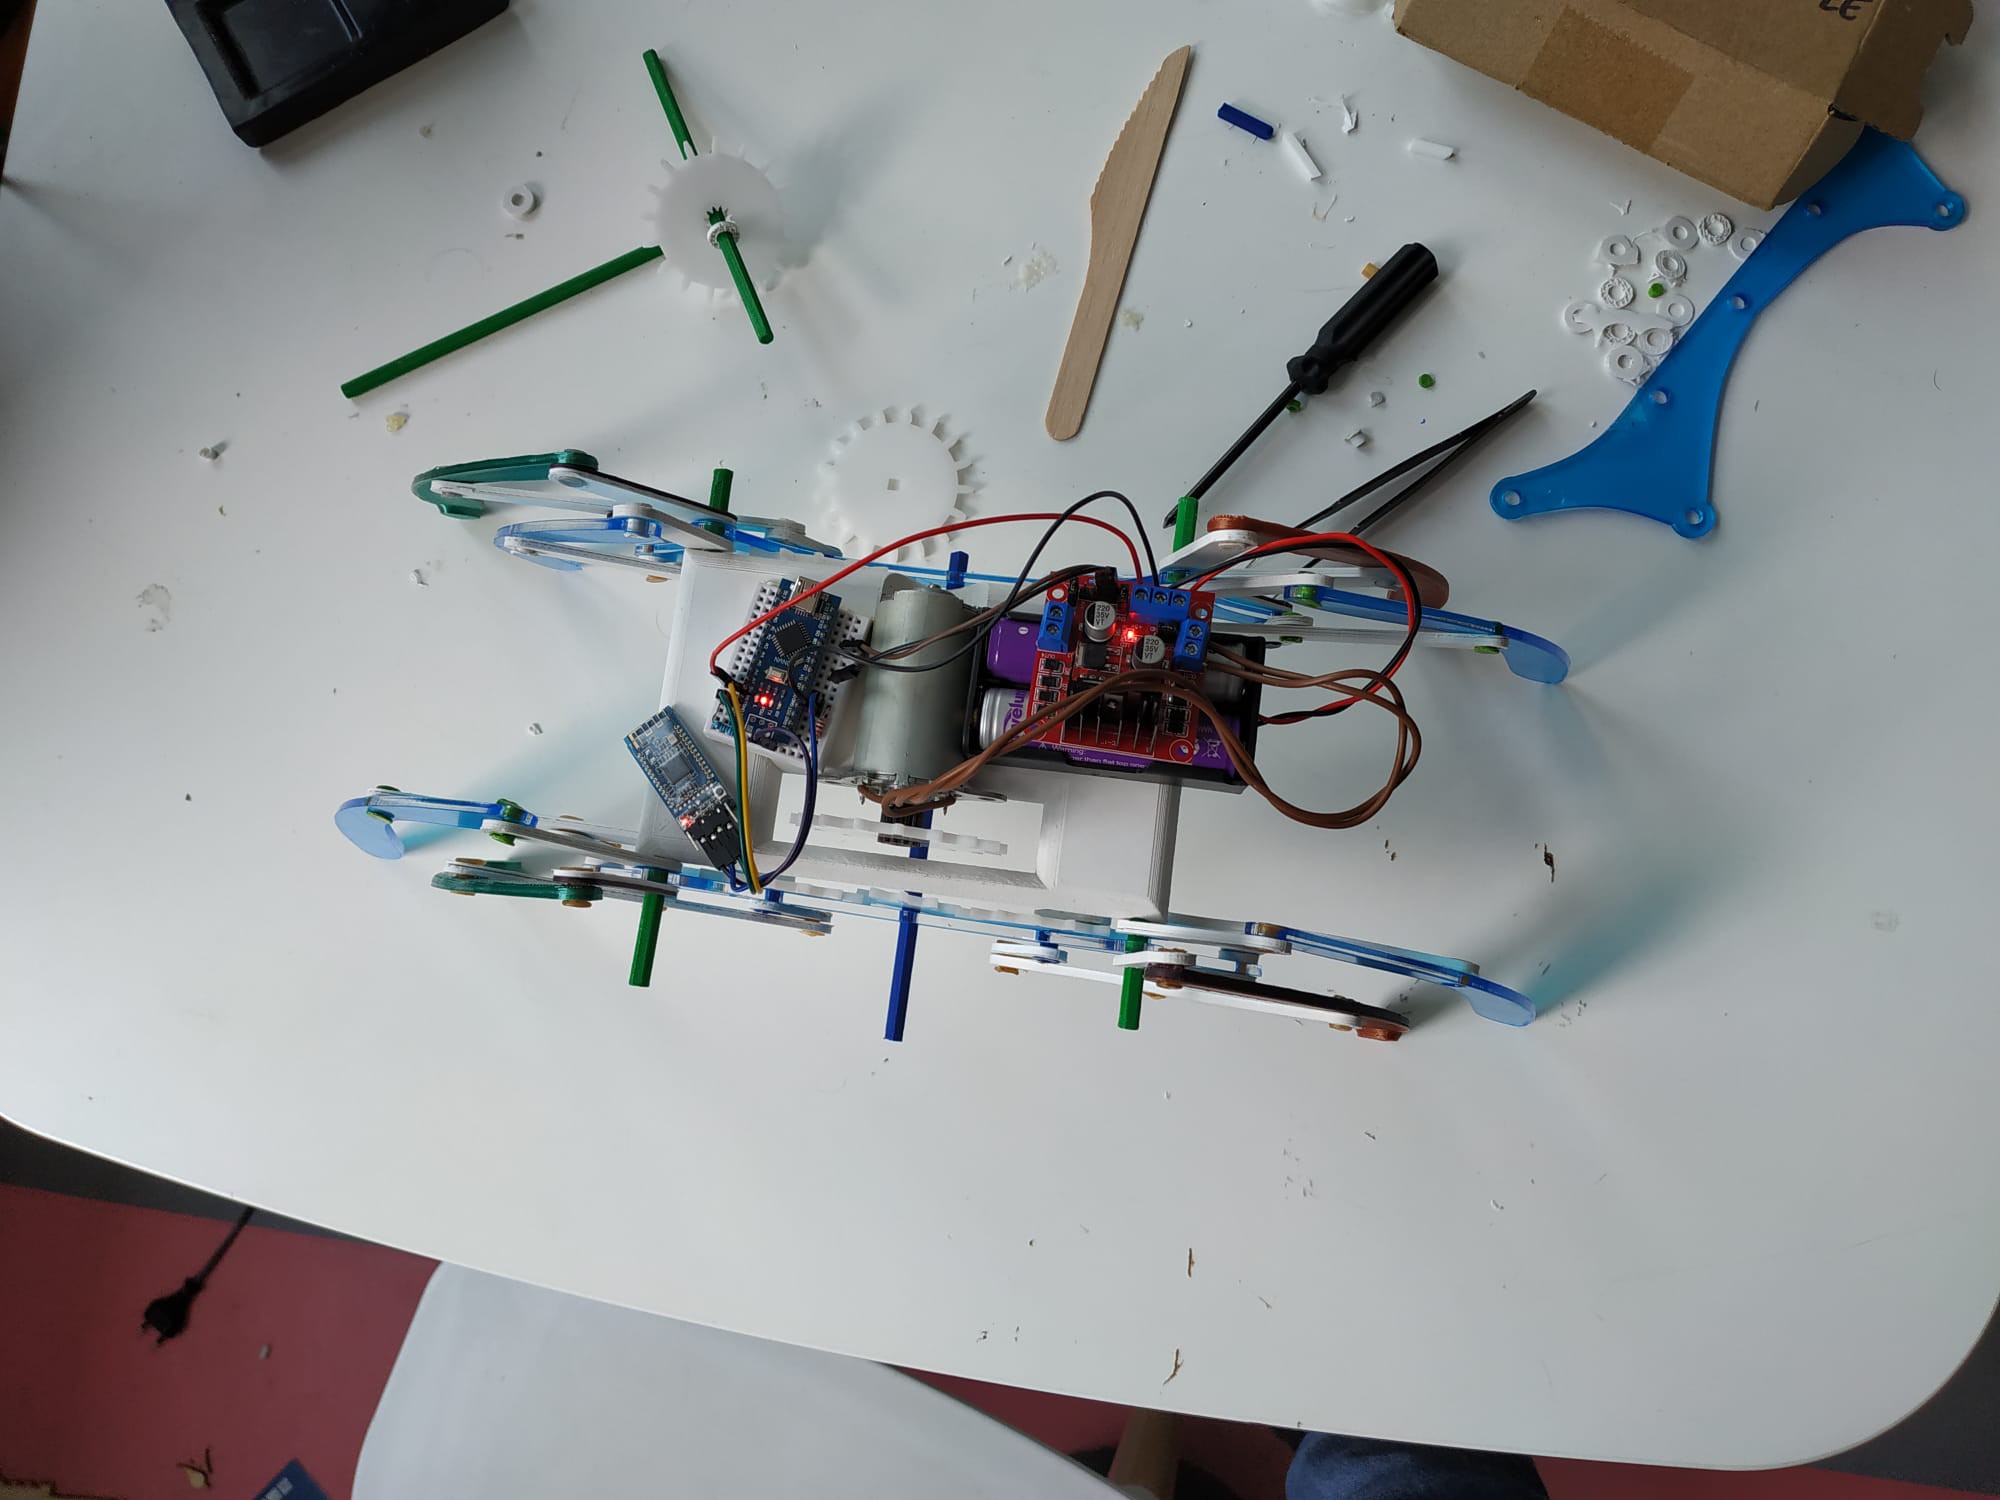
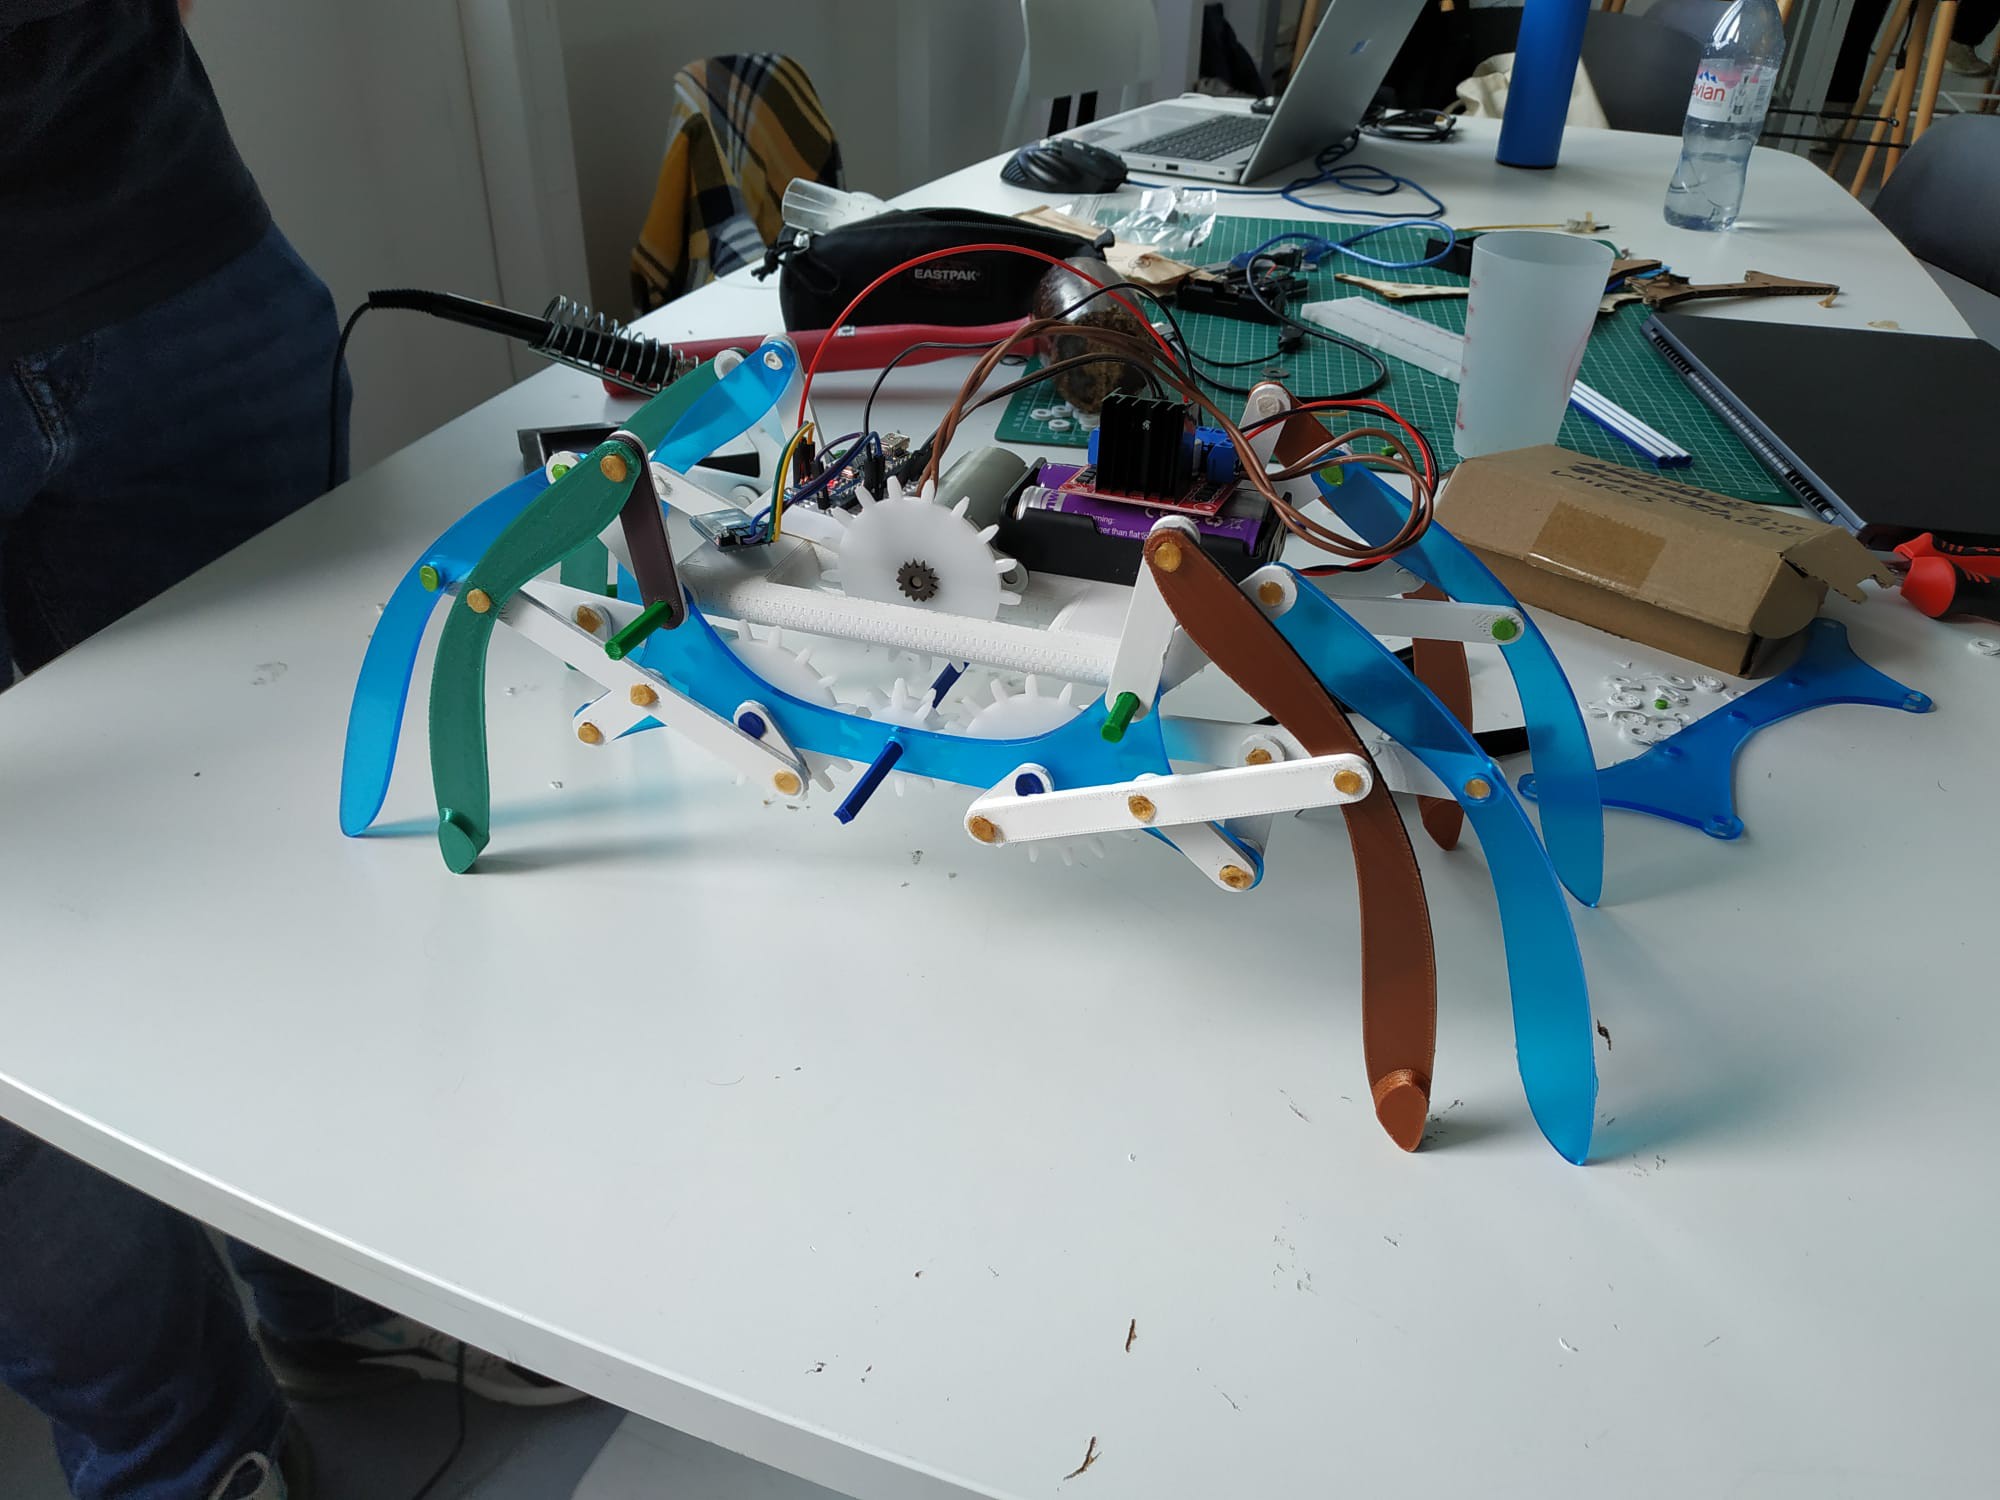
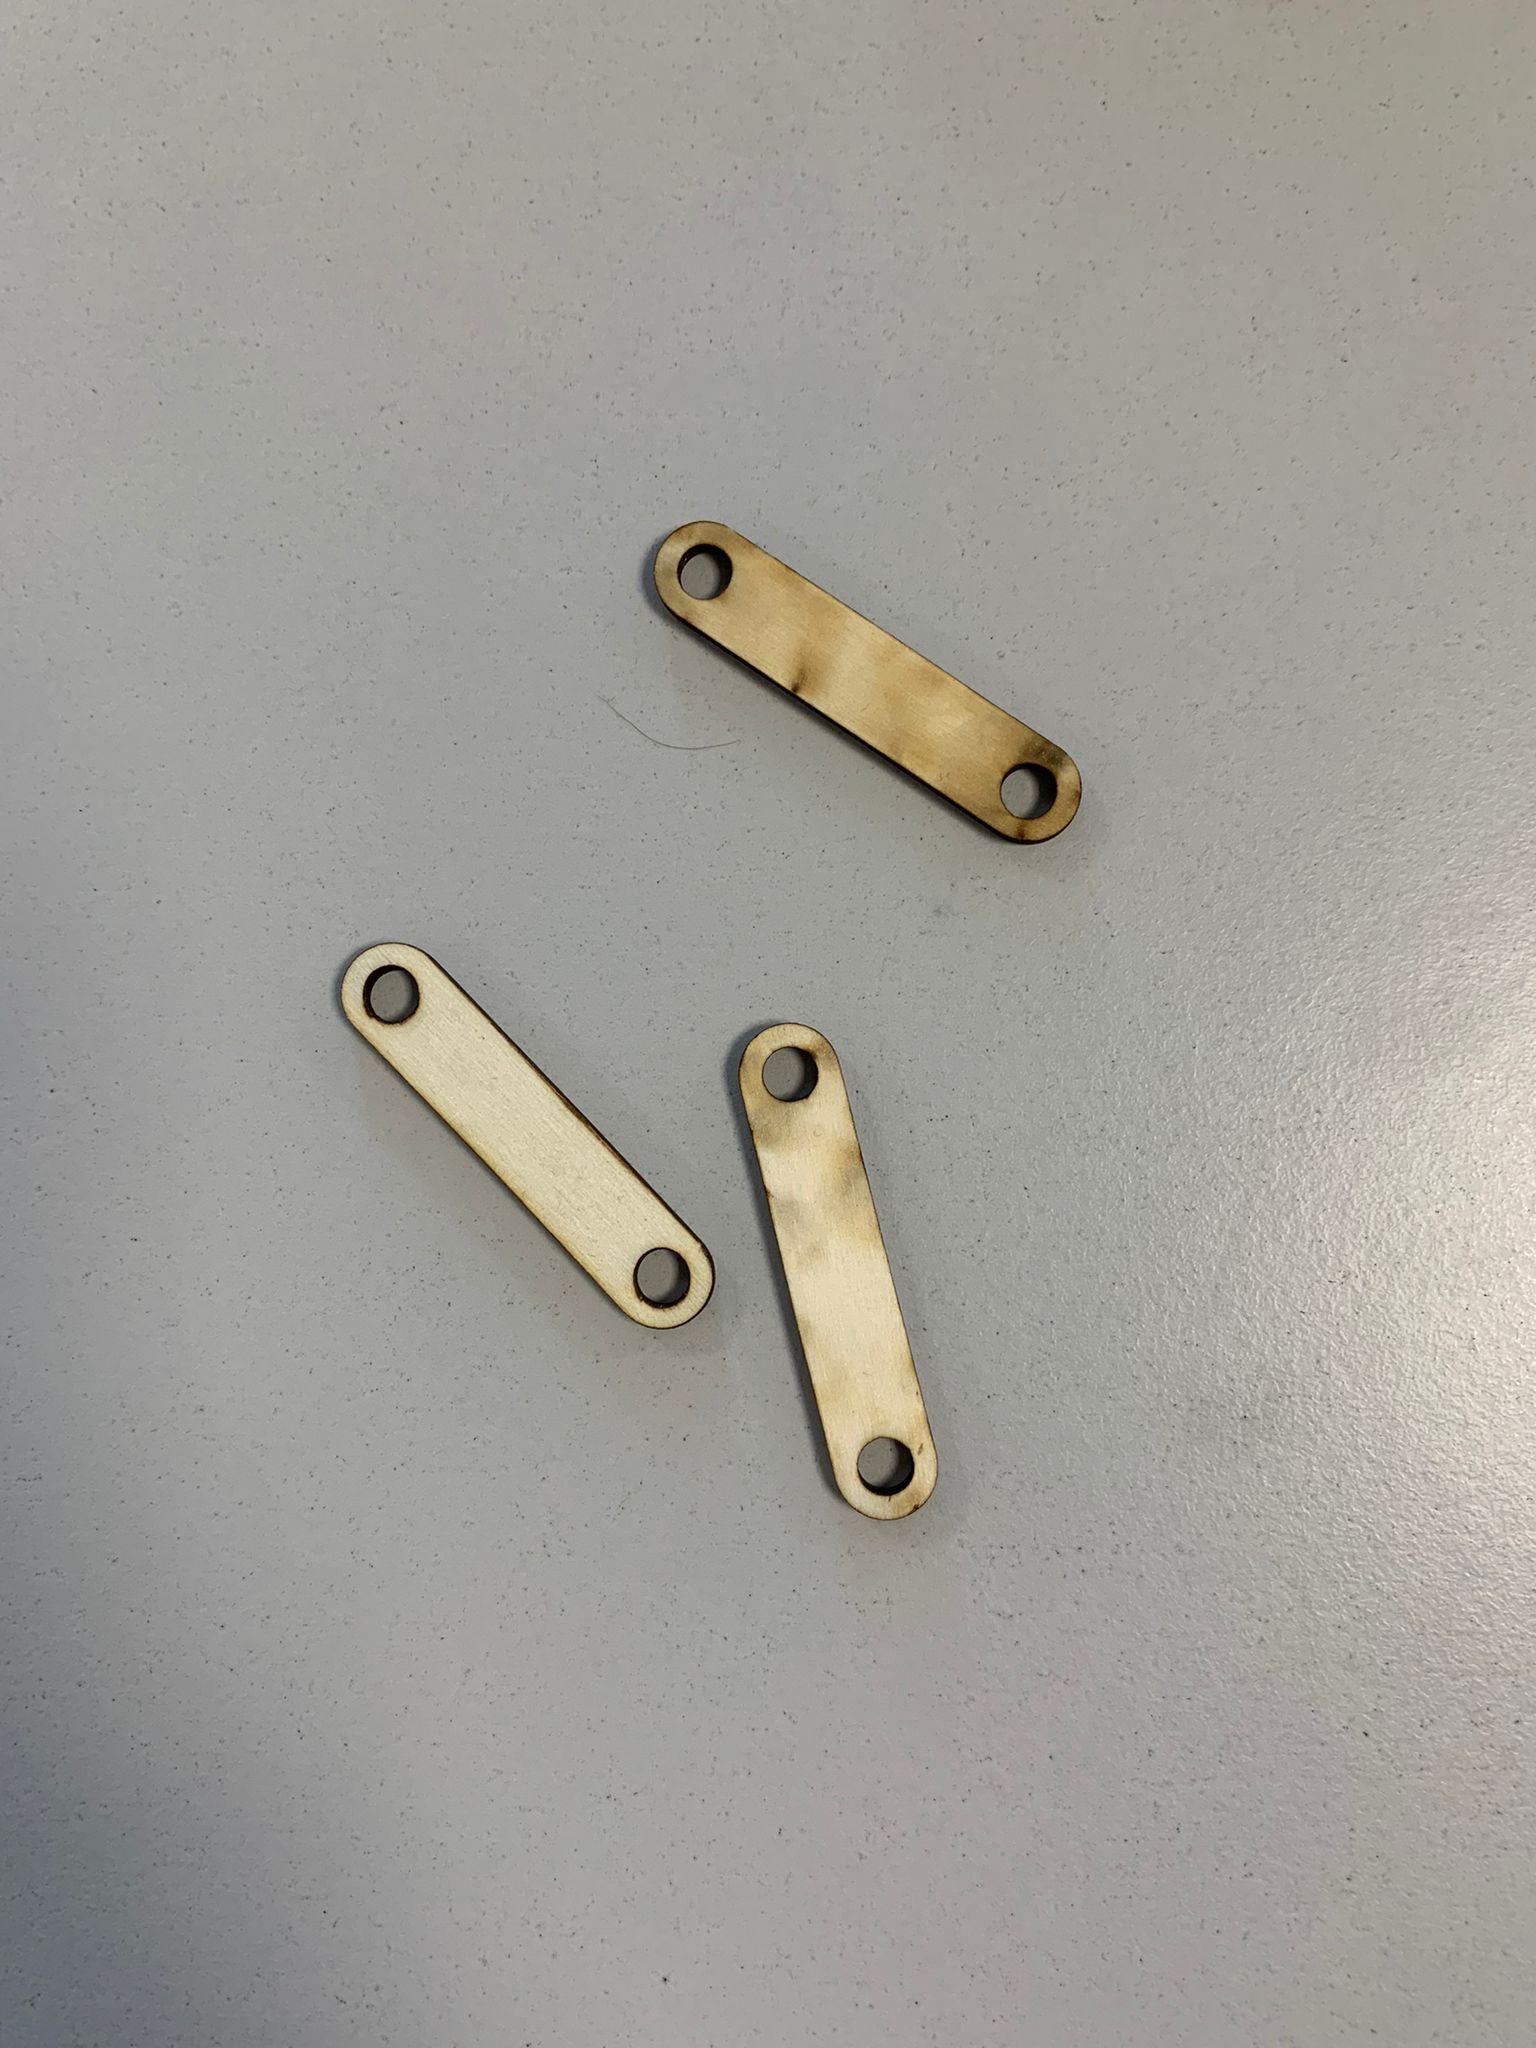
06/12/2023 at 17:26 • 0 commentsAfter a lot of work, the project is finally put together. As I write these lines, we still have some problems, notably a part which, if it turns too low, destroys the movement. We are therefore adding a small metal piece to block the piece.
![]()
![]()
Our last problem being the engine which is surely too powerful and will break the gears. The solution to this problem will be found tomorrow. No choice
-
Friday June 9
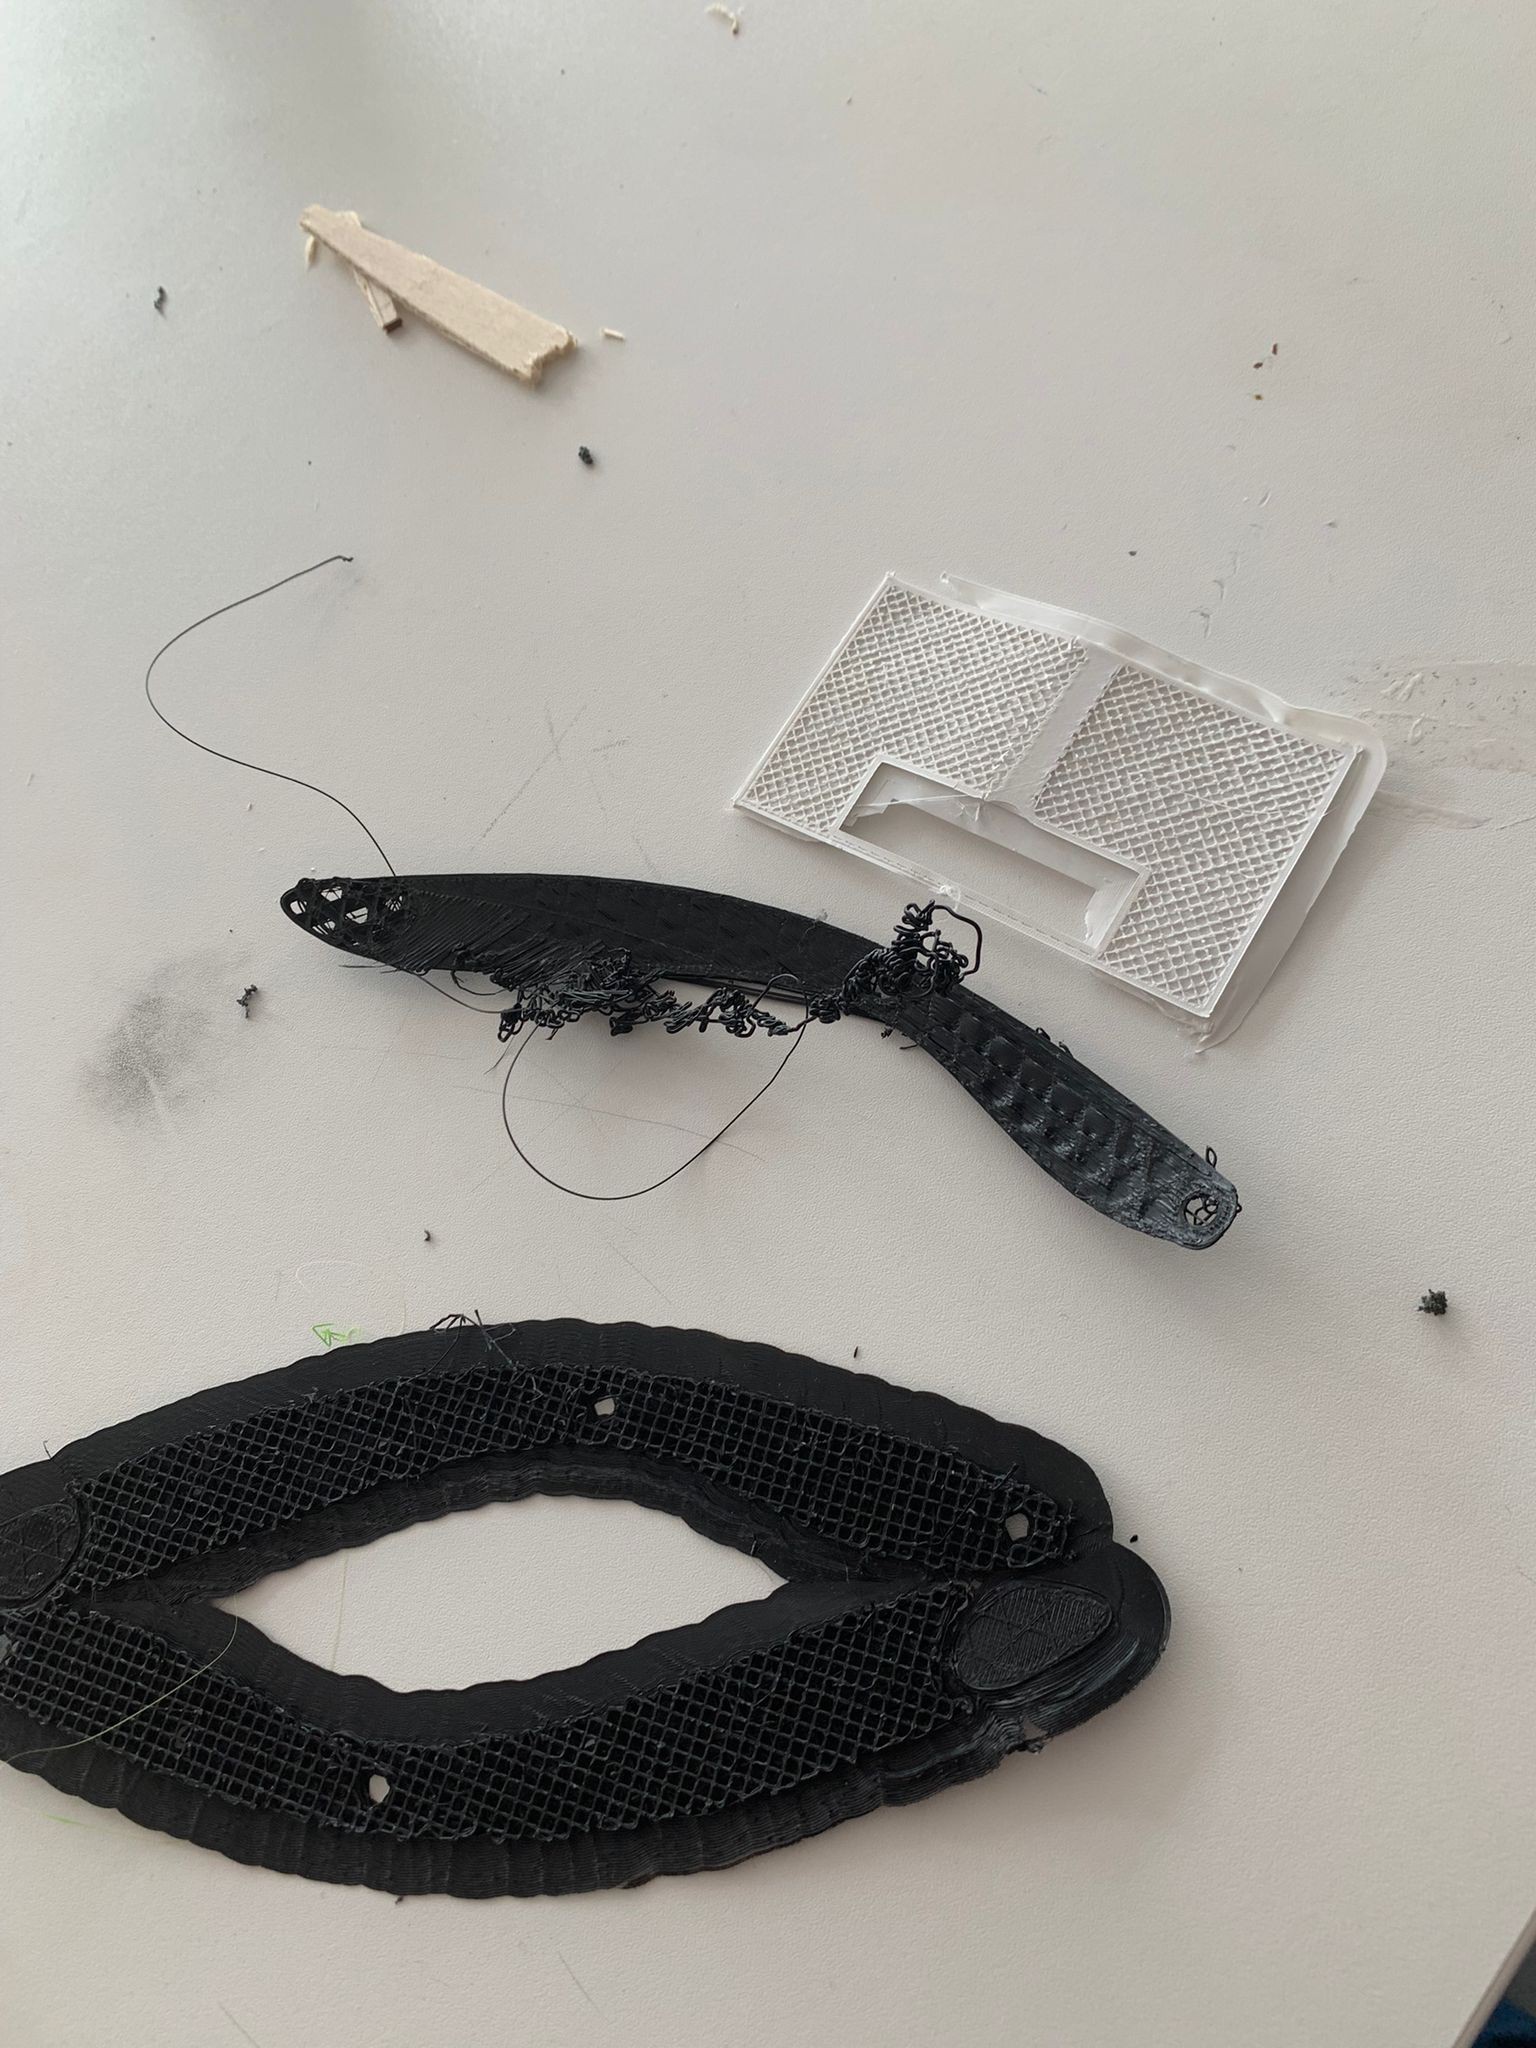
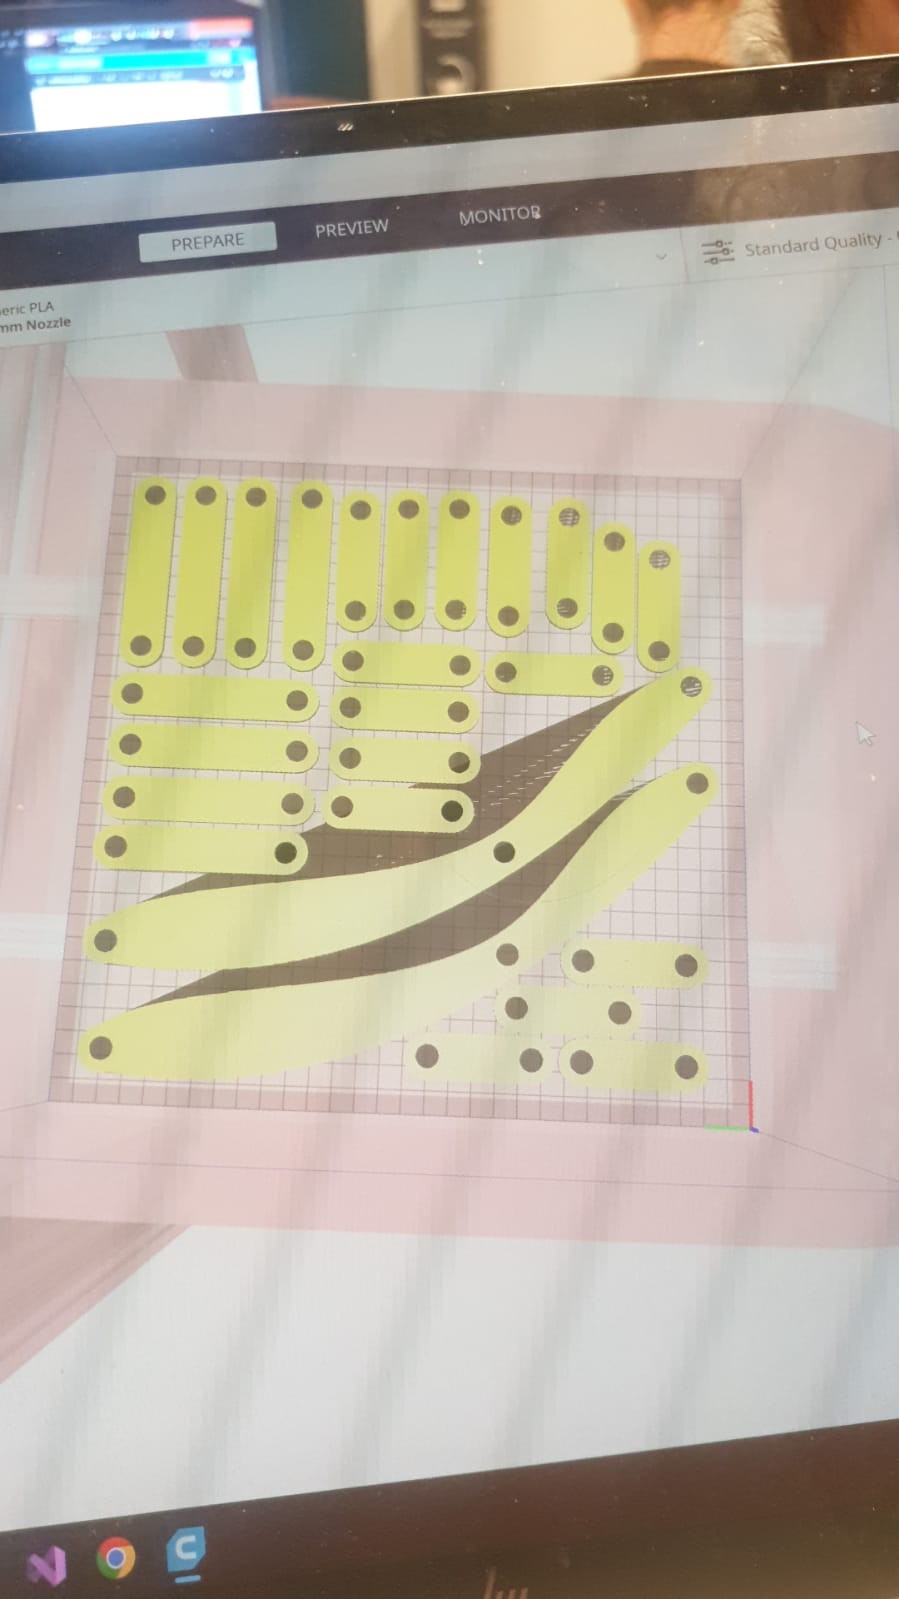
06/12/2023 at 17:04 • 0 commentsIn this part I will quickly summarize the week, it was strewn with pitfalls. All week, from Monday to Friday, we tried to print the parts with the 3D printer but the parts were never printed as we wanted.
![]()
Here are some failures
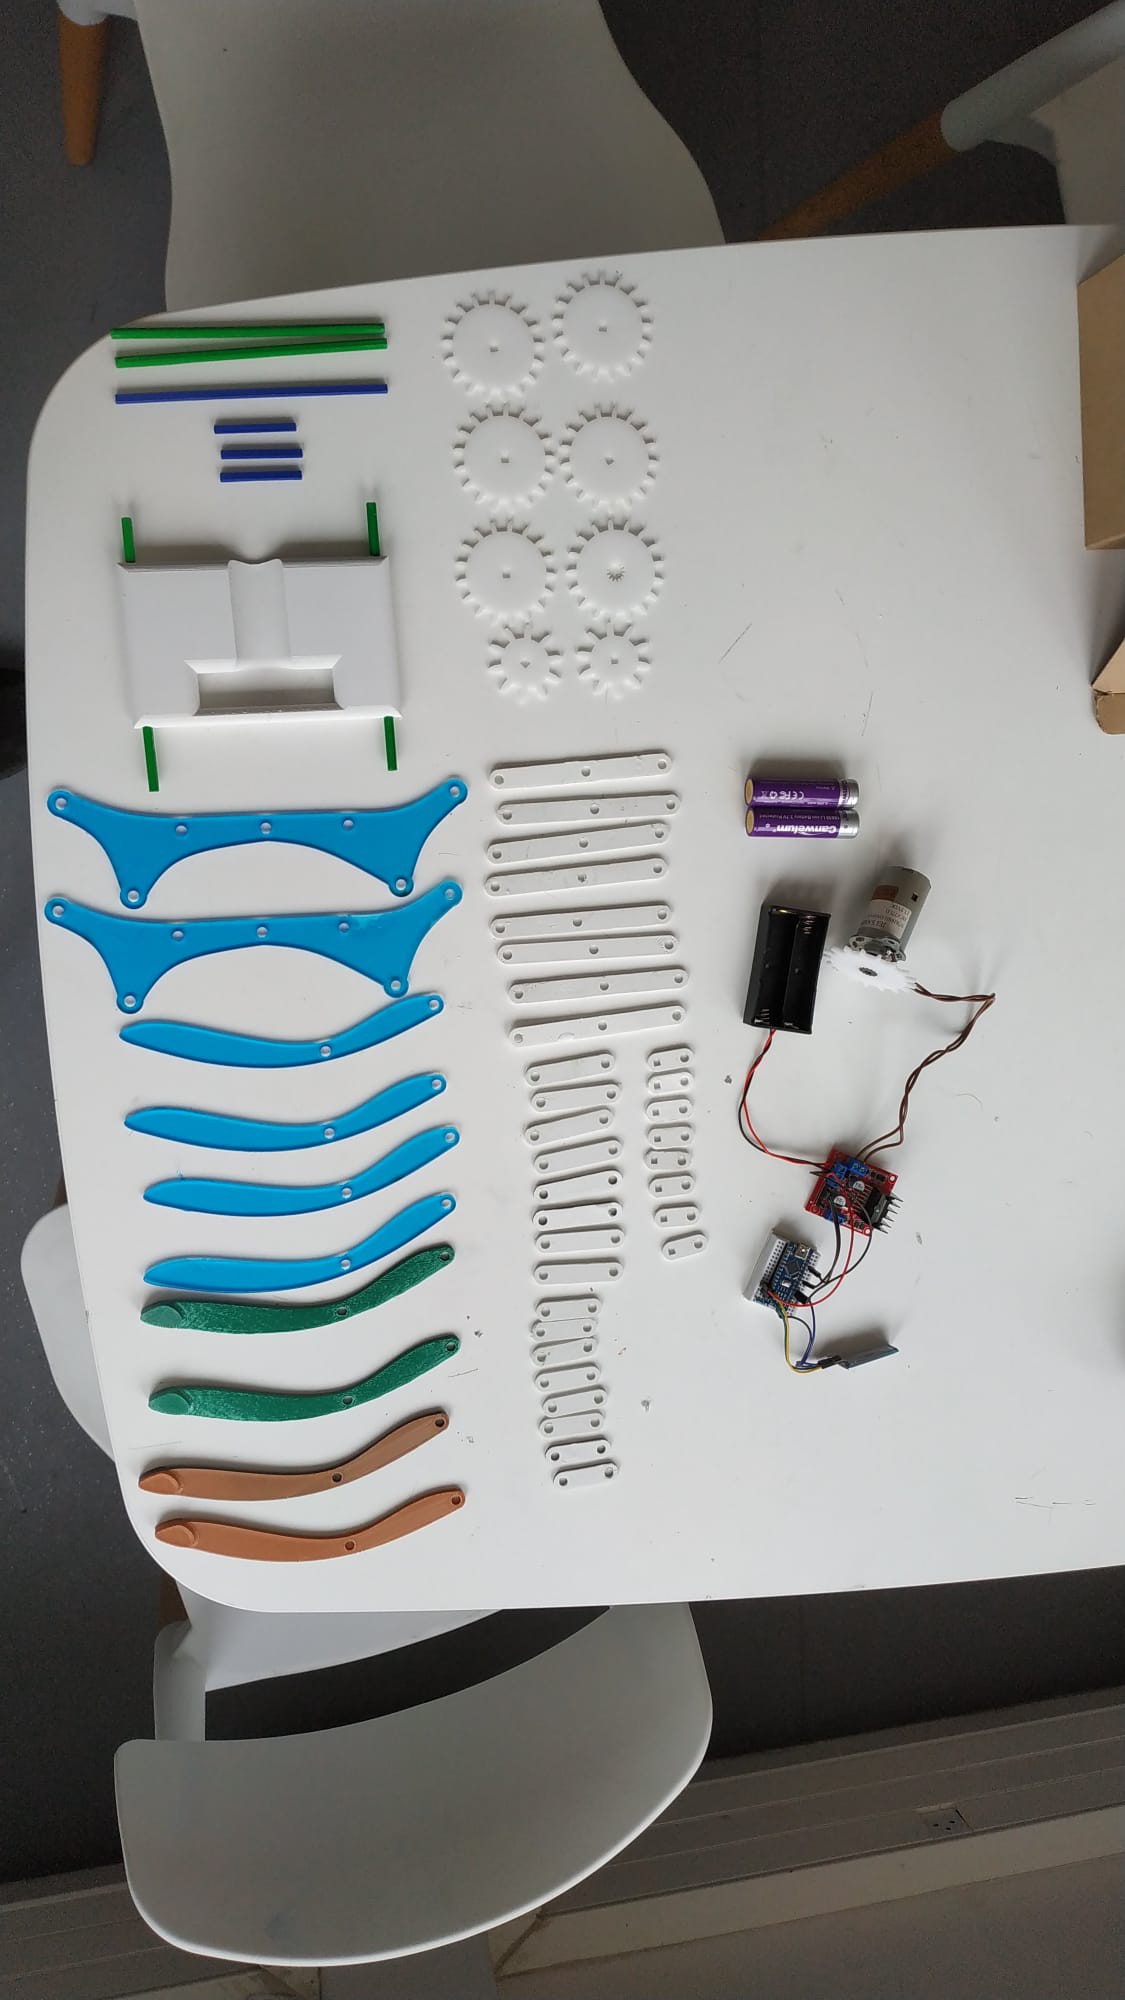
In the end, we decided to use both 3D prints and also laser-cut plexiglass to complete the last pieces that we were missing.
![]()
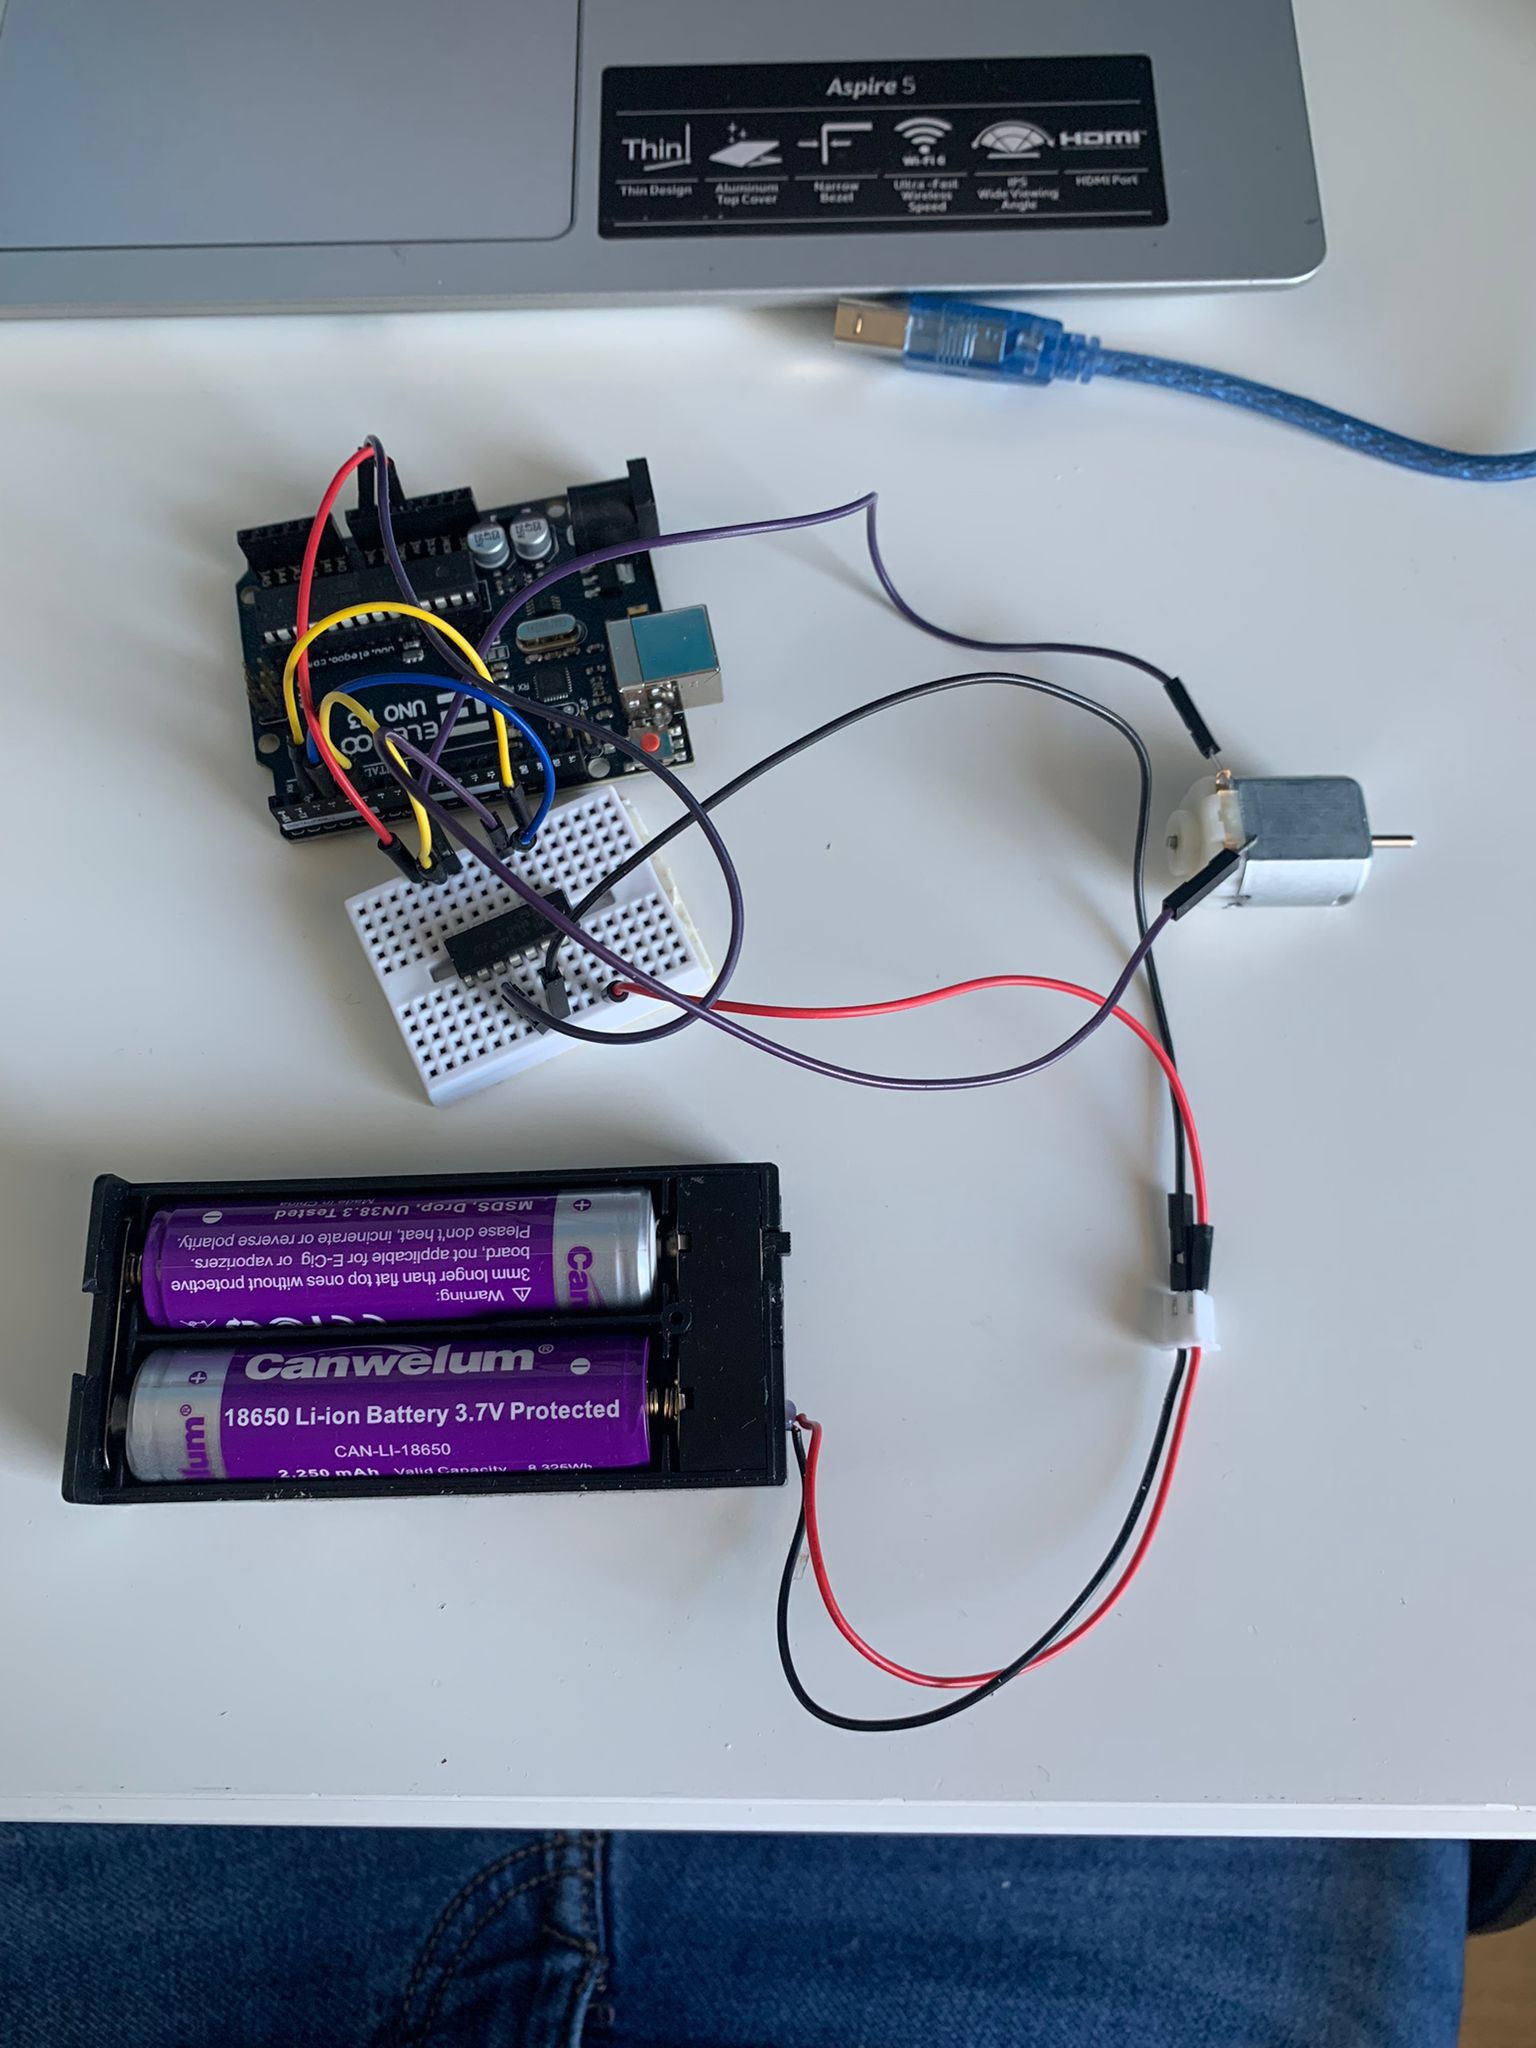
This week, we also managed to make the electronic part work. An arduino Nano is connected to a bluetooth module which allows to control the H-bridge and especially the motor. With the code, when the user sends "F" to the arduino, the motor spins in one direction. With "R" in another direction, and with "O" we stop the motor. On Friday, we got kicked out of the lab because it seems that 8:15 p.m. is too late and we have to leave school. And since the lab is closed Saturday and Sunday, we'll finish Monday, one day before the presentation.
-
Wednesday May 25
06/12/2023 at 15:45 • 0 commentsIt was a day without too much progress in our project. Our end-of-year exams were the week after, so we spent less time on the project. We just tried to 3D print new parts with some failures and tried to get the Bluetooth module working.
-
Saturday May 20
05/20/2023 at 11:15 • 0 commentsOk, we have some problems. The school printers being taken, we asked someone to print the parts for us. After some problems, especially related to the axes because too small, we finally have our parts. However, the holes are too small to fit the axles. This problem can be fixed quickly and is normal in a test period, only we cannot print a new version, because the school is closed and the person who had us print the parts is not available. For the moment we are trying to file the axes to make them fit in the holes but the results are not sure.
![]()
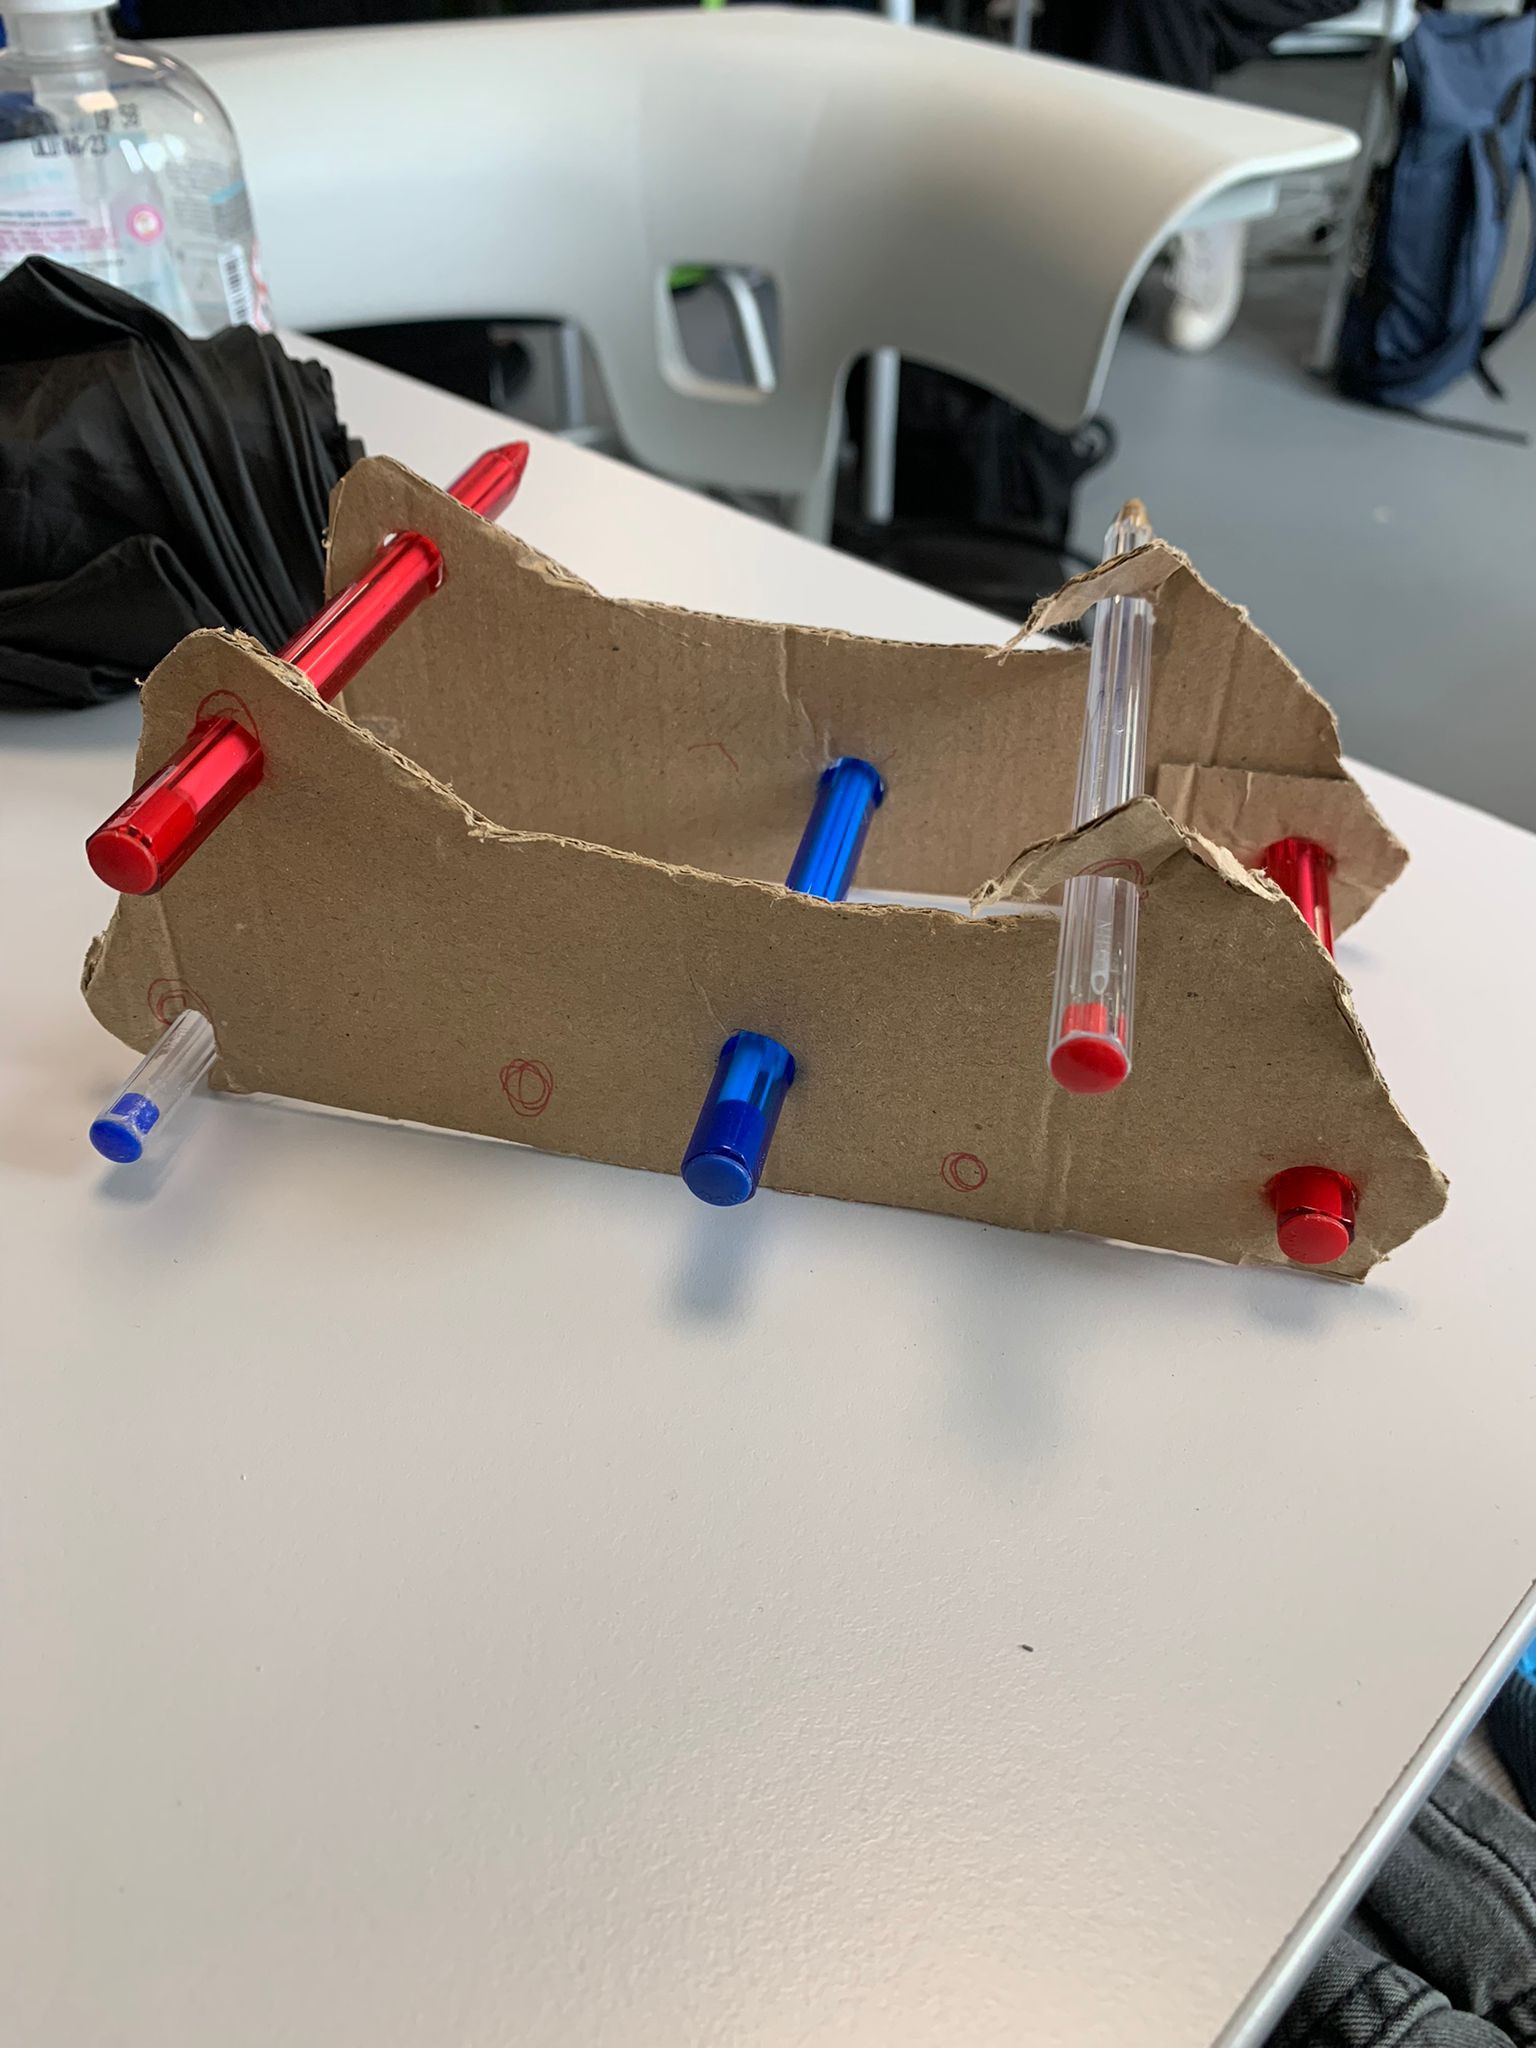
The presentation being in 4 days, either we manage to find solutions with the axes, or we try to do something else, why not simply in cardboard and therefore facilitate the tests. -
Wednesday May 17
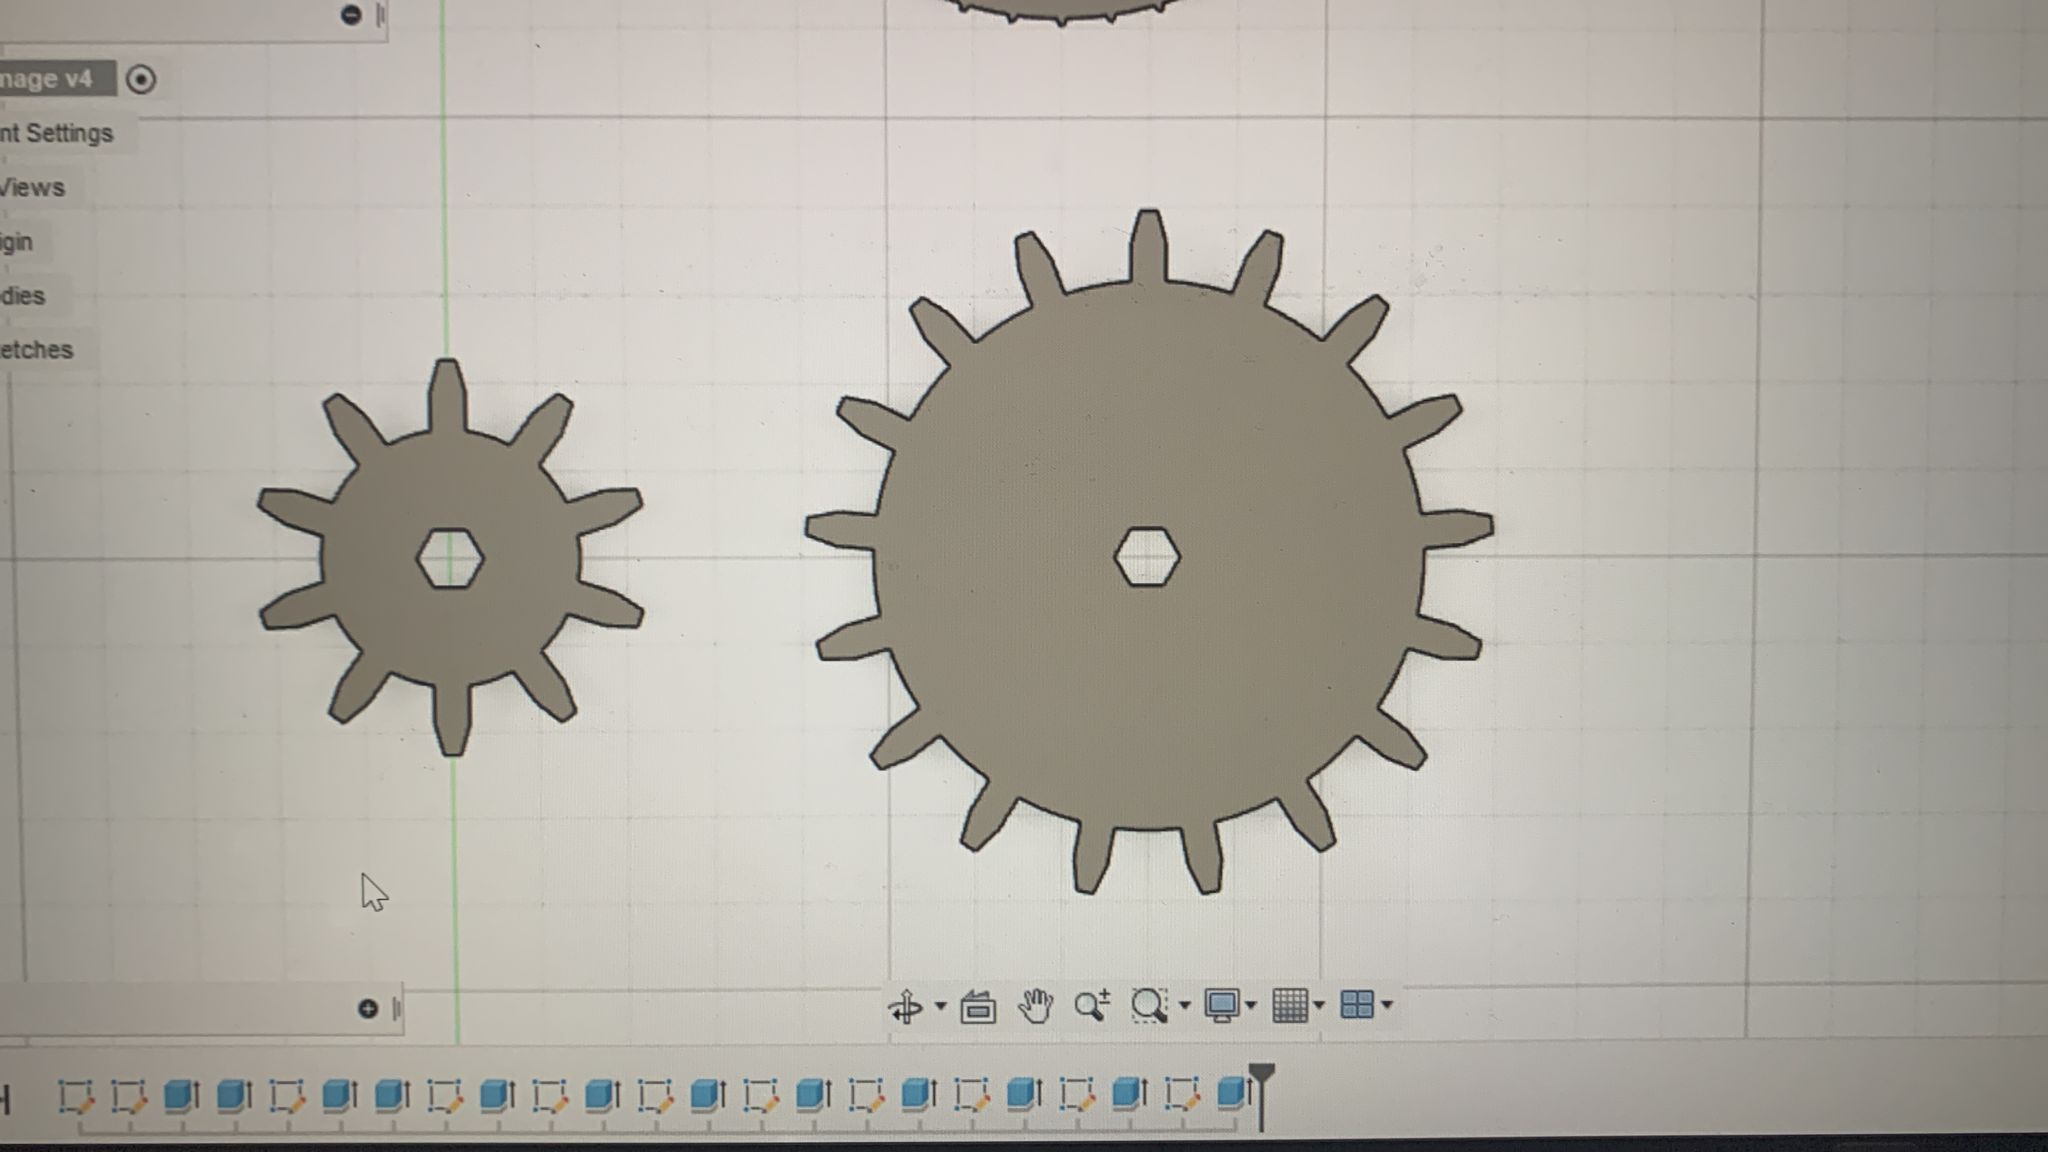
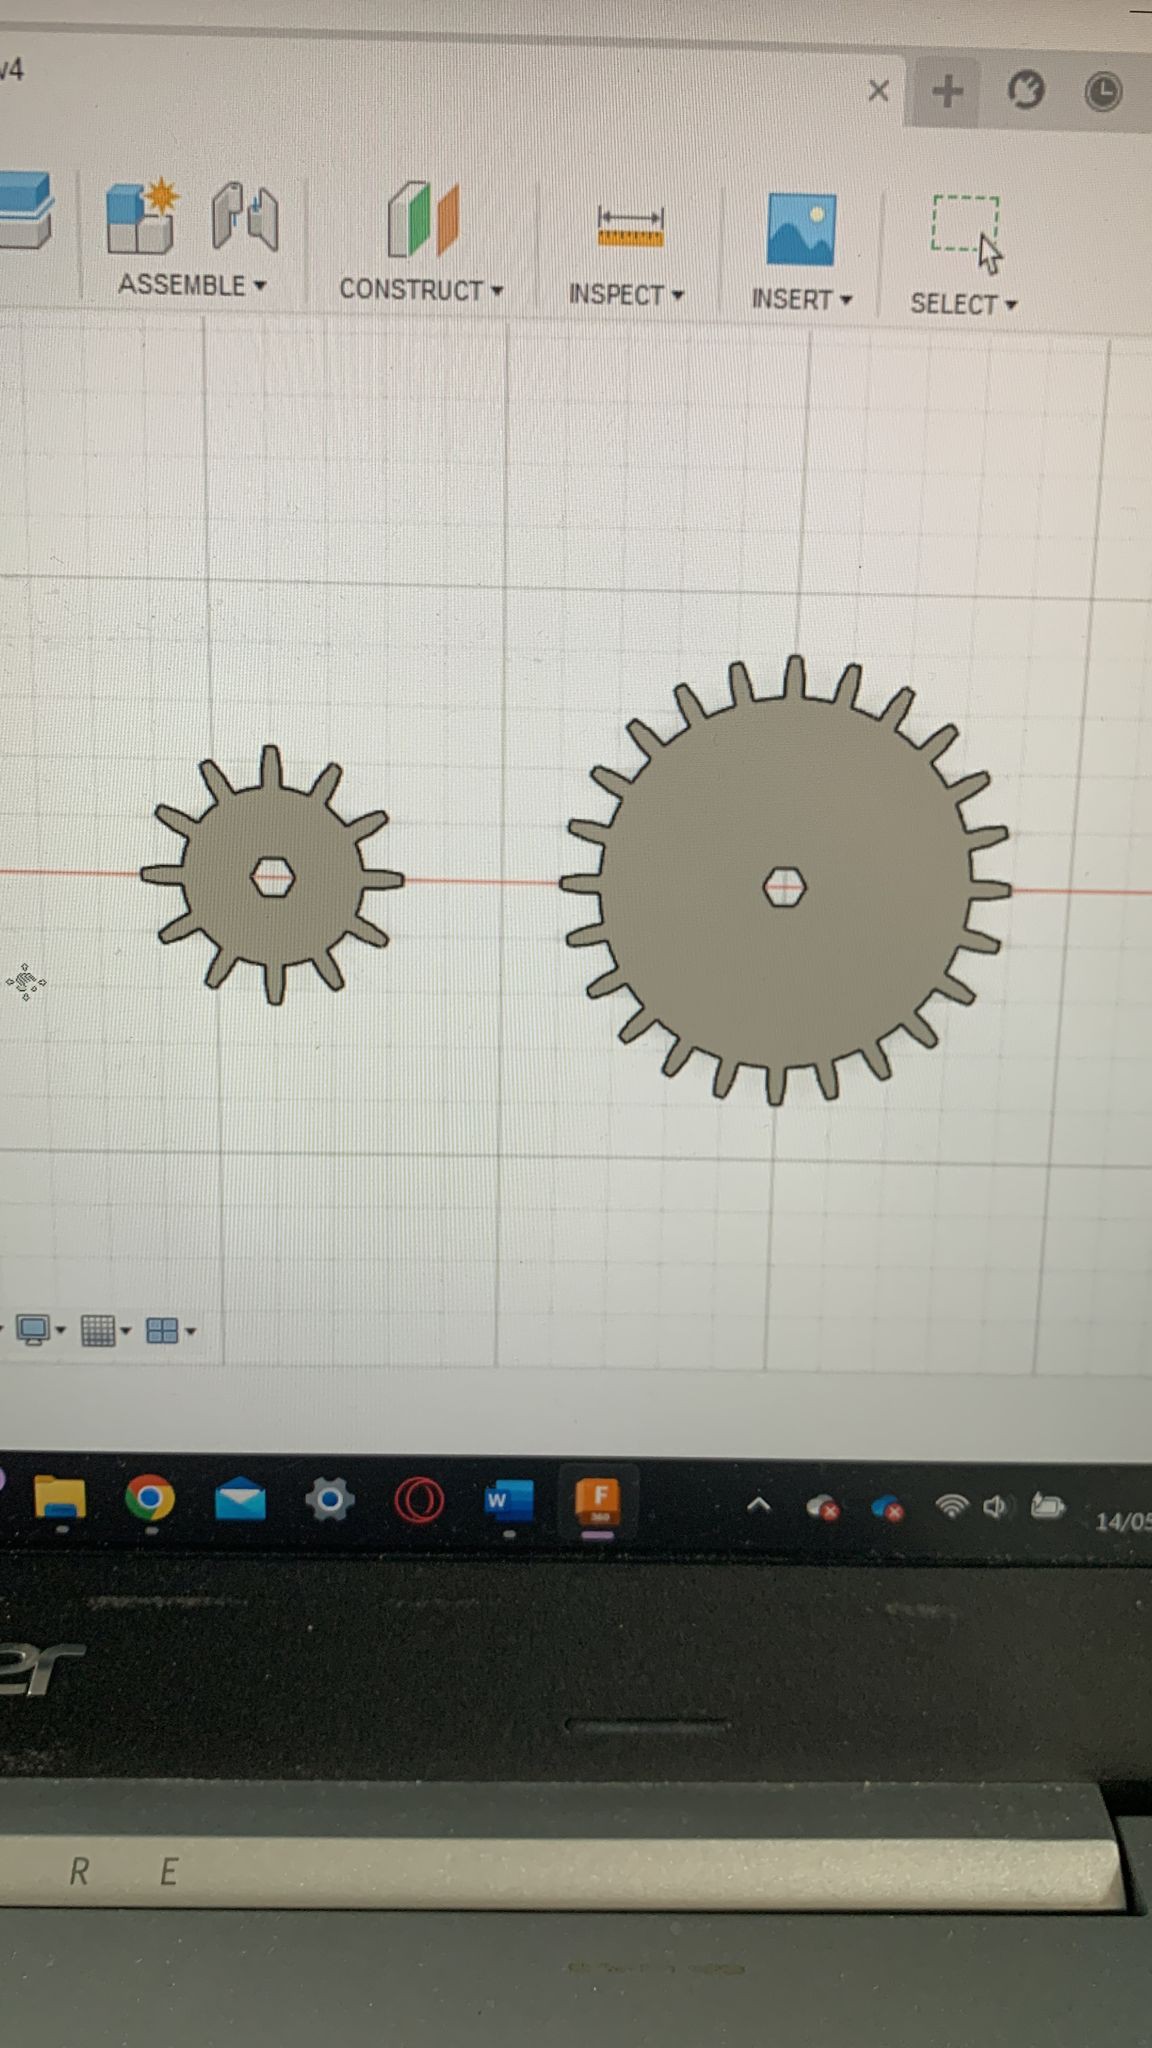
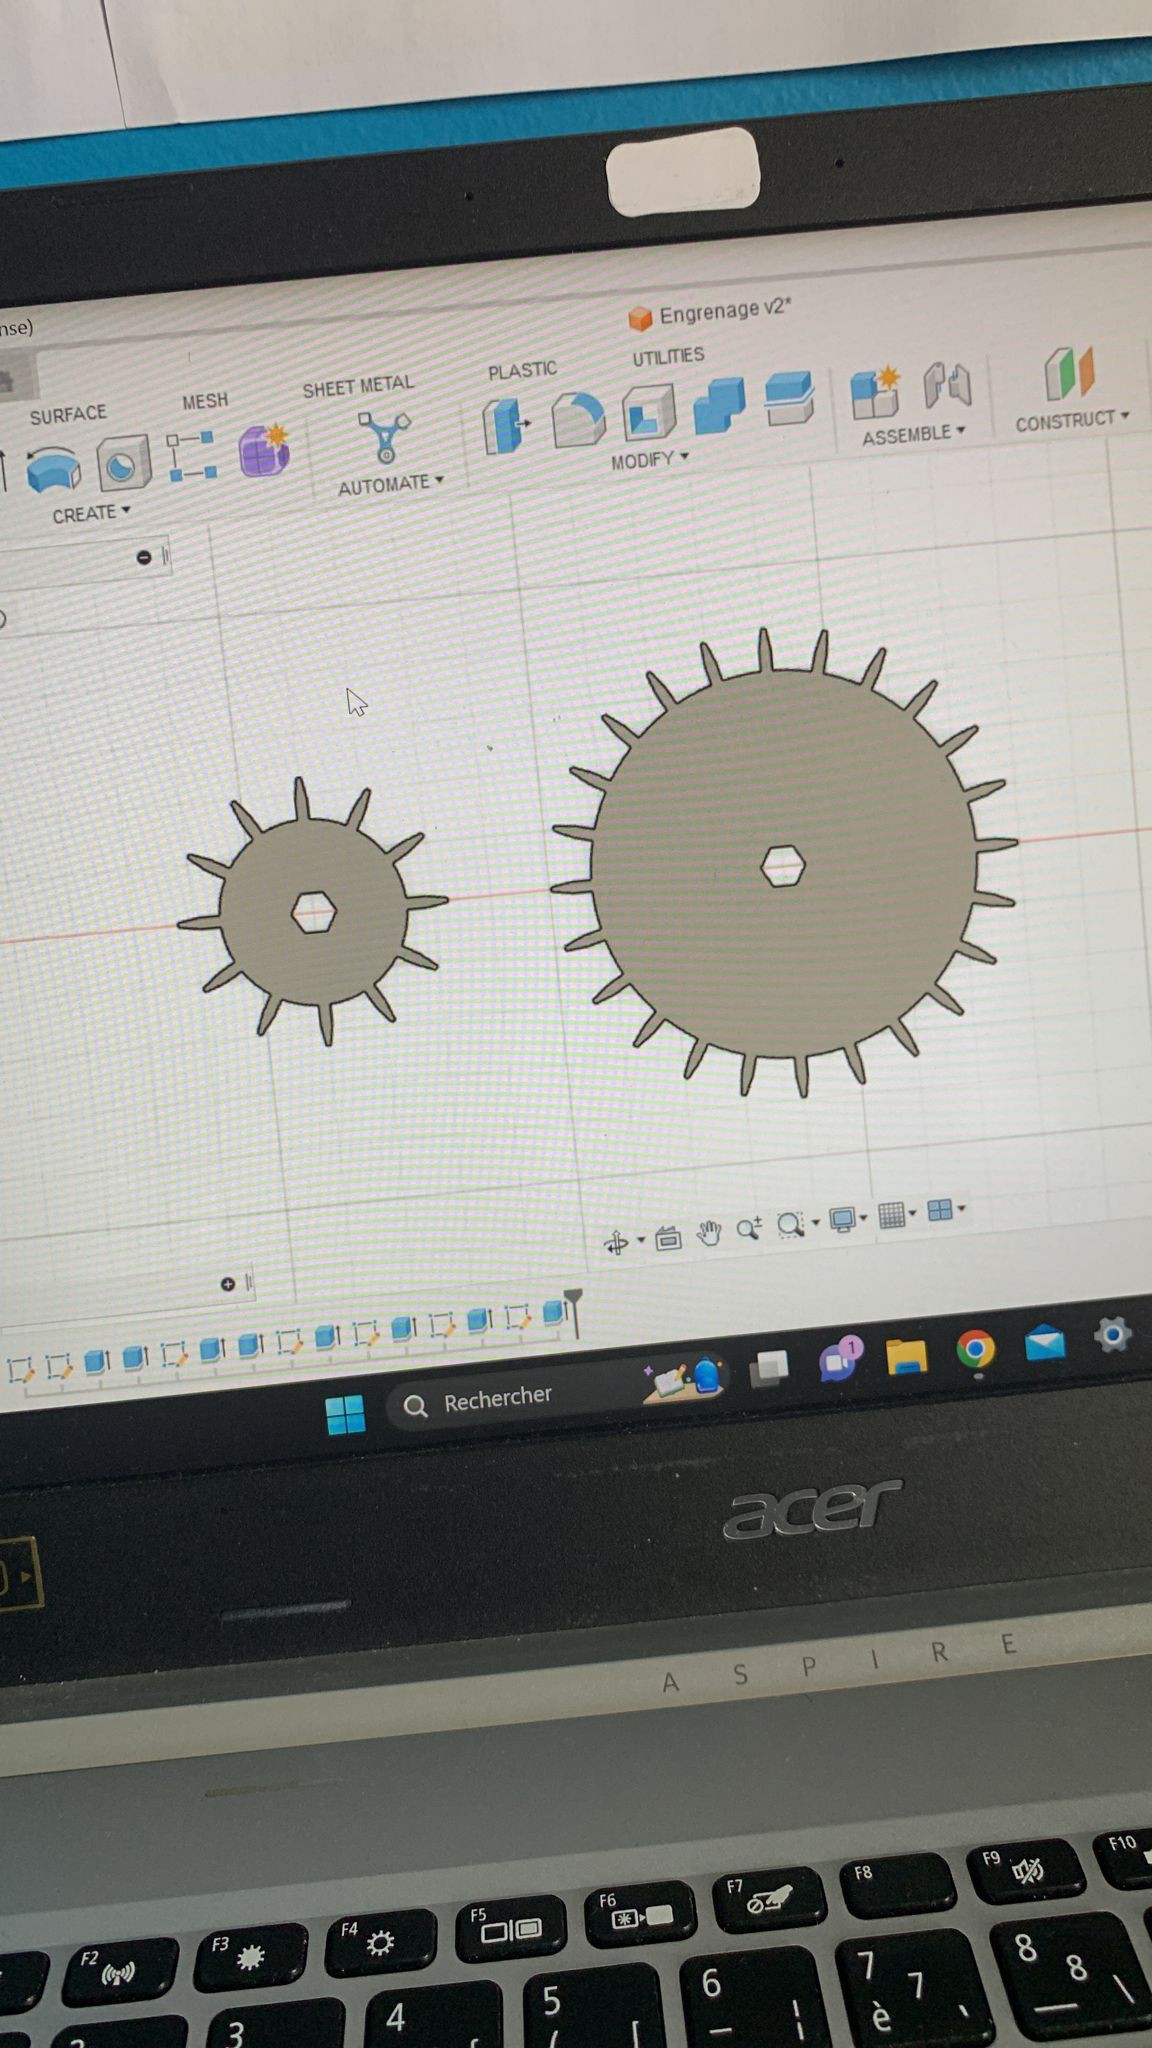
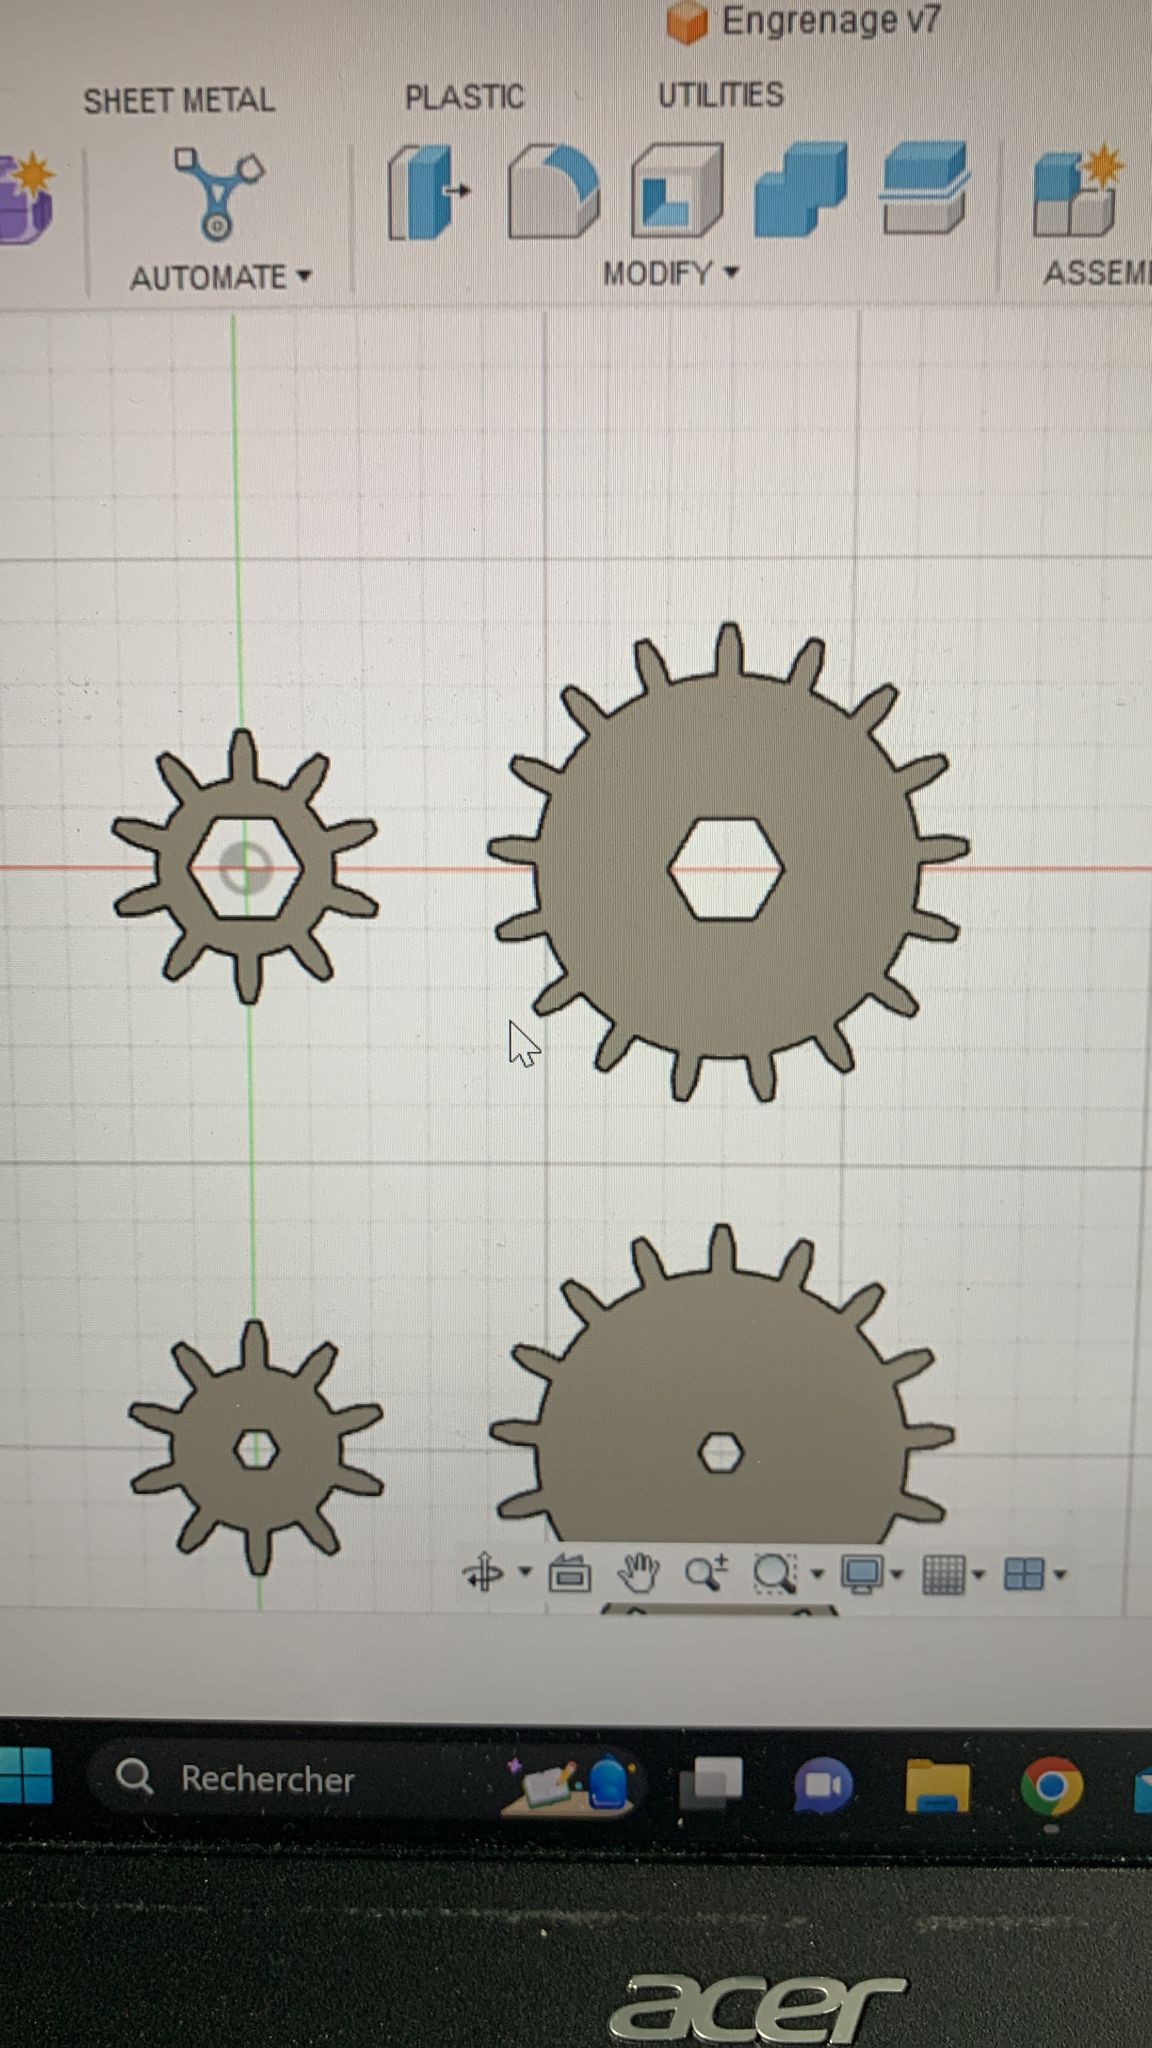
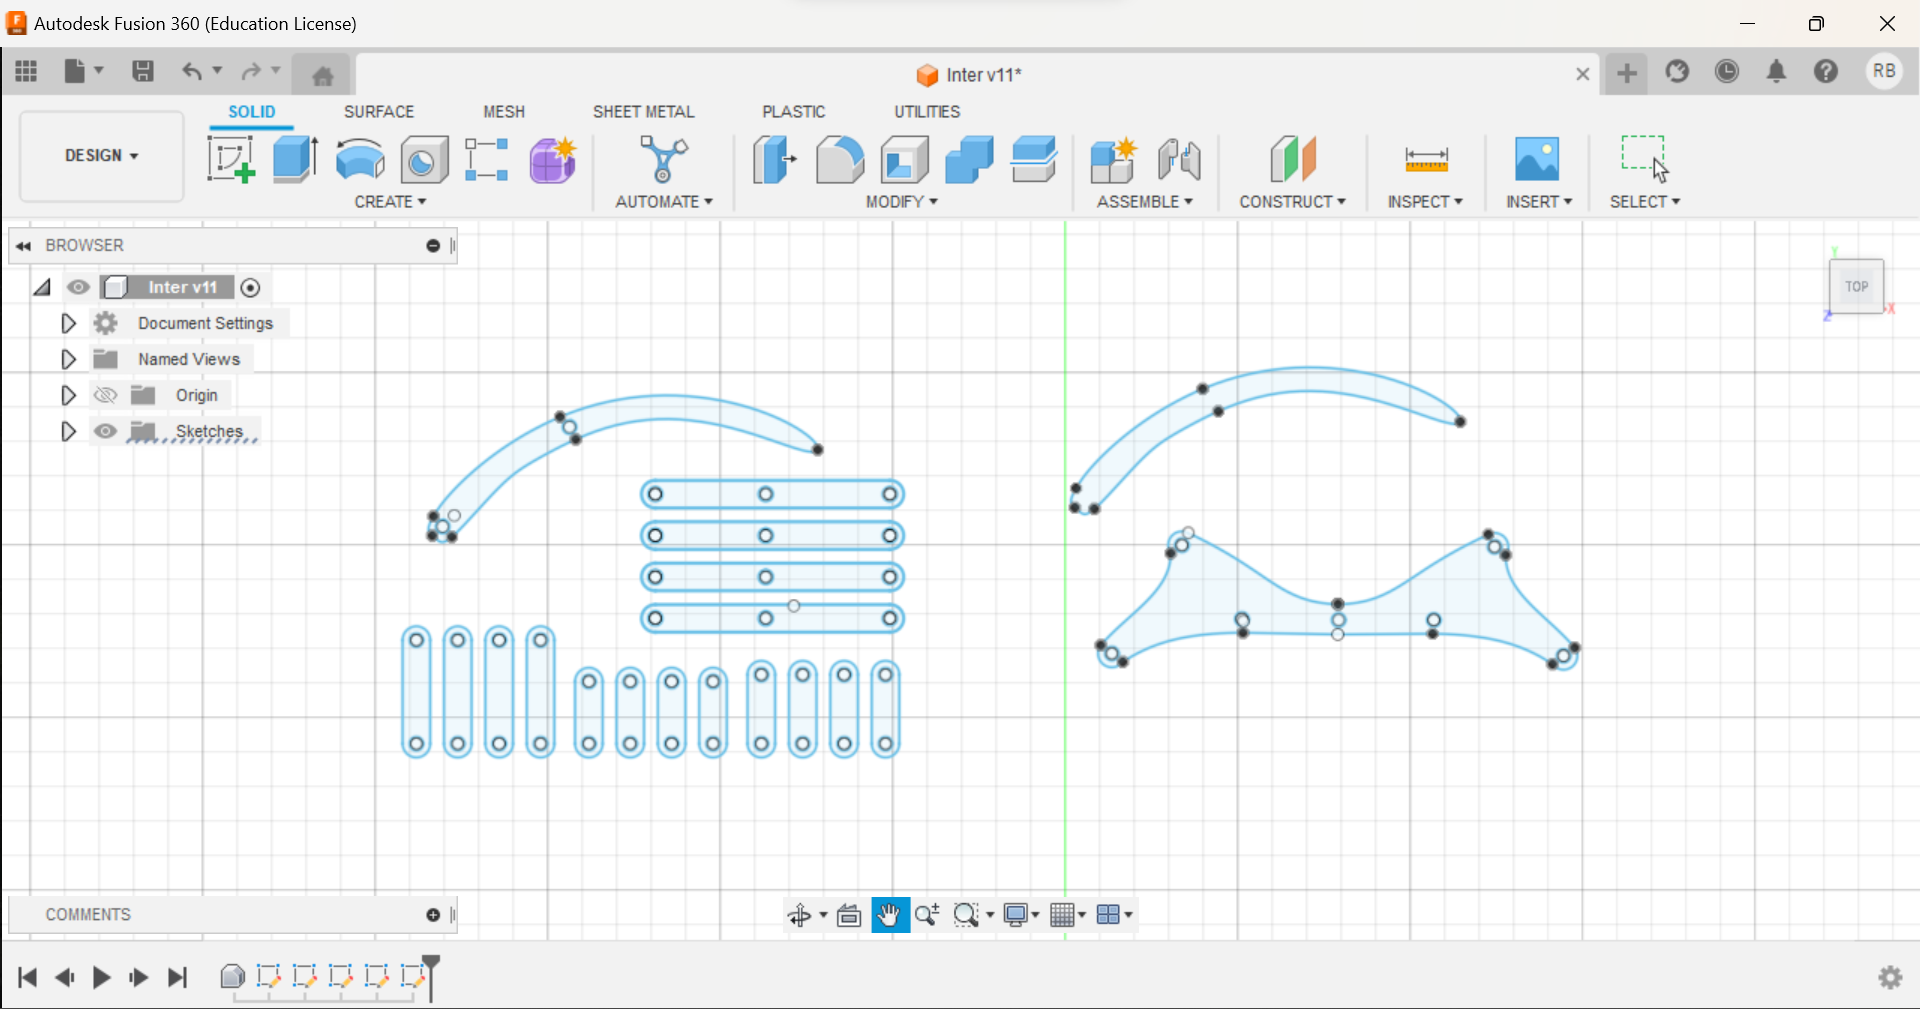
05/20/2023 at 11:02 • 0 commentsThe work before this session was quite important, especially due to the gears. We had to find the right size, the number of teeth, the size of the teeth and even the shape. The Fusion 360 file has had about ten versions.
![]()
![]()
![]()
![]()
As you can see, the center of each gears have an hexagon. It's because of the axes that is an hexagon to have the most point of attachment and therefore better to turn the gears. We have also almost finished all the important parts that will be ready to print as soon as the printers in the lab are free.
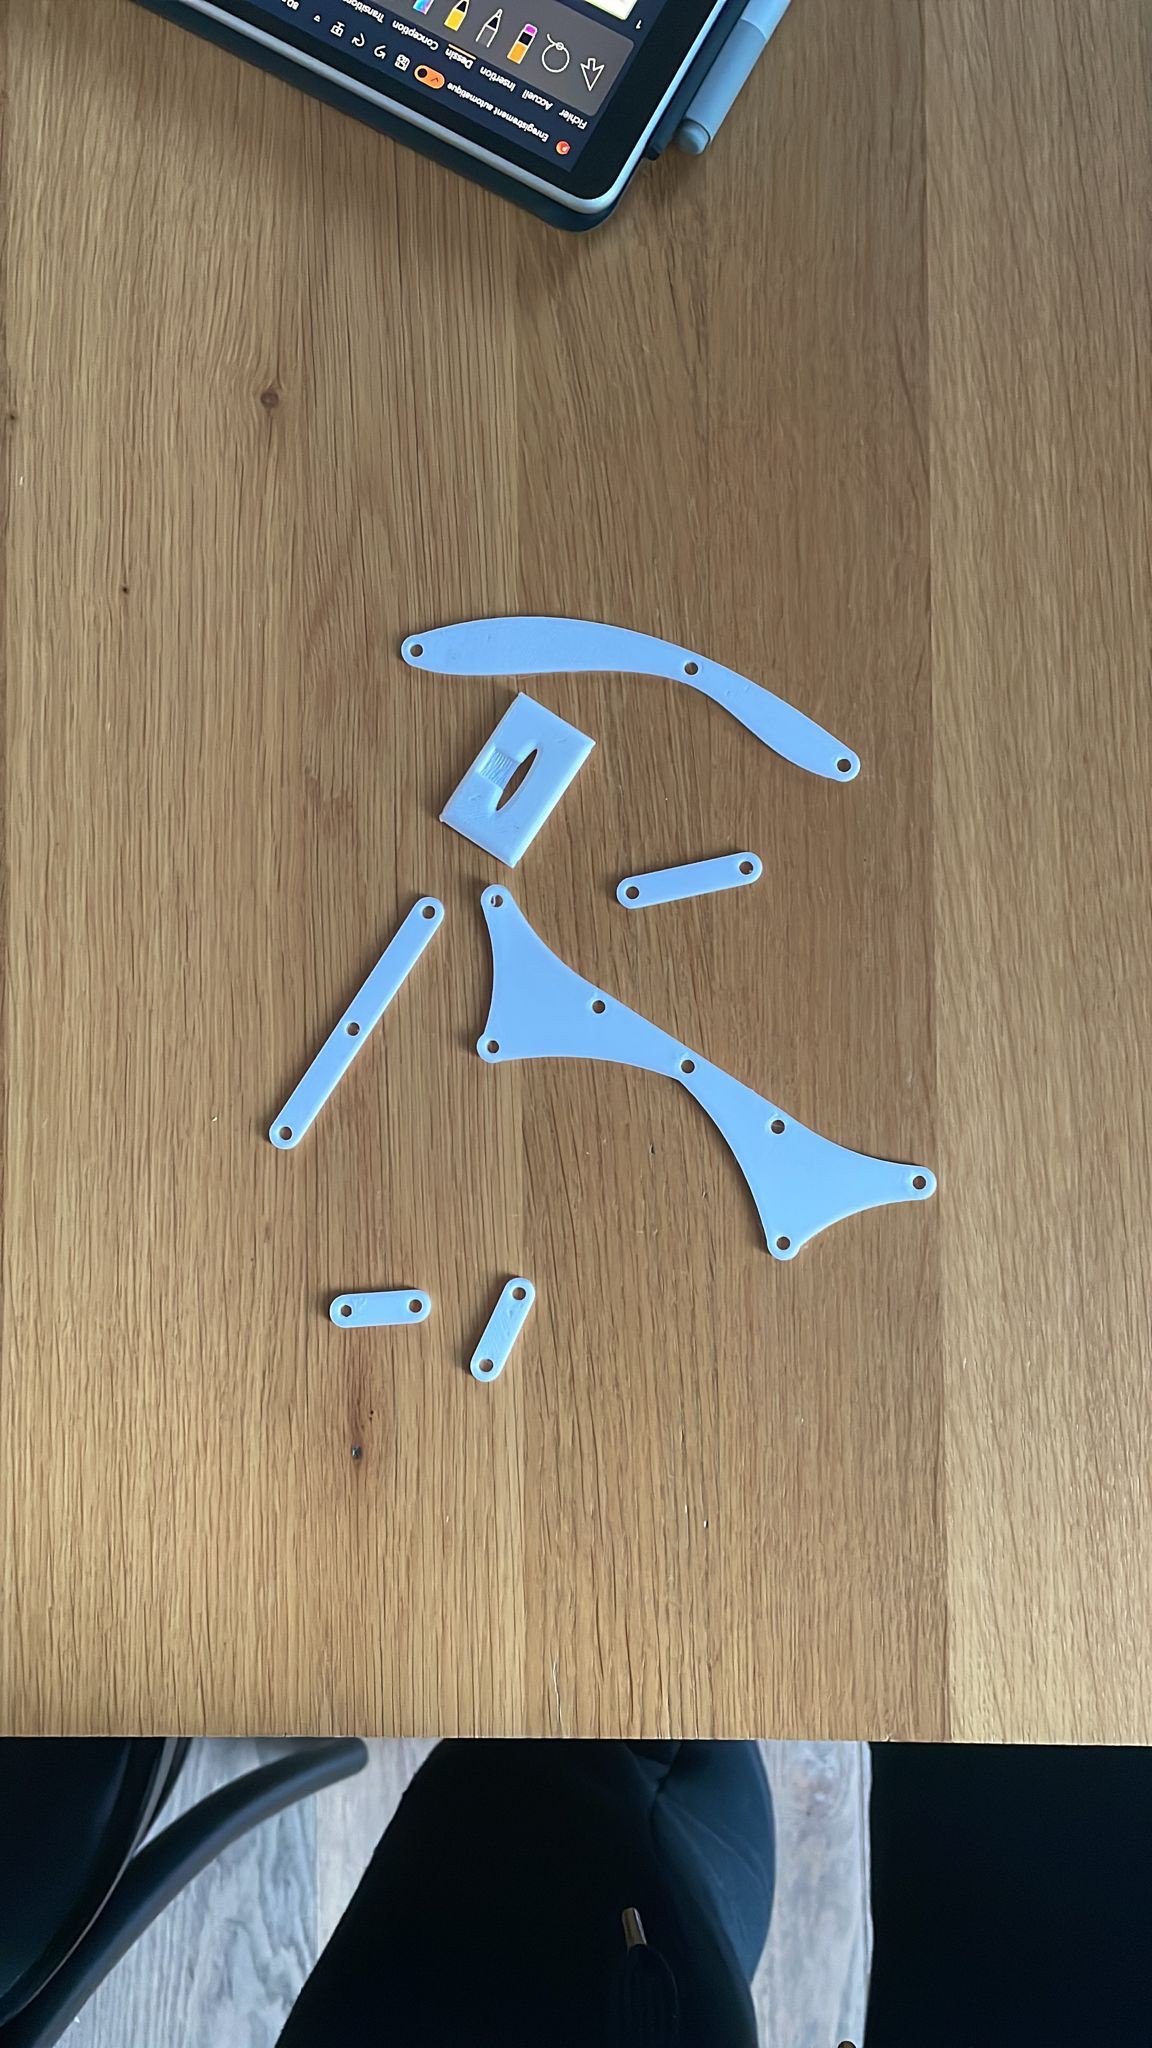
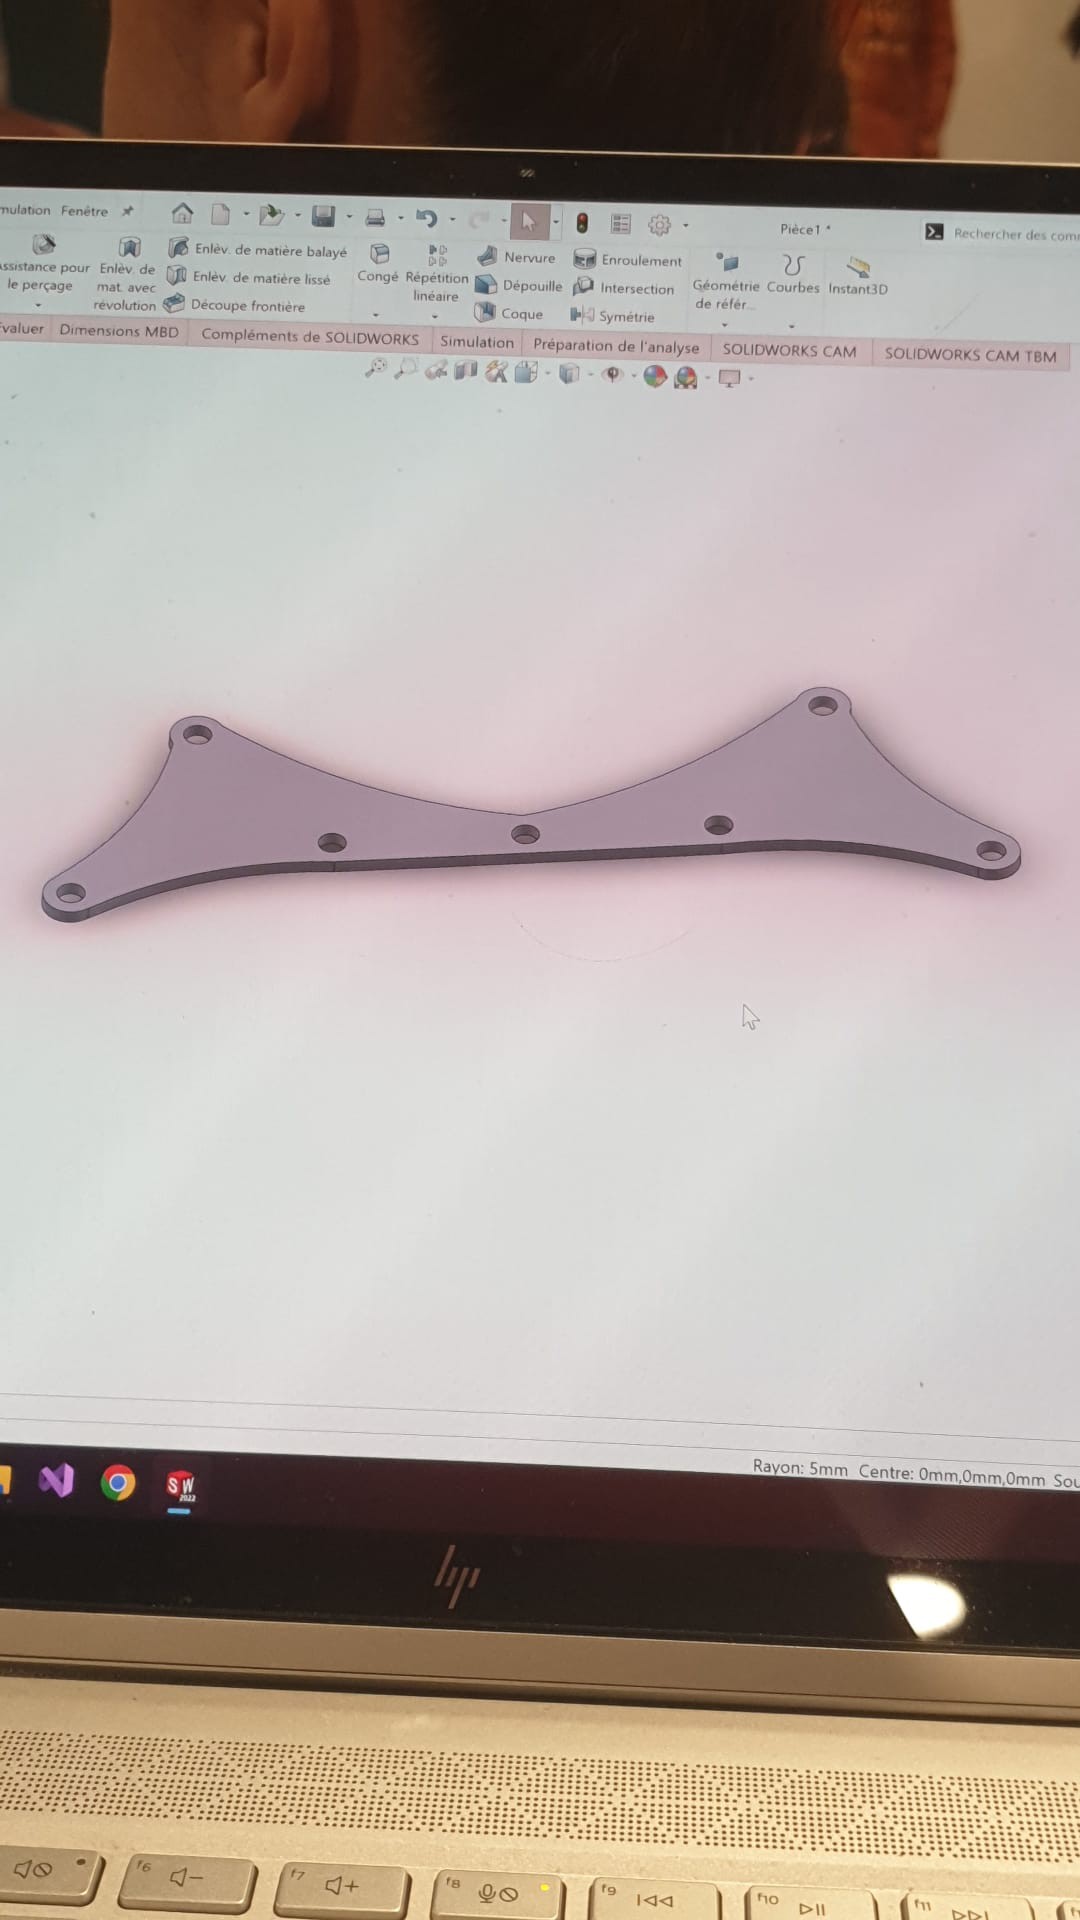
I haven't yet talked about an important part, the plate that will support the weight of the engine, it's the big part that you can see on the photo just above
During the session we did not have access to the printer, so we focused on another part of the project, the engine. At the start, we had the idea of running the engine via bluetooth, so for today's session we did some tests. We started by trying to run the motor, we found a circuit and a piece of code and we tested.
Here's the result :
![]()
All that's left for us to do is to print the parts and do the first tests.
-
Wednesday May 10
05/20/2023 at 09:56 • 0 commentsFor this session, we started 3D modeling the parts on Fusion 360, and we tackled a big problem in our project, the gears. Not knowing much about this subject, we got a lot of information to try to make our project work. Before the session, we prepared the simple parts on which we had already worked on it and during the session, we reflected on the gears and all the other parts such as the platform which will accommodate the motor, the axes to support everything or the joints between the legs. For the joints we had 2 solutions, either bought specific screws with a smooth part to allow the parts to rotate, or 3D print cylinders. These are the last solutions we have chosen. For this session we don't have many photos, only a cardboard test of our monster's body which allowed us to better visualize the future problems, or at least, visualize the project.
![]()
However, we have photos of our 3D models :
![]()
![]()
-
Wednesday May 3
05/03/2023 at 17:38 • 0 commentsFor today's session, we have prepared the sketches in advance so that from the beginning of the session, we can cut them out.
![]()
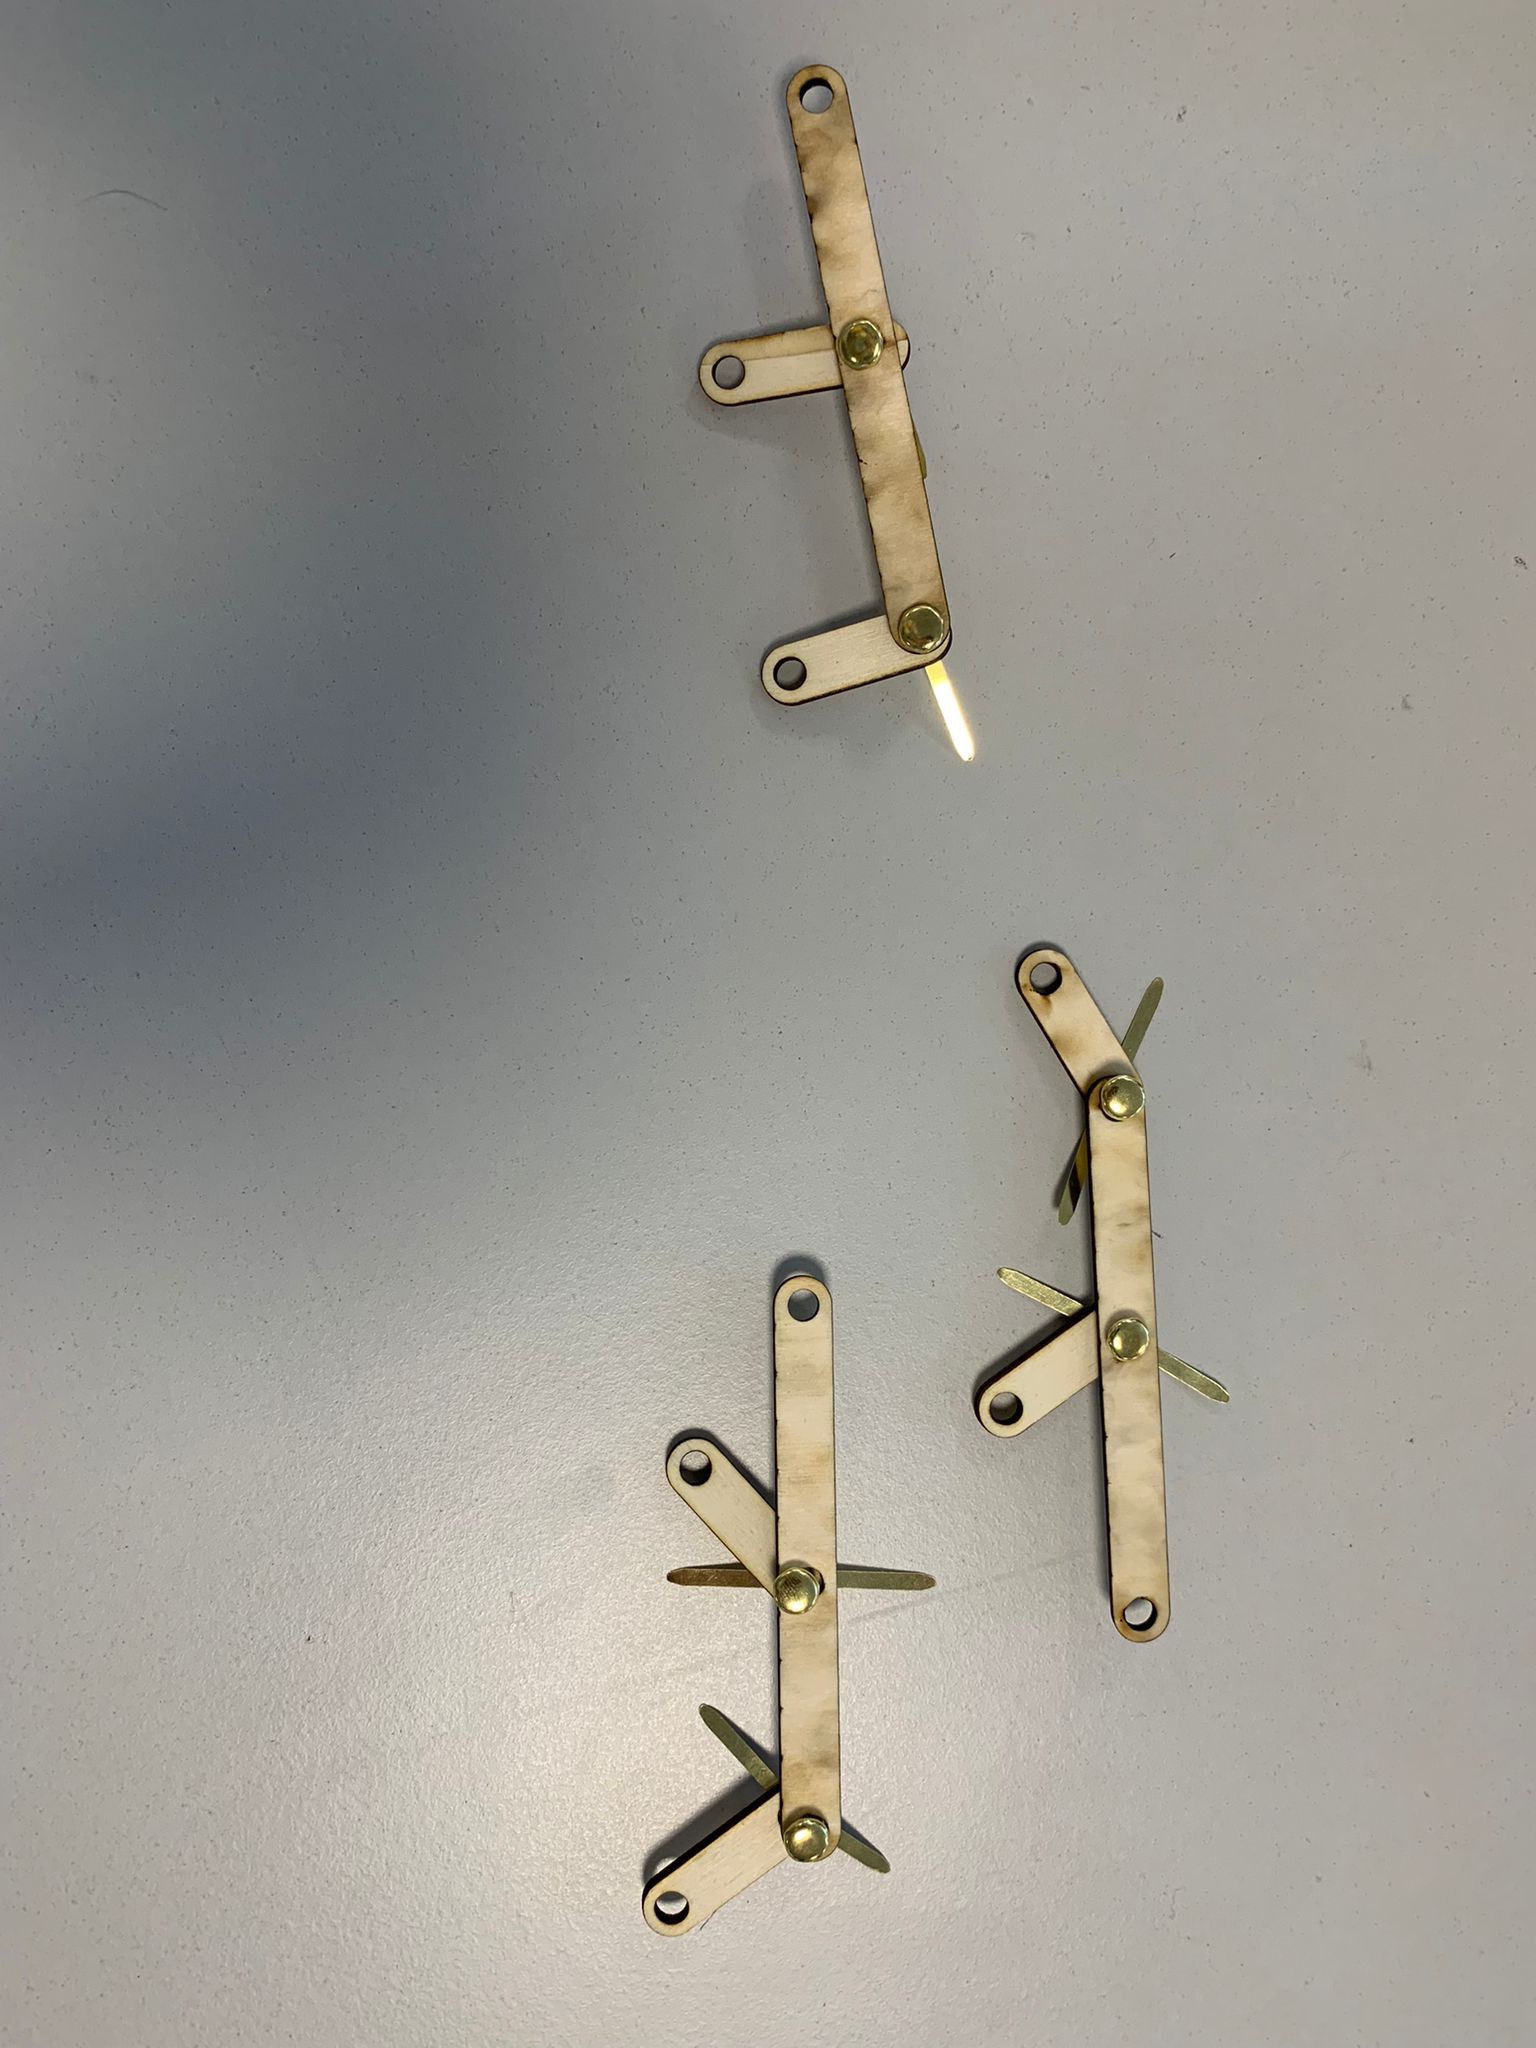
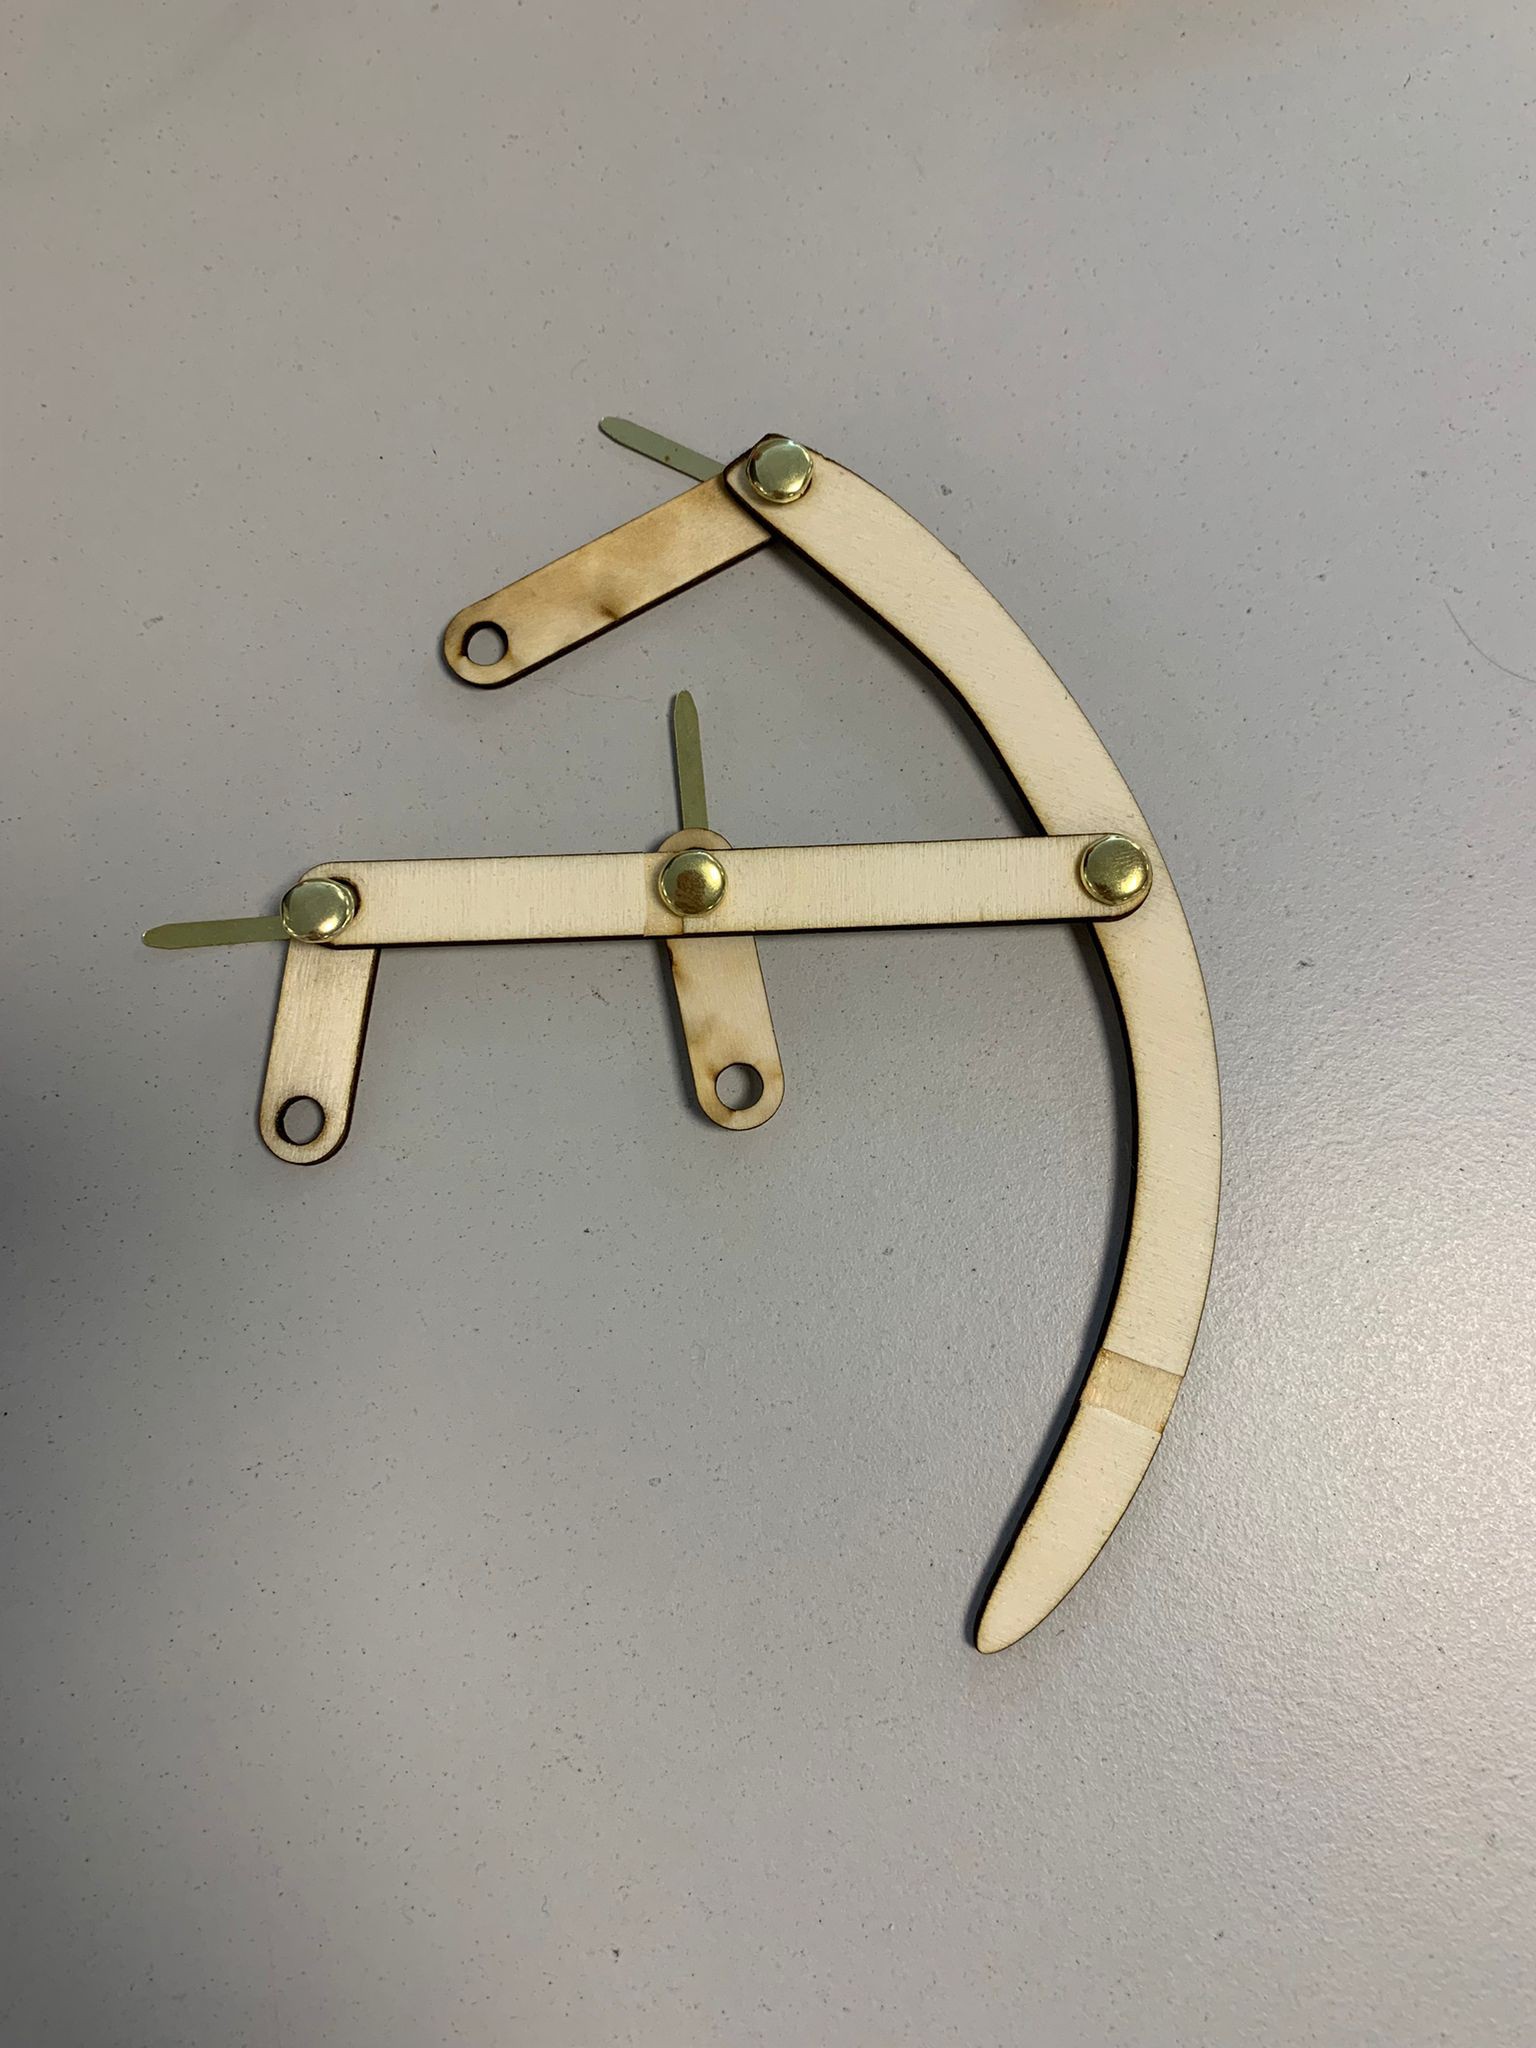
However we had some problem with this one suddenly all the parts were not cut. Our school's laser cutter struggled with each of our cuts. That's why at the end of this session, we decided to move on to 3D printing. Nevertheless we still managed to cut our pieces in a wooden plate, with always the same problems of proportions, it's still too small and with the laser cutting problem, it's quite hard to do a lot of test. This is what the projetc look like now :
![]()
![]()
![]()
-
Wednesday April 12
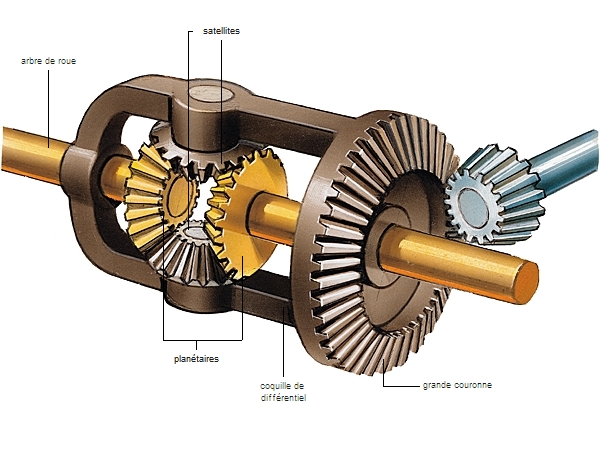
04/12/2023 at 16:41 • 0 commentsWe finally found a mechanism to make the legs work. We have also added features, our monster will be able to turn, like a tank, blocking one side and advancing on the other, for this, we have thought of several solutions. At first we wanted to use chains, and to cut a part, we would just derail the chain. However, it seems quite complicated to do. In the end, the solution we kept is to use a differential to be able to block one side. This solution involves using more motors and therefore no longer respecting the rule of using only one motor. For next week, it will be necessary to plan in advance the 3D models of the parts and the gears to be able to cut them with the laser cutter. You will also have to finish the list of materials to be used and buy them.
![]()
![]()
-
Wednesday March 29
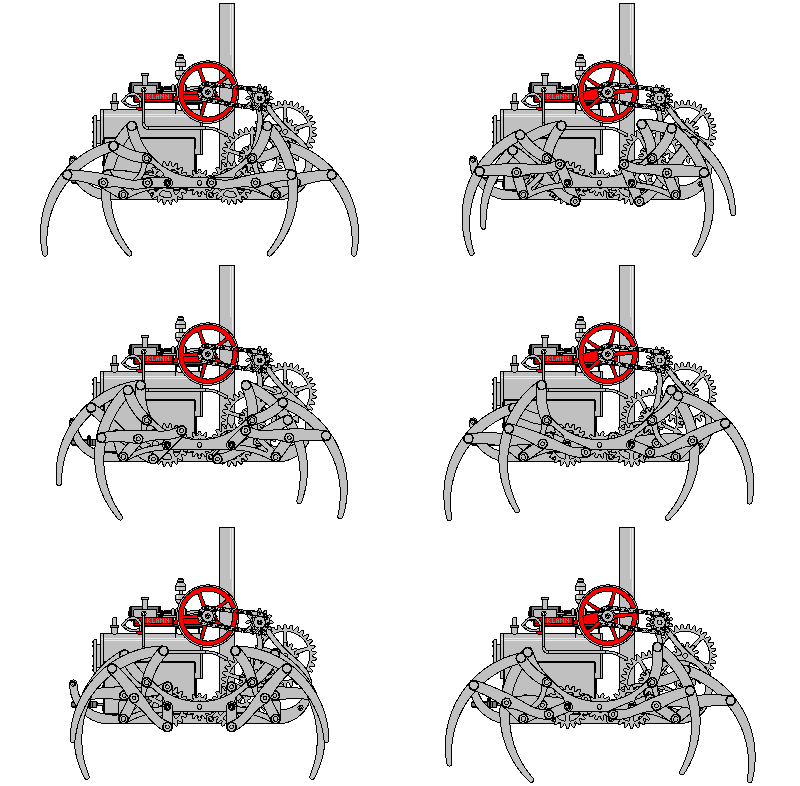
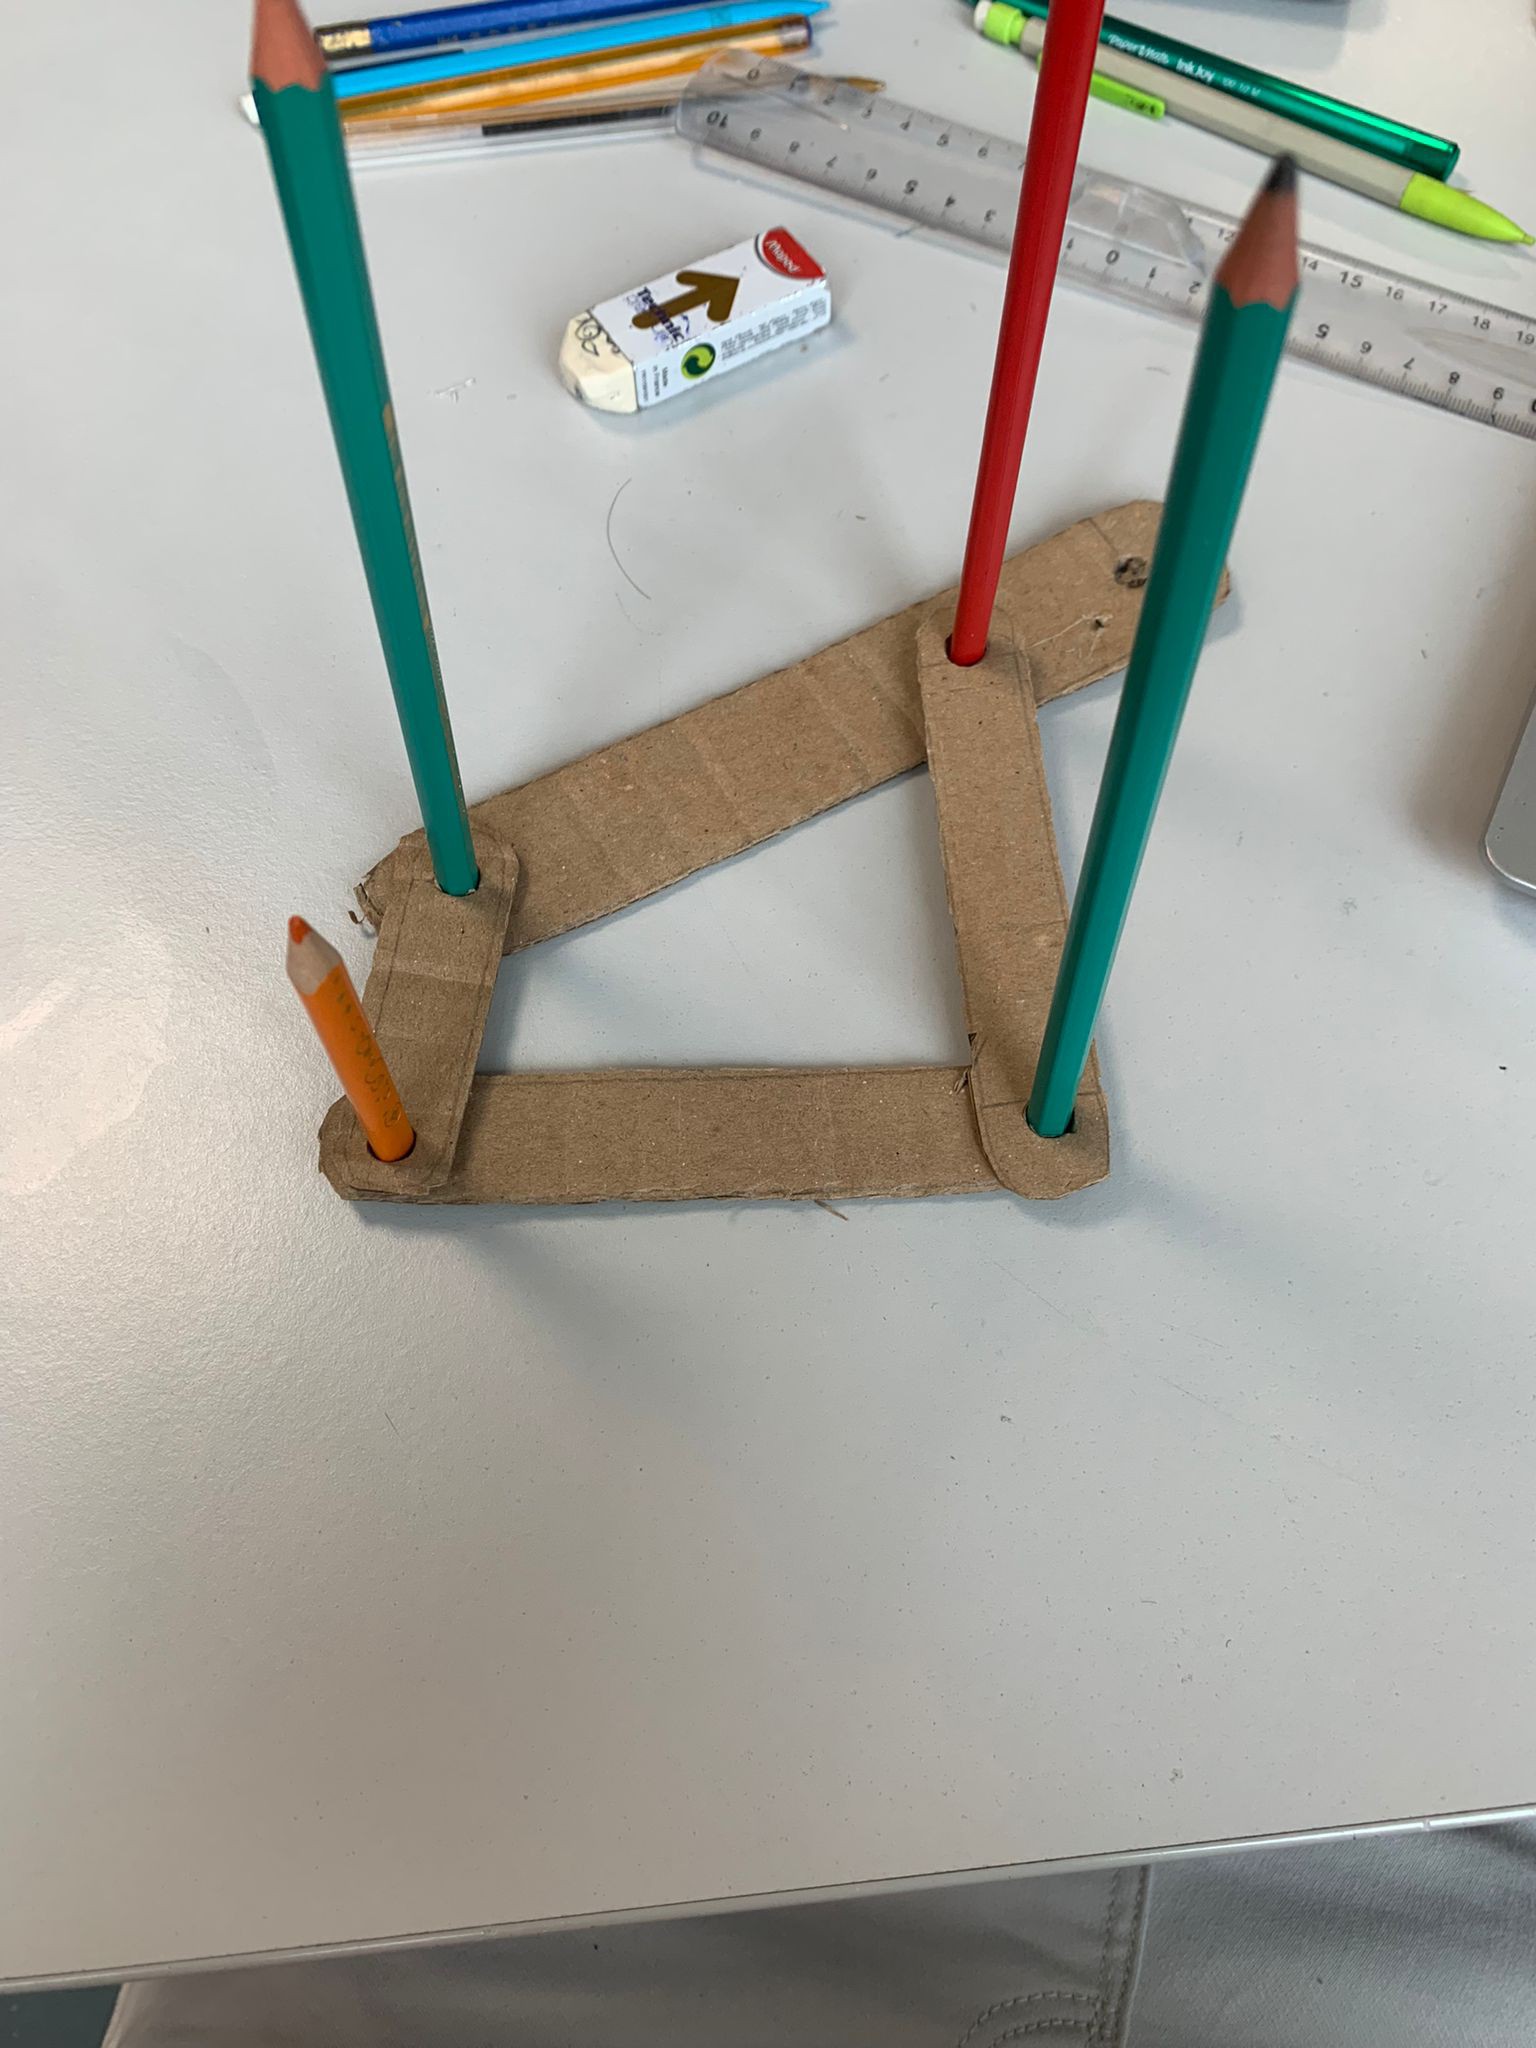
04/12/2023 at 13:09 • 0 commentsWe started a cardboard prototype to test the operation of the legs of our project. We have found a solution but it does not fully meet our expectations. For next time we have to figure out how to integrate this leg with the gears.
Little Monster
are you ready to meet the scariest mechanical spider that you ever see ?
