1st Protoype :
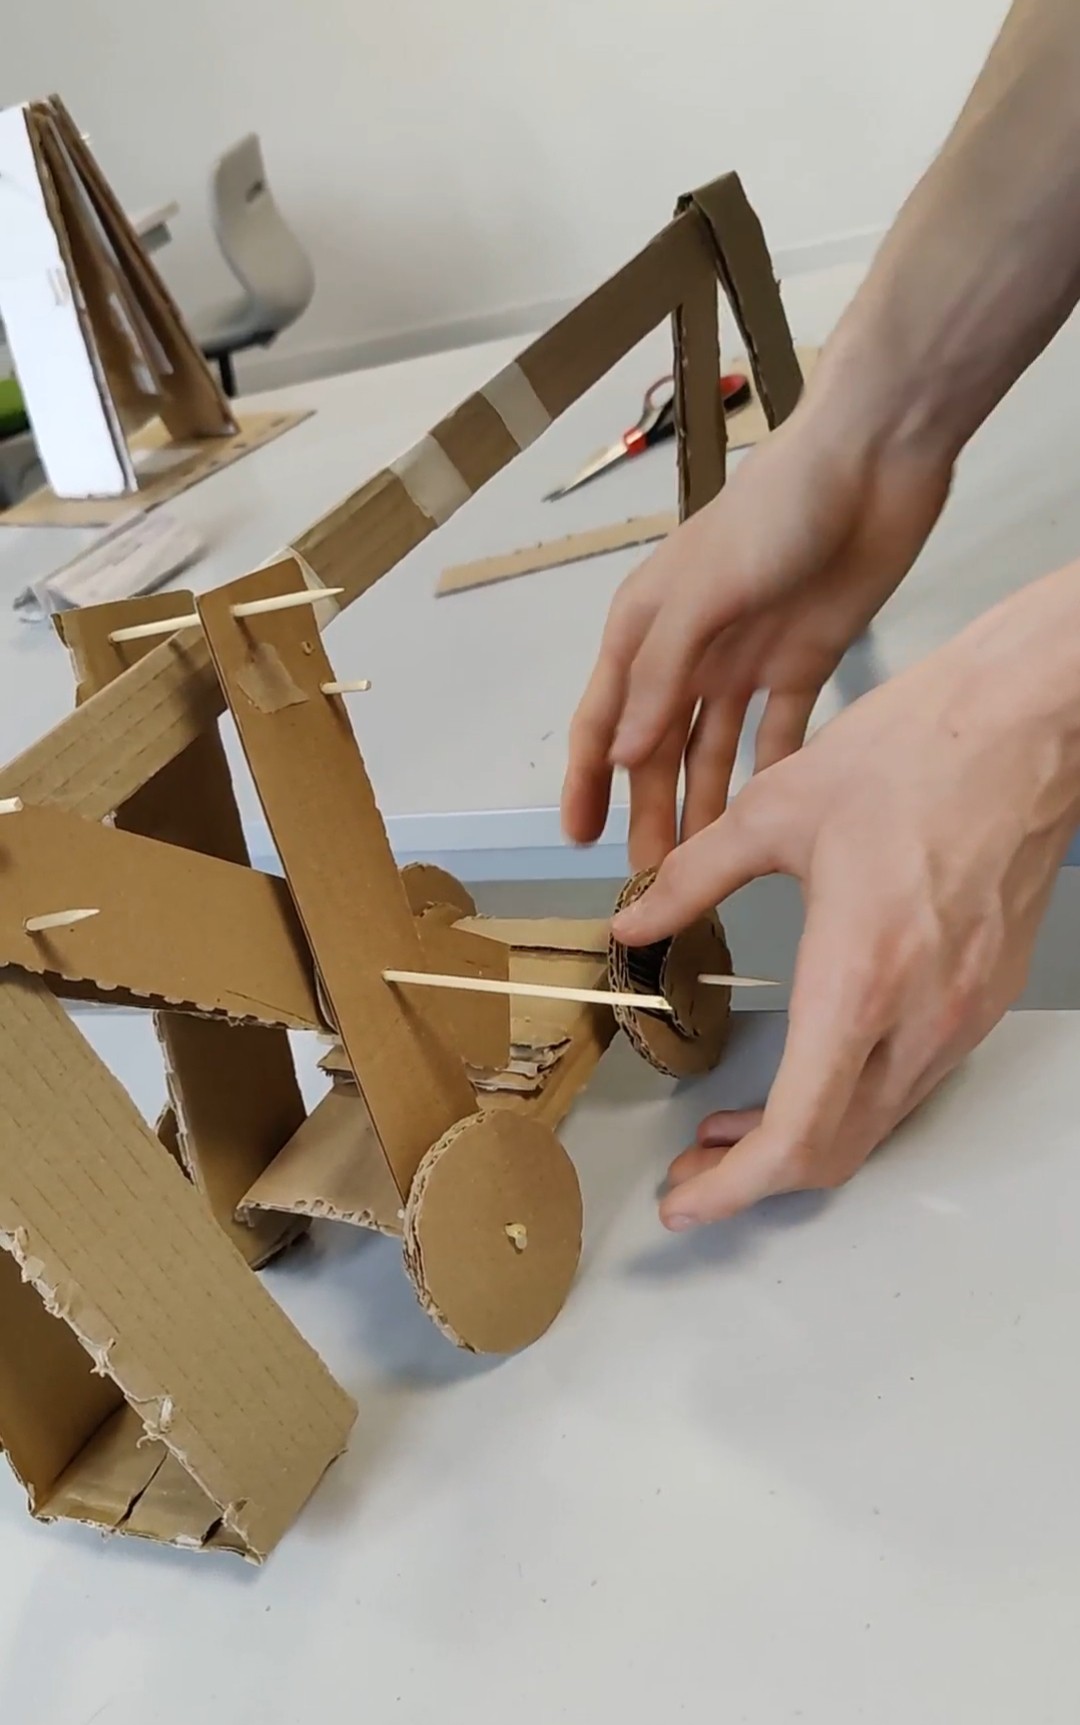
Our first prototype was made using cardboard and wooden sticks (and glue). As our project needed to be related to mechanical engineering, we had to look for "ingredients" that we liked about mechanical engineering so we could put them all together. With my teammates, our ingredients were : "The mouvement of rotation and the mouvement of lifting, the transmission of power that comes from a motor, the reaction of chain that you get with multiple gears combined together. So, we chose to go with a car and add a bridge to crossl gaps between two platforms. We were heavily inspired by a Youtube video showing the bridge car fully made out of lego :
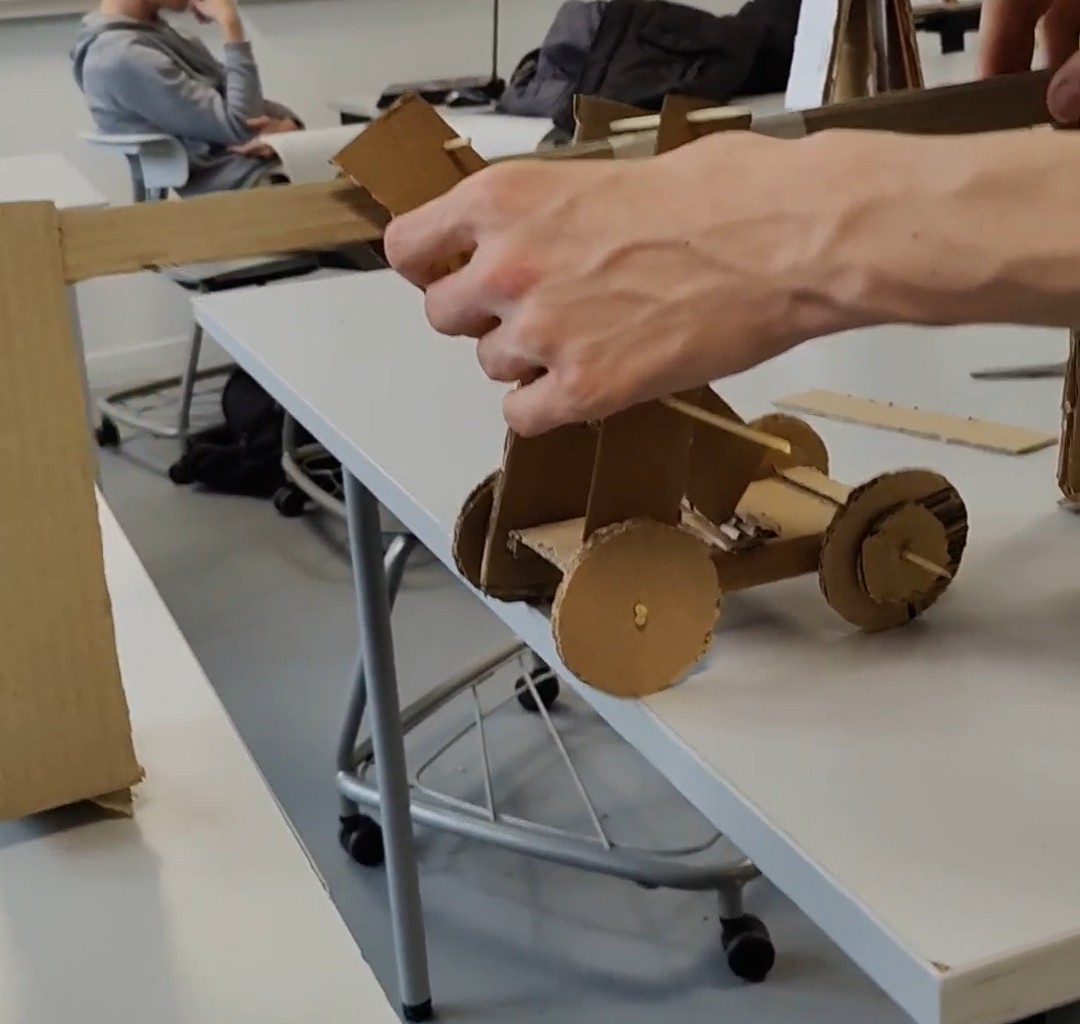
To carry the bridge without having it dragging on the floor we used a system that kinda works like a lift table.
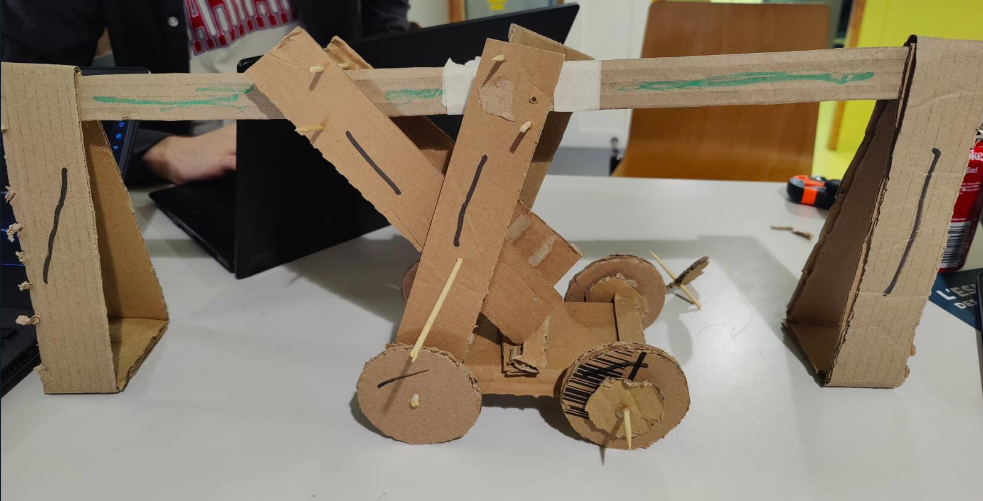
After 3 long hours of hardwork we were finally able to finish the cardboard protoype.

The bridge is supposed to slide upon the car until it reaches the other side of the platform. The car then lifts itself onto the bridge and slides across it before putting itself down. The bridge then sildes back to it's center of gravity and is wedged in place with the help of a small block.

Now the first step onto our next prototype was to decide what materials we would use for the different parts of the project. In the image below, the parts marked in black are supposed to be replaced with wood and the parts in green are supposed to be modelised and 3D printed if possible.
For our second model, we wanted to try using Legos to learn more about what we needed to do and take into account for a working model.
So, we decided to list all the constraints we encountered so we could be more aware of all technical difficulties.
Technical constraints:
It is necessary for the weight of the car to be well distributed so that once it is on the bridge, it is not unbalanced. In our first prototype, the battery was at the back, which meant that the center of mass was not in the center of the car. Therefore, we had to place the battery, which represents the majority of the car's mass, in the center.
The bridge must also be as lightweight as possible while maintaining good rigidity because when it is not in use, it represents unnecessary weight while the car is moving. We used a triangular structure for the legs to ensure minimal weight with good rigidity.
For the car's movement on the bridge, we had to find a way to connect the motor to the battery and also position the motor in an optimal configuration that does not obstruct the car and is sufficiently resistant.
For the scissor lift, we needed to find a system capable of supporting the weight of the bridge while limiting play in the joints.
In summary, we needed a car with minimal weight that would be strong enough to support the weight of a bridge above it.
Issues encountered:
The number of motors (in this case, 4) must be powered by a single battery, which results in power loss if everything is used simultaneously.
Having gears that are strong enough to allow for complete energy transfer.
Here is a look at everything we've done so far.
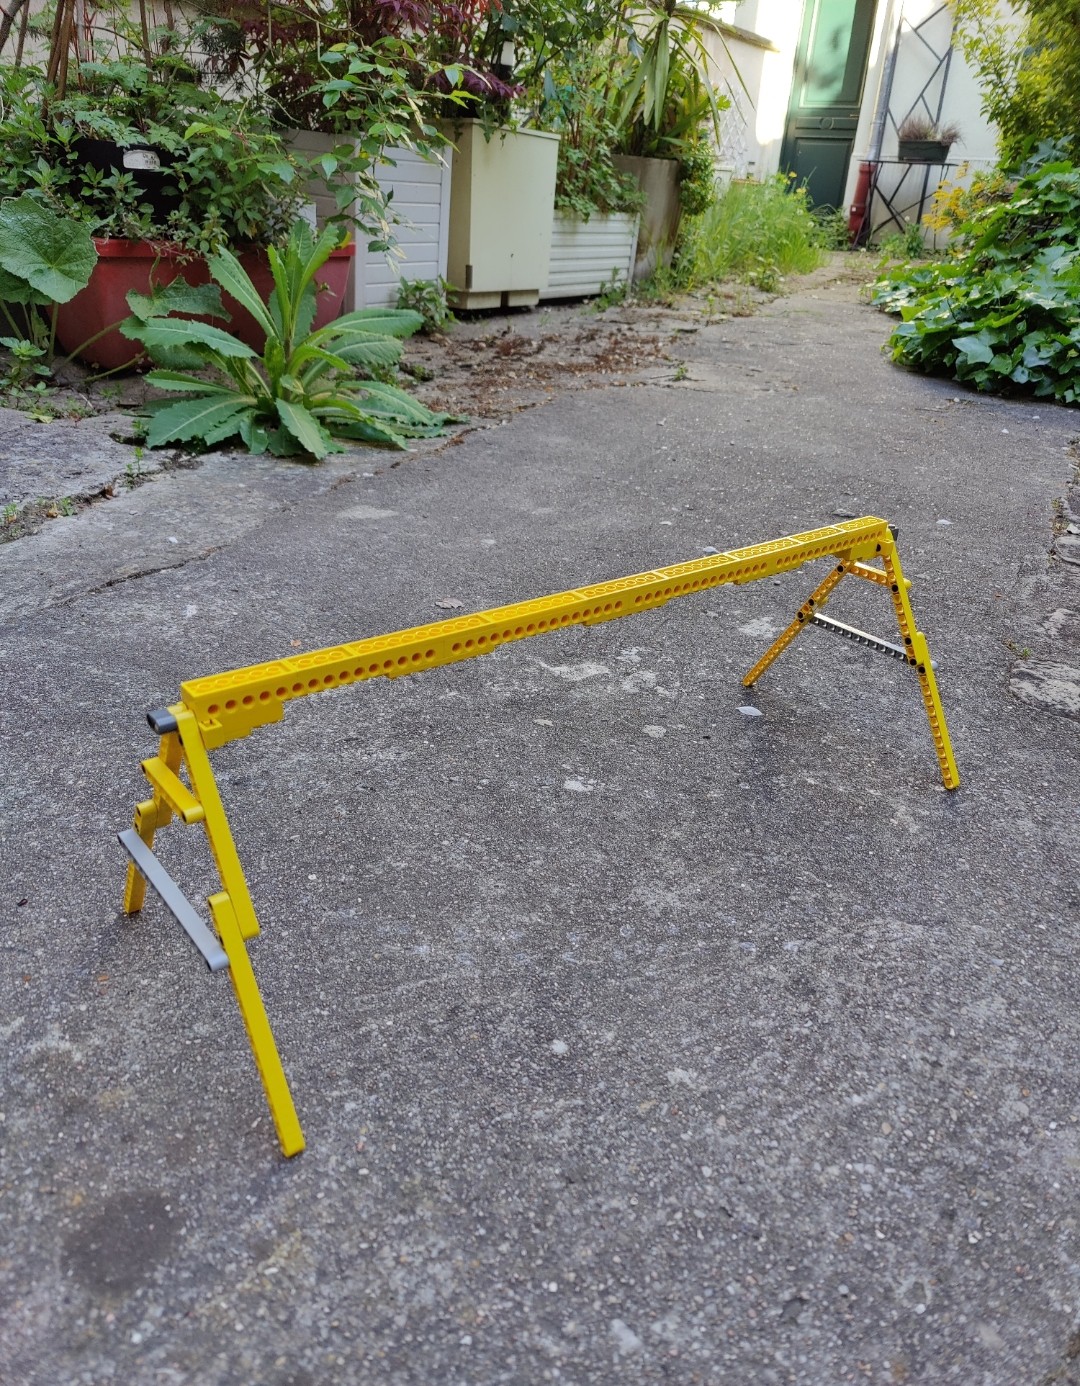
The bridge
The car (unfinished) : on the right we can see the system to get the wheels to turn simultaneously and on the left is the part connected to the motor.
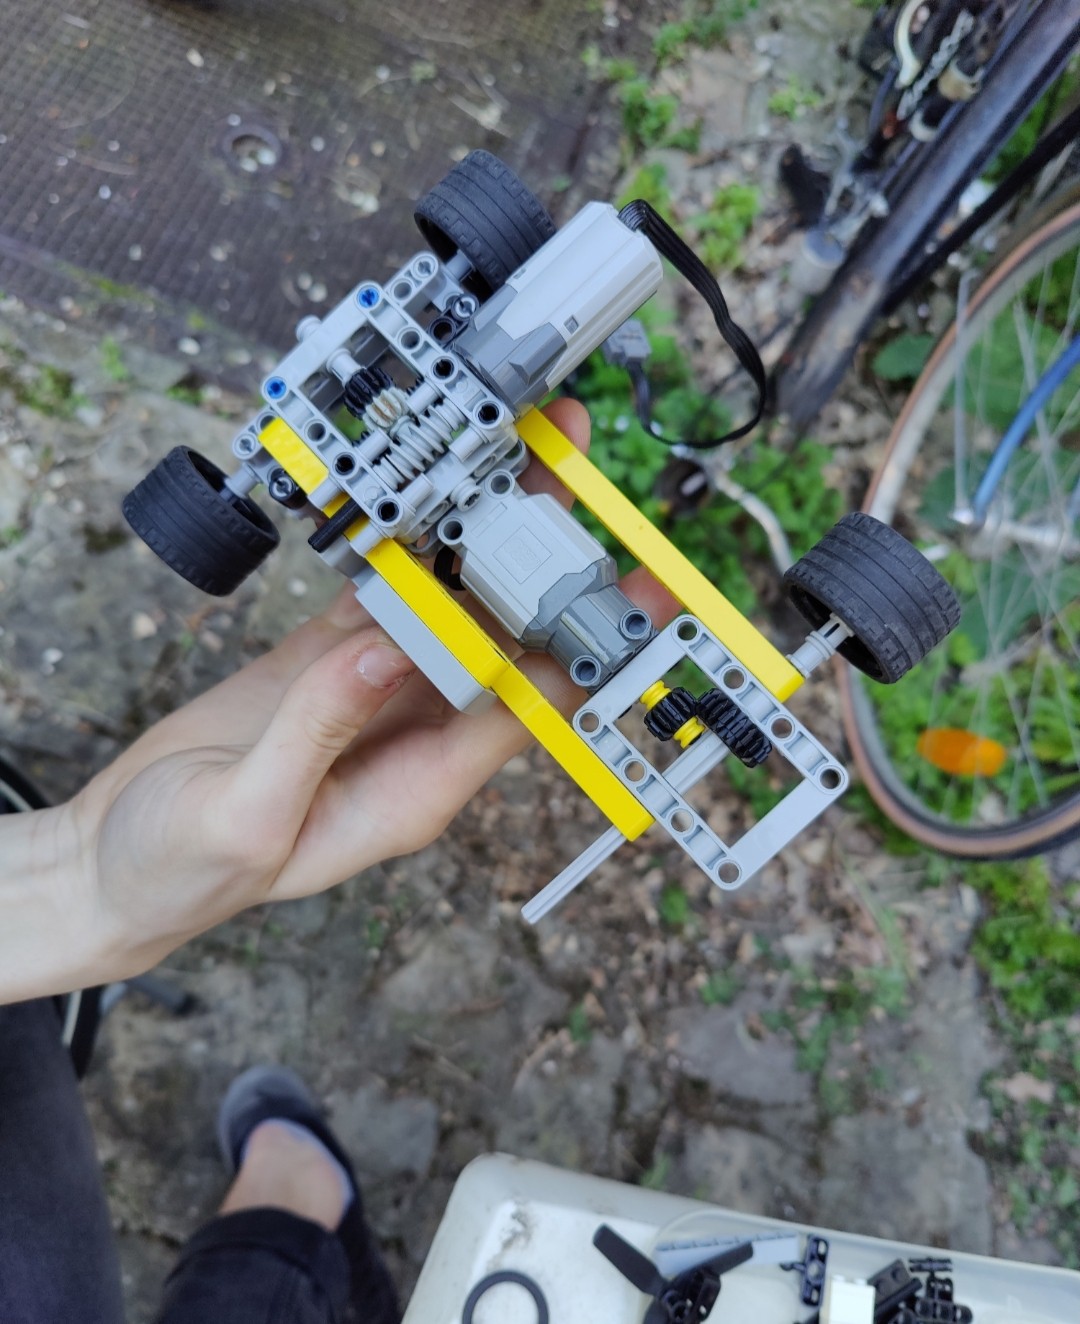
The scissor lift (unfinished) :

We still need to do a railing system so the lift and the car don't fall off the bridge and we need to make the lift motorized. For now we were able to make the wheel on top of the lift motorized so it can slide with the car to get to the other side of the bridge.
Here is a video showing how the system at the top works :
And here are some videos showing the car :
And after many hours of hardwork we were finally able tu pull off a working Lego Prototype !
There were many things we improved over...
Read more »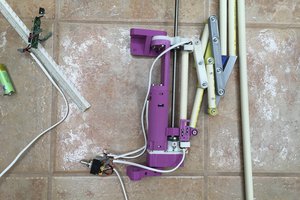

 PixJuan
 Adam Curtis
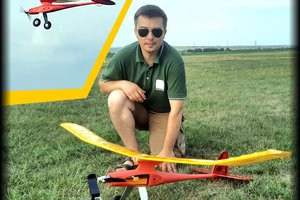
 Marius Taciuc