Keith Cruz
Overview
The final project features a scaled model of the Empire State Building and its lights. The lights are the project’s main component, as it is coded to display different colors depending on the inputs in the analog joystick. The materials include a 3D-printed replica of the Empire State Building, an analog joystick, a button, an ESP32, and strips of WS2812 LED lights.
Artistic vision
I want to replicate the display of lights of the Empire State Building. I have always wanted a view of the Empire State Building from where I live, and since I do not have an apartment with the view of the Empire State Building yet. So, I decided to create a scaled replica to have my own at home that I could display.
I especially like how the building’s lights sparkle every hour as if to dance against the backdrop of the Manhattan skyline. While it is possible to purchase a replica of the building around New York, I have not seen a building replica yet that could accurately mimic its colors and behavior, especially at night. This is why I decided to create a version of a replica capable of displaying LED lights and sparkling every hour. I also wanted a version where I could control the colors displayed on the building. By creating this model, I can take a part of New York anywhere I go and wherever life takes me.
Technical Specifications
The scale of the Empire State Building was 3D printed using a file uploaded on printables.com by Josef Prusa. The scale of the 3D file was maintained to be 100% but was cut to about 12” starting from the top to the bottom. This was intended to fit the material into the 3D printing machine. However, I encountered some issues with the 3D printer and used a different model from thingiverse.com by sitts314. The link for this model can be found here: https://www.thingiverse.com/thing:151412
Two sizes of WS2812 LED strip lights were used for the model. A wider ¼” thick LED strip is used on thicker ledges of the scale, while a 0.2” thick LED strip is used on thinner ledges (typically on the higher levels. These lights are connected through one connection and are powered by the 5V power output of the ESP32. The joystick is also connected to the 5V power output. The VRx pin used is pin 12, and the VRy pin uses pin 13. The joystick button pin used is 15. Another component is the button. It is connected through the 3V power output of the ESP32 and uses pin 37. The WS2812 RGB LED lights use pin 2.
How the manual mode works:
The strip will initialize to manual mode when turned on. In this mode, the user can manually control the color of the lights with the joystick. The hue of the color is adjusted when tilting the joystick horizontally (x-axis). The saturation of the color is adjusted when tilting the joystick vertically (y-axis). Adjusting on both sides can display the desired color. The joystick will control the bottom lights when the device is turned on. To rotate between different levels of lights, press the joystick button.
How the automatic mode works:
While the strip is on manual mode, pressing the button will put it on automatic mode. Pressing it again toggles it back to manual mode. The automatic mode relies on time to change the strip lights’ display status. The first time the button is pressed will display a still light for a set time - in this case, 60 seconds. After 60 seconds, the lights will randomly sparkle for 30 seconds, and it will go back to display a still light. The amount of time to change lights can be controlled by changing the value within the code. This mode is meant to imitate the behavior of the actual Empire State Building, where it displays a still light every hour and twinkles for 10 minutes at the hour.
How to re-create
To recreate this project, the ESP32, wires, a joystick, a button, and a USB-C cable are required to power up the ESP32 and upload the code to the ESP32. The use of a breadboard will be optional if you can manage to connect all the wires without it easily and correctly. The Arduino IDE software must be installed on the computer for debugging and running the whole project. After gathering all required components and materials, open Arduino IDE and connect the ESP32 to the computer. Upload the code into your ESP32; your model should work properly if you can attach the LED strips around your model properly.
Enclosure
You can decide on any enclosure that you want. I decided to enclose it inside a space with a printout of the Manhattan skyline as the backdrop. The idea is that we are looking at the building from the North, looking South which is the most iconic view of the Empire State Building. The space underneath is used to properly manage the wires and the controls, such as the joystick and the button.
Technical Challenges
3D printing issues:
I struggled with 3D printing the original detailed model I found online from printables.com, and I had to look up another model for printing while I was at the Barnard Design Center. Therefore, I had to switch up some details that I originally intended and have a base that would be hollow enough to fit wires inside it. Unfortunately, my model had no hollow space underneath, so I had to create a different enclosure.
LED strip installation issues:
Installing the LED lights onto the Empire State Building scale model was a struggle. The ledges of the building where the strip lights will be installed are too narrow. This problem can be solved by scaling the 3D model to more than 100%. However, doing this is not ideal since if I do that; the printing time will be more than 24 hours, which will take too long. It was possible to install it on the ledges anyway, but there are overhanging parts of the strip, especially at the higher levels, and they do not look aesthetic. Also, bending the strip lights around the corners of the building requires some discretion since bending the lights in the wrong location can damage the rest of the strip and make it unresponsive. I had to discard one strip because it was damaged when I bent it. Some strips are partially damaged when bent in a way that needs to be repositioned in a certain way to make it work again. I bought narrower LED strips, but they broke when I bent them around the corners, so I used wider strips.
Joystick issues:
One issue I had with the joystick is that it can only detect the extreme value of the x-axis when tilted towards the right. Because of this, one color can only be displayed when tilted towards the right regardless of intensity, whereas tilting the left with varying intensity also displays various hues. Unfortunately, no other joystick was available at the time of the creation of this project, so I still used the faulty joystick.
Wiring and breadboard issues:
It was also a struggle trying to wire up everything without the breadboard, and it was my original intent to connect it straight to the ESP32 and not use the breadboard to make it more space efficient. I had to ensure enough pins to connect the joystick, button and LED. Only three sides of the model are shown since the model I couldn't connect it well without the breadboard, and it also didn't help that the 3D printing was not hollow inside which was the original plan, so that the wires could be hidden properly. To remedy this, the back portion of the model was intentionally used to hide the wires and store the breadboard, button, and joystick underneath the enclosure.
Arduino code issues:
I also struggled to figure out how to properly code for the display of the real-life colors of the building as it looks in New York City. So I opted for a different approach to creating a more time-based automatic mode than a web-based one.
Future Improvements
I would like to have a model that is much more details with much more and better LEDs. This way, I would have a model with much finer building detail and the capability to control more LEDs and more accurately mimic the display in real life. I also desire to have this scaled model much bigger and possibly include the bottom portion instead of cutting it in half. I would also like a model wherein the model’s LEDs could automatically change color based on how the building looks like. Finally, I also found out that the building does music-to-light shows and would love to have that capability, but I would probably need some more materials for that and possibly create an app to control all of this.
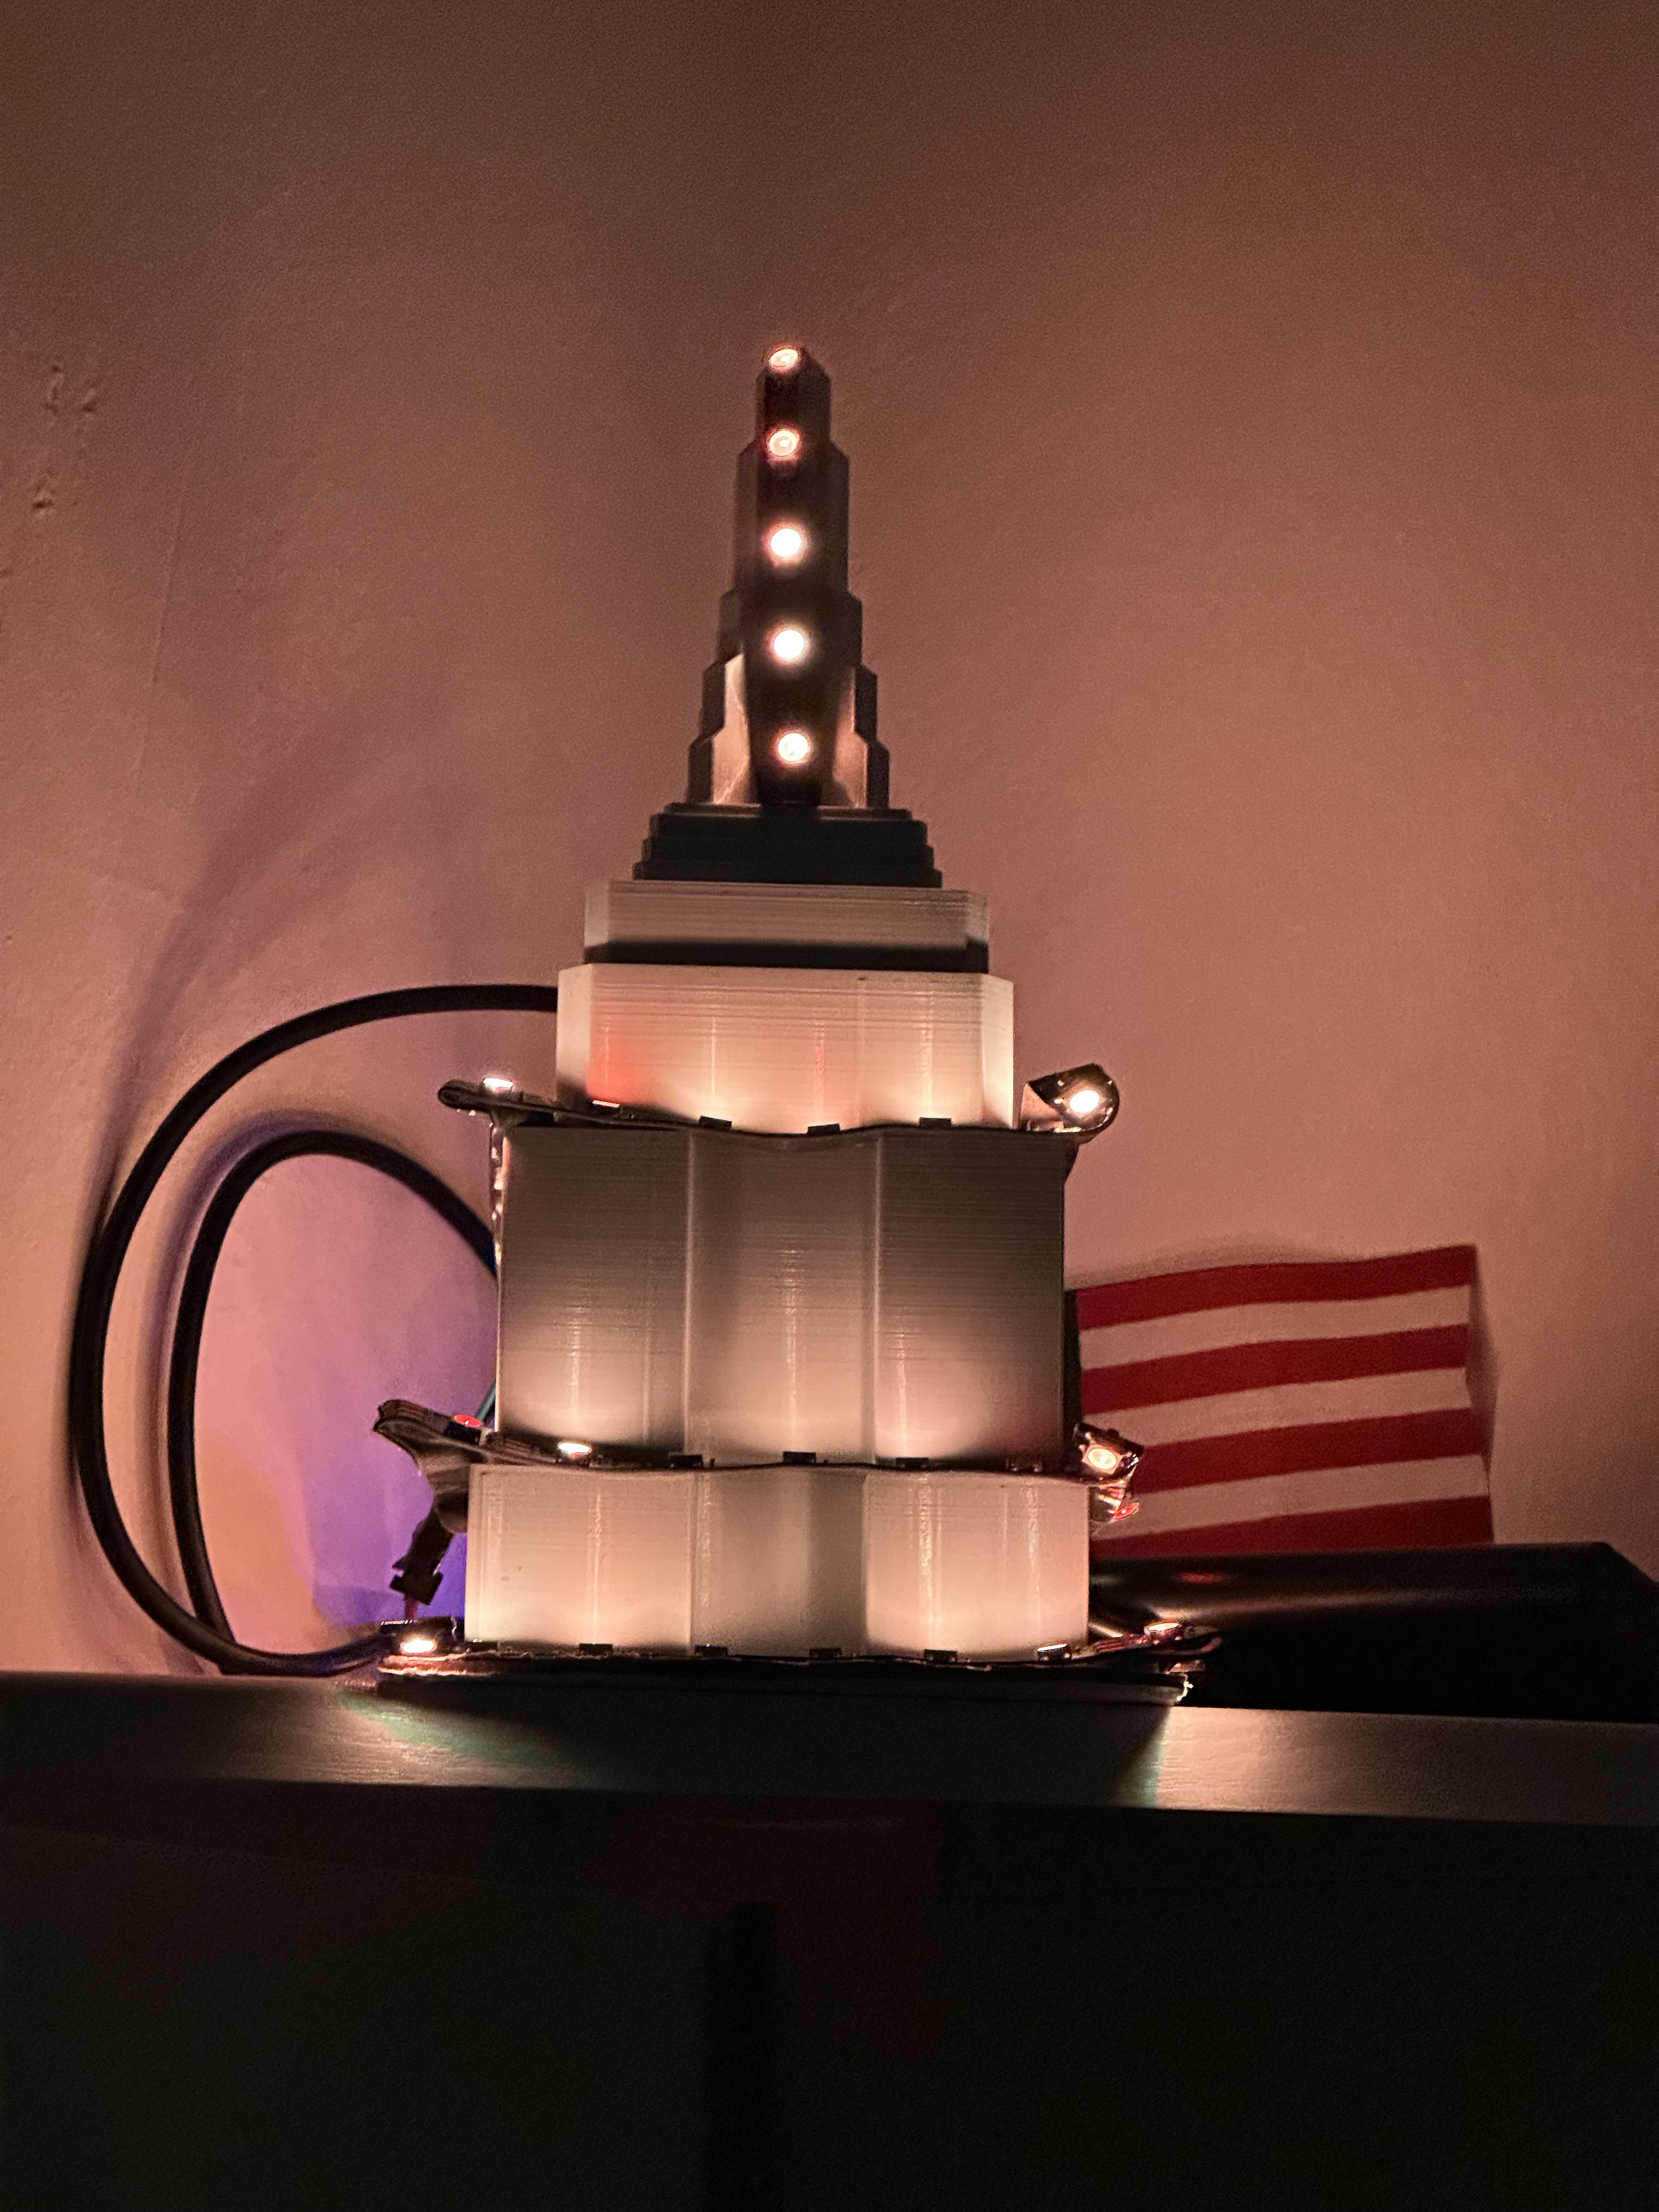
As a final note, I used a portable charger to power the ESP32 and display it at home. The model will now be completely automatic and display sparkling lights every hour for ten minutes. Of course, until I make the improvements I wanted for it. Below is the image of the model at home: