 Kevin Santo Cappuccio
Cool, so you have this super sexy object now. How do turn it into an actual prototyping tool? The answer is software.
After you've unboxed (and maybe assembled) your Jumperless, we're going to need a way to talk to it.
Now, the Jumperless is very open and will accept netlists from any program with some basic formatting, if you hate Wokwi and want to use something else, this project log should give you an idea of what format it accepts over serial so you can write your own Bridge to any software you like. But for now, I'm focusing on Wokwi because I think it's better to have solid support for one workflow than shitty support for a bunch.
First, we need to download the App and latest firmware here.
Updating The Firmware
I ship these with the latest firmware installed, so if you just received your Jumperless in the mail, you can skip the firmware update. But I usually push minor fixes to that firmware.uf2 file every few days, so it's probably worth doing anyway.
On your Jumperless, there will be a little button on the opposite side of the USB port. This is the USB Boot button and works exactly the same as a Raspberry Pi Pico.
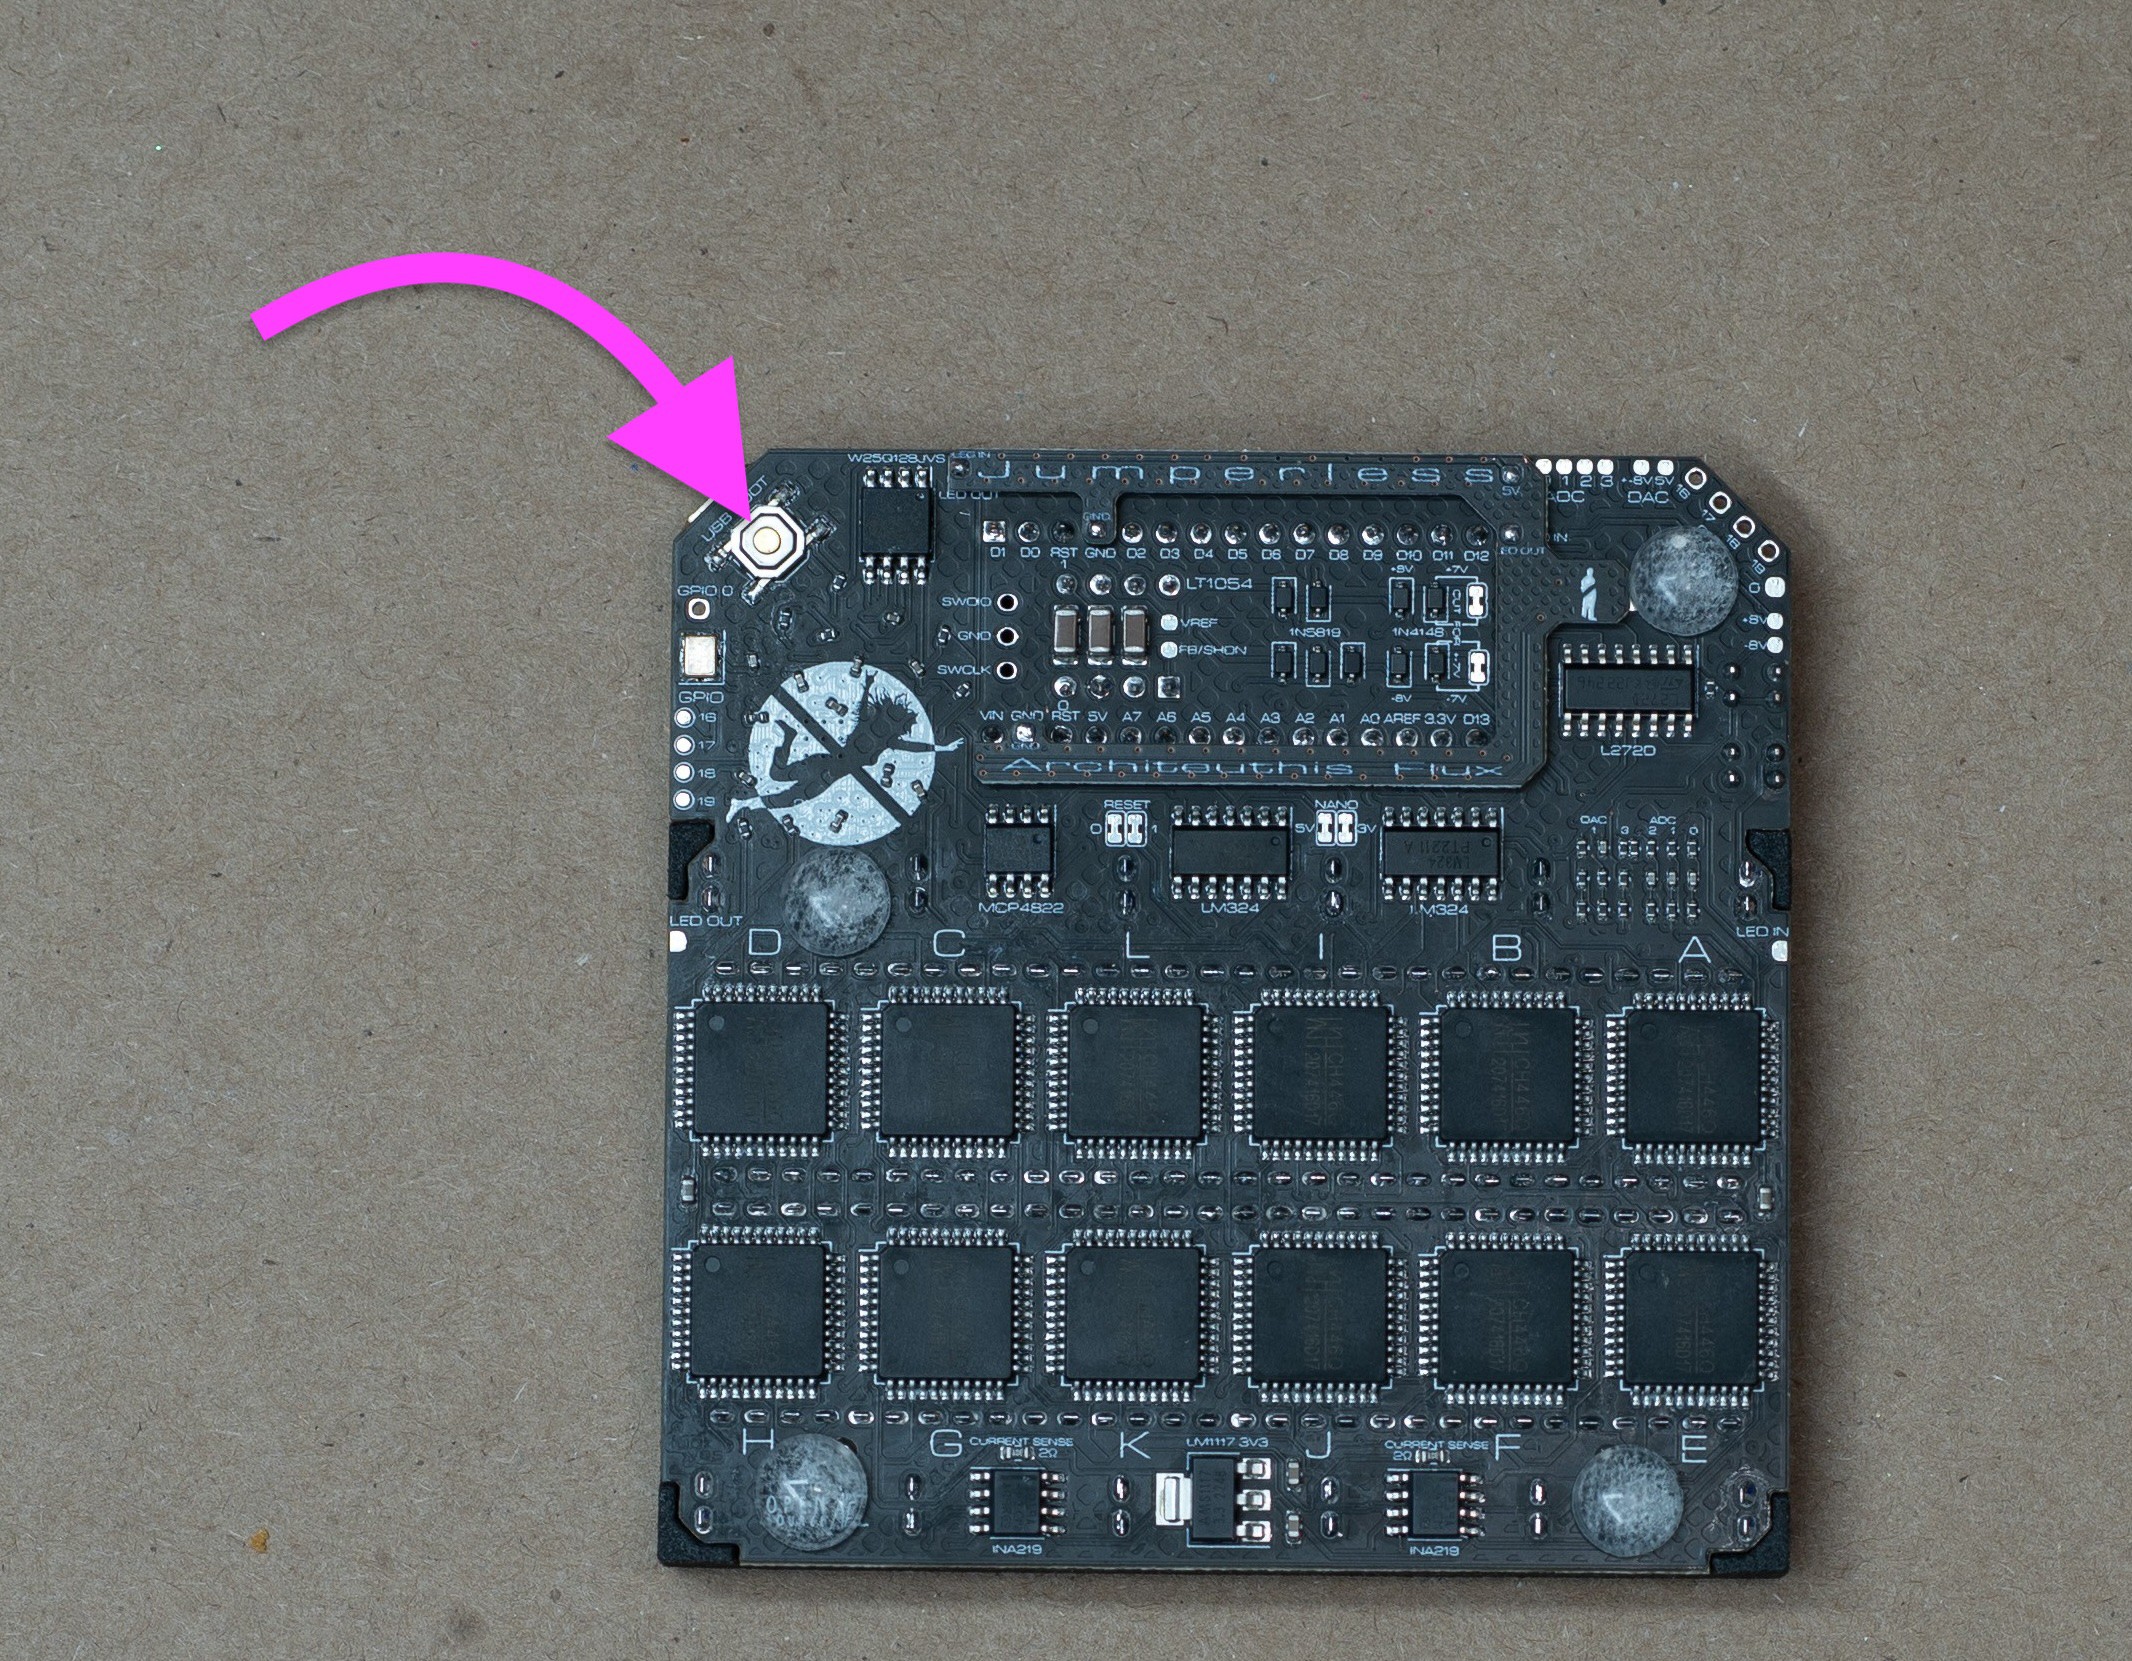
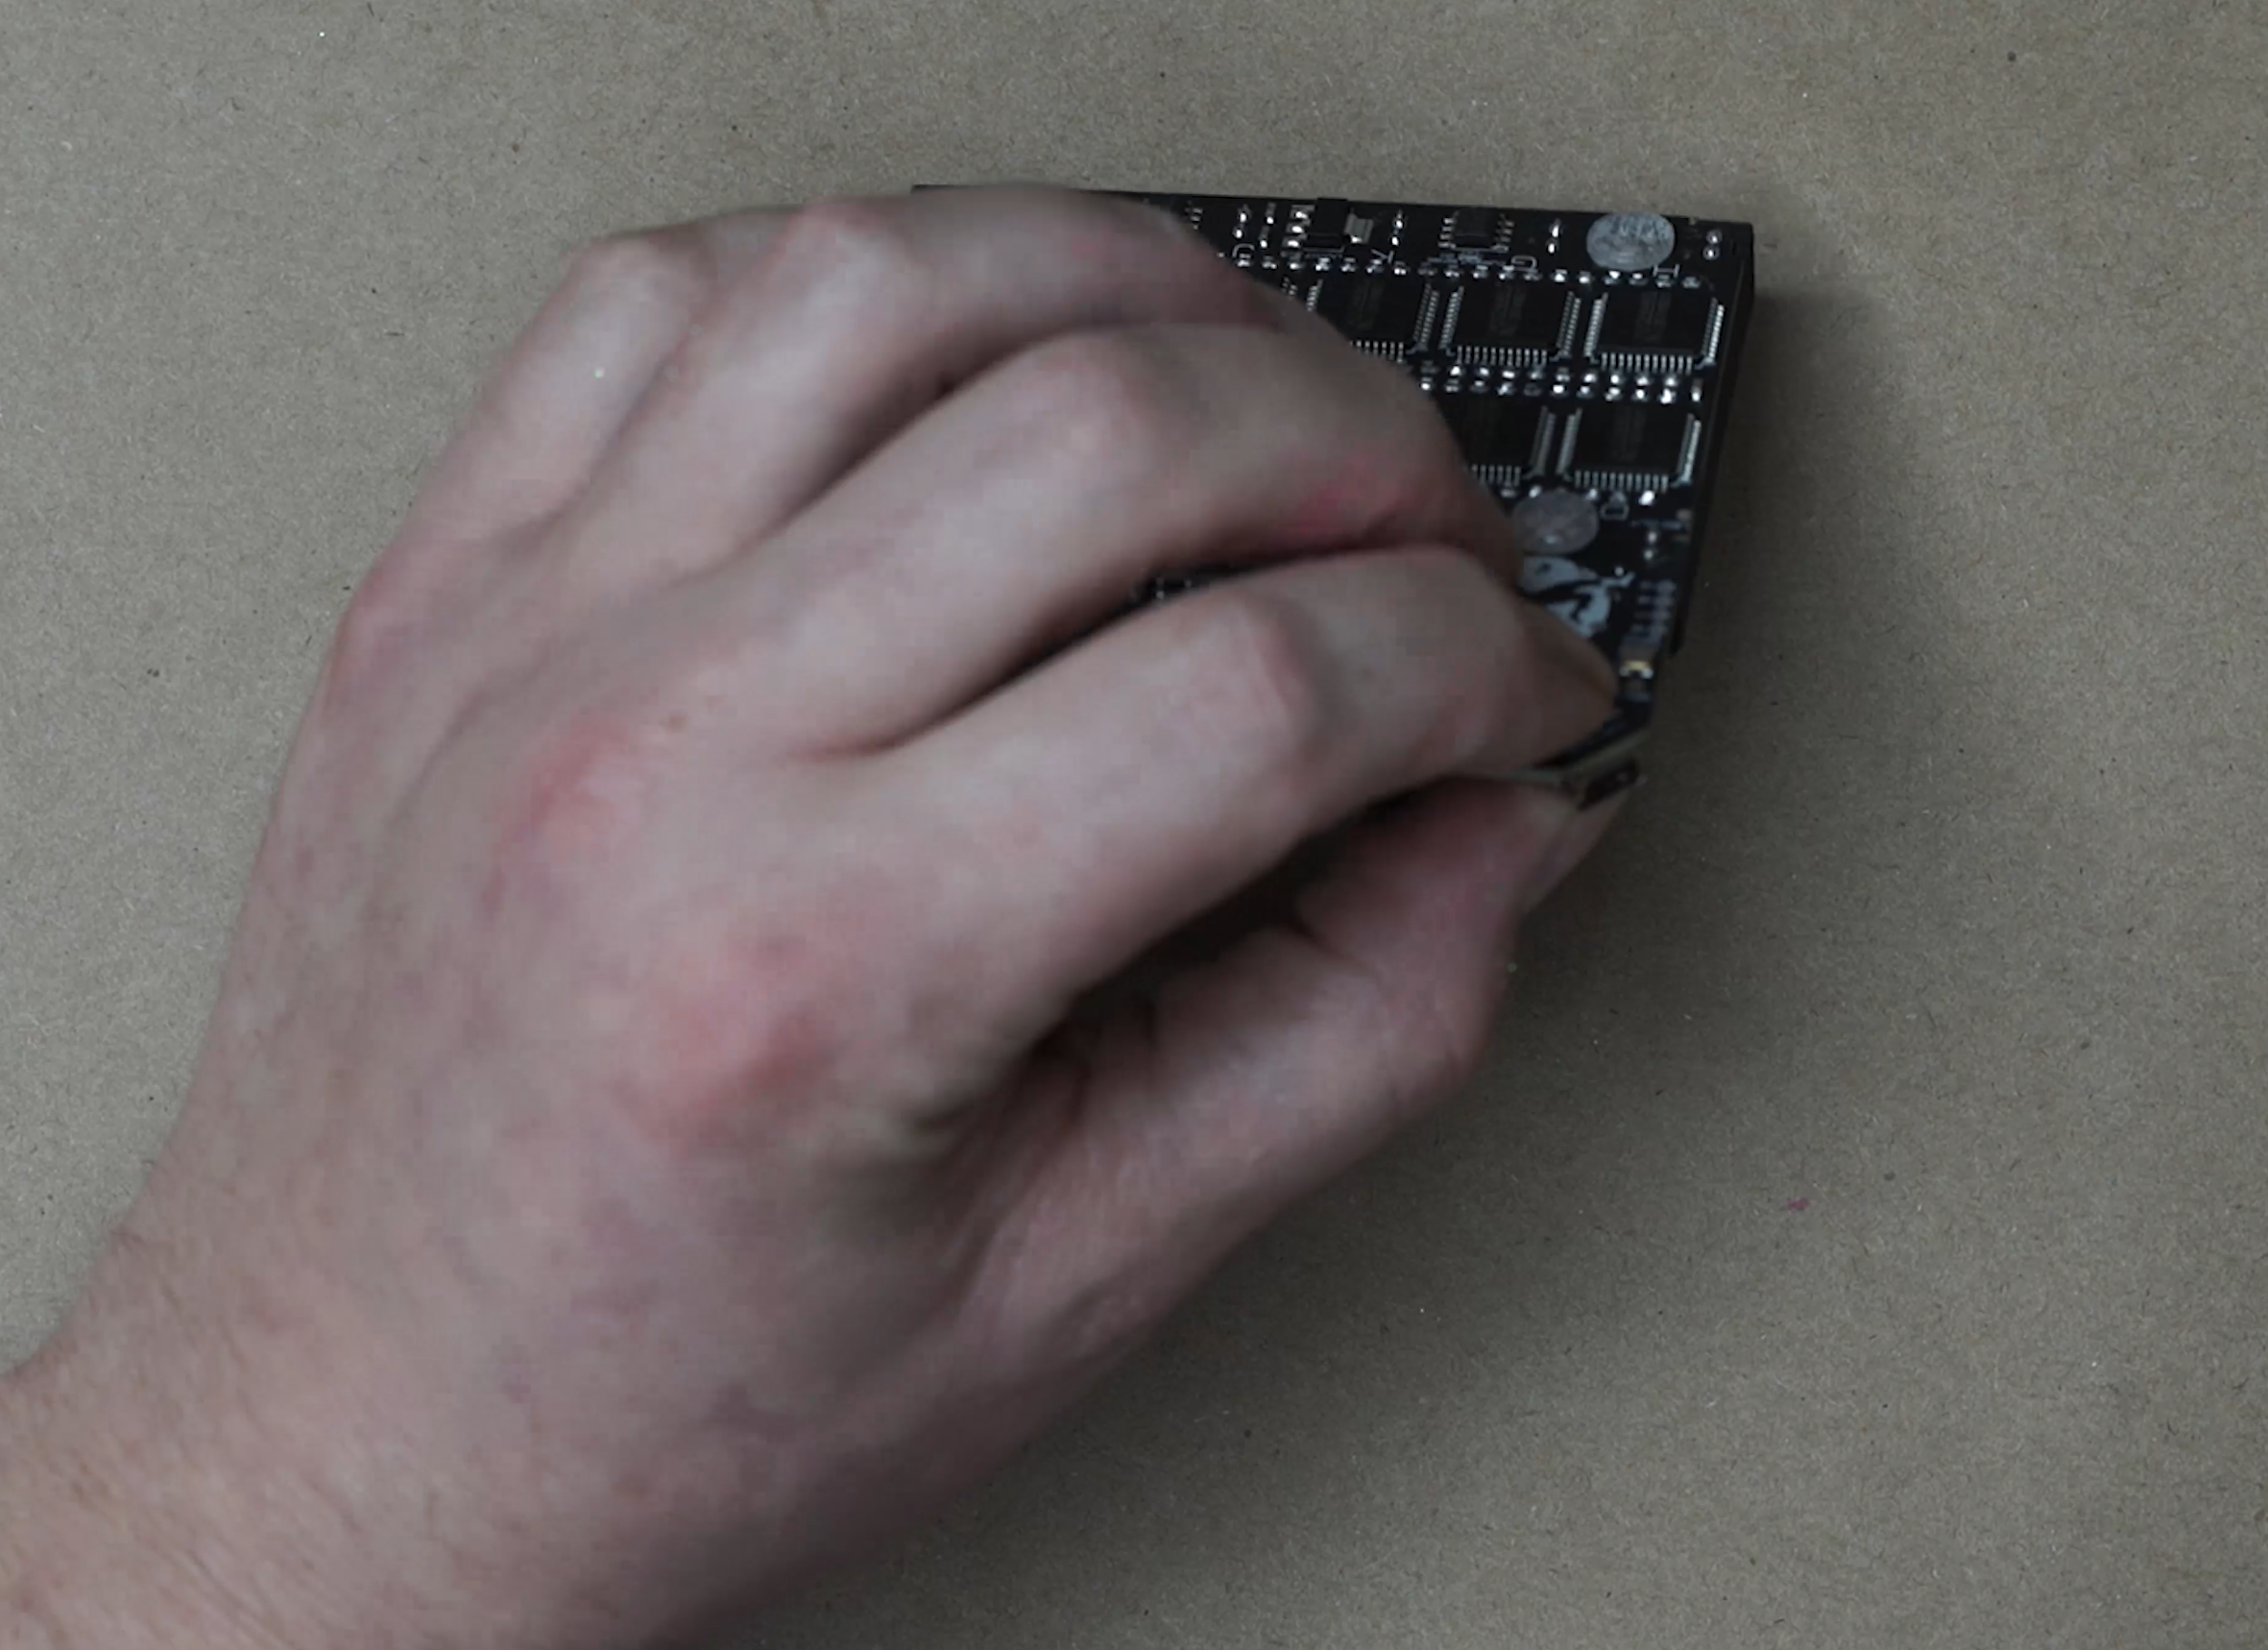
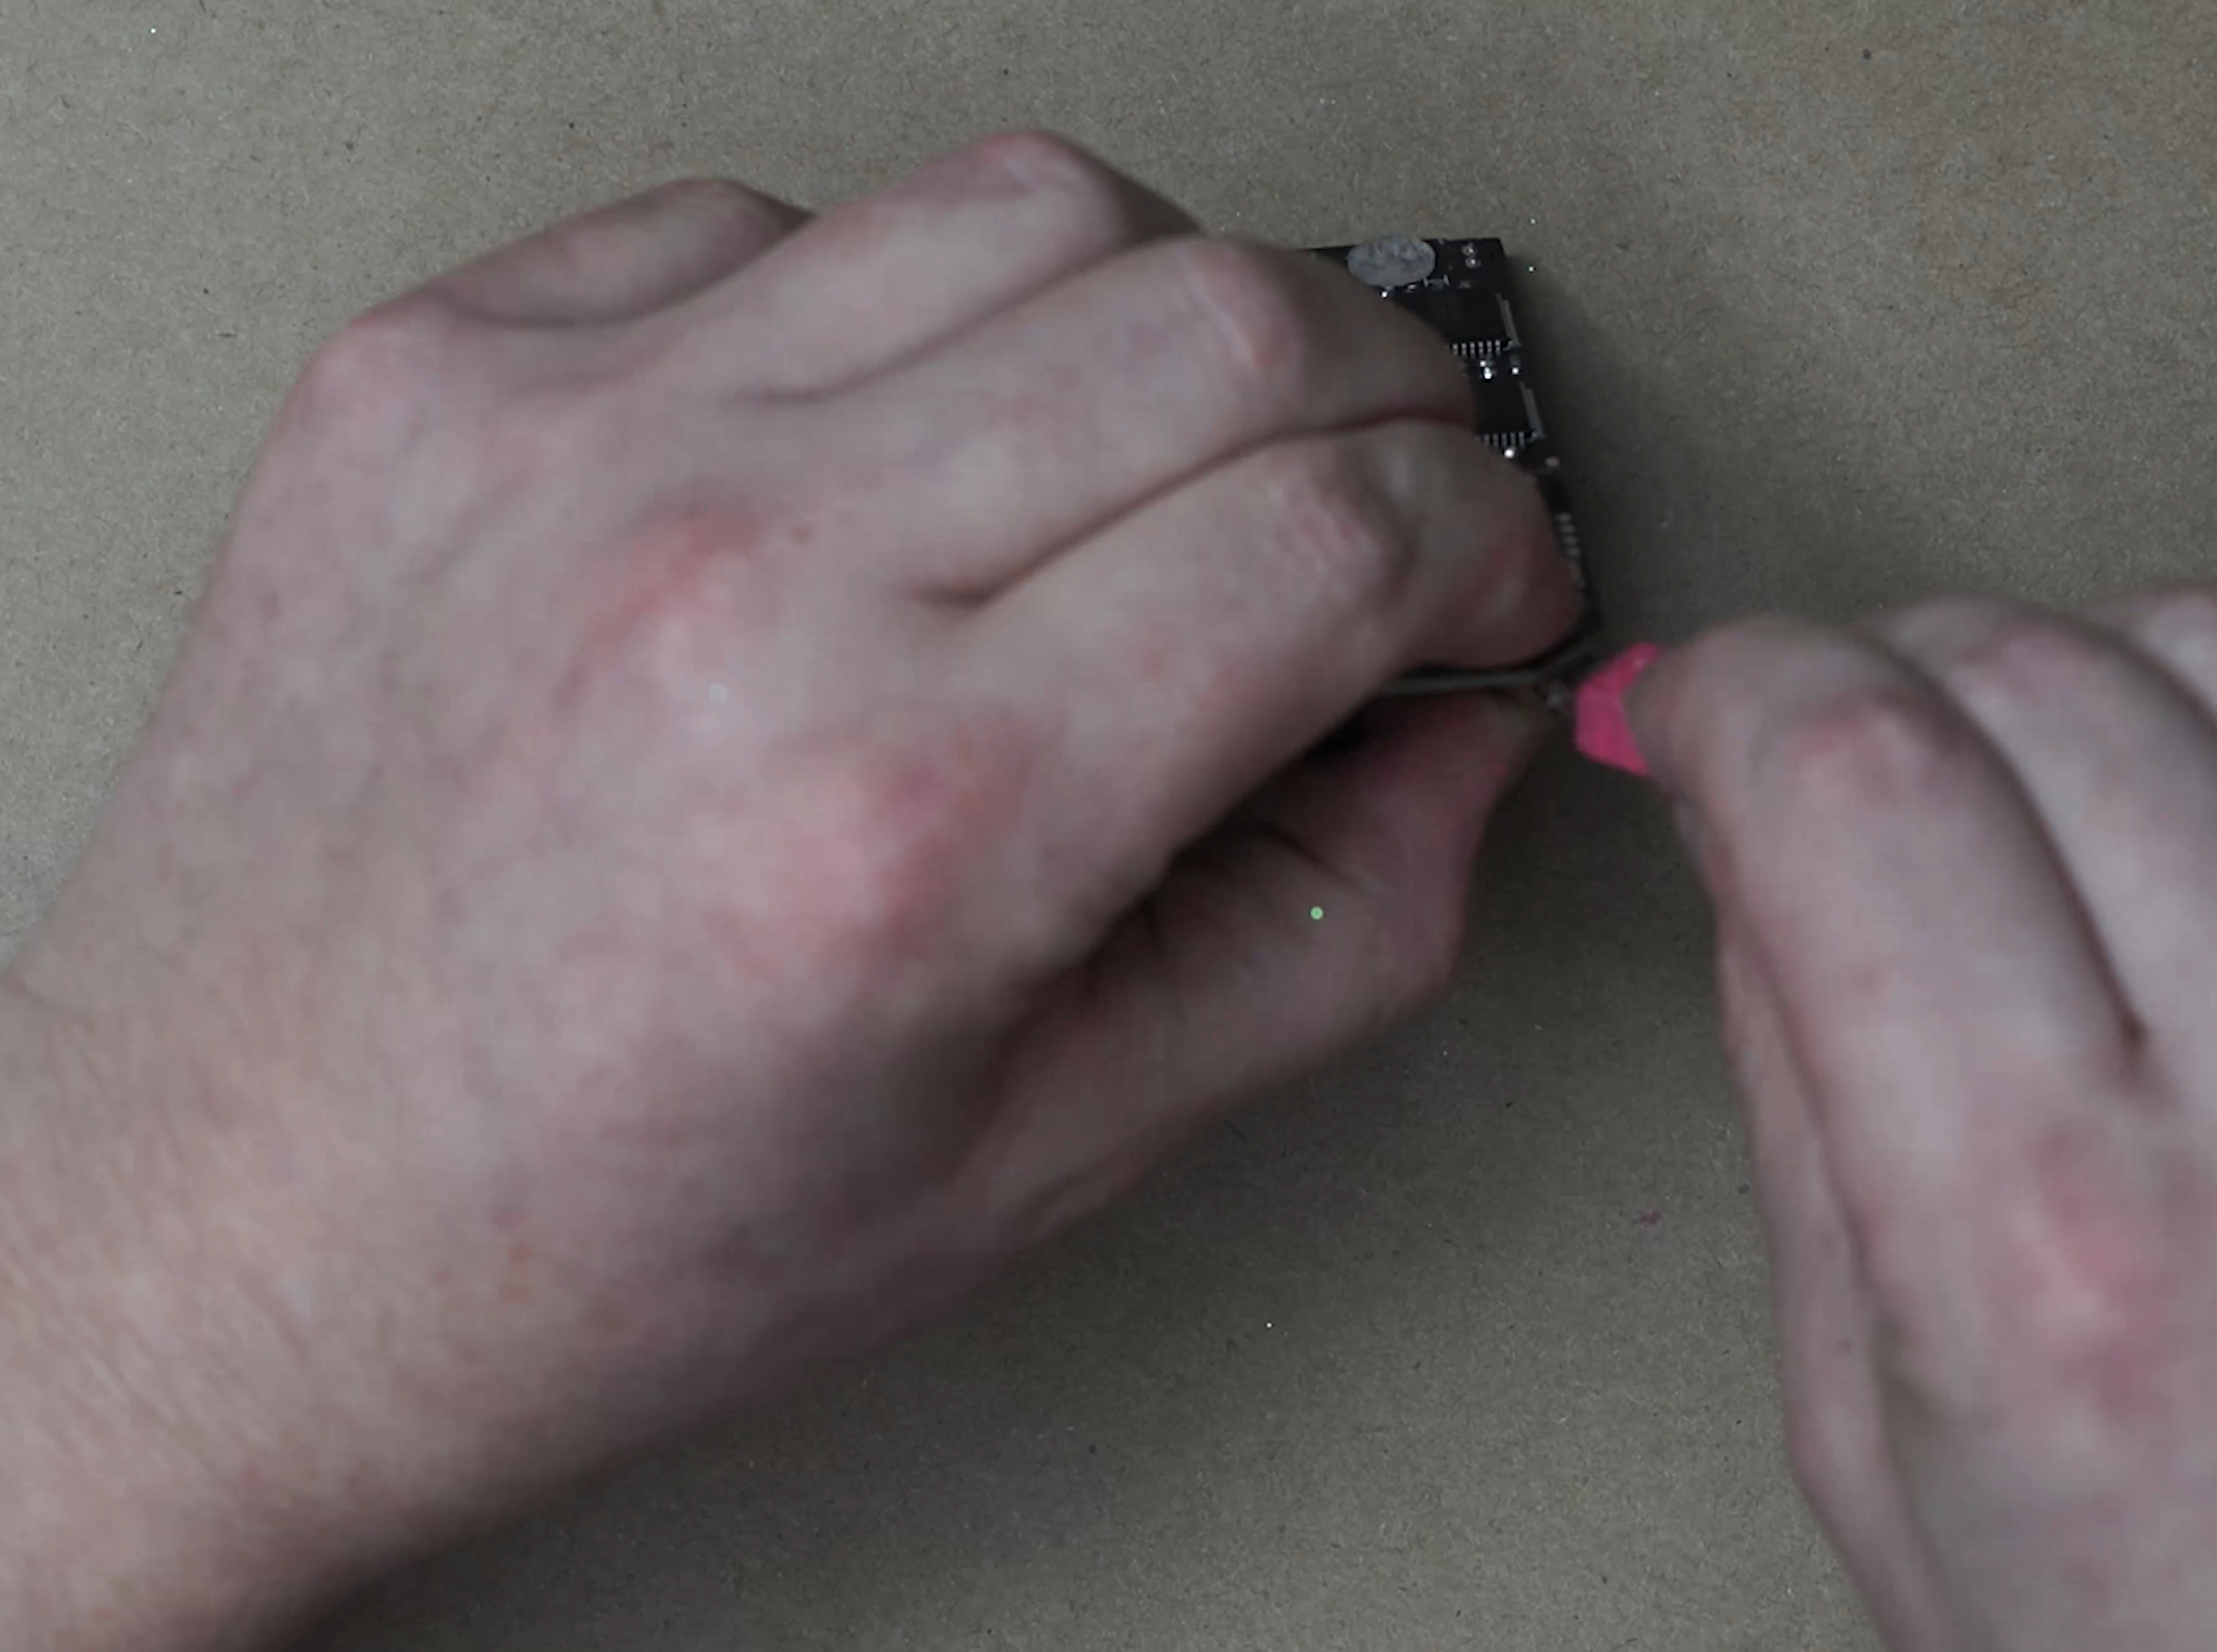
1. Hold the USB Boot button and plug the Jumperless into your computer.
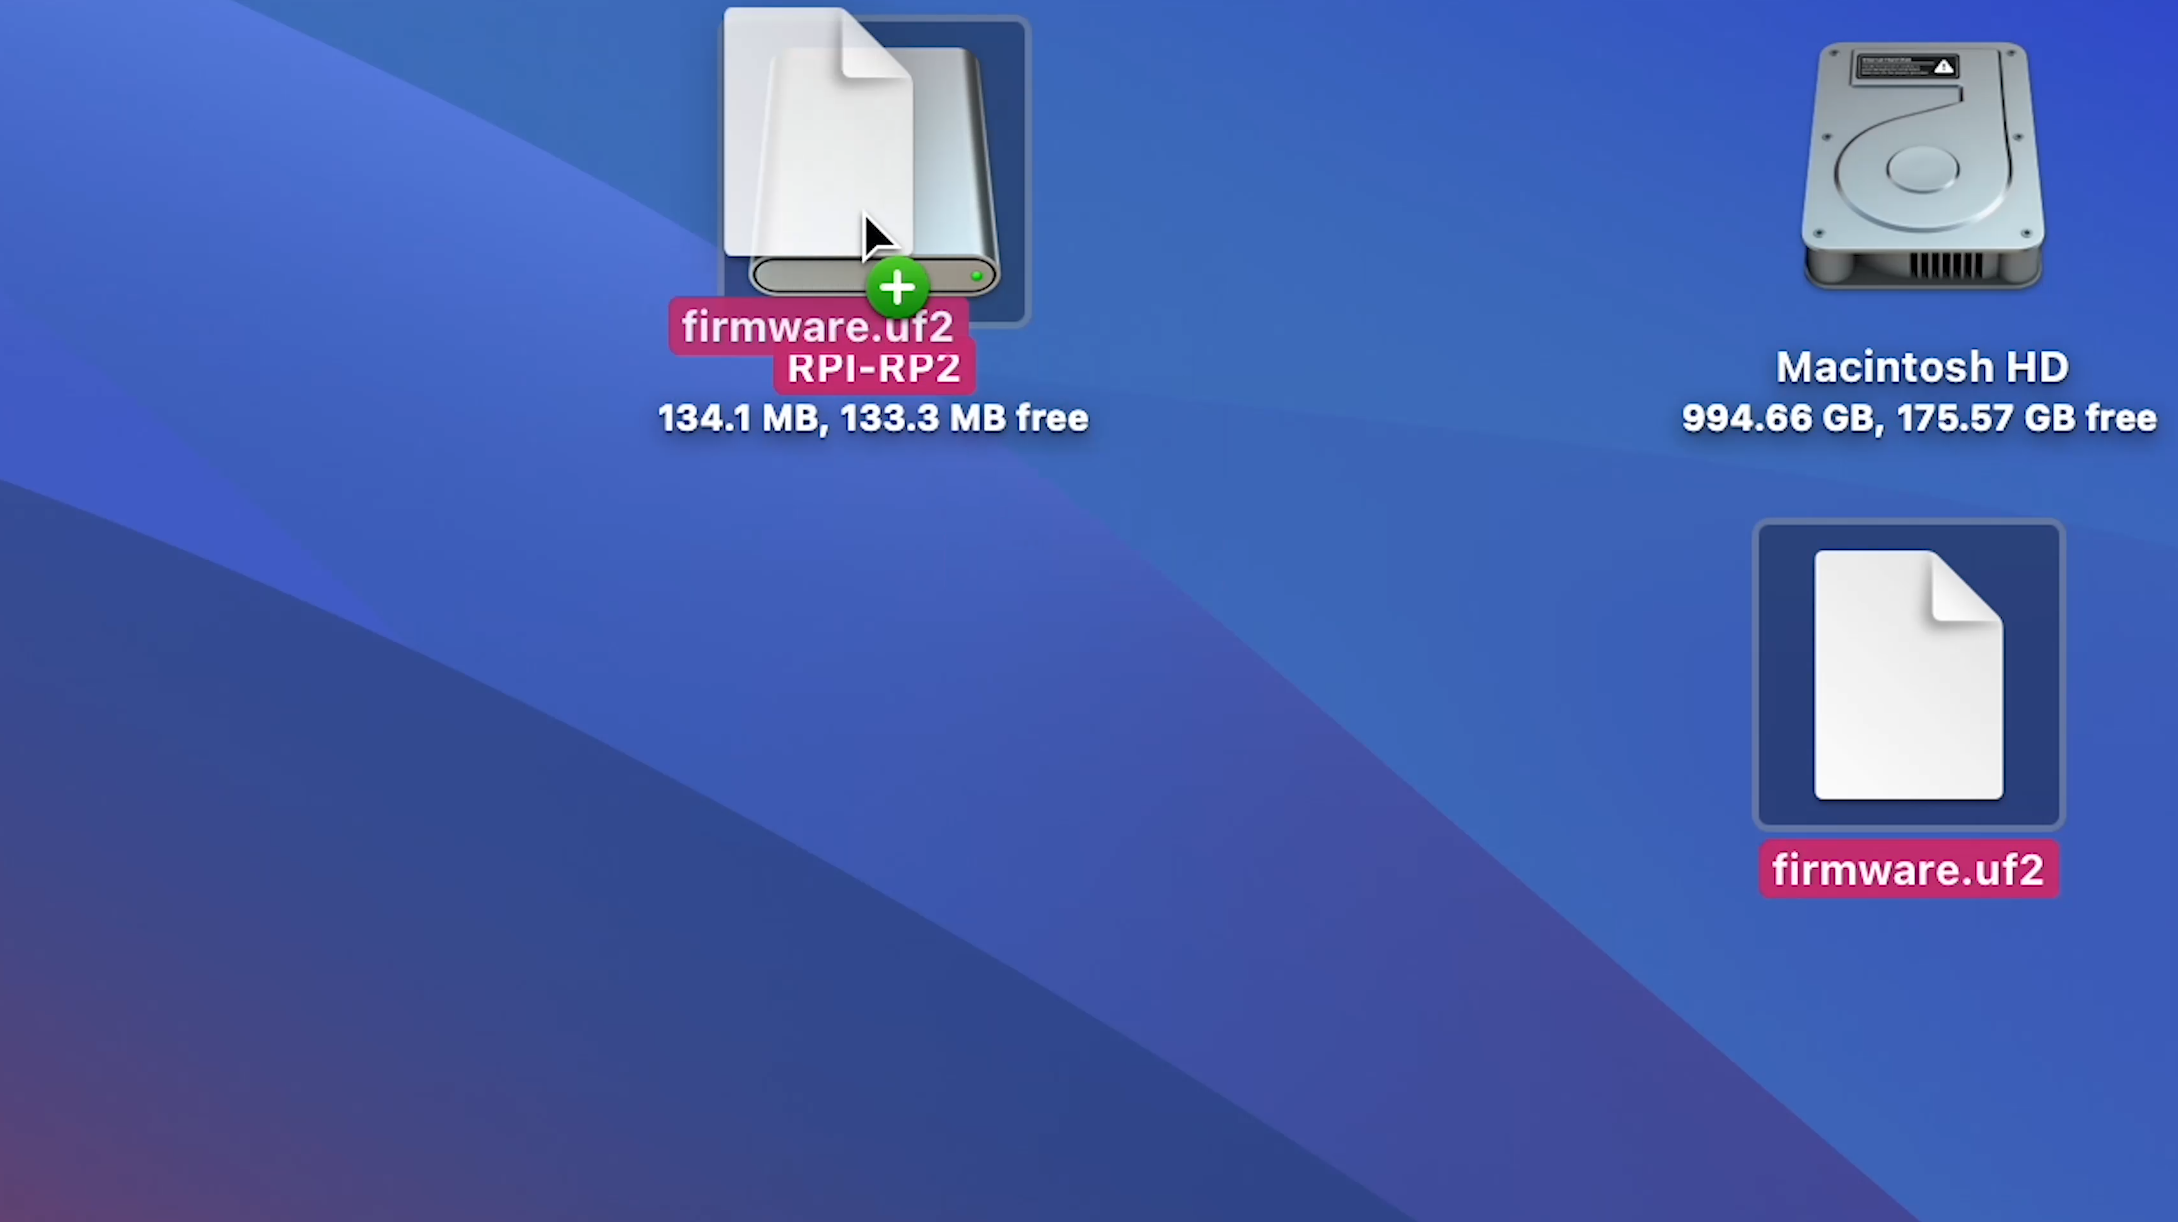
2. A drive should pop up called RPI-RP2. Drag the firmware.uf2 file into it and it should reset and you're done!
Installing the App
I'm showing this on a fresh install of macOS, but Windows should be roughly the same.
1. On the releases page, download JumperlessWokwiBridgeMacOS.zip (or the .exe for windows) and firmware.uf2

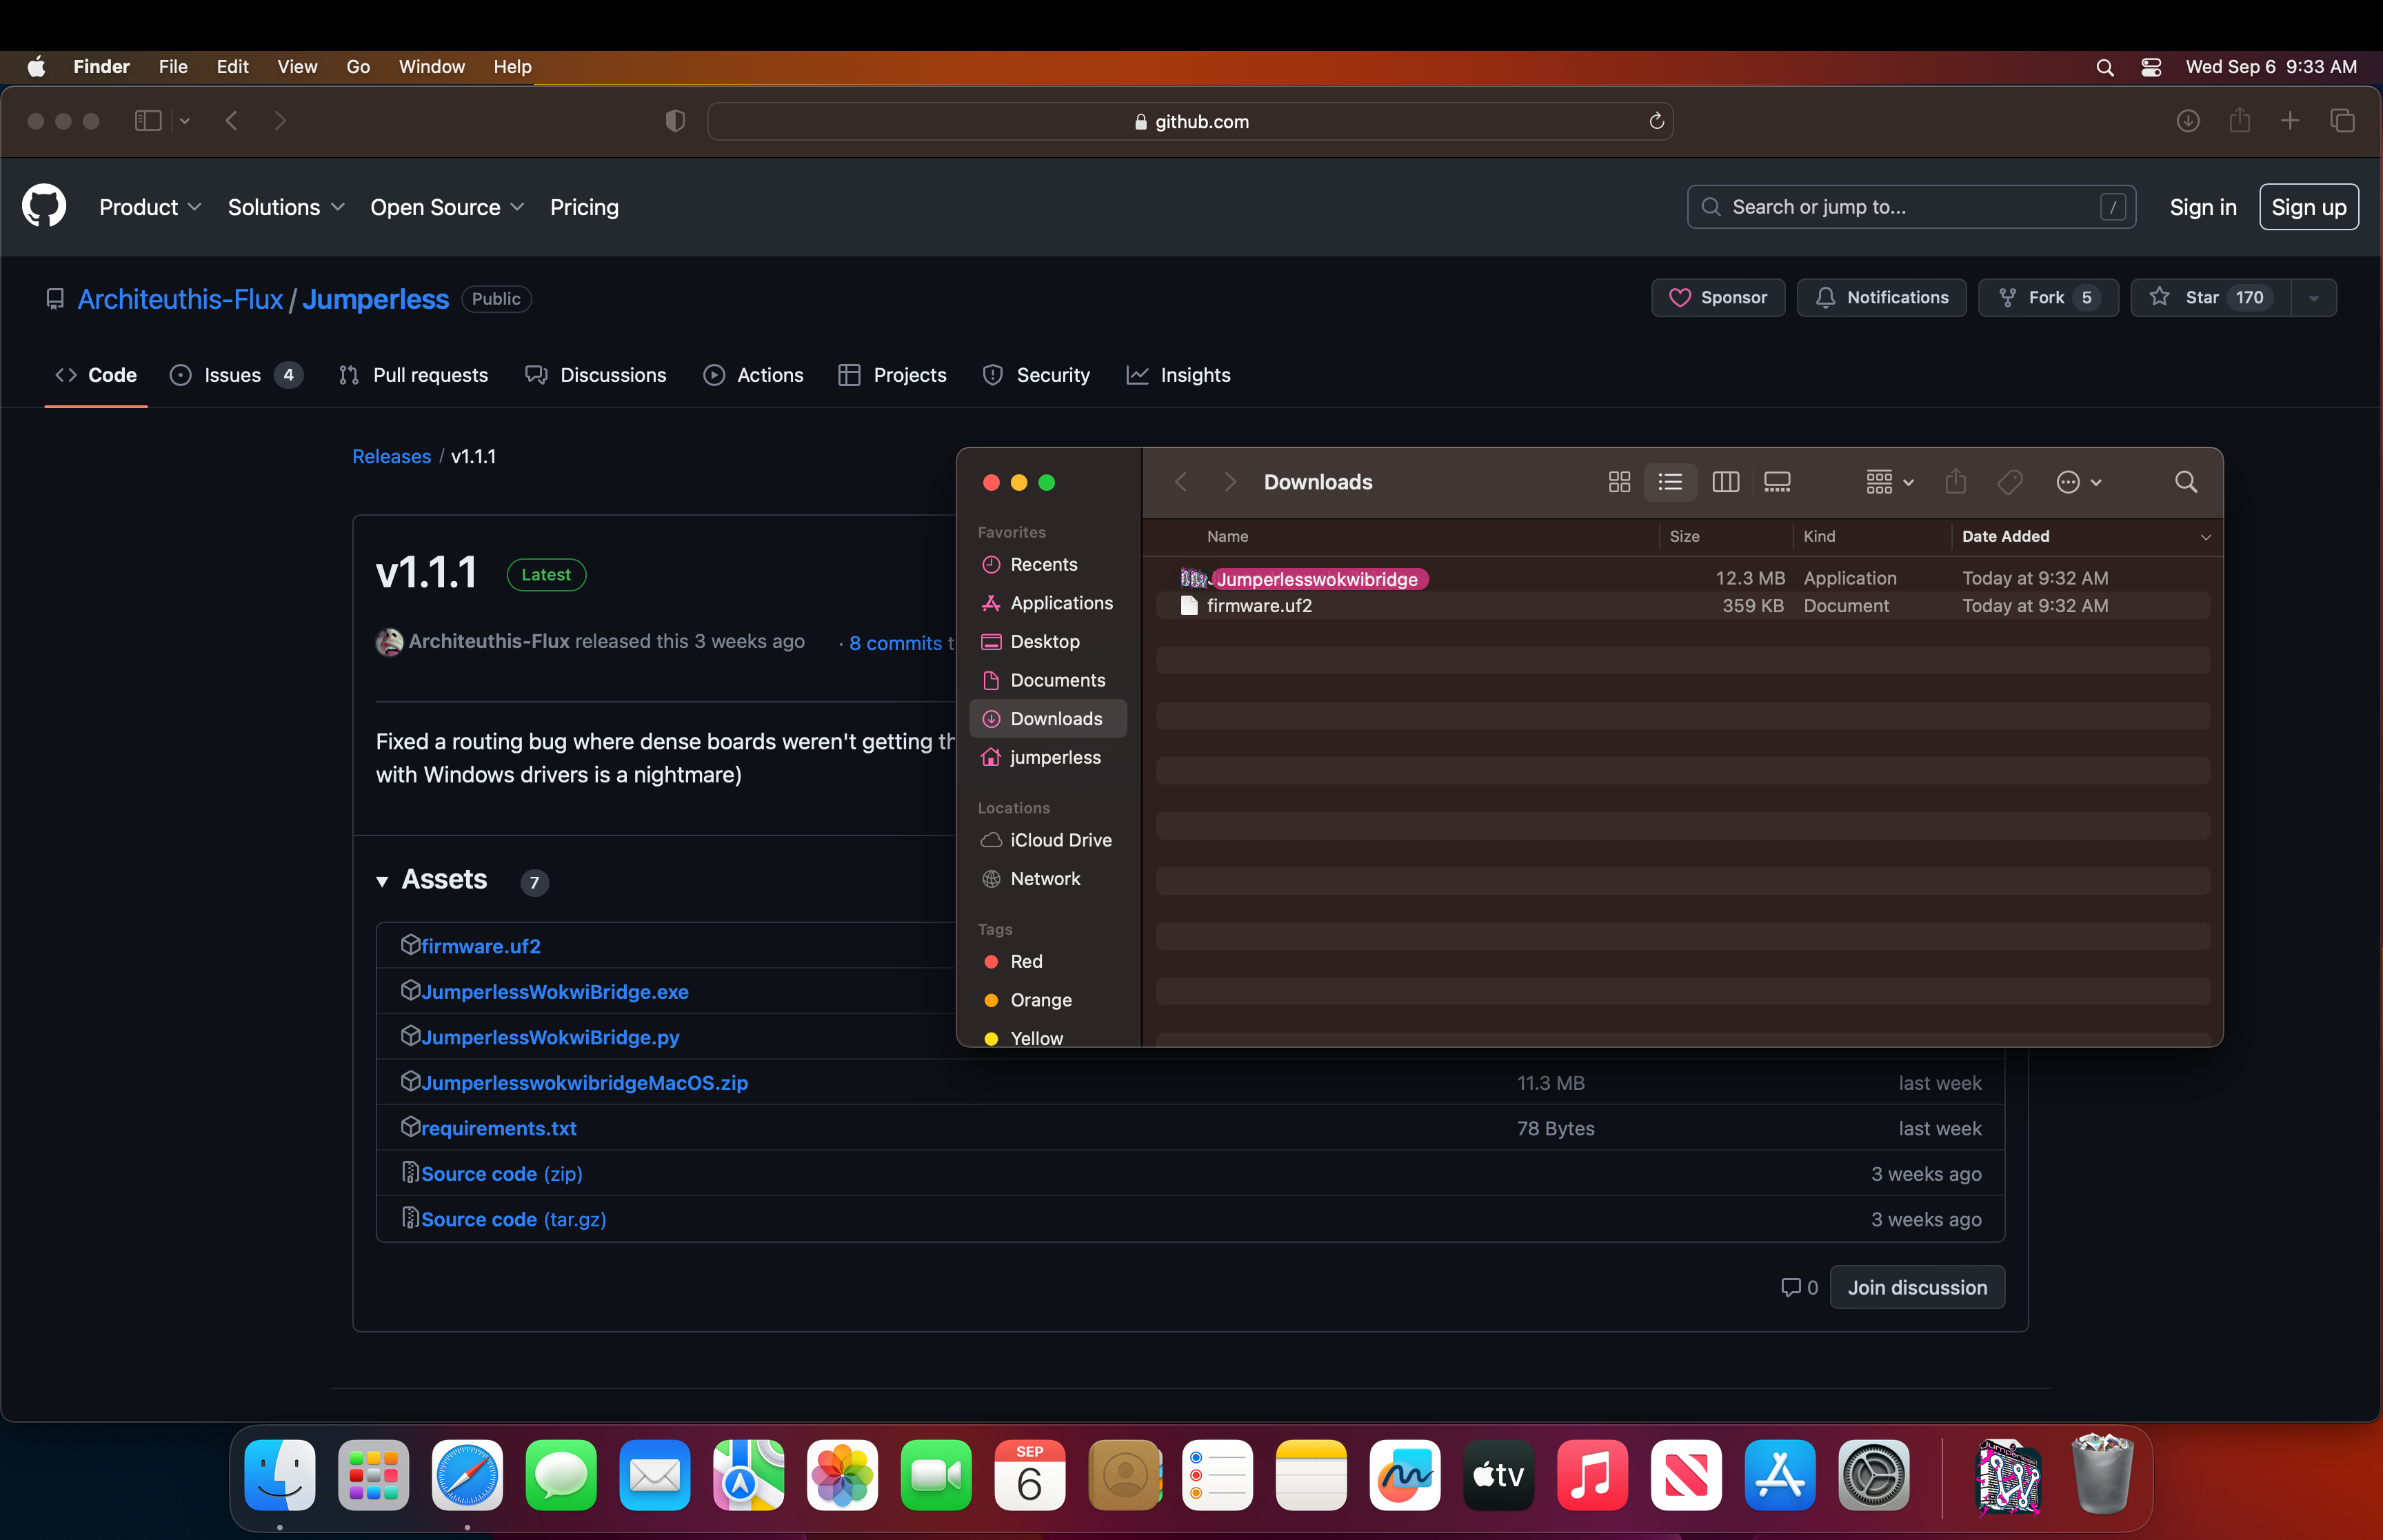
2. It should automatically unzip in your downloads folder. Note that this won't run correctly from anywhere but your Applications folder, so drag it there.
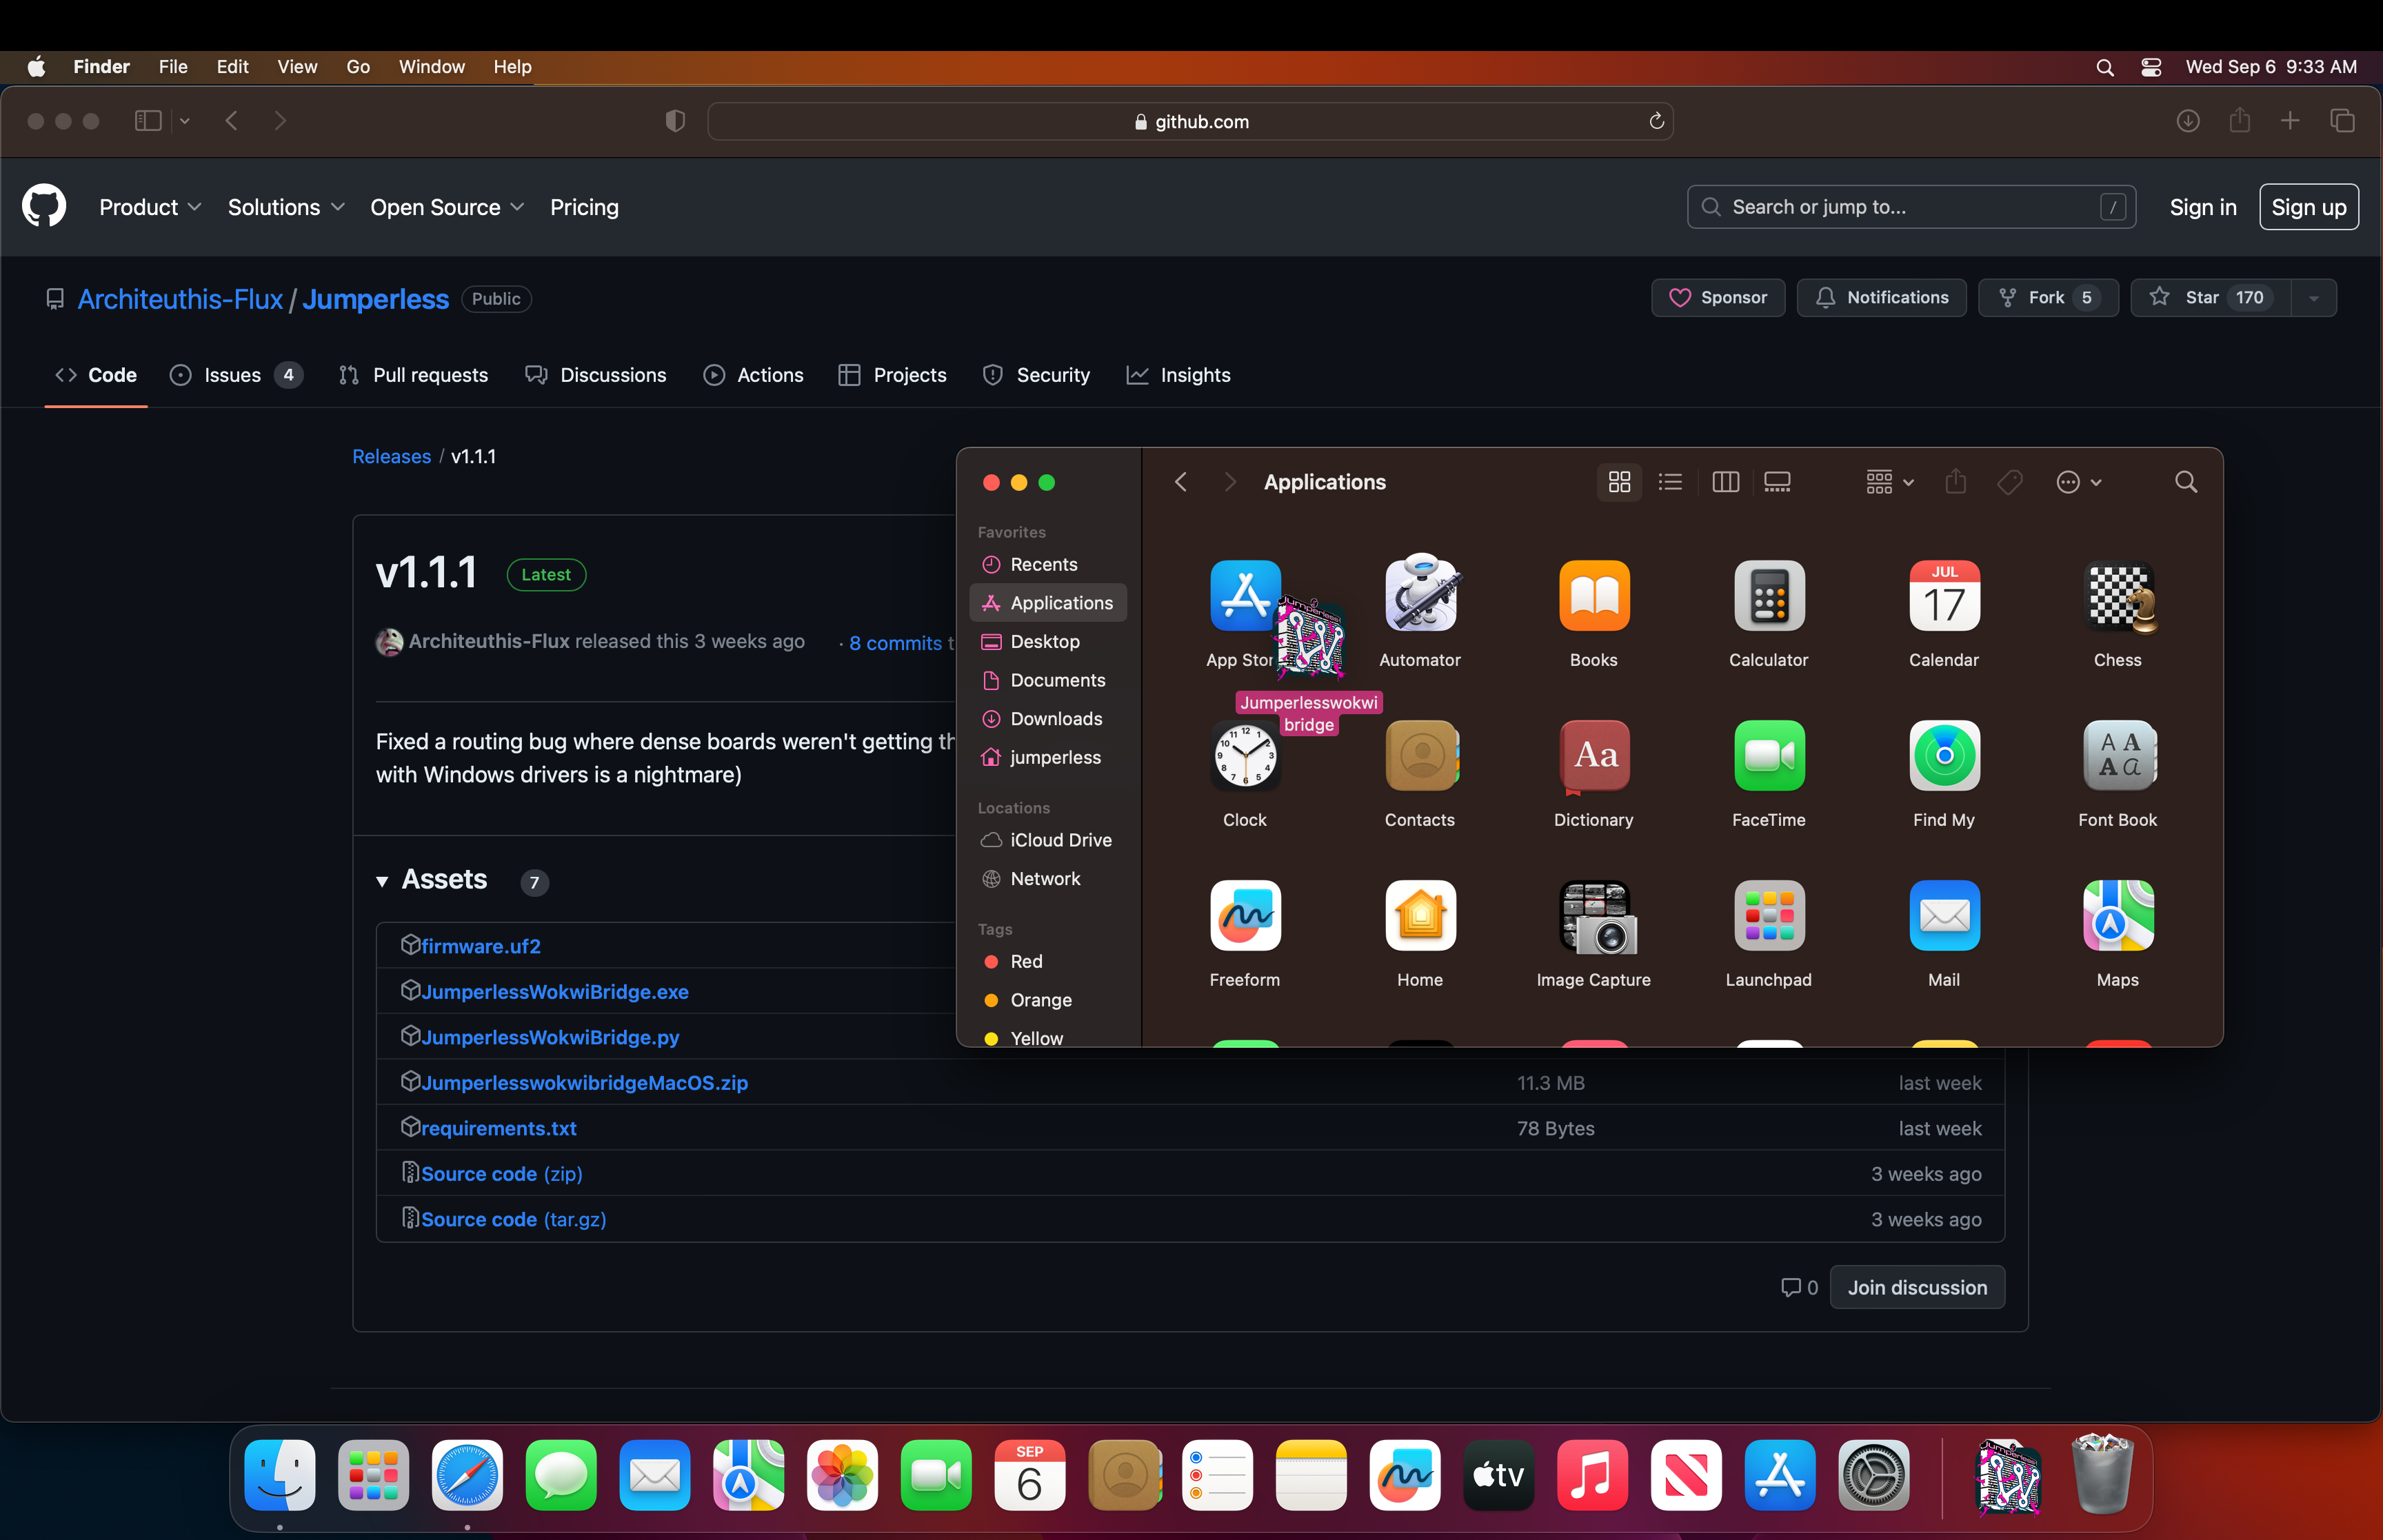
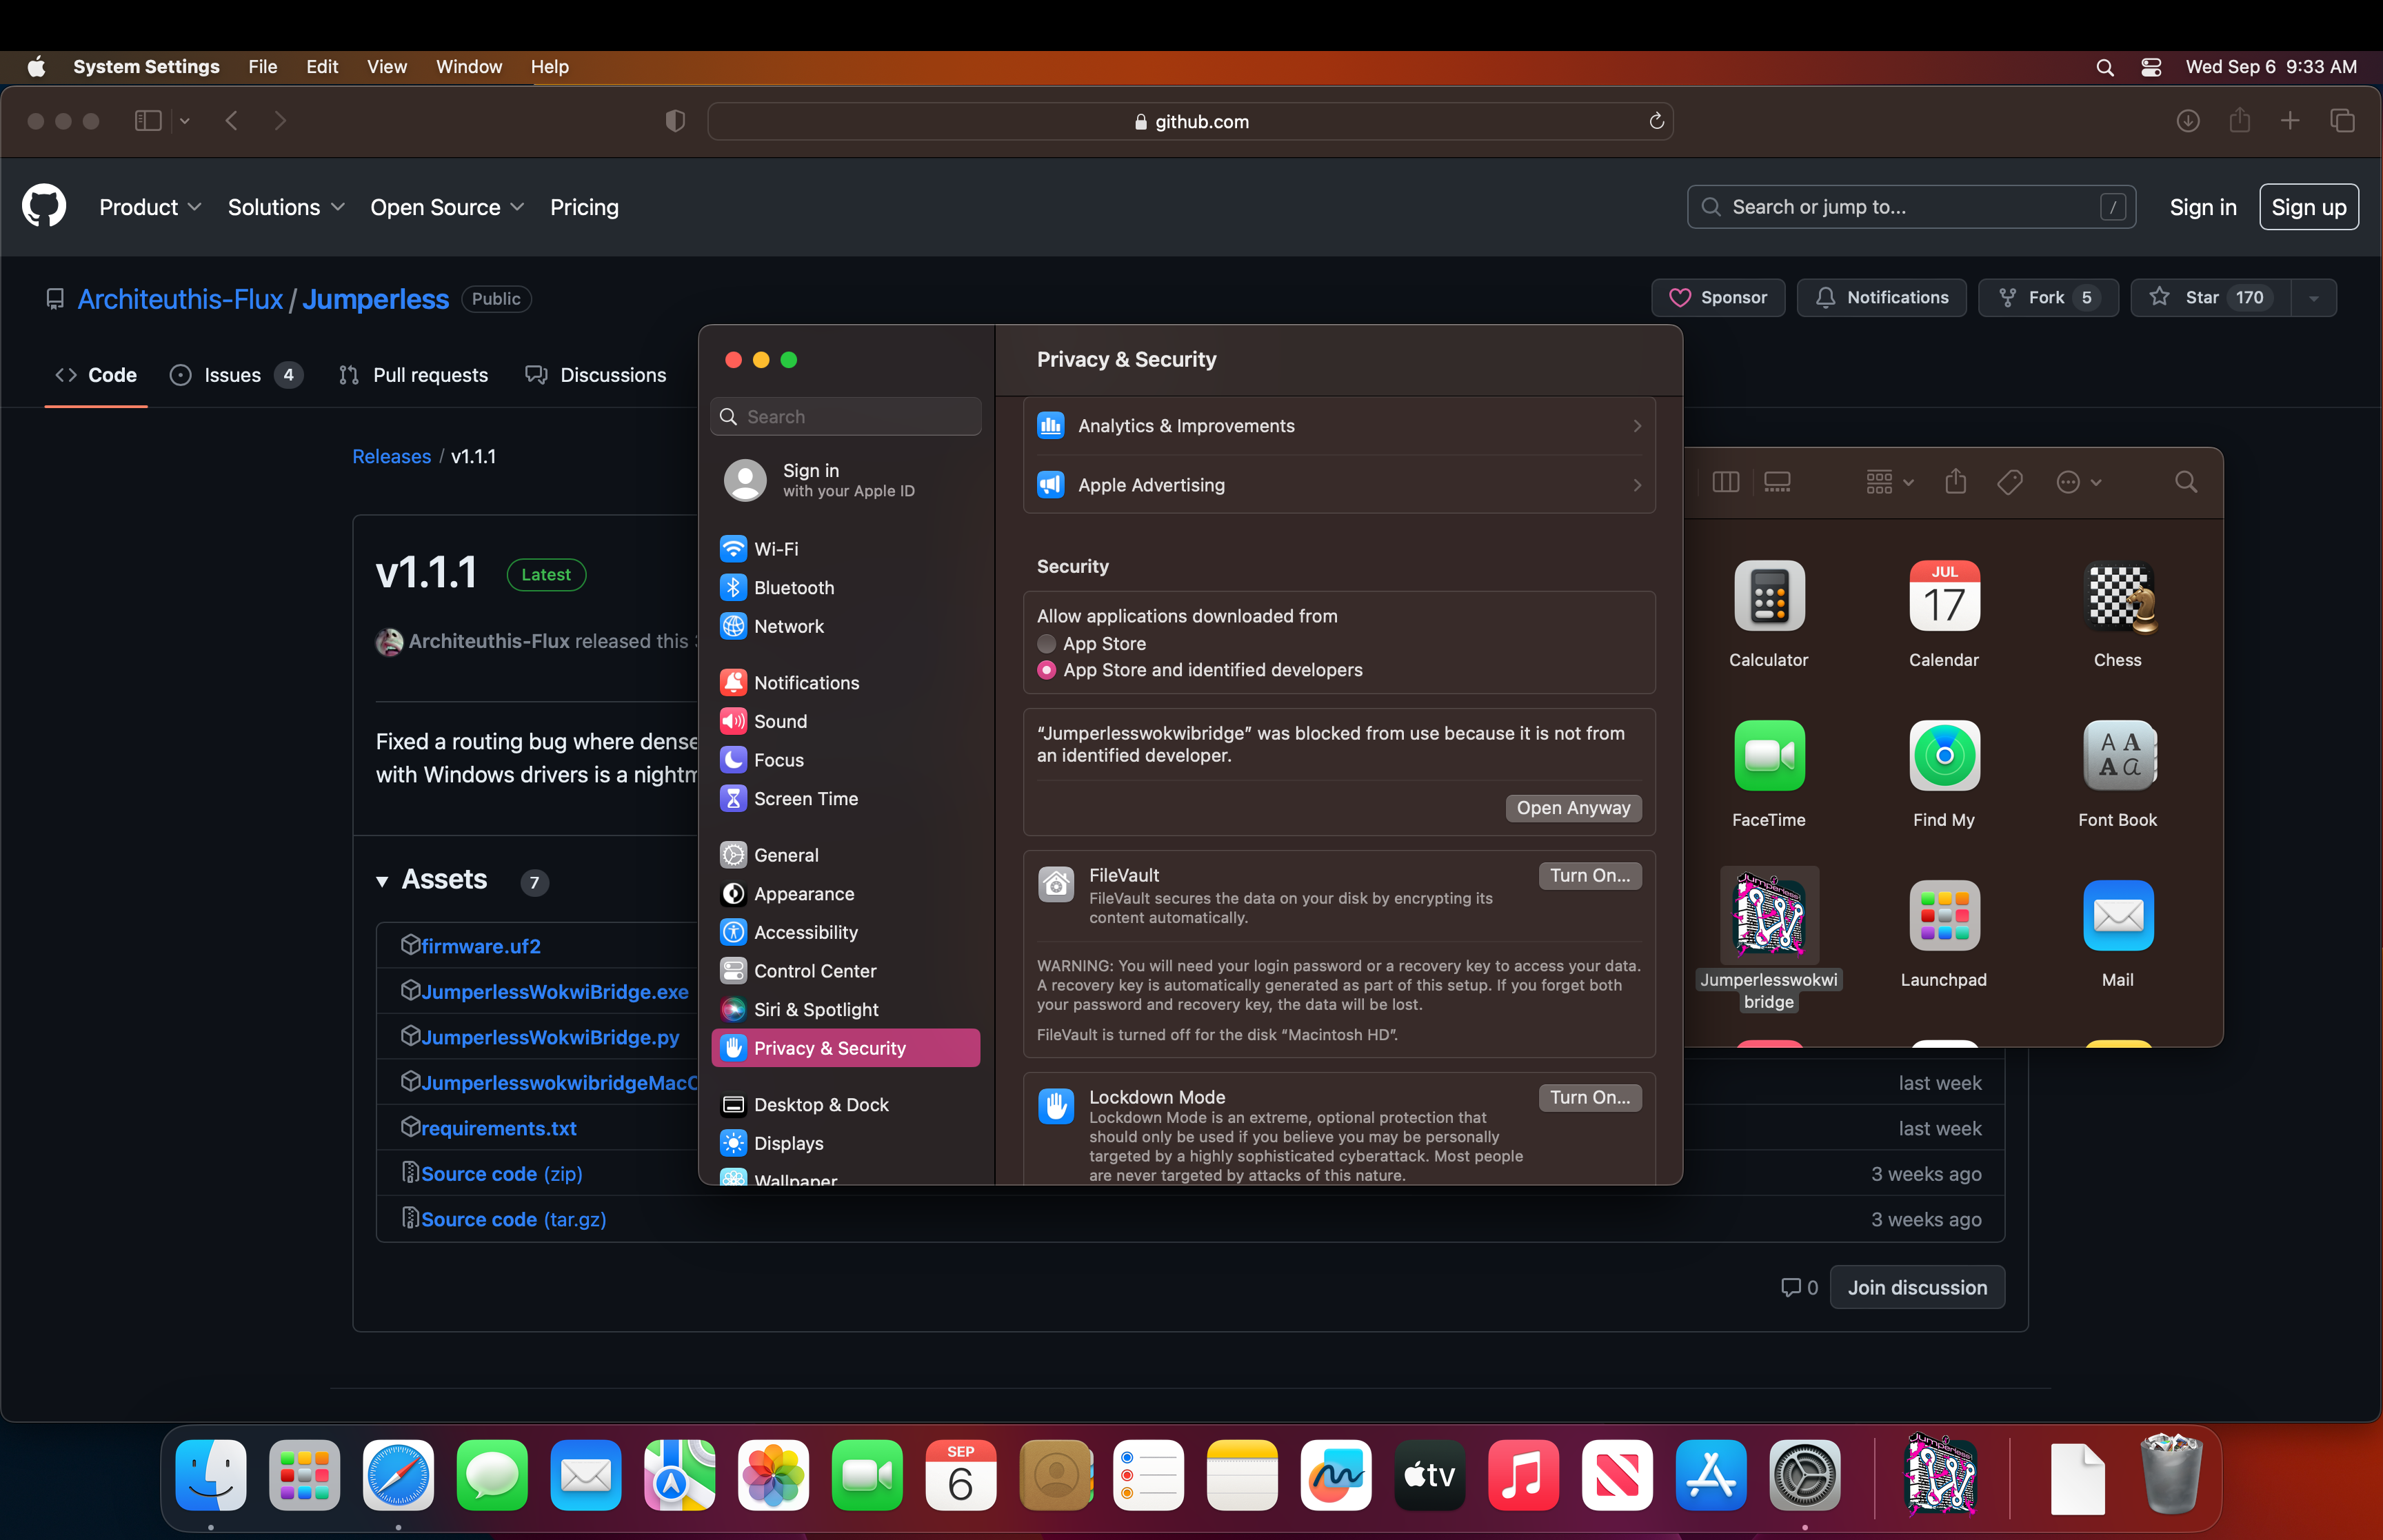
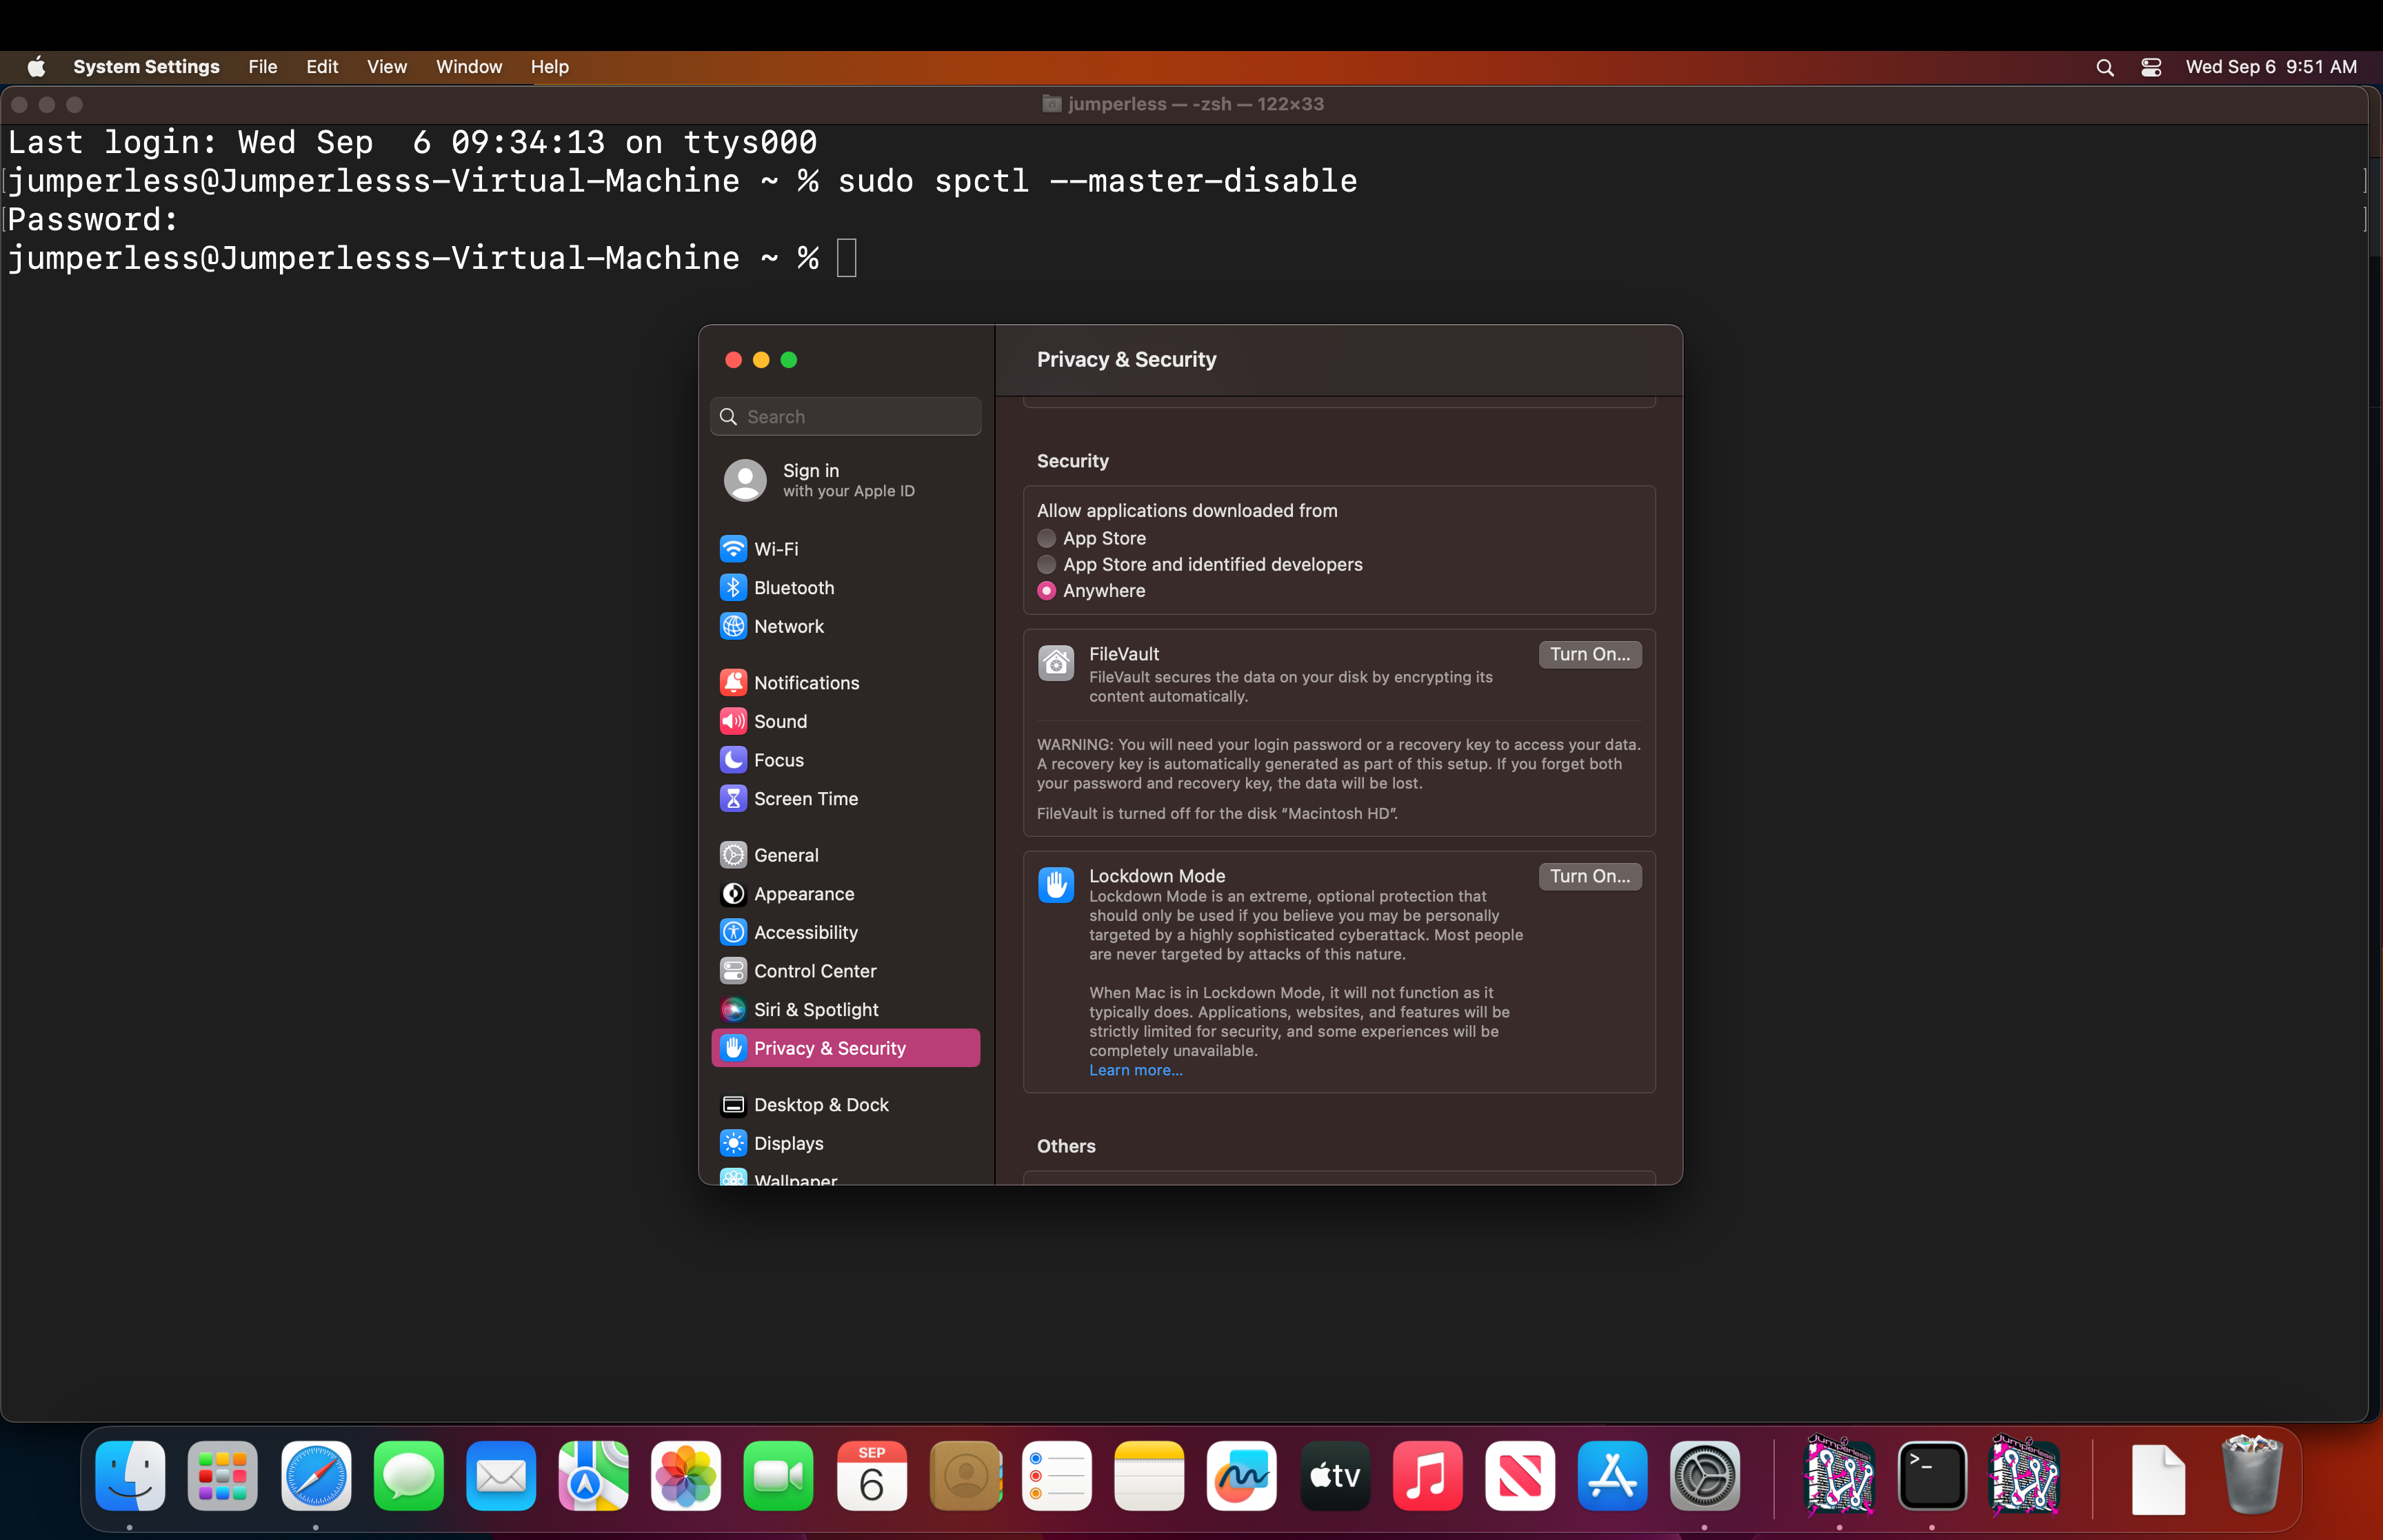
3. Click it to try to run it. Unless you've set your security setting to allow apps from anywhere, it's going to complain.

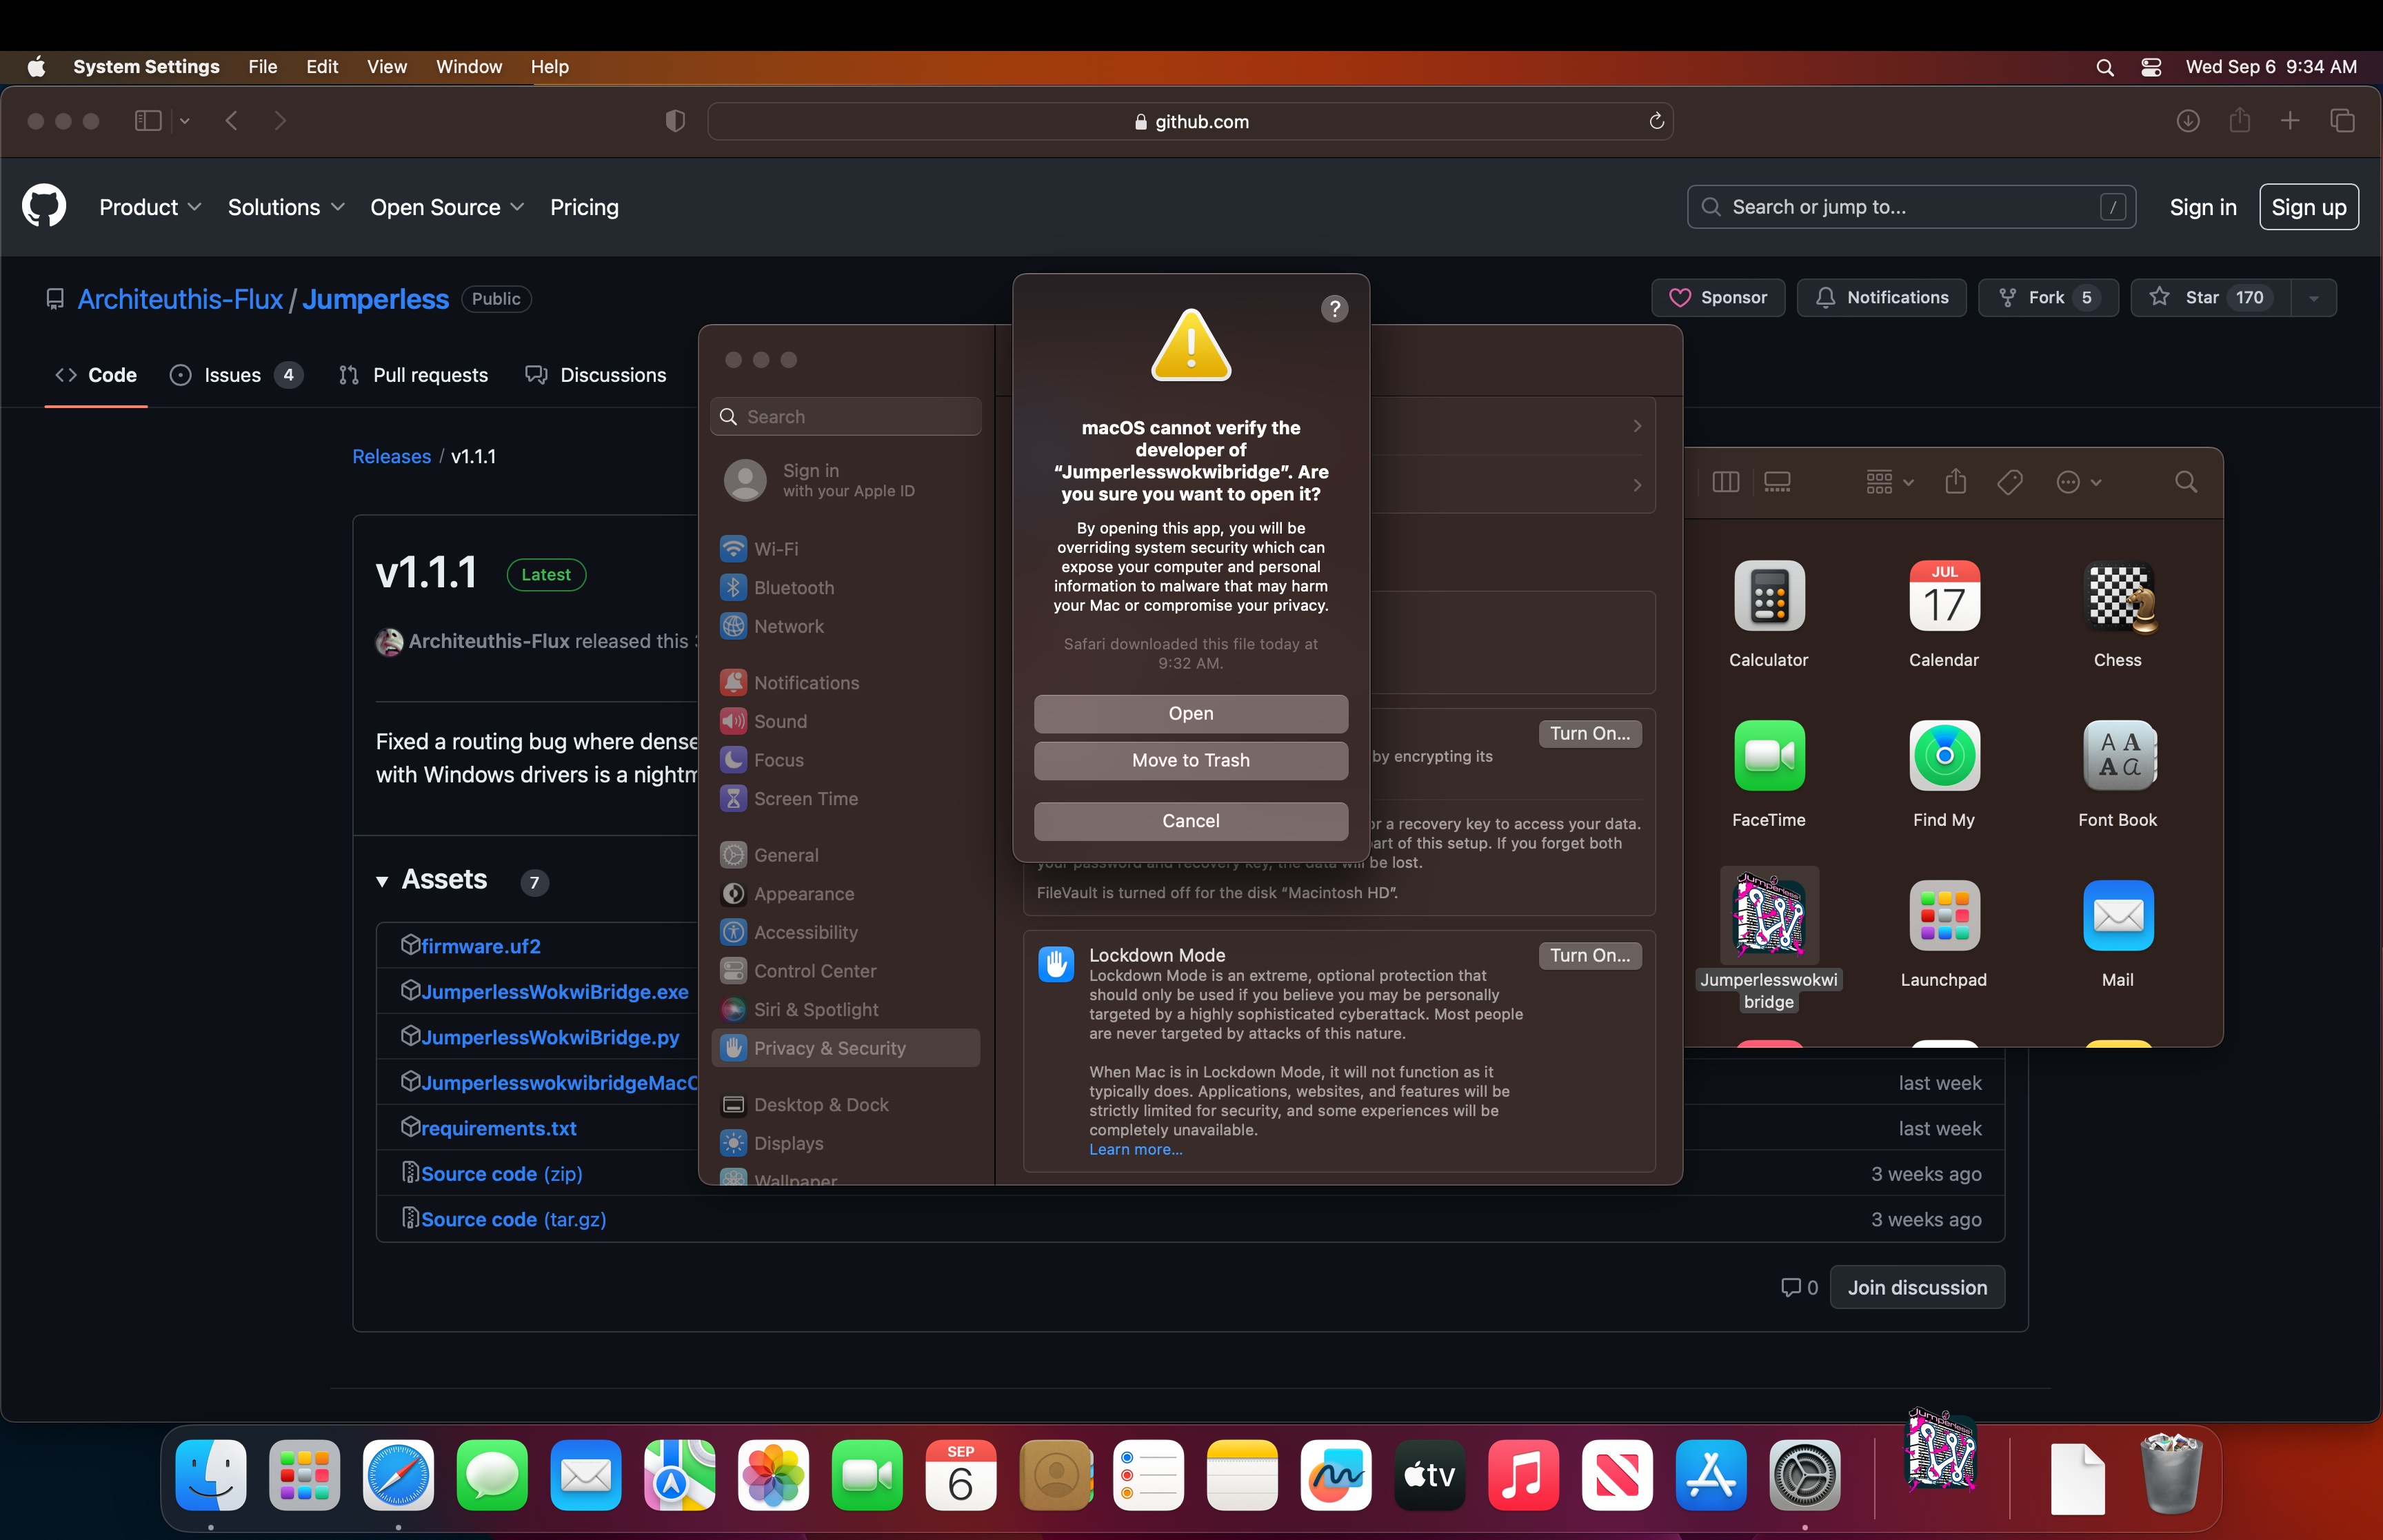
4. Click Cancel and go to Settings > Privacy and Security > scroll down and click Open Anyway
5. It's going to complain again and just click Open
Hot tip: run
sudo spctl --master-disable
in Terminal to give you another checkbox for Anywhere under Settings > Privacy and Security > Allow Apps From. And you won't have to go through this again for other shoddy software.
6. If everything goes well, you should now be presented with a Terminal window like this
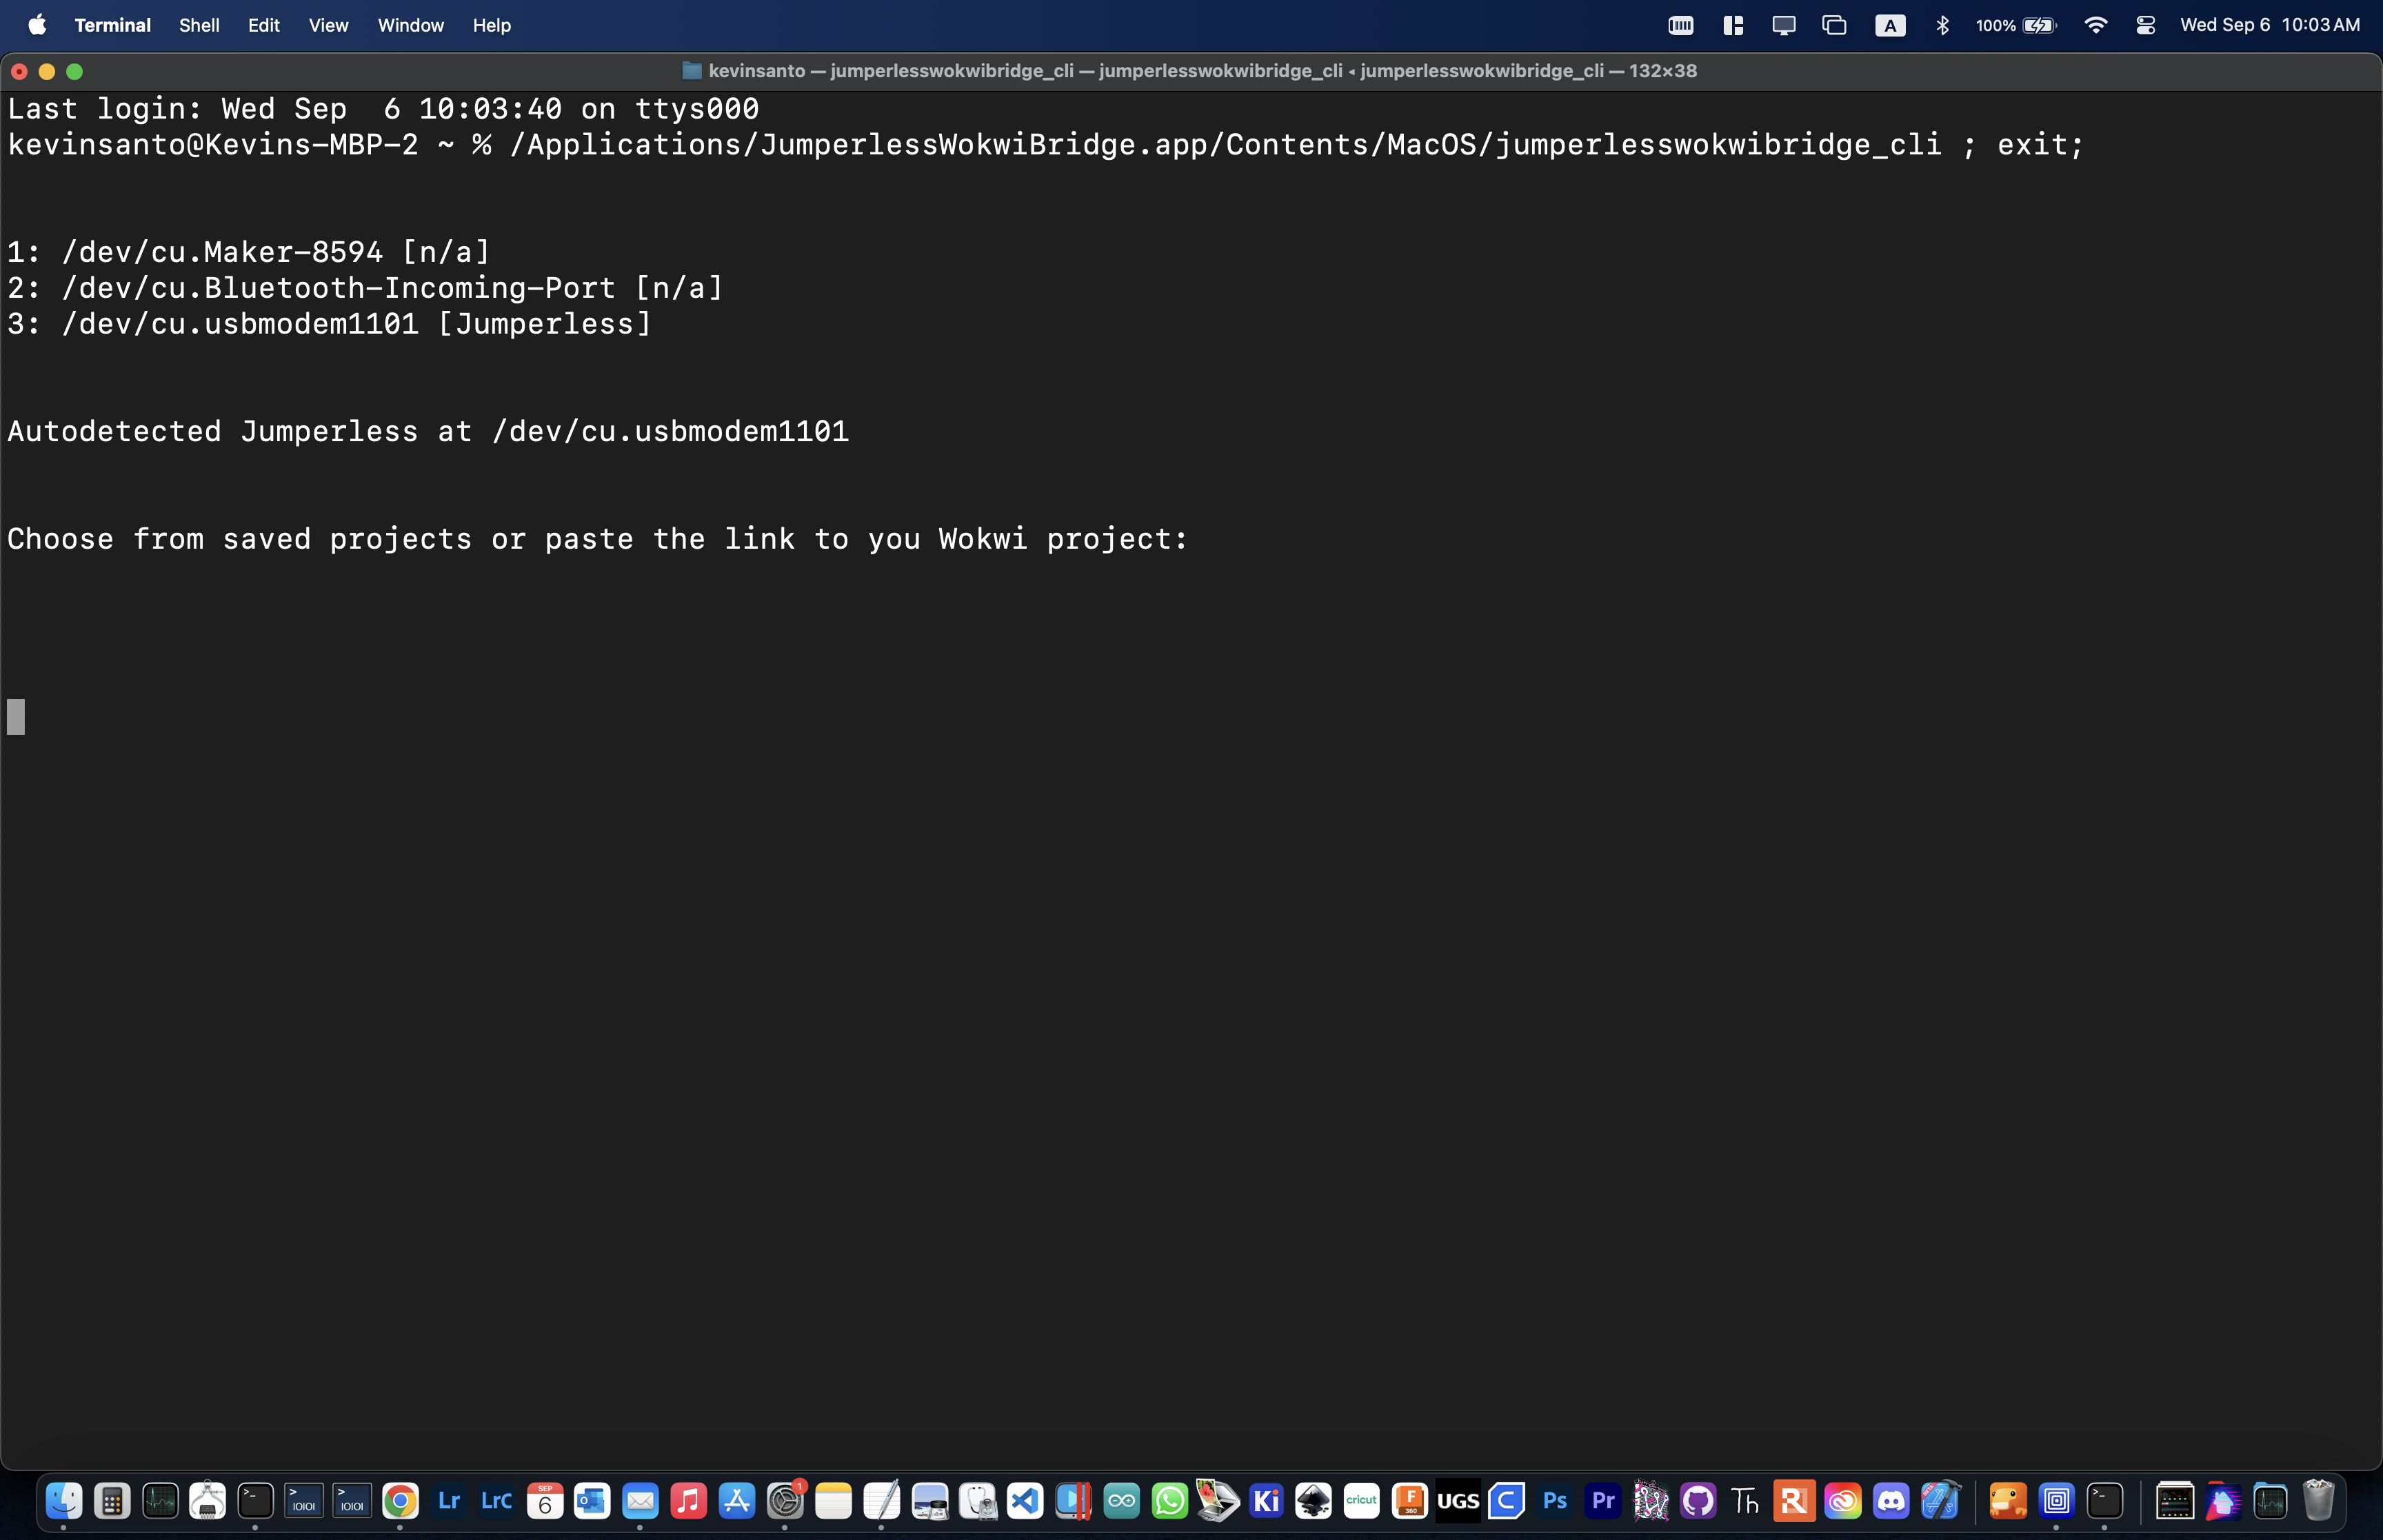
Note that on MacOS, it should just autodetect and connect to the Jumperless if it's plugged in when you start the app, if not, just plug it in and type 'r' to rescan the ports until it finds it.
Okay, now the app is set up, what do we paste into there to connect to our Wokwi project?
If you don't want to use Wokwi, this is a rundown of the alternative ways to control your Jumperless.
Getting Wokwi Set Up
You'll need a stable link to your Wokwi project, and it will only make one when you're signed in and have saved your project to "My Projects". After that the links are saved in a text file in the JumperlessWokwiBridge app and you'll be able to select projects you've used before from a list.
- Go to wokwi.com
![Screenshot 2023-09-05 at 2.53.39 PM]()
- Click Sign Up/Sign In and enter your email (or use Google or Github)
![Screenshot 2023-09-05 at 2.54.14 PM]()
- Click the link they email you to sign in
![Screenshot 2023-09-05 at 2.54.36 PM]()
![Screenshot 2023-09-05 at 2.54.57 PM]()
- Click Go To Your Projects, then New Project > Arduino Nano
![Screenshot 2023-09-05 at 2.55.08 PM]()
![Screenshot 2023-09-05 at 2.55.13 PM]()
![Screenshot 2023-09-05 at 2.55.20 PM]()
- Click Save and give your project a name
![Screenshot 2023-09-05 at 2.55.38 PM]()
![Screenshot 2023-09-05 at 2.55.47 PM]() (note that the URL has now changed to a unique link)
(note that the URL has now changed to a unique link) - Click blue “+” (top center) to Add New Part and scroll down to Half Breadboard and click it
![Screenshot 2023-09-05 at 3.10.47 PM]()
![Screenshot 2023-09-05 at 3.11.02 PM]() It will put it somewhere random, so click somewhere that’s not a hole to drag it.
It will put it somewhere random, so click somewhere that’s not a hole to drag it.
![Screenshot 2023-09-05 at 3.11.07 PM]()
- Open the JumperlessWokwiBridge App and resize the windows so you can see both
![Screenshot 2023-09-05 at 2.56.14 PM]()
![Screenshot 2023-09-05 at 2.58.03 PM]() (on mac it will autodetect the port if it’s plugged in, on windows you’ll need to select the COM port here first, if the Jumperless wasn’t connected when you opened the app, press ‘r’ the Enter to rescan the ports)
(on mac it will autodetect the port if it’s plugged in, on windows you’ll need to select the COM port here first, if the Jumperless wasn’t connected when you opened the app, press ‘r’ the Enter to rescan the ports) - Copy the URL of the Wokwi project you just made
![Screenshot 2023-09-05 at 2.58.12 PM]()
- Paste that URL into the Bridge App window and press Enter
![Screenshot 2023-09-05 at 2.58.29 PM]()
![Screenshot 2023-09-05 at 2.58.34 PM]()
- Name the project and hit Enter (it will save the link so next time you’ll only need to choose it from a list by entering the number)
![Screenshot 2023-09-05 at 2.58.46 PM]()
- Now draw some wires on Wokwi by clicking a hole on the breadboard and dragging the wire to somewhere else
![Screenshot 2023-09-05 at 2.59.10 PM]()
- As soon as you press Save, the changes you made to the Wokwi project should show up on the Jumperless and you should be ready to start prototyping like a future person
![Screenshot 2023-09-05 at 2.59.22 PM]()


Extra Tips for using Jumperless like a Pro
Here are some non-steps but more general tips:
Real Programmers
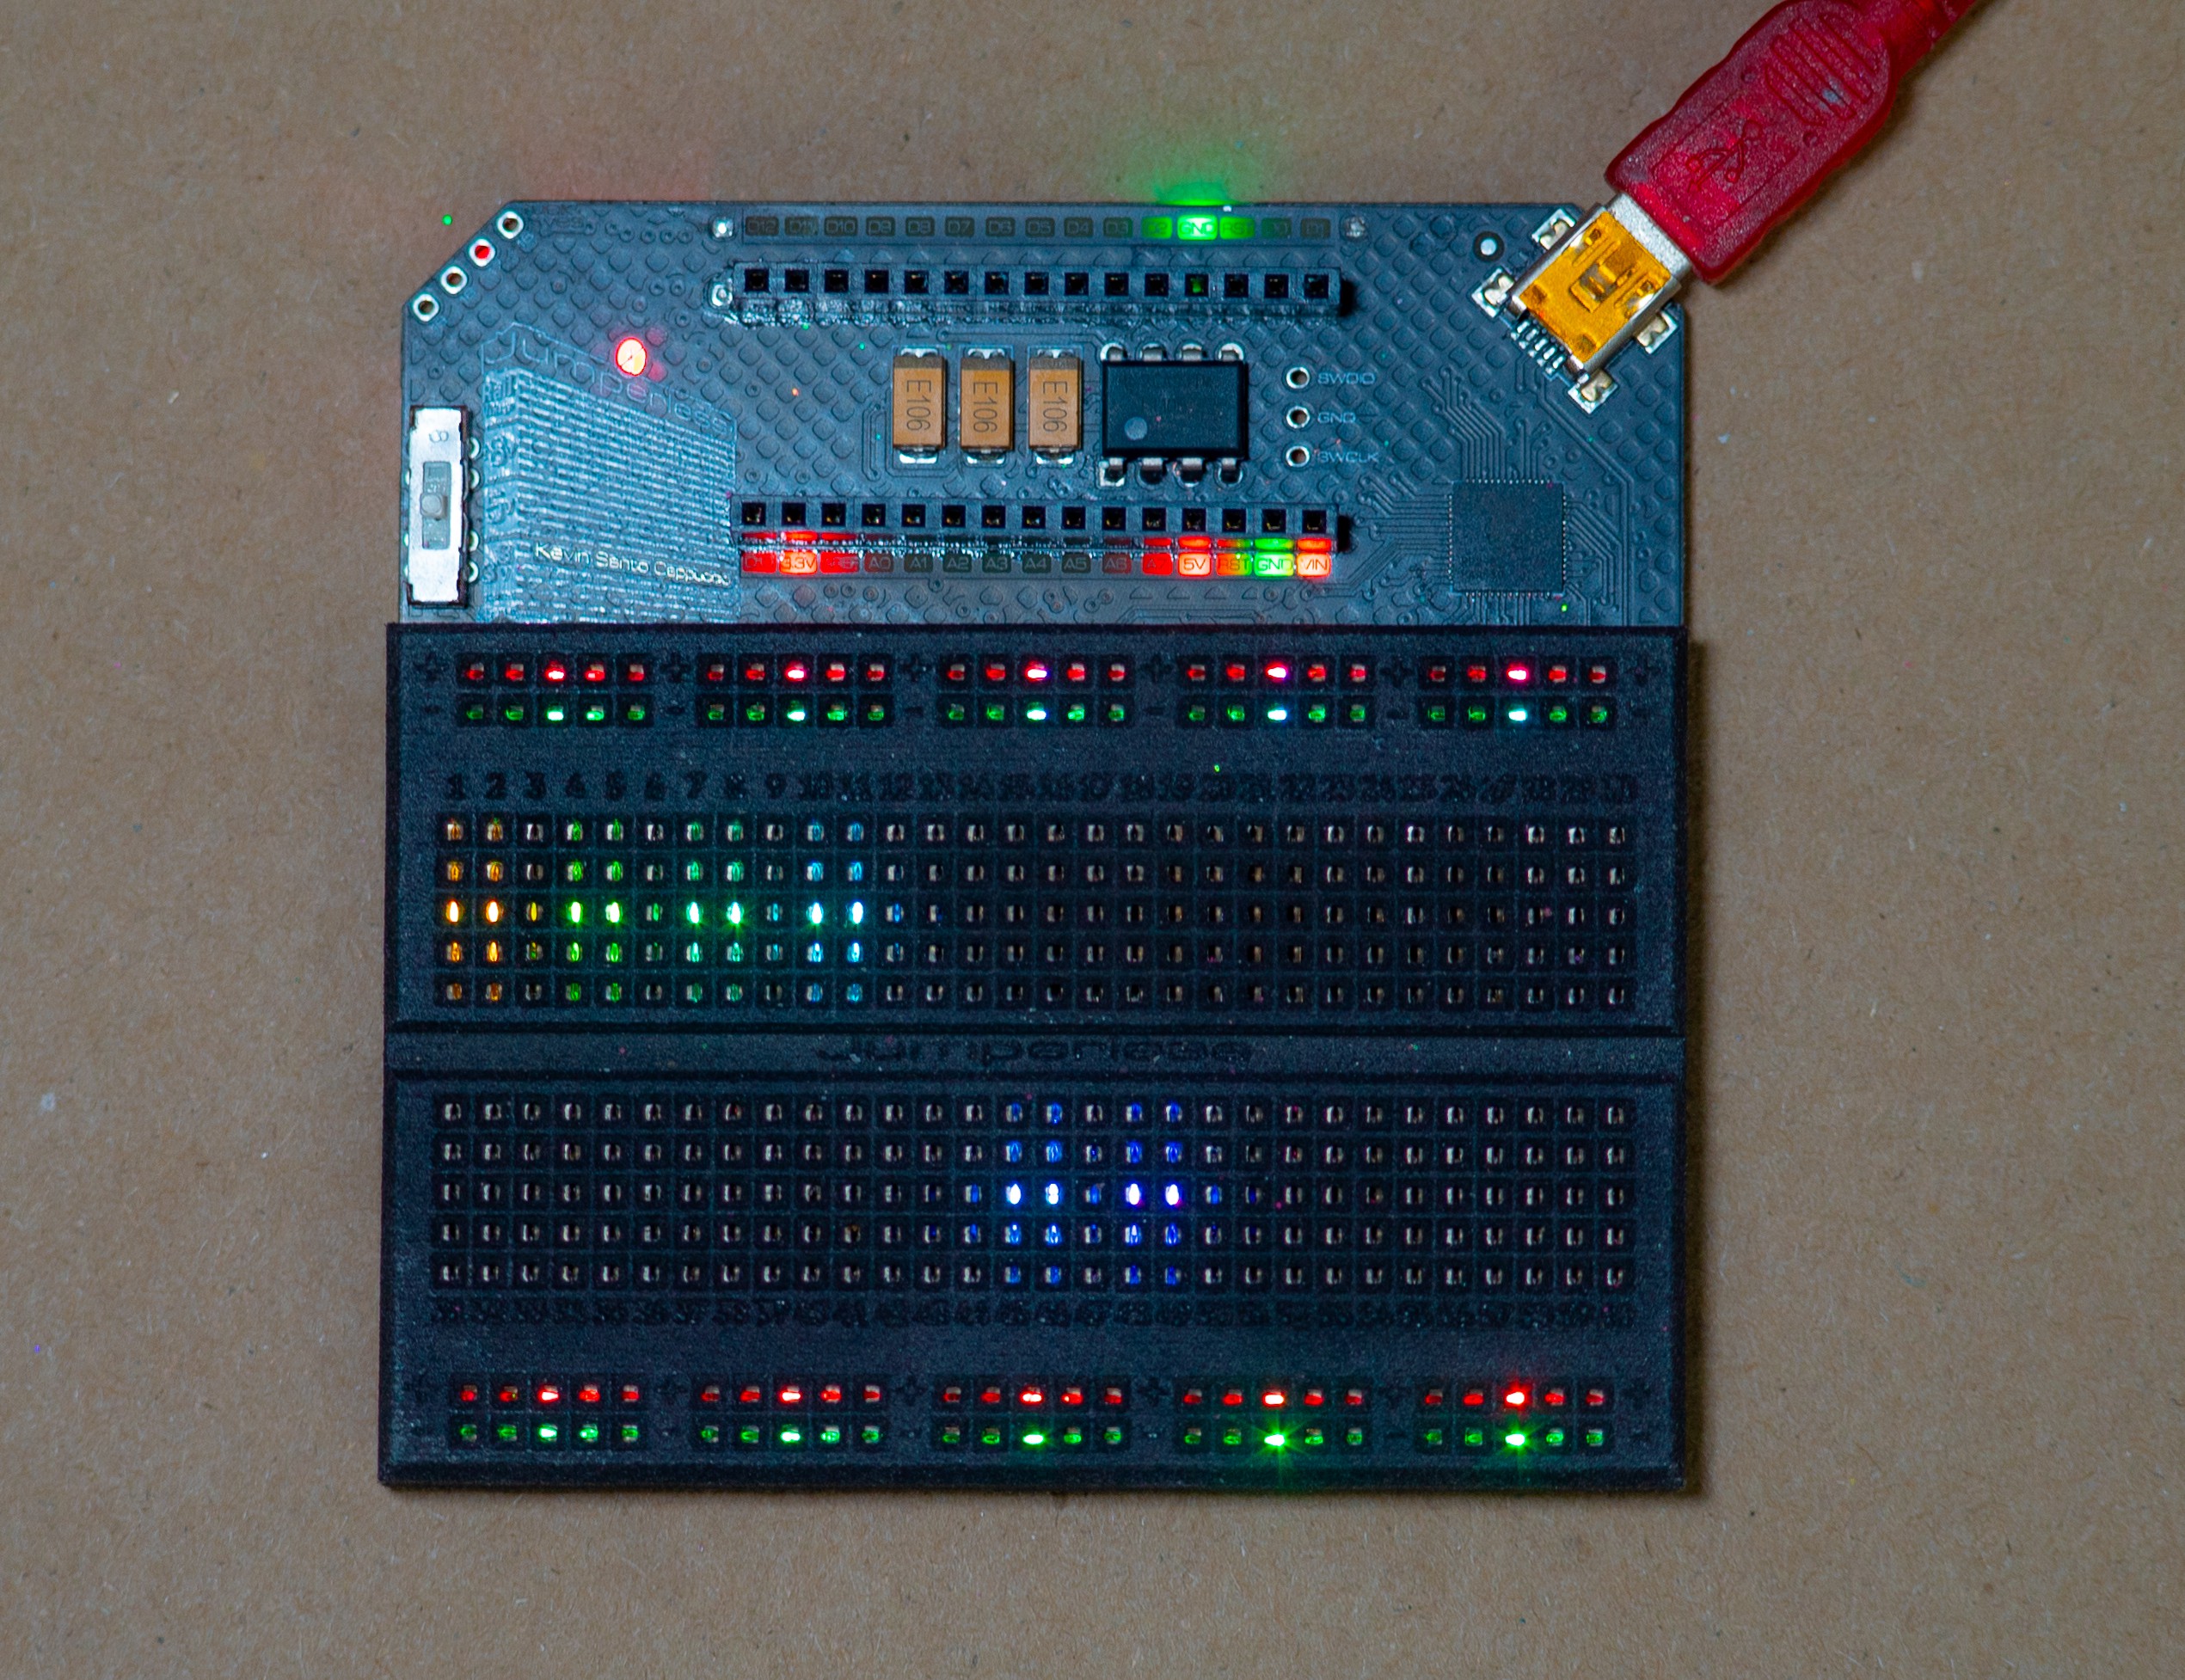
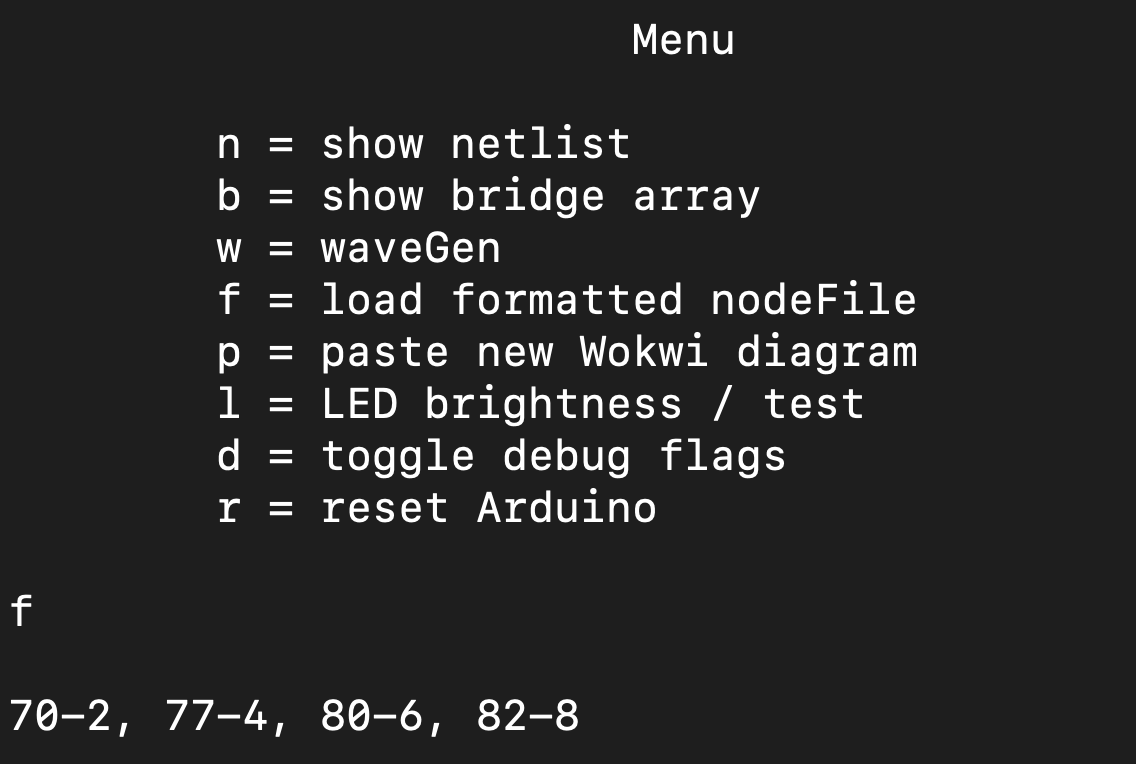
If you don't want to use Wokwi and are a super l33t hacker, you can also just type (or use some script) the netlists in by hand. Just type 'f' and it will wait for a set of bridges connected with a dash and separated with a comma, whitespace is ignored.
For example,
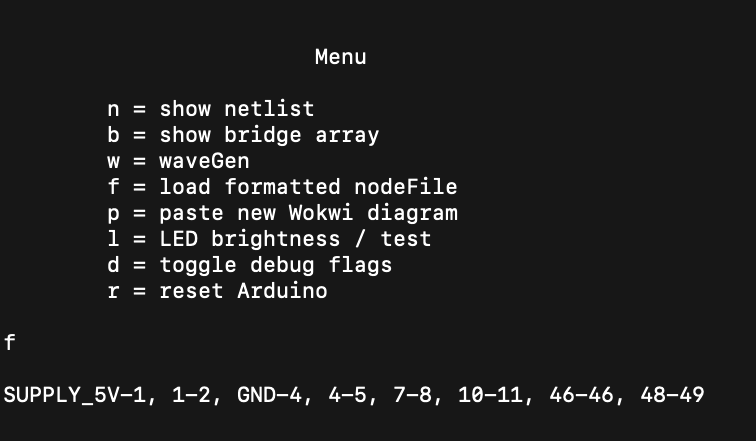
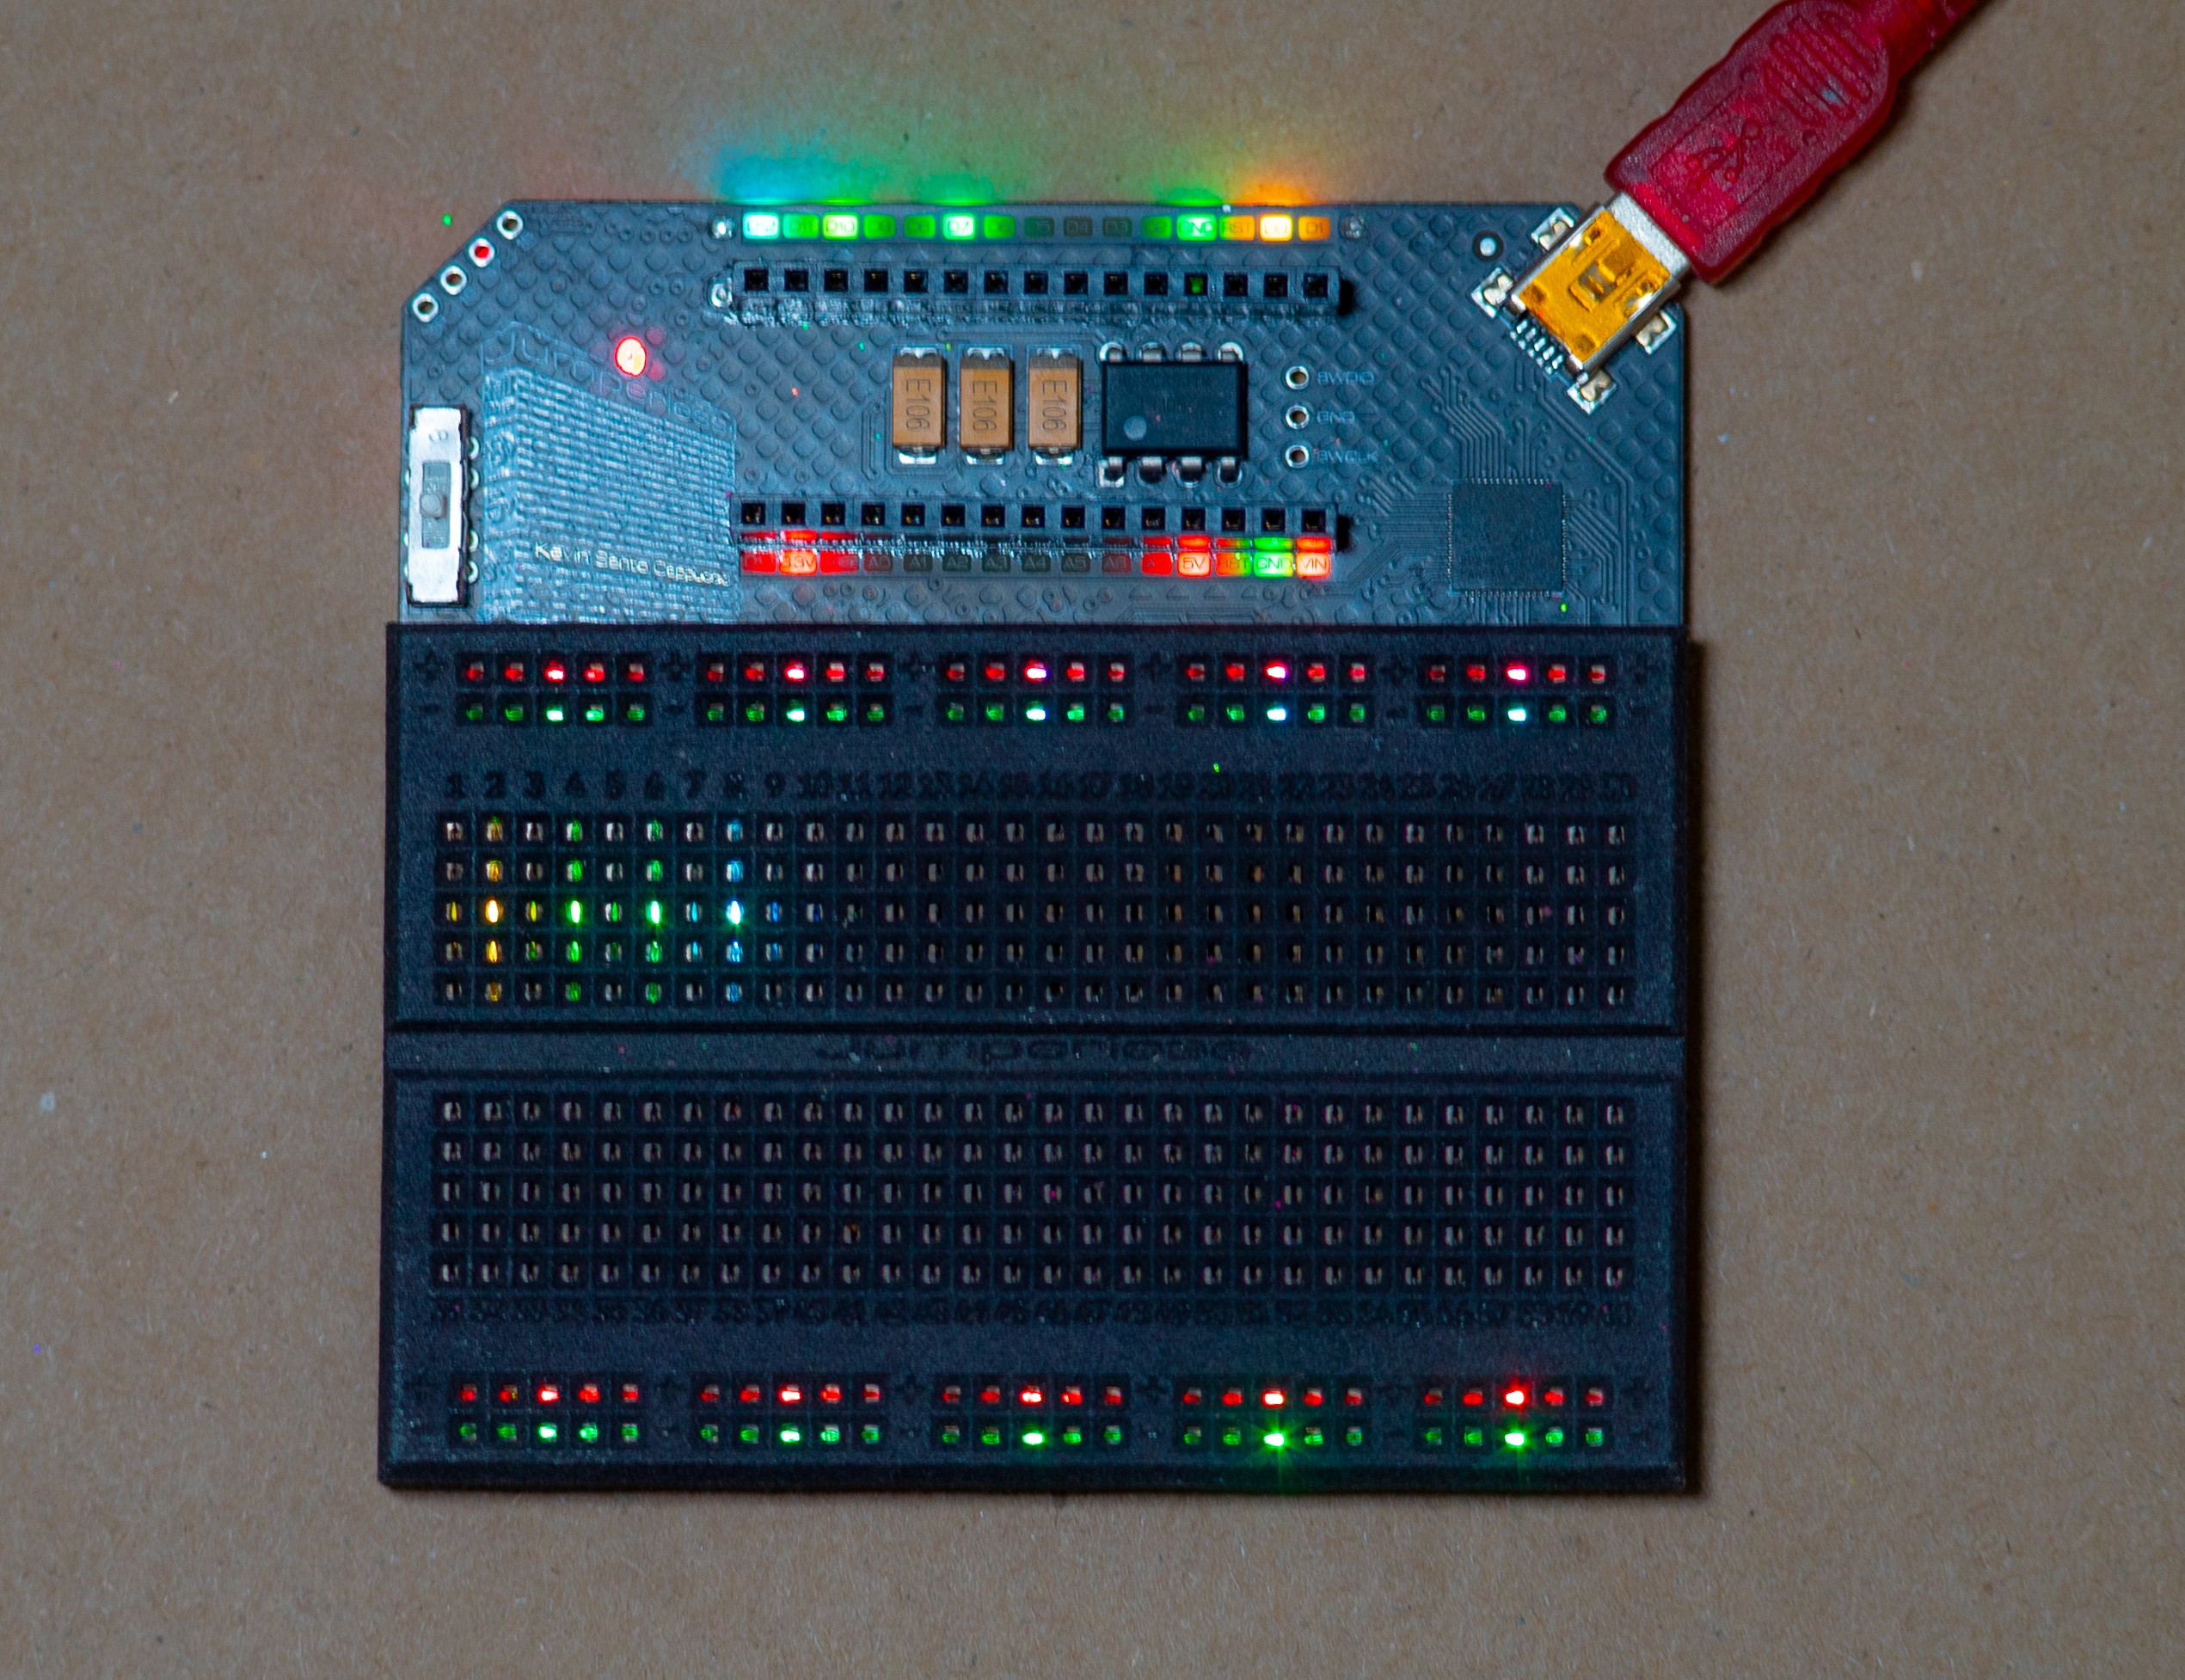
Will will do this. (Note that it's not appended, it just clears and overwrites the last netlist)
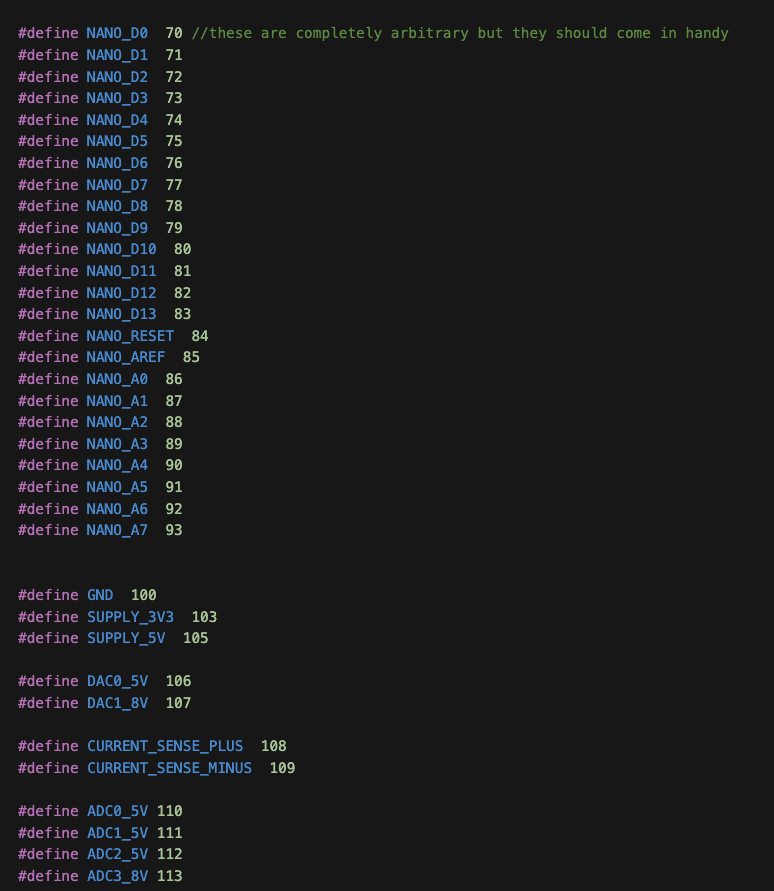
Another example
This is a list of what those numbers above 60 define into:
Debug Flags
- If your Bridge app’s terminal is full of a bunch of debugging stuff, you should probably turn the debug flags off until you want to see a particular thing. Sending that much data over serial can occasionally cause the serial drivers to trip over themselves. Here’s how to turn those off:
- From the main Menu (which it defaults to unless you’re in a sub menu,) type ‘d’ then Enter to go to the “toggle debug flags” menu.
![Screenshot 2023-09-05 at 3.25.54 PM]()
![Screenshot 2023-09-05 at 3.26.06 PM]()
- Type ‘0’ then Enter to turn them all off. Then ‘m’ and Enter to return to the main Menu
![Screenshot 2023-09-05 at 3.26.27 PM]()


App Menu
- If you want to do things that pertain to the Jumperless Wokwi Bridge App itself, type “menu” and then Enter (Note: after the part where you enter the Wokwi project link and choose a port, all this output you’re seeing is from the Jumperless’s onboard RP2040, and the Bridge app is just acting like the Serial Monitor from Arduino)
![Screenshot 2023-09-05 at 3.38.56 PM]()

Using the DACs and ADCs
Here's a handy guide for the Logic Analyzer part and what it maps to:
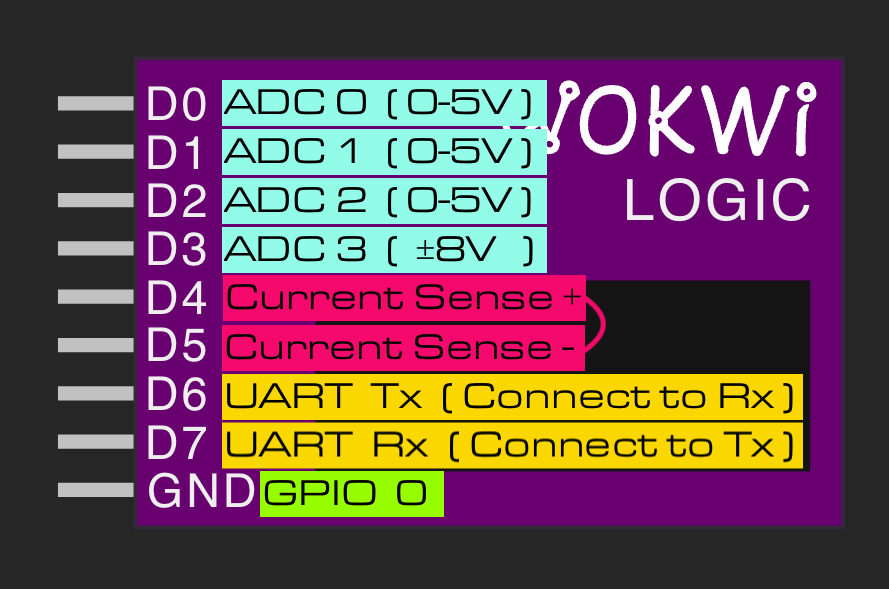
- To use the DACs, you’ll need to add 2 potentiometers to your Wokwi project and connect the Signal (center) pin to where you want it connected on the board. DAC 0 0-5V will be pot1 and DAC 1 ±8V will be pot2.
- Blue “+” to Add New Part > scroll down to Potentiometer (the linear Potentiometer will work too if you prefer) and click it
![Screenshot 2023-09-05 at 3.46.51 PM]()
![Screenshot 2023-09-05 at 3.47.00 PM]()
![Screenshot 2023-09-05 at 3.47.10 PM]()
![Screenshot 2023-09-05 at 3.47.41 PM]()
- If you want the brightness and hue to track the voltage for DAC 1 ±8V, you’ll need to connect ADC3 (±8V scaled) to the same pin as DAC 1. ADC 0-3 are mapped to a Logic Analyzer pins 0-3 in Wokwi, I haven’t come up with a good way display the readings and I’m open to suggestions for how to show them without making the serial output a total mess. But in the code, AnalogRead(26,27,28, or 29) will work as expected, scaled to 0-5V for ADC 0-2 and ±8V for ADC 3. Anyway, here’s how to connect them:
Add New Part > Logic Analyzer (8 channels)
![Screenshot 2023-09-05 at 3.59.02 PM]()
![Screenshot 2023-09-05 at 3.59.57 PM]() Connect D3 (ADC 3) to the same breadboard row as pot2:Sig (DAC 1) and the brightness will track the output.
Connect D3 (ADC 3) to the same breadboard row as pot2:Sig (DAC 1) and the brightness will track the output.
![Screenshot 2023-09-05 at 4.00.24 PM]() (Note: the pins are numbered the same as the ADCs, so D0 = ADC0 (pin 26), D1 = ADC1 (pin 27), etc.)
(Note: the pins are numbered the same as the ADCs, so D0 = ADC0 (pin 26), D1 = ADC1 (pin 27), etc.) - To control the DACs, enter Wavegen from the main Menu by typing ‘w’
![Screenshot 2023-09-05 at 4.05.12 PM]()
- Enter 5 or 8 twice to turn on the 0-5V or the ±8V DAC. The first time you enter it, it won’t turn it on so you can change the settings before you start it to avoid frying things.
![Screenshot 2023-09-05 at 4.08.49 PM]()
- When you type ‘a’ or ‘o’ to change the Amplitude or Offset respectively, it expects numbers in the format ‘3.0’. It will wait for you to enter a decimal and then a number.
![Screenshot 2023-09-05 at 4.11.58 PM]()
![Screenshot 2023-09-05 at 4.12.07 PM]()


I’ll add more tricks as I think of them. If you have any questions about how to use any particular thing, or suggestions for things to work on supporting, let me know.
You can email me at KevinC@ppucc.io or message me through any channel you prefer.
Discussions
Become a Hackaday.io Member
Create an account to leave a comment. Already have an account? Log In.