A lot of these shots will be cut into the Hackaday Prize entry video, but I'm gonna post them here anyway so I don't feel like I've wasted time making these if I decide some of them don't fit.
Doom Over a Jumperless
Doom is the most click-baity demo you can do. And I support it (even though I suck at actually playing Doom)
Someone on Twitter asked if the crosspoint switches would interfere with fast data signals. The answer is no, they won't, they're rated to 50MHz at 3dB rolloff. The physical breadboard will have a much larger effect at those frequencies, so if it works on a regular breadboard, it should work on a Jumperless (wrt frequency, current and voltage have their own limits).
This is the awesome project doom-nano which is stripped down enough to run on an ATMEGA328P at ~15 fps. Note that the enemies don't die when I shoot them, that hasn't been implemented yet.
The nerd-sniper who got me actually was asking about SPI displays, I didn't have a Arduino Nano ESP32 at the time, but I will today (thanks Amazon). So expect a demo of real doom running on a color display soon.
16x2 LCD
And my video light Fuck mask gets its time in the spotlight.
Making this one revealed a bug in the routing code here it wasn't checking the other end of the "bounces" in certain arrangements. So yeah, 2 days of debugging for a 22 second video, that's approaching Kubrick's shooting-to-runtime ratio.
Some 7400-Series Logic Stuff
Here I threw together a random logic circuit with the chips I had laying around, and used a 555 as the clock source. Near the end, I take out the 555 and use the Jumperless's DAC making a square wave as the clock. Which might be useful if you're building just part of something and you don't want to screw around with the clock source.
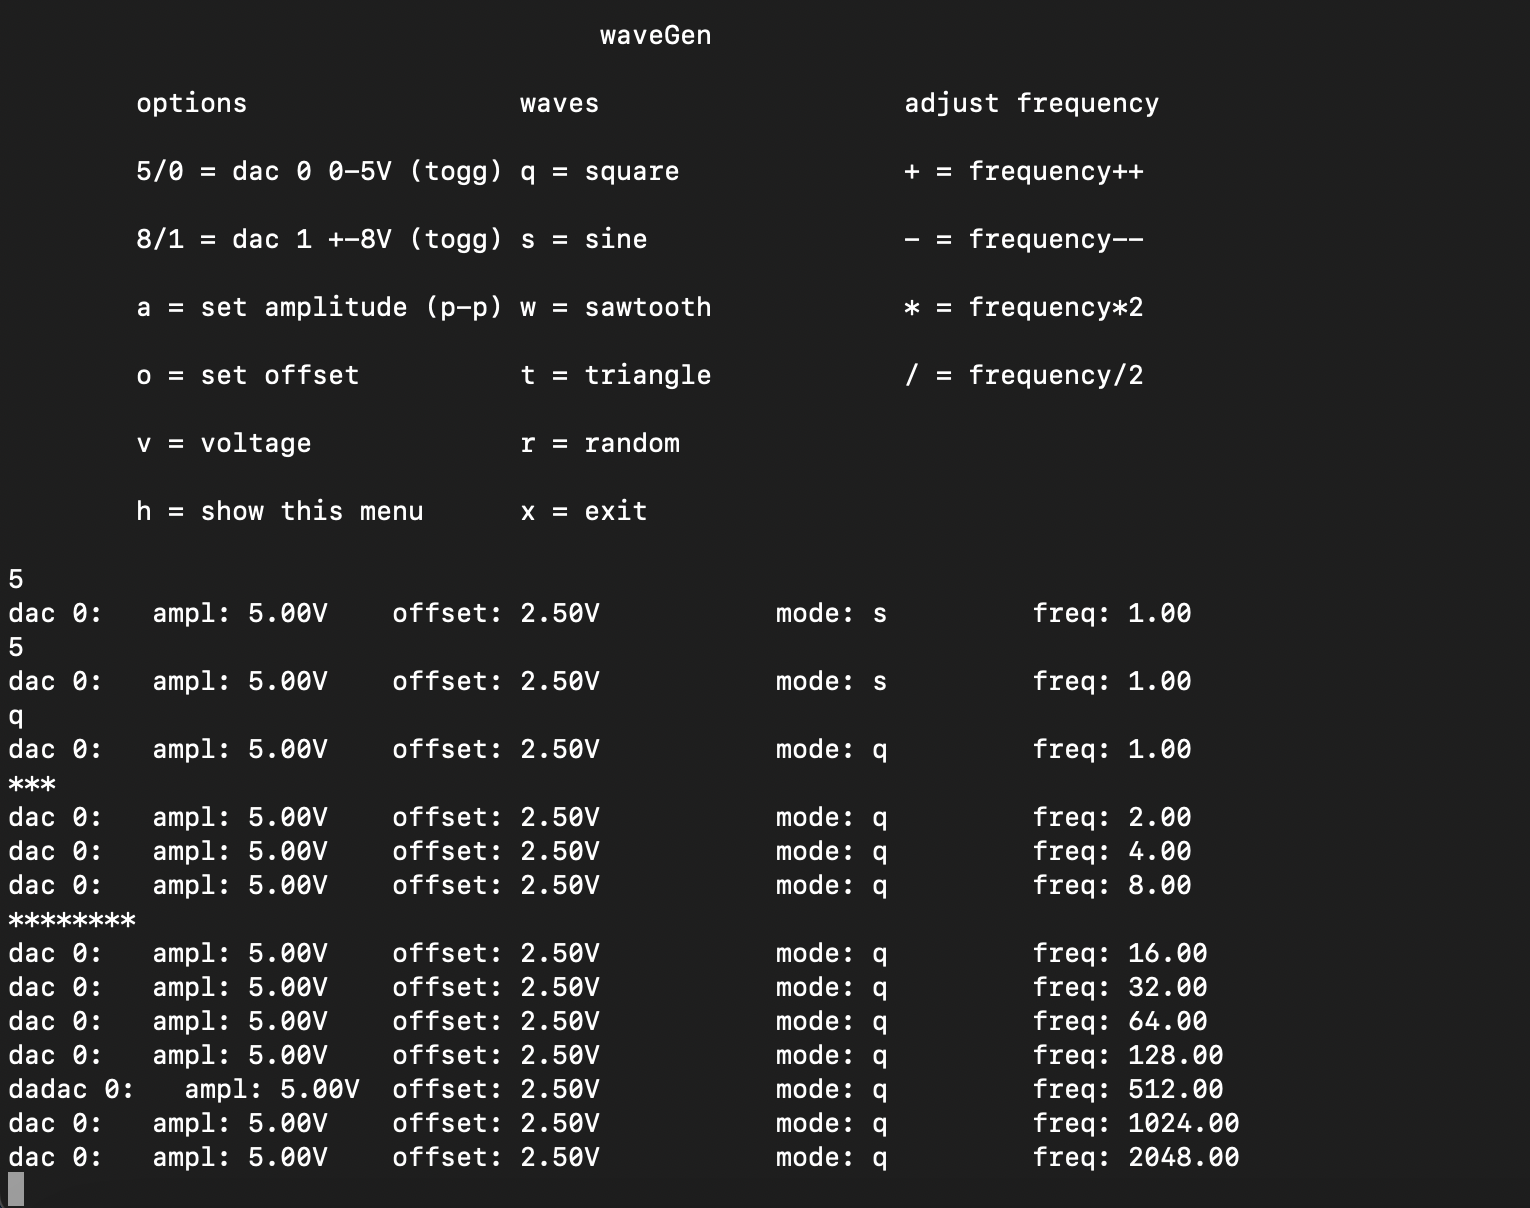
There's a simple text-based wave generator menu that I'm using to control the frequency and stuff. It looks like this.

On the Wokwi project I had a potentiometer connected to the blue clock line, that's what tells the Jumperless that I want a DAC connected there.
This is the same circuit again:
Magic Flames Released
This is the silly intro shot, same circuit as above (and part of it is redundant).
Obviously, circuits don't blow up like that when you cut one wire. So let's look behind the curtain and see what I did

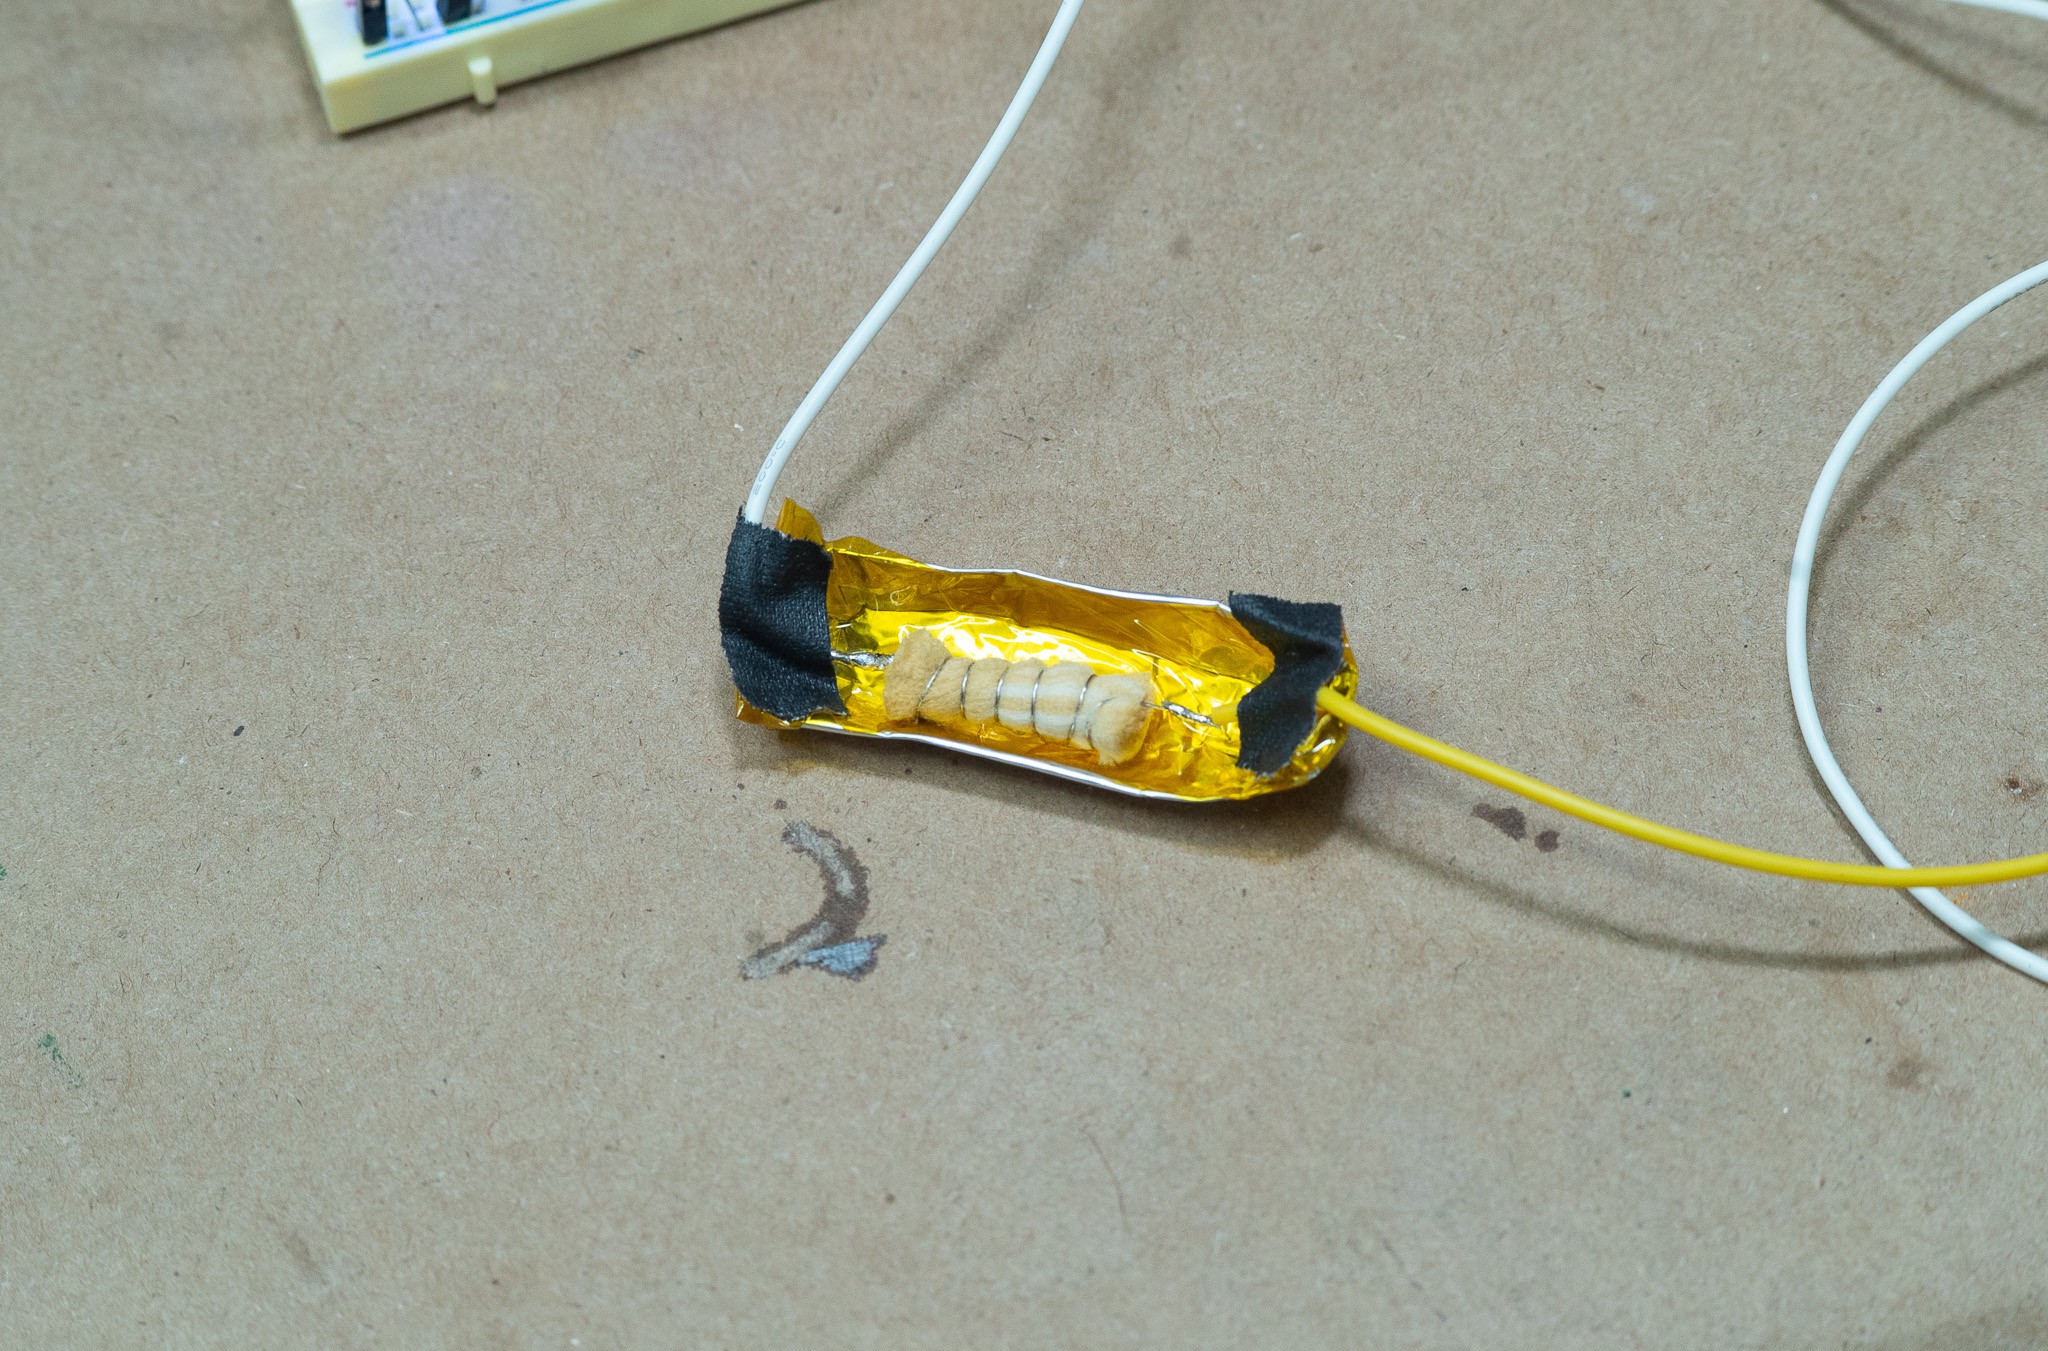
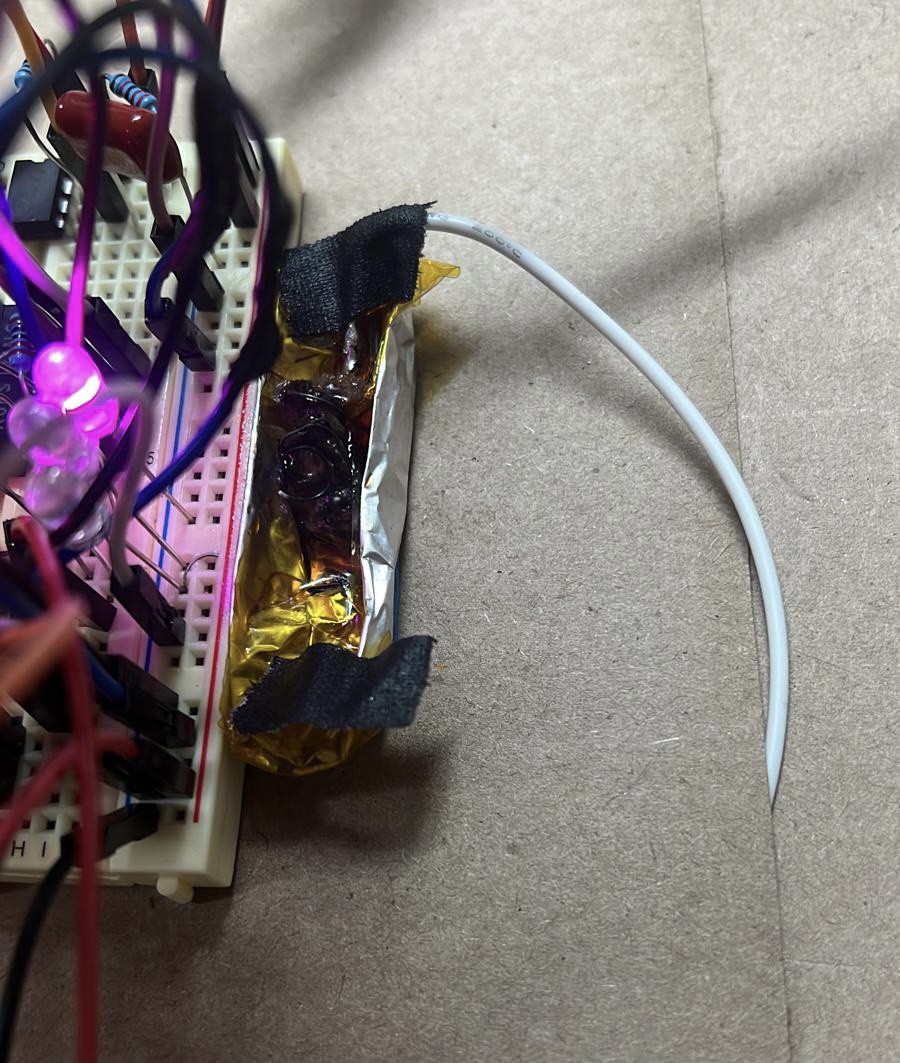
It's cigarette filter wrapped in NiChrome wire and submersed in a foil tray filled with vape juice hidden behind the breadboard then hooked up to a big 12V lead-acid battery when I wanted it to go off. I'm actually just cutting the 5V power in the video.
This is what it looked like afterwards

Ha.
I also tried just cutting 2 jumpers connected to the leads of the lead-acid battery, but the sparks weren't dramatic enough and too quick to be shot on video.
Another attempt was made by emptying out the powder from a bullet and igniting it, but modern smokeless powder is, well, smokeless. Like really surprisingly so. I even mixed it with sugar and Ammonium Dichromate but it never really looked right. So vape juice it was!
Crosspoint Superzoom
This is just to give people a but of an understanding of what's going on inside a crosspoint switch. Not really a demo, but it was made so people understand that the Jumpeless isn't reading and simulating your signals, just passing them through an analog CMOS switch.
If you want to play with that crosspoint demo in Falstad, here's the link to that circuit.
And the transistor-level analog CMOS switch is here.
Rail Selector Switch
This is a fun little shot of the supply rails being switched in stop motion.
Anyway, I think that's all the video I have for now. But stay tuned for the Hackaday Prize entry video where I cut all this together and talk at you.
 Kevin Santo Cappuccio
Discussions
Become a Hackaday.io Member
Create an account to leave a comment. Already have an account? Log In.