 Guillermo Perez Guillen
This is something that I have wanted to do for a long time because I have always been interested in the measurement of the phenomenon of light. I even once won a prize proposing a new method to measure light. Below I show an introduction to my project.
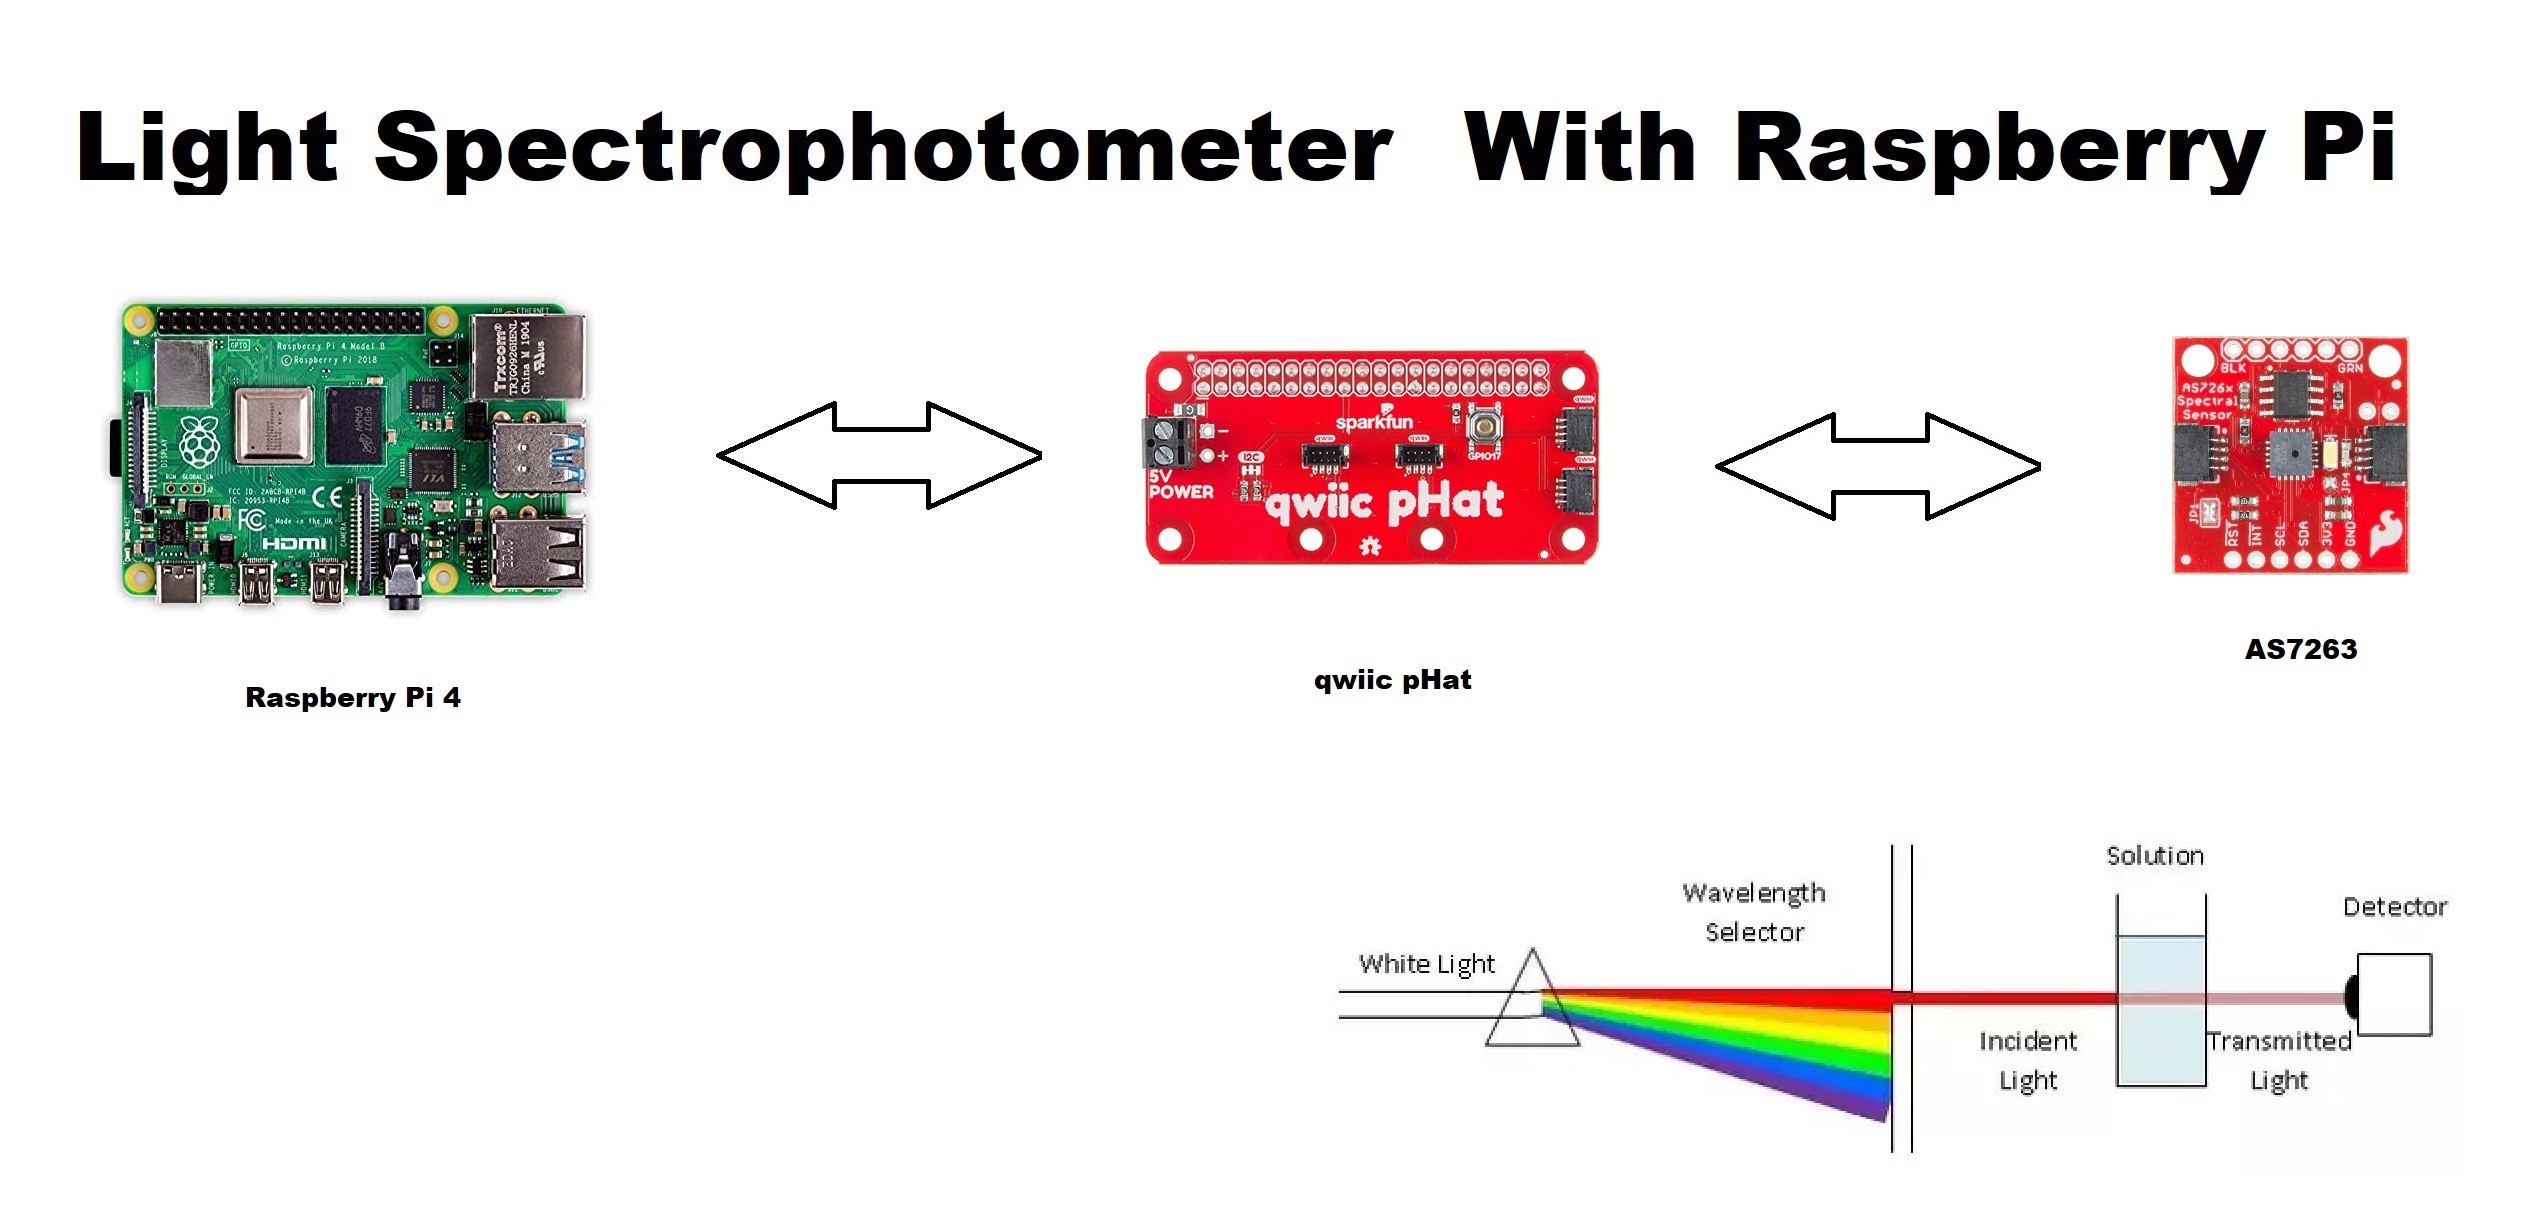
How does it work?
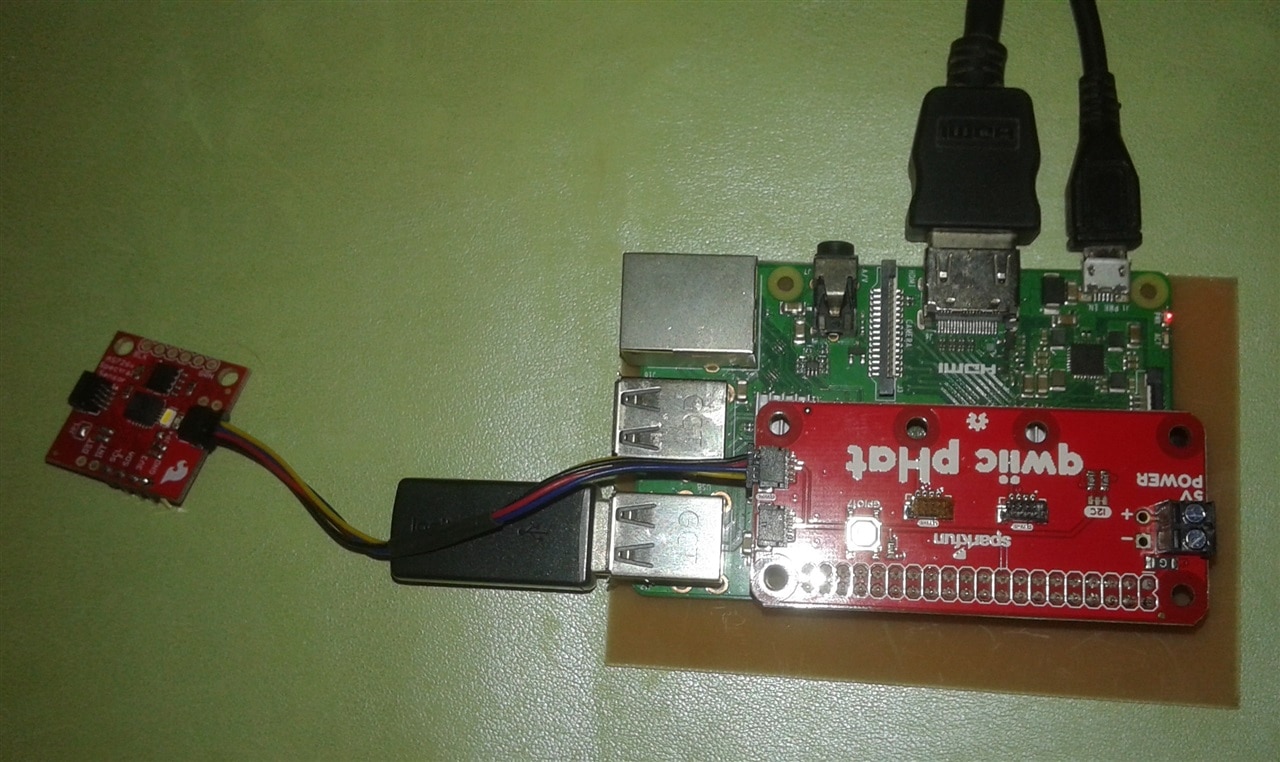
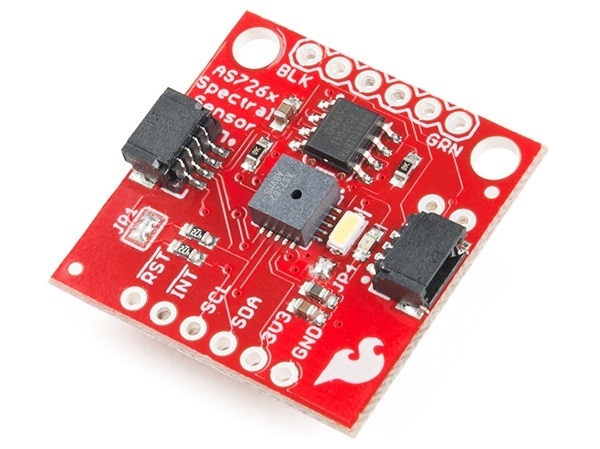
- First, I built a module to accommodate the AS7263 sensor. The goal is to prevent strange light interference.
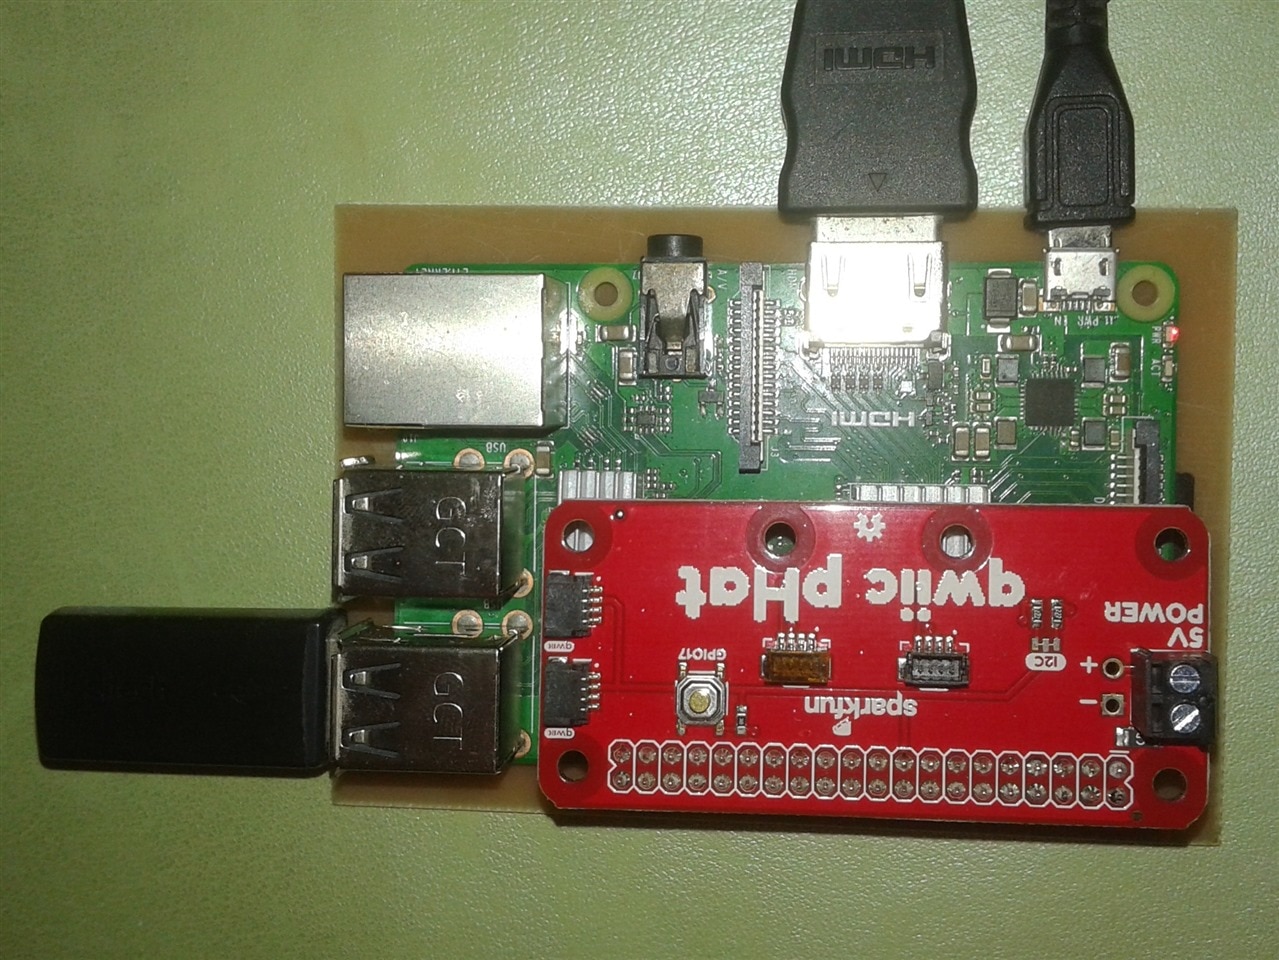
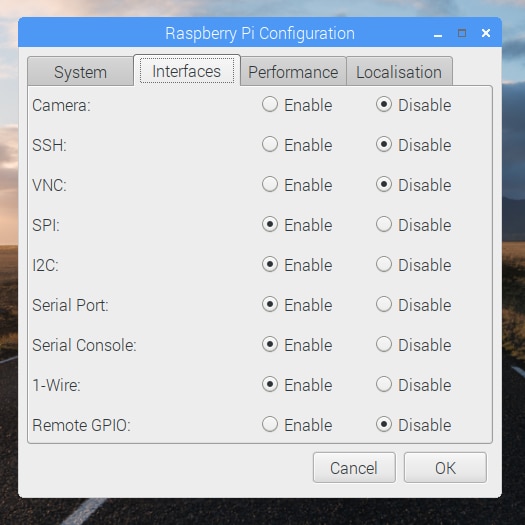
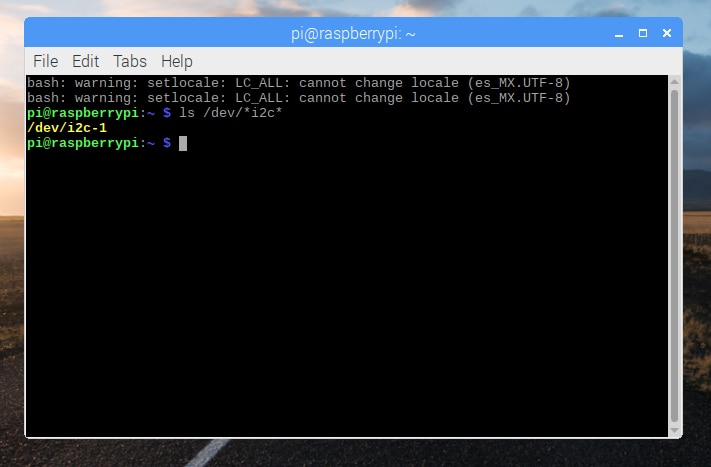
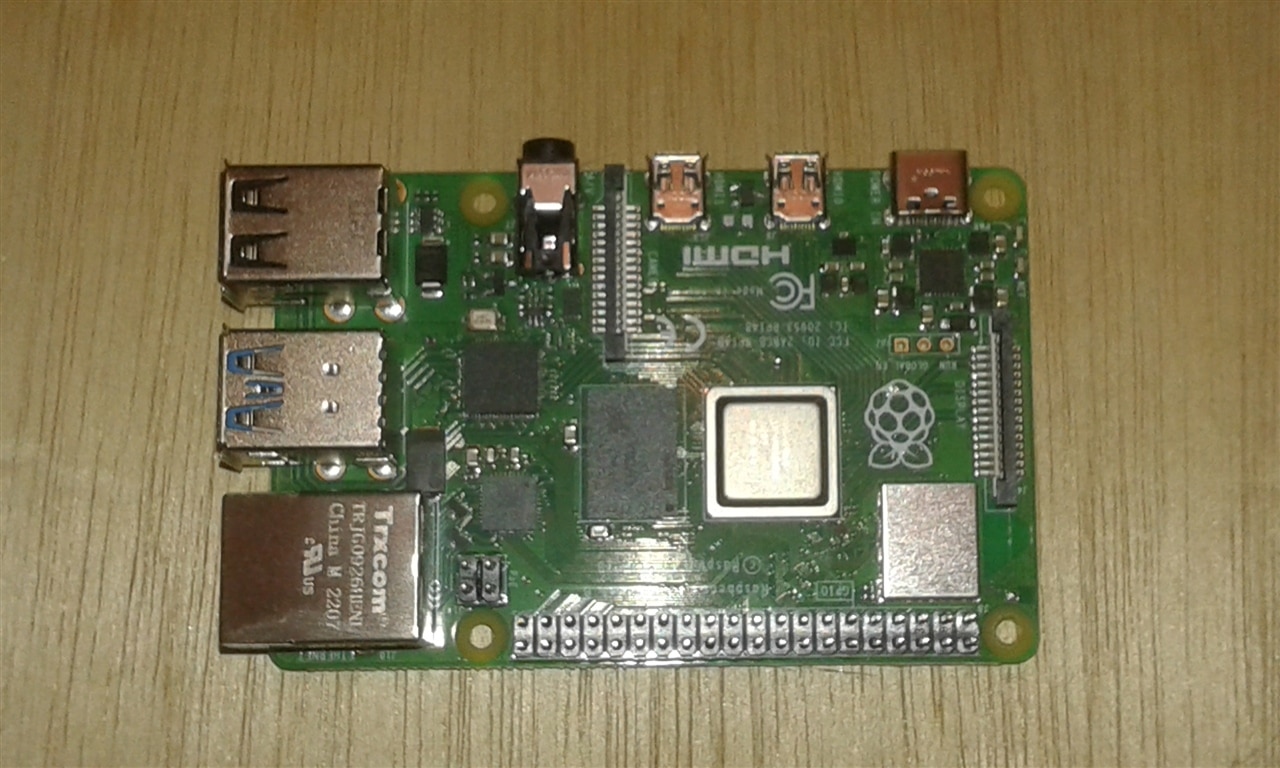
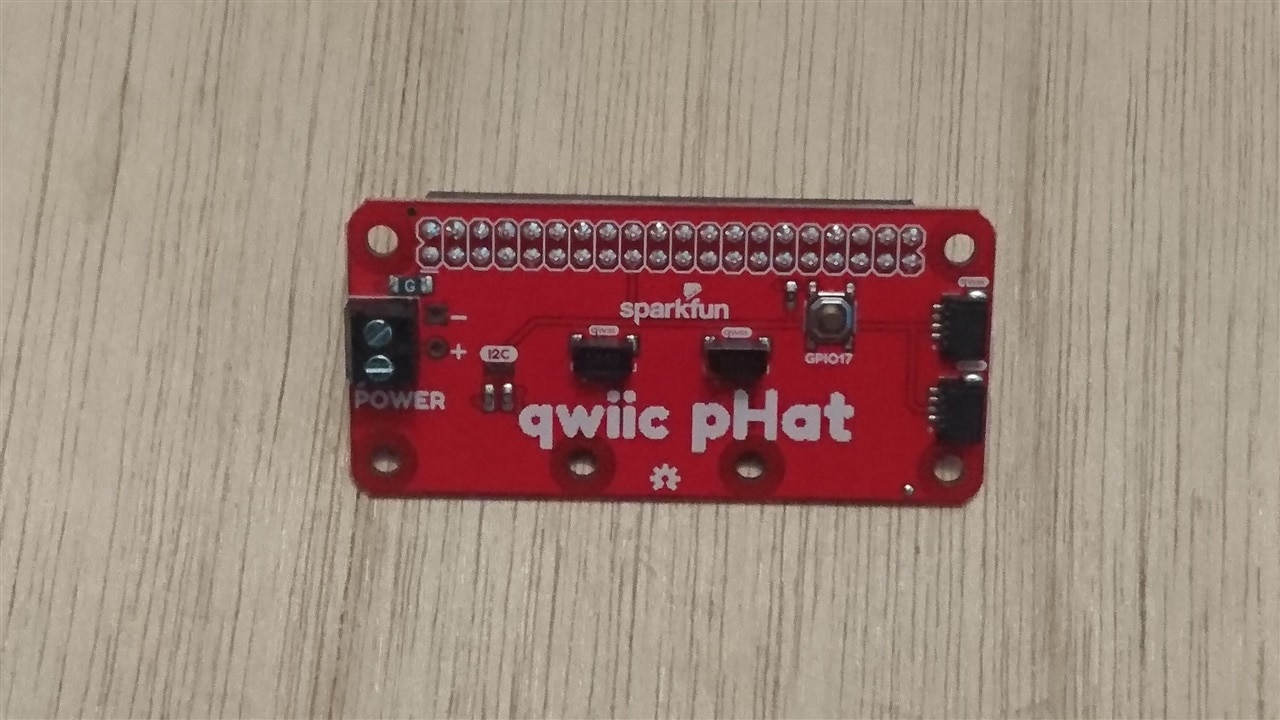
- Then, the pHat module will be configured to interface the AS7263 sensor with the Raspberry Pi board.
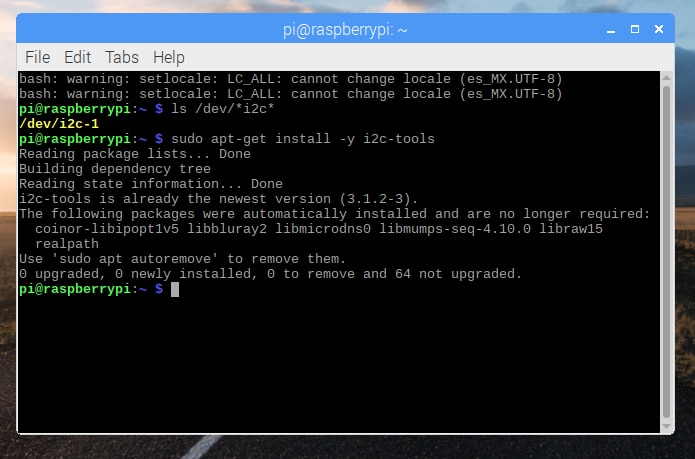
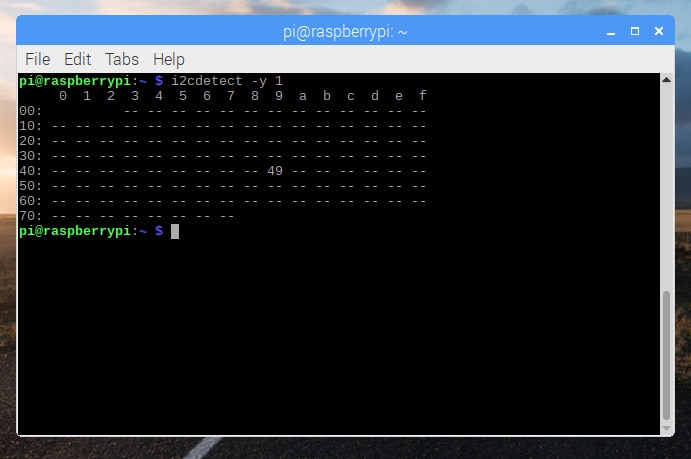
- The AS7263 NIR Sensor libraries wias installed.
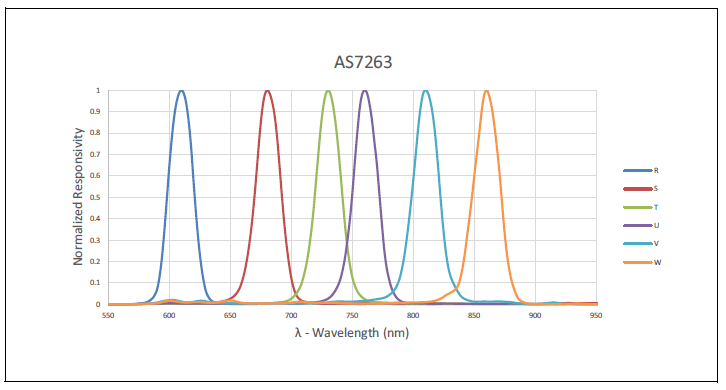
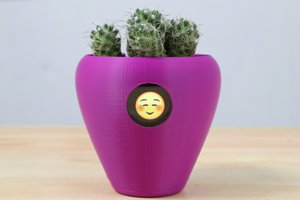
- The experiment has a scientific nature. I developed a "Plant Foliage Health Monitor". Here I used the AS7263 NIR (near infrared) sensor, and I adapted a module to do the tests. The objective is to analyze samples of plant leaves and verify their health status as "HEALTHY" or "UNHEALTHY".
- The last experiment consists of adapting an IoT monitoring system in real time. The goal is to do experiments and send data to the internet cloud so that colleagues around the world can see the data from our experiments in real time.


 Coders Cafe
 Brenda Armour
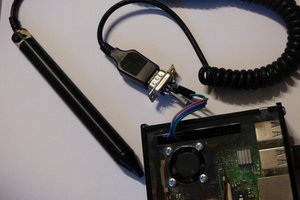
 Maciej Witkowiak
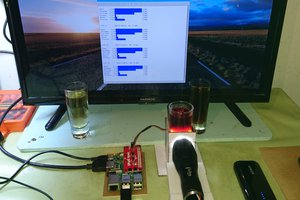
What Calibration model did you use, Also what particular software did you use for the calbration purpose