 Michael Gardi
Up until now I have been running all my tests on the Raspberry Pi that I used for my TMD-2 project. I'm moving to a new Pi so I though I would document the steps I have taken to get the Console running on the new image.
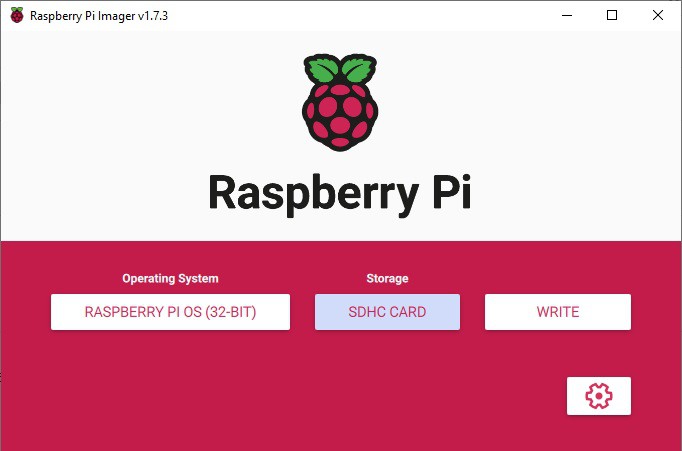
I'm not going to detail getting the Raspberry Pi OS onto the Pi 4 as there are a lot of guides out there like this one from tom'sHARDWARE. Basically I just loaded a Raspberry Pi OS image onto a 32G microSD card using Raspberry Pi Imager.
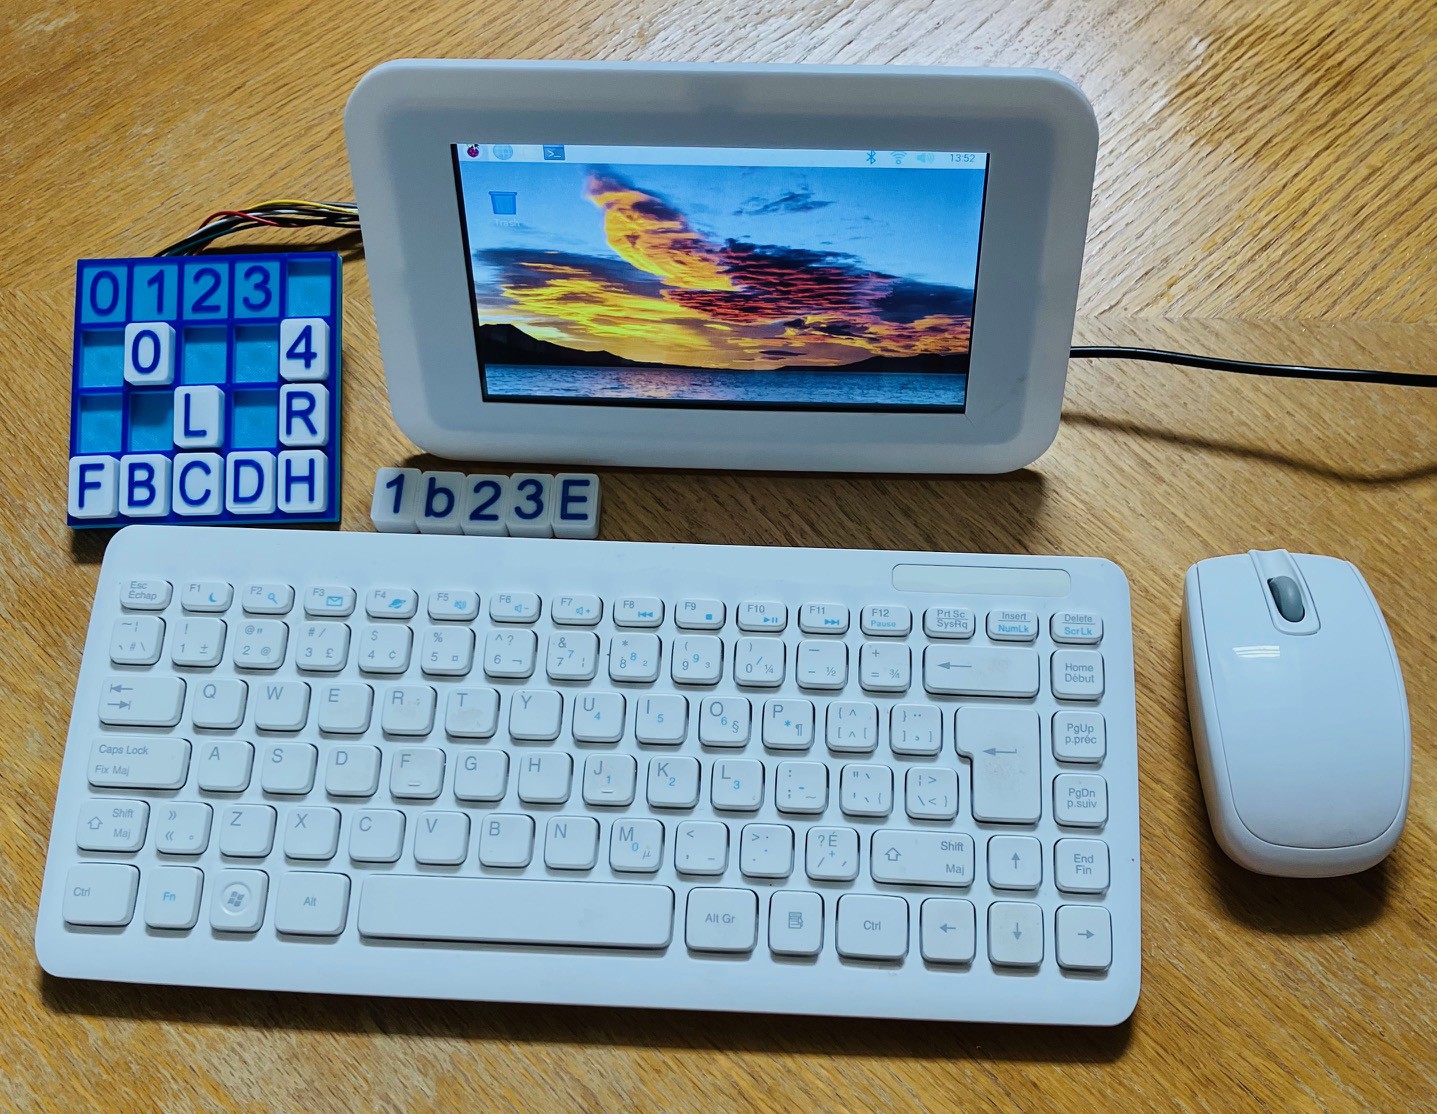
I plugged the microSD card with the brand new OS image into the Pi 4 I have been using for testing with it's small LCD screen, wireless mouse, and keyboard. You could do the installation completely "headless" as outlined here, but I prefer to do the configuration interactively with this setup. I powered up the Pi and went through the initial configuration dialogs to set the login user, keyboard, language, locale, and wireless connection. Super easy.
Ultimately the Pi could be running headless with no keyboard or mouse. There will however be a display to show the console's screen. My preference is to use VNC to accomplish this. Raspberry Pi OS ships with RealVNC pre-installed. So the first thing that I did after the basic OS had been installed was to setup a virtual server for the RealVNC client to connect to. The easiest way I have found to do this is to add the following lines to the end of the /etc/rc.local file before the exit 0 on the Pi.
# Setup a virtual screen for the VNC server.
sudo -u xxxxxx vncserver-virtual -randr=1920x1080

# Start the Pi GPIO daemon.
sudo pigpiod
xxxxx is the login user that you setup to access the Raspberry Pi. Set the screen dimension (randr=) to be the same as the machine that you will be accessing the TMD-3 Console from.
At the same time that I added the virtual VNC server I added the "sudo pigpiod" line to start a daemon that the console needs to access the Pi's GPIO pins.
I found in my setup that there were a few issues accessing this server with the RealVNC client on my Windows machine. The first was that the menu bar at the top of the desktop was missing. If you encounter this issue, to restore the desktop menu bar enter the following command.
sudo apt-get remove --purge alsa-base pulseaudio
On a similar note the title bar on open application windows and the corresponding windows controls (v ^ x) were missing as well. To fix this I edited the desktop.conf file,
sudo nano /etc/xdg/lxsession/LXDE-pi/desktop.conf
and changed the line:
window_manager=mutter to window_manager=openbox-lxde-pi
then saved the changes.
An additional library is required by the Console to interact with the MCP3008 ADC chip used to "read" the Hall Effect sensors. To load the library:
sudo pip3 install adafruit-circuitpython-mcp3xxx
With these changes made reboot the Pi 4 for them to take effect.
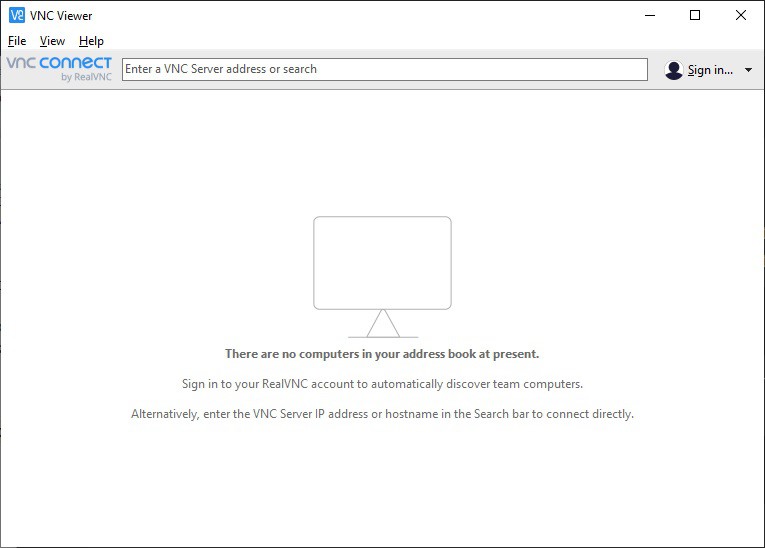
I downloaded and installed the RealVNC client on my Windows machine. Run the RealVNC VNC Viewer. You should see this window.
From the menu select File->New connection... to bring up the following dialog. Add the Server address and common name then click OK.
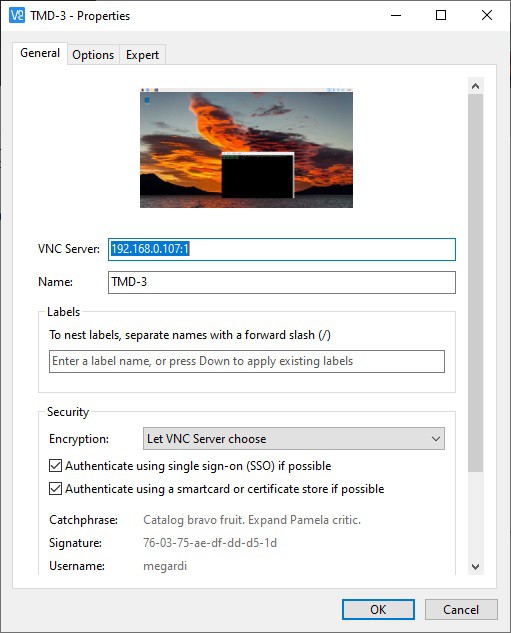
Note the :1 added to the server address. This references the instance of the VCN Server running.
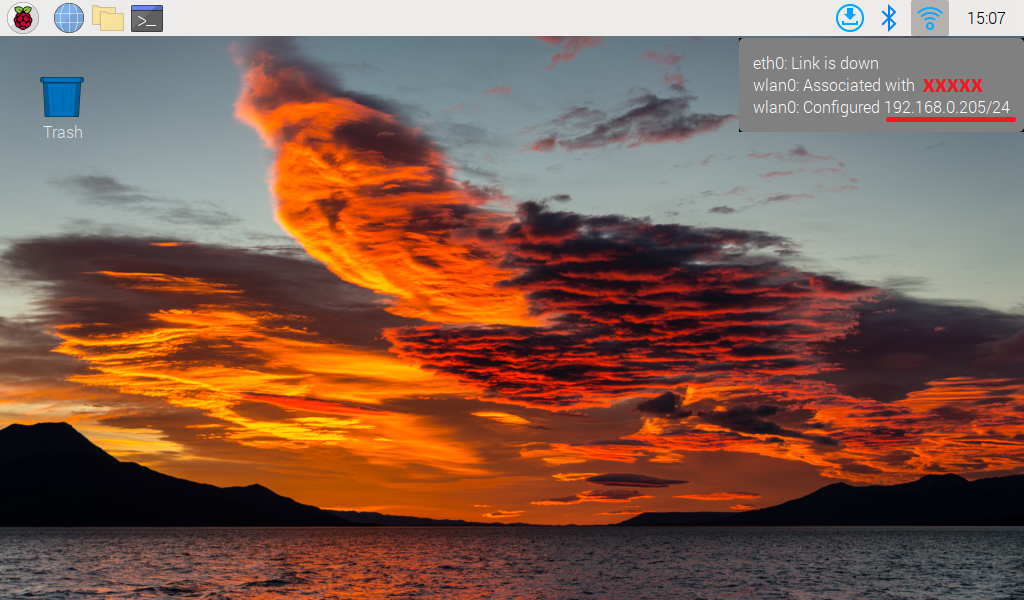
To find the VNC Server address you can just hover over the WiFi (or network) connection on the server desktop.
From the main VNC Viewer window double click on the TMD-3 connection just created.

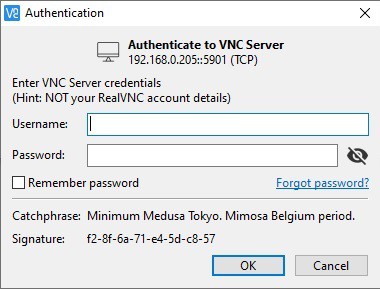
The first time you attempt a connection you will be prompted to enter the Raspberry Pi's login credentials. Check Remember password if you don't want to have to do this every time you connect. Enter the credentials and click OK.
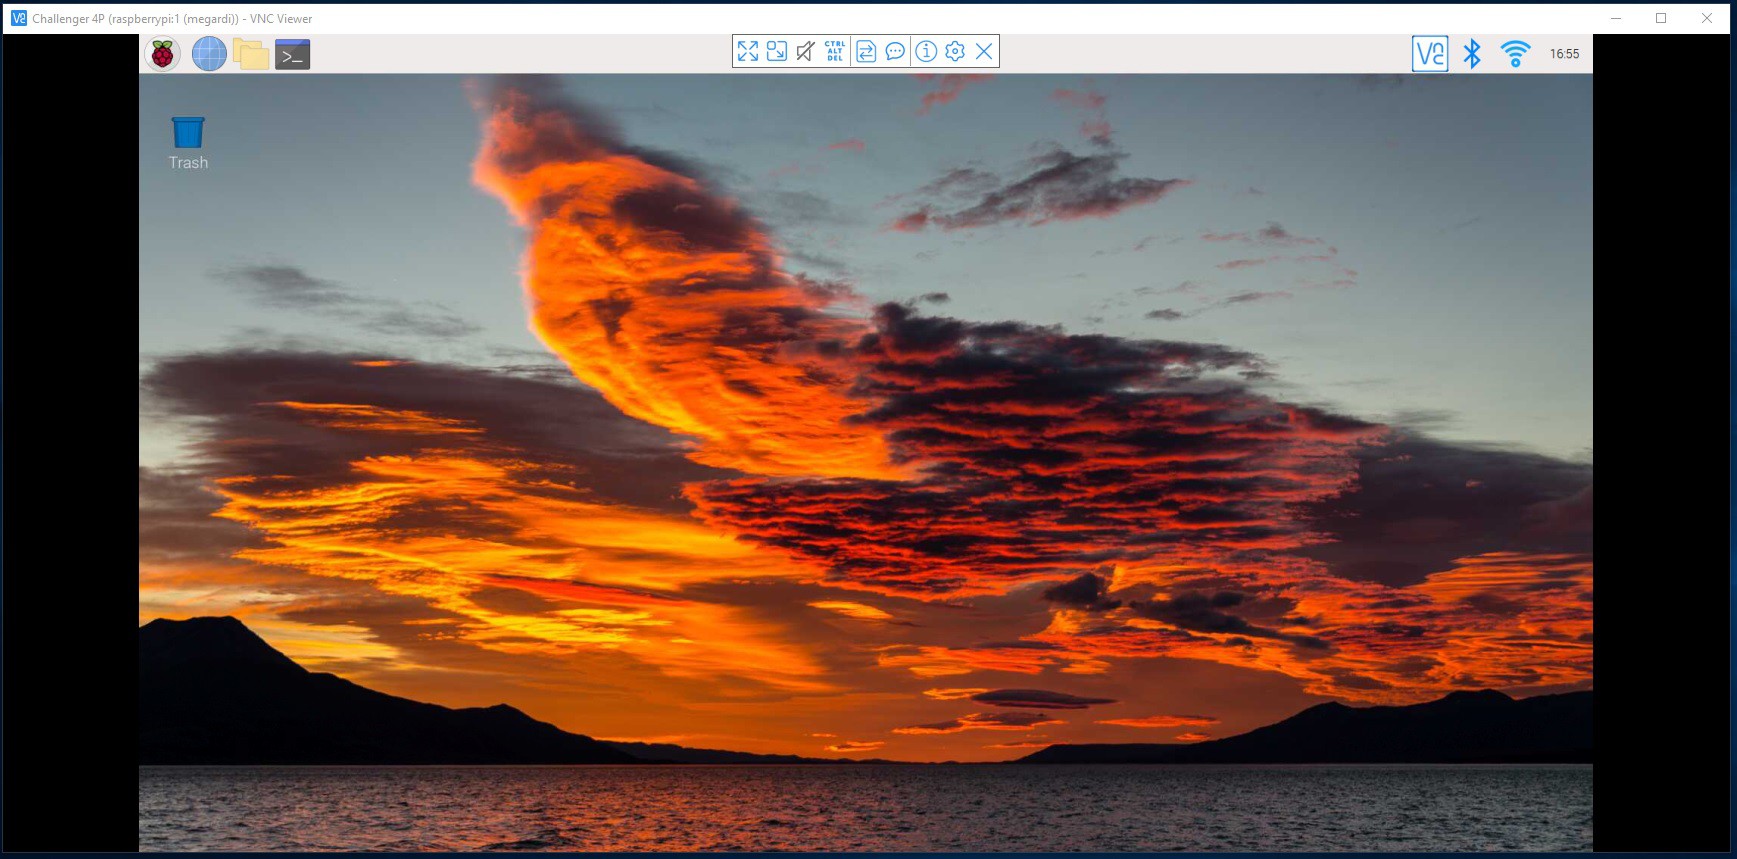
You should see an instance of the Pi 4's desktop.
Be To get the Console onto the Pi 4 you can simply clone the repository from github. Open a terminal window and enter the following command:
git clone https://github.com/kidmirage/Turing-Machine-Demonstrator-Mark-3-
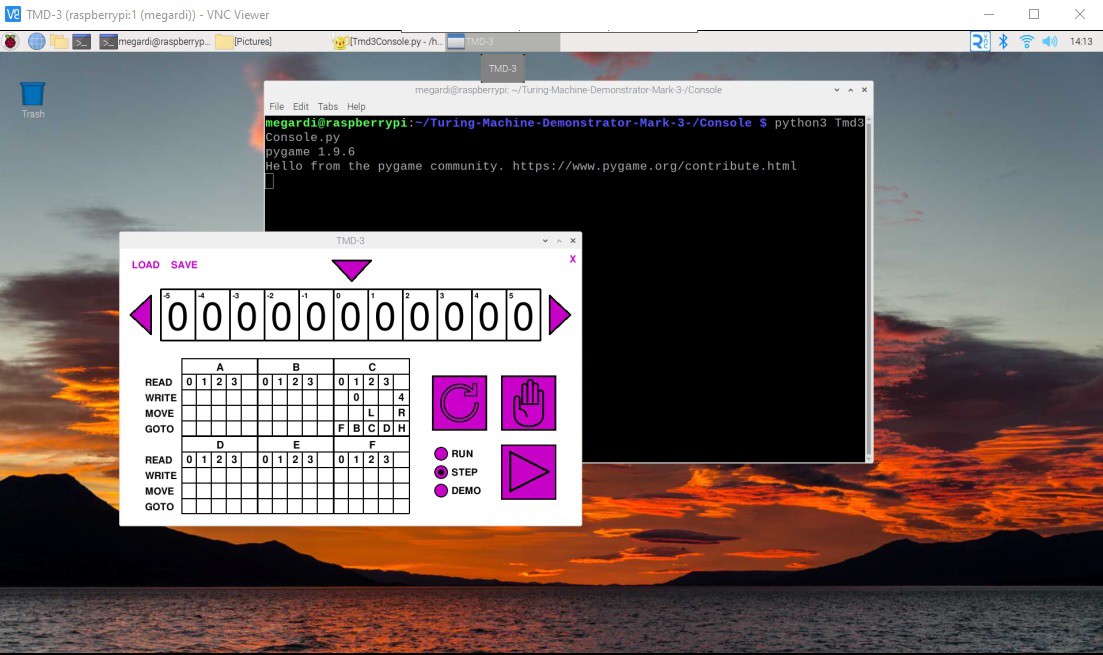
To run the Console execute the following commands:
cd Turing-Machine-Demonstrator-Mark-3-/Console
python3 Tmd3Console.py
You should see the TMD-3 Console popup.
Autostart
One of the finishing touches I wanted on this project is to make the Raspberry Pi boot directly into the TMD-3 Console on startup.
I created an autostart folder on my Pi and switched to that folder. The xxxxxx is the username that you logged in as.
mkdir /home/xxxxxx/.config/autostart
cd /home/xxxxxx/.config/autostart
Into the autostart folder just created I added the following two files.
runTMD-3
cd /home/xxxxxx/Turing-Machine-Demonstrator-Mark-3-/Console
/usr/bin/python3 Tmd3Console.py
TMD-3.desktop
[Desktop Entry]
Type=Application Name=TMD-3
Exec=/home/xxxxxx/.config/autostart/runTMD-3
In addition the runTMD-3 file must be made executable with the following command:
sudo chmod 777 runTMD-3
Now if you reboot the system, you should briefly see the desktop appear, and shortly after the TMD-3 Console will load.
Discussions
Become a Hackaday.io Member
Create an account to leave a comment. Already have an account? Log In.